2023.06.07
Easy! How to draw sparkling backgrounds and backlighting
 With video

First, I want you to look at this drawing.

This is a drawing of a singer girl dancing.
And by adding the effects we are going to learn today, the girl will look like…
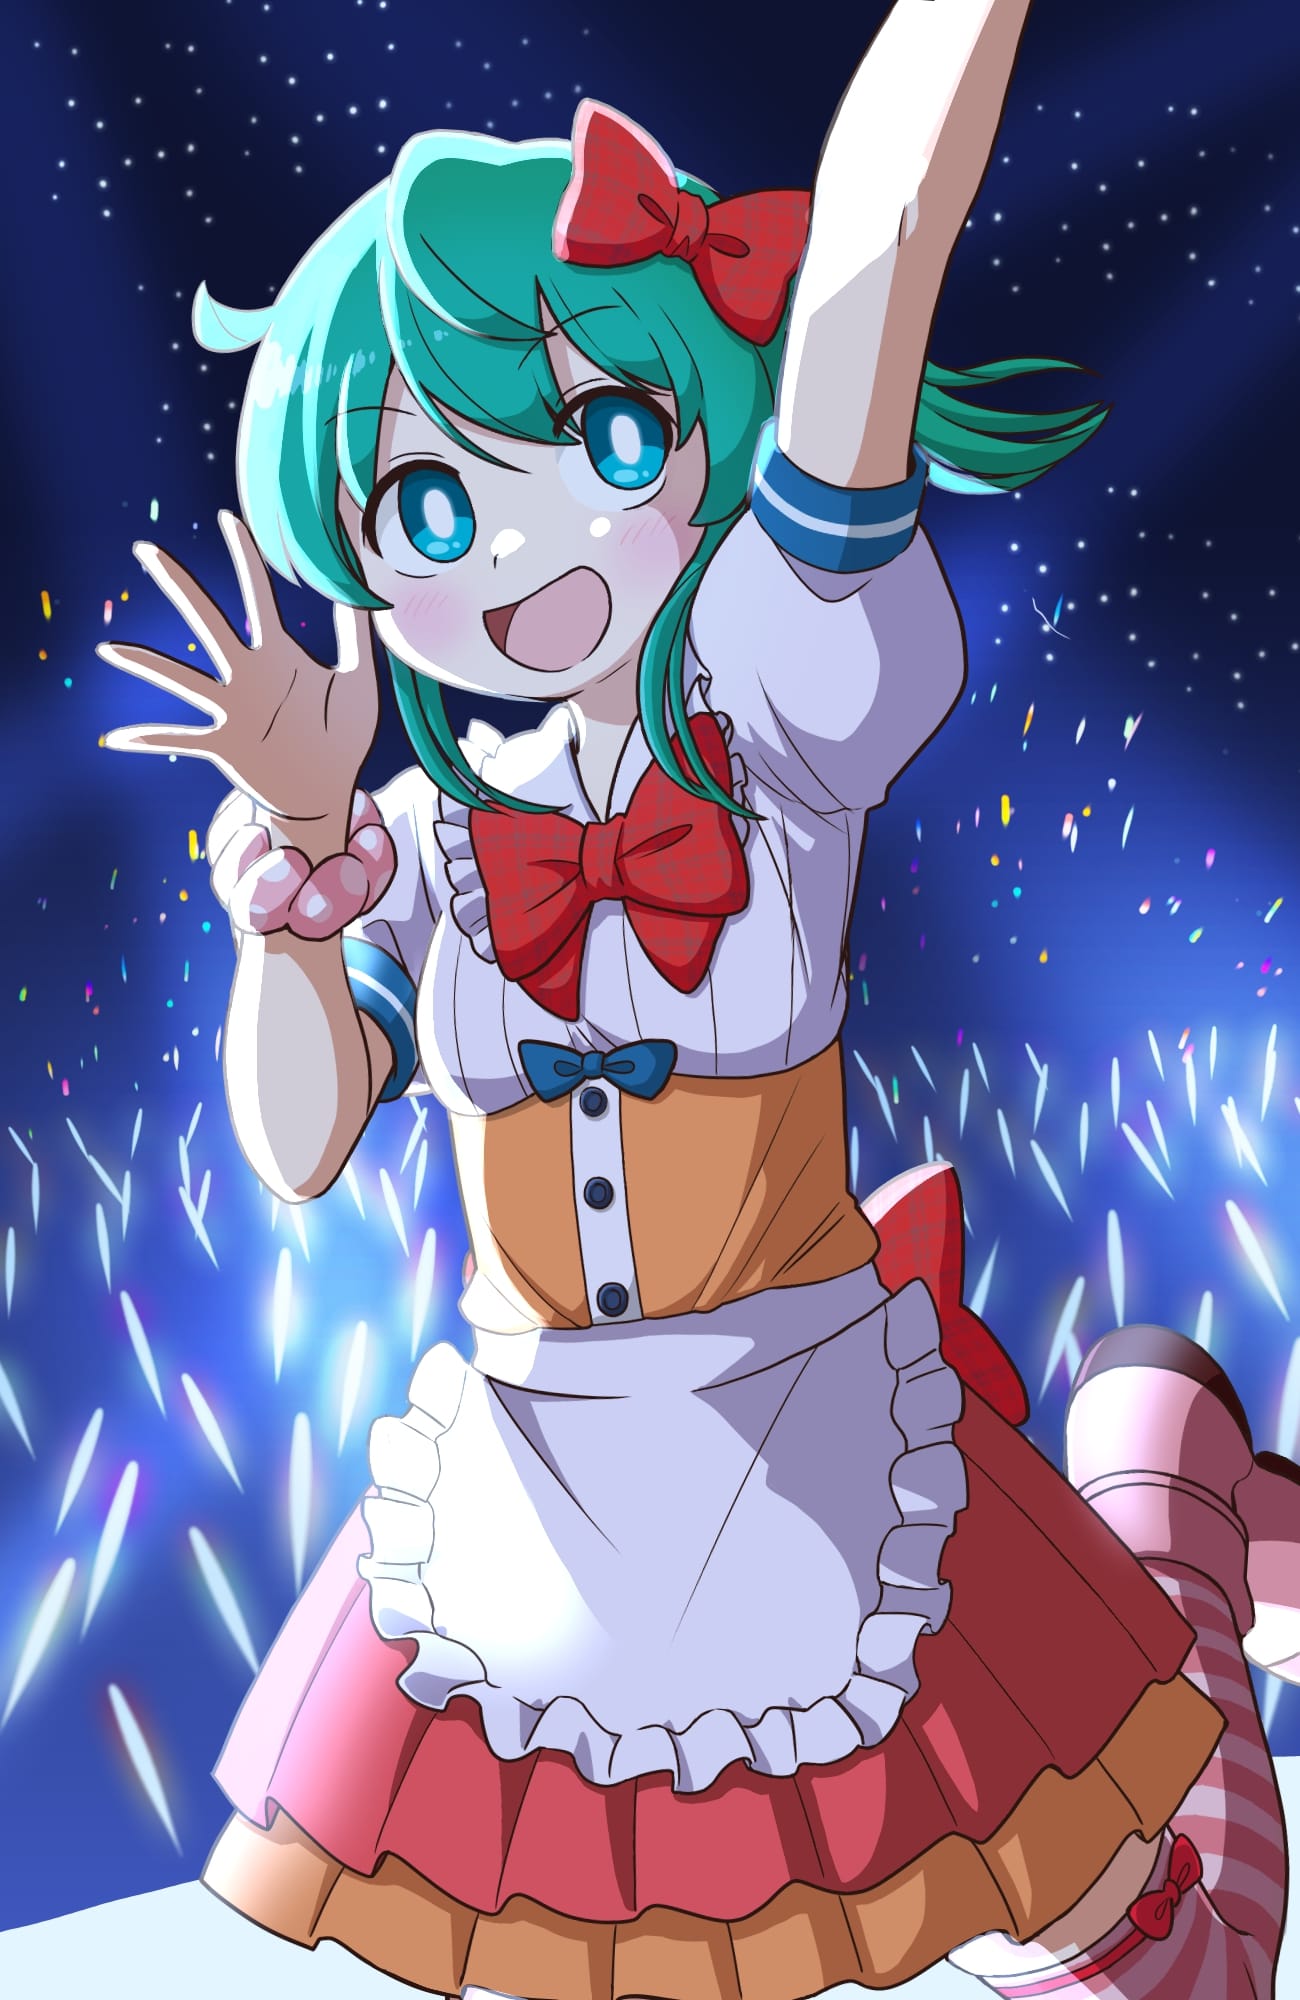
She is on a gorgeous concert stage with lots of sparkling glow sticks and spotlights! Surprised?
You might think that you can’t draw backgrounds that difficult?
Actually, you can draw them with ease using MediBang Paint!
Today I will be telling you how to draw this background and the backlighting on the character!
Index
Create the base for the background
Let’s start by drawing the background.
First draw a character that you like.

Hide the character layer for now, so you can see the background.
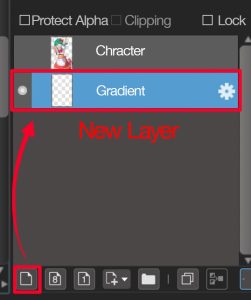
Add a new layer below the illustration layer.
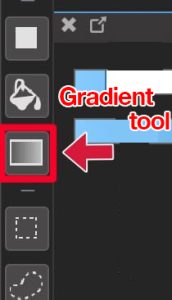
Select the Gradient tool.
Select blue and switch the foreground color and the background colors, then select a blue that is deeper than the one you’ve selected earlier.
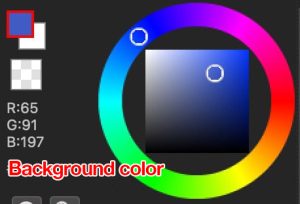
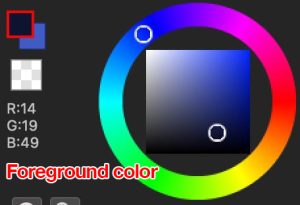
You can add the gradient as if you were drawing a line on the canvas from the top to bottom.
Now you’ve got the base for the background.

Draw glow sticks
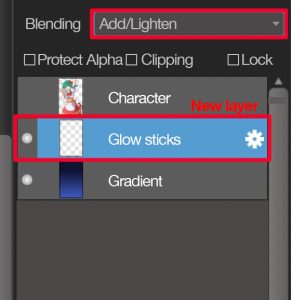
Add a new layer on top of the gradient layer we’ve just created, and set the layer blending “Add/Lighten”.
From now on, we’ll be drawing glow sticks!
You might think it’s a detailed, tedious job, but there’s a brush in MediBang Paint that’s amazingly useful!
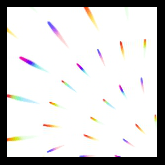
This is the free cloud brush! We’re going to use this brush.
Click on the Brush Edit button and set the Rotate Random value to about 15 and save.
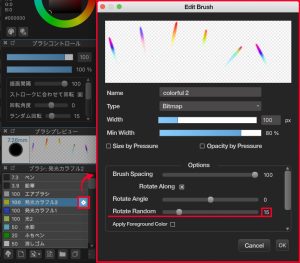
This setting will make the brush patterns lean at random angles in a good way.
Draw the brush roughly across the canvas from left to right.
It is a good idea to reduce the size of the brush as it approaches the top of the canvas.
This will make the brush patterns (lights) smaller and give the work a three dimensional feel.
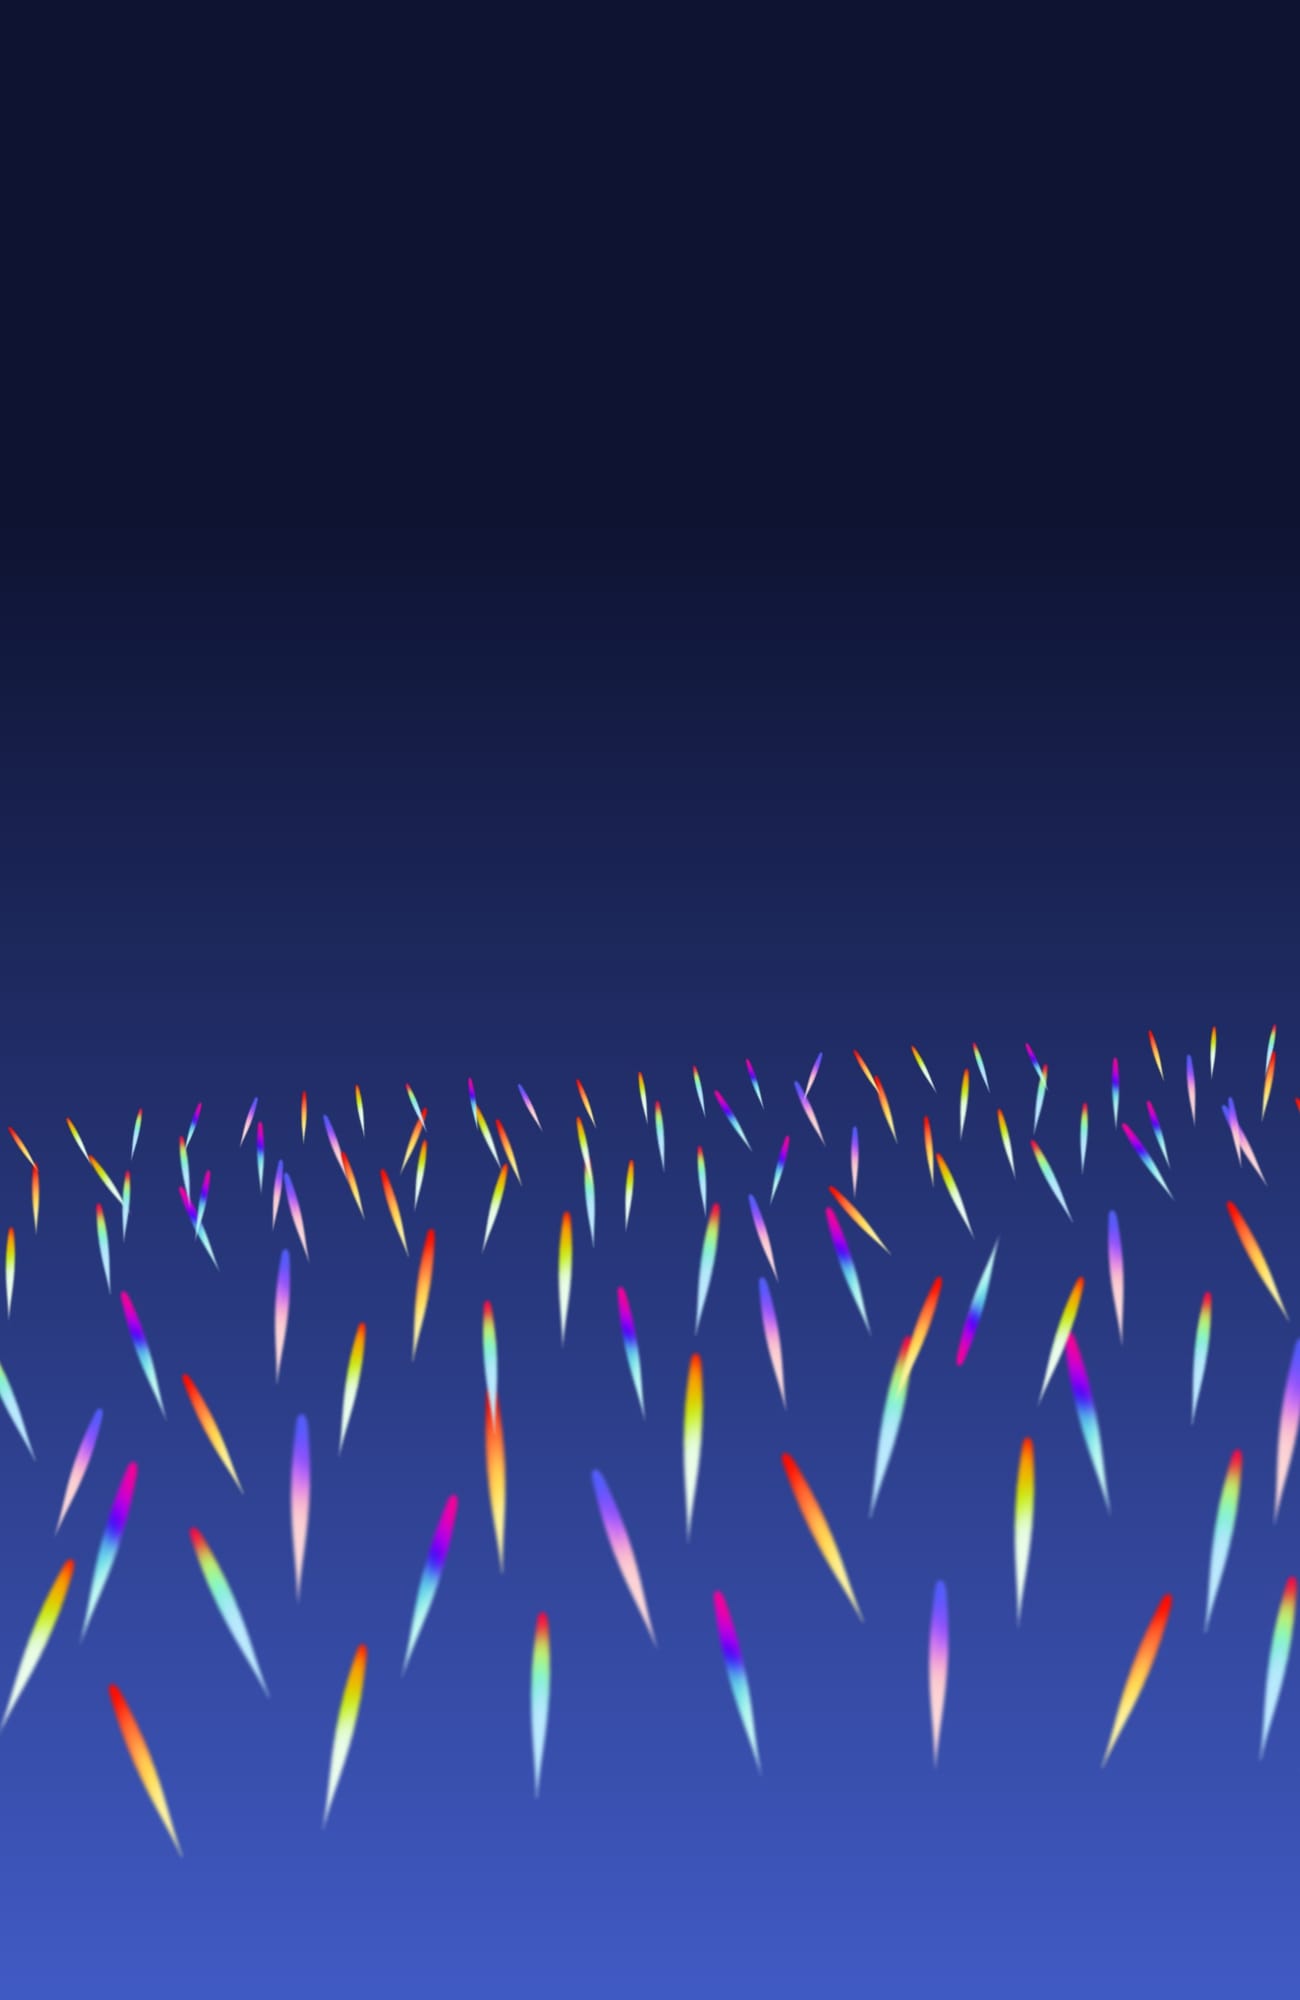
When you have finished drawing the lower half of the canvas, duplicate the layer and select it.
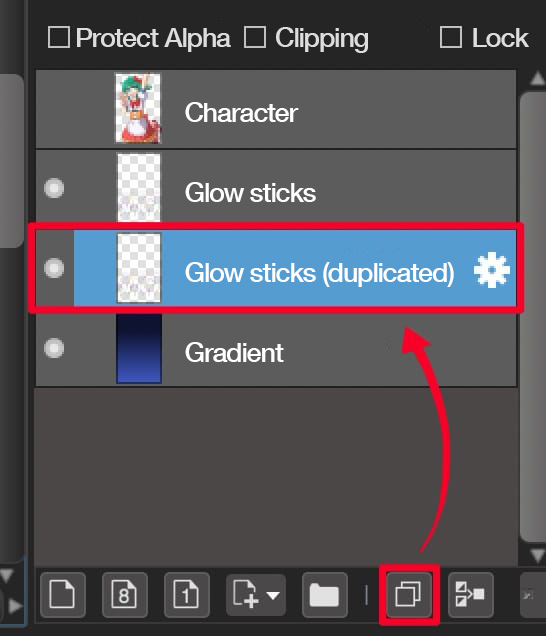
Select the Gaussian blur from the Filter menu to blur the layer.
You can set the value of the blur as you like!
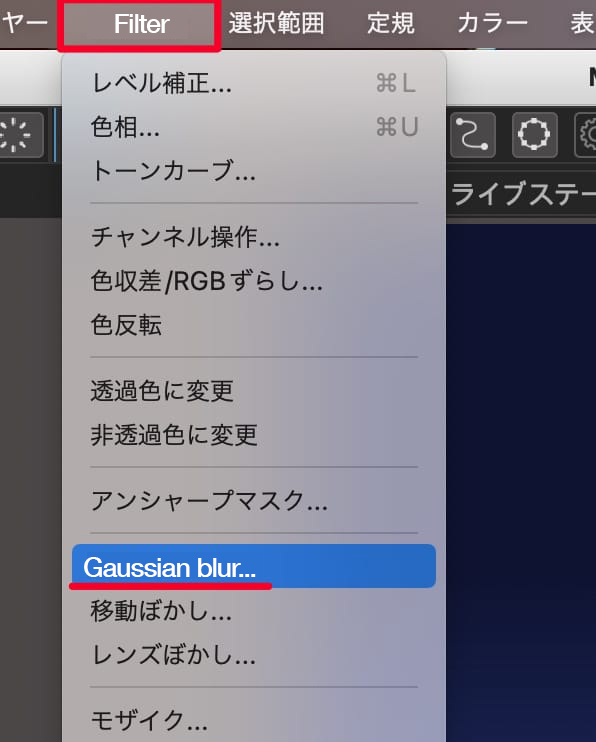
Now the lights have changed to look fantastic!
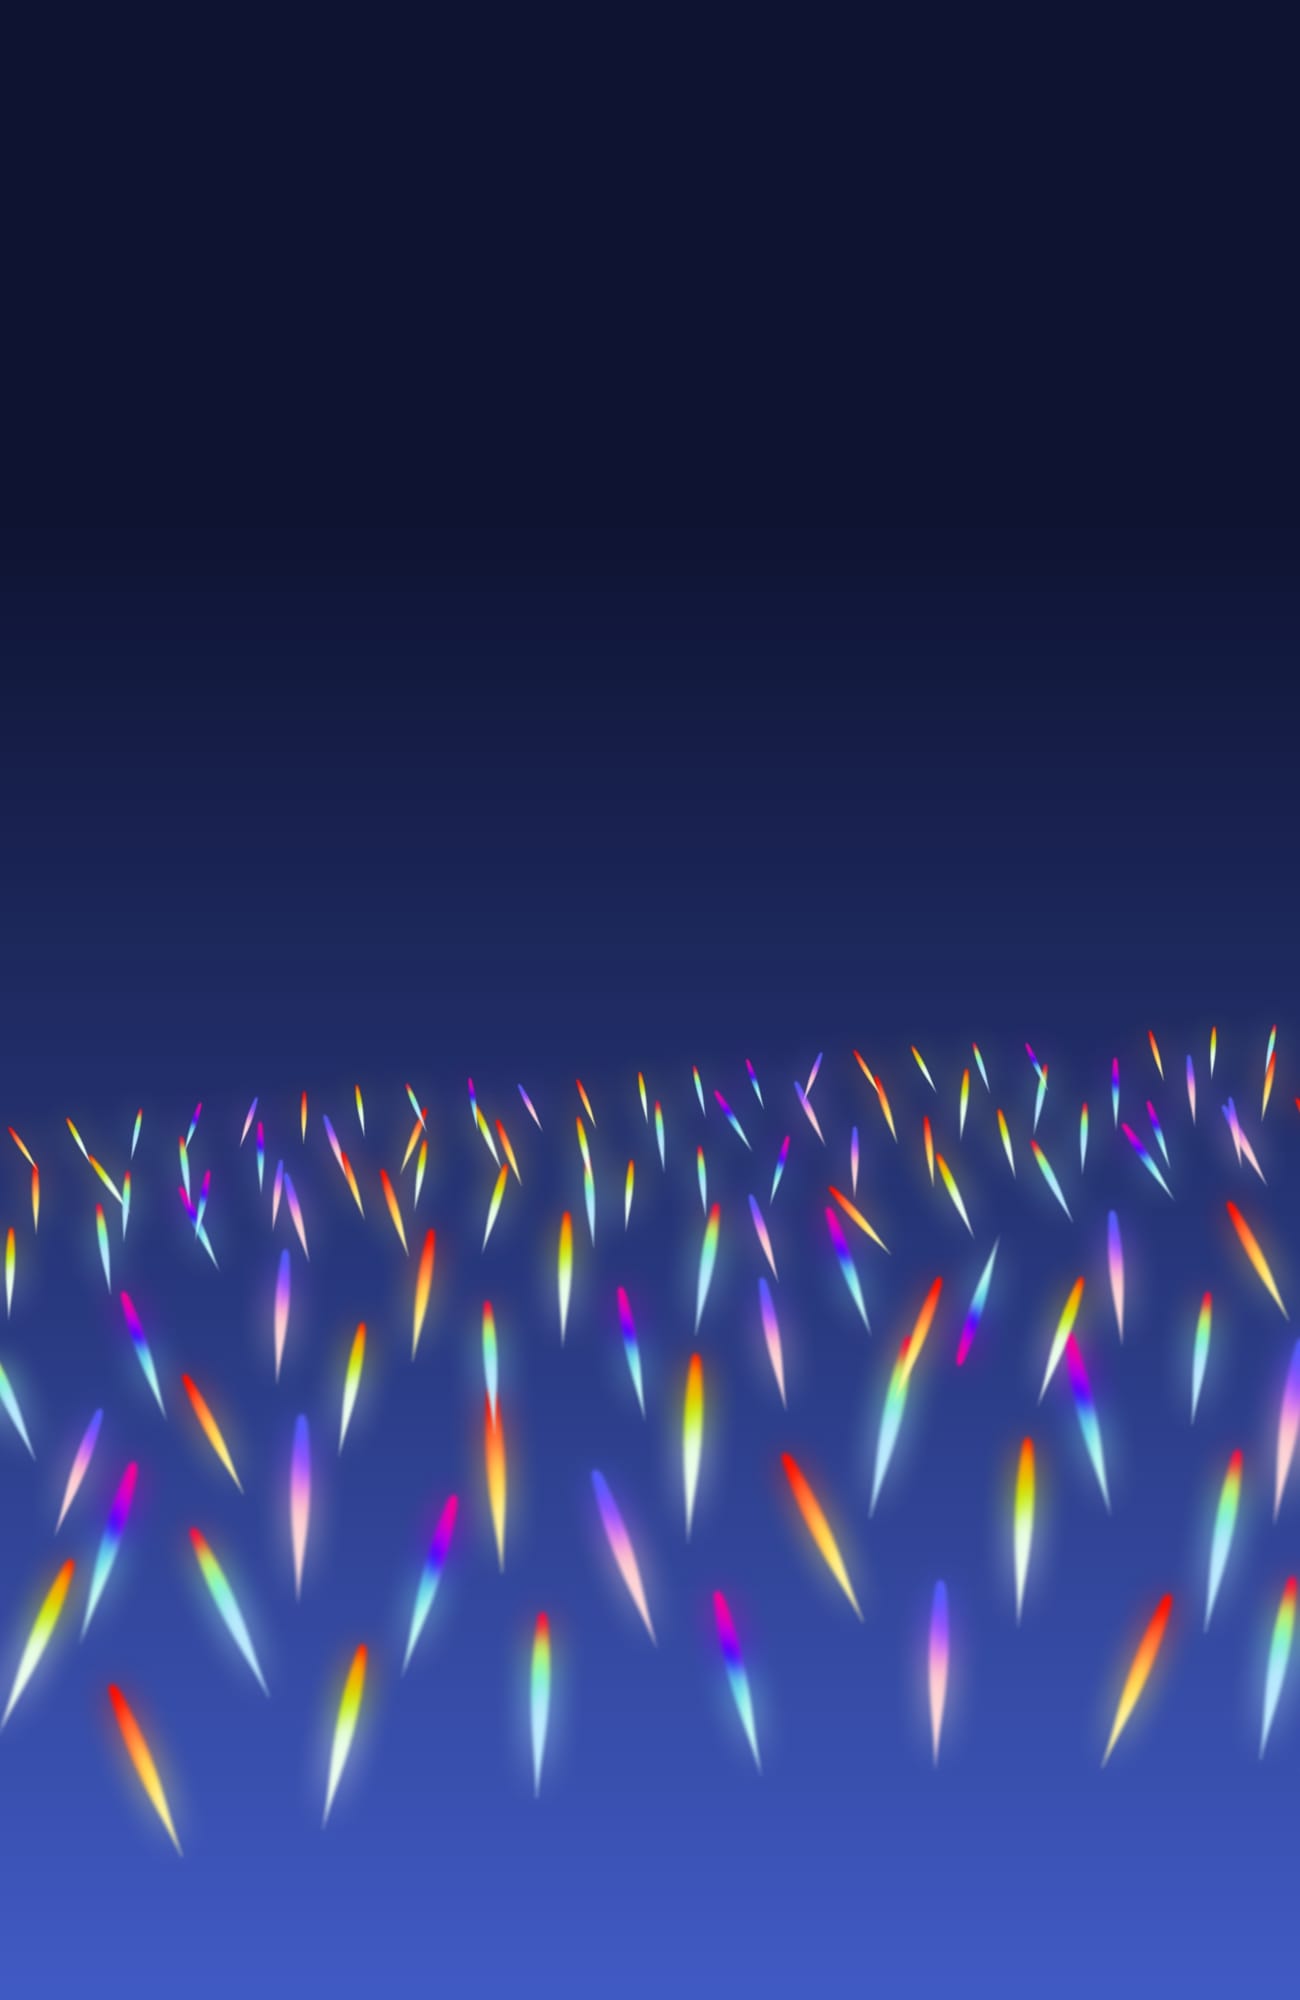
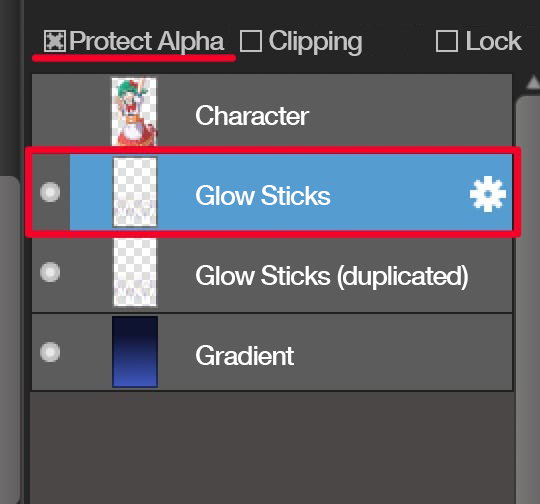
Next, select the original layer we’ve duplicated from, and tick its “protect alpha” box.
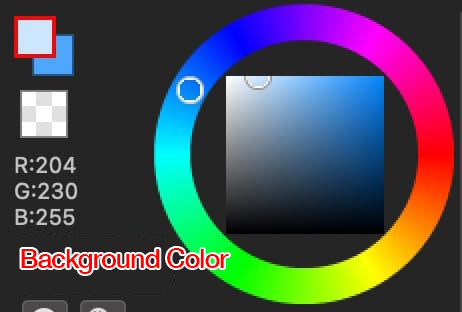
Select the Gradient tool again. This time, choose lighter blue and sky blue for the background and foreground colors.
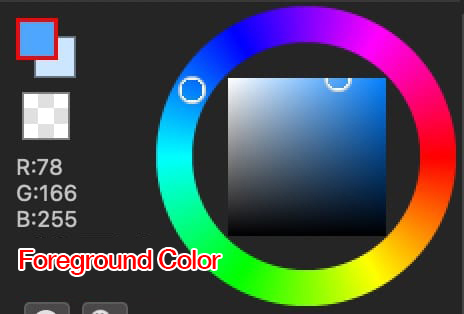
Draw a vertical line from the top to the bottom of the canvas to add a gradient.
This will dilute the brightness of the glow sticks and make them blend in well with the blue background.
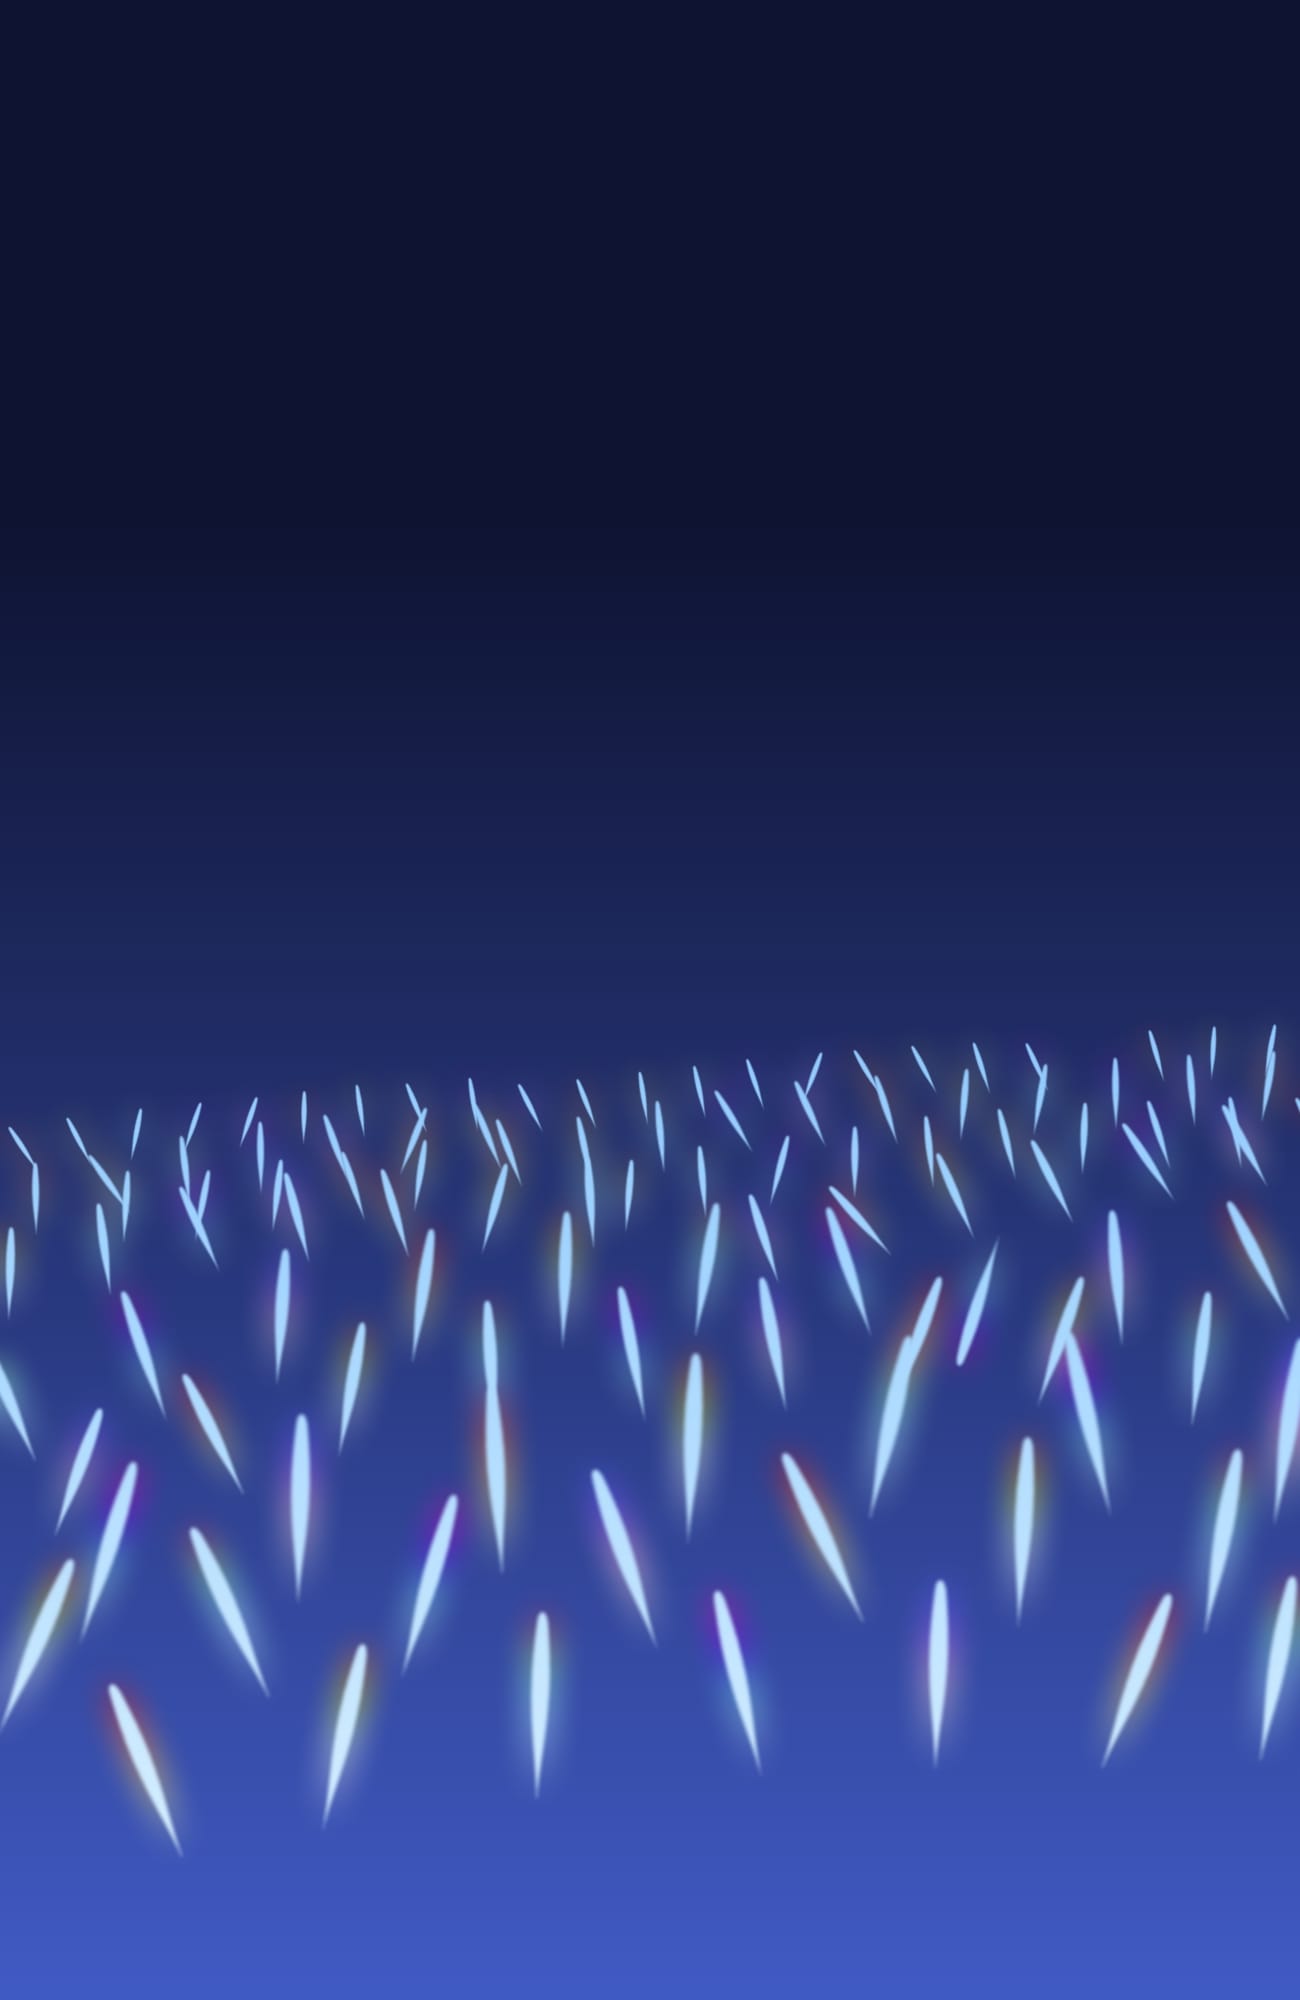
Now we’ve done the glow sticks!
However, as it is, the top half of the canvas still lacks detail. So we’re going to add more glow sticks to the second and third tiers of the concert hall.
Add a new layer and set the layer blending to “Add/Lighten”.
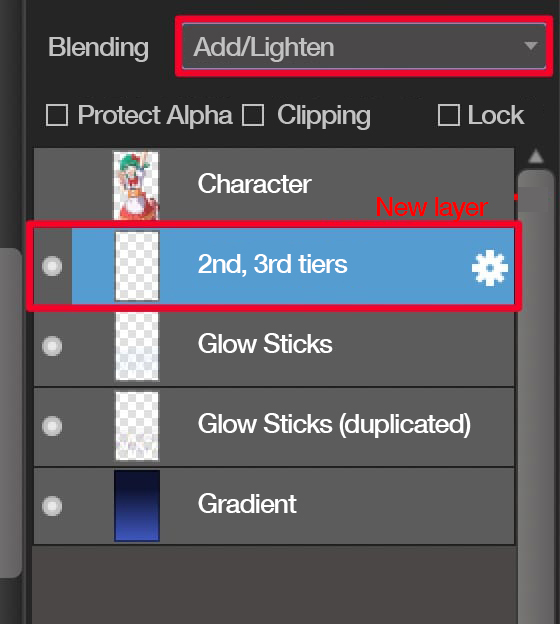
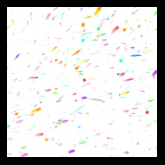
The glow sticks we’re going to draw are in the distance, further away than the ones we’ve just drawn, so use these brushes instead.
These cloud brushes are also available free!
Roughly draw the center of the canvas with the Colorful 1 brush.

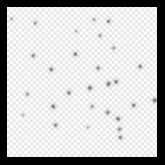
Select the Light 2 brush and choose a sky blue that is close to white.

Use the brush to roughly draw the top of the canvas.

This completes the glow sticks in all the floors!
Draw spotlights
Add a new layer and set the layer blending to “overlay”.
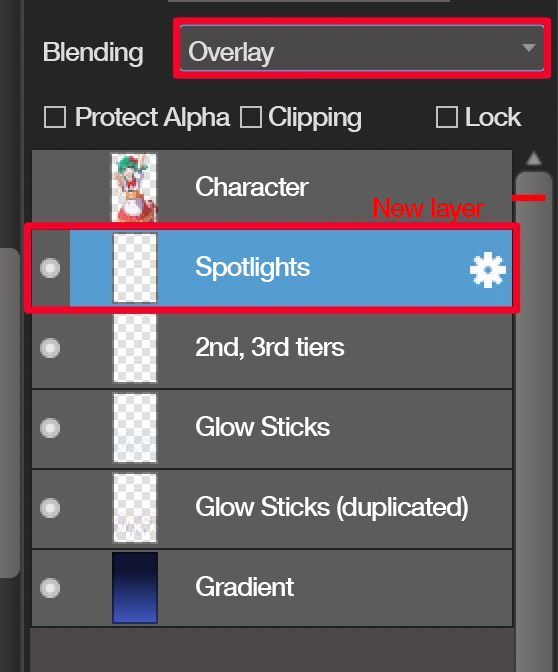
Select the Airbrush. I recommend setting the brush density to about 30%.

Airbrush
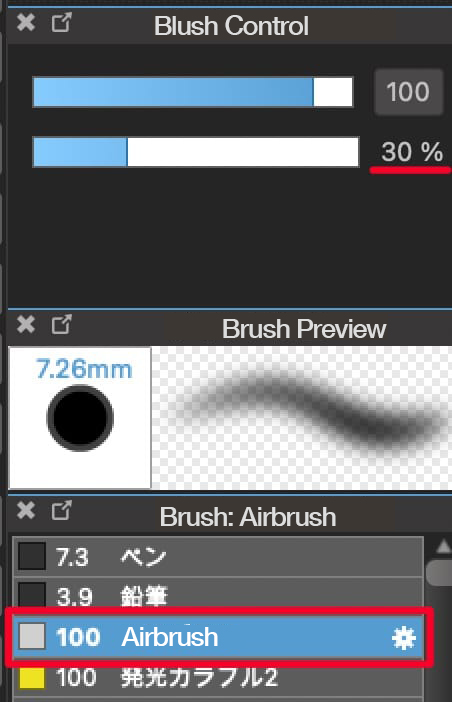
Select the whitish sky blue we’ve used before. Draw a line from the top of the canvas, then change the brush size to draw another line.

The lines already look like spotlights, but let’s make an extra effort.
With the brush size increased, add faint lights inside the red circles below.
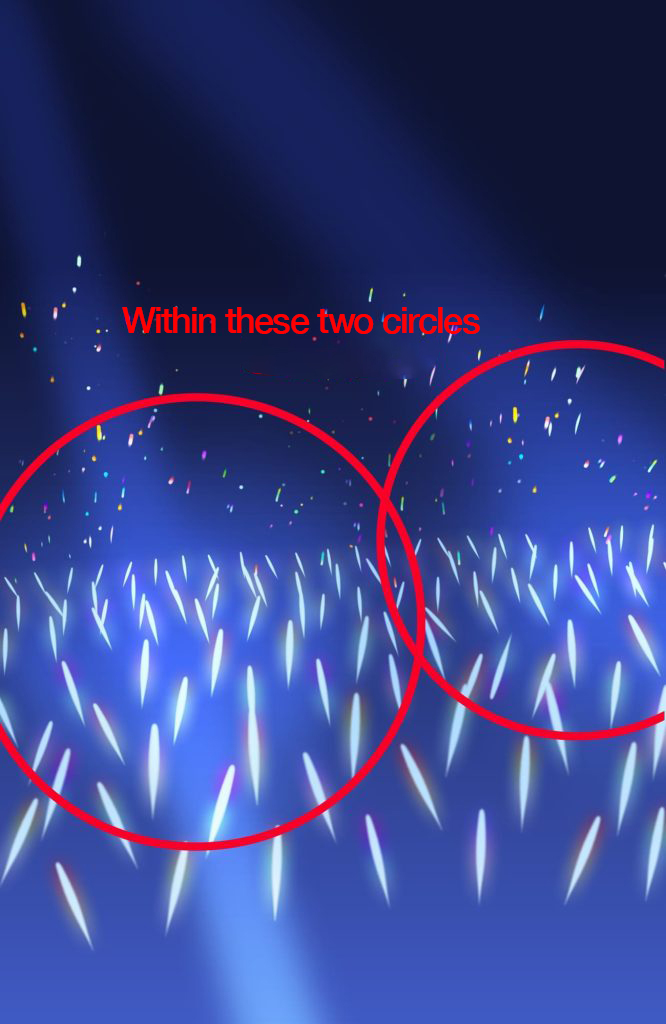
Now the picture has a rich three dimensional feel and it looks as if the lights are shining on the audience!
As before, add a new layer and set the Overlay blend.
Add the additional spotlights in the same way as before, but this time from the other side of the canvas. This can make the concert hall even more gorgeous and splendid.

Draw a concert stage
Add a new layer and select the Pen brush.
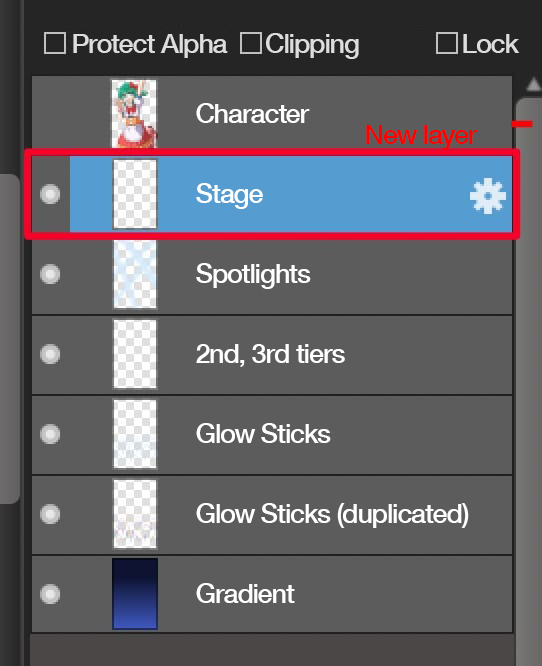
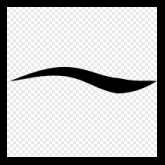
Pen brush
Use the same color as before.
With the enlarged size of the brush, draw it roughly on the bottom of the canvas.
Draw it at a slight angle to make it look good.

At last we have finished drawing the venue.
Turn on the character and see how it looks.
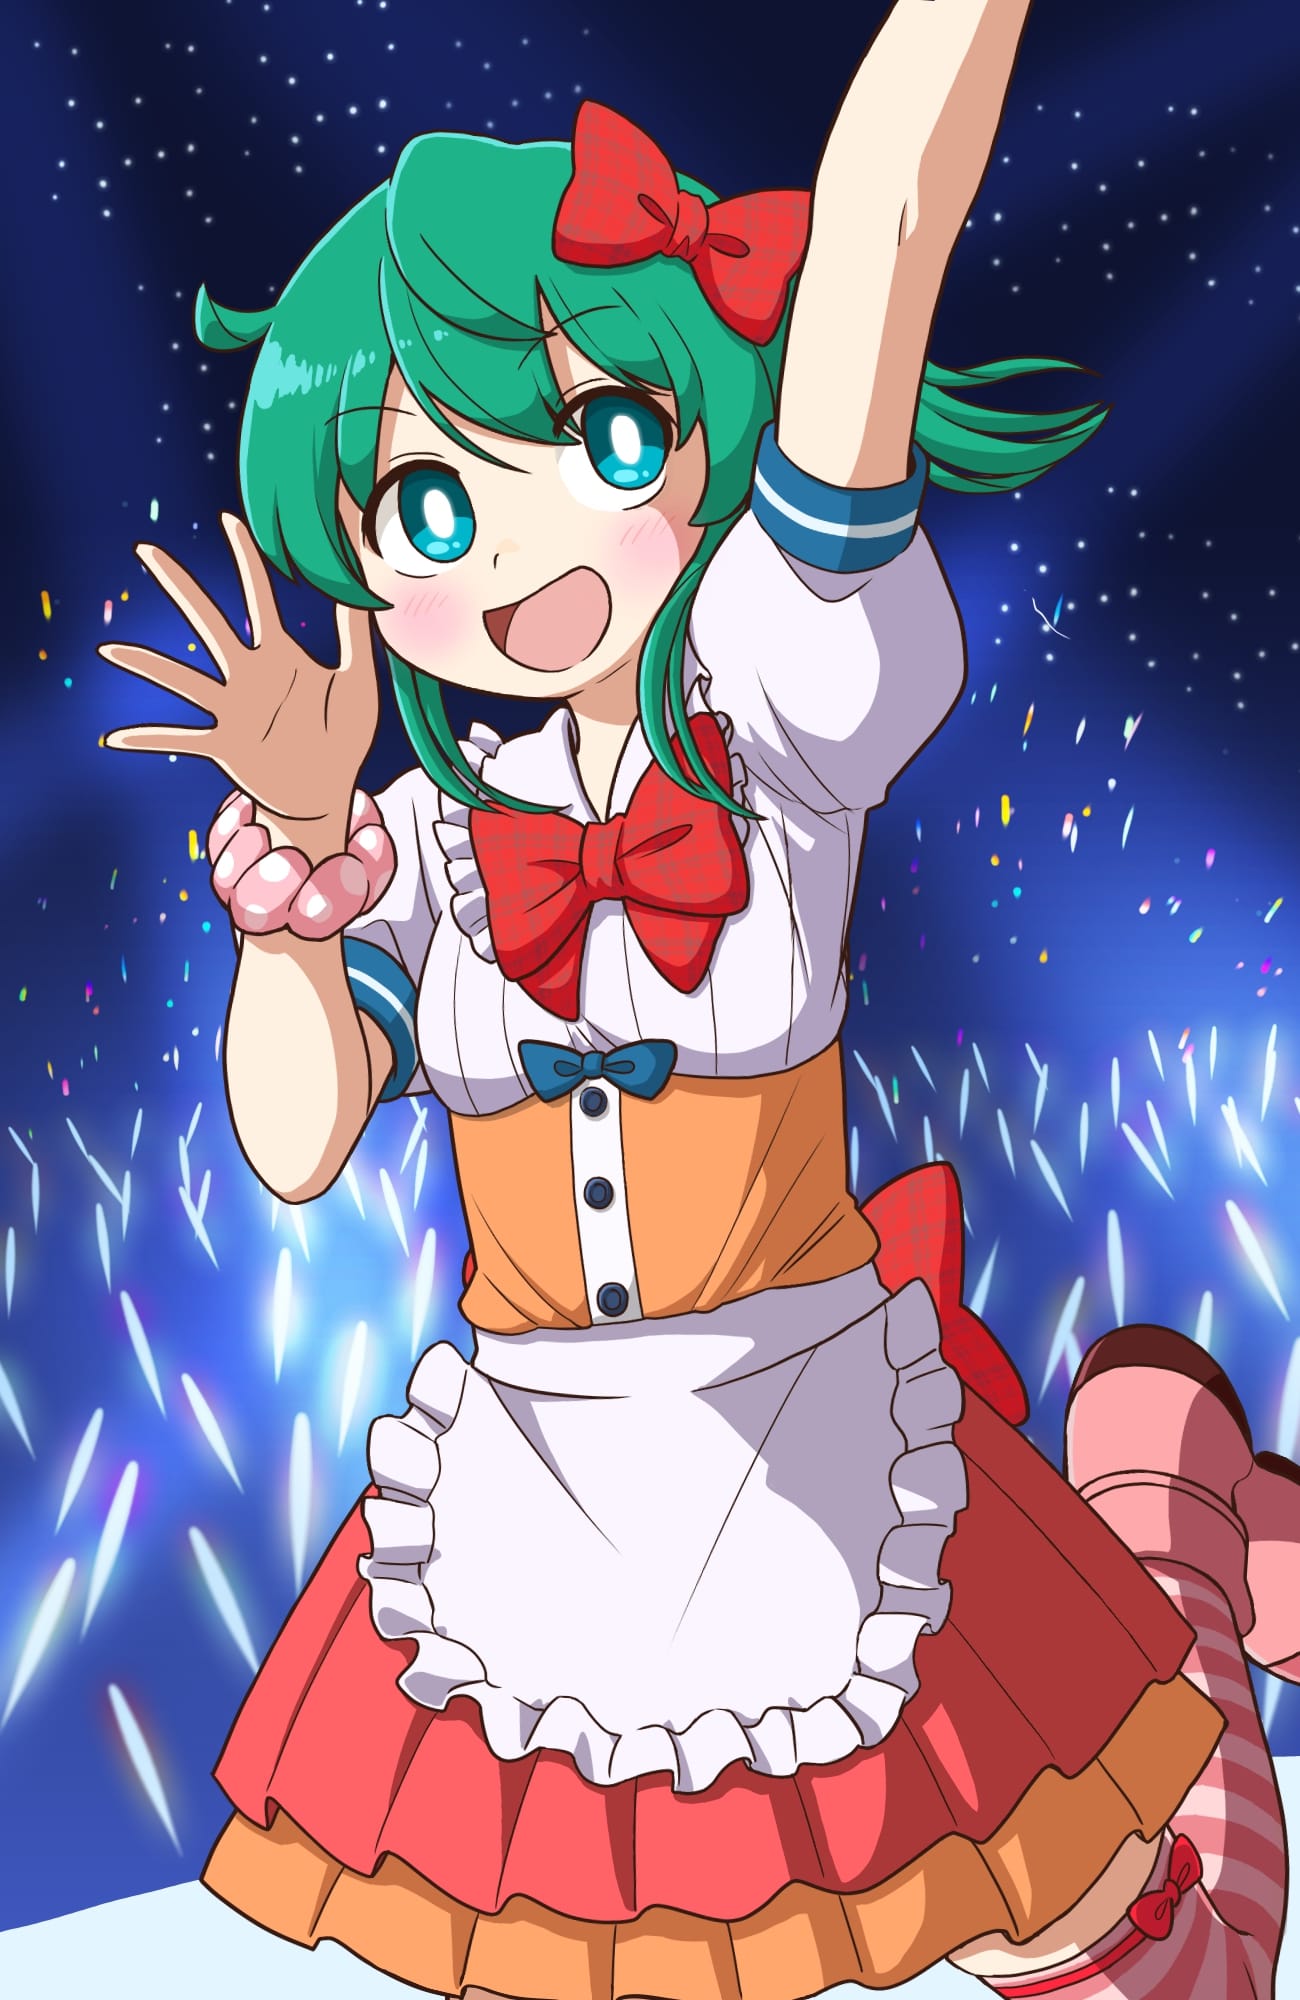
It is much better!
But as it is, the color of the character does not blend with the color of the background.
So from now on we will add shadows and lights to the character to make it blend with the background.
Add shadows to the character
We are going to describe backlighting by adding lights and shadows to the character.
This effect will help the character blend in with the background and make the illustration more attractive!
Add a new layer on top of the character layer.
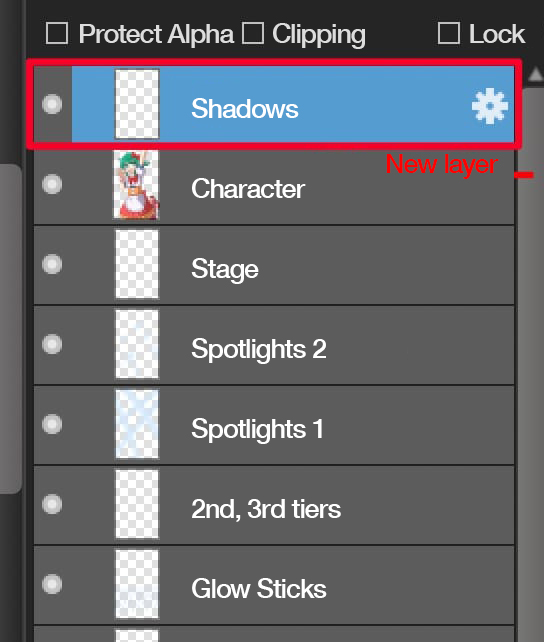
Set the layer blending to “Multiply” and reduce the layer opacity to about 40%.

Check the Clipping box.

Select the Fill tool and select the pale blue.
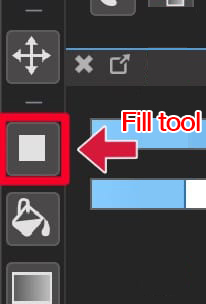
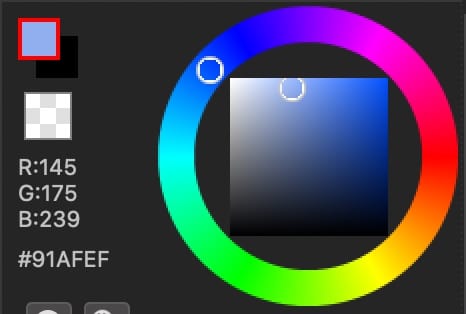
Drag from the edge of the canvas to the other end to give the character a faint shadow.
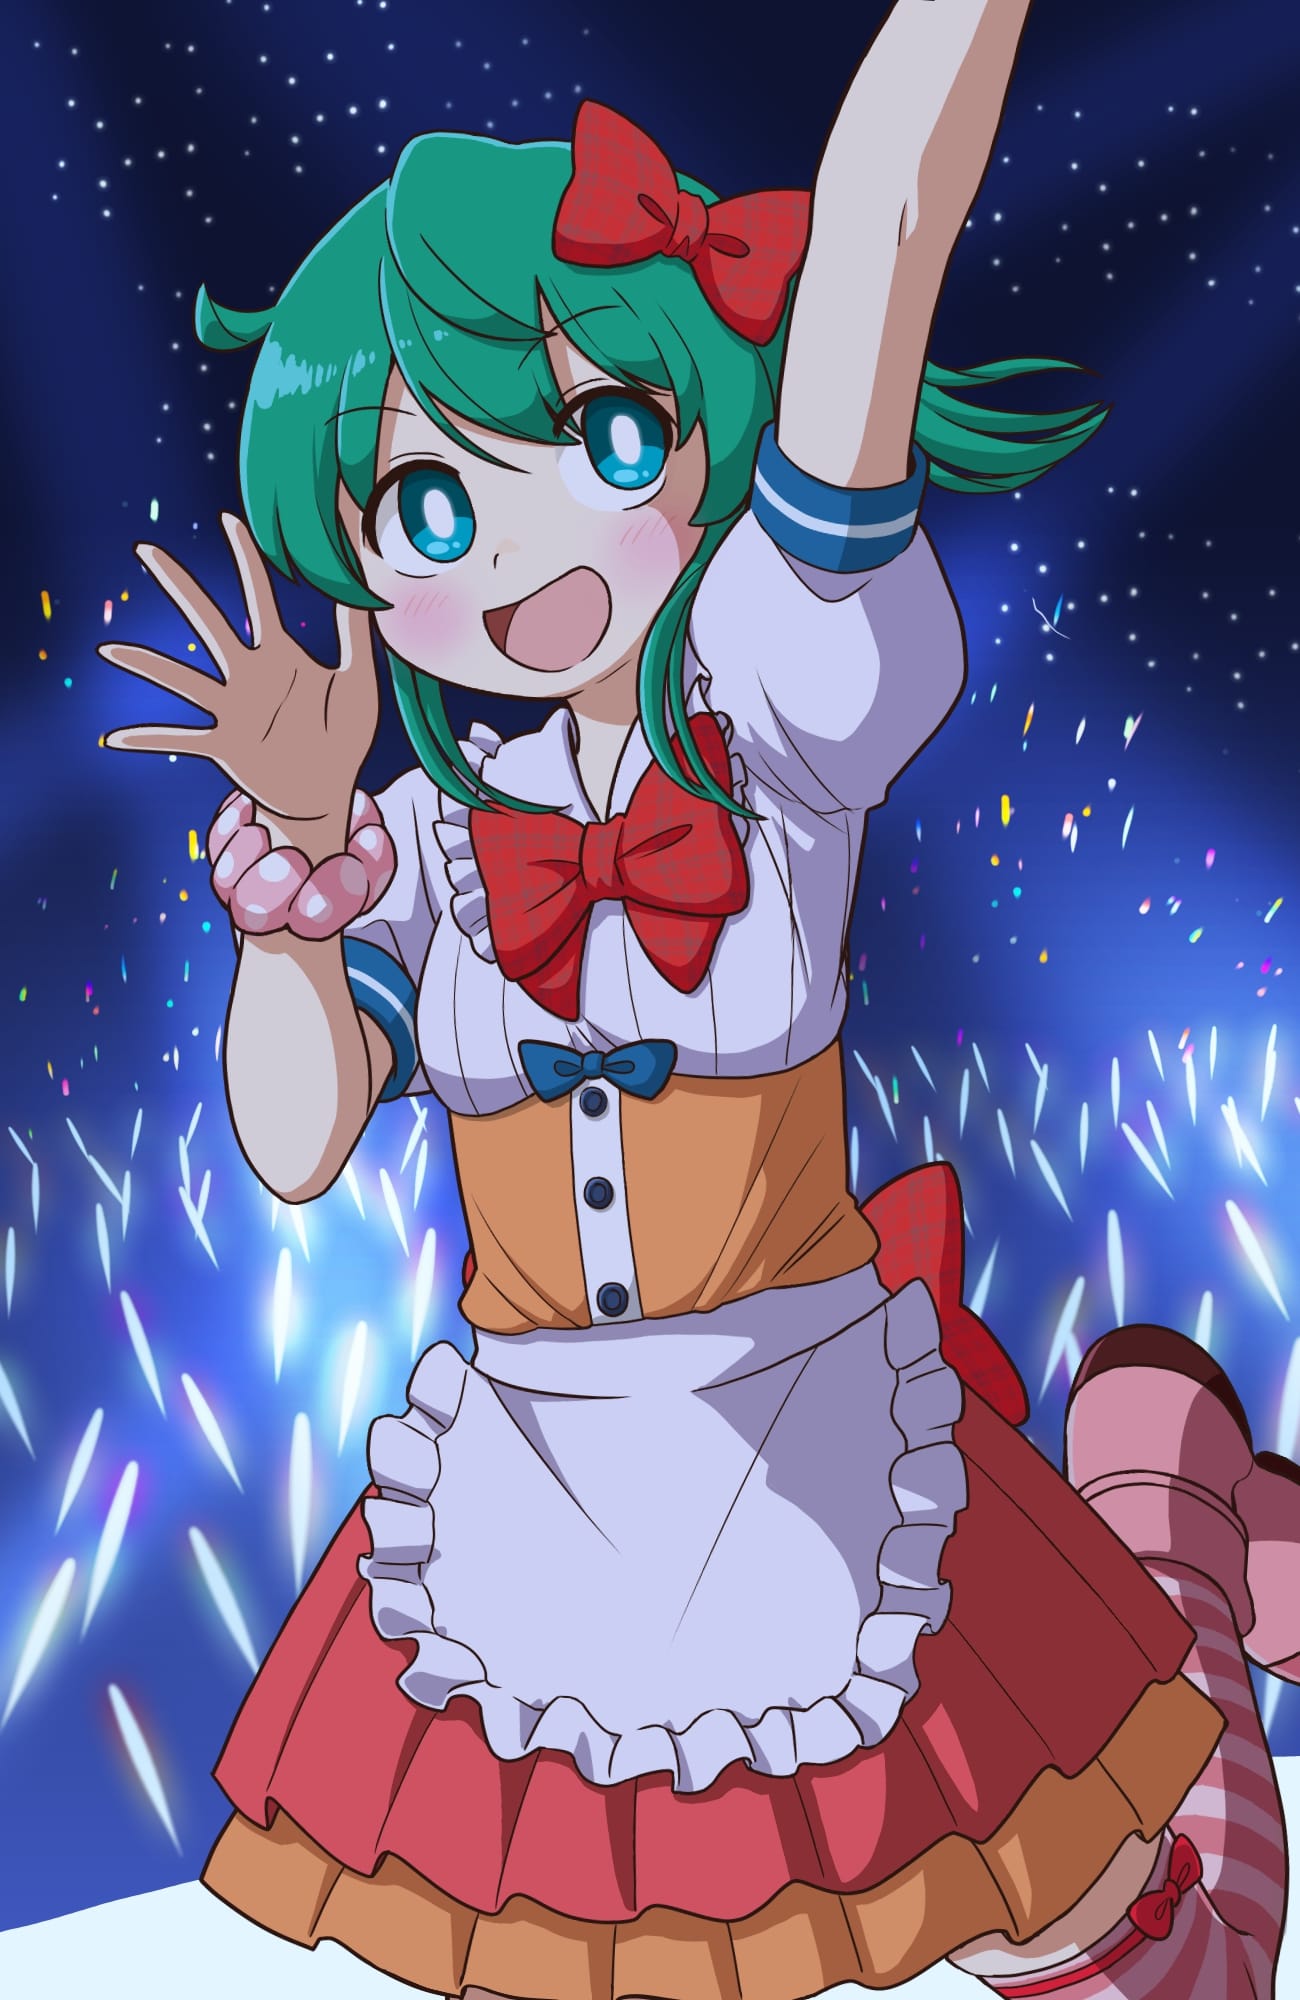
And one more effort! Let me show you another technique to improve the quality!
Add a new layer on top of the shadow layer and set the layer blend to Overlay.
Set the layer opacity to about 30%.
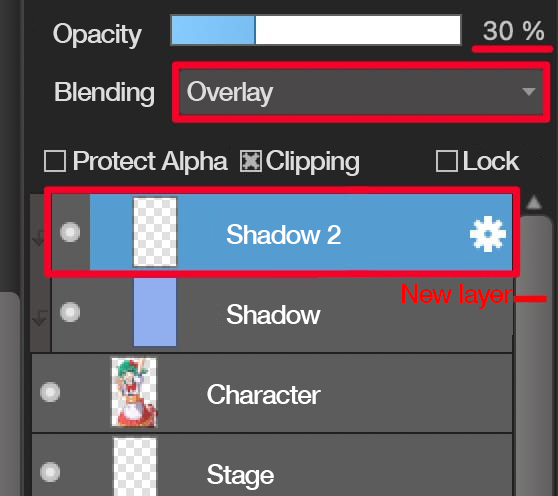
Select the Airbrush and increase the brush size.
Choose the blue that is lighter than the one before.

Paint softly around the character’s face.
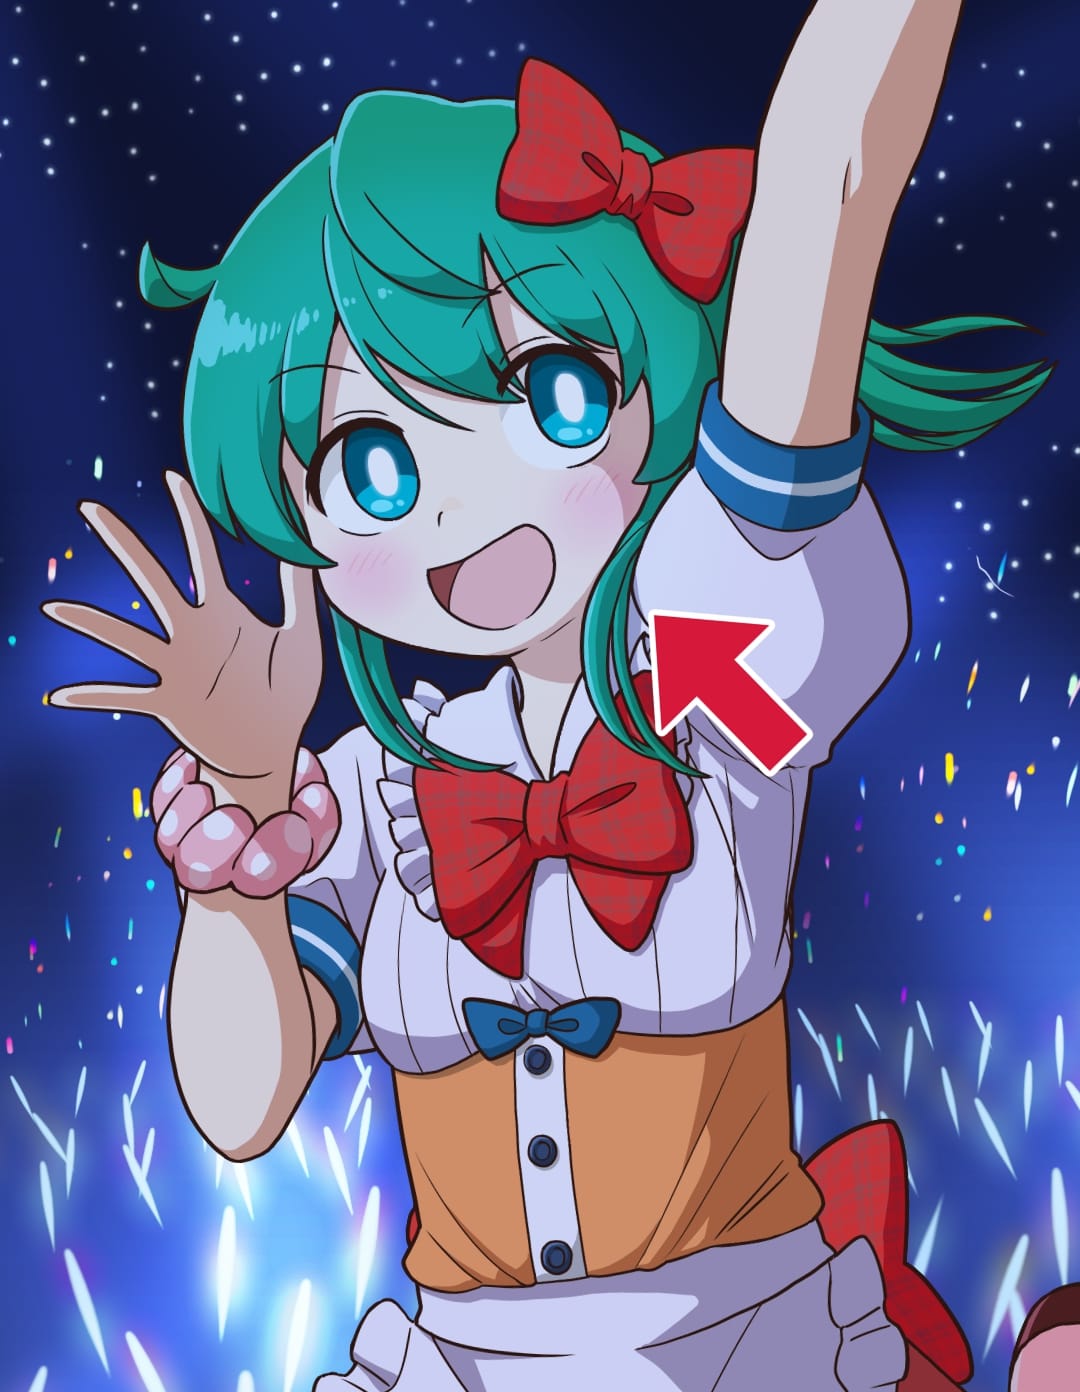
This will make the face lighter and draw the audience’s attention to the character’s face!
Add lights to the character
Here’s the last job! Let’s add lights on the character.
Add a new layer on top of the shadow 2 layer and set its blend to Add/Lighten.
Set the layer opacity to about 80%.
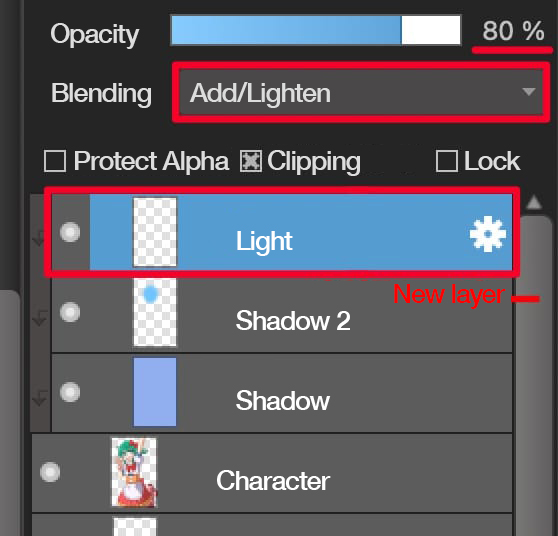
Use the Pencil brush with a pale blue.

Pencil Brush
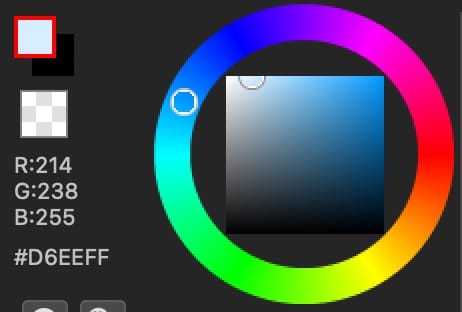
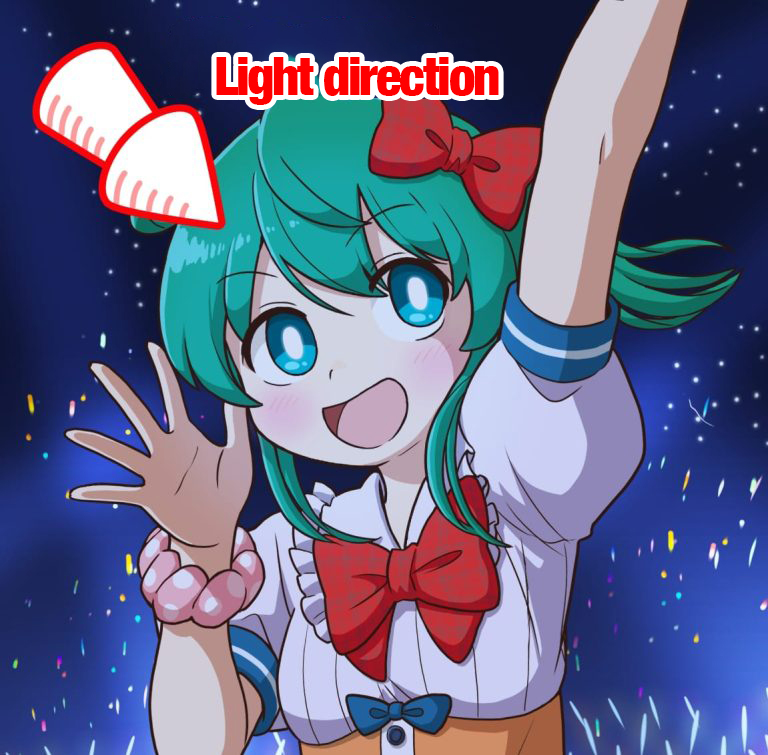
What matters here is to concentrate on the light direction from which the light is coming. This time we will be drawing it with the image of the light coming from the top left behind the character.
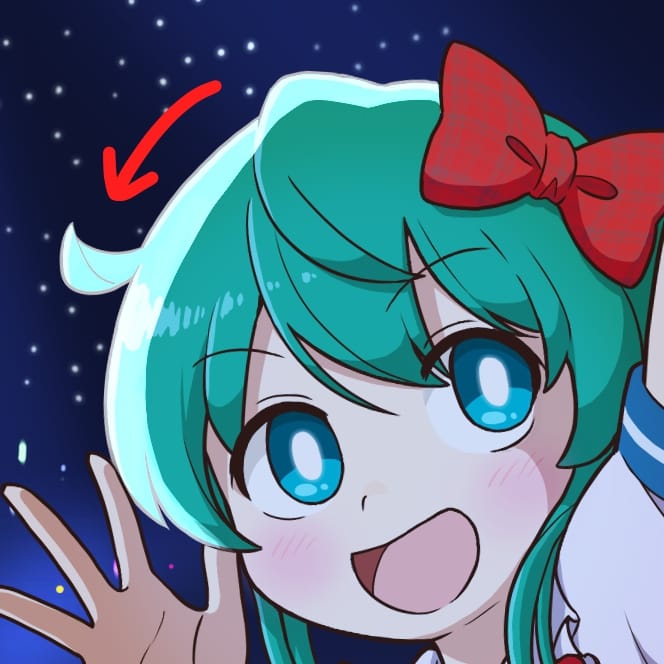
First, let’s be bold and add a large light to the left of the head.
Then add detailed lights, focusing on the bun of hair.
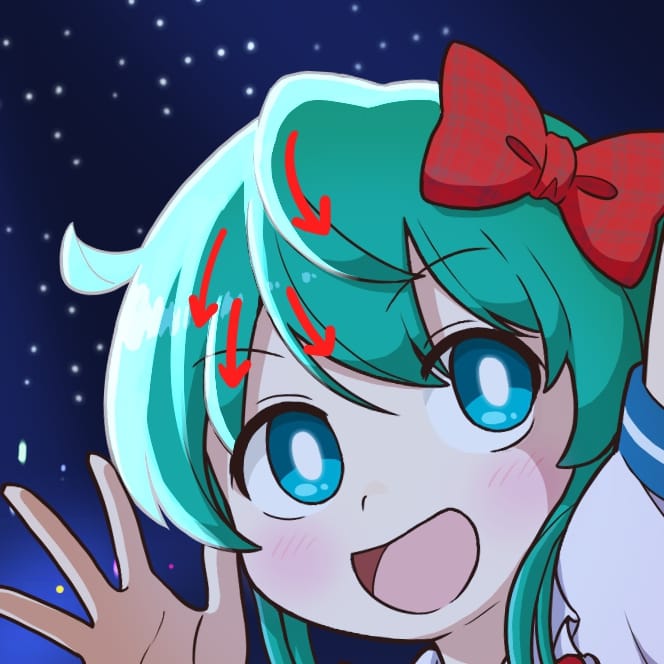
Adding small points of light on the nose or cheeks will make it more dramatic.

After drawing the area to be lit, select the Blur brush to blur the bottom of the big light on the clothes.
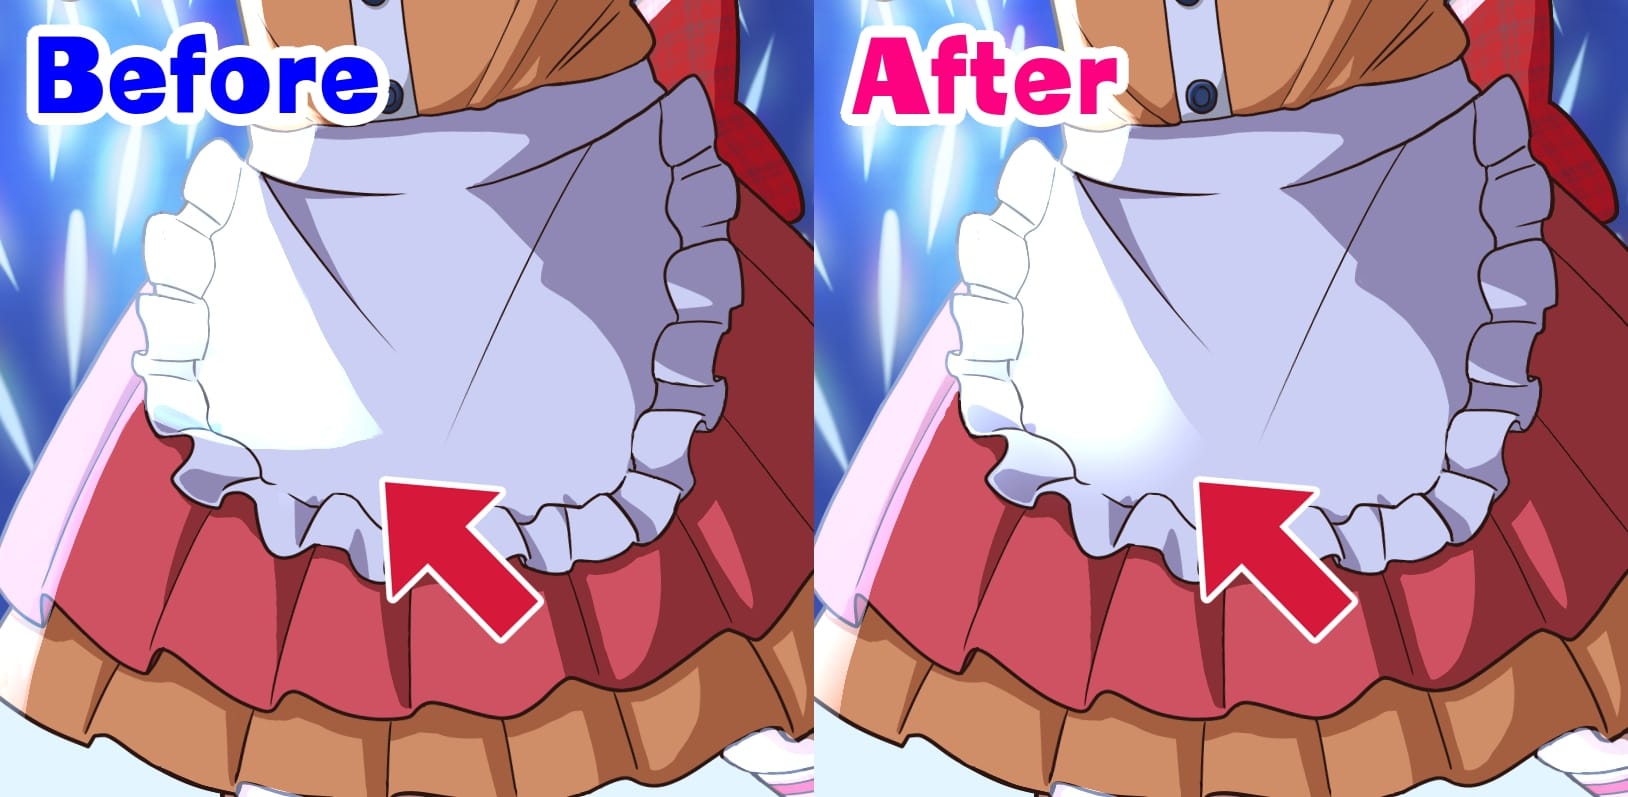
Now the light becomes softer.
In the same way, blur the detailed lights to make them softer, and finally…
Finish

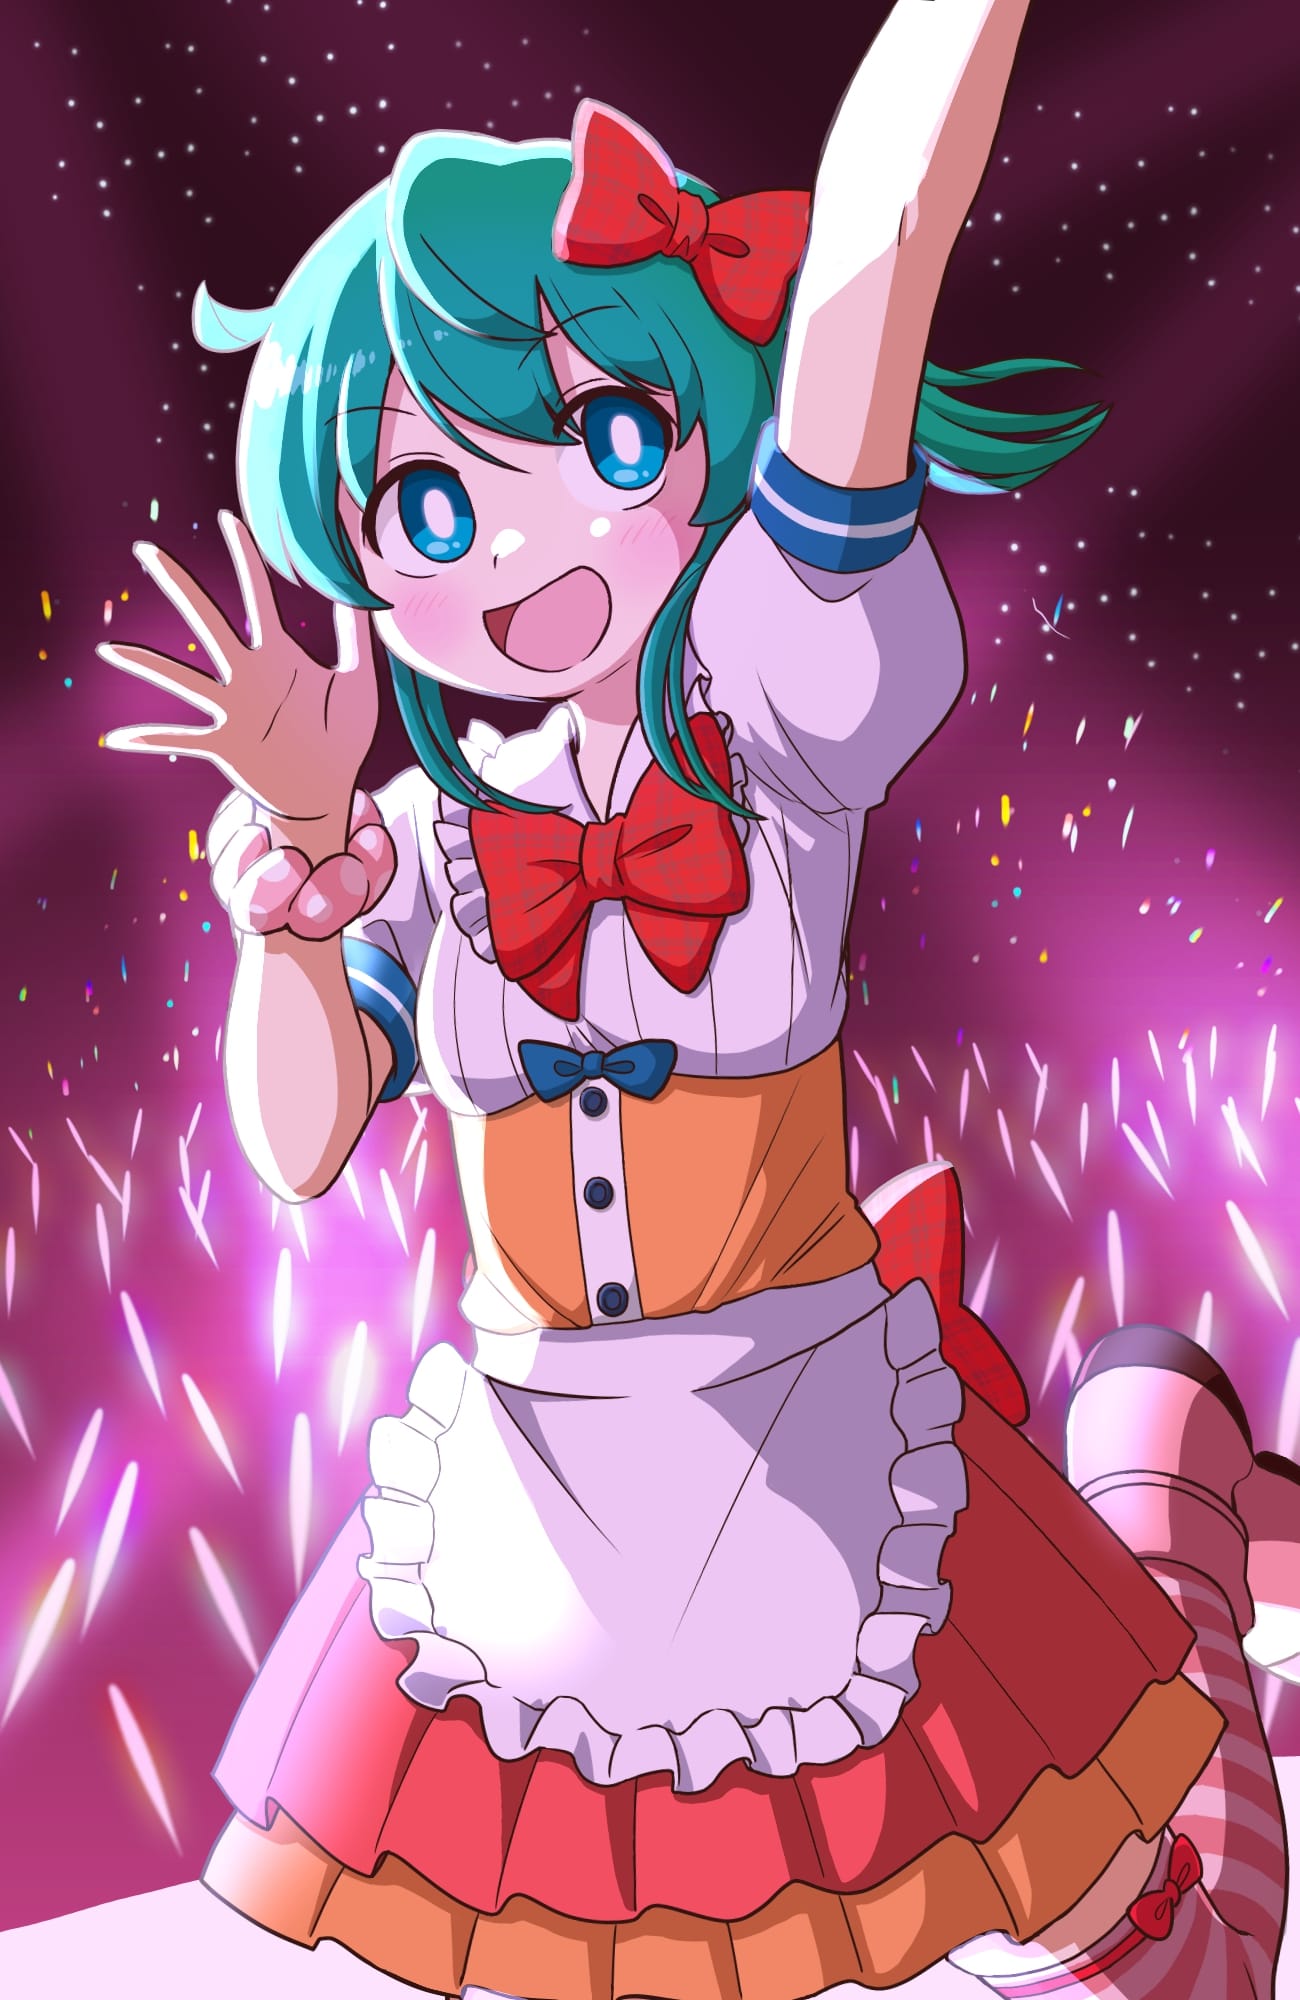
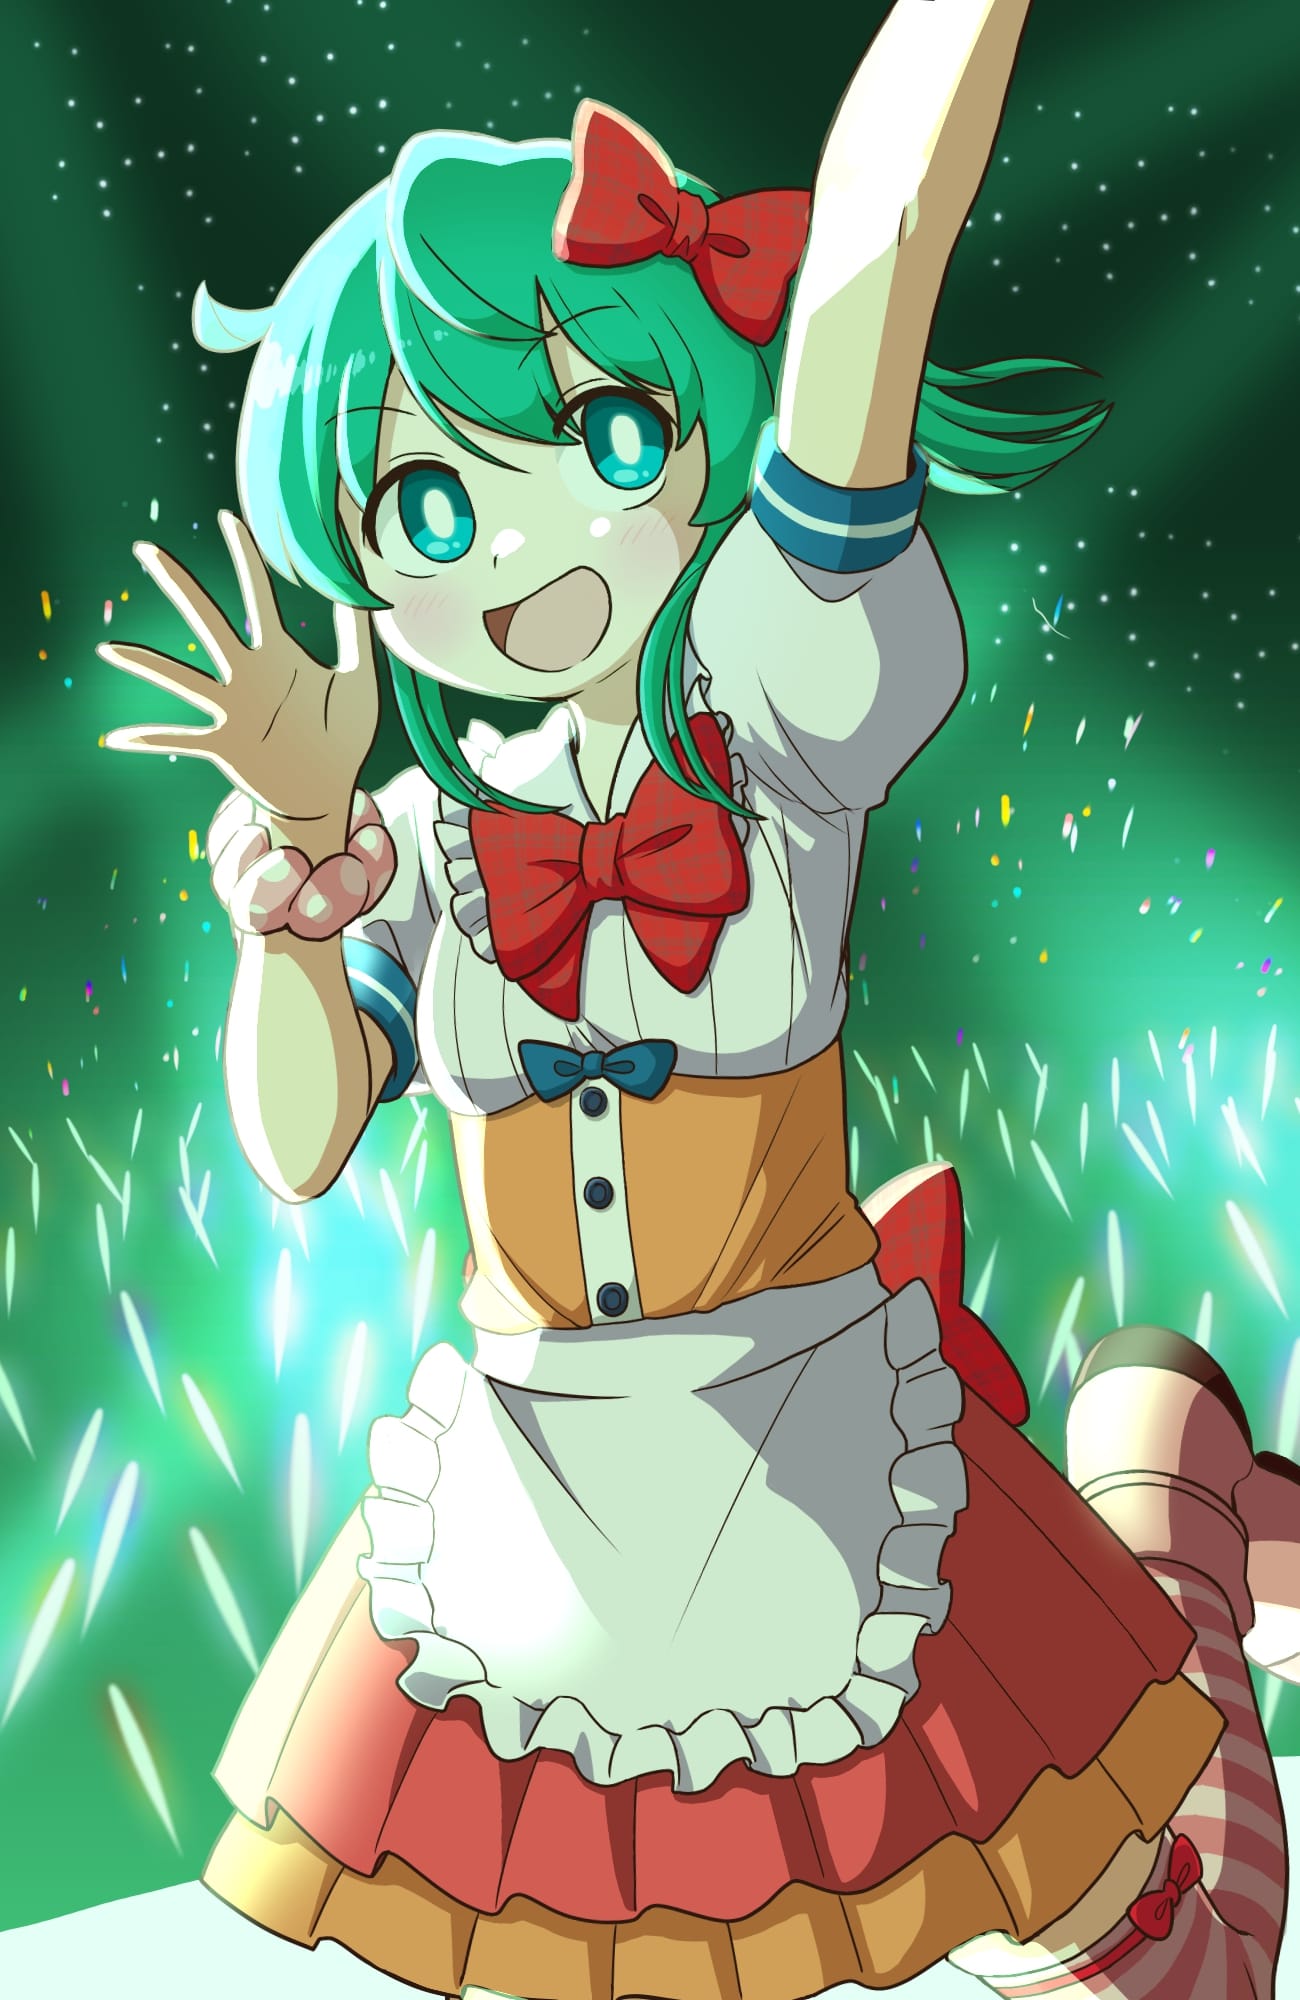
Now the stunning illustration of the concert with sparkling lights is finished!
We have created such a marvelous illustration with ease!
This time we painted the stage in blue, but don’t hesitate to try other colors!
That concludes today’s tutorial.
I hope you will follow these steps and try painting!
Let your characters sing on the concert stage!
Watch the video to see the process
\ We are accepting requests for articles on how to use /

