2023.10.20
Paint fluffy fur scarf for the winter season art
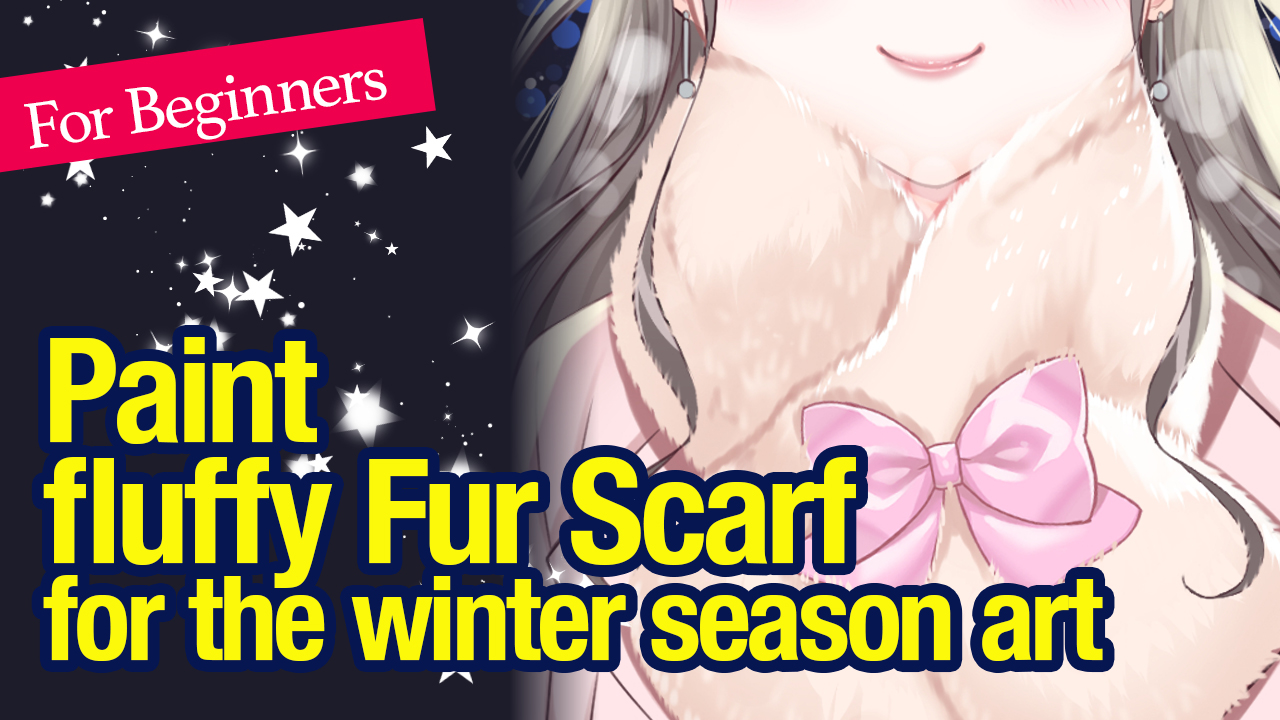
This article describes how to draw a fur scarf for the winter season with images!
What we are going to draw this time is a “fur tippet”, a soft, fluffy scarf that can add a cute atmosphere to illustrations.
By learning this drawing method, you will be able to draw high pile clothing or animals. There’s no reason why you shouldn’t try to draw this!
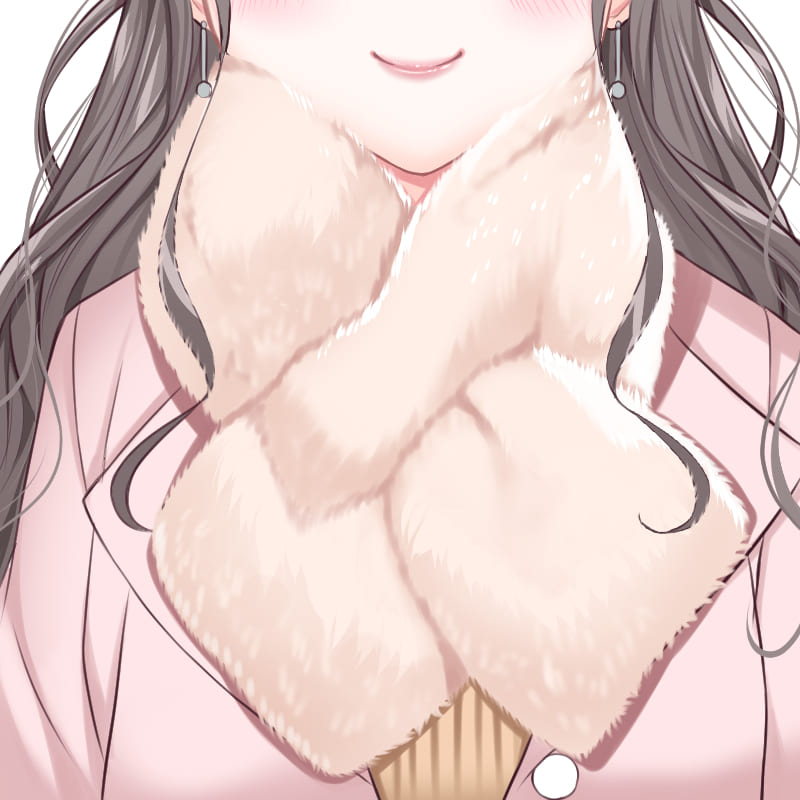
Organize the workflow
The fur drawing method this time requires several detailed tasks. You’ll notice that the texture of the art changes with each touch, so I hope you’ll enjoy the process as well.
The procedure is as follows:
- Prepare the fur
- Draw the hair texture
- Add shadows and texture
- Add highlights
We’ll be adding shadows several times, so the process is crucial. Let’s get started, taking care with each step.
Prepare the scarf
Prepare the fur scarf first.
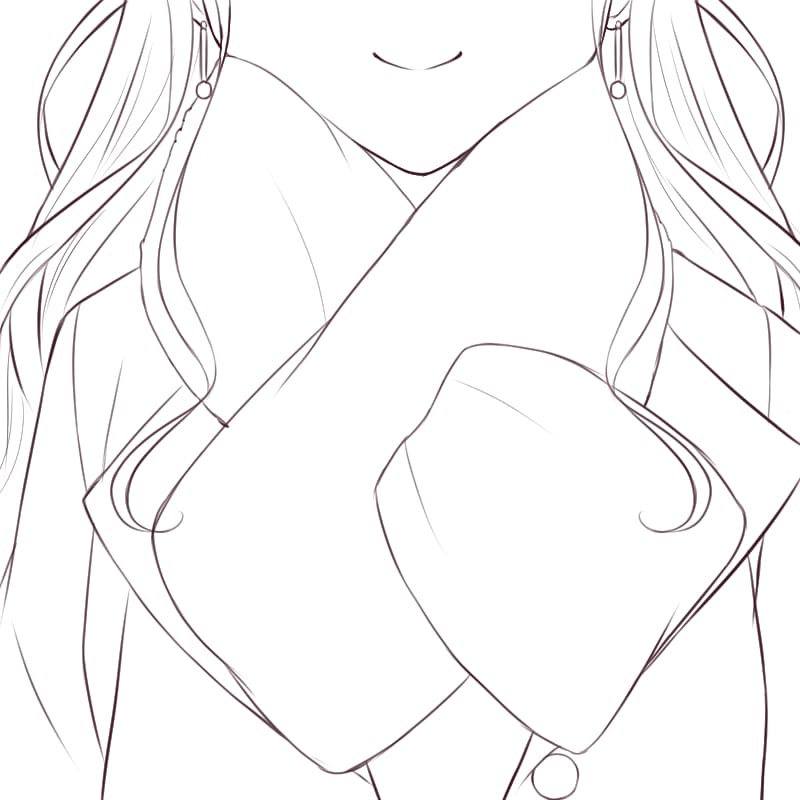
Tippets, the fur garments we’re drawing this time, have different shapes, but we’re going to draw the type like this: the one with a slit to slip into.
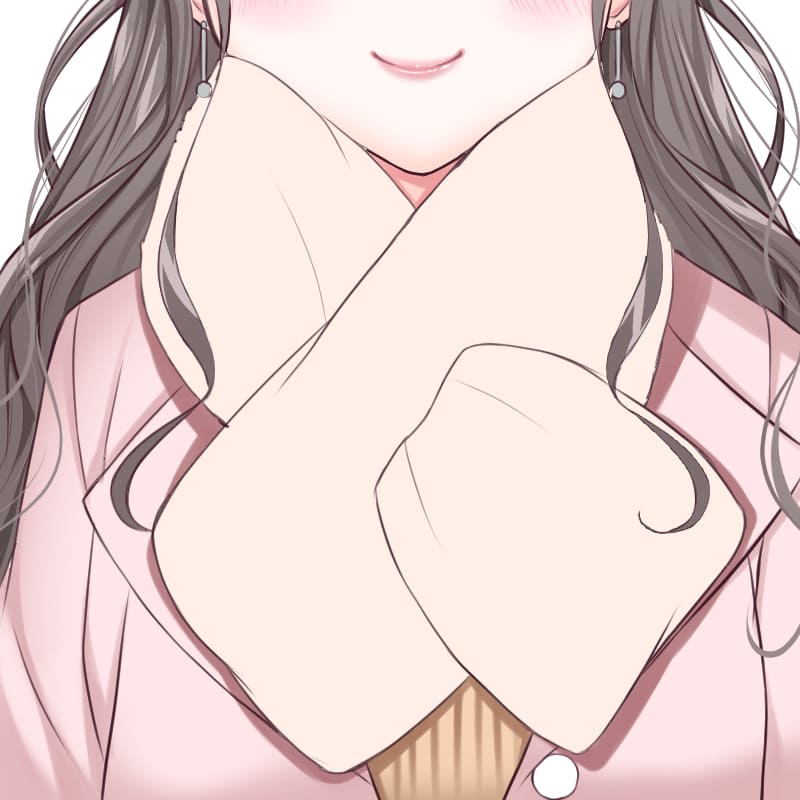
This is what it looks like for the line art.
Make separate layers for the scarf and the rest of the art.
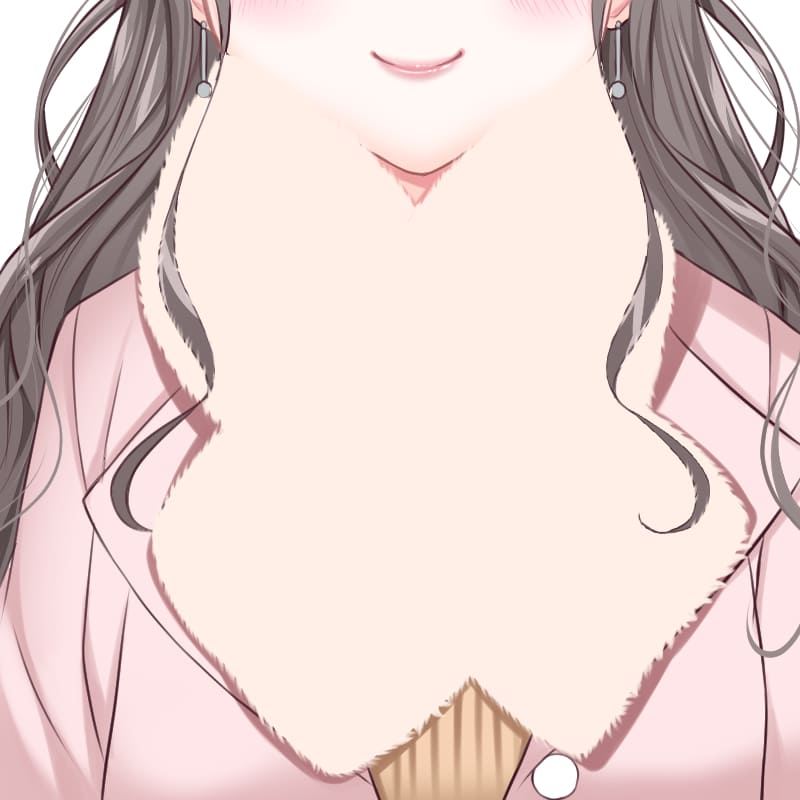
Use the bucket tool to fill the scarf with the color you want. This base color painting will be the foundation for all the later work, so do it carefully.

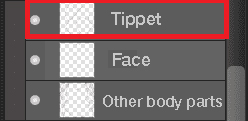
The order of the layers is as follows. Place the scarf line art layer on top of the other line art layers.
Draw the hair texture for the fur
The next step is to create a hairy texture for the fur. The flat art at this stage will gradually have a fluffy fur texture.
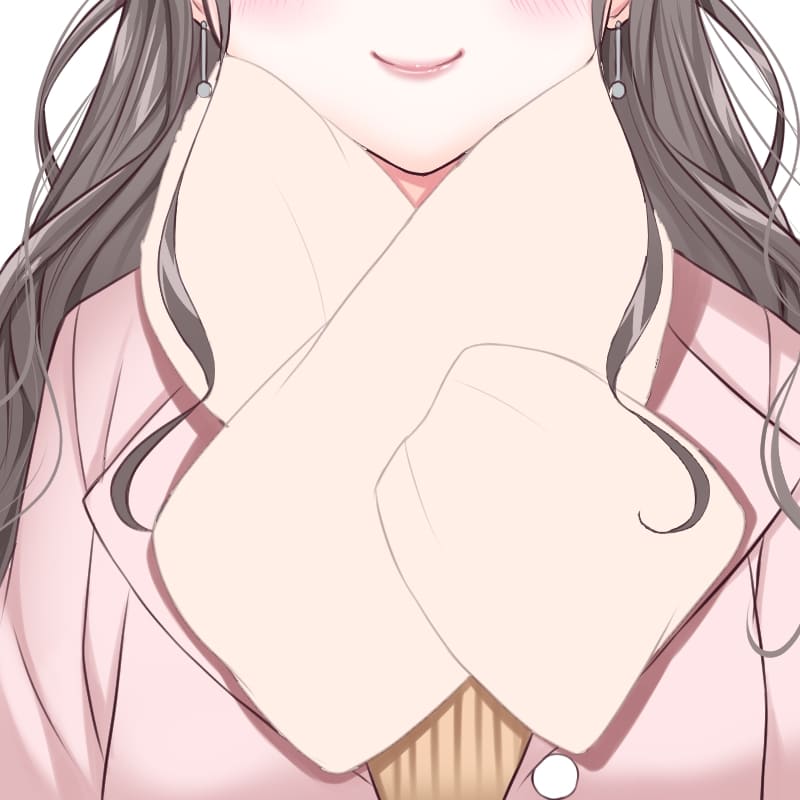
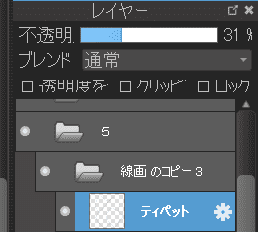
Reduce the layer opacity.

Now the art will look like this.
Select the “Smudge” brush tool.
![]()
Use the lines as a guide and create hair tips by pulling colors with the smudge brush.
The line art with reduced opacity will help you to keep the scarf shape from collapsing when you create the tips of the hair. Don’t forget to make the line art visible.
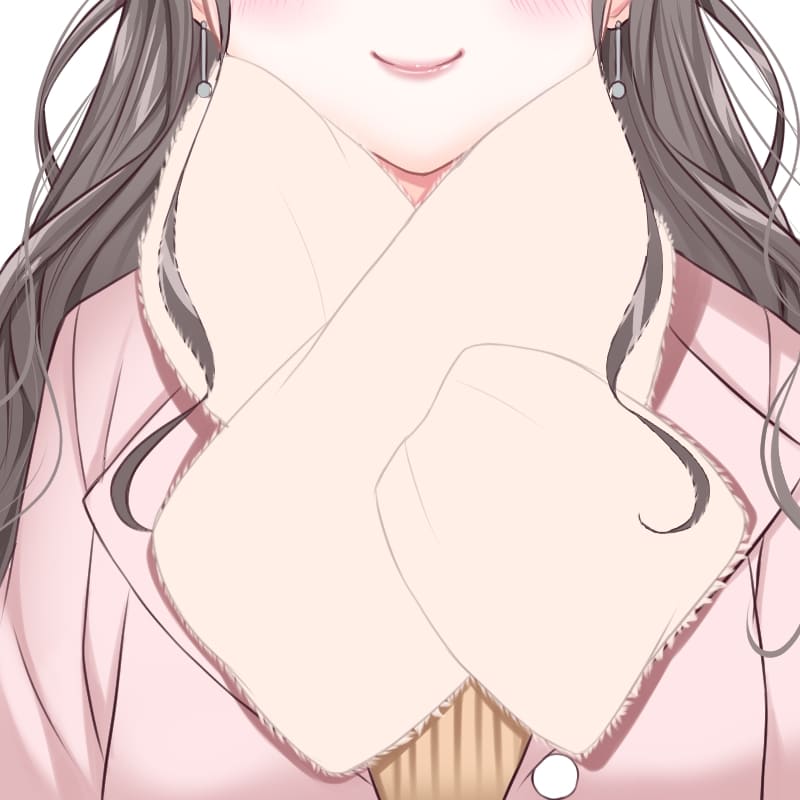
This is what it looks like in close-up.
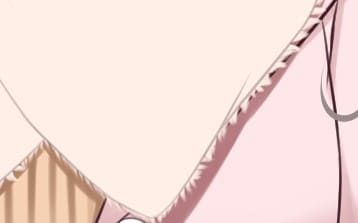
Then tap the round icon on the side of the layer to hide the line art.

The fur is now so cute, fluffy and warm!

Draw the rough shadow on the fur
Shadows are the key to drawing fur. If you get it right, the shadow will define the texture of the fur. You’ll be adding shadows several times throughout the work, so try to concentrate on it.
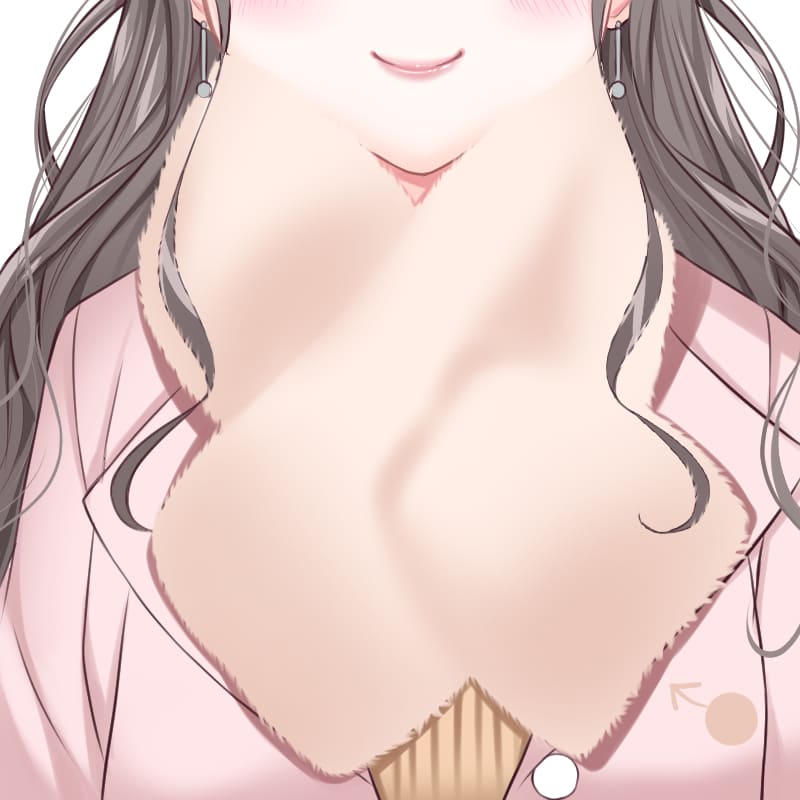
Create a new layer on top of the base painting layer and clip the new layer to it.
Read the article below to learn more about the clipping function.
▼What is Clipping

Select the “Airbrush” brush tool.
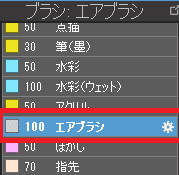
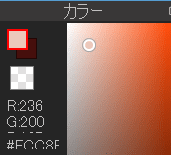
We are painting the fur scarf in a pale beige, so choose the light brown for the shadow.
Adjust the shadow colors to match the colors you have drawn.
Show the line art layer of the scarf with the same opacity as before.
Using the line art as a reference, add rough shadows where the scarf has wrinkles or where the fabrics overlap.
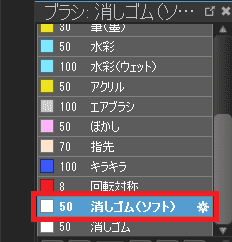
Where you feel you have gone too far with the airbrush, you can use the Eraser (soft) tool to lightly erase the shadow.
The normal eraser tool will reduce the fluffy feel of the fur. To keep the soft feel, use the SOFT eraser, not the normal one.
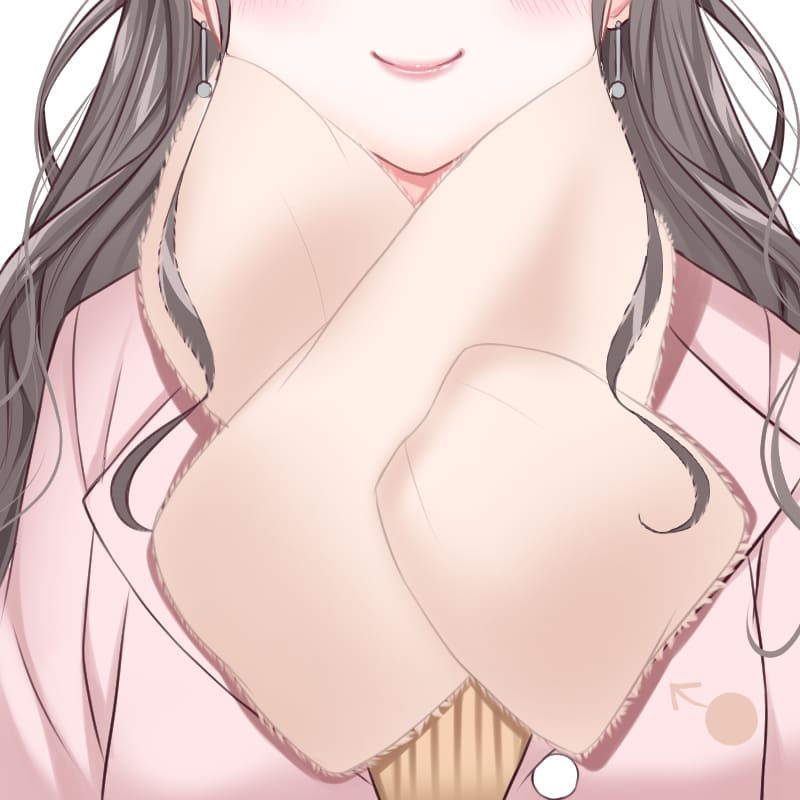
Now hide the line art layer.
It still looks a little unnatural, but the texture of the fur is starting to appear and the shape of the garment is becoming visible!

Draw the shadow texture for the fur
This fluffy texture looks good enough, but as we want to add more texture to the hair to make it more gorgeous, we’ll add texture to the shadows.
This will make the hair stand out and look real.
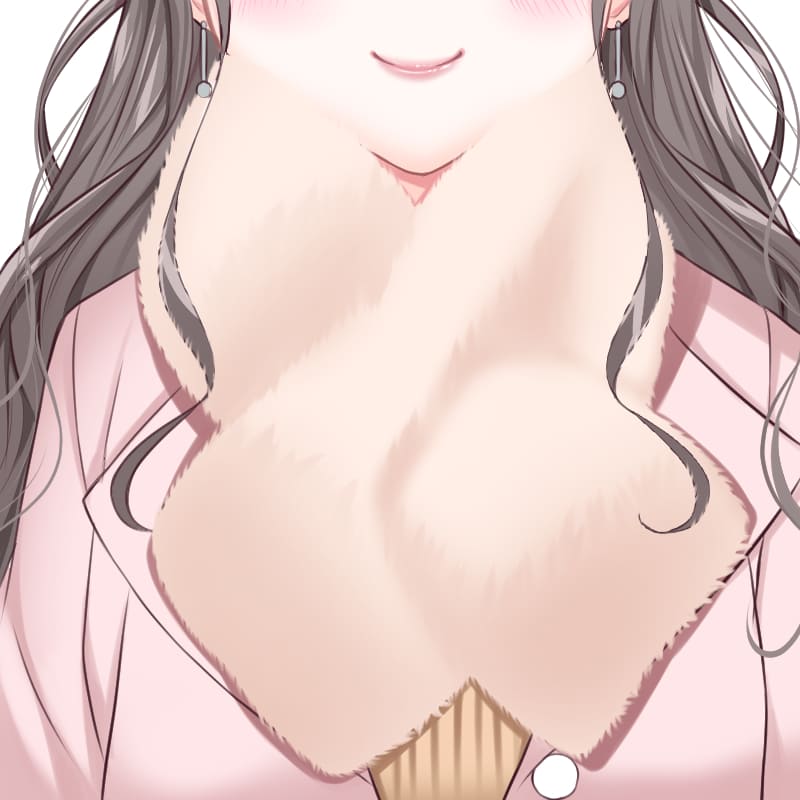
Choose the Smudge brush tool.
![]()
What we do at this stage is the same as when we created the scarf texture.
Create the tips of the hair as if you were pulling the shadows.
It’s ok if they’re rough as you’ll be adjusting them later.
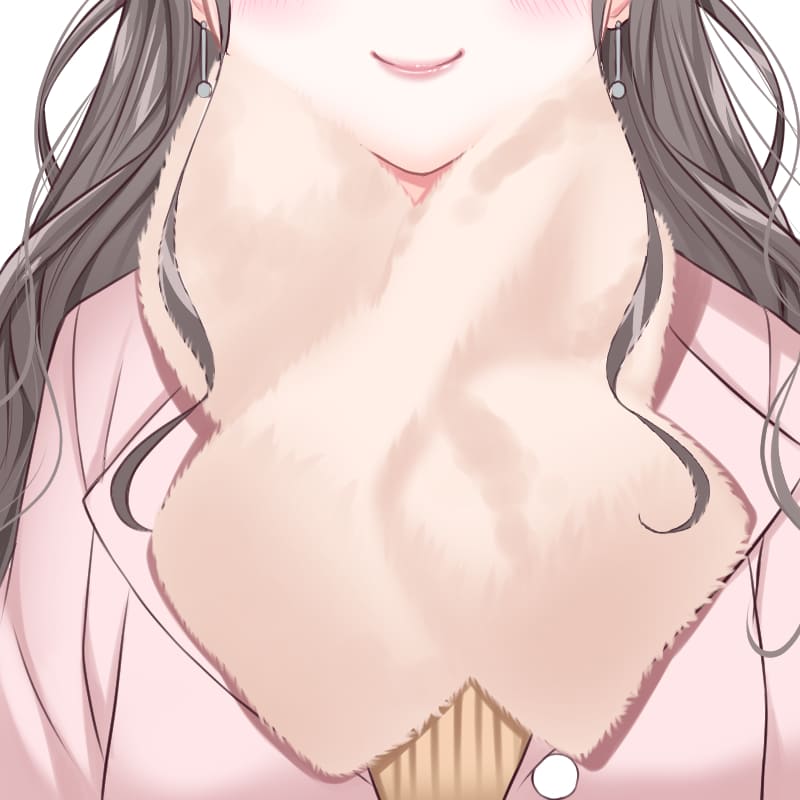
Add shadows to the fur
Add shadows to make the fur look more realistic.
Create a new layer on top of the other layers and clip it.
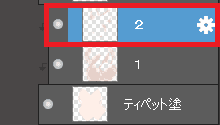
Select the watercolor brush.
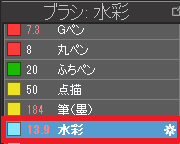
Draw wrinkles on the fur in the same color as before.
We’ll add details later, so you don’t have to worry about drawing precise shadows. Watercolor brushes have a characteristic of producing soft colors, so draw the shadows while being careful not to collapse the fluffy base colors. The key to drawing is to reduce the pressure of the brush and draw the lines with a gentle movement.
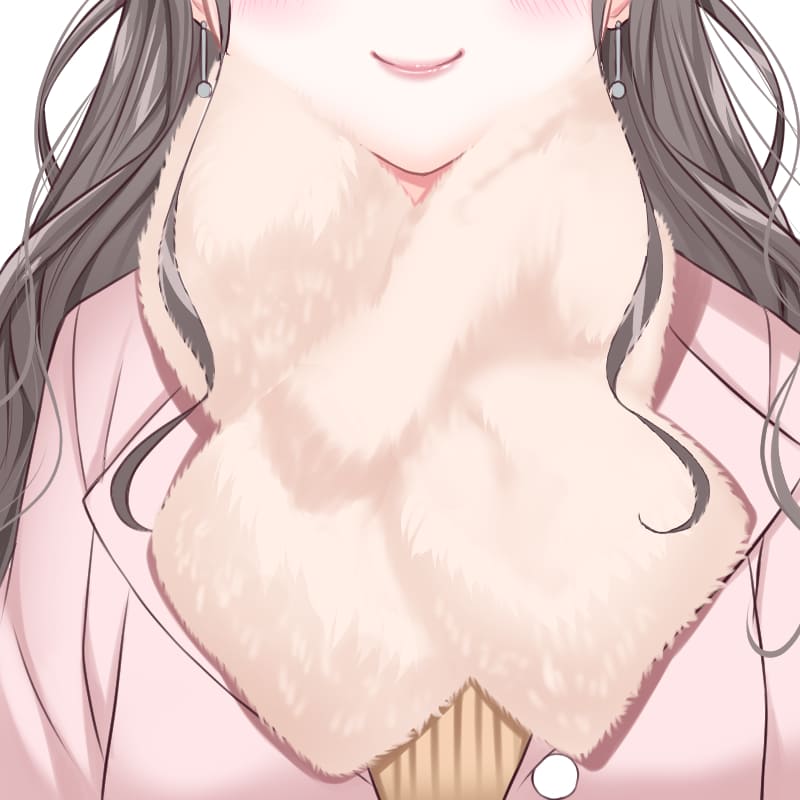
Draw details of the shadow
Add details to the shadow to create a realistic texture. Apply the same texture as the shadow we’ve just created to make the shadows stand out.
Now we’ll use two types of erasers: ‘Eraser (soft)’ and the normal ‘Eraser’.
If you look at fur garments in real life, you’ll see that there are areas where the colors are clearly separated between folds and areas where the colors are gradually separated. The purpose of using two brushes is to show this difference.
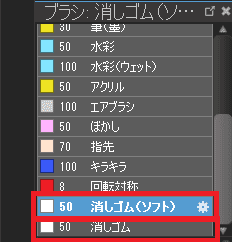
Shortcut keys are useful for switching between tools. You don’t need to use them with a mouse or trackpad, so learn them to make your work more efficient.
The shortcut for the Eraser tool is the E key. With the Eraser (soft) tool selected, click the E key to easily switch to the Eraser tool.
Read this article to learn more about shortcuts.
▼What is the shortcut keys
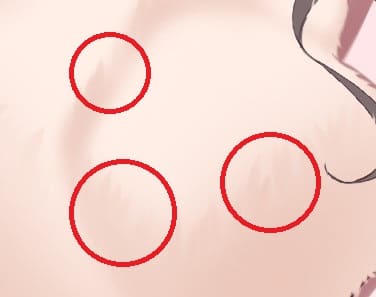
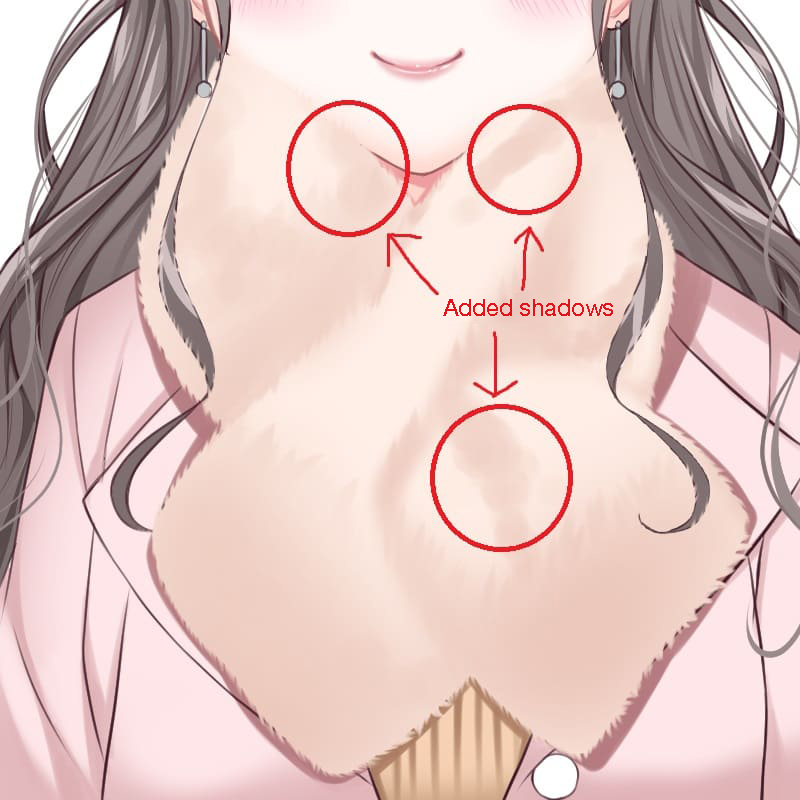
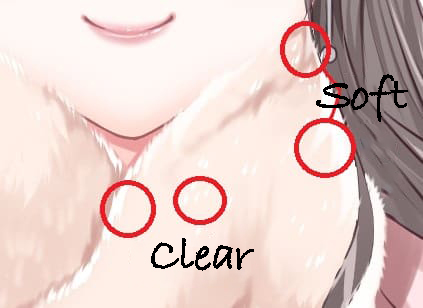
The image below shows the difference between clear and soft shadow removal.
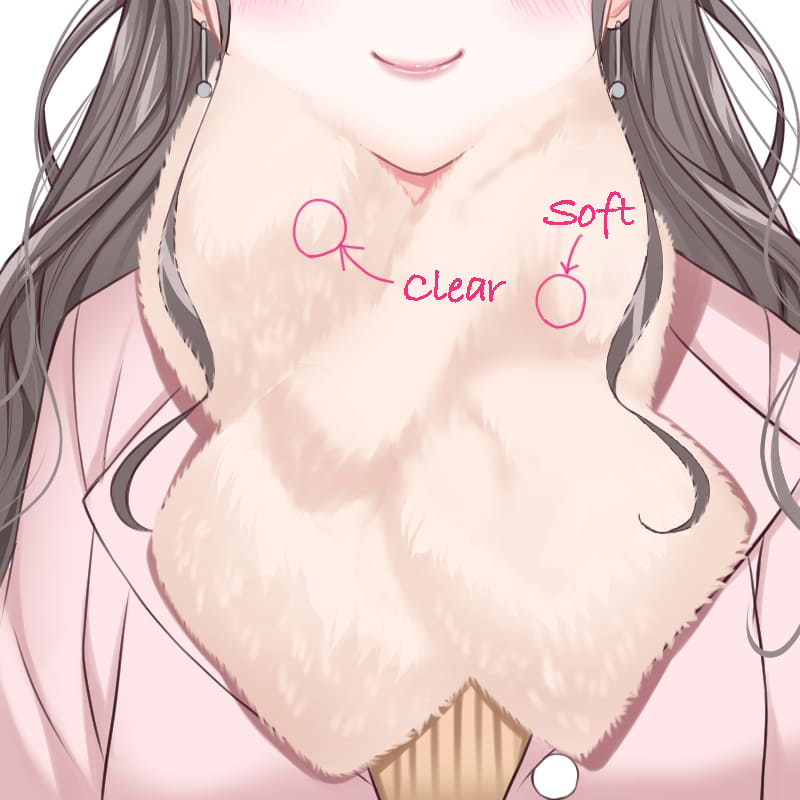
There are areas where the hair is clearly visible and areas where it is not. If your drawing has the same area, it means you have successfully made the difference. Use the Eraser (soft) tool to erase the dark area to create more fluffy textures.
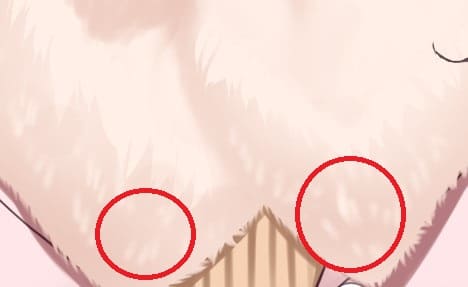
As you erase, you will find areas where you need more shadows. So add shadows where you think they are needed.
I’ve added shadows to the red circle.
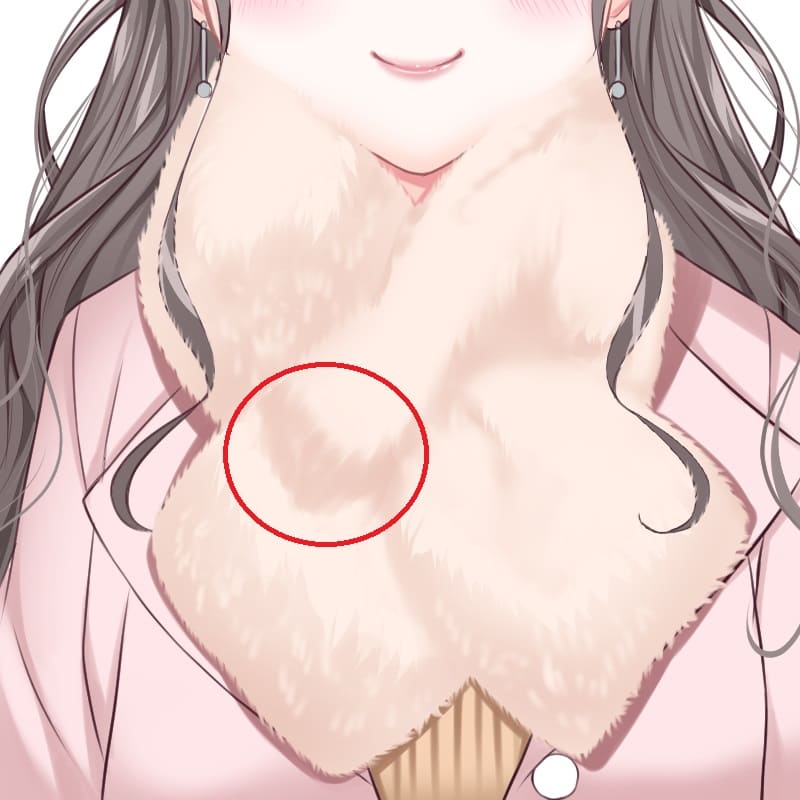
Add more shadows to the fur
This is a repeat of the previous work. Add more shadows to create textures in depth.
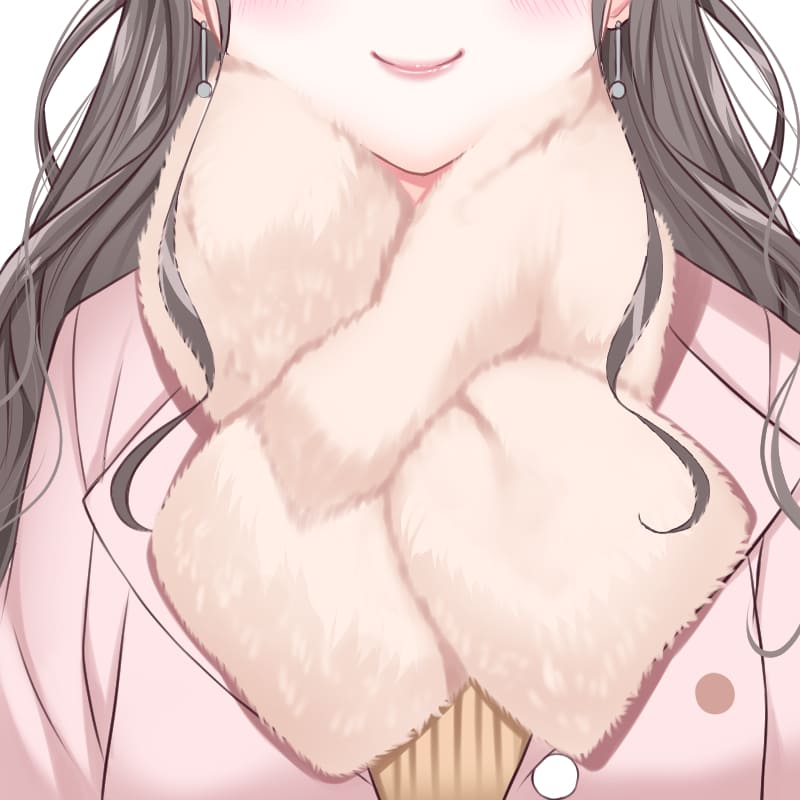
Create a new layer and clip it.
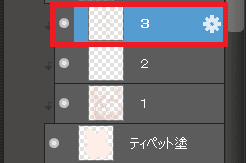
Use the watercolor brush.

Pick a soft beige that is darker than the shadow color.
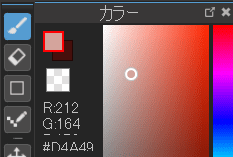
Reduce the pressure and draw the shadows lightly.
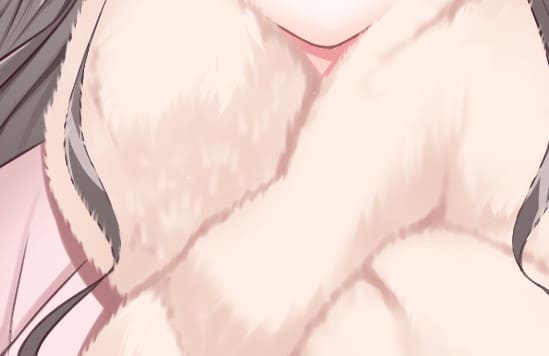
If you are drawing a soft fur garment like a scarf, too much shadow will make the whole image dark. This takes away from the soft and innocent look of the fur scarf. So add the shadow only to show that the fabrics overlap.
Draw with a soft pressure, as if you were drawing a bush, not lines.
Add highlights for finish
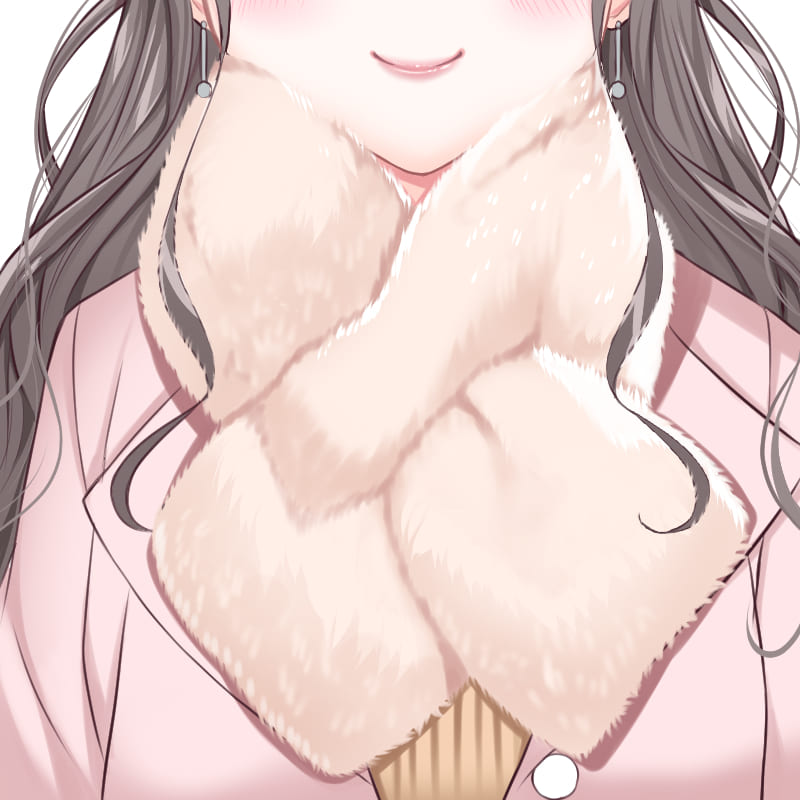
Create a new layer on top of the other layers and clip it.
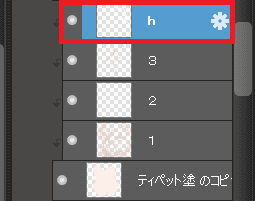
Use the watercolor brush and the pencil brush.
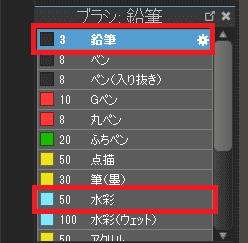
Just as you used two erasers, we’ll use two types of tool to show the difference in color or texture.
The watercolor and pencil brushes can be used to highlight the illuminated area, which will also create the fluffy texture and sparkling winter atmosphere.
This is the final touch, so draw freely and have fun making your illustration sparkling and fluffy!
Now we’re done!

Conclusion
We have learnt how to draw a fluffy fur scarf. Let’s review the process.
- Prepare the scarf
- Draw the hair texture
- Add shadows and texture
- Add highlights
The hair texture is the crucial element of the fur. Drawing fur clothing is a repeated process of adding shadows by pulling the hair tips, which requires persistence, but you’ll be able to create a stunning illustration with a more realistic atmosphere. So I hope you find this drawing method worth remembering. Coordinate it with other garments to have fun drawing illustrations exclusively for winter.
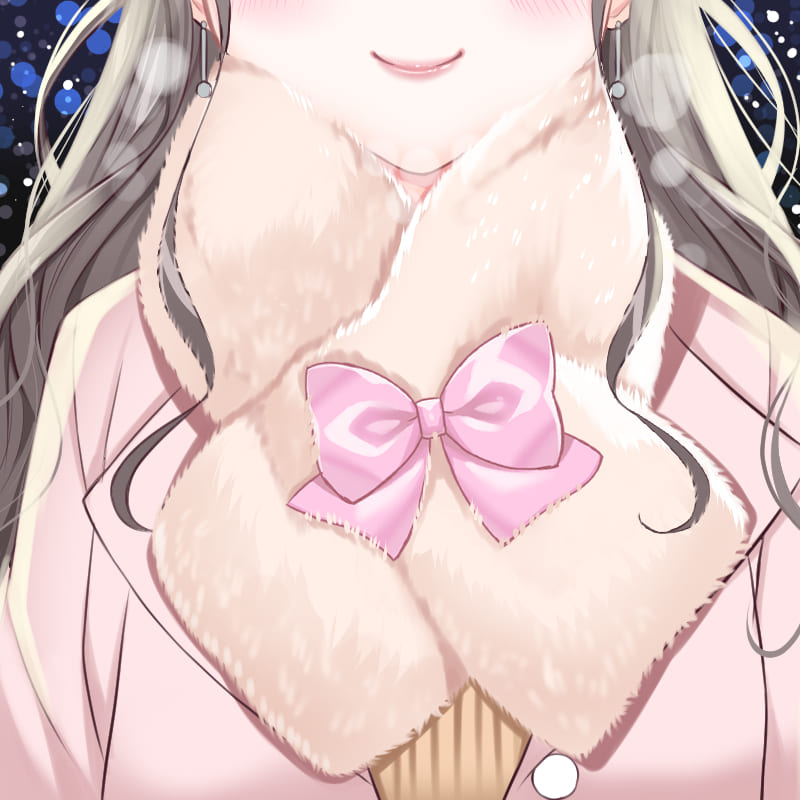
Finally, I’ve created the background for the night scene and added a ribbon, which I created in the previous article “How to draw ribbons”!
Now the feminine winter illustration is complete! I hope you will find it inspiring.
(Text・Illustrations / アニー)
Twitter:https://twitter.com/annie_pinkpom
\ We are accepting requests for articles on how to use /

