2015.03.31
(2)Drawing Manga

Table of Contents
(4)Drawing perspective using Snap
1First select the Brush Tool ![]() .
.
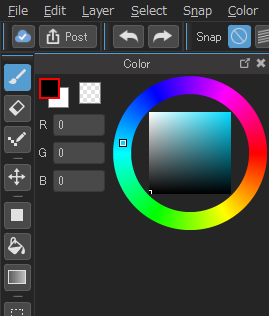
2Select [Vanishing point snap]
This is useful for drawing backgrounds.
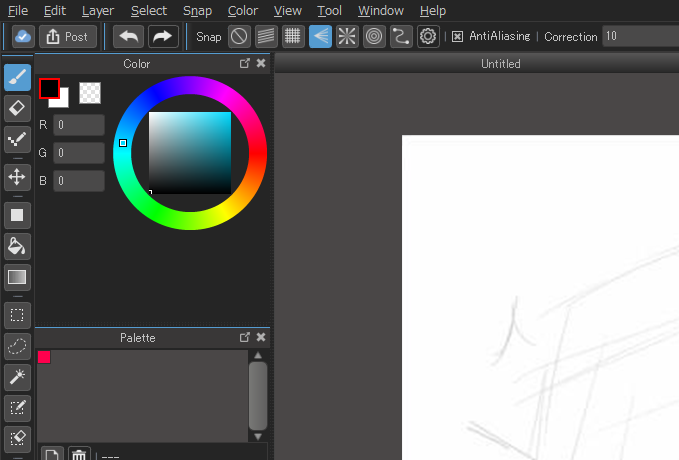
3Using this building sketch as a guide, we can make our first reference line.
You can pick a starting point by lining it up with the top of the building and clicking where you want to begin and then once more outside of the canvas.
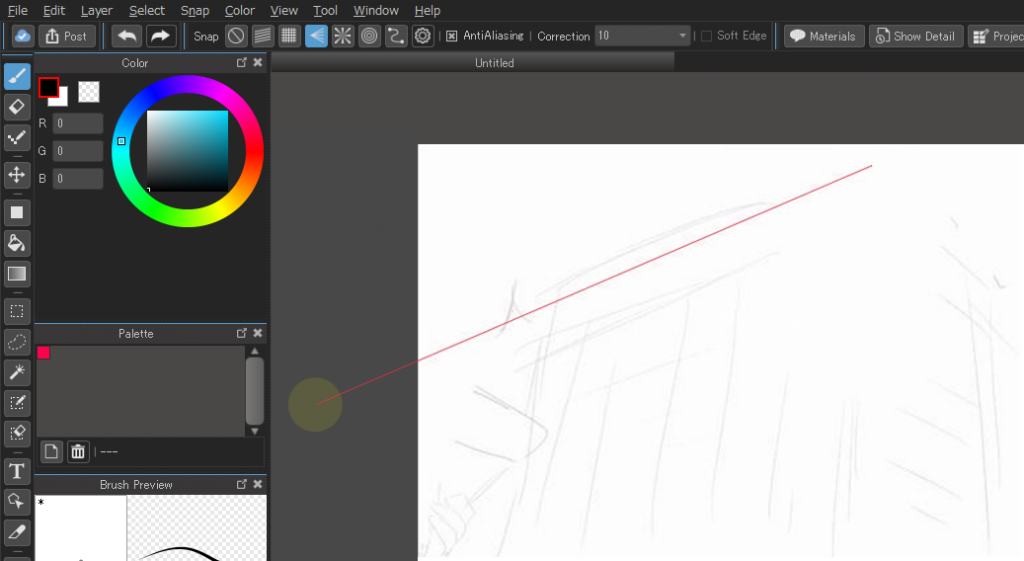
4Now for the second one, we’ll do it along the base of the building.
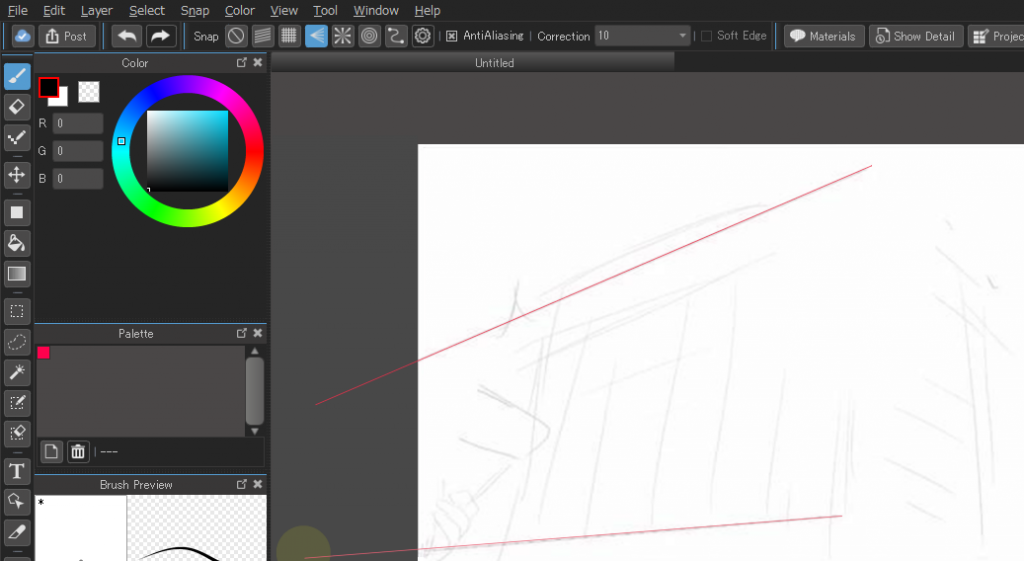
5Now with these two lines, we’ve established a vanishing point.
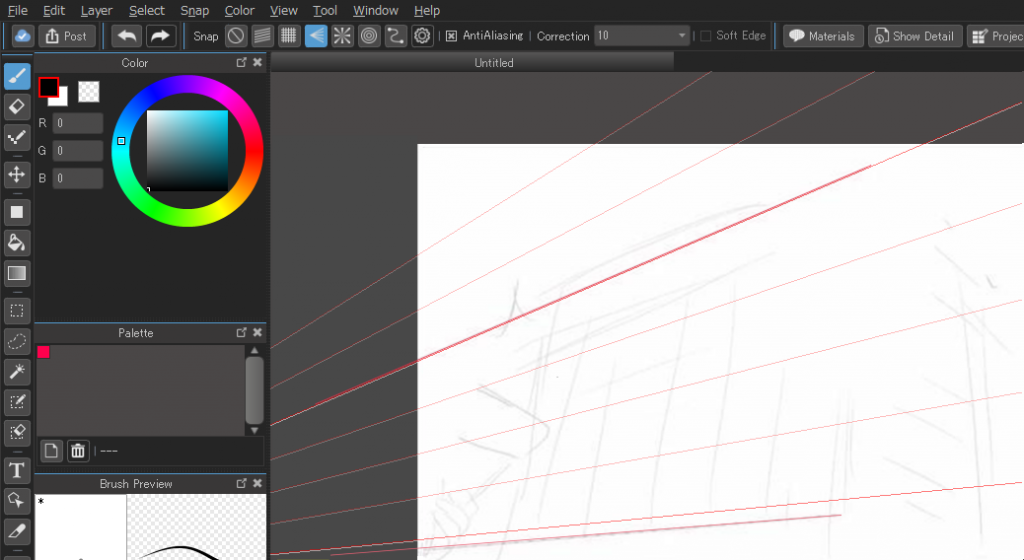
6Now any lines you draw with the brush tool will snap to the vanishing point.
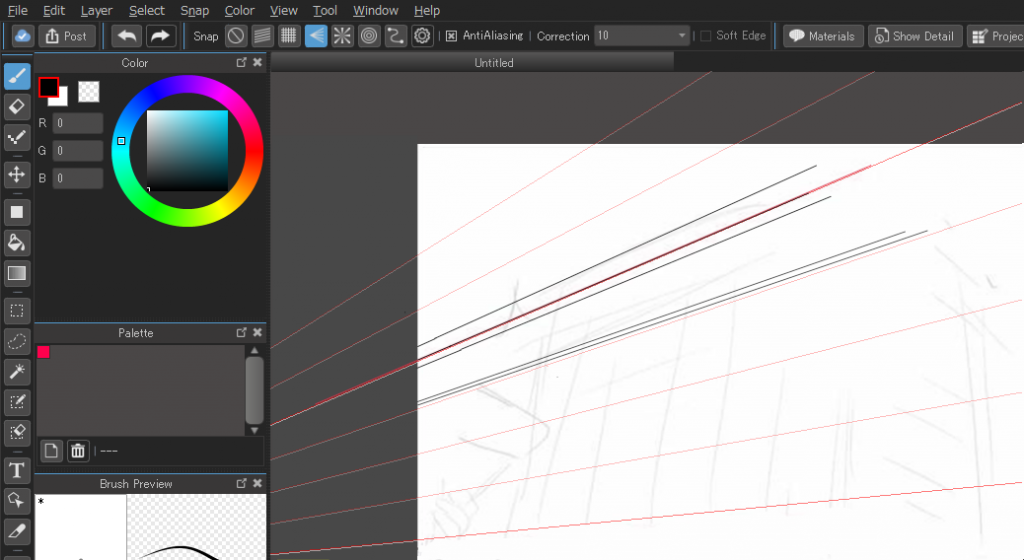
7Clicking on the ![]() icon will reset the Snap and allow you to create a new one.
icon will reset the Snap and allow you to create a new one.
Now you can create a new one to do the opposite side of your building.

8Like so.
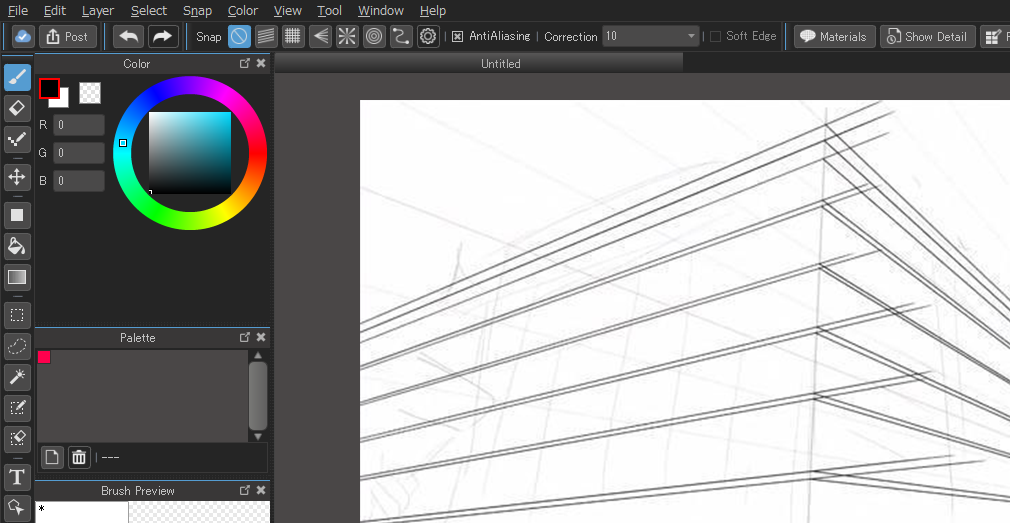
9Just like before.
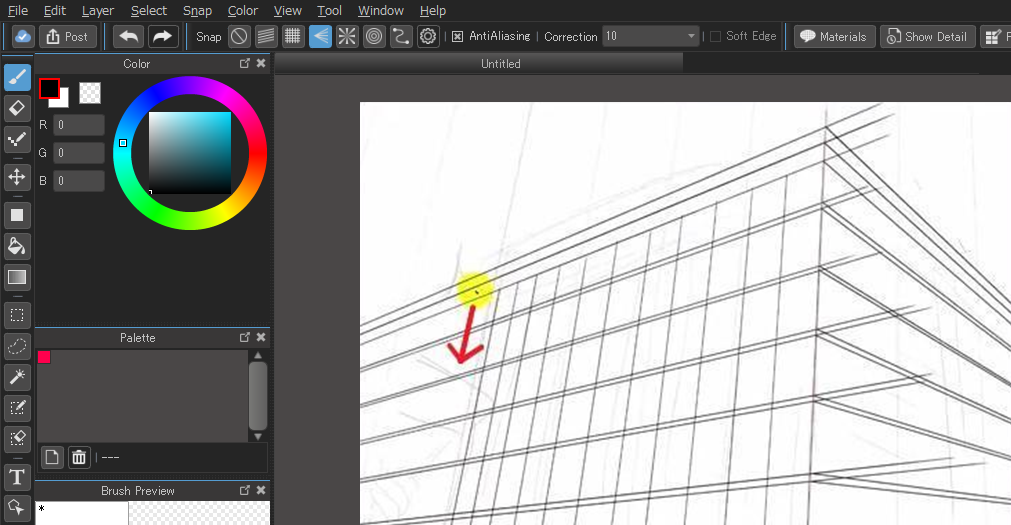
10You can get rid of the lines with the Eraser Tool ![]() .
.
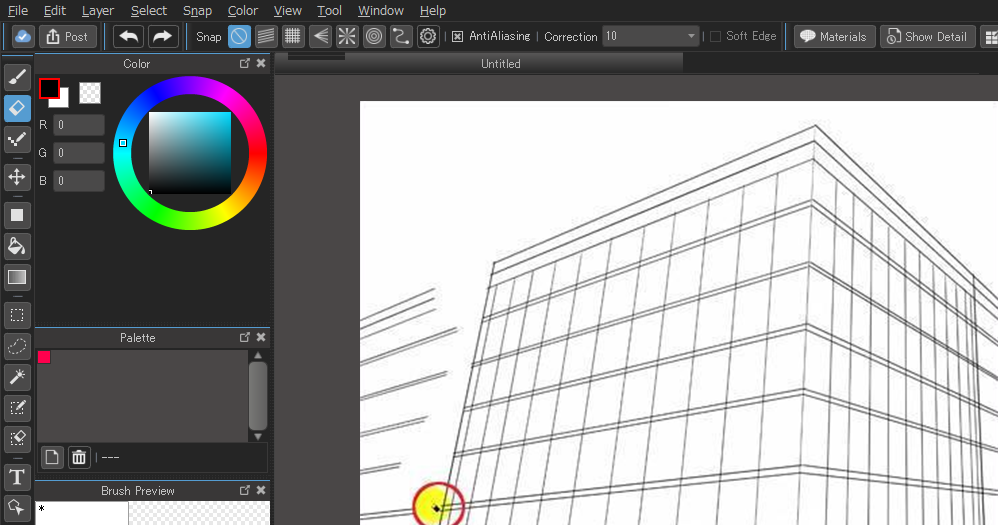
11Now you can fill some spots in.
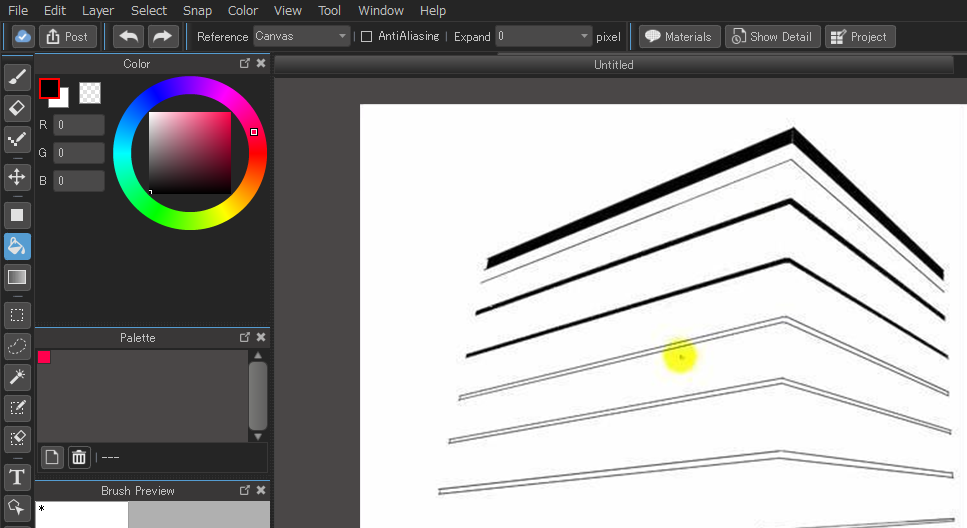
12Building complete.
(5)Using the other Snaps
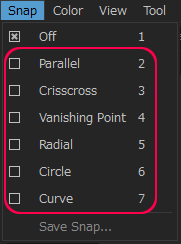
Aside from the 「Vanishing Point Snap」 we have 5 more snaps to choose from. You can see them all on the menu bar by clicking on the Snap drop down menu.
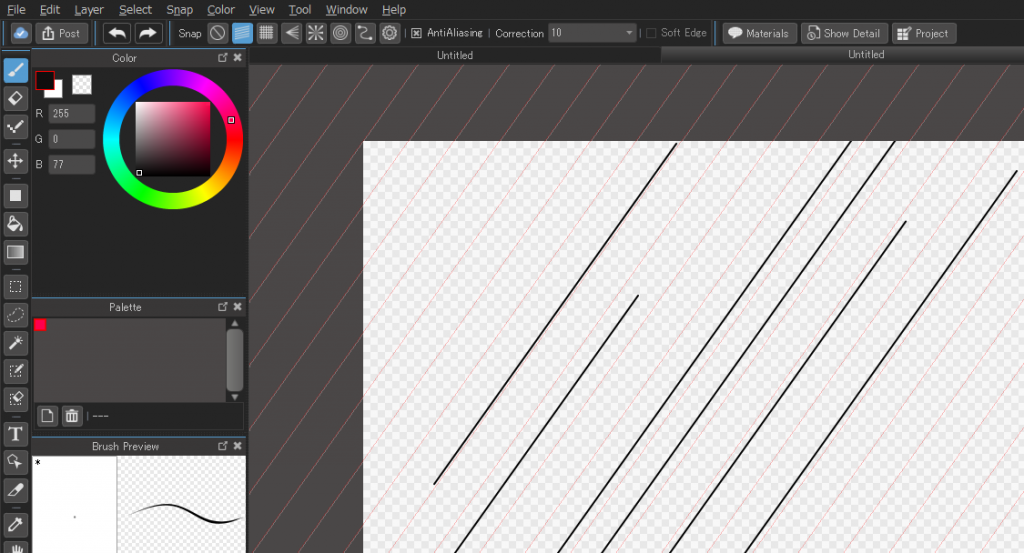
1First we have the Parallel Snap. This tool lets you draw straight lines in the direction you choose.
Clicking the black dot will allow you to change the orientation of the red lines so you can draw in any direction you wish.
Any lines you draw with the brush tool will now only go in the direction of the red snap grid.
※Anytime you want to reset or change the orientation of most of the Snap guides, you can do so by clicking the button ![]() .
.
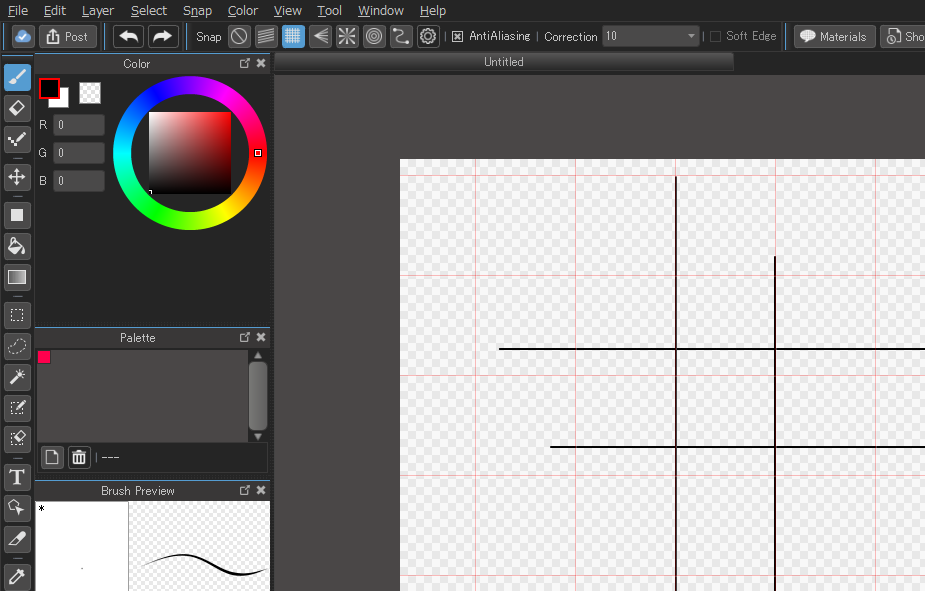
2Next up is the Crisscross Snap.
This is useful for drawing lines that are perpendicular to each other. Unlike the other Snaps, you can’t change the direction of the guides. You can only go up and down and left and right.
3Next is the Radial Snap.
This allows you to draw lines all coming from a single point. These are useful for drawing radial speed lines.
You can move the focal point to where ever you want to draw the view’s eye.
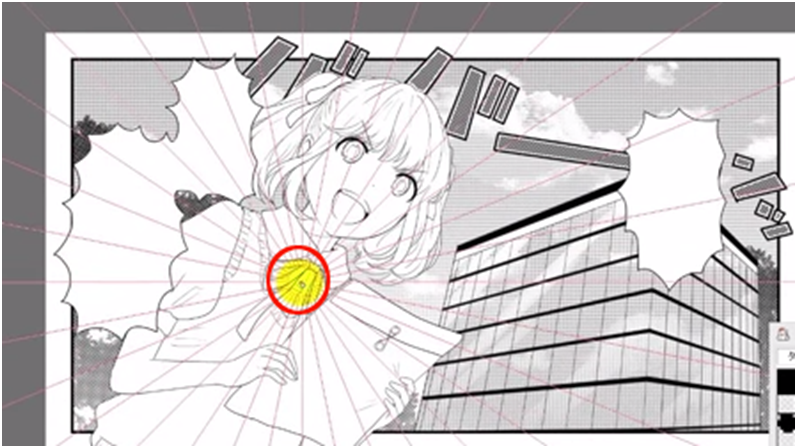
The lines you draw will line up with where ever you place the focal point.
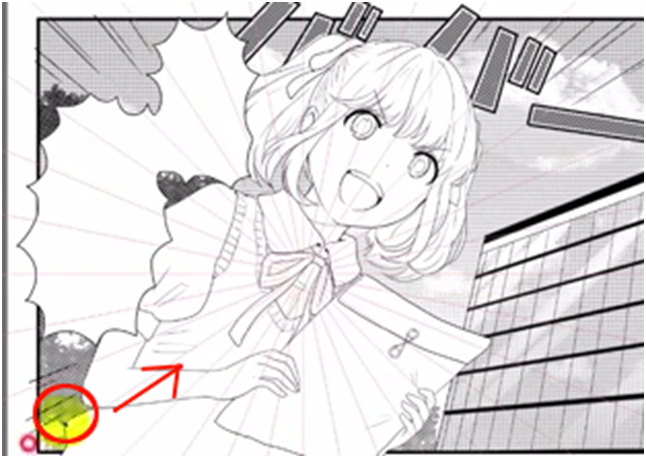
<Applied>This is also useful for drawing one point perspective.
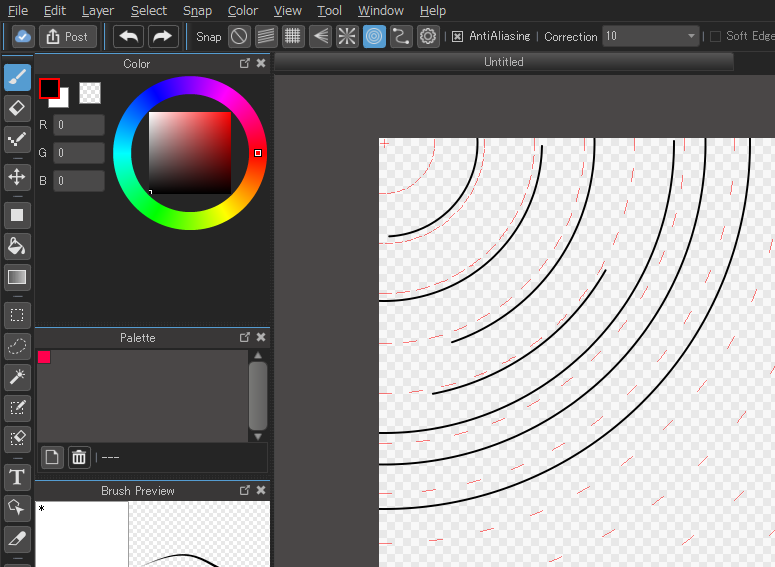
4The next type of Snap is the Circle Snap.
Like the name implies, you can use this do draw circles. Like with most other Snaps, you can move the guide to wherever you wish and the lines you draw will snap to the guide.
5Finally we have the Curve Snap.
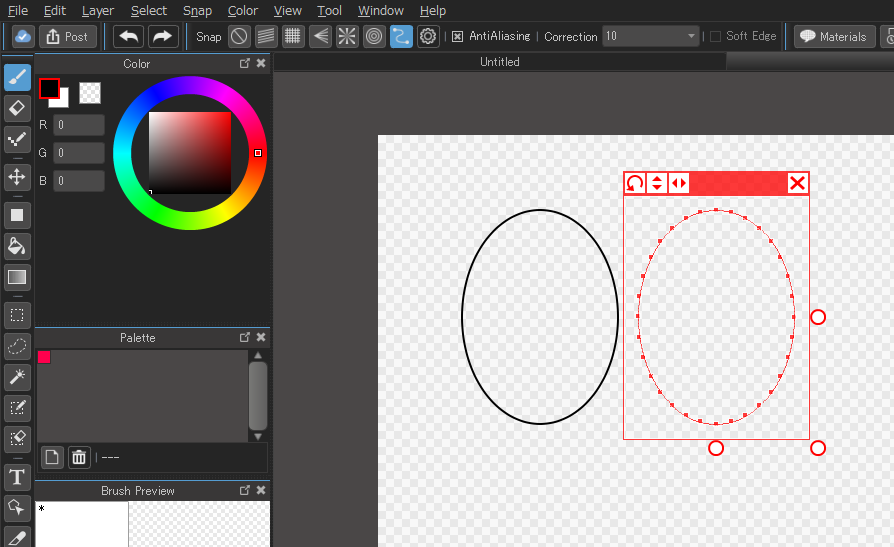
You can use it to draw curved items by making a series of click on the canvas in the shape you want to draw. Then with the Brush tool, you can trace over it. It’s similar to the Select Tool’s Polygon setting.
If you just want to make a smooth circle, you can hold down the 「Ctrl (command)」key and drag. Now you can change the shape by dragging the white circles or you can completely move it by dragging the red bar.
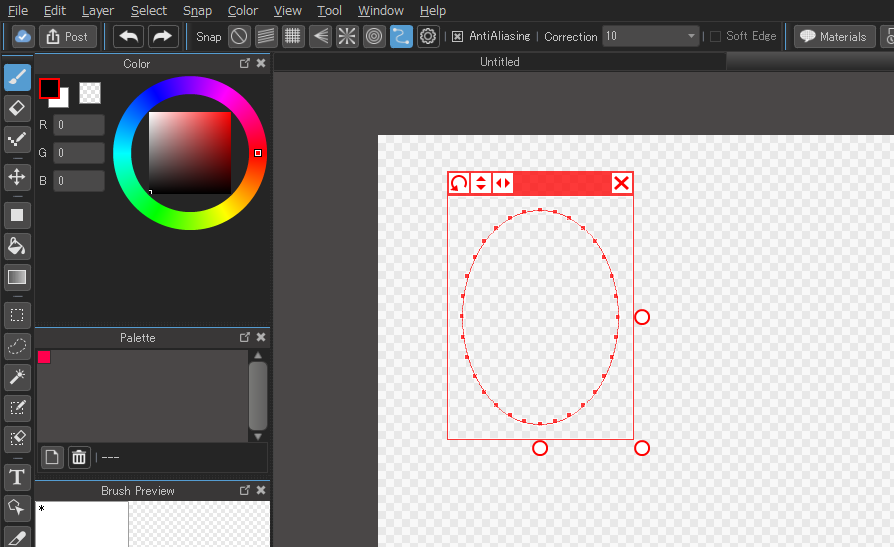
There are various things you can do with the icons on the red bar highlighted above.
・You can rotate your Snap with the by dragging in the direction you want to rotate.
You can flip your Snap with the ![]() icon.
icon.
・You can flip your Snap with icon![]() .
.
・You can invert your Snap with icon![]() .
.
・You can remove the Snap from the canvas using the icon![]() .
.
If you select Curve Snap again it will reappear.
\ We are accepting requests for articles on how to use /

