2016.12.21
[Android] How to Use Materials (Tiles, Tones, and Items)
We will explain how to use MediBang Paint for Android.
Today, we will show you how to add and apply materials.
We can apply materials for comics (tones, backdrops, etc.) by selecting them from the materials window.
Materials have three different types: Tiles, Tones, and Items. They are all used like stickers.
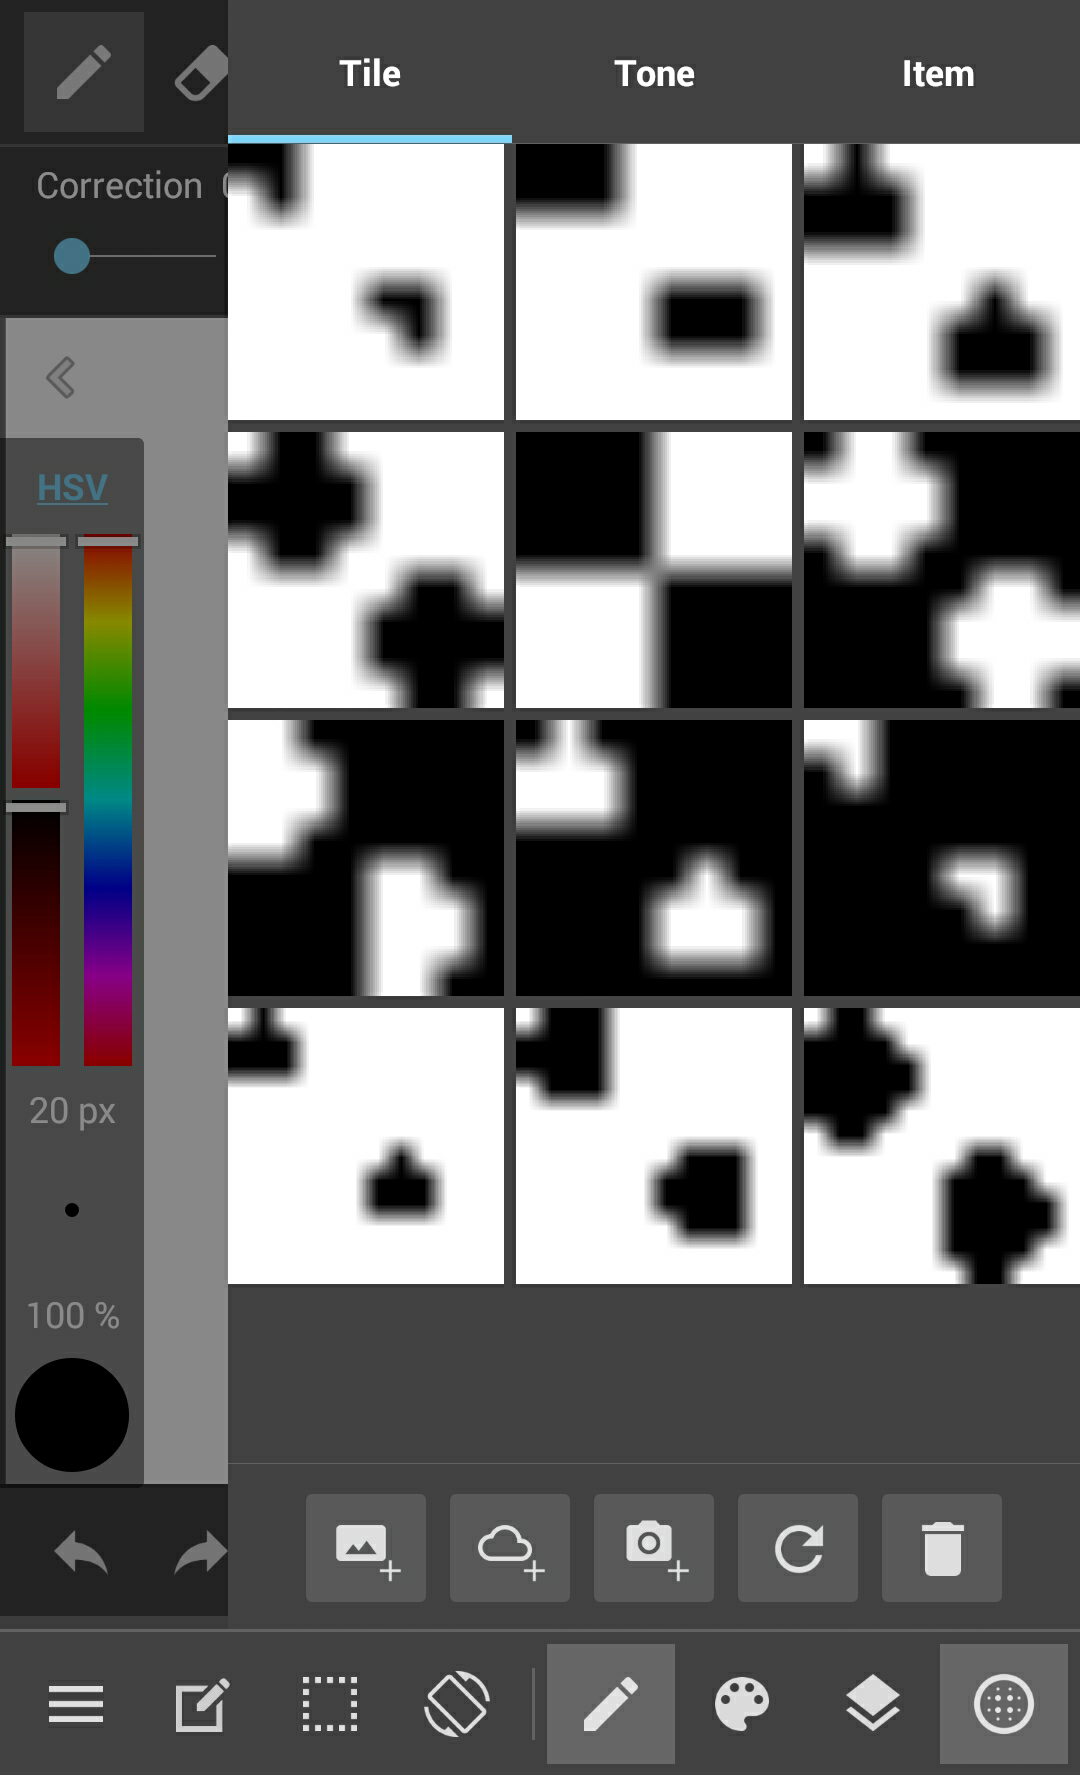
Tile: Materials comprising of patterns. Dotted materials (mesh tones) for the shadows of people and objects are included here.
Tone: Materials close to what are referred to as screen tones in comics are compiled here. Also, materials used for backdrops are included here as well.
Items: Materials that are applied individually, are included here. Item materials need to be rasterized.
1. Adding and Deleting Materials
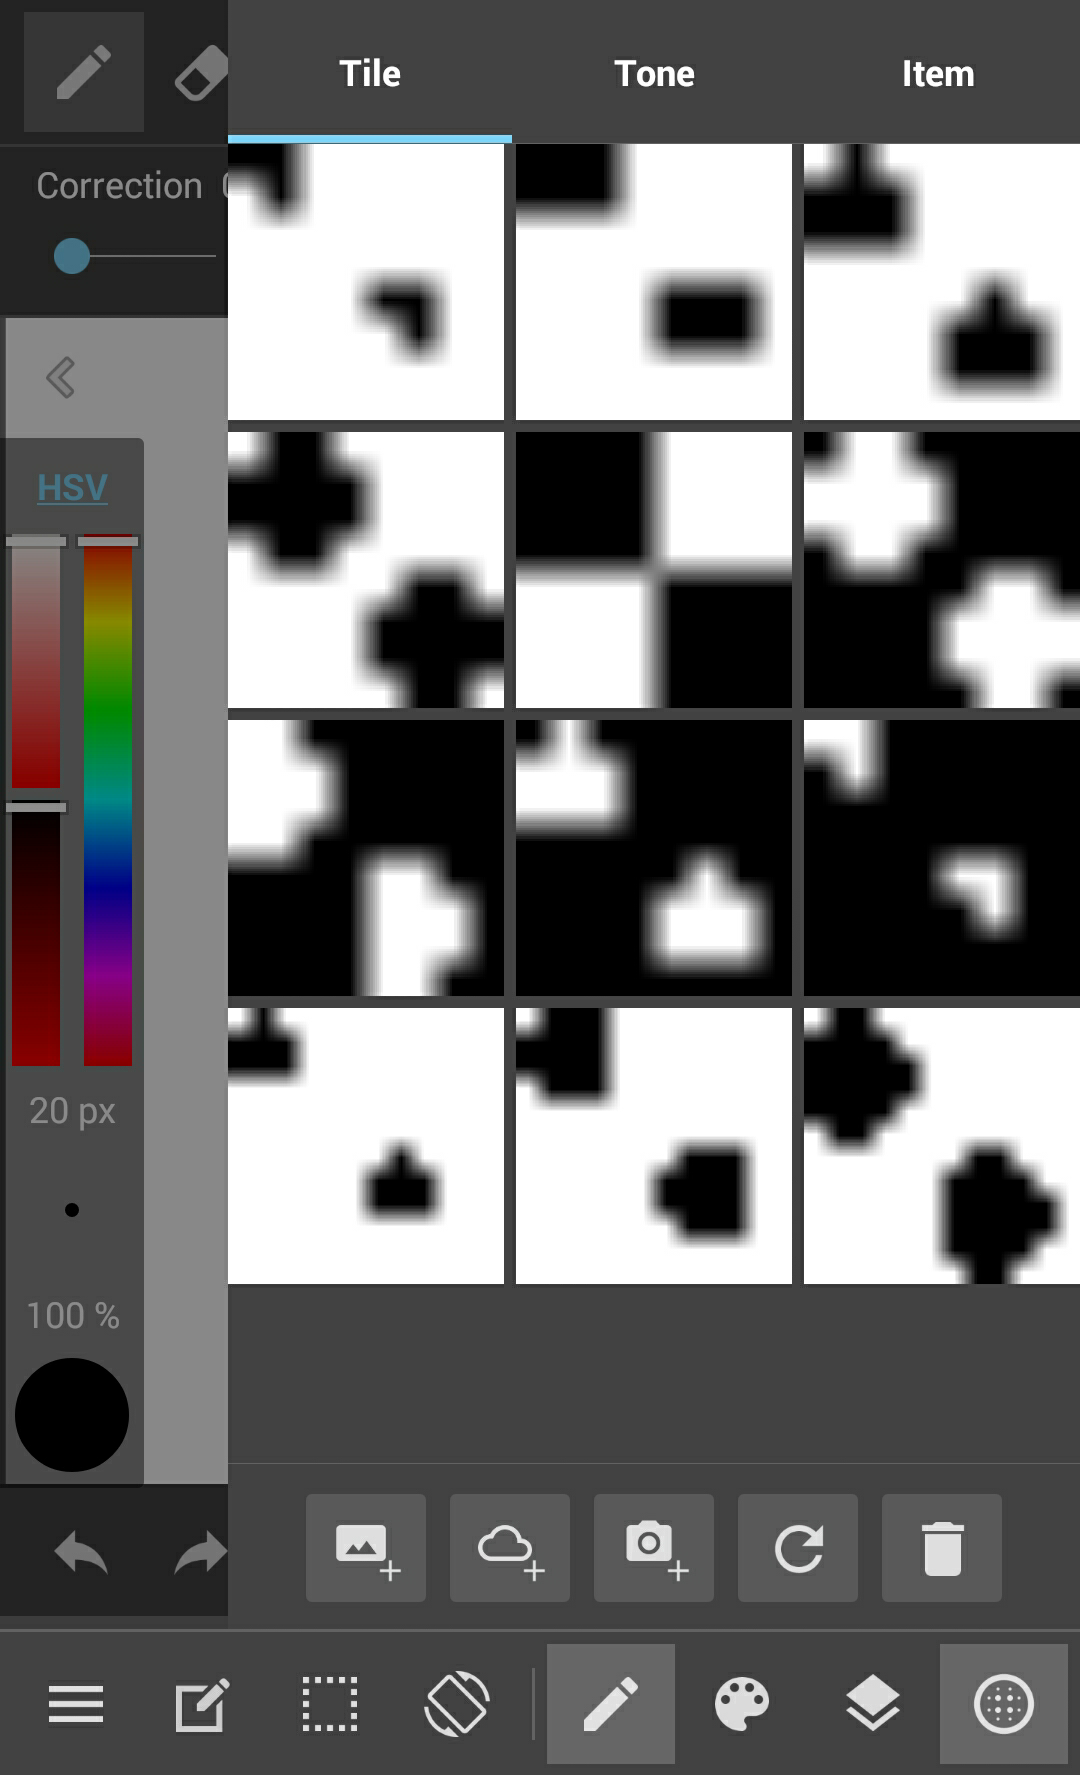
Push the  materials button at the bottom right of the canvas to open the materials window.
The Tile, Tone, and Item tab at the top will display each of their materials when you select them.
The icons at the bottom have the following effects.
 Add Material: Browses the local folder (on your own device) to import your own custom-made materials into the materials window.
 Download Material from Cloud: Enables you to download materials officially released by MediBang Paint. Choose materials by selecting them from the Tile, Tone, and Item tabs. The Cloud Materials Panel will appear, so you can choose something you like from there and download it.
 Add Capture: Takes a screenshot and adds it to your materials window as a material.
 Refresh: Updates the status of the materials window.
 Delete: Removes the selected material.
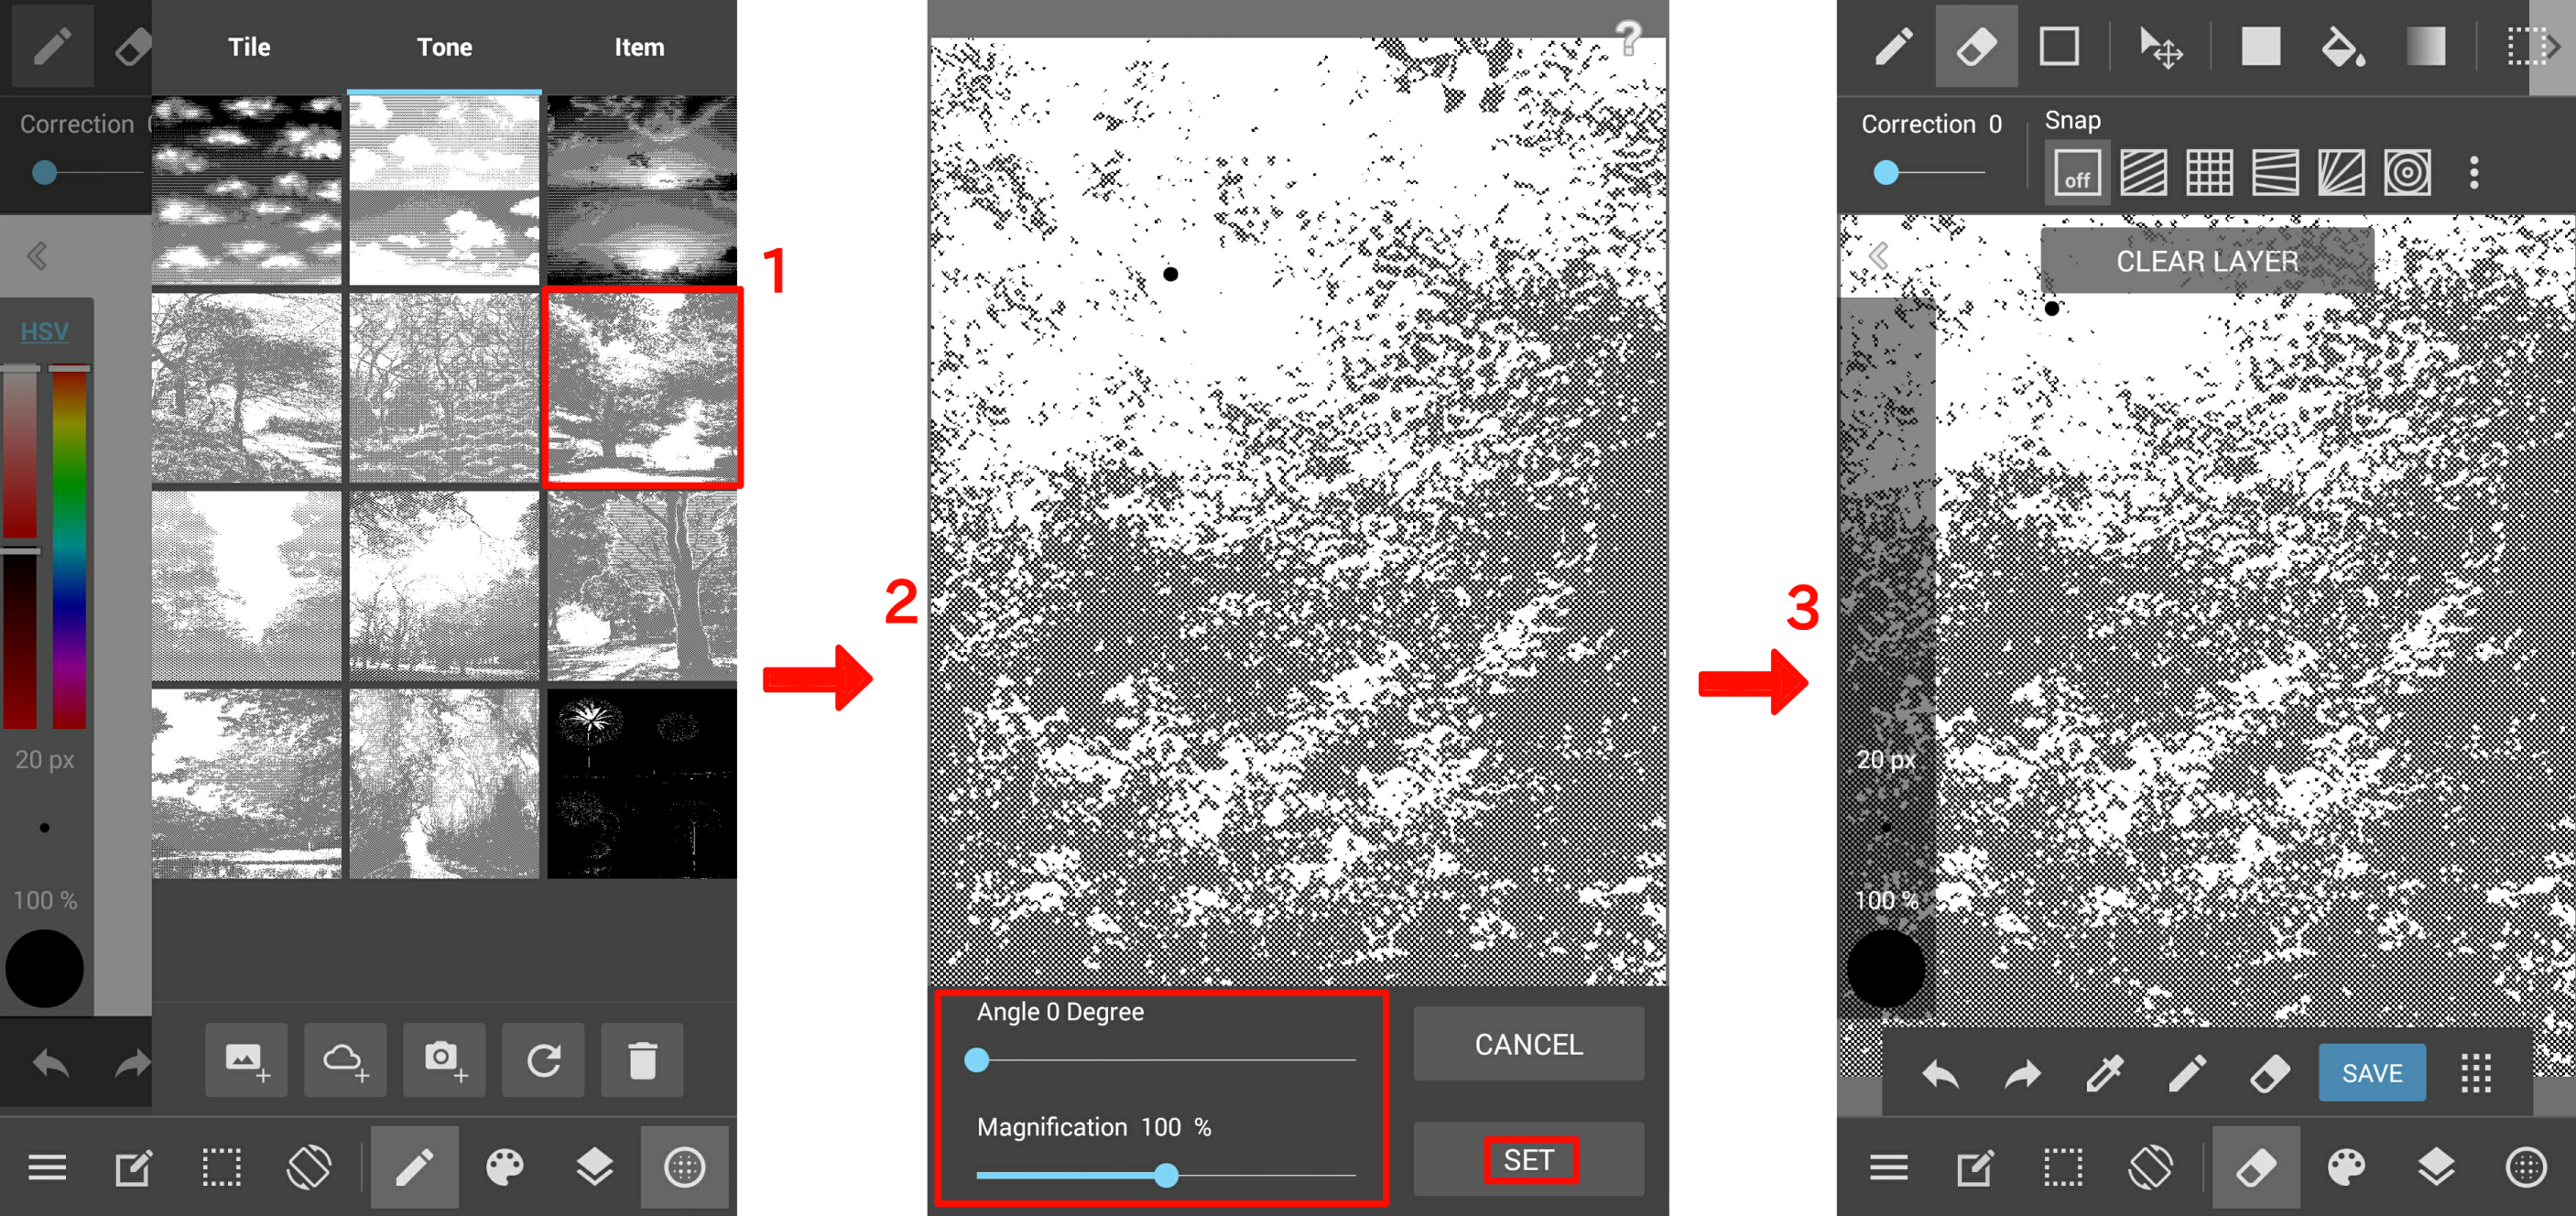
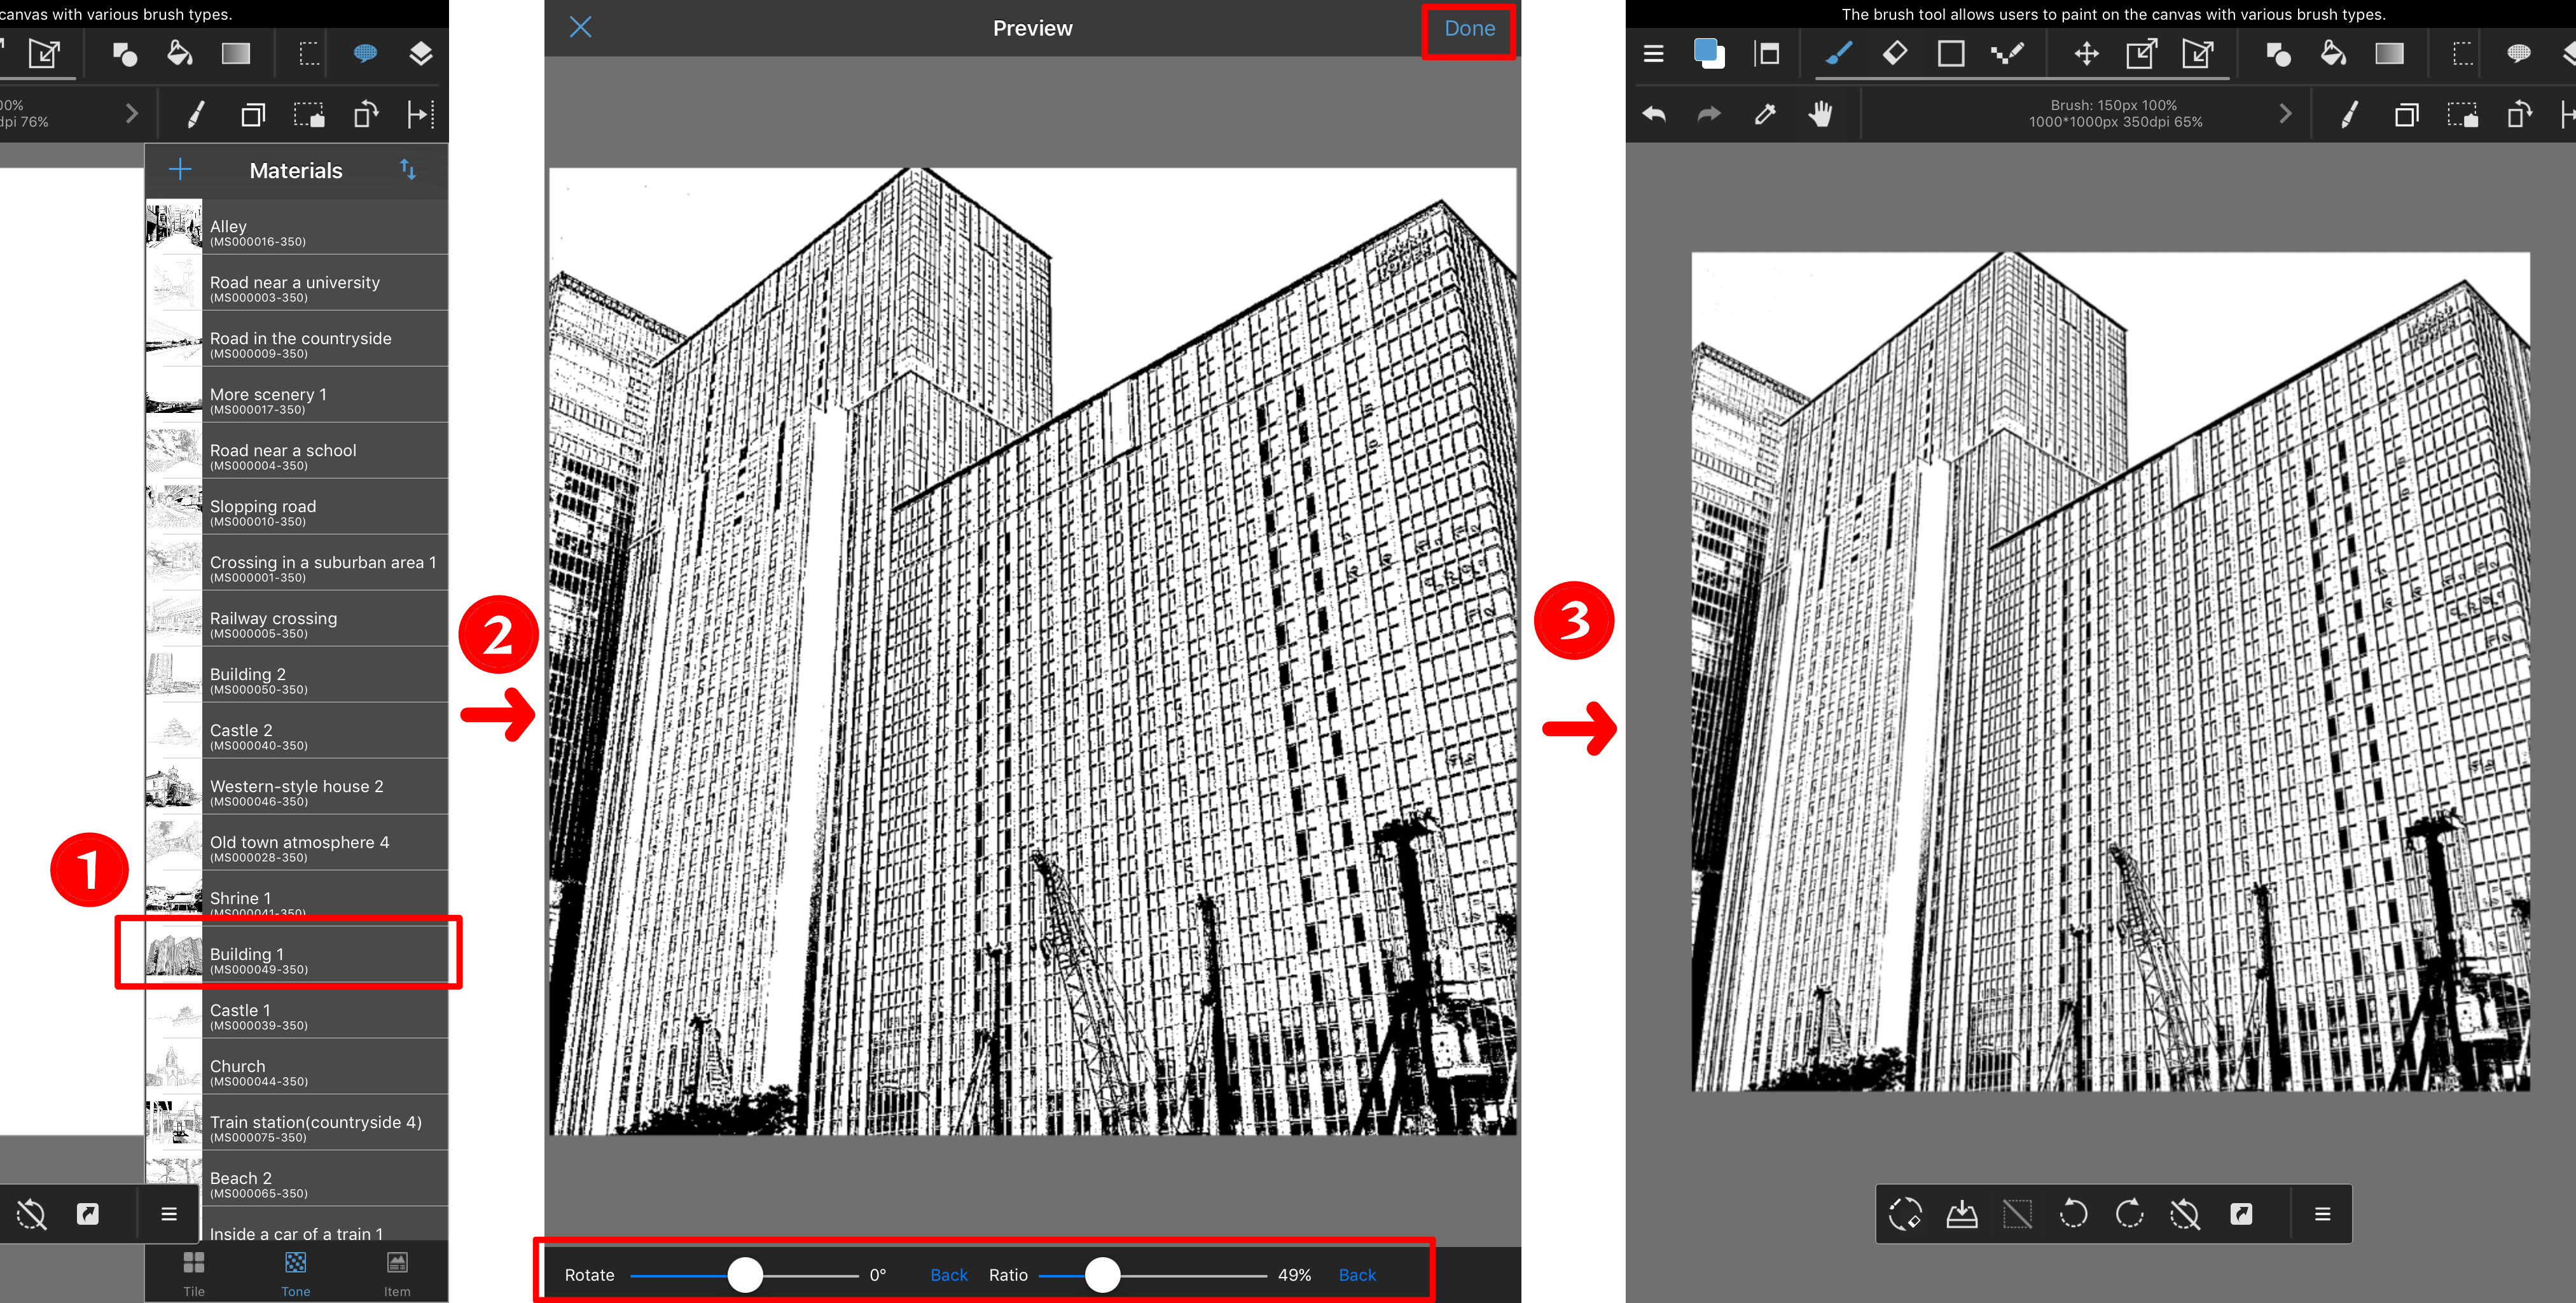
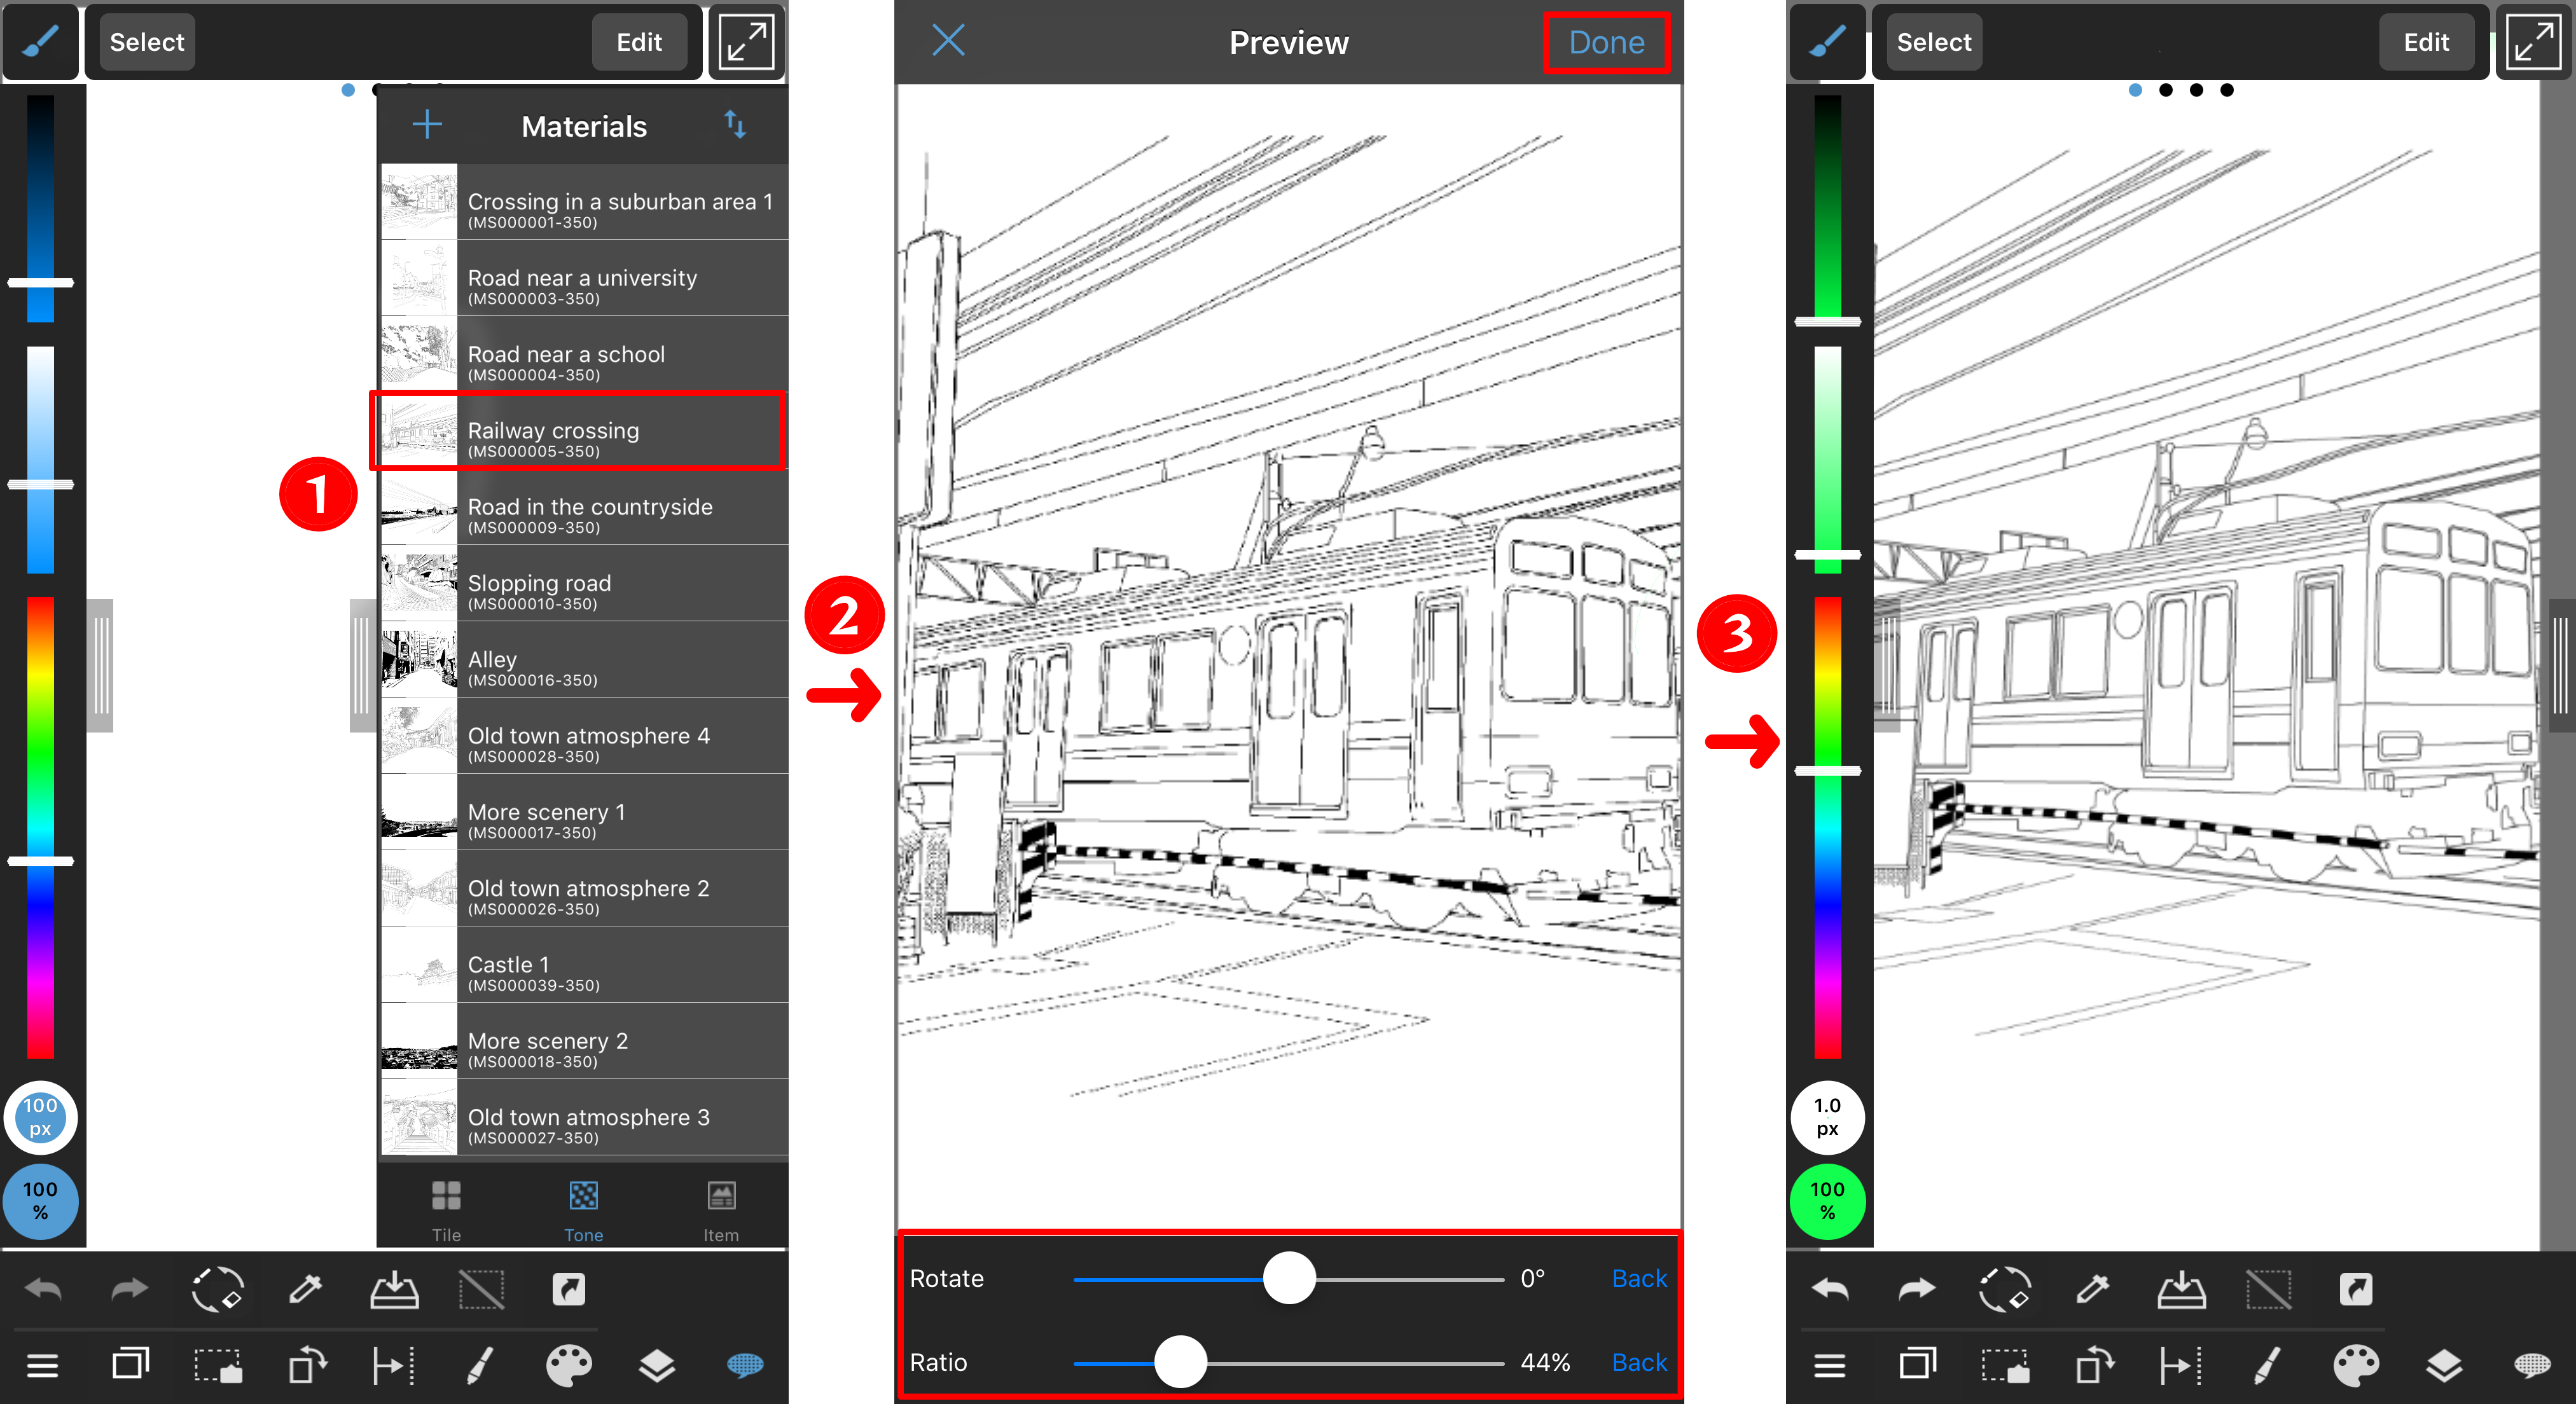
2. Applying Materials
① Choose the material you want to use.
② The Apply Materials Window will appear. You can change the angle and magnitude of the material, as well as move the tone by dragging it.
③ Selecting OK in the Apply Materials Window will allow you to apply the material to the canvas.
\ We are accepting requests for articles on how to use /

