2016.12.12
How to Create a New File
We will explain how to use MediBang Paint Pro.
Today, we will show you how to create a new file.
Creating a new file means the same as preparing a sheet of paper.
There are 2 ways to creating a new file.
The first is to create a new canvas (a single sheet of paper).
The second is to create a Cloud Project (a collection of multiple sheets of paper like a notepad).
- Creating a New Canvas
(1) The different types of canvas creation
Creating a new canvas includes the following four methods:
(a) Freely choosing the settings for the sheet of paper.
(b) Setting up a sheet of manuscript paper for manga.
(c) Using a copied image in your clipboard as the canvas.
(d) Using an image saved to your computer as the canvas.
(2) Creating a canvas by freely choosing the settings
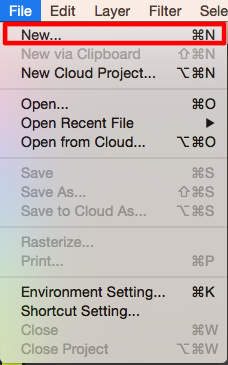
① Select File > New.
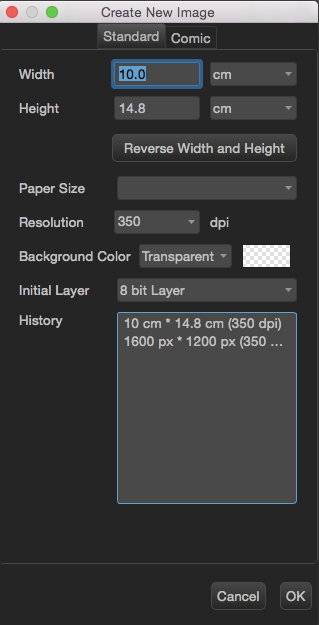
② The Create New Image Window will be displayed.
We will then select the parameters for the paper.
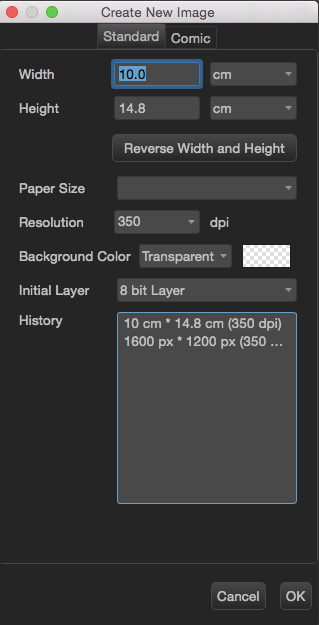
<Navigating the Create New Image Window>
The below screen will be displayed while the Standard tab is open.
❶ Choose the size of the paper.
There are 2 ways to select the size of the paper.
- The first method:
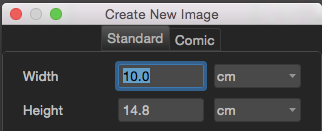
Input the size we want here.
If you click the ▼, you will be able to change the unit to cm, inches, or pixels.
- The second method:
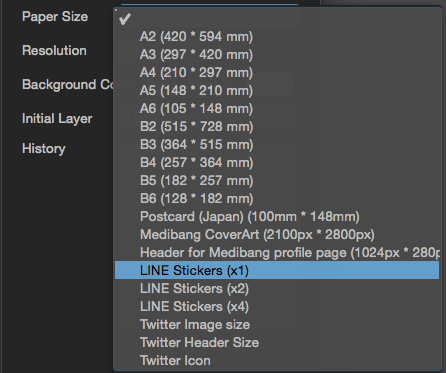
Select the size by clicking on the tab next to Paper Size, and choosing the size you want from the list that appears.
At the moment, we have the following template sizes: A2 – A6, B2 – B6, Postcard (Japan), MediBang CoverArt, Header for MediBang profile page, LINE Stickers (x1, x2, x4), Twitter Image, Twitter Header, and Twitter Icon.
❷ Choose the resolution.
Normally, 600dpi is used for black and white printing, 350dpi for color, and 72dpi for website display.
Choose the width, height, and resolution you want, or select a template from Paper Size, and click OK.
❸ Choose the background color.
- If you want to draw an illustration with a transparent background, then select Transparent.
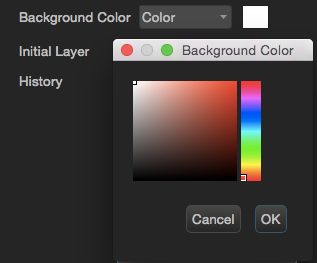
- If you choose Color, then you can select what background color you want by clicking the box next to the arrow.
❹ Choose the initial layer.
When creating a new file, you can choose from 2 types of layers.
- Color Layer: a layer that enables you to draw in color.
- 8 bit Layer: a layer that enables you to draw in grayscale.
❺ Click OK.
*Additional Notes
- History stores your 20 most recently used sizes and resolutions. You select a template from the list to reuse.
- You can change the size you’ve selected here at any time. However, if you change the dpi (resolution) afterwards, it will cause the quality of your image to deteriorate, therefore we recommend you select the correct value from the start.
(3) Creating a canvas for a manga manuscript
① Choose File > New.
② The Create New Image Window will be displayed.
We will select the parameters for the paper.
<Navigating the Create New Image Window>
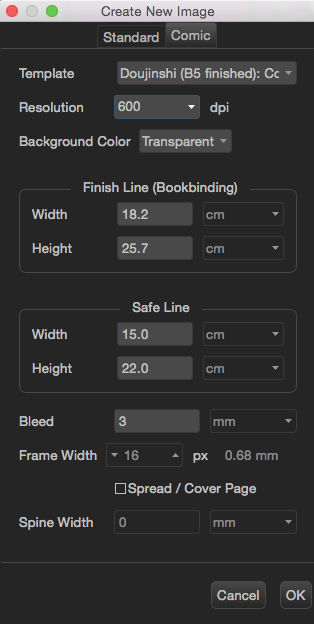
The below screen will be displayed while the Comic tab is open.
❶ Choose the size of the paper.
For manga manuscripts, you can select a template or choose the parameter yourself.
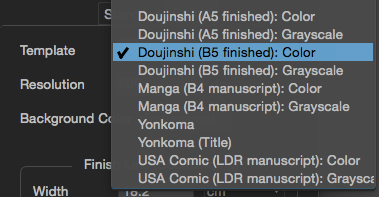
- The first method: selecting a template
You can select from Doujinshi, Yonkoma, Manga, or USA Comic.
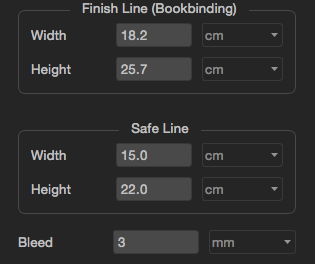
- The second method: choosing your own parameters
Here, you can choose parameters that are best suited to yourself.
❷ Choose the resolution.
❸ Choose the background color.
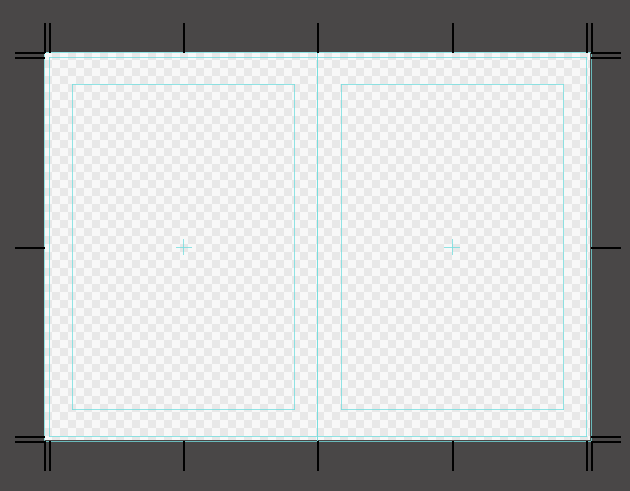
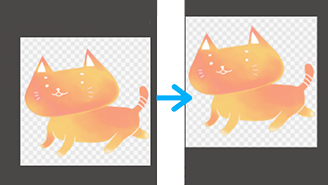
❹ If you want an opened book format like so:
Tick the Spread/Cover Page setting, and designate the parameters.
❺ Click OK.
(4) Creating a canvas by copying an image from the clipboard
This allows you to create a canvas from an image you’ve cut or copied.
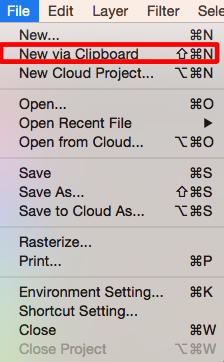
You can create one by selecting File > New via Clipboard.
(5) Creating a canvas by using an image saved to your computer
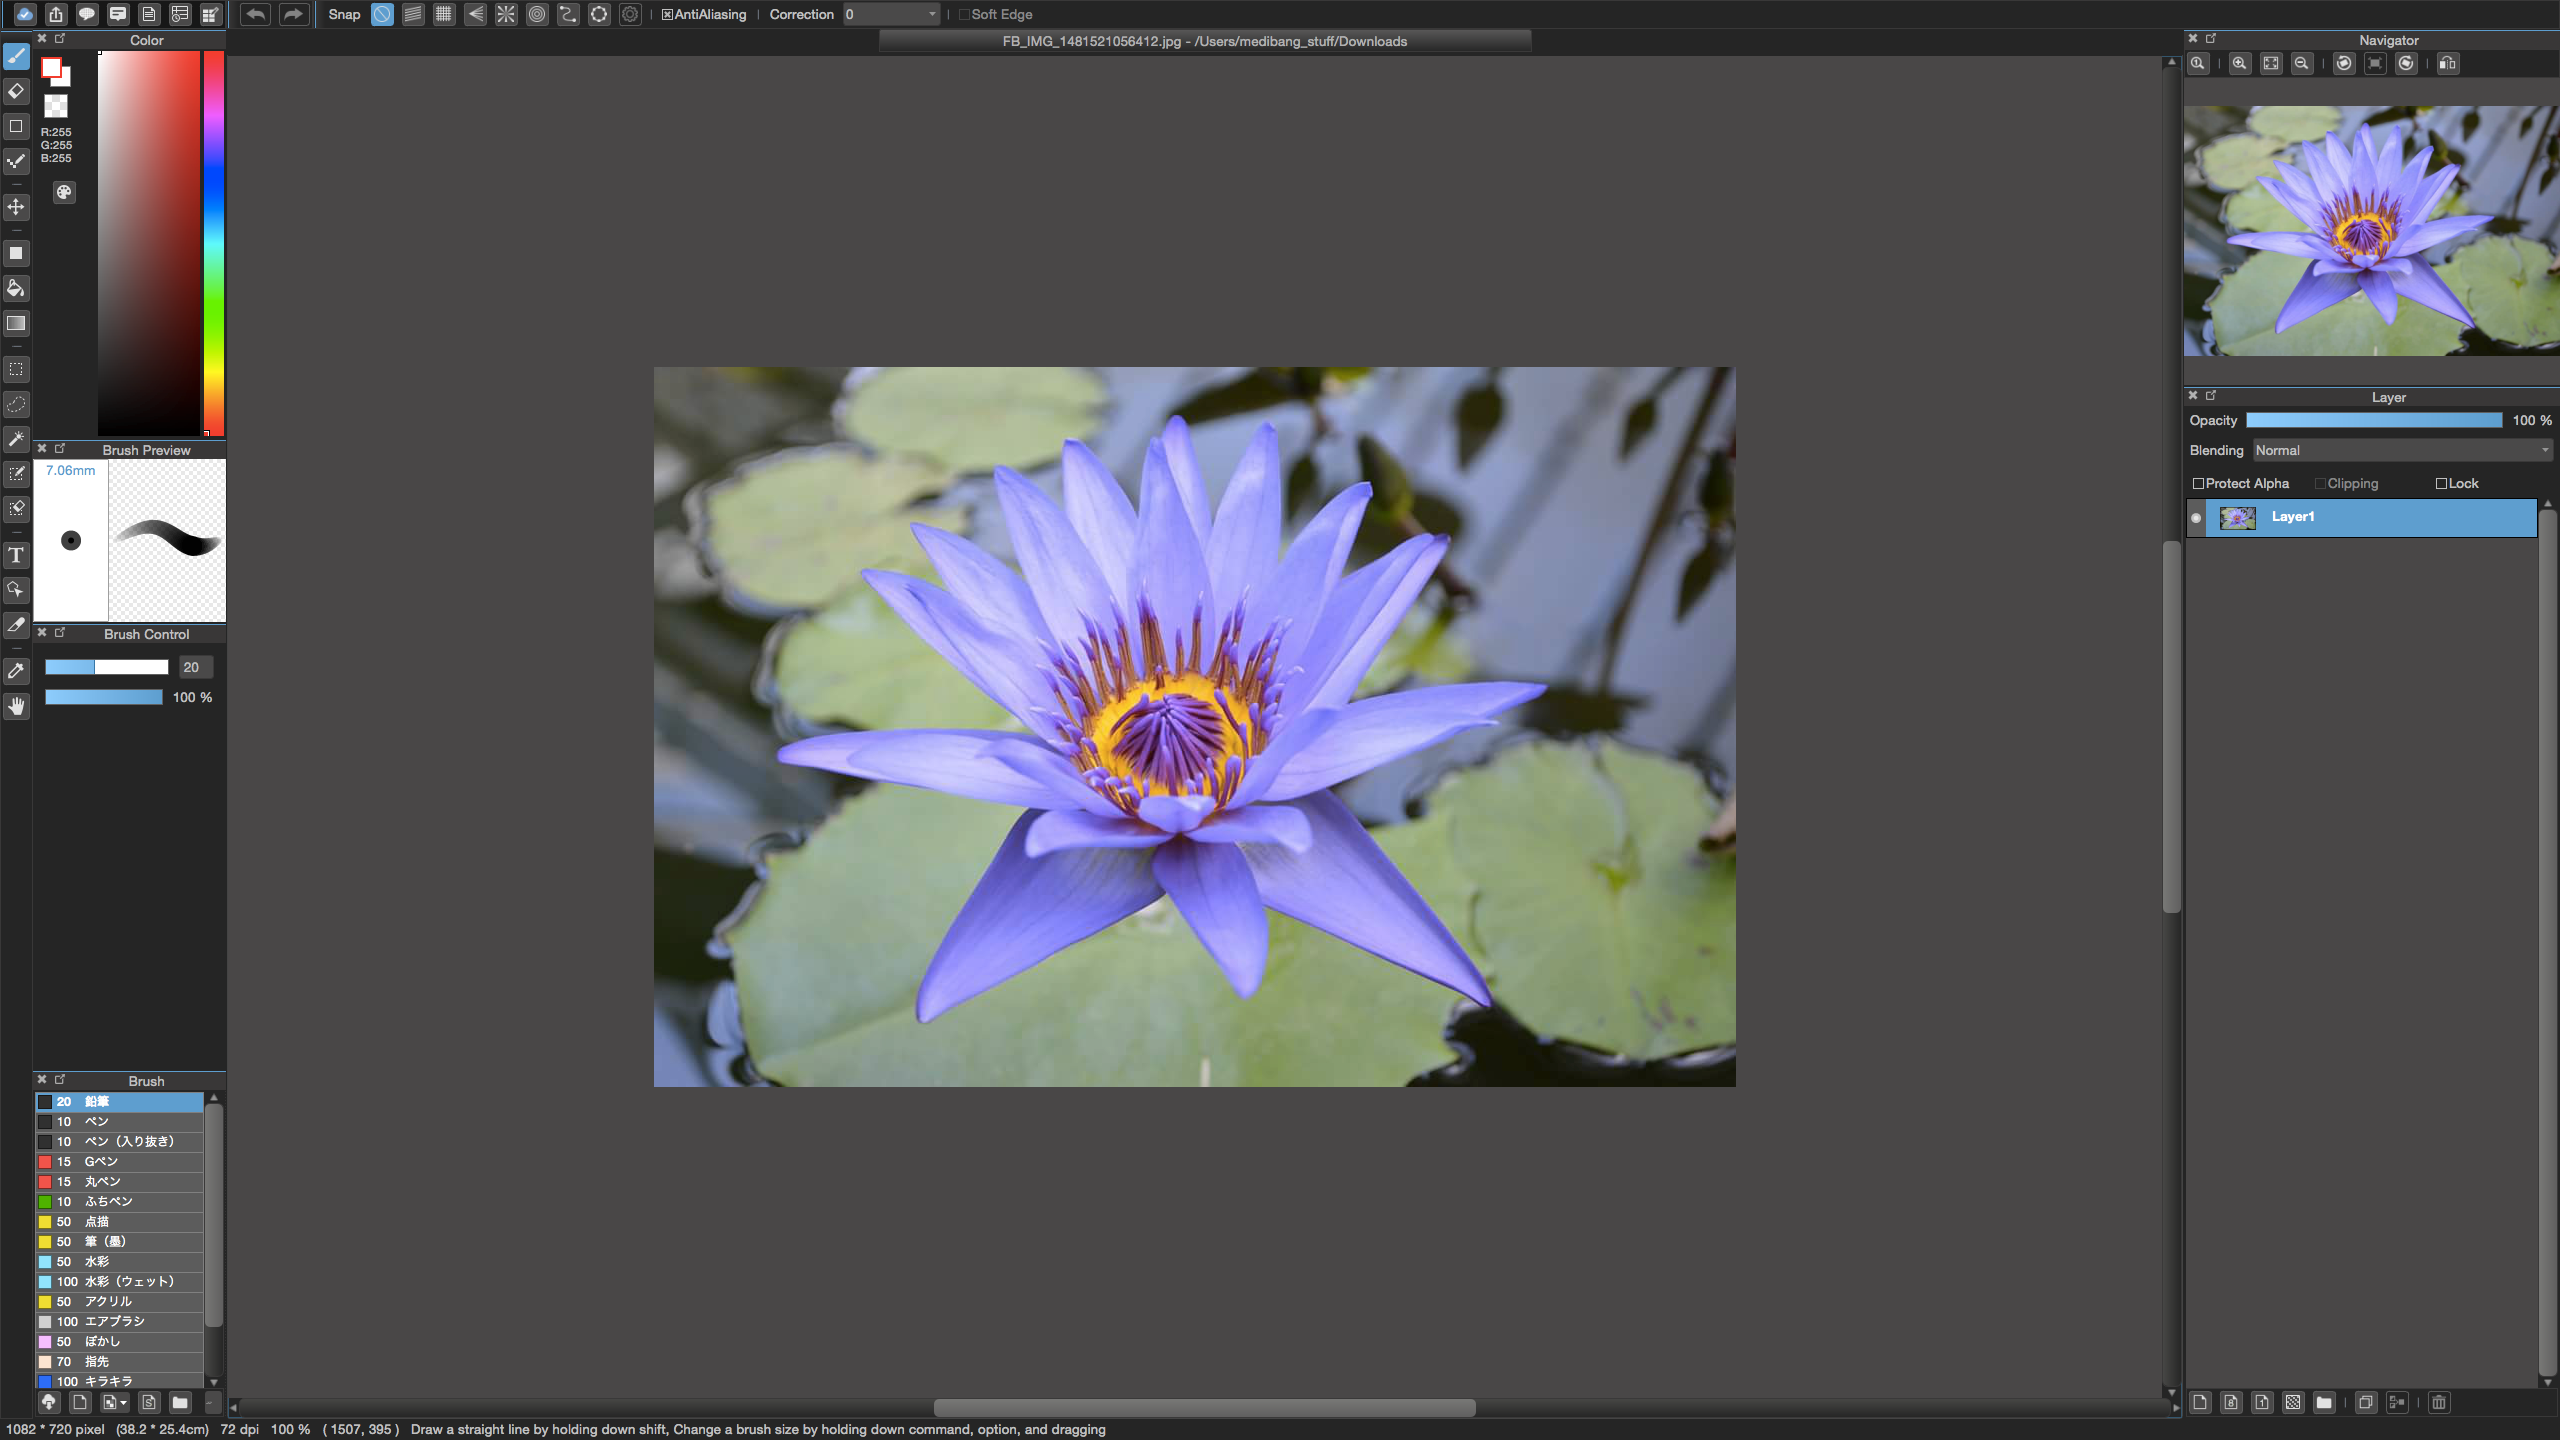
You can create a canvas by importing an image file (photos, illustrations, etc.) saved to your computer.
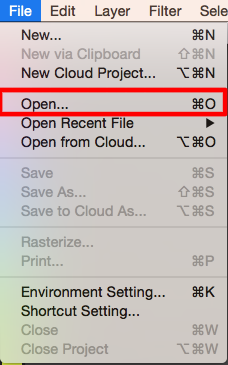
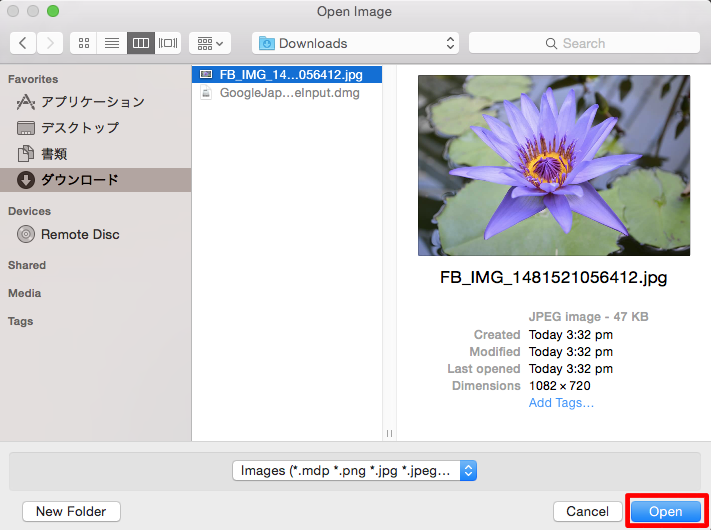
① Select File > Open.
② Click on the image file you want to use for your canvas, and click Open.
2. Creating a Canvas via Cloud Project
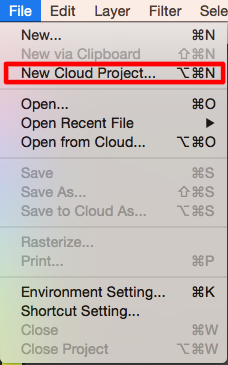
① Select File > New Cloud Project.
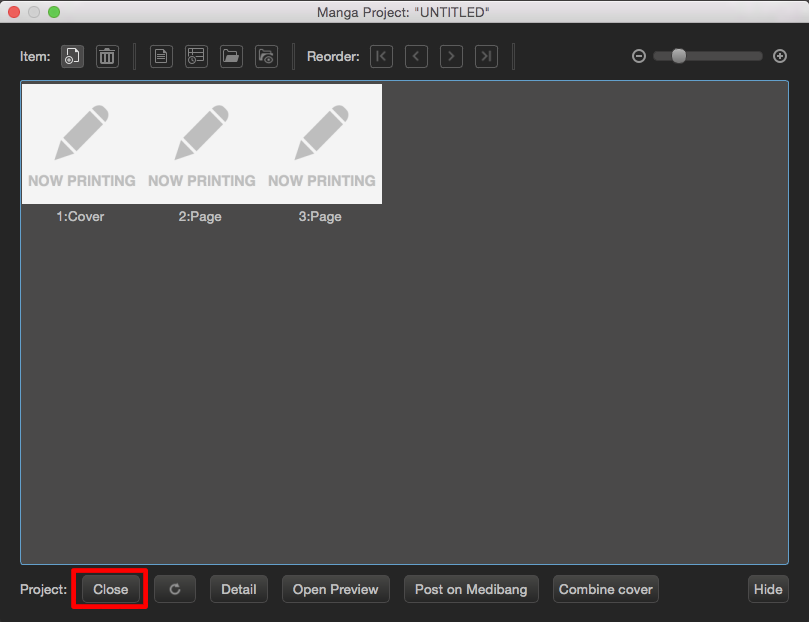
*You can only open one project at a time.
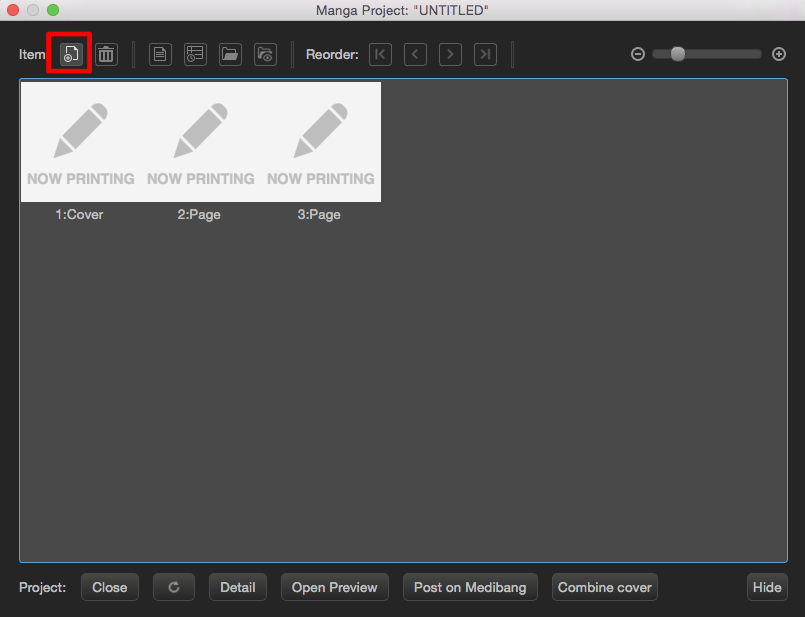
If you already have another project open, you can click on ![]() which will display the Project Panel where you can close the current project you have open.
which will display the Project Panel where you can close the current project you have open.
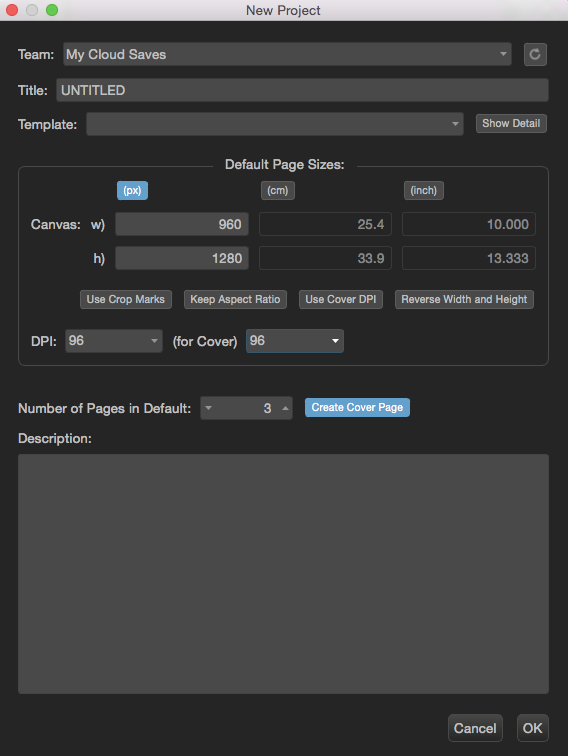
② Open the New Project Window.
③ Choose the Team you want to create.
*You can change it at any time.
④ Give it a Title.
*You can change it at any time.
⑤ Choose a template, and select the parameters for the manuscript.
If you want further details, click ![]() .
.
⑥ Clicking OK will create the project.
When ![]() is set to ON, 4 pages of blank canvas, including the cover, will be registered.
is set to ON, 4 pages of blank canvas, including the cover, will be registered.
Click Open on the page you want to draw on, or double-click on the page to open it.
Clicking Add will increase the number of pages.
\ We are accepting requests for articles on how to use /

