2020.05.18
Creating an Illustration Using the Grisaille Technique –Part 3–

This is part two of creating an illustration using the grisaille technique.
Last time, I colored the character.
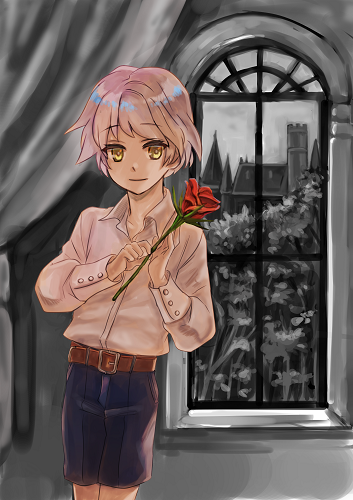
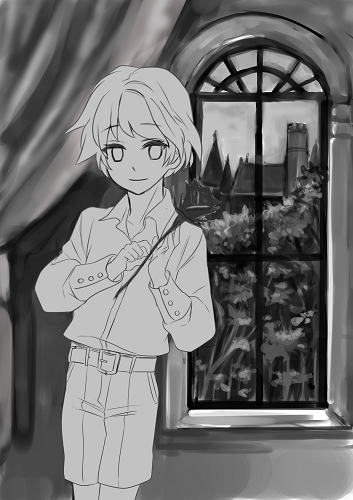
This time, I will color the background and adjust the lights and shadows of the whole illustration.
Coloring the Background
Let’s color the background.
Make a group to put the background layers in it.
Create a new layer above the background layer and set its blending mode to Overlay.
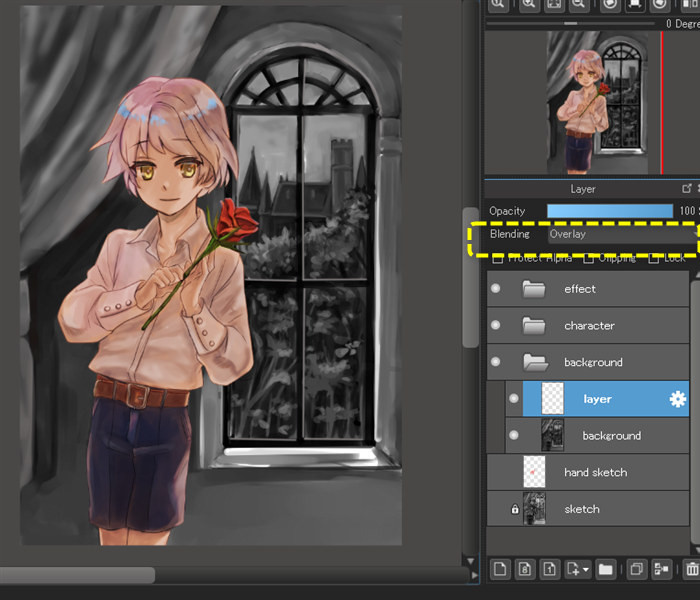
Color the entire background with a light brown color.
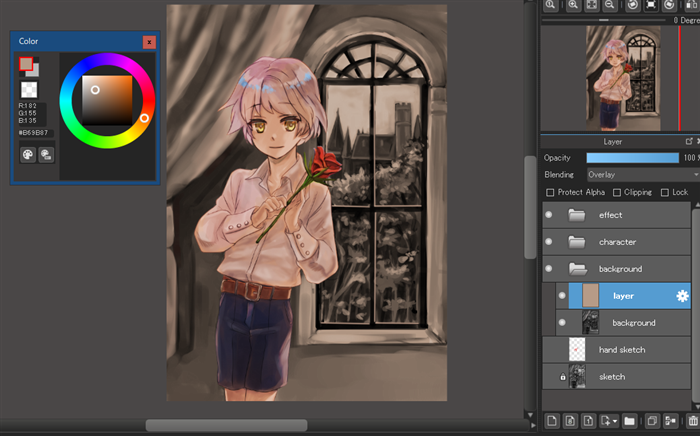
Then, create another layer and set its blending mode to Multiply.
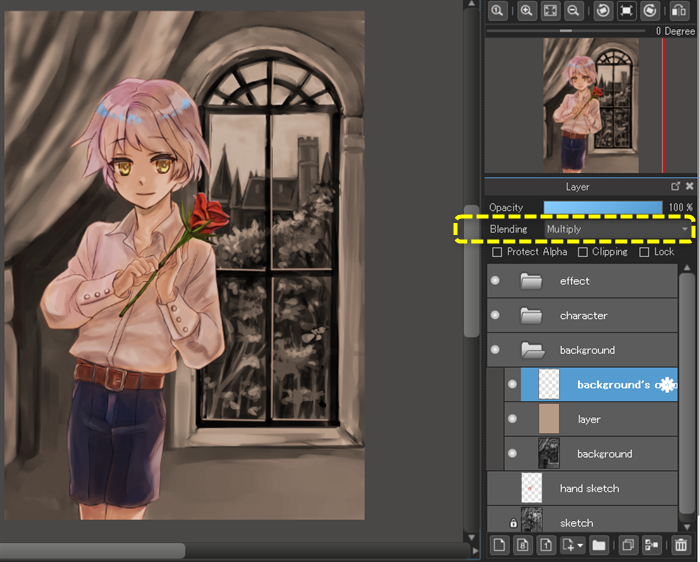
Color the background.
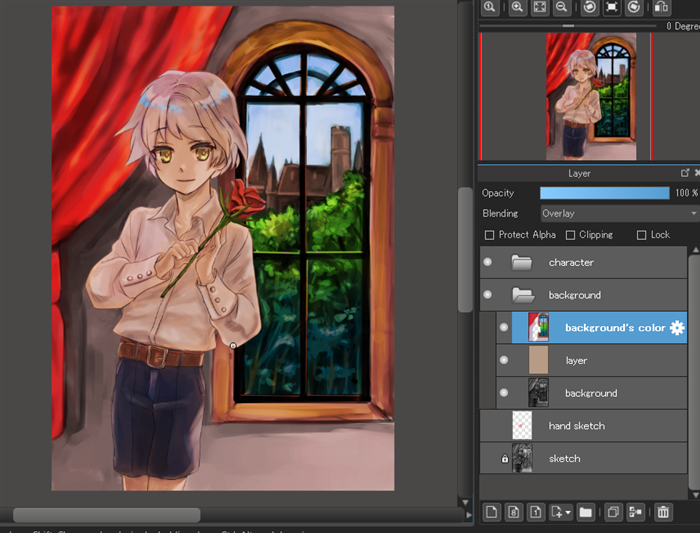
If I set the blending mode back to Normal, you can see how I colored each part.
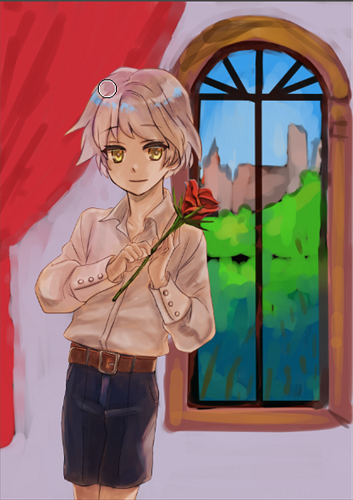
When I colored the character, I used Overlay, but for the background, I used Multiply to color each part.
Overlay increases the saturation, so the illustration will turn out too bright if I use it for both the character and the background.
That’s why I am using a Multiply layer for the background this time.
That’s it for coloring the background.
I wanted the background to be a little darker, so I created a new layer and set its blending mode to Screen, then I filled it with dark brown. (I set the opacity to 29%.)
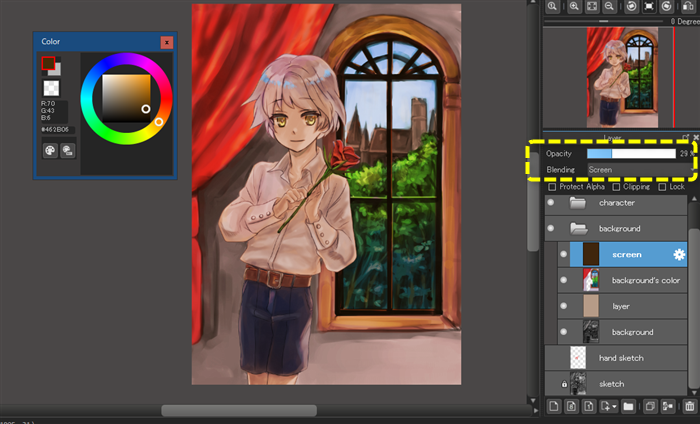
The background is done for now.
Next, I am going to adjust the shadows of the whole illustration, including the character.
General Adjustments
I will start by adding the indoor shadows and the light from the window.
Indoor Shadows
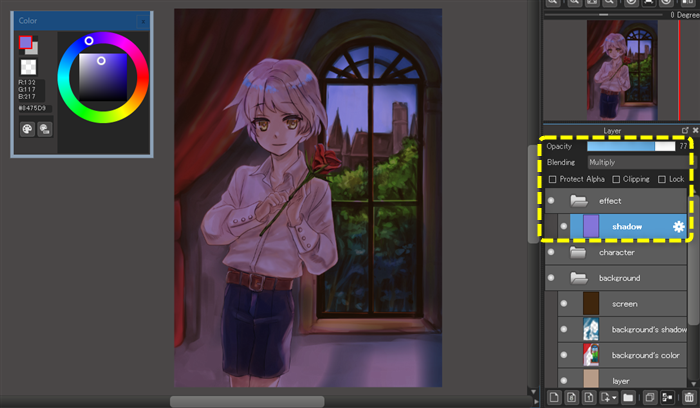
Create a new layer above the character group and set its blending mode to Multiply.

Fill the layer with a bluish color. (Set the opacity to about 77%.)
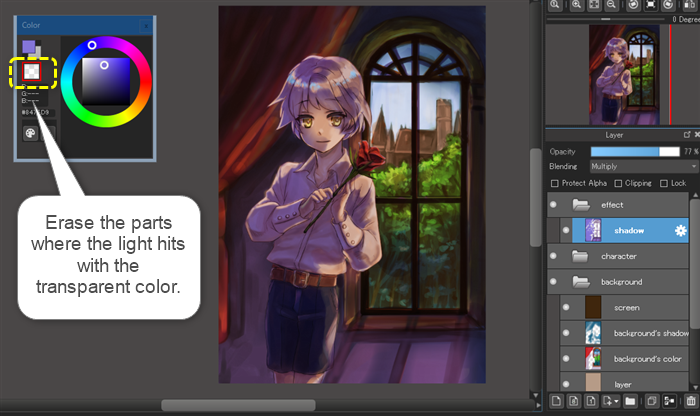
Erase the parts where the light hits with the transparent color.
Set the blending mode back to Normal and take a look at the painted parts.
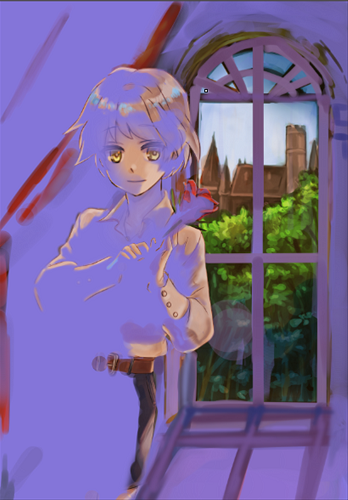
The face is hard to see when it’s shaded, so I removed the shadows around the eyes with an airbrush.
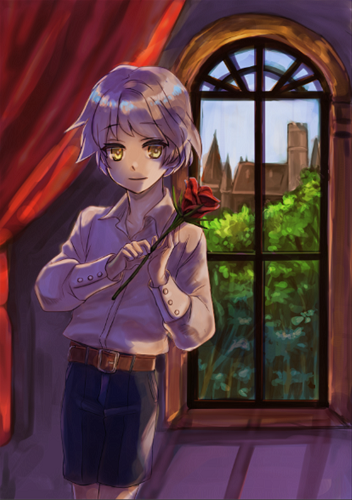
Create a new layer inside the character group and set its blending mode to Color Dodge.
Add the light on the edges of the character with a bluish color, and place this layer above the background shadows layer.
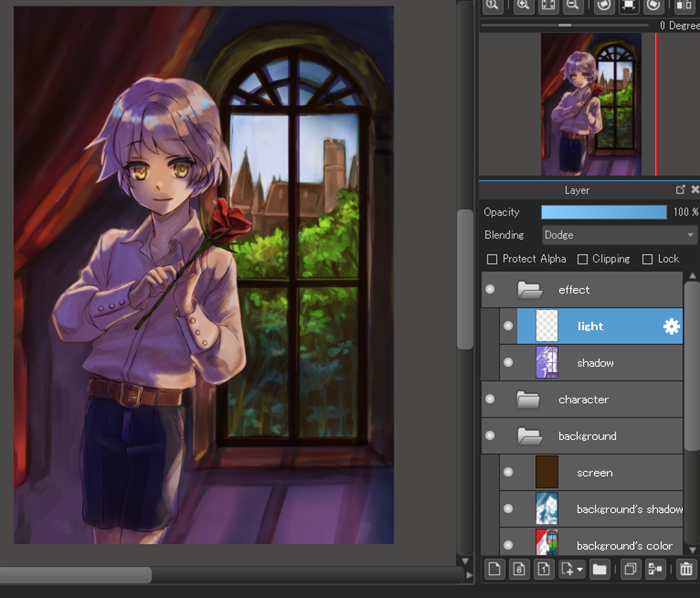
Darken the background shadows. (Set the opacity to 68%.)
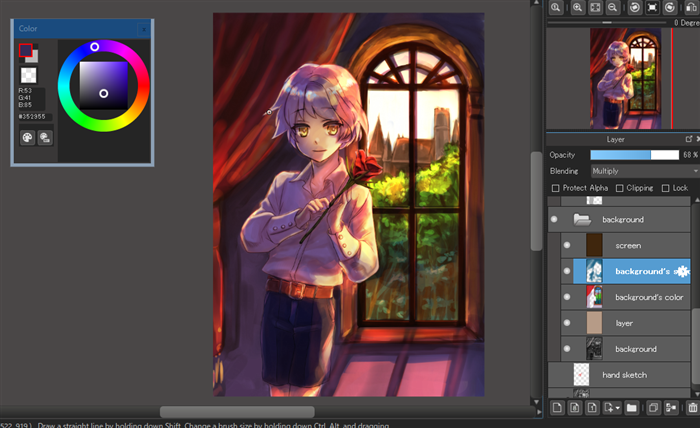
That’s it for the shadows.
Now, I am going to add the light from the window.
Create a new layer and set its blending mode to Color Dodge, then color the parts where the light hits.
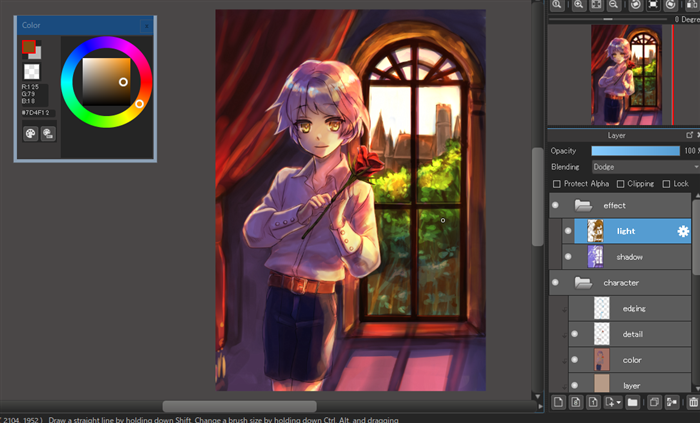
As you can see in the picture, if I set the blending mode back to Normal, these are the parts where I added the lights.
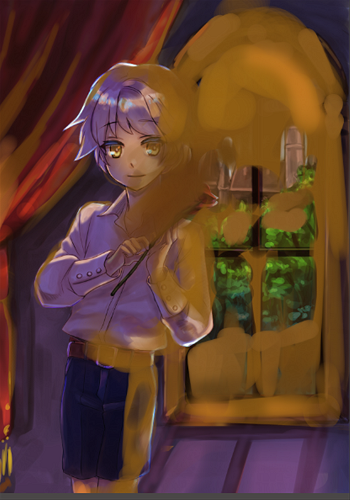
Next, I will add glass to the window.
Create a Color Dodge layer and paint the glass reflection with a light blue color. (I set the opacity of the layer to about 60%.)

If I set the blending mode of the layer back to Normal, you can see the parts where I put the lights.
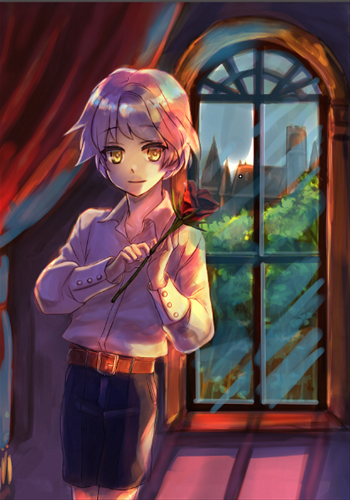
Now, I just need to adjust the light of each detailed part.
First, I will brighten the face a little using Overlay.
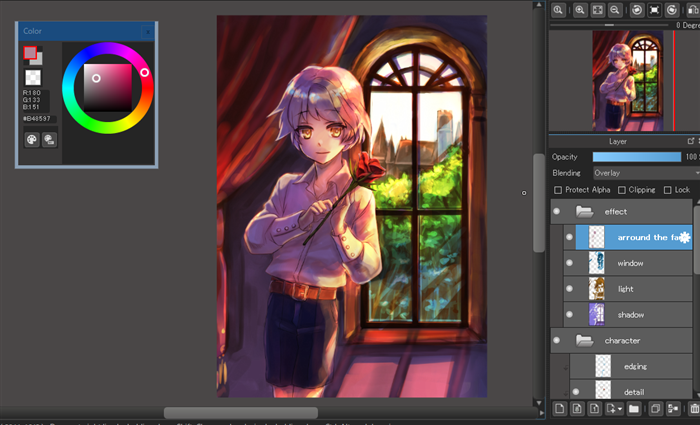
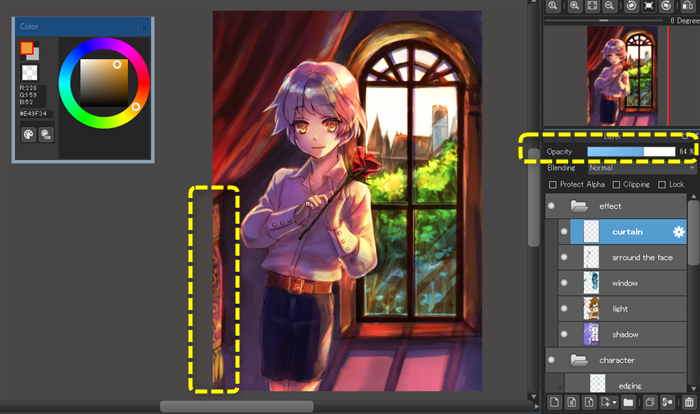
I will draw the pattern of the curtain on a Normal layer. (I will set the opacity to about 65%.)
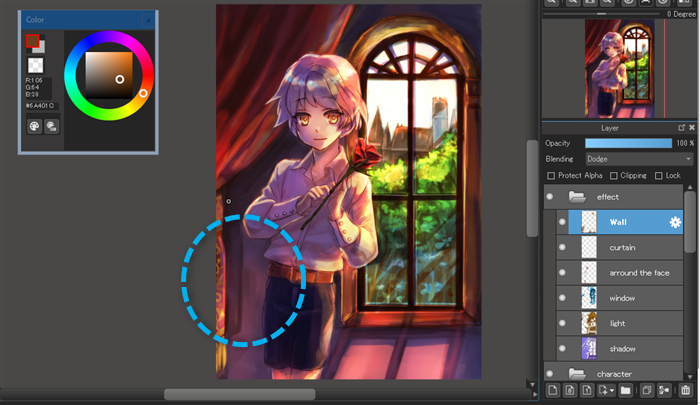
Finally, I will brighten the wall with a Color Dodge layer, and it’s done.
Using the grisaille technique makes it easy to color and shade.
You just need to determine the light source and make adjustments with Multiply and Color Dodge layers, so it’s very easy.
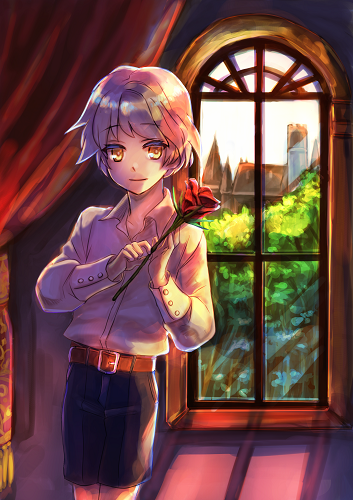
Please give it a try.
\ We are accepting requests for articles on how to use /

