2020.08.31
Useful for backgrounds and accessories! How to draw a checkered pattern easily
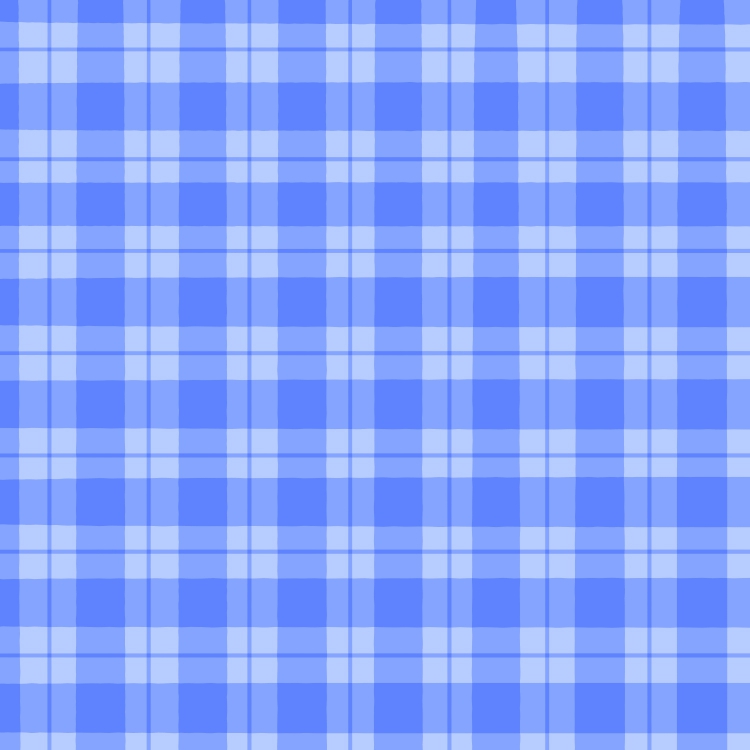
When you want to draw an illustration with a detailed pattern on a small item or an outfit, it looks gorgeous and elaborate, doesn’t it?
In this article, we’ll show you how to draw a checkered pattern, which looks complicated but is easy to draw.
In this article, we’ll show you how to draw a variety of checkered patterns, so you can make the most of them.
Draw with a ruler tool
First, use the Bucket tool to paint the base color.
Then select the Brush tool and select the “Cross” on the Ruler tool.
If you want to draw a diagonal pattern, select “Horizontal”.
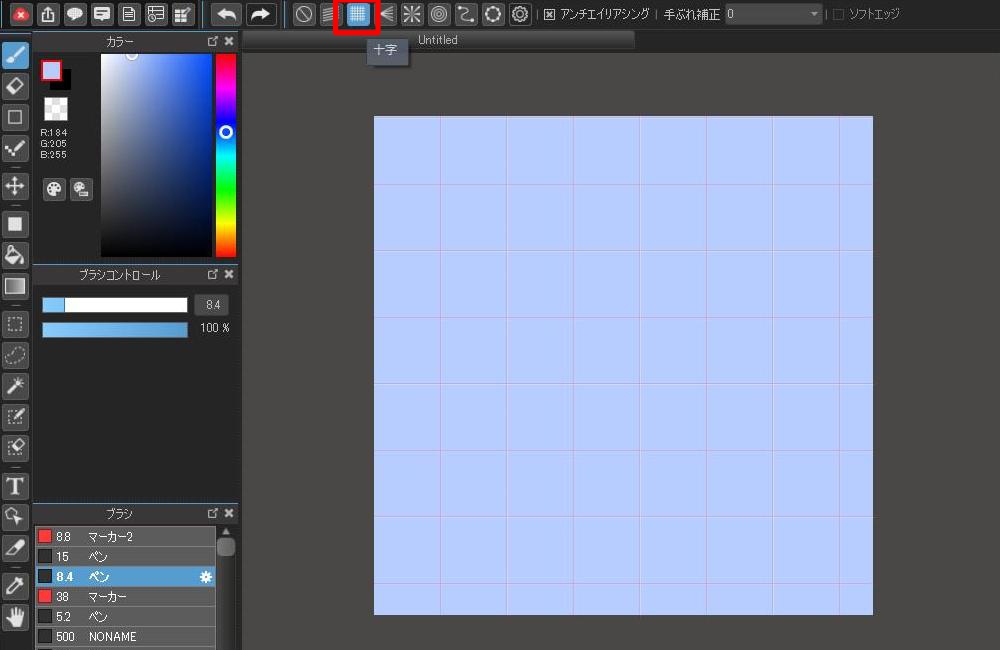
Create a new multiplication layer on top of the base layer.
Select any color and draw a horizontal line on the crosshairs with a pen set to a bold number.
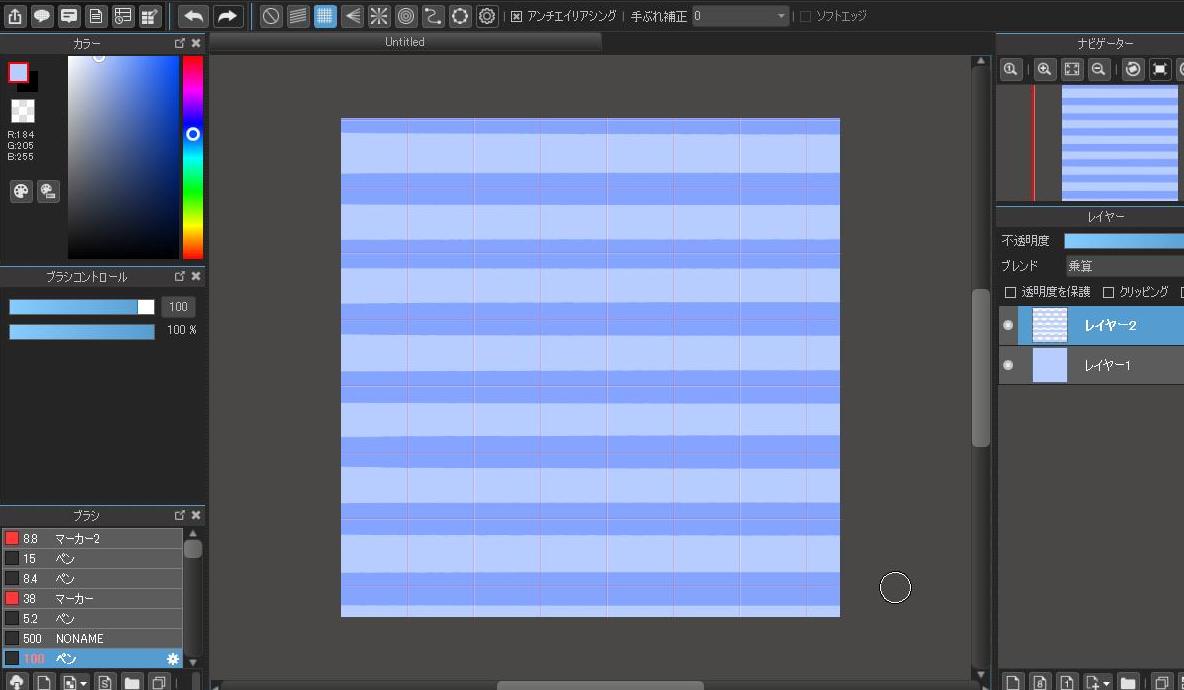
Create a new multiplication layer on top of the previous layer, and this time draw a vertical line.
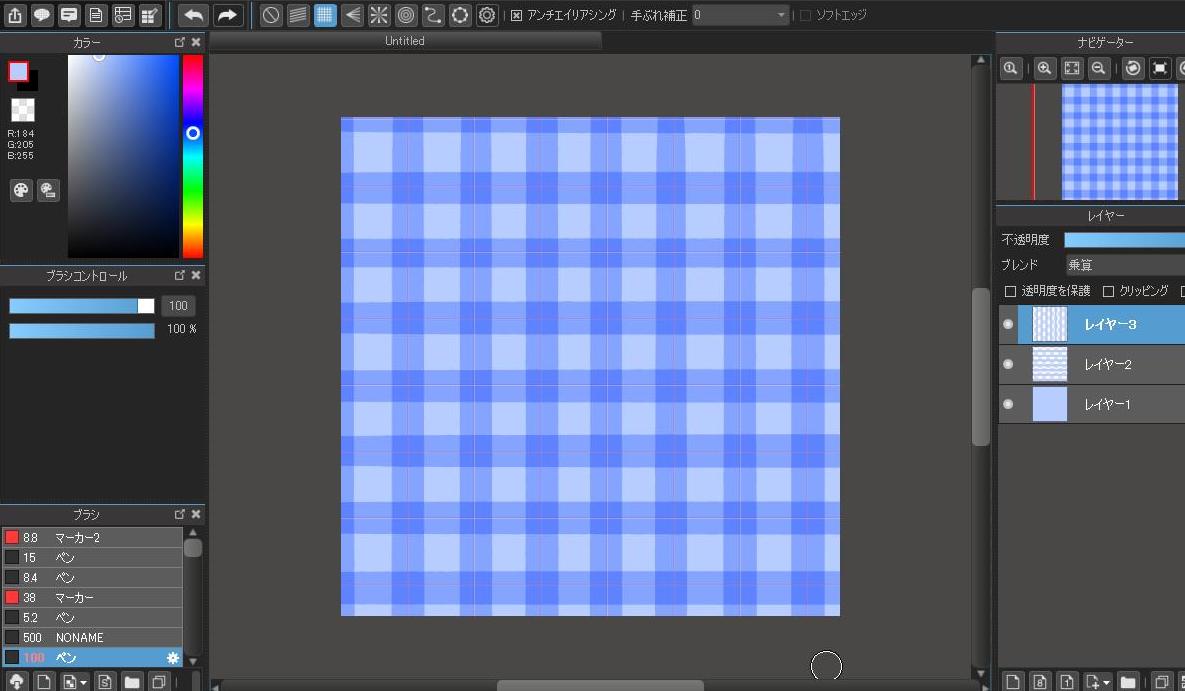
The basic check pattern is now complete. Let’s add a few more patterns from here.
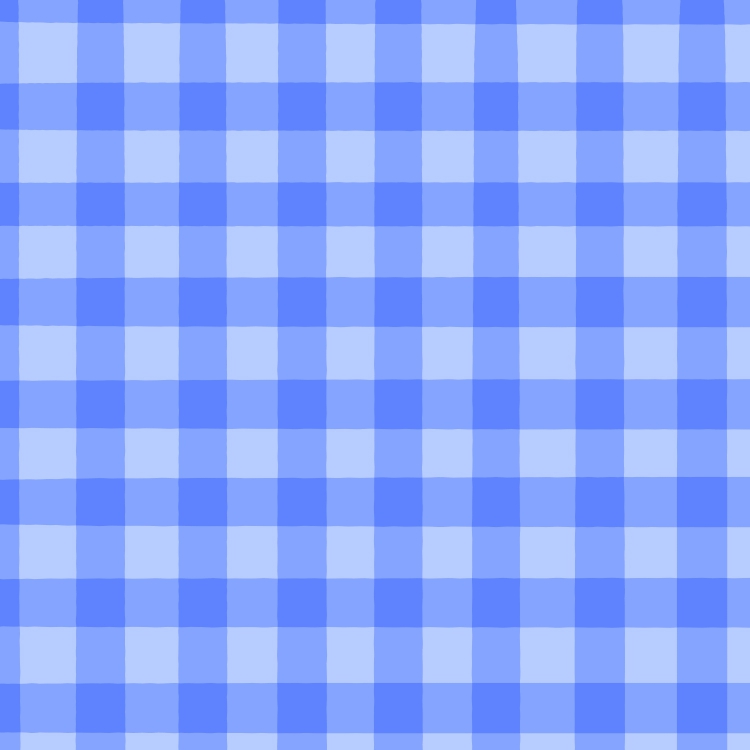
Create a multiplication layer and draw a horizontal line with a thin line exactly halfway between the lines you just drew.
Create a multiplication layer again and draw a vertical line as well, and you’ll have a slightly more complex check pattern.
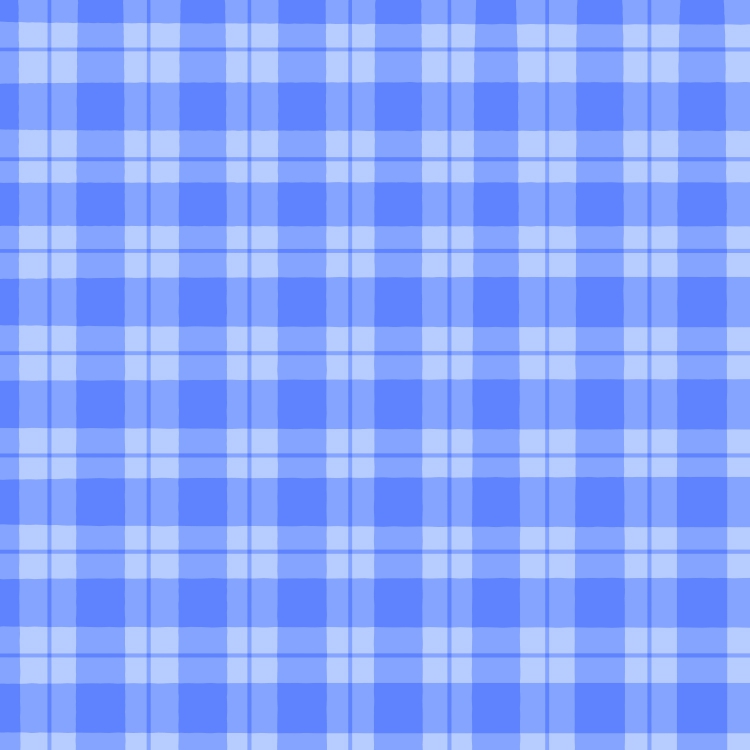
We recommend using the checkered pattern made with only straight lines as a background.
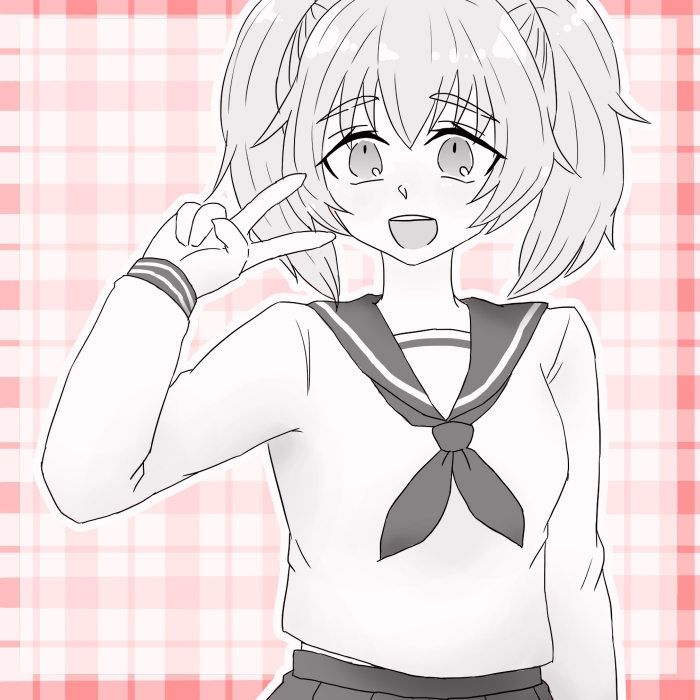
Drawing by hand
The basic drawing method is the same as using the ruler tool, but remember to clipping all the multiplication layers to the underlying layer.
When drawing by hand, keep in mind the three-dimensional effect (e.g., the shape of the material and wrinkles in the case of cloth).
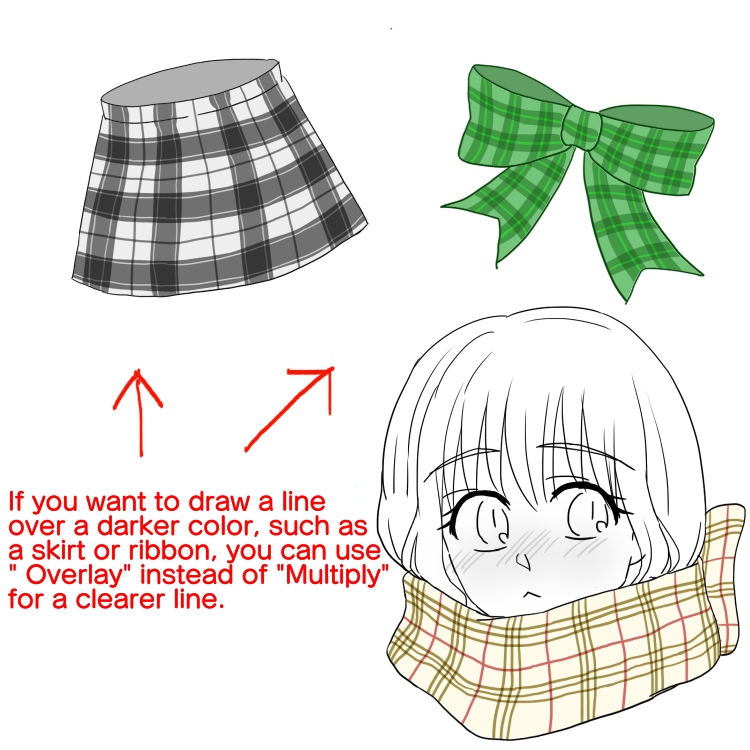
There are many different types and colors of checkered patterns, so you can use the objects around you as a reference.
Once you learn how to draw them, you can apply them to many things, from scarves, neckties, and glasses to skirts, shirts, aprons, and other clothes, and you’ll be able to draw stylish illustrations in no time.
\ We are accepting requests for articles on how to use /

