2020.08.21
Easy fisheye lens processing with mesh deformation
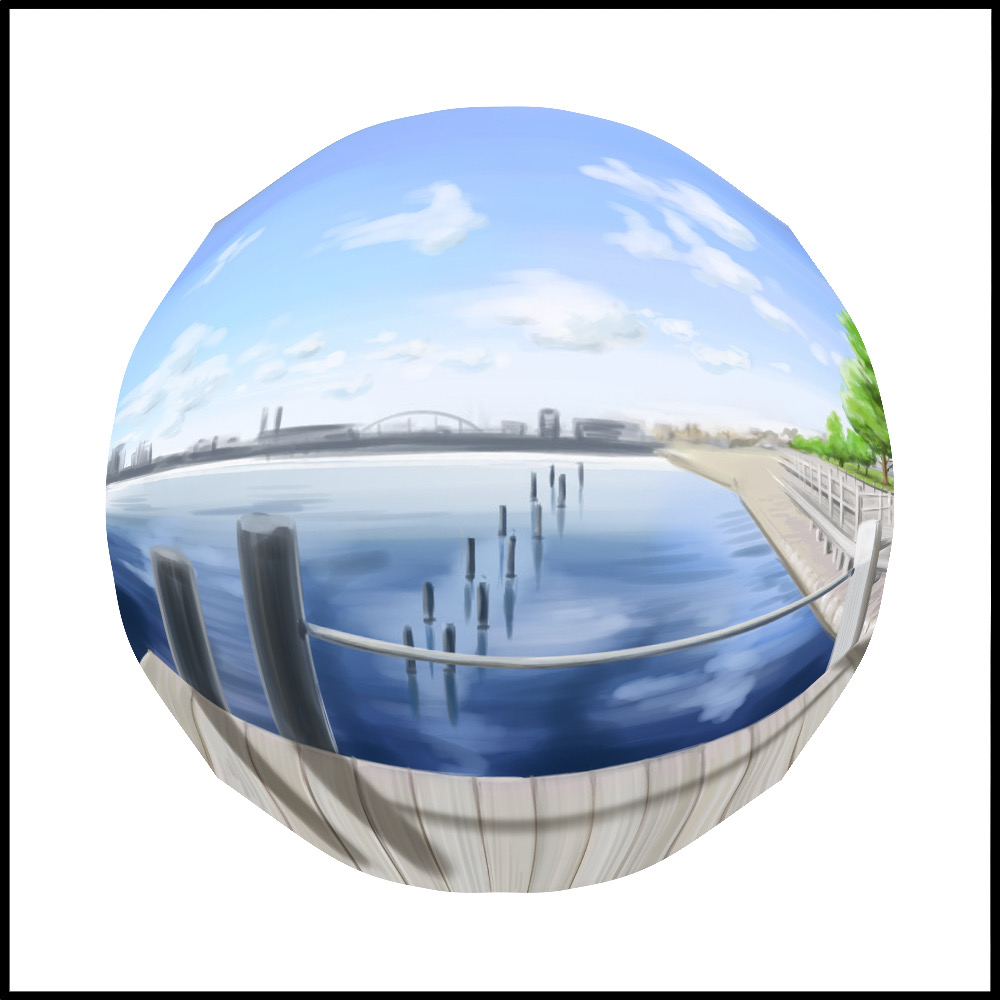
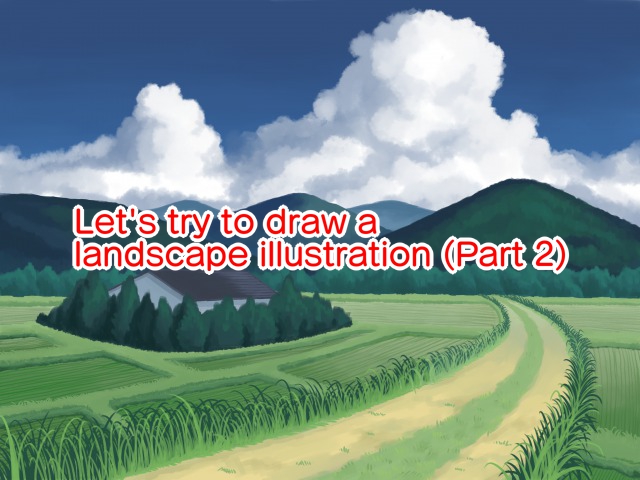
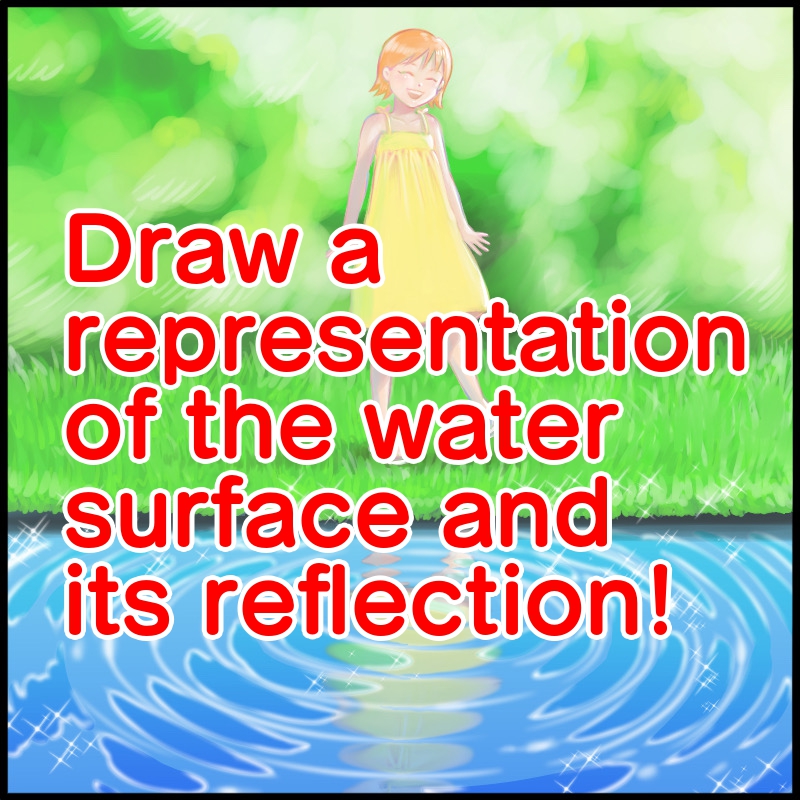
Have you ever heard of a fisheye lens?
The round, curved landscape looks very cool as if it were peeking out of the water
Perfect for a summer backdrop or one scene!
In this article, I’ll show you how to create a fisheye look with the Transformation Tool, which is easy for anyone to use.
Prepare the image
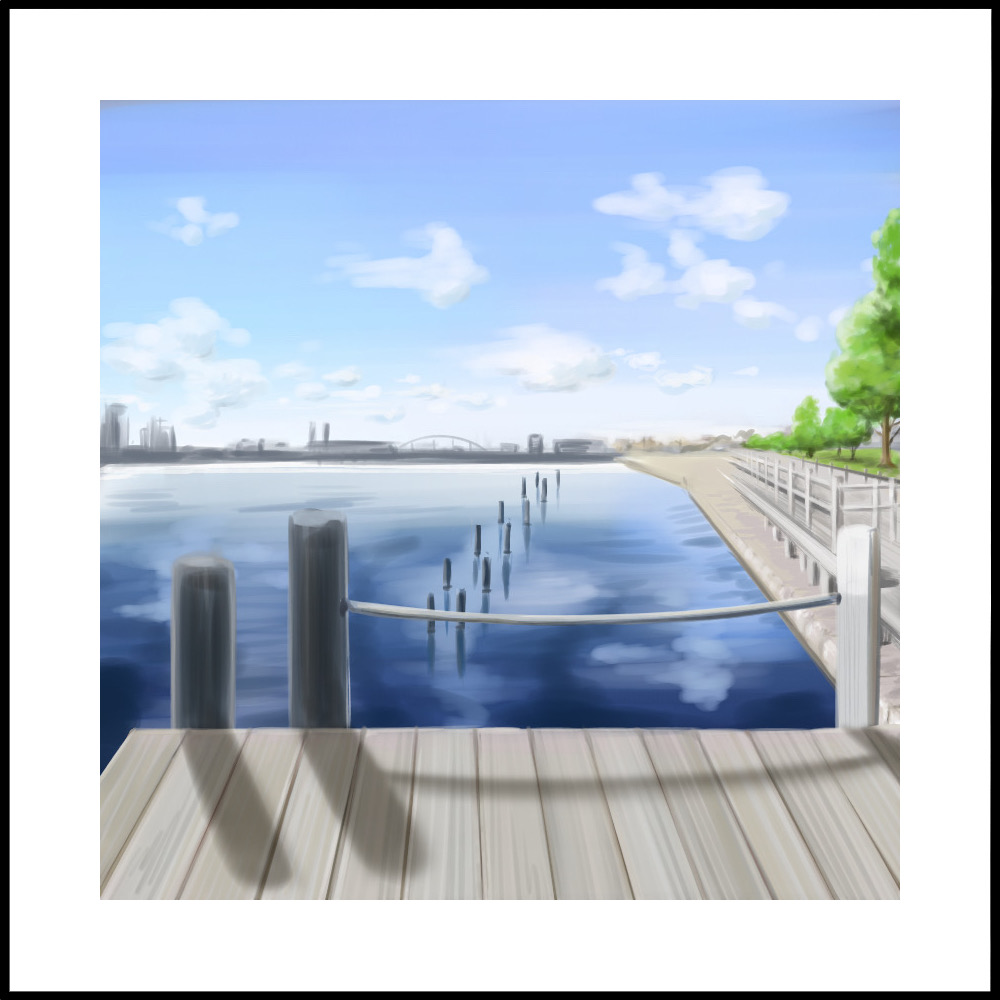
First of all, prepare the image you want to process in a fisheye style.
It doesn’t have to be square, but too much horizontal or vertical curvature will make the image look too curved.
Set the canvas a little larger than the image.
Guide Line 1
Next, draw a guide line (1) on a new layer.
Create a selection by using the selection tool (ellipse) and move it to the center of the image.
Use the “Selection Menu” and “Draw Selection Boundary” to draw a circle.
The size and position of the circle can be approximated.

Guide Lines 2
Place another new layer and draw a crosshair so that it is inside the guide line (1).
Again, it doesn’t have to go exactly through the center of the circle.
You can use the crosshair ruler in the ruler menu to draw a clean line.
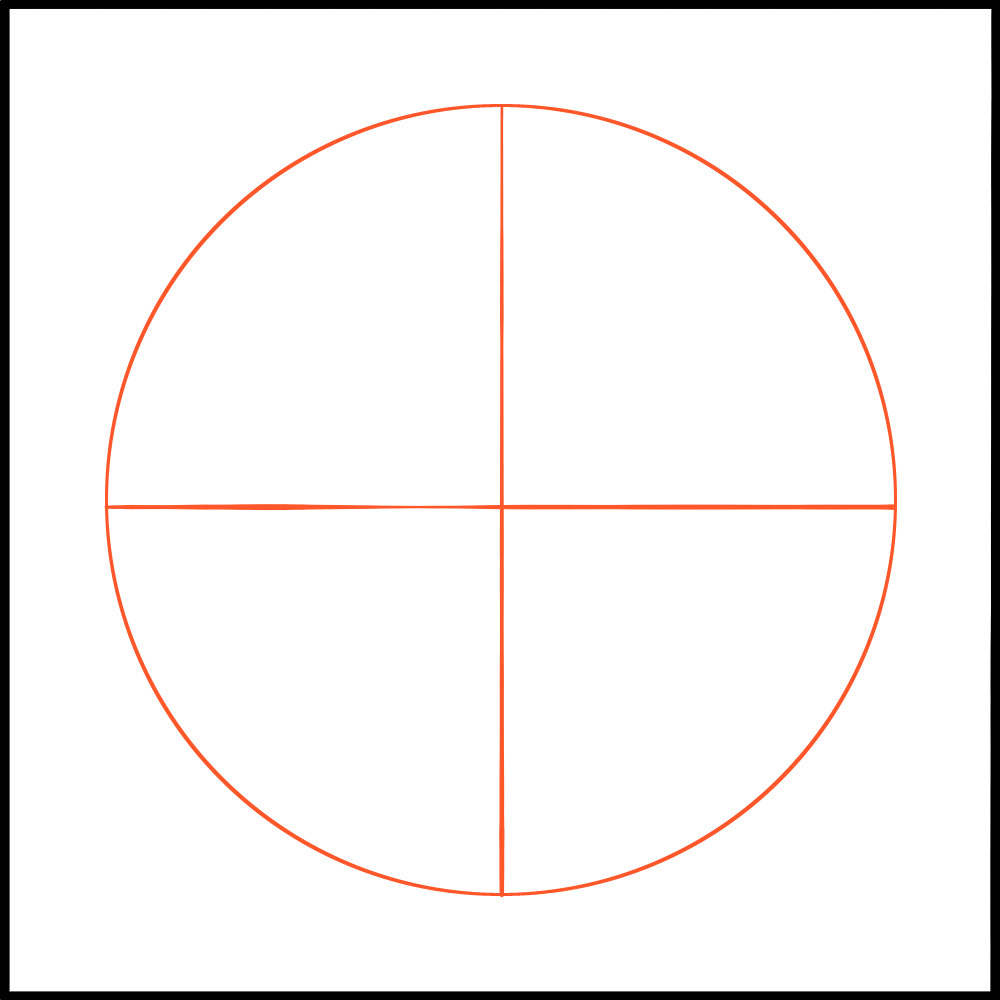
(The image hides the illustration you want to process for clarity)
Mark the cross
.
Next, divide the area that hits the radius of the circle into three parts.
Make it long near the center and shorten its length as you move outward.
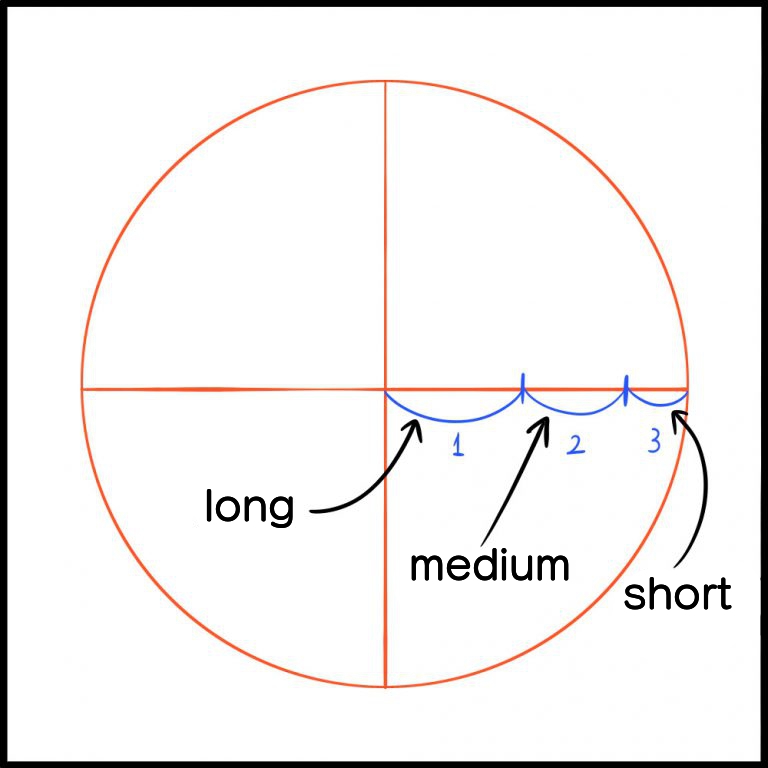
Guide Line 3
Now let’s go back to the circle layer.
Duplicate the layer and enlarge it just a little bit. (About 5%)
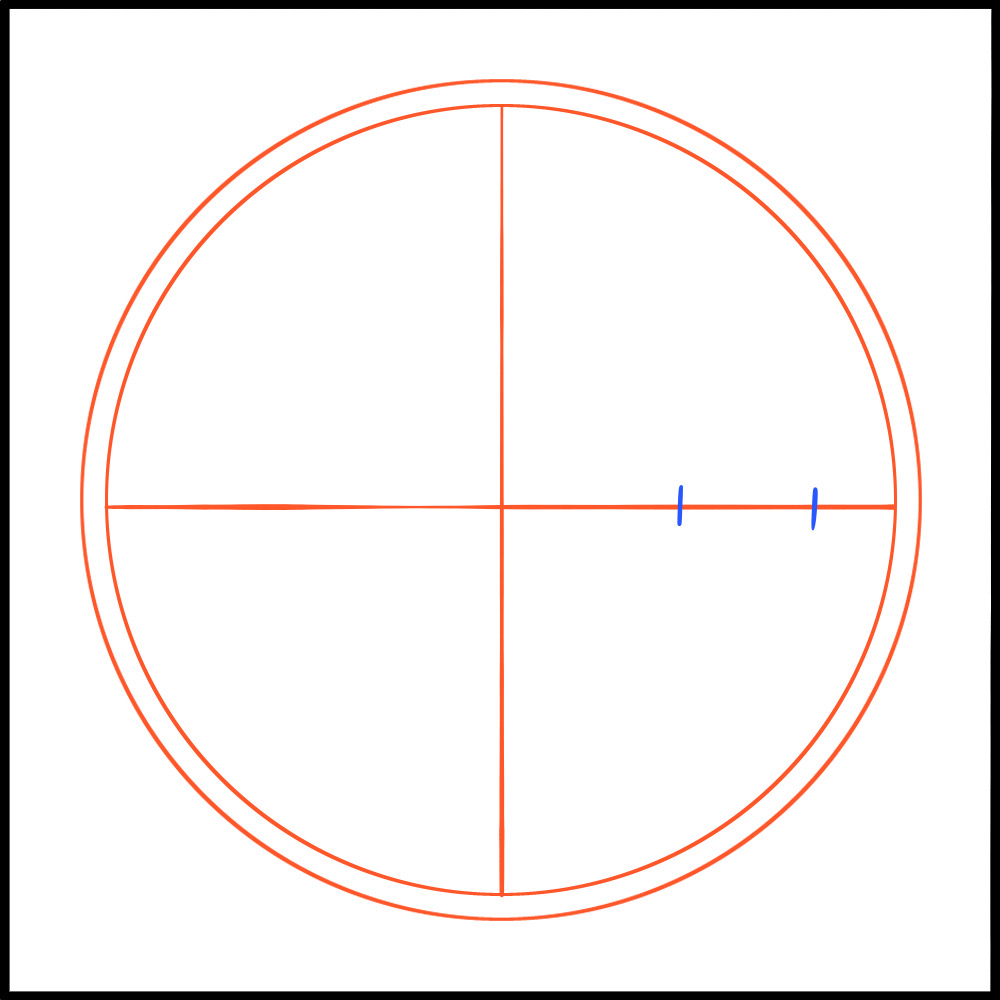
Use the Transformation tool to narrow the width to fit the mark.
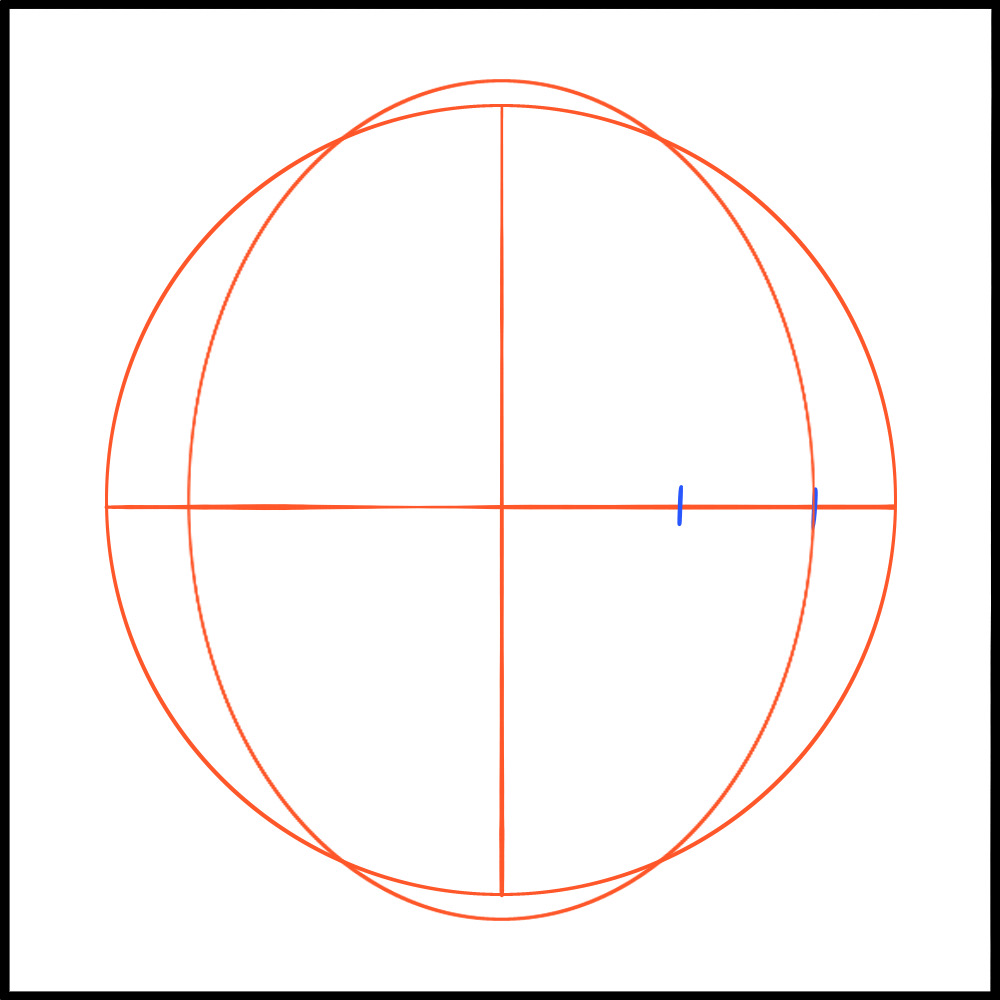
Duplicate this oval further.
Transform it to fit another mark in the same way.
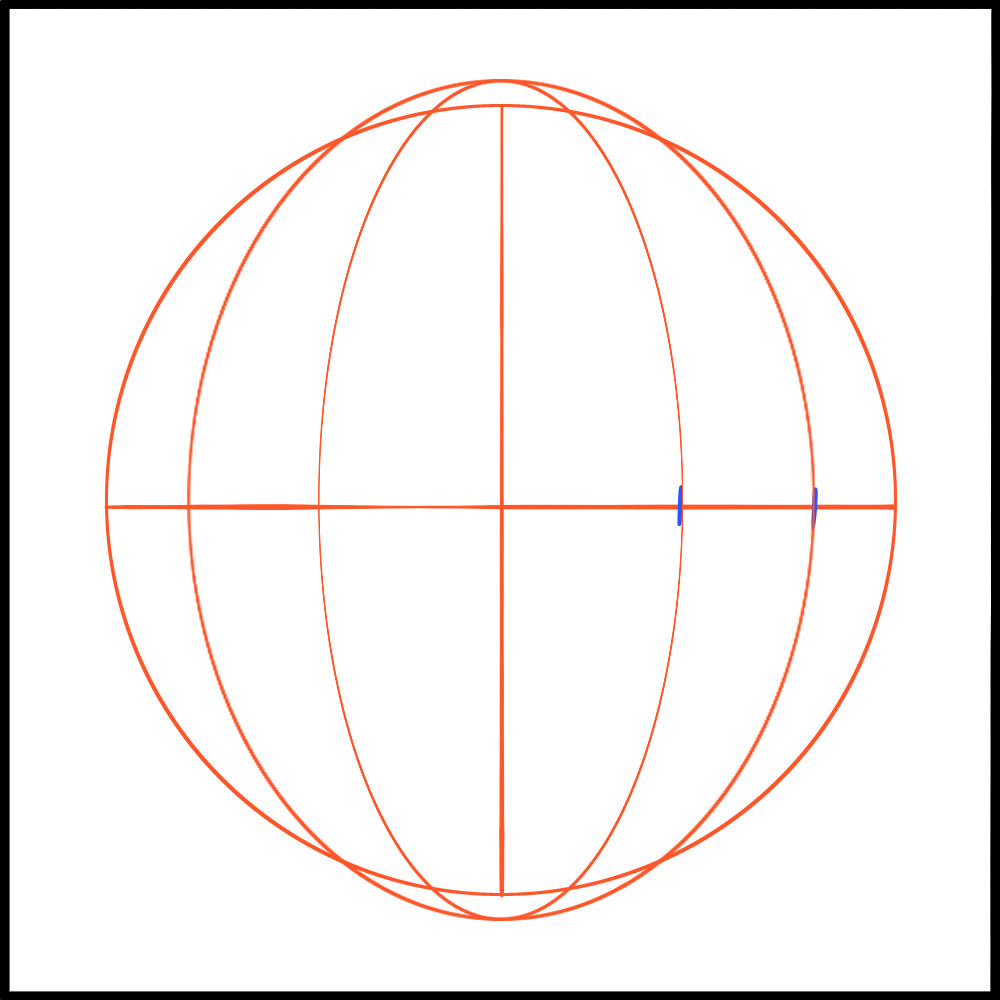
Join the two elliptical layers together and erase the overflow.
Then duplicate the layer and rotate it 90 degrees.
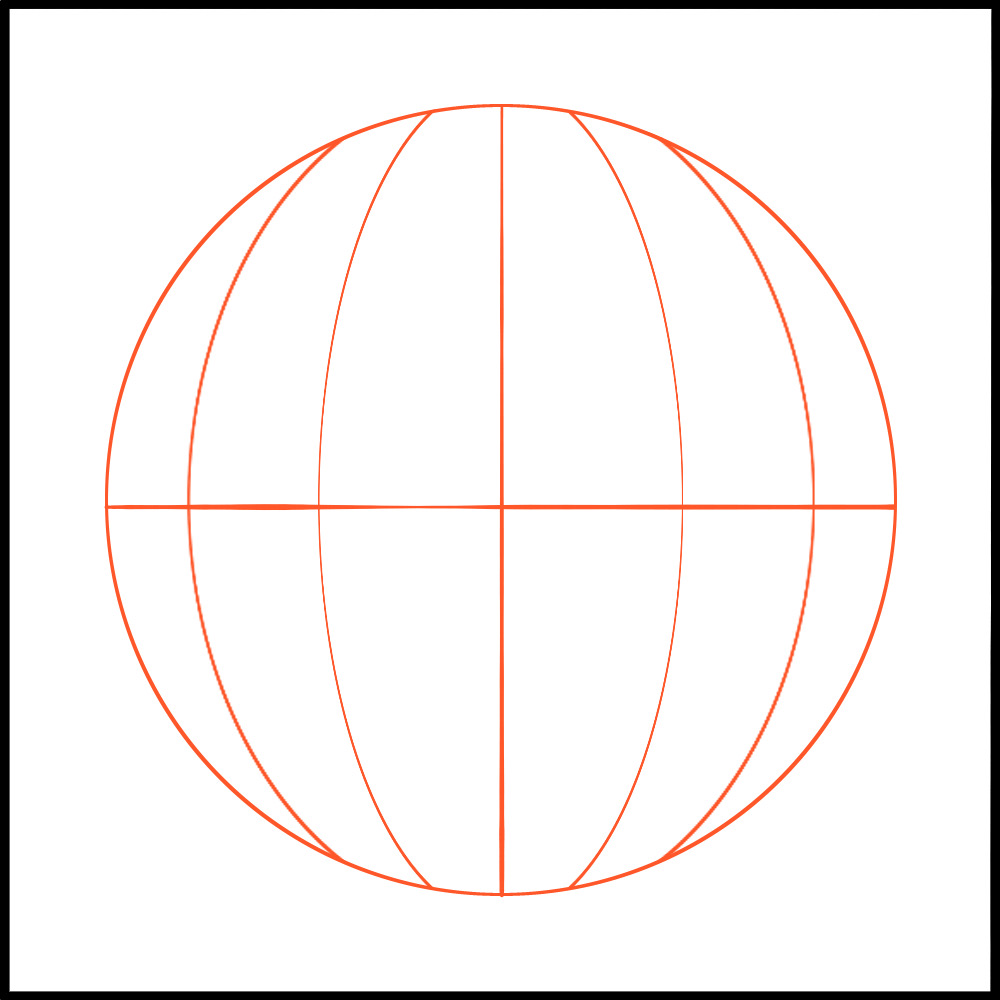
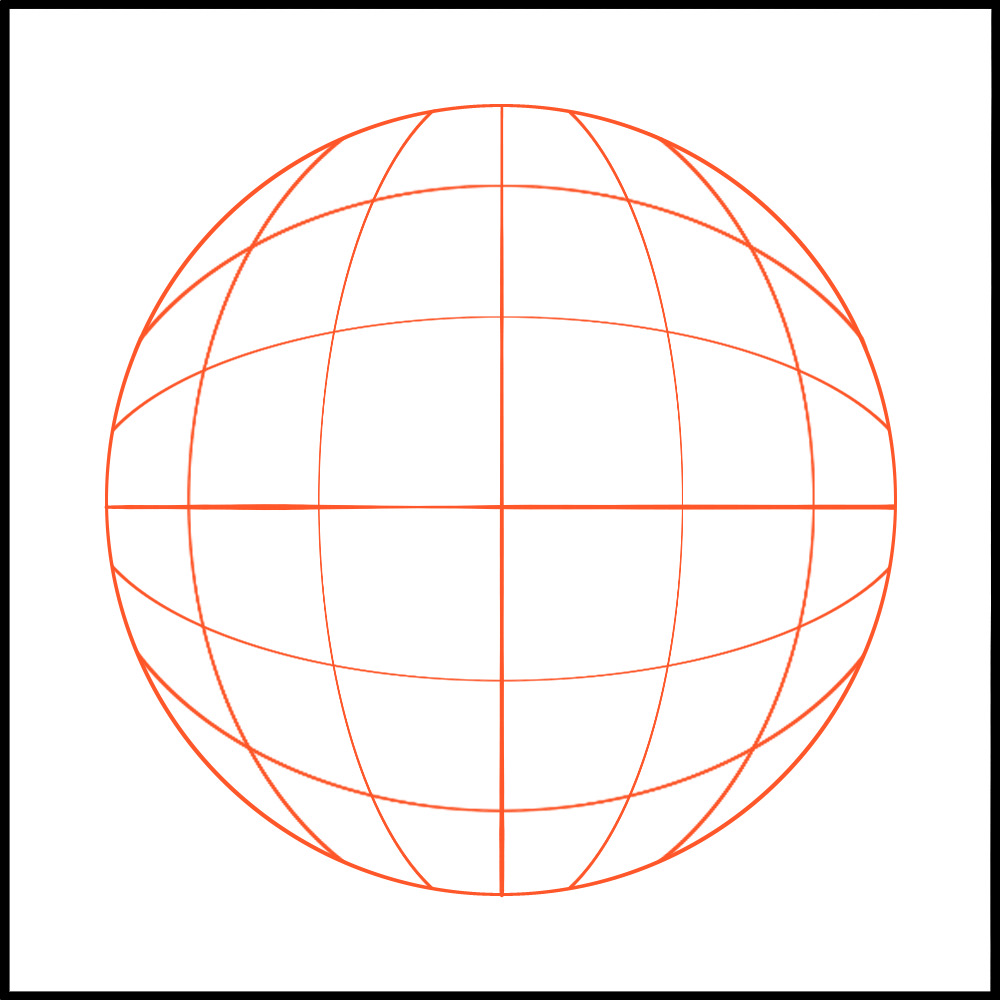
Now the guide lines are complete!
You can merge all the lines you’ve created.
Deform Image
Now it’s time to start transforming your image.
Go to the layer of the image you want to transform and select “Transform Mesh” in the Transform tool.
If you set “Divide Width” and “Divide Width” to 6, the following points will appear.
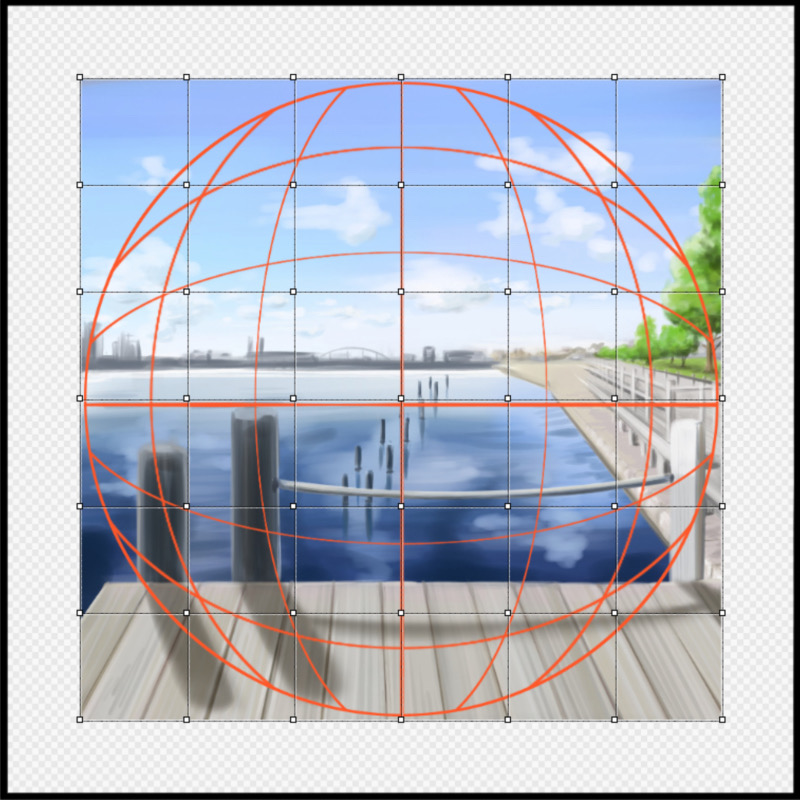
Align each of these points with the closest point of intersection of the guide lines.
At this point, the four corner points are placed on the line so that they are centered at the end of the line, since there is no intersection point that fits.
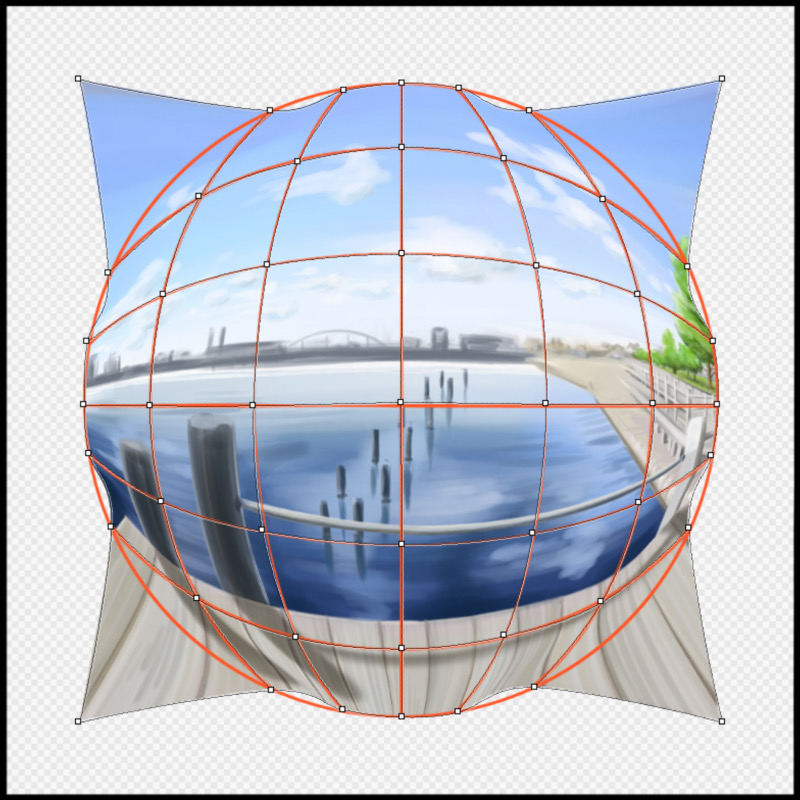
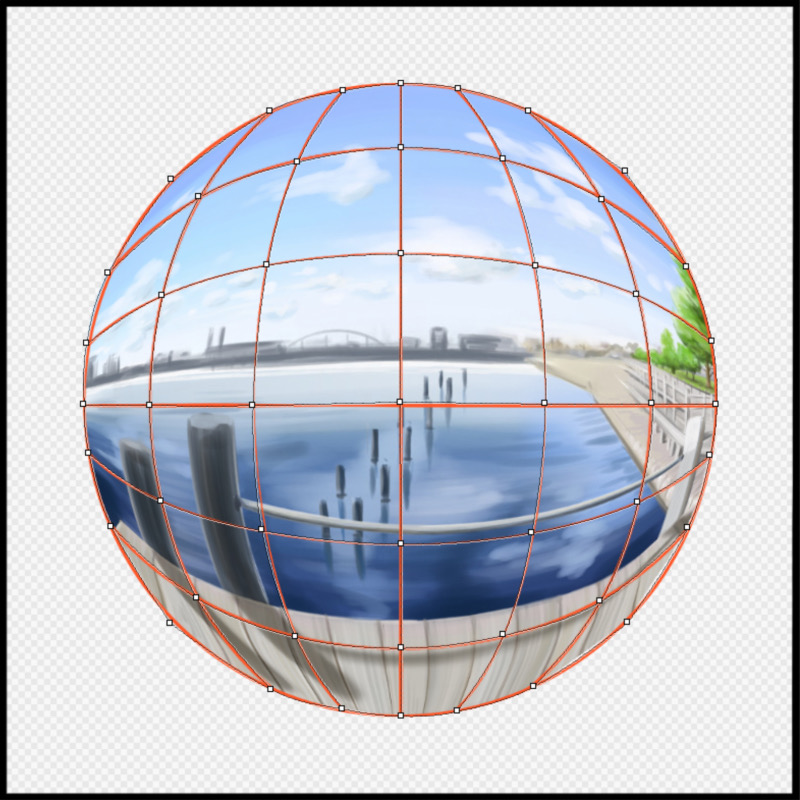
Once you have all your points aligned, press “Done”.
Now you have a fisheye lens-like effect.
Now you can edit it as you like, such as by keeping it circular and fitting it into the lens, or cutting it into a square.

What did you think?
An ordinary landscape illustration turned into a fresh landscape all at once!
The higher the number of “vertical divisions” and “horizontal divisions”, the greater the degree of curvature.
If you know how to deform a mesh, you can apply it to more complex deformations as well.
It’s a great summer illustration, so give it a go!
\ We are accepting requests for articles on how to use /

