2021.02.26
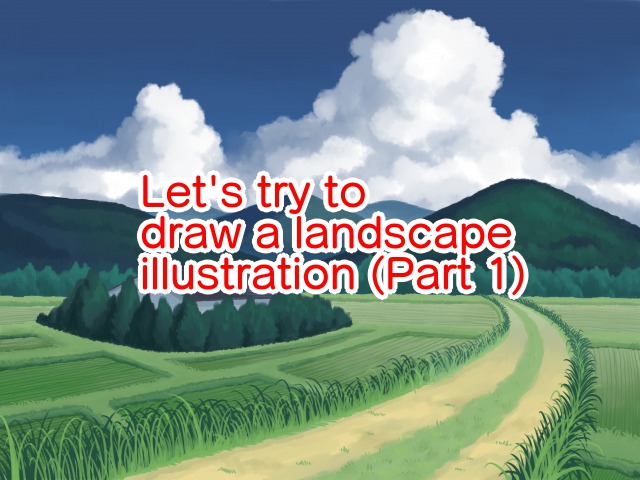
Let’s try to draw a landscape illustration (Part 1)


In this article, I’ll show you how to draw a nostalgic countryside landscape!
You may have an image that “landscapes seem difficult…”, but I’ll explain it to you in detail, so you can give it a try! I hope this will be your first step towards landscape illustration.
Preparation
1−1Preparation of brushes
First, let’s set up the brushes we will use.
We’ll be using four types of brushes: watercolor, pencil (rough), flat brush (wet), and moko moko watercolor 3.
To add a brush, open the brushes and click the + button in the upper left corner.
Select the brush you want to add and click “Save” in the upper right corner to complete the process.

First we need to set up the flat brush for the mountains and trees!
The areas to be changed are the size and the area inside the red square (drawing interval and blending ease).

Use the watercolor brush for the sky and for the grass!
I want to paint the sky lightly and the grass clearly, so I made the following changes.
(The changes are opacity and blending ease.) (Change the size as you wish as you paint.)

The cloud brush is used as is, so no changes!
1-2 Simple placement method
When you are trying to draw a natural landscape, you often find that you cannot think of a good composition.
In such cases, it is good to be aware of the division of the screen.
In general, the picture is divided into nine parts with four lines.
But nine is a lot, so this time I’m going to try drawing with two horizontal lines!

Having said that, how to use this line, you can easily draw a good composition by placing the horizon line on the bottom line as shown in (1) if you want the sky to be the main subject, or as shown in (2) if you want the rice field or ground to be the main subject!

In this case, I wanted to have a good overall balance, so I’ll divide the ground, mountains, and sky into exactly three parts.
Splitting the 1-3 screen
Now, let’s actually split the screen!
We will use the Ruler tool this time, because we know that dividing the screen in a straight line is sometimes distorted.
Set up a crosshair with the ruler tool.
Even if you are not good at drawing straight lines, you can easily create parallel lines with this tool.

After setting up, draw a line horizontally.
It’s easy to draw a nice straight line!

2. Creating a rough sketch
We will create a rough drawing in pencil using the divisions.
This time I wanted to draw a wide landscape with depth, so I placed a road extending from the foreground to create depth.
Since nature is the main subject, I kept the house small with one house.
You can almost hide them with trees.

It’s good to be aware at this stage where the sun’s rays will be coming from.
In this case, we are assuming that the sun is coming from the right side of the screen, so the mountains and clouds will be in shadow on the left half.
The lines in the field should be aligned with the road in the center of the image, but also be aware of the fact that they are extending from the far left.

3. Primer
3-1 What’s Air Perspective?
The more distant a view is, the more it is affected by the air, and the less contrast it has and the bluer it appears.
This is called “Air Perspective”.
It’s often needed when drawing landscapes, so it’s worth keeping it in mind!
First, prepare a layer under your draft.
First, prepare a layer under your draft.
Select the + in the middle and choose the color layer.
Now you have more layers.

Keep your draft layer about 60% from the opacity of the wavy lines!
That way it won’t get in the way of placing the colors.
Create a layer for the sky at the bottom of the image, and paint the sky roughly in blue.
On top of that, create a layer for the mountains.
You can use one layer for the mountains, but it is easier to use three layers: one for the back, one for the middle, and one for the front.
Here’s what it looks like when I draw it, keeping in mind the air perspective on the mountain.

Mountains are more vivid and darker up close than in the distance.
In air perspective, the color of the sky has a big effect.
A distant mountain will be blue if the sky is blue, and closer to orange if it is evening.
3-2 Cloud Arrangement
I imagined the clouds as summer crescent clouds.
They are long and clear in shape.
This time, I covered the entire mountain with clouds to show the shape of the mountain clearly.
If the blue of the sky is too dark, the shape of the mountain will not show up.
The closer the sky is to the horizon, the farther you can see.
More clouds appear to overlap, which in combination makes the lower clouds appear longer horizontally.
This time, create a layer of clouds between the mountains and the sky.

3-3-3 Rural Landscape

Air perspective can be applied here as well, with lower contrast in the back and more vividness in the front.
Follow the draft and add the colors you want.
For now, you can just roughly trace the rough sketch!
There is one point to note.
For the countryside scene, I’ve divided the layers into “trees under the mountains, rice paddies, rice paddies around the rice paddies, thick road in the middle, houses, and trees around the houses”!
It makes it easier to be flexible when drawing, so please separate the layers as you wish.
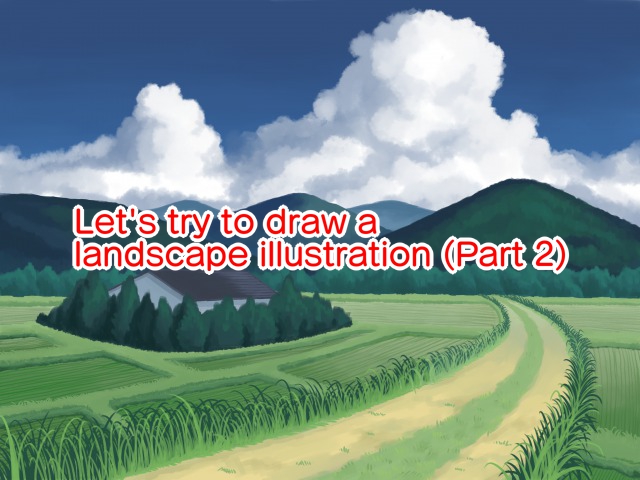
The underpainting is now complete!
In the next article, we will continue with the details, so please continue reading!
(Text and pictures by Hiromi Arakane)
\ We are accepting requests for articles on how to use /


