2022.09.12
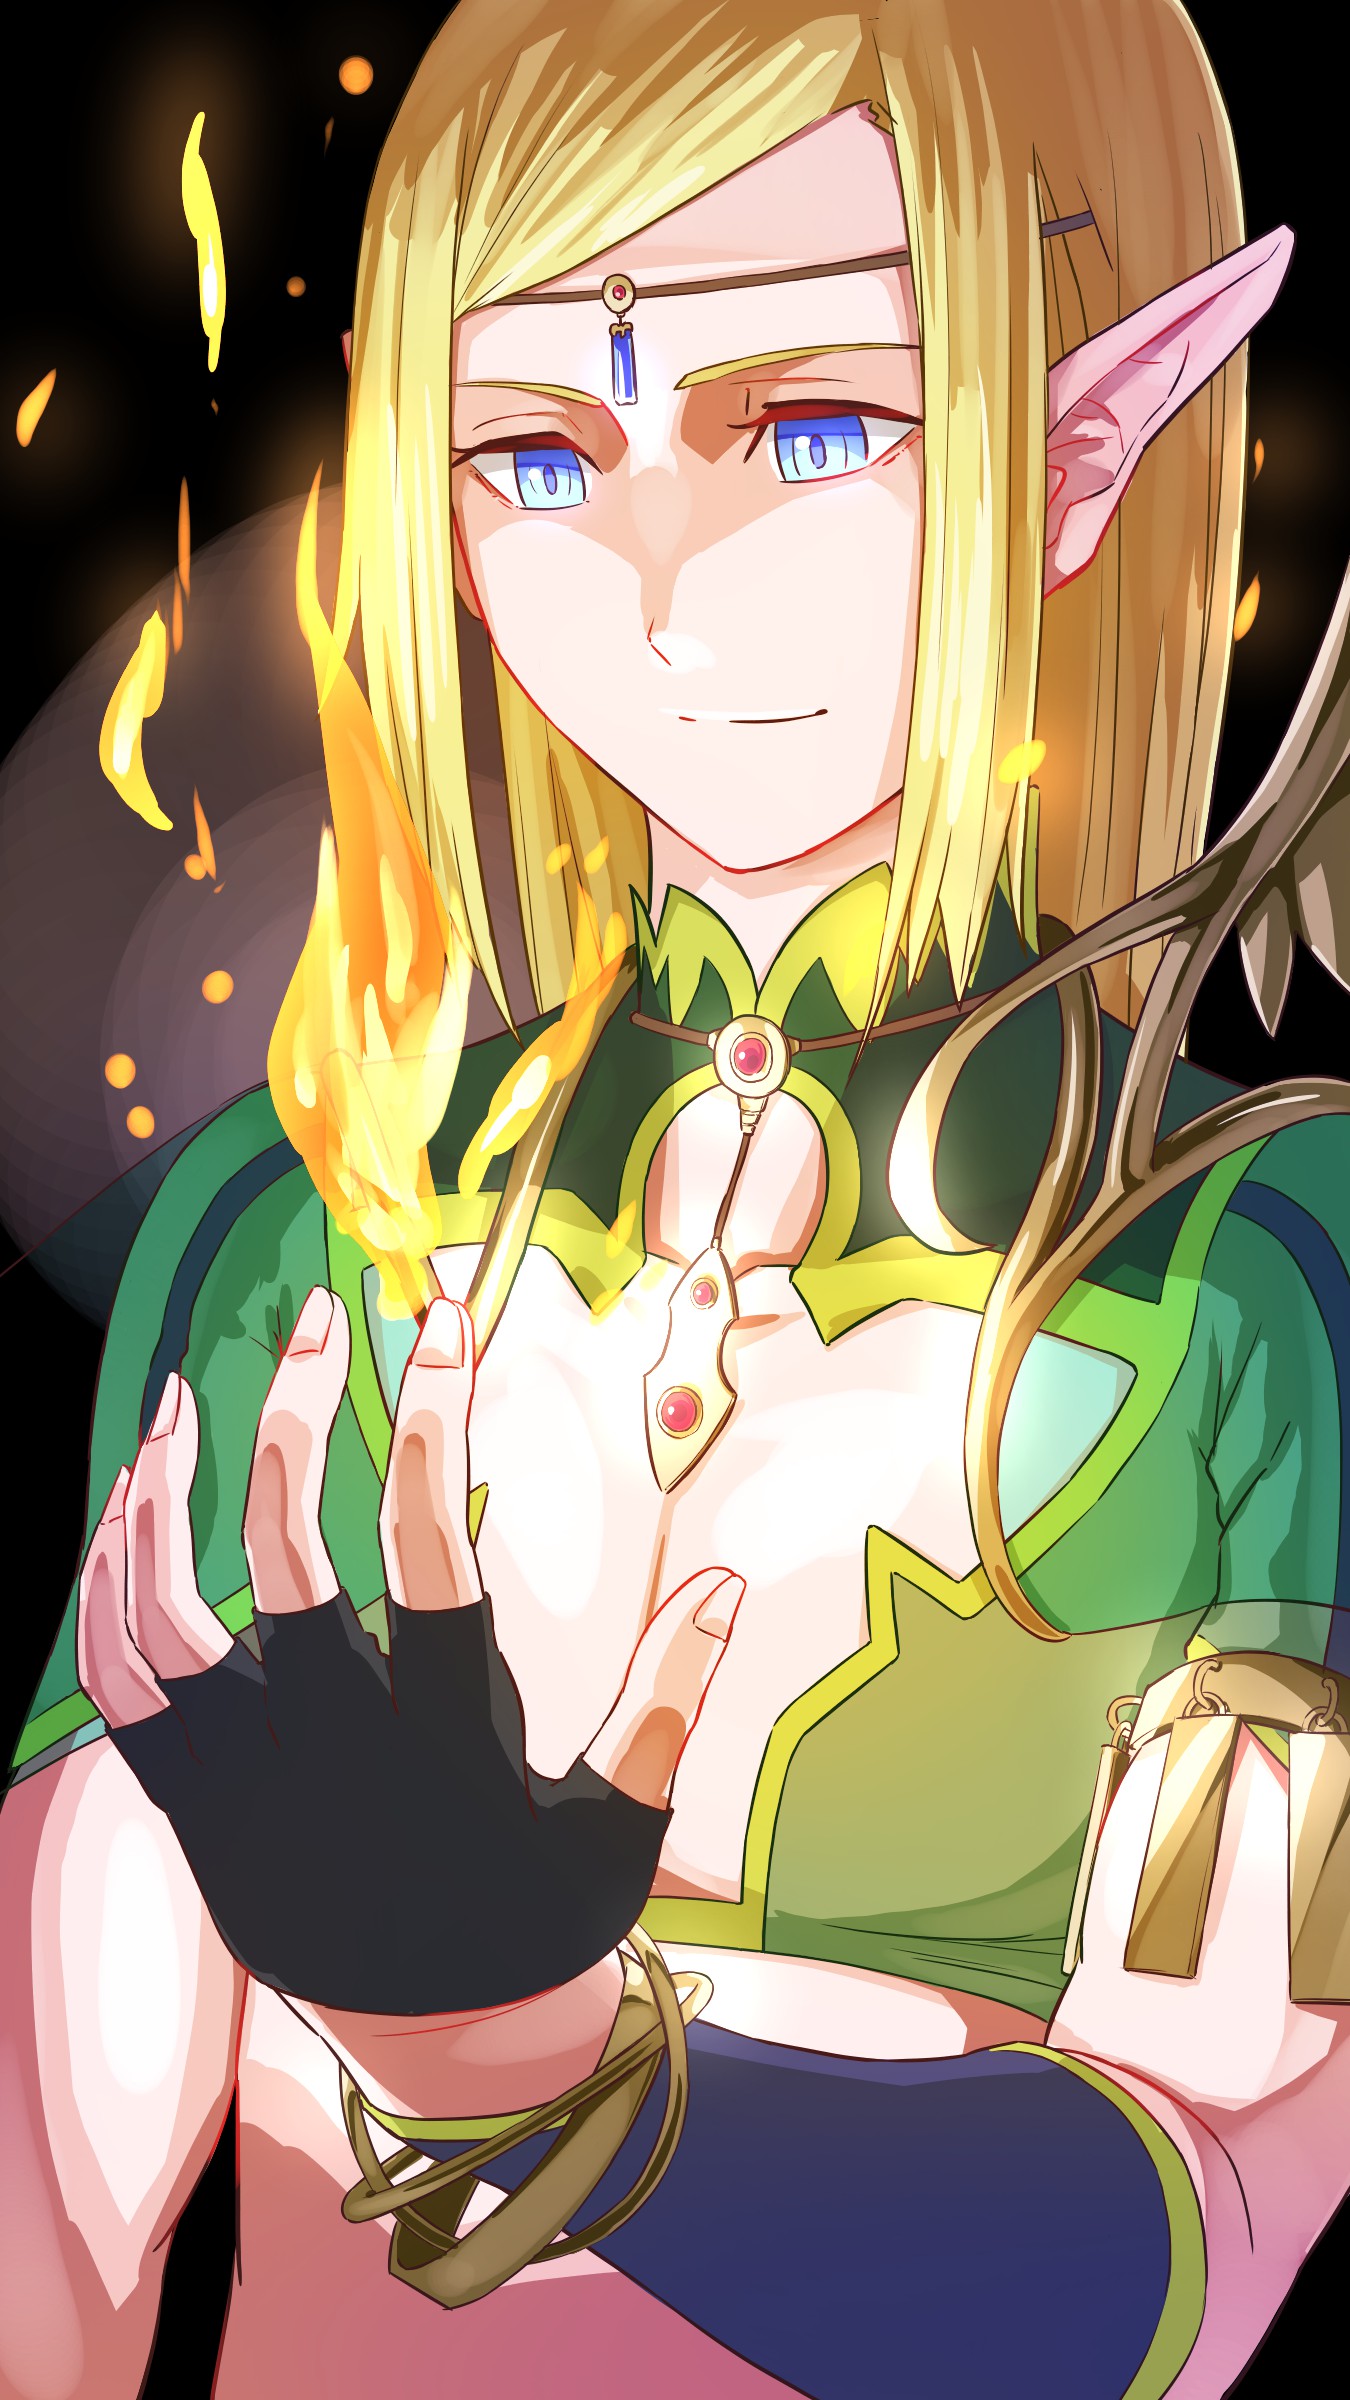
【Making】Drawing an Elf Male Royalty!
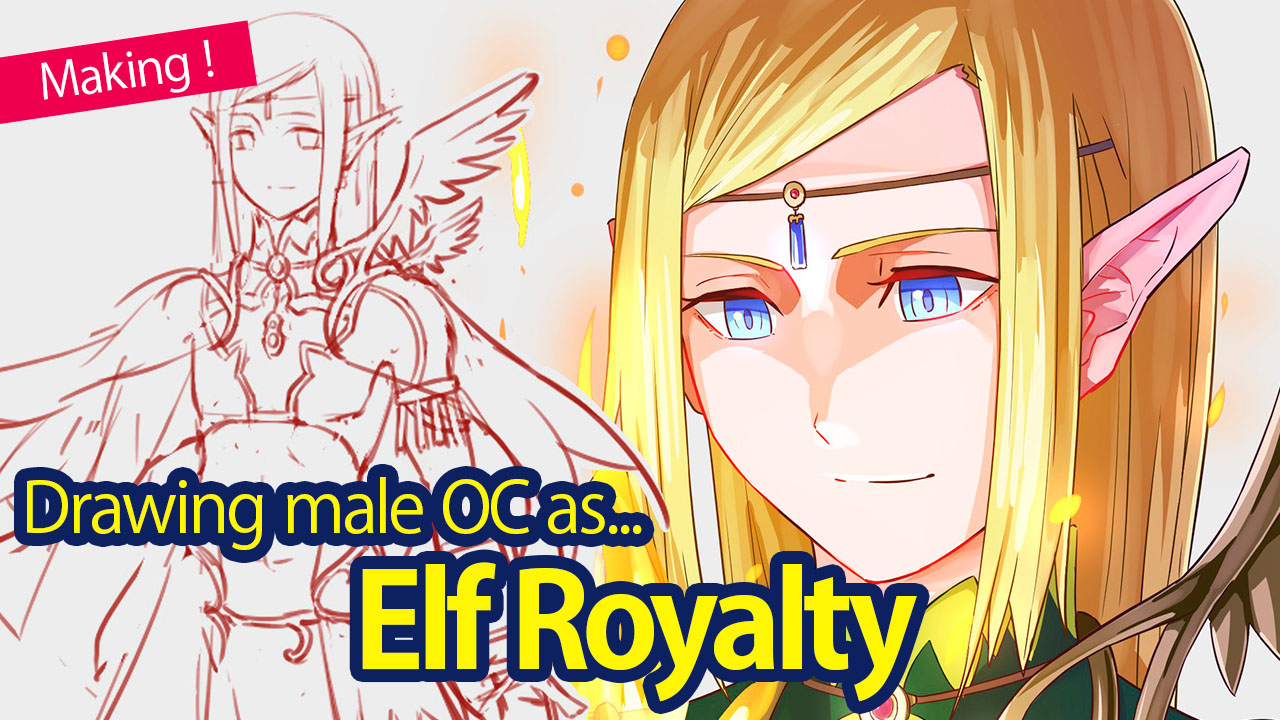
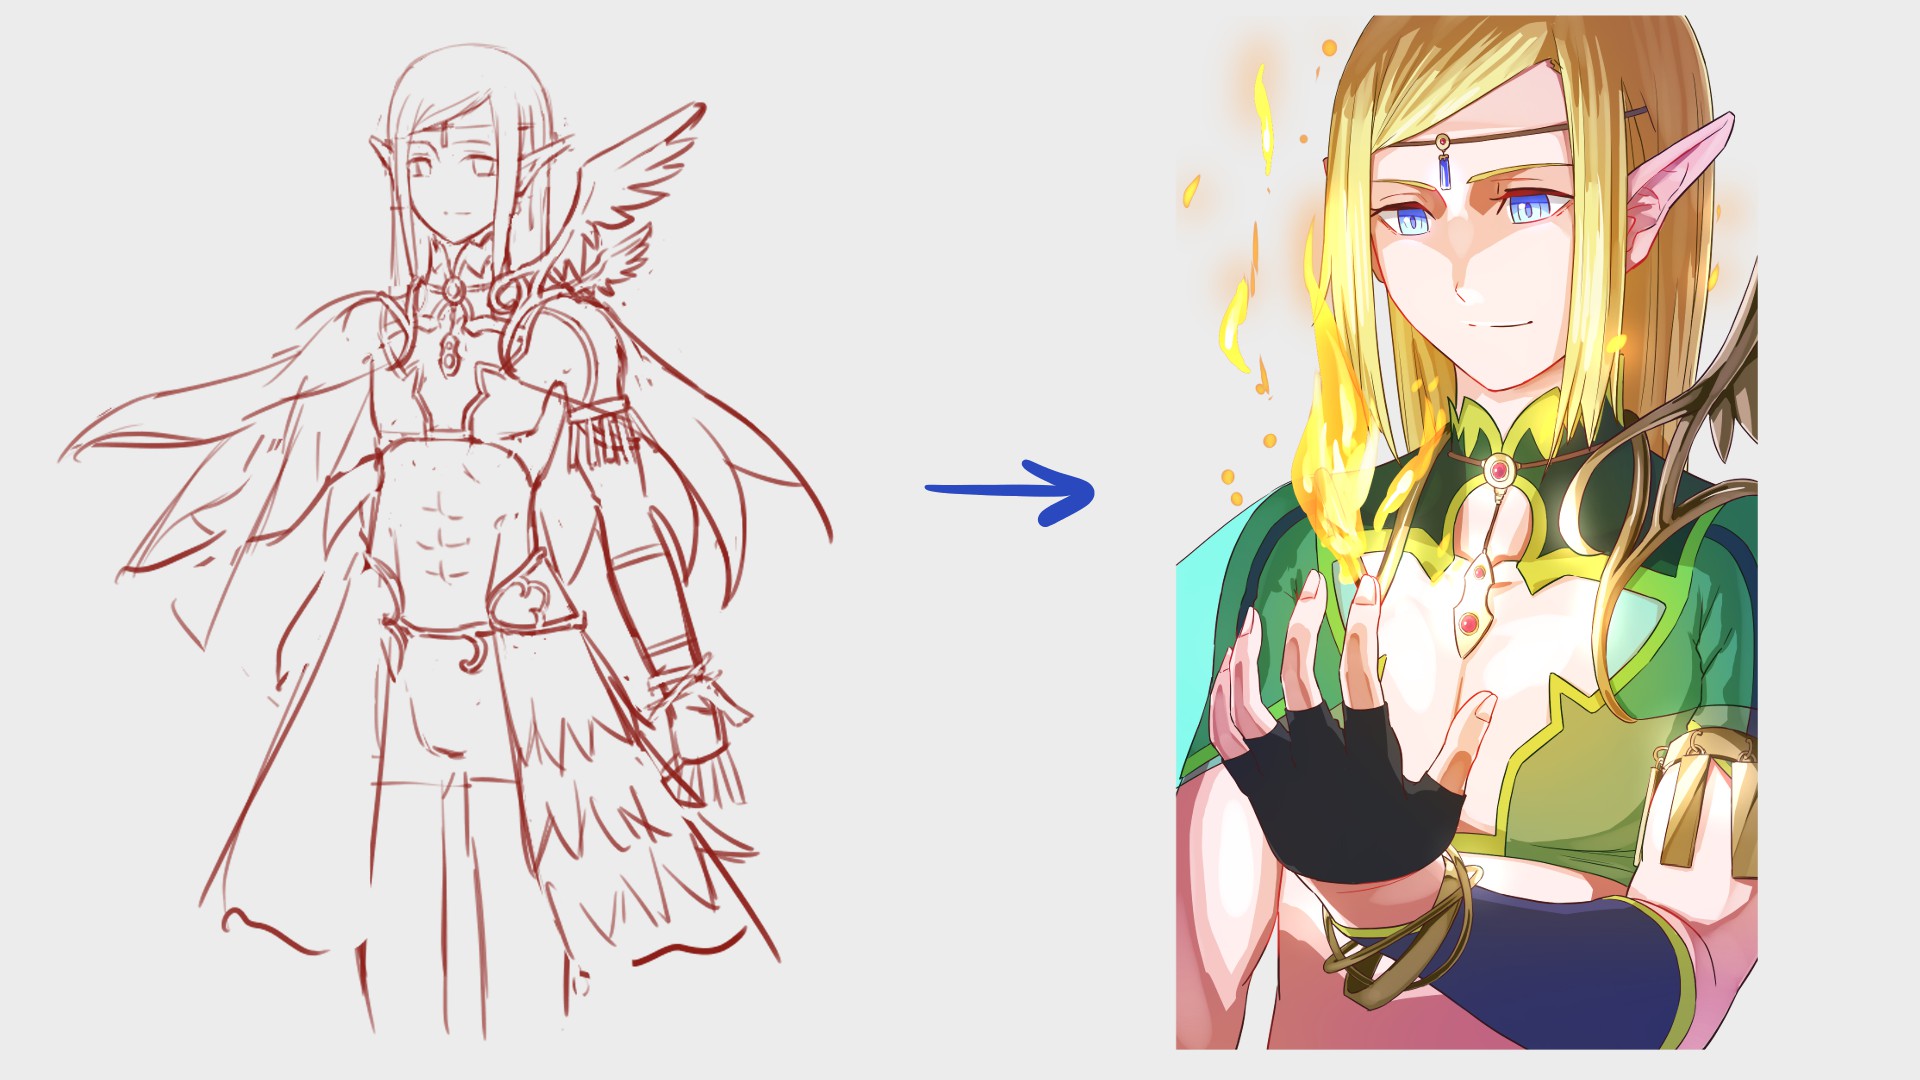
This tutorial will follow, once again, the making of an original character and the finalized single illustration!
I hope this tutorial comes in handy for all the art lovers out there !
The below article is the making tutorial I have written previously.
I tried my best to avoid duplicating the content I wrote already so if you cannot find an explanation for the parts you want to read, please read the previous tutorial from the link below !
▼Previous Article
【Making】Drawing a Japanese Style Female Assassin!
Index
1, Preparation
Let’s open the MediBang Paint app!
The first time the functions and tools are introduced here, they will be written as【Functions, Tool Names (Windows Shortcut Key)】.
I will link the related articles below, so please refer to those for more details!
▼ About【Shortcut Keys】
Shortcut Keys List【Windows】
From【File】choose【New(Ctrl + N)】and set the width and height to 1350px and 2400px respectively.
The main brushes I will be using are…
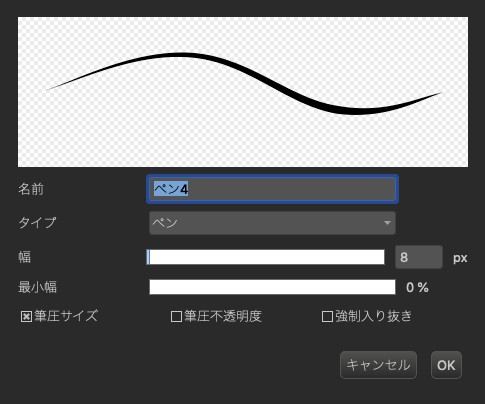
8px Pen (for line drawing)
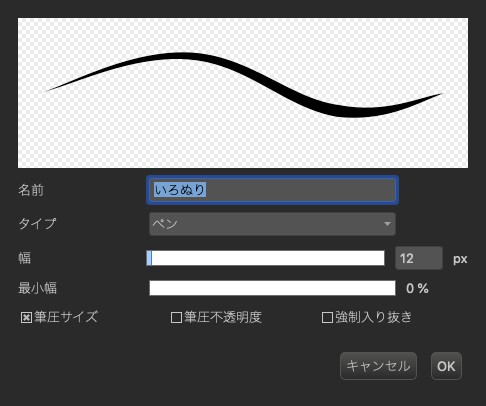
Free-size Pen (for painting colors)
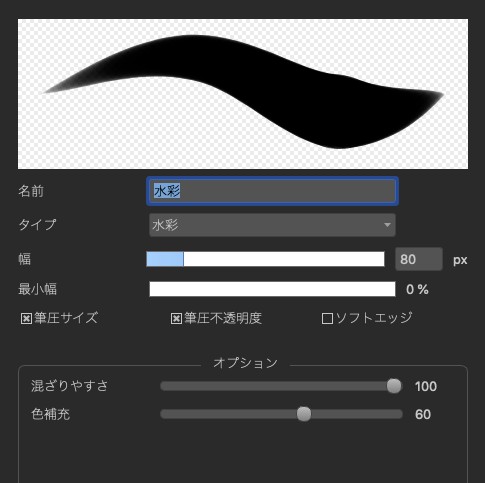
Free-size Watercolor
Free-size AirBrush
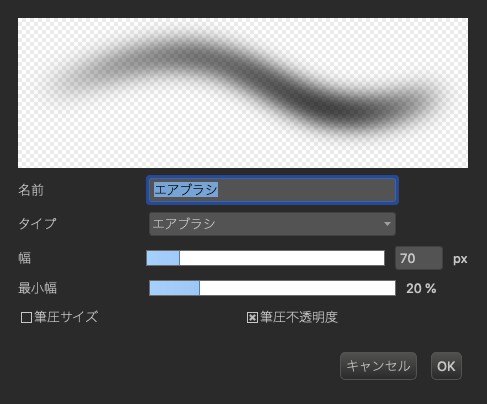
the four brushes above.
2, Character Design
I previously drew a female character so I will be drawing a male character this time.
I could have just drawn a regular male character, I felt inspired so I chose to draw a character with elf ears.
Additionally, I want him to be a royalty so I want to create a character with elegance!
I usually think of the character first and then start drafting but I already had an idea for the rough sketch at this step.
I couldn’t fit the bottom half of the body so I only have the upper body this time…
It would of course be the best if you can think of everything first but you might start feeling annoyed about drawing the whole body if you want to start drawing right away or if it doesn’t appear the way you want it to.
I think the key to improvement and continuity is drawing things you like the way you want to so don’t force yourself and keep drawing at your own pace!
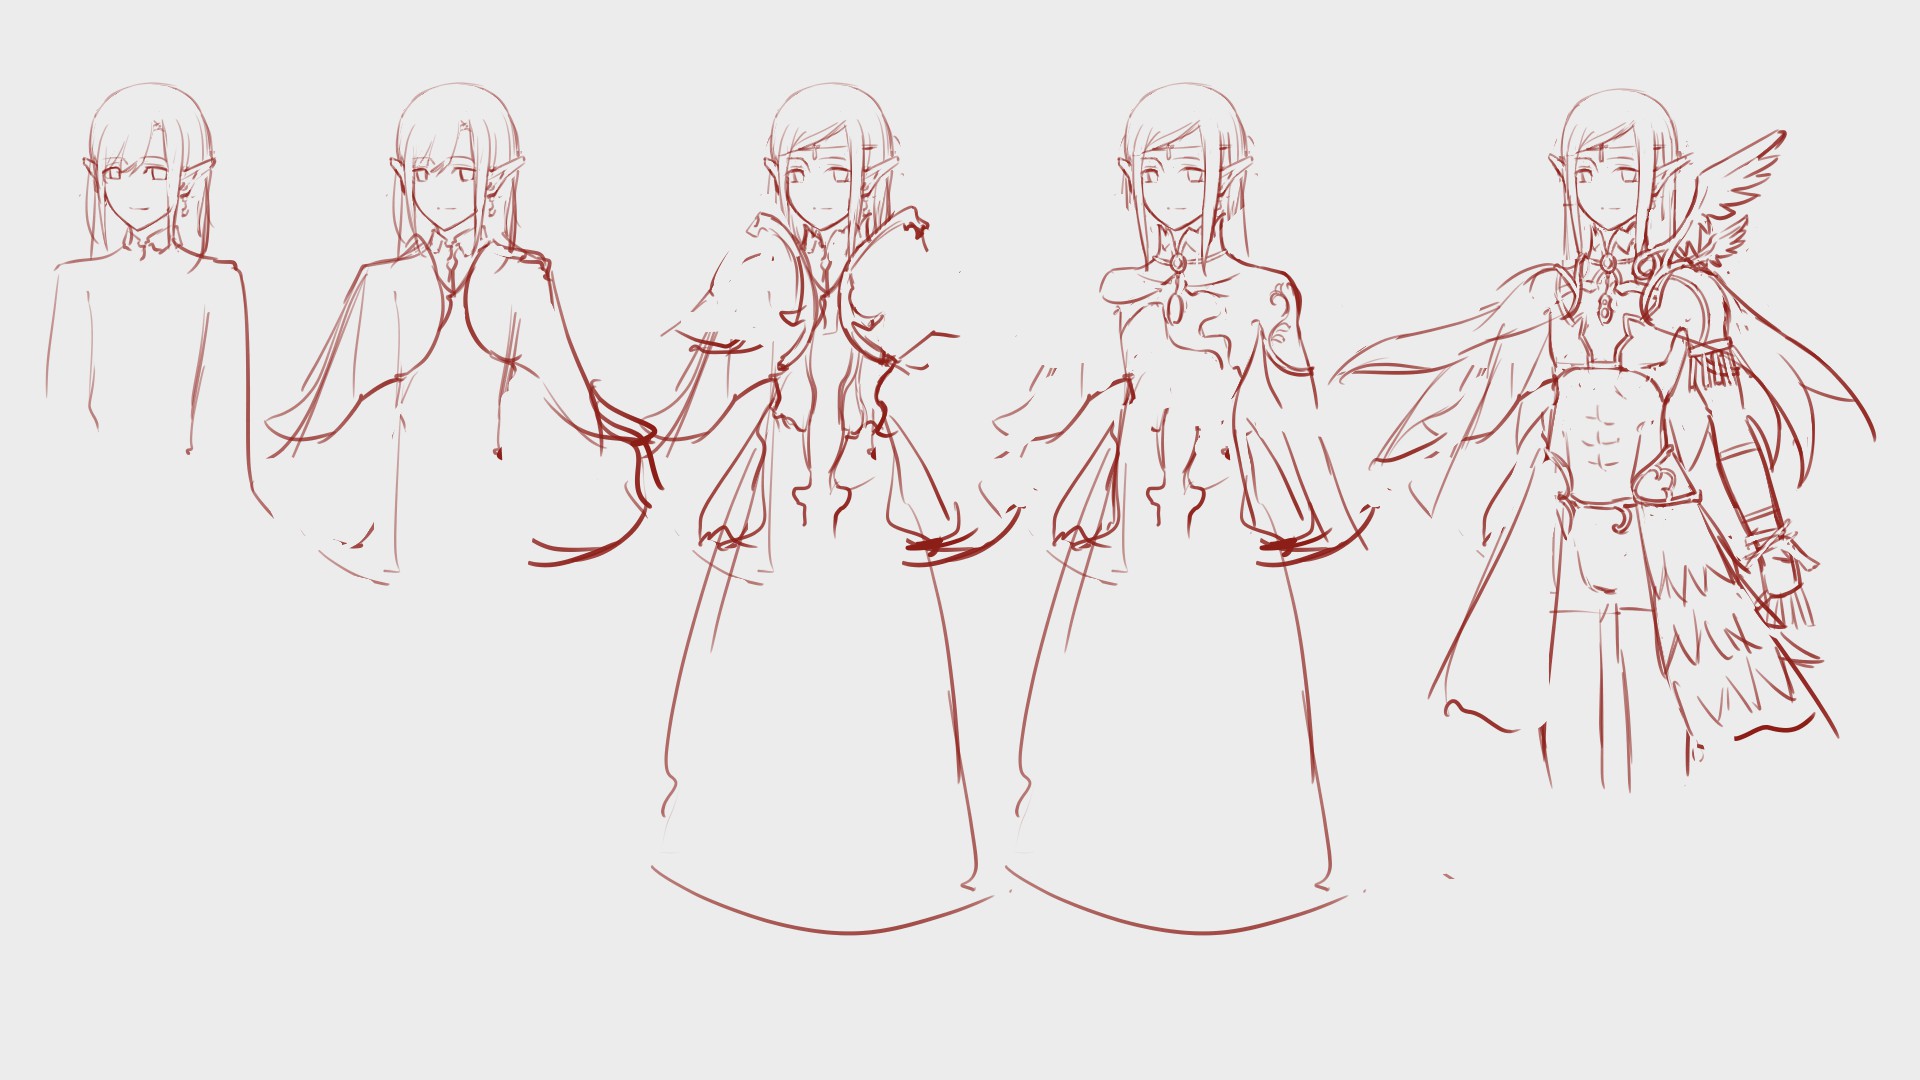
I imagined an elf male so the character settings look very fantasy-like.
When you are working with a setting like this, be bold and draw whatever you like since working with a fantasy setting allows you to draw odd and peculiar outfits.
Once your lines start to fit your imagination, repeat the draw and erase step until it gets close enough to the final, complete form !
If you draw the characters with symmetry, it adds a clean and correct impression.
In contrast, you can create a mysterious feel by drawing characters with an asymmetrical design.
You can also create a sacred image by adding asymmetrical parts inside the symmetrical design.
God-like characters tend to also wear outfits that show a lot of the skin. Well I’m drawing a royalty character, not a god this time!
3, Sketch
As I already mentioned, I had a proper image since the drafting step so I will continue drawing.
I wanted to draw a character holding his hand out to show the small flame burning.
This is the same for line drawing but you can avoid erasing other lines if you create a new【Layer】for the parts that overlap.
And once you are done fixing, you can merge them too !
▼ How to create a【Layer】
Let’s use the layer function
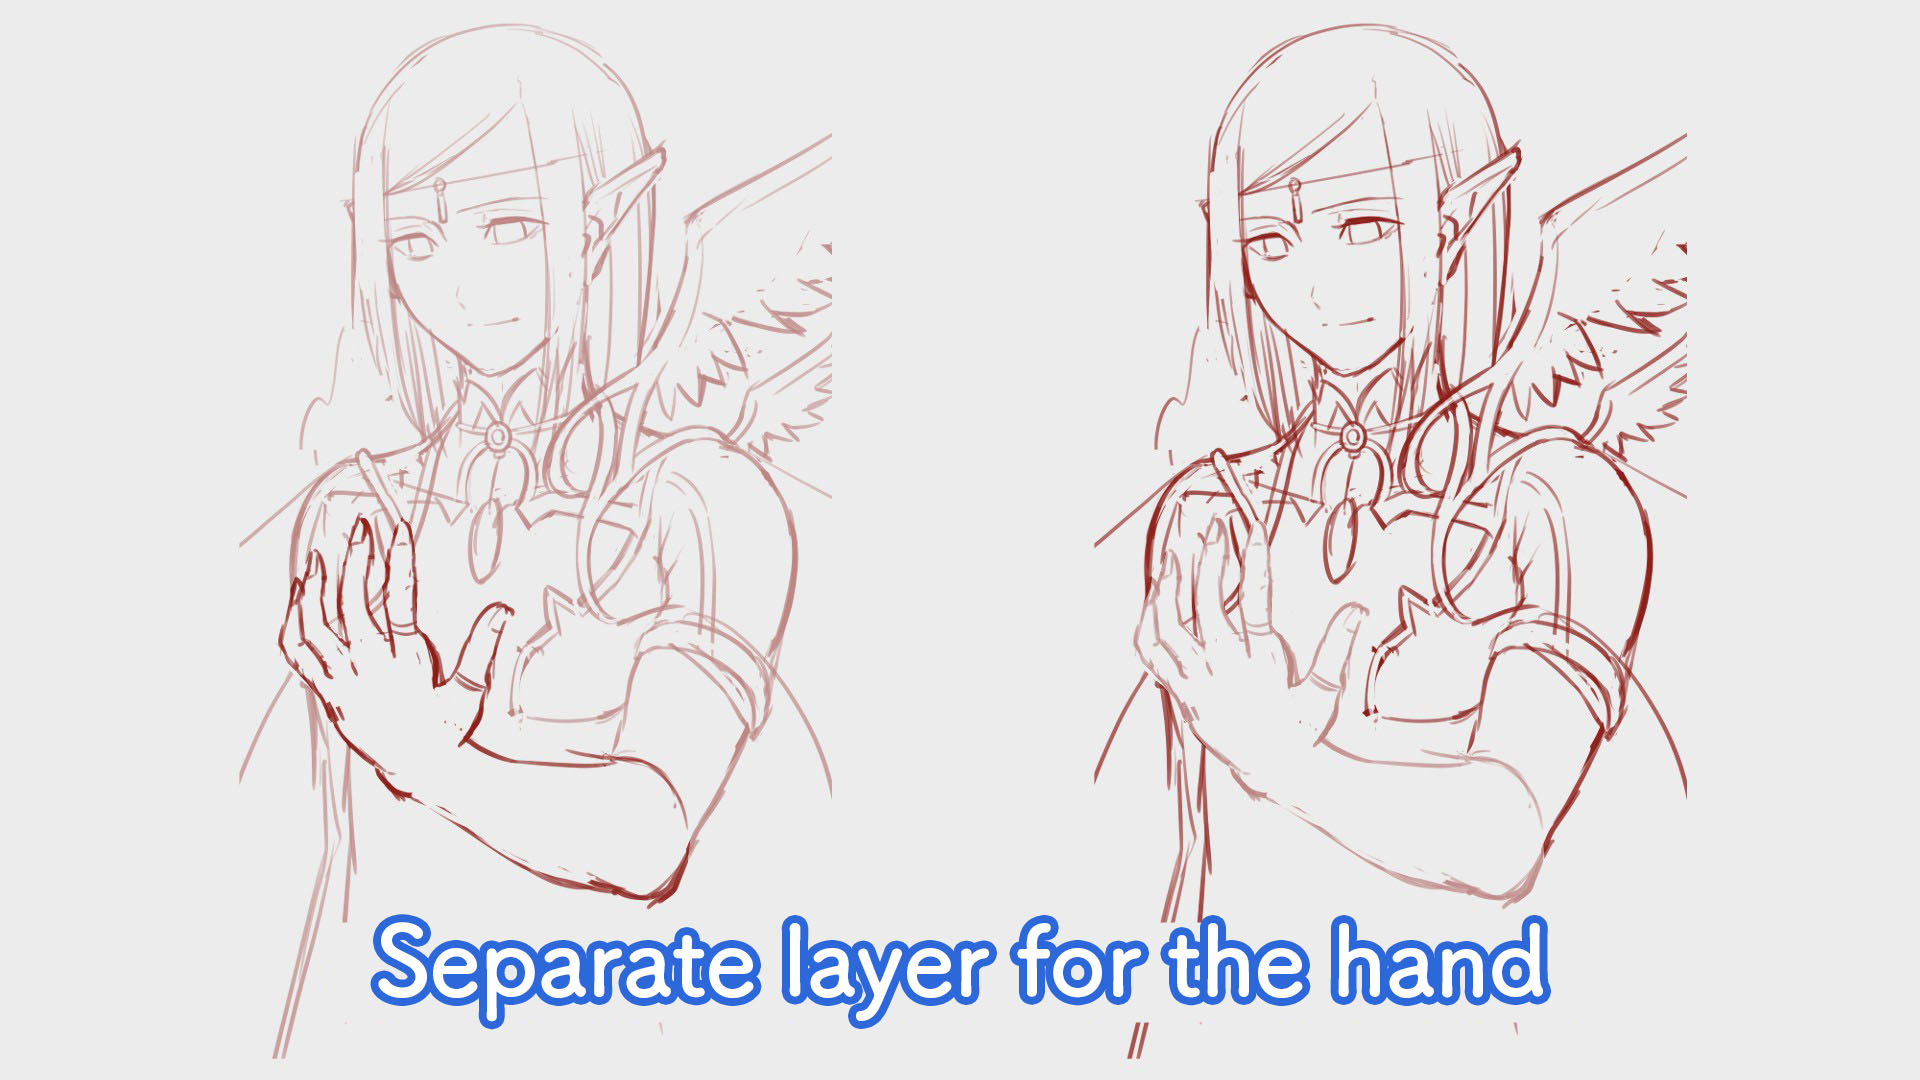
Draw everything zoomed out and adjust the size later, this is my style when it comes to drawing sketches.
I used to make small illustrations since I was always flexing my skill for drawing a whole body and the details I came up with.
But recently I’ve become a grown up and realized the importance of drawing them large!
The best and quickest way to create a power is to draw a huge character filling the whole screen.
This of course isn’t the answer if you want to draw the background with a lot of details.
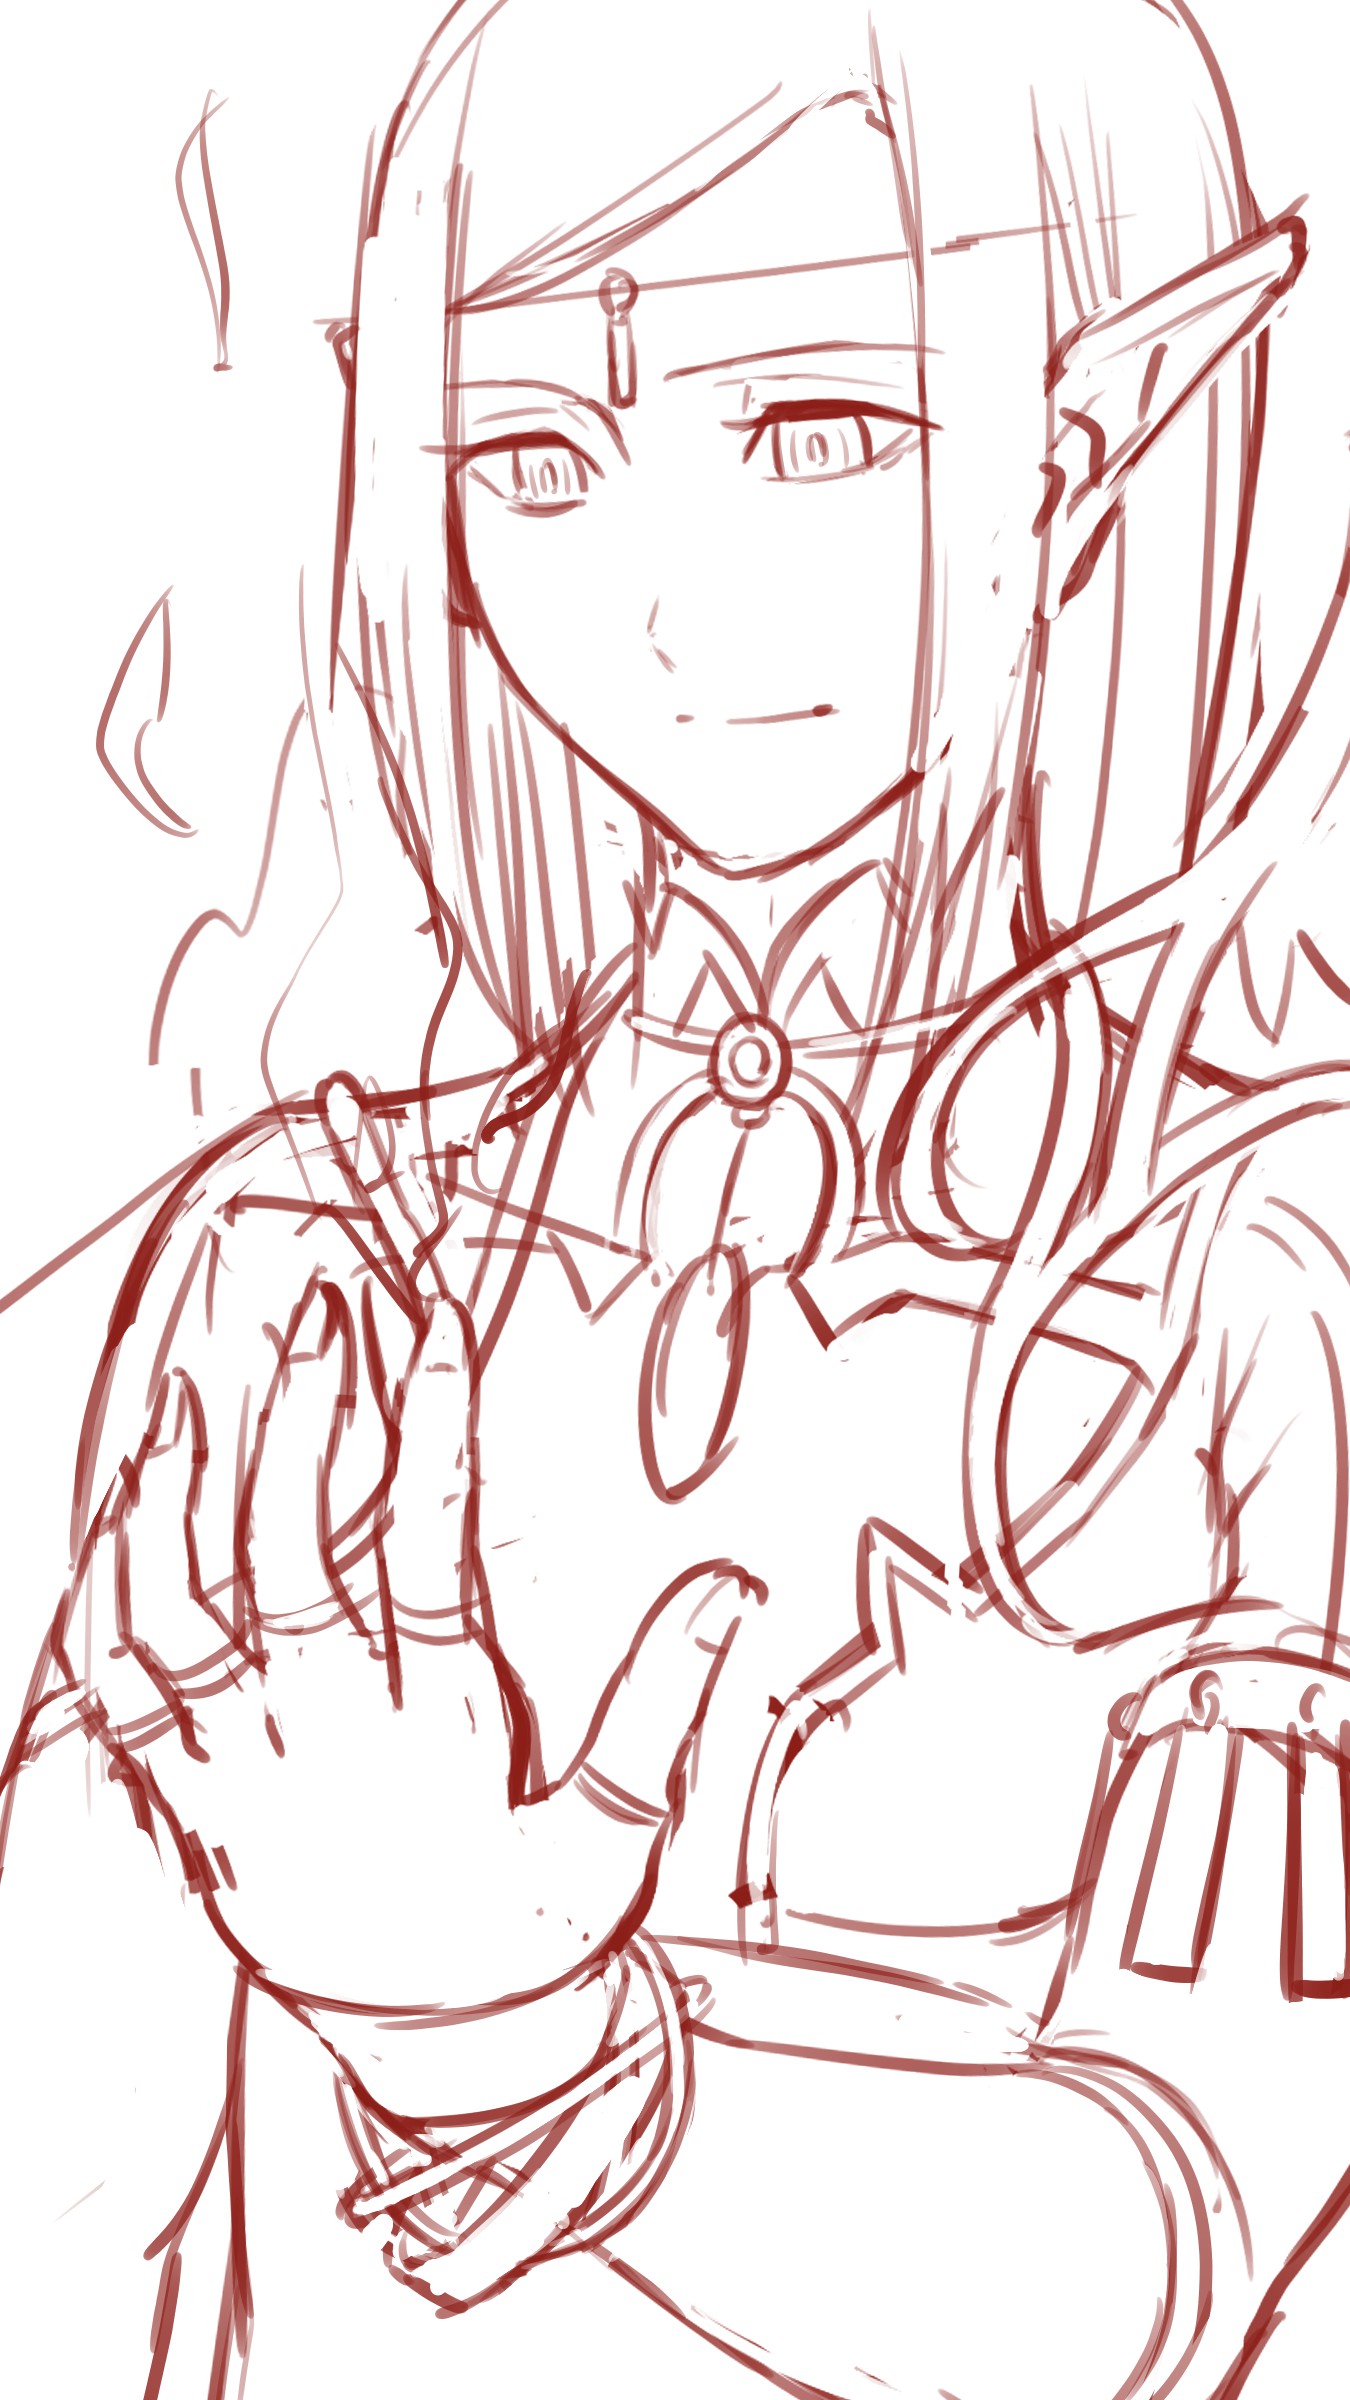
The decorations for the wings didn’t fit either but I feel like this is the best size. Bold decisions are key!
You might not see it well at this point but the flame is also there too.
I will not be creating a line drawing for the flame so I roughly sketched the flame where I want it to be.
4, Line Drawing
Let’s start line drawing.
I usually only use the single 8px pen but this is also to train myself to add dynamics.
The basics of line drawing and painting colors are explained in the article below, so please jump to the link if you want to read more details!
▼ Details on Line Drawing and Painting
【For Beginners】Let’s make our own child! Part 2 【Original Character】
The best part to practice drawing the dynamics would be the hair.
Make the outline thick and the flow of the hair thin, just those two steps will allow for dynamics.
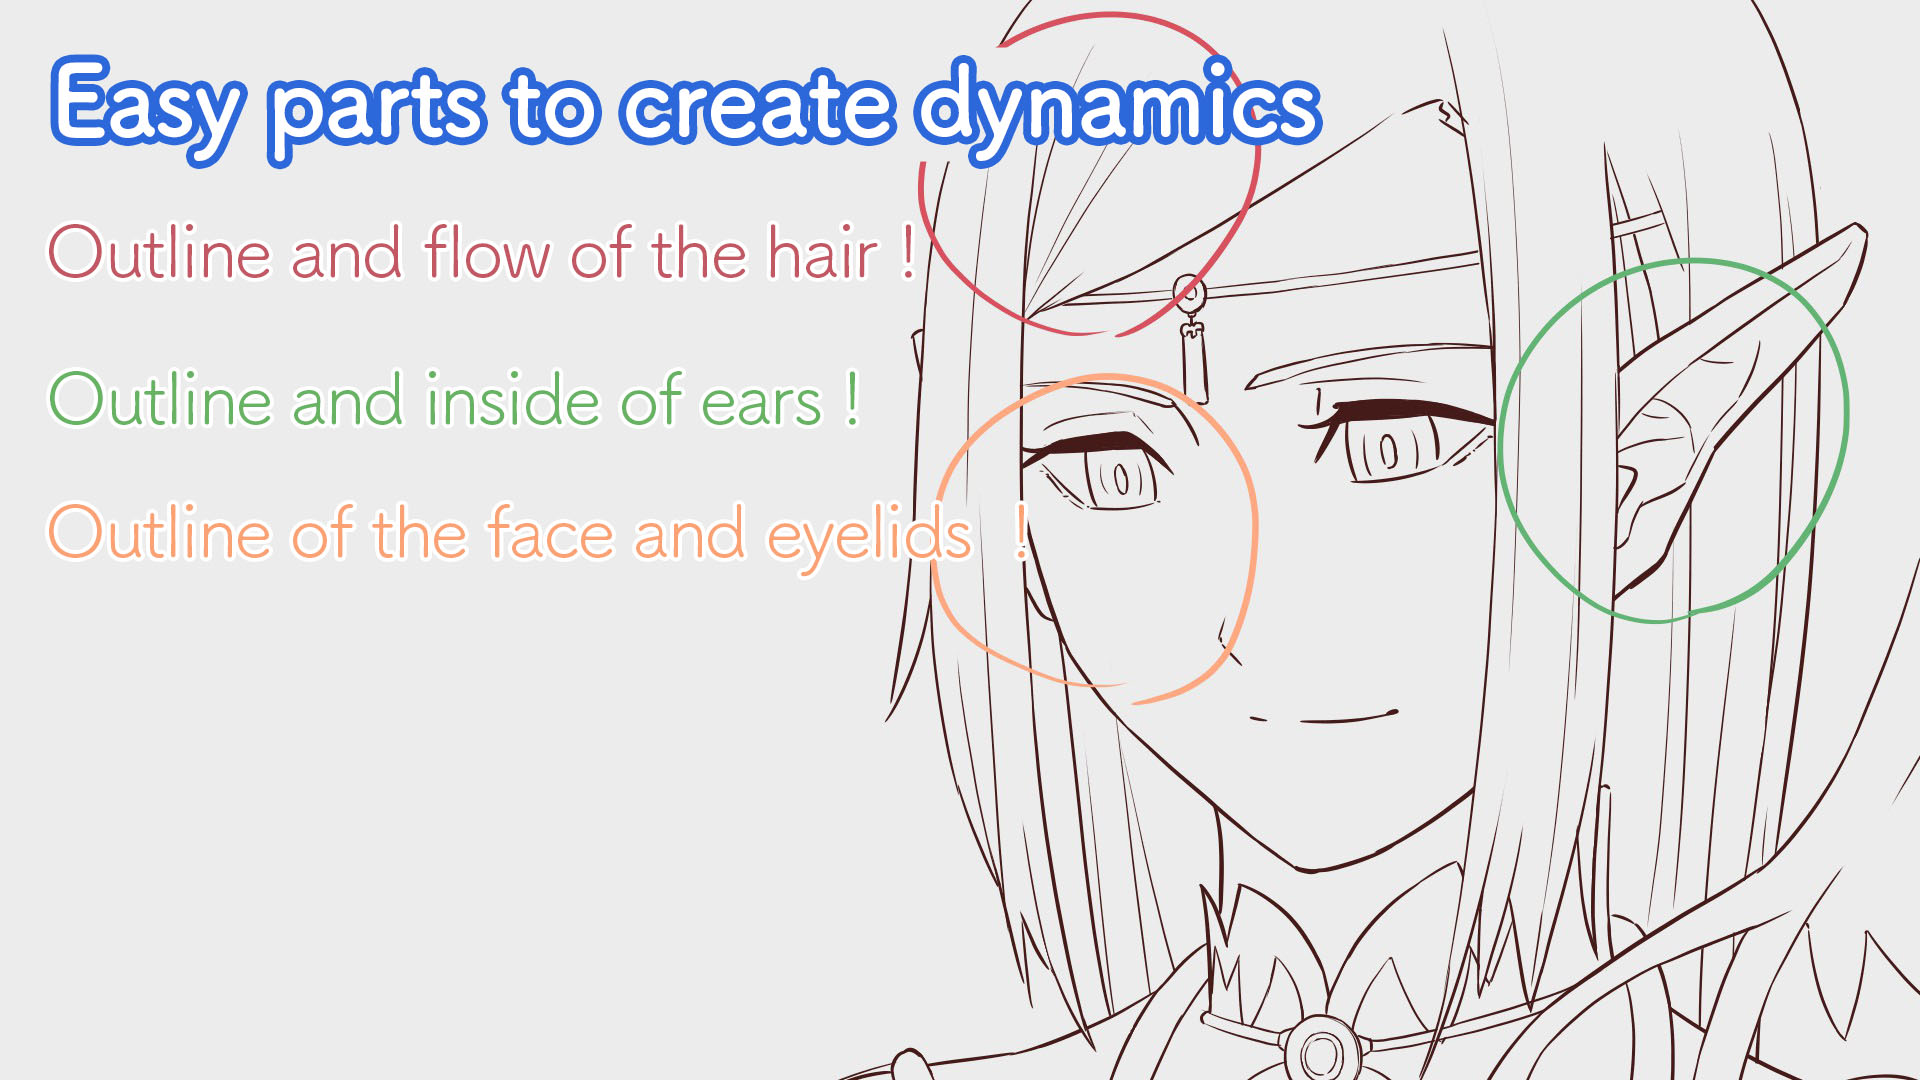
The line drawing has been completed!
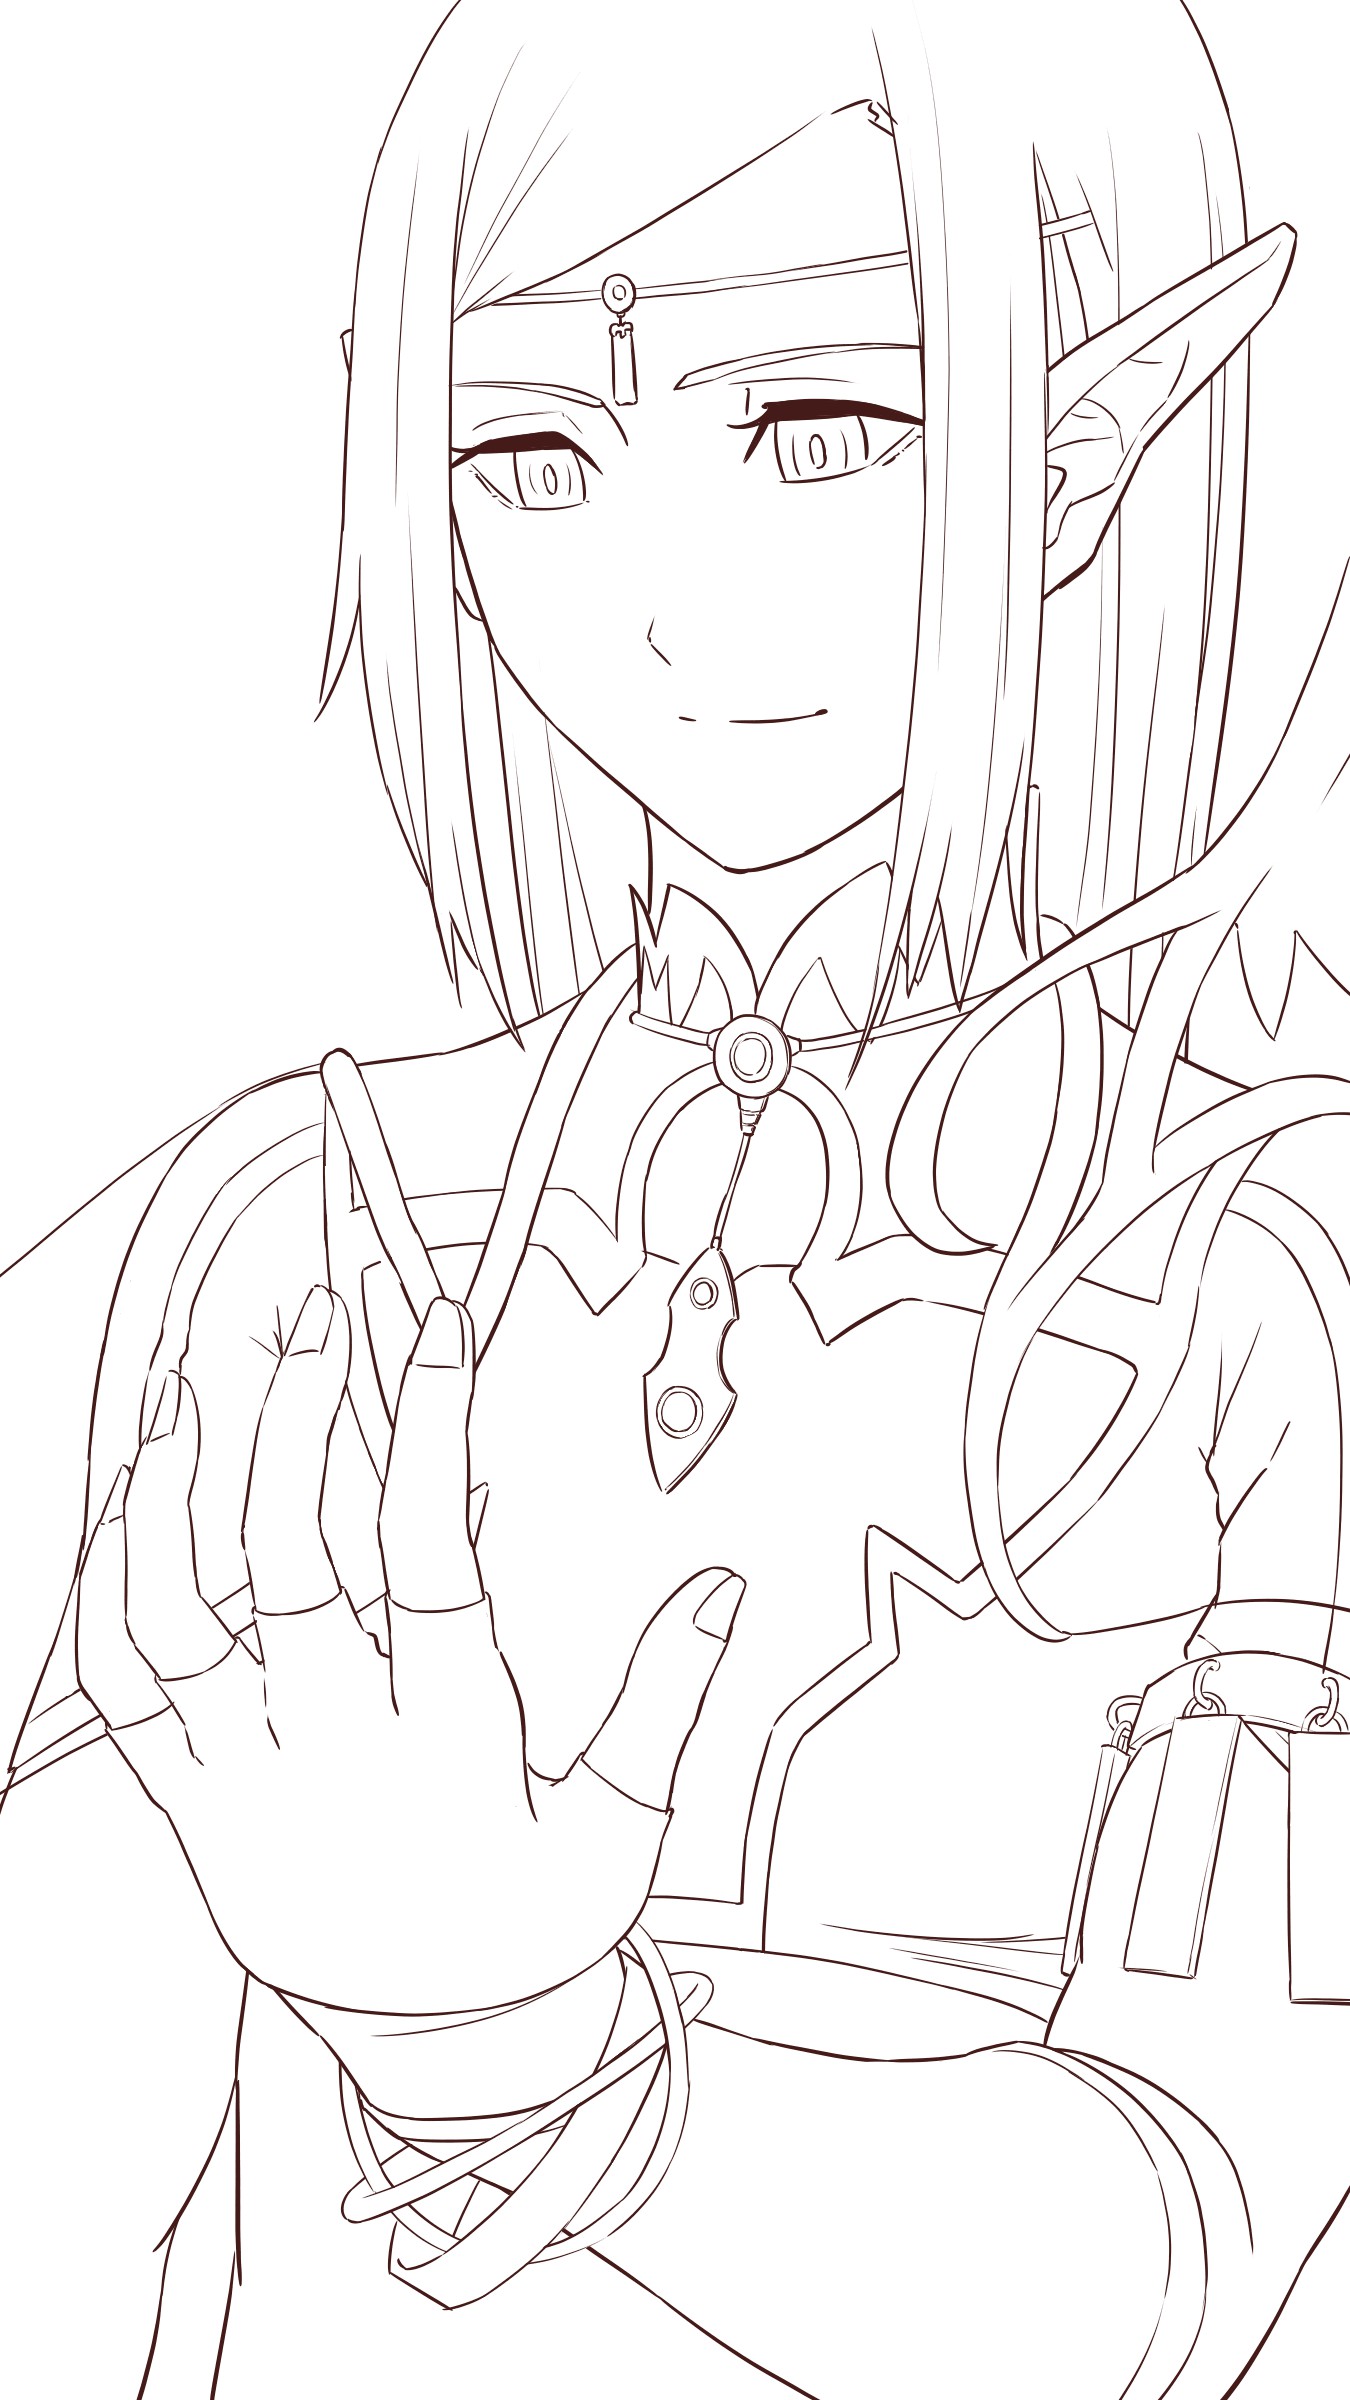
5, Coloring
I haven’t yet picked the colors I want to paint with.
If you take long on deciding the colors, I recommend you to do so during the character design step since it will be easier for you later.
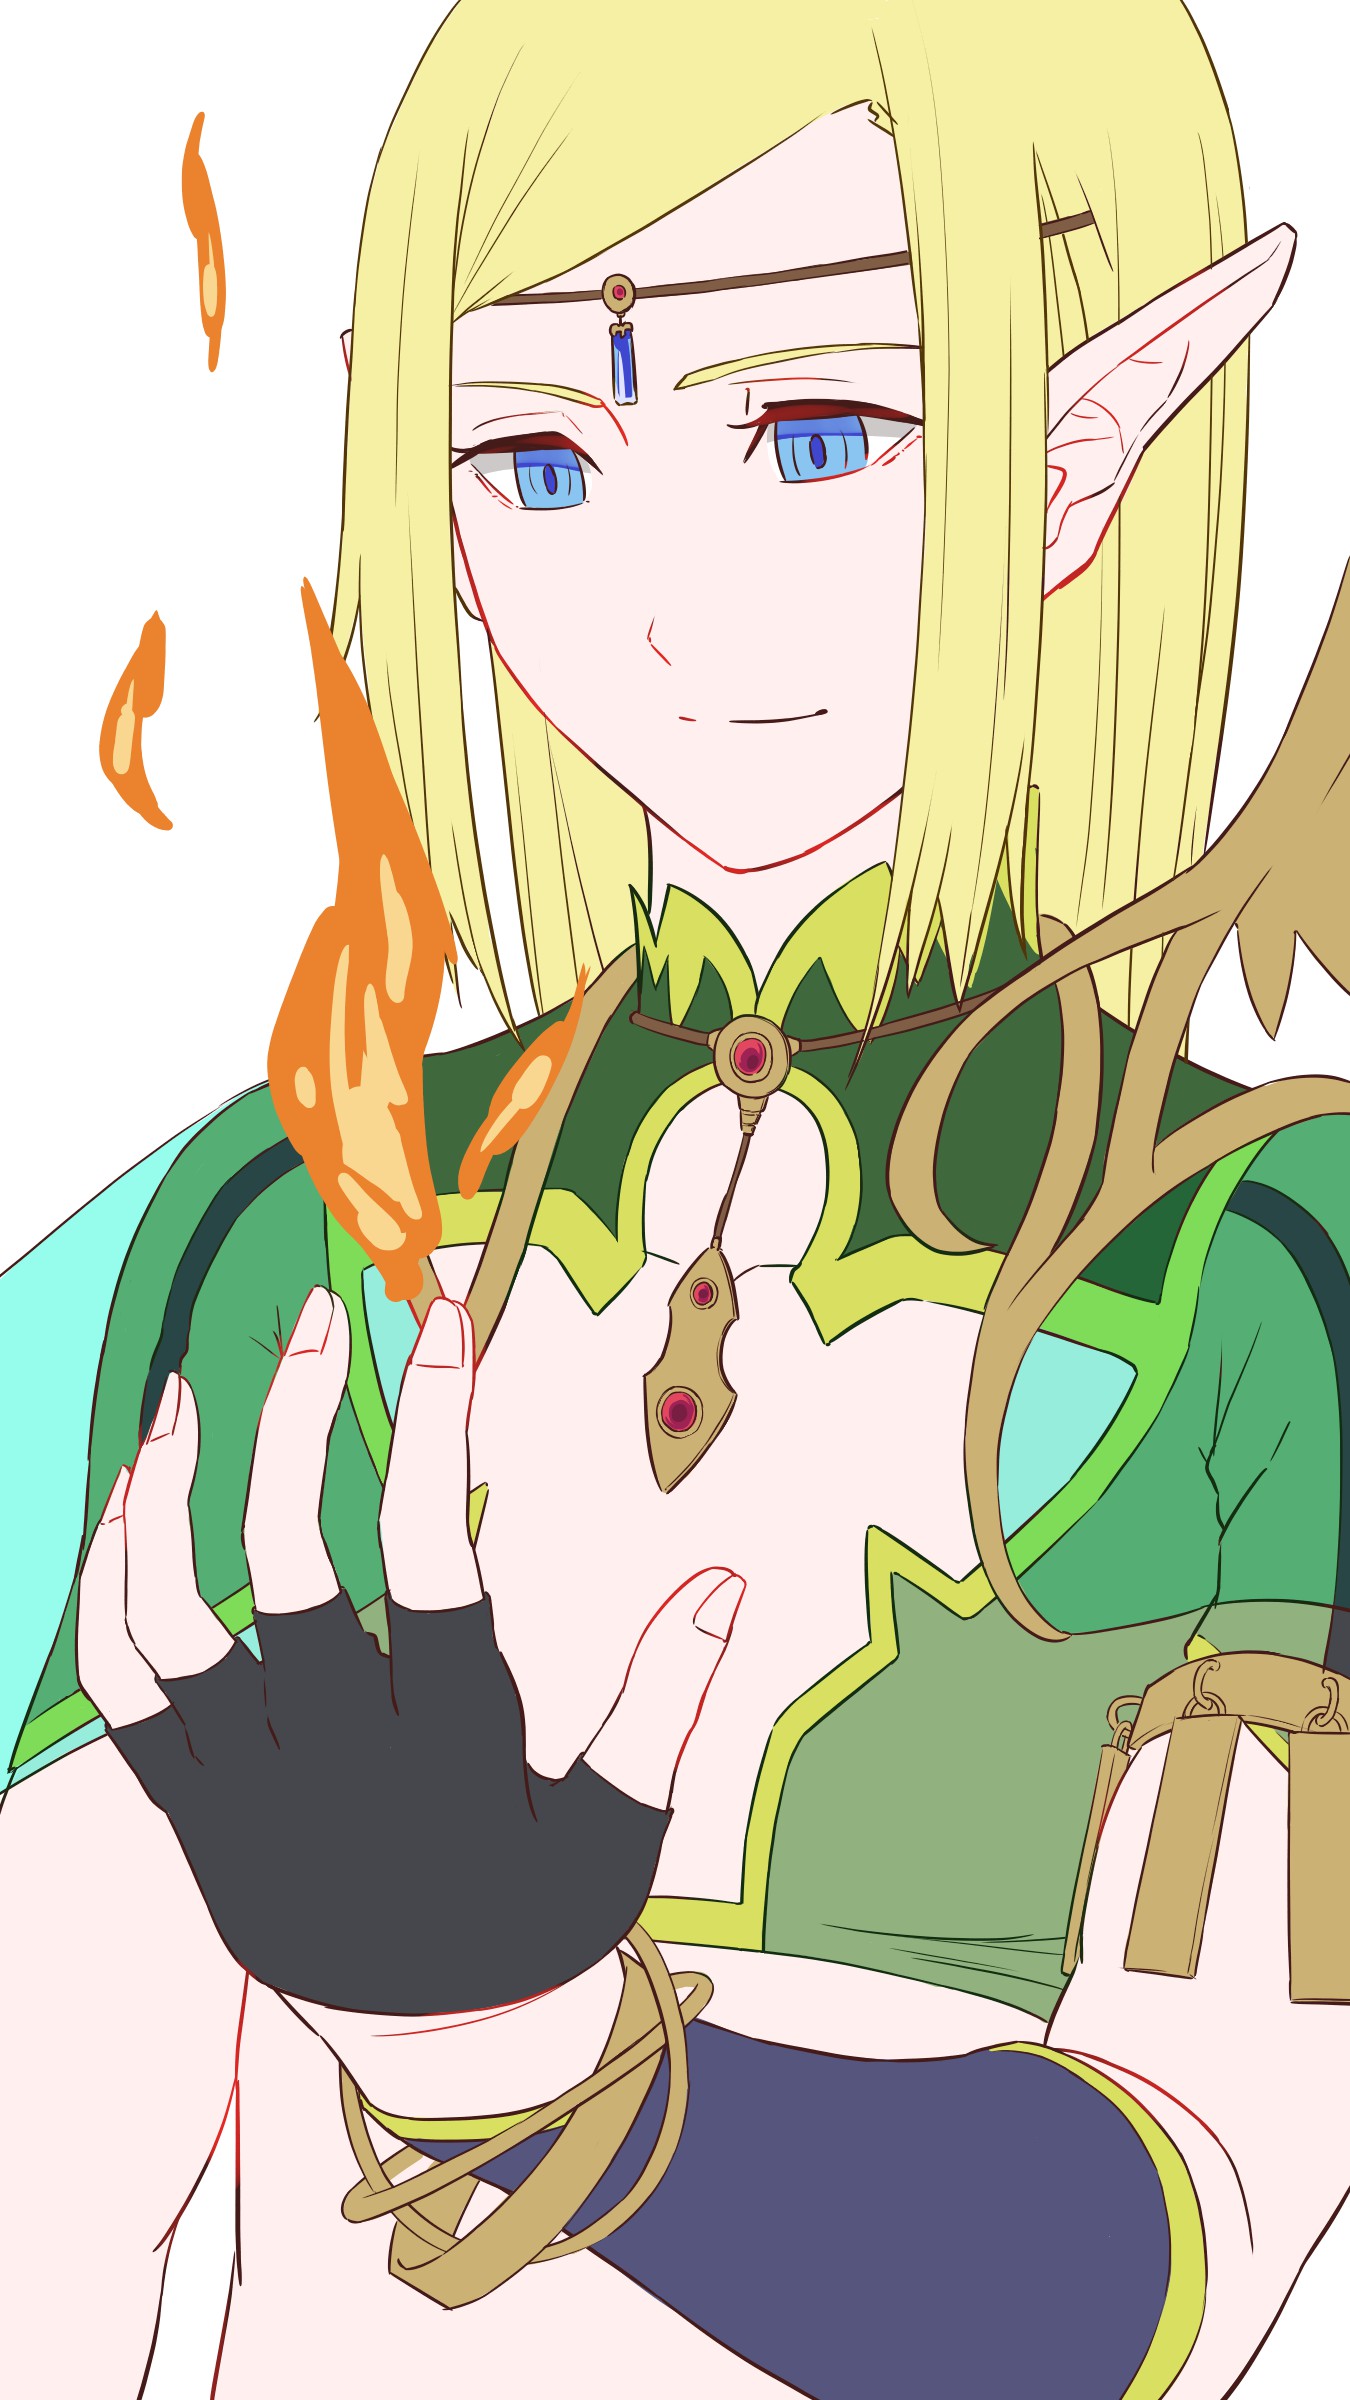
I usually paint male characters with a slightly darker tone than I would for female characters but I painted with a lighter tone this time since I imagine elves to be pale.
I also used various colors so the outfit looks gorgeous.
The outline of the costume used to be orange but I realized that the color would overlap when I drew the flames so I changed it to yellow-green.
This is of course the basics but picking different colors for the surroundings help highlight the main part/object even more!
Although, I kind of failed to highlight the flame properly since I used yellow for his hair…
In this illustration, the light source is the core of the flame.
In other words, shadows must be drawn for the back of the hand and head as well as the sides of the body.
It might feel very unusual at first but the light source is already drawn inside the illustration so it’s actually easier to imagine how it should look, perfect for practicing shadows!
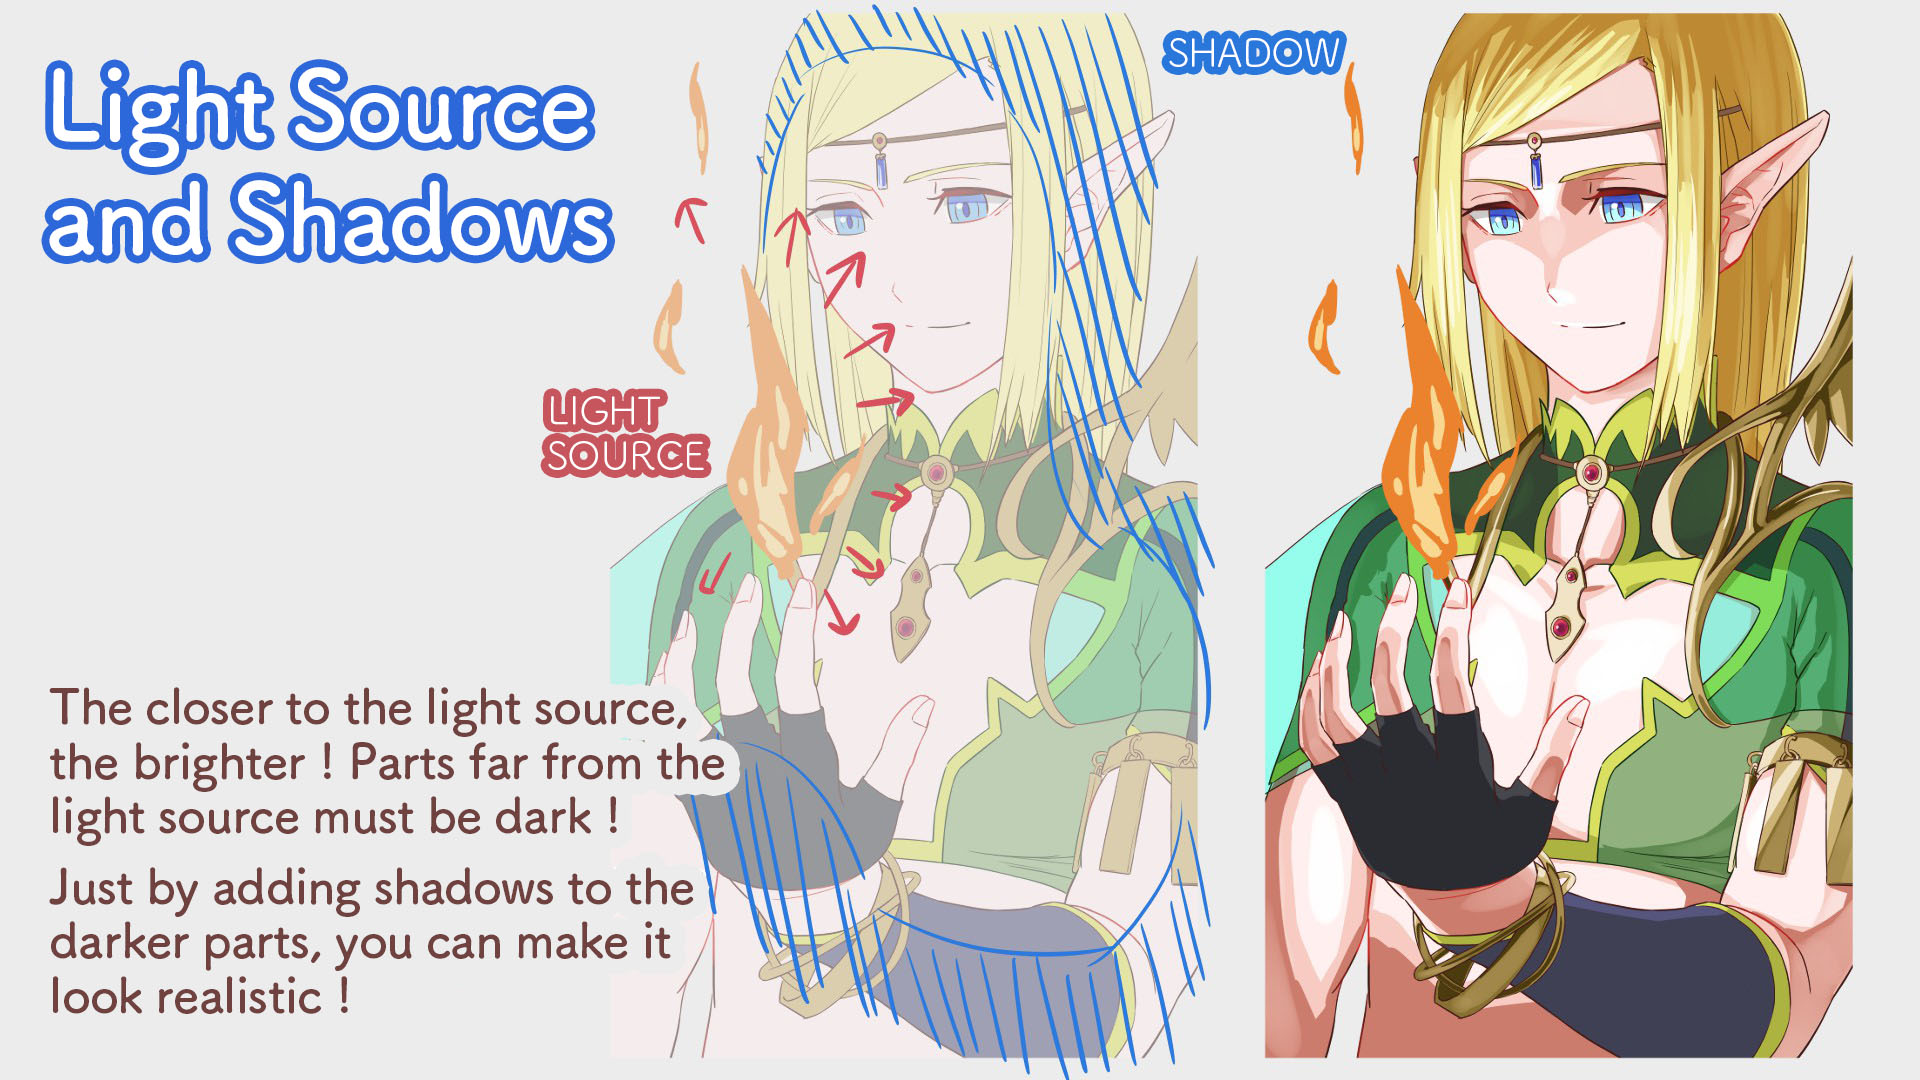
I also explained how to paint shadows in the article mentioned above so here, I will introduce how to draw flames.
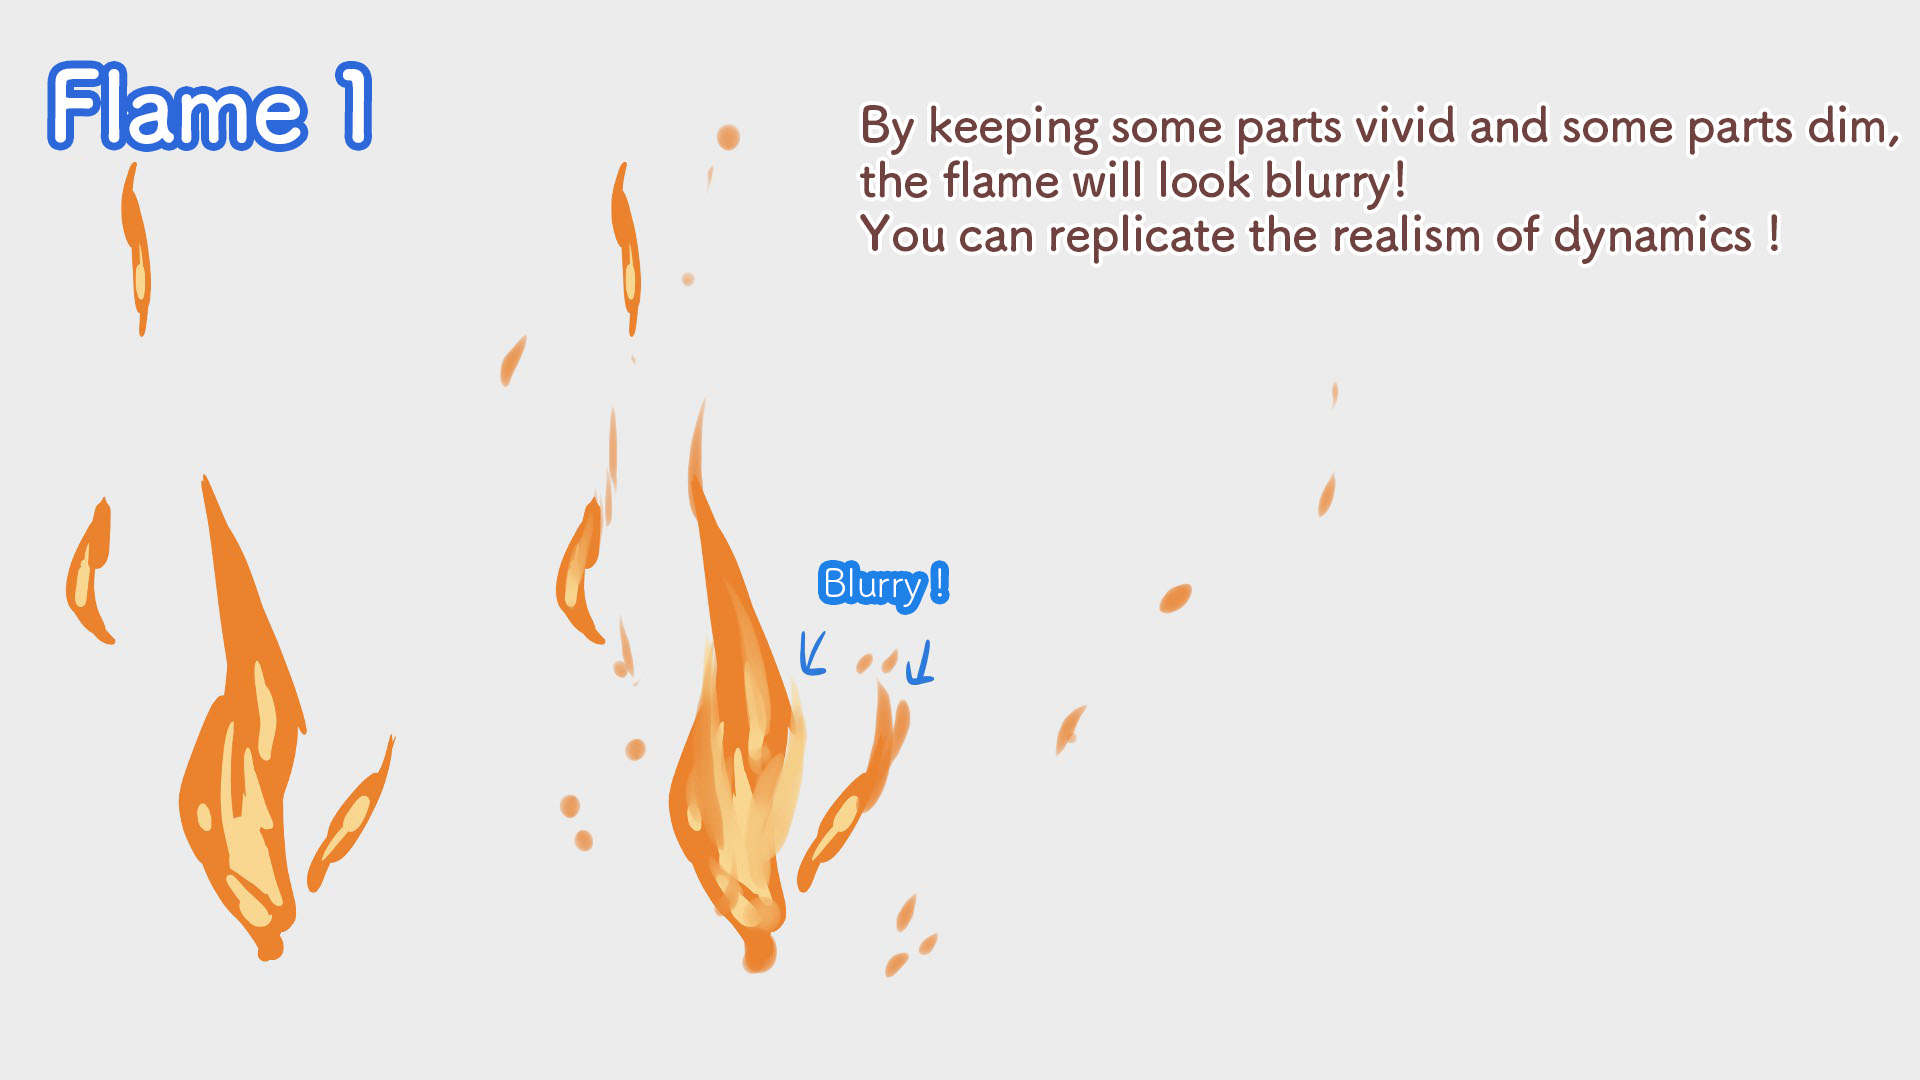
Let’s simply draw the shape of the flames.
Don’t create a line drawing and just draw directly with the pen you used to paint the colors!
I will use the typical flame colors, orange and yellow.
Once you are done, 【Copy(Command + C)】the layer and blend in the orange and yellow using the Watercolor pen.
The key here is to not blur everything!
You should keep some parts clean to create a nice rhythm.
It looks much cooler when you have bits of the flames flying in the air so I will add that too.
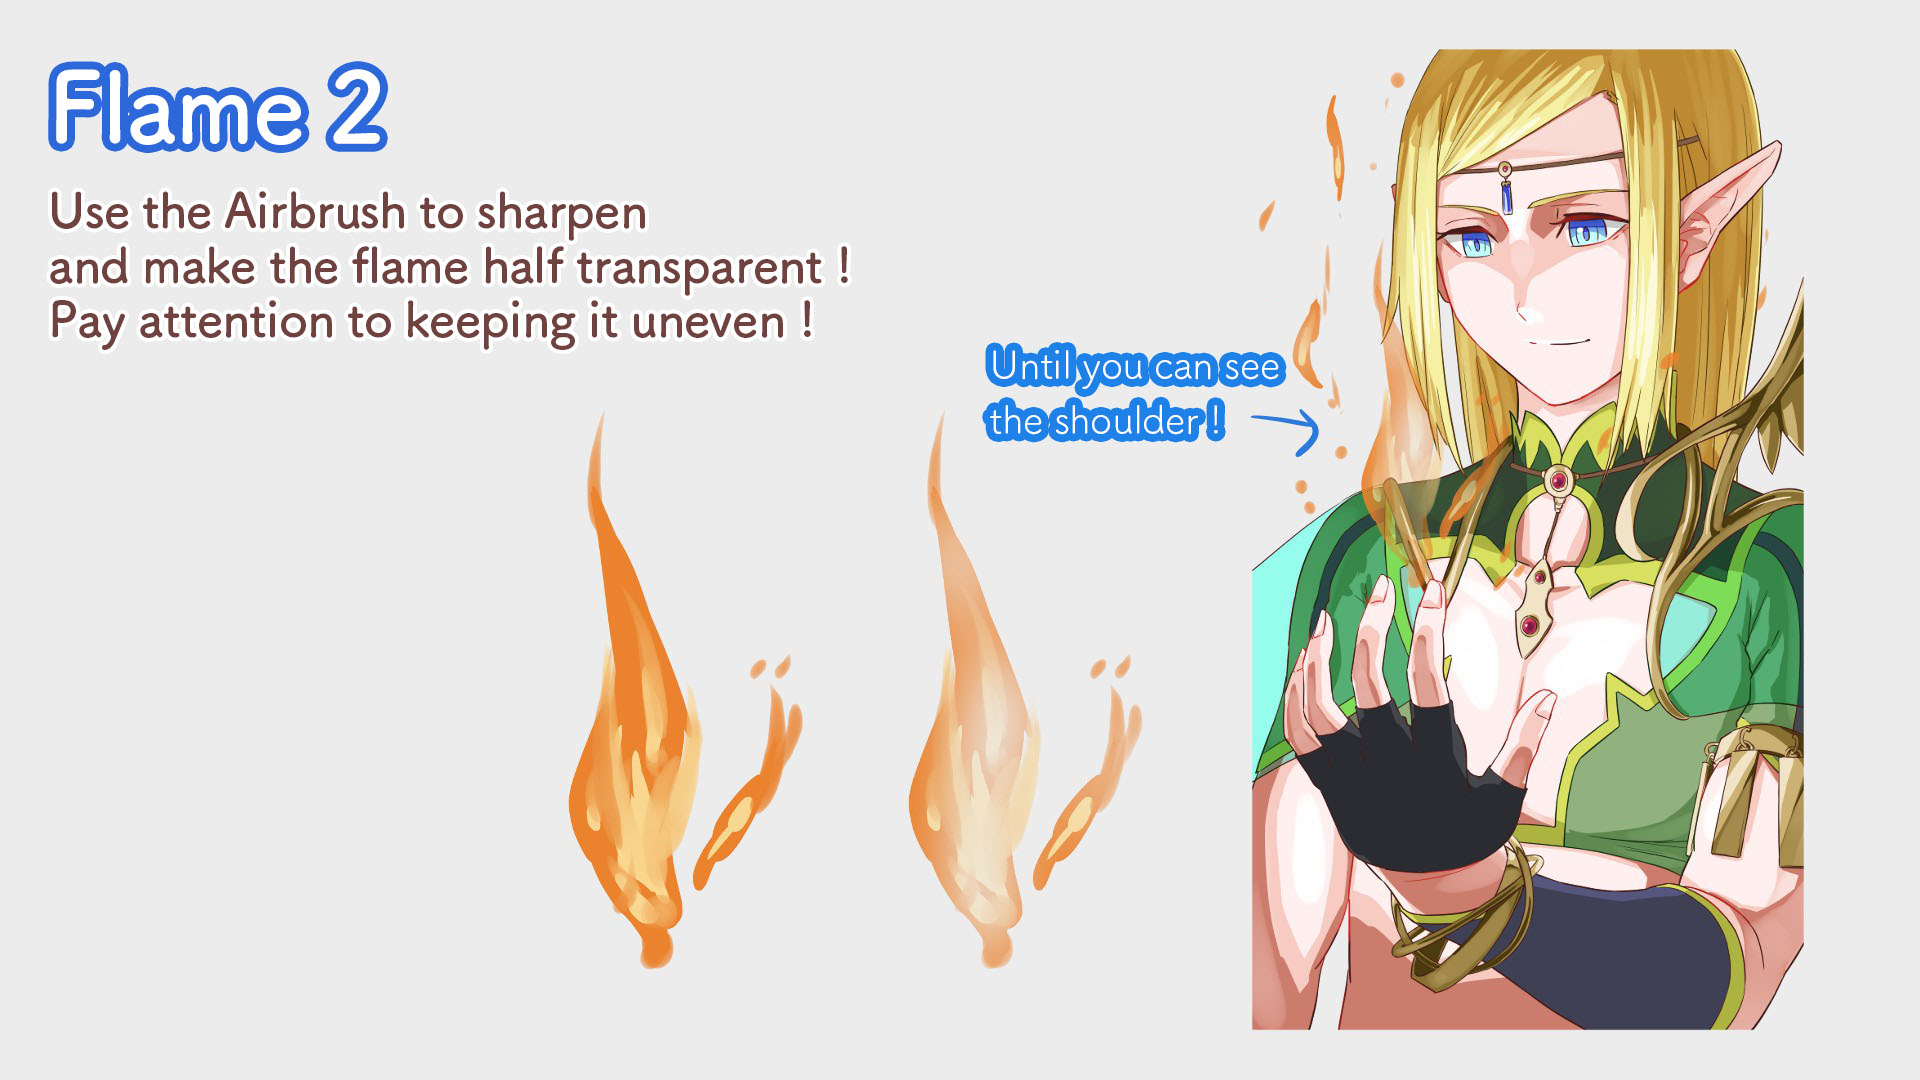
Now copy this layer twice.
One of which you will sharpen using the AirBrush.
You can use it as an eraser by setting the color of the pen to【Transparent(shift + Z)】!
The goal here is to make it partially transparent.
Finally, change the【Blending】for each flame layer and the flame is done!
▼ What is【Blending】?
Layer Blending
▼Example: Layer Blending【Overlay】
Overlay Easy Finishing Method
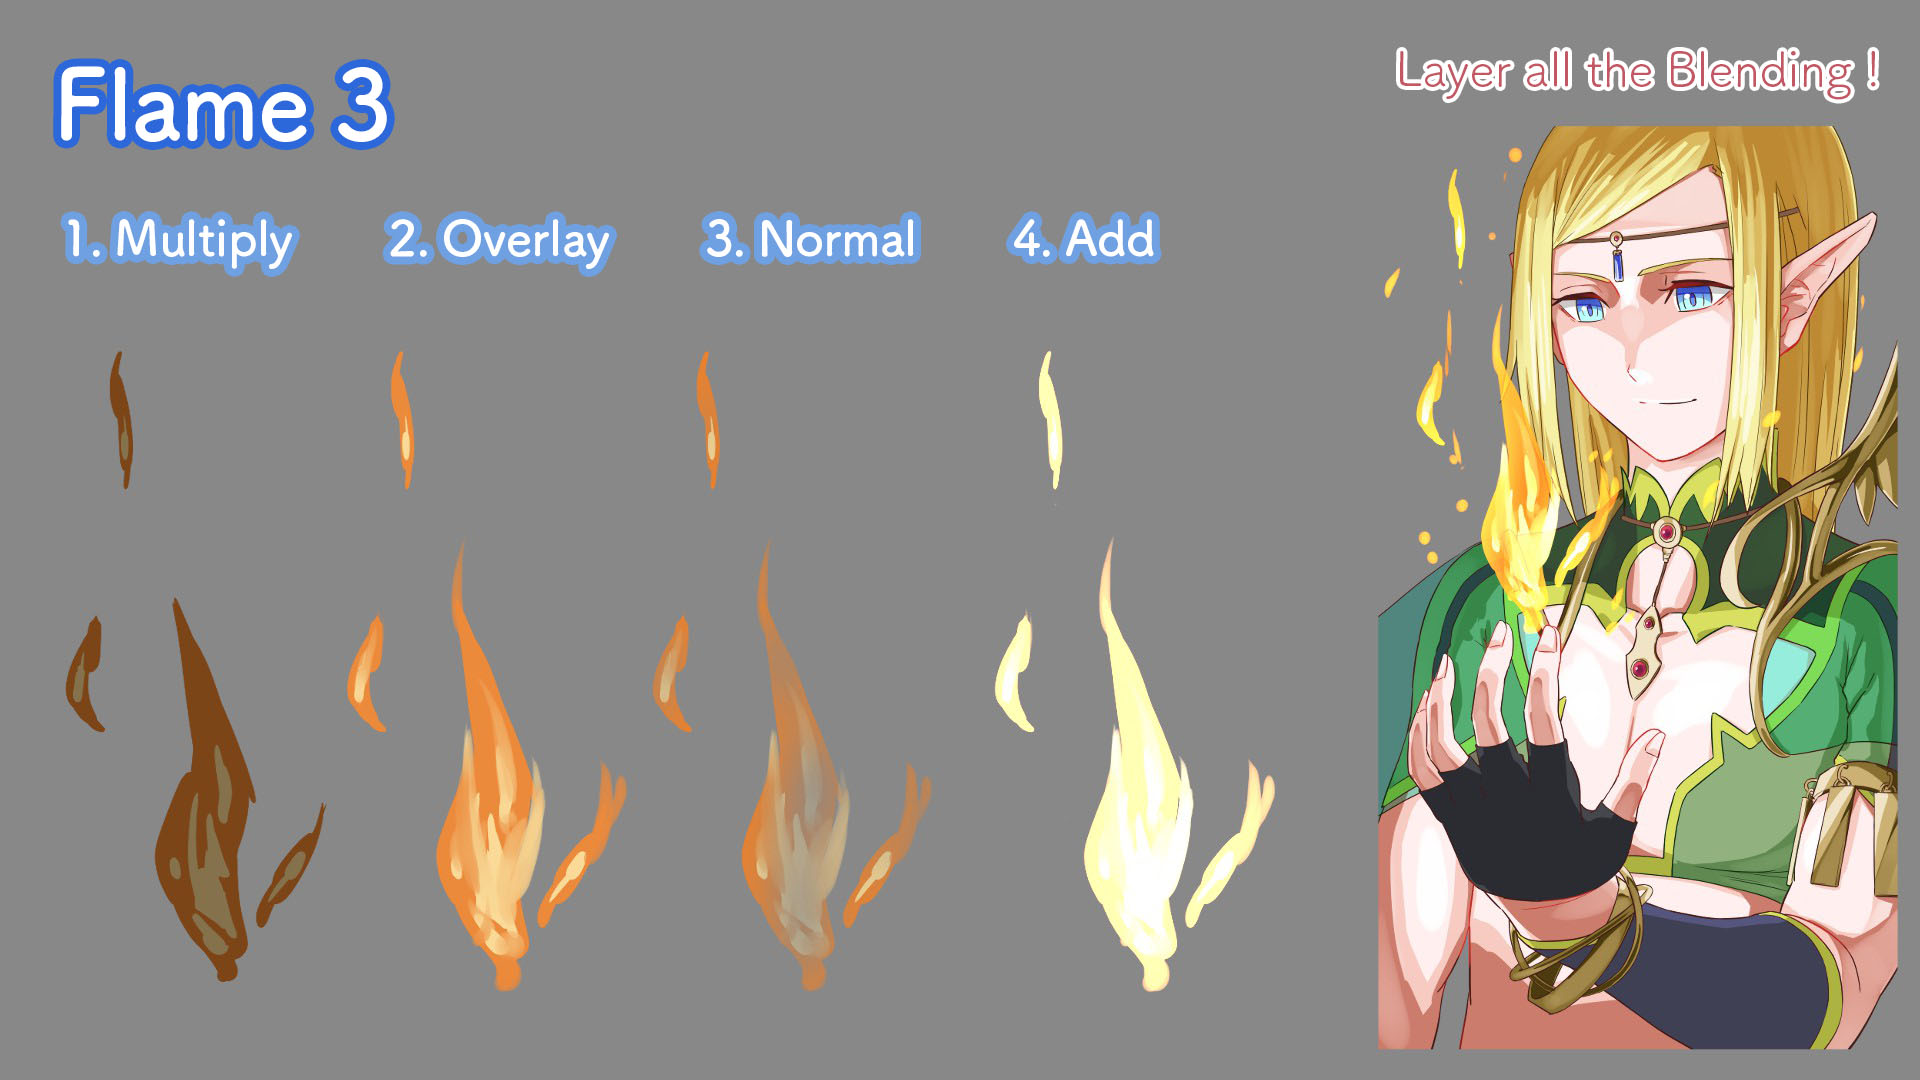
As a finishing touch, layer the Blending with Add and Overlay (use the AirBrush to paint orange for the bright parts and blue for the dark) to the illustration and now the illustration is complete!
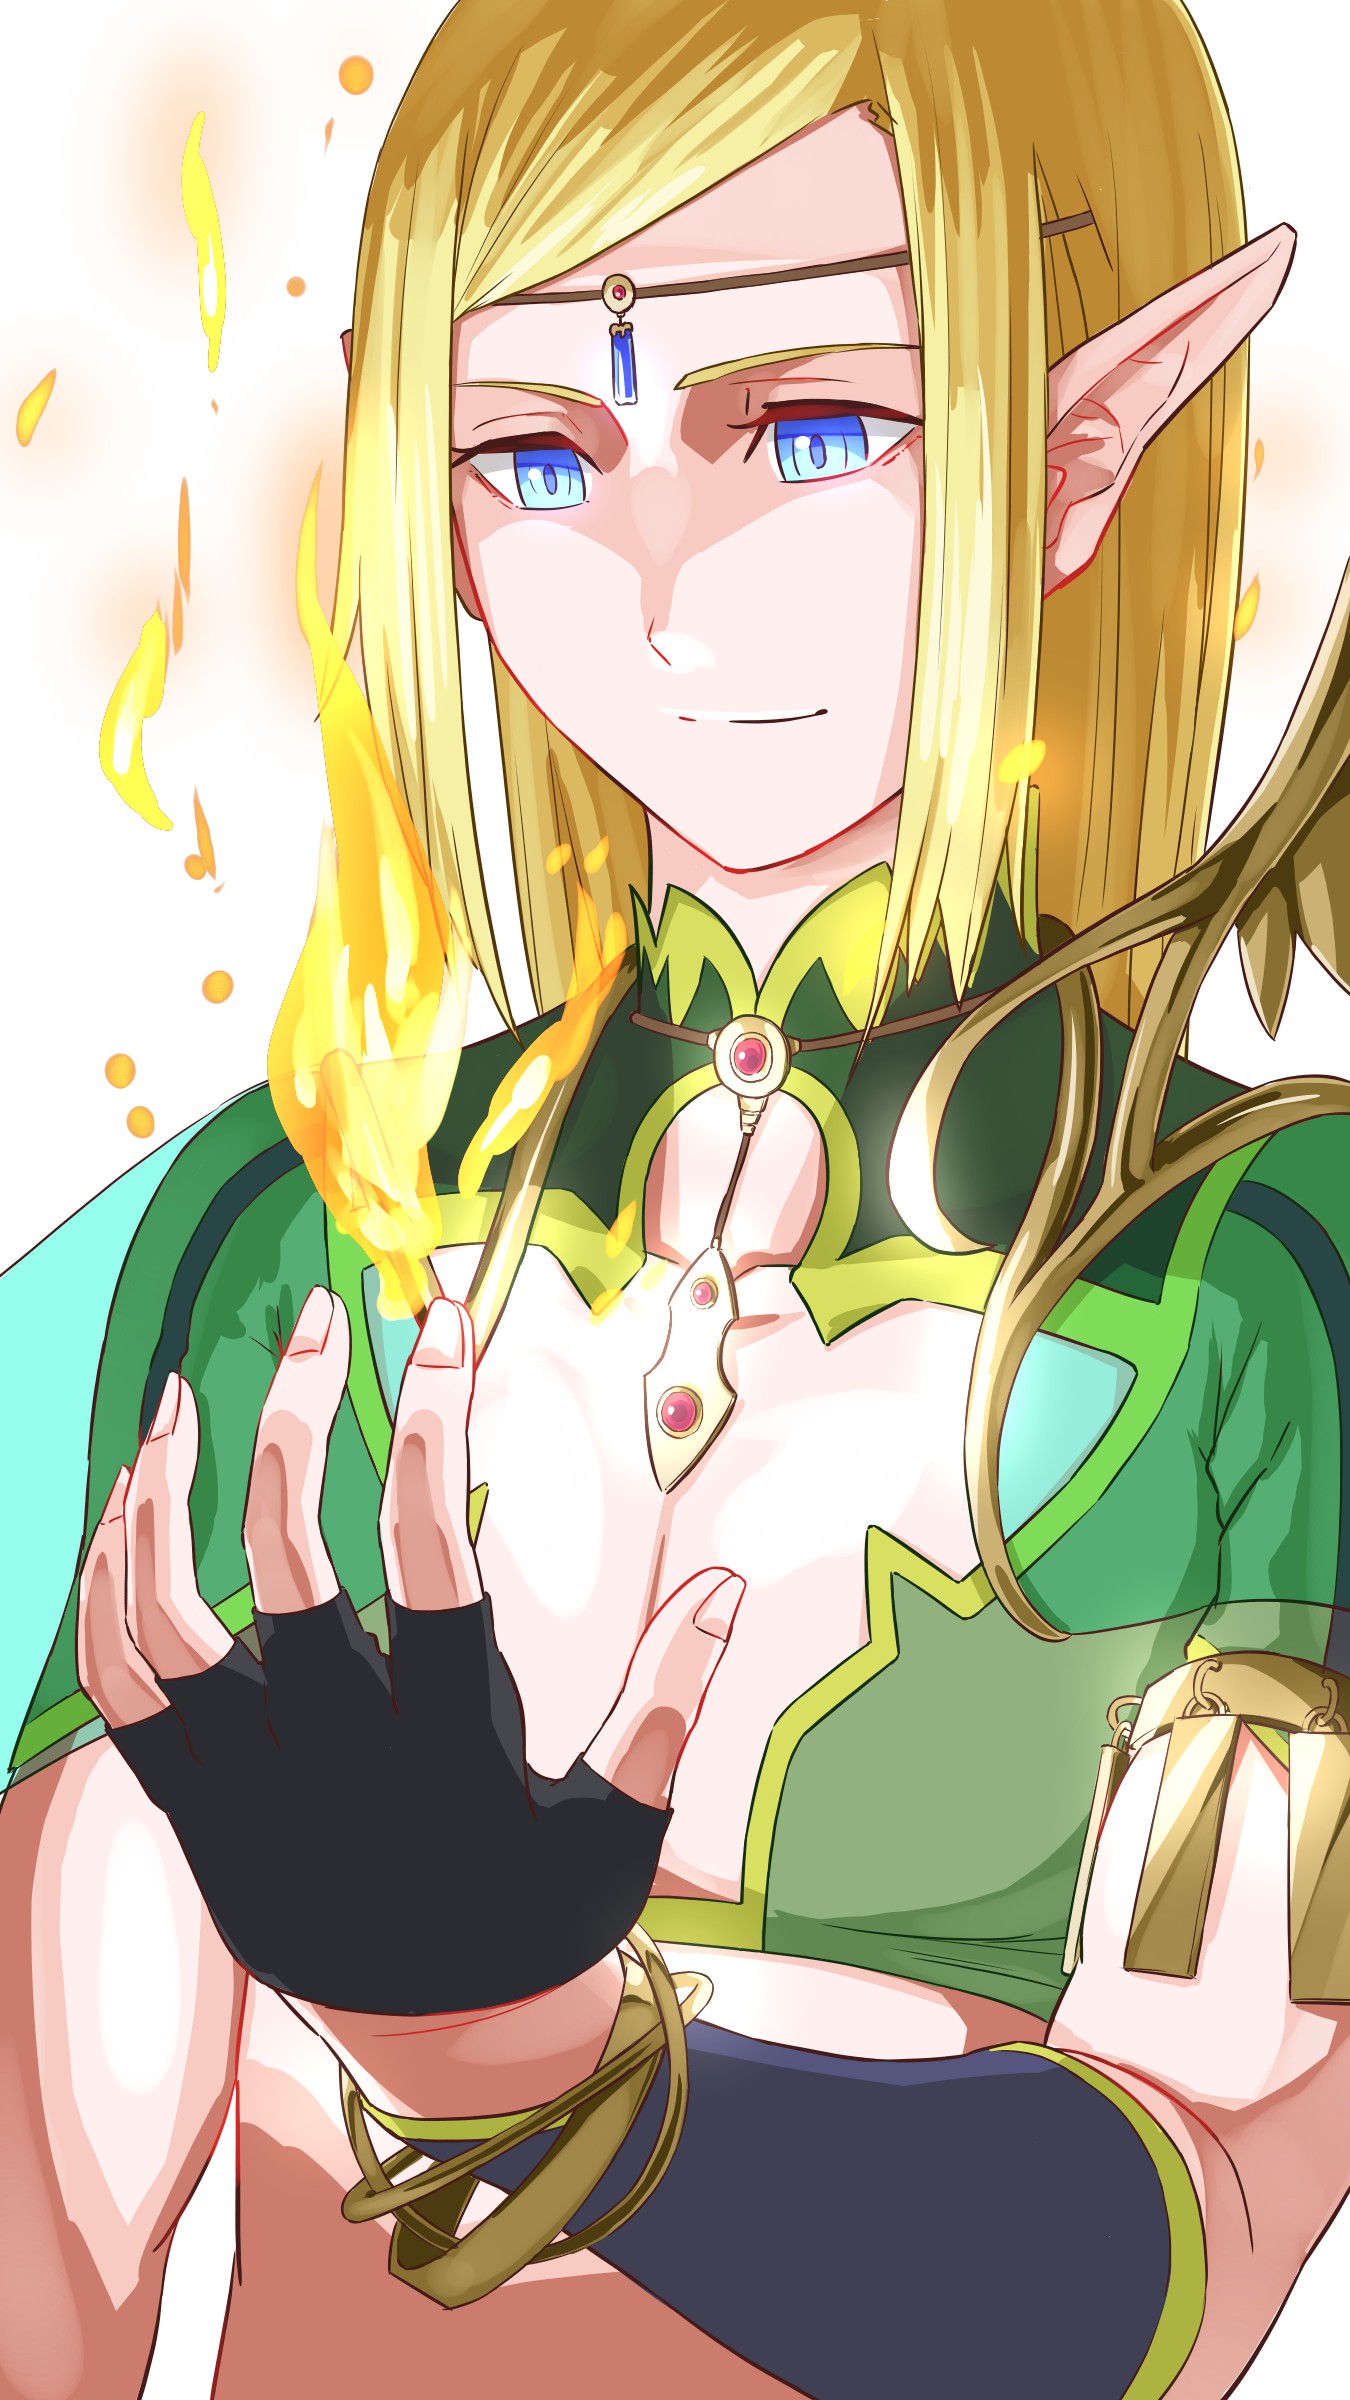
It took me about 5 hours from the sketch to completion this time.
The fact that I was able to draw the rough sketch in an hour or so helped me a lot.
I remember drawing for a super long time for the previous tutorial…
I realized I never drew an elf eared character before so it was quite refreshing for me too.
I even forgot to make the ears pointy when I started drawing the sketch!
Thank you for reading this tutorial !
(Text・Illustration/時計)
Twitter https://twitter.com/Clock1231
\ We are accepting requests for articles on how to use /

