2021.02.10
Easy to use edge pen! Let’s draw higanbana.
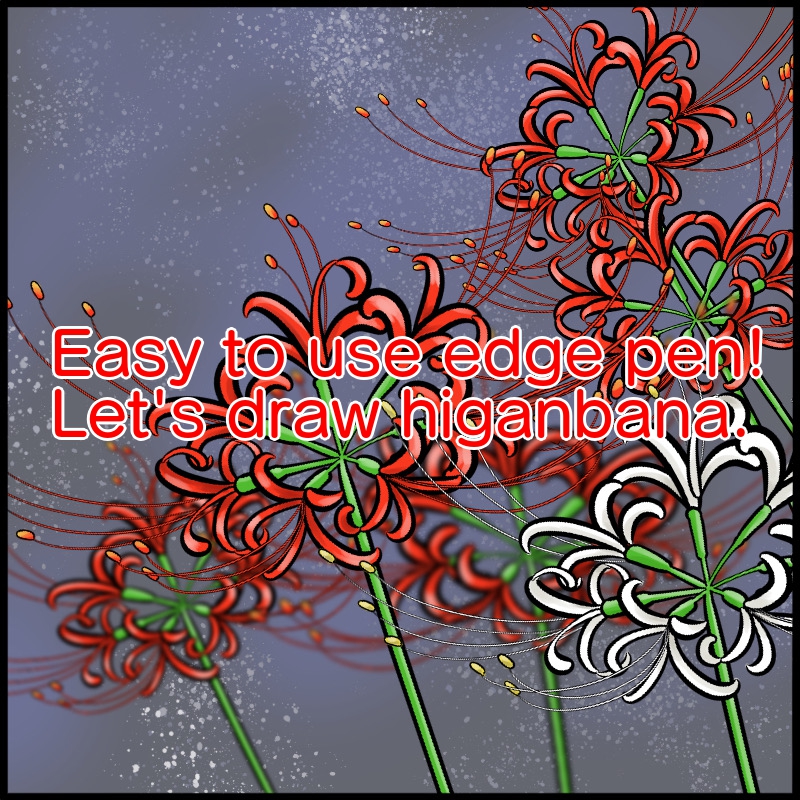
Higanbana, also known as Manjushage, is one of the most popular autumn flowers.
It can be used as a background to express the season and to fill in the gaps in the picture.
In this article, I’ll show you how to use the edge pen to easily draw in the flowers.
1. The structure of the flower
First, let’s take a look at the structure of a higanbana flower.
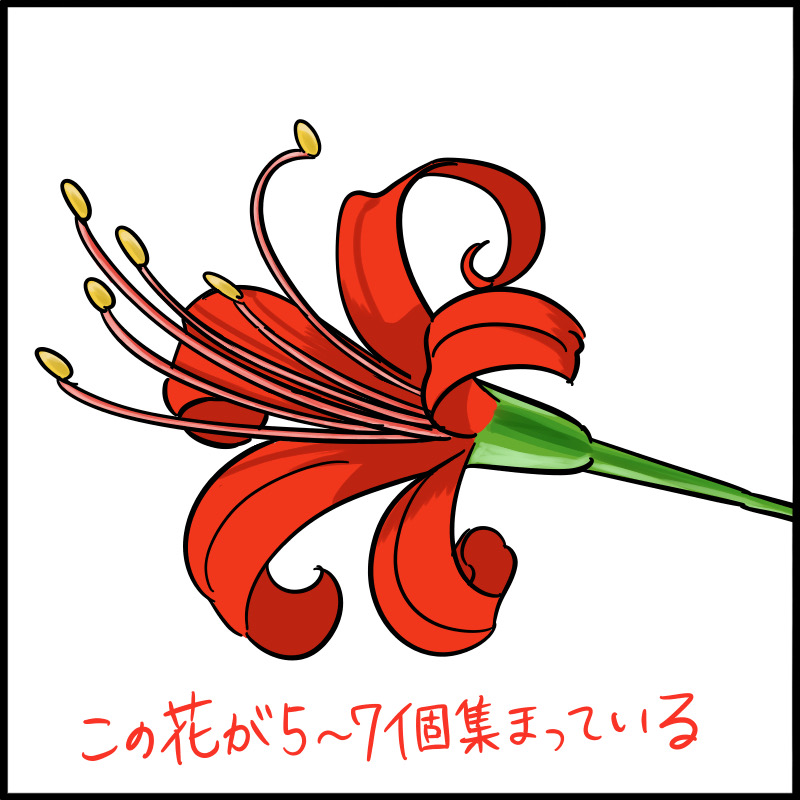
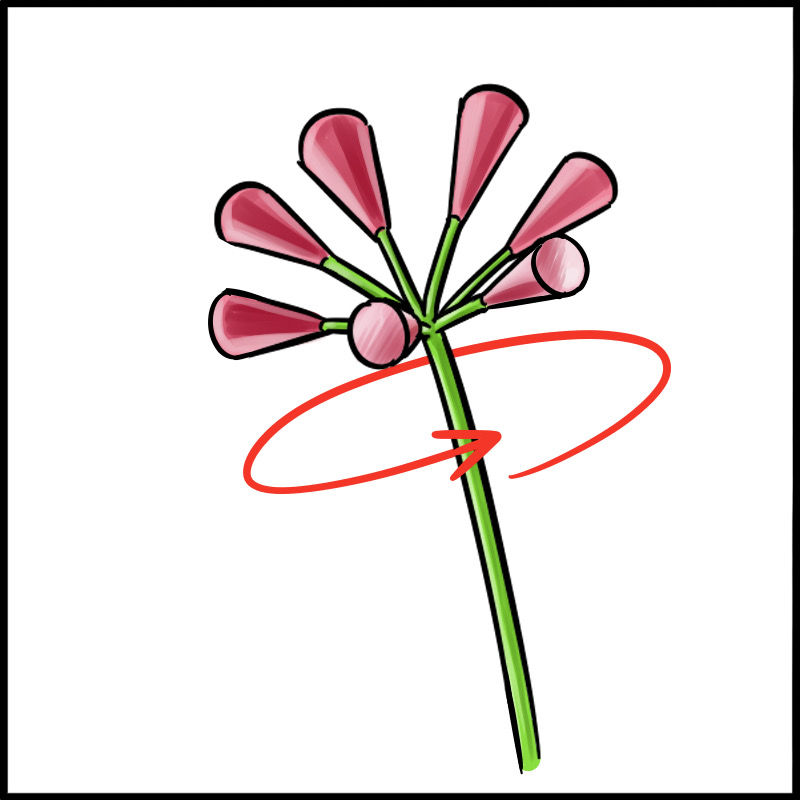
The higanbana is a cluster of small lily-like petals at the end of a single stem.
The image is of five to seven petals attached in an outward direction, encircling the stem.
2. Add the bite
Now let’s start drawing.
First, draw a stem and five to seven short lines that branch off from the stem.
Use a pencil to draw them roughly.
The upper branches will have the petals in the back, and the lower branches will have the petals in the front.

3. Draw the petals at the back
Place a new layer.
Set the foreground color to black and the background color to white, and select the “Brush Tool” and then the “Edge Pen”.
If you don’t have one, add one by selecting “Add Brush”.
Set the “Minimum Width” of the brush setting to the smallest possible value.
Let’s start with the petals at the back.
Place the pen on the tip of the topmost branch and draw a line that wraps around to the outside to draw the petals.
Repeat this process several times.
Keep in mind that the front of the flower should be facing away from you.
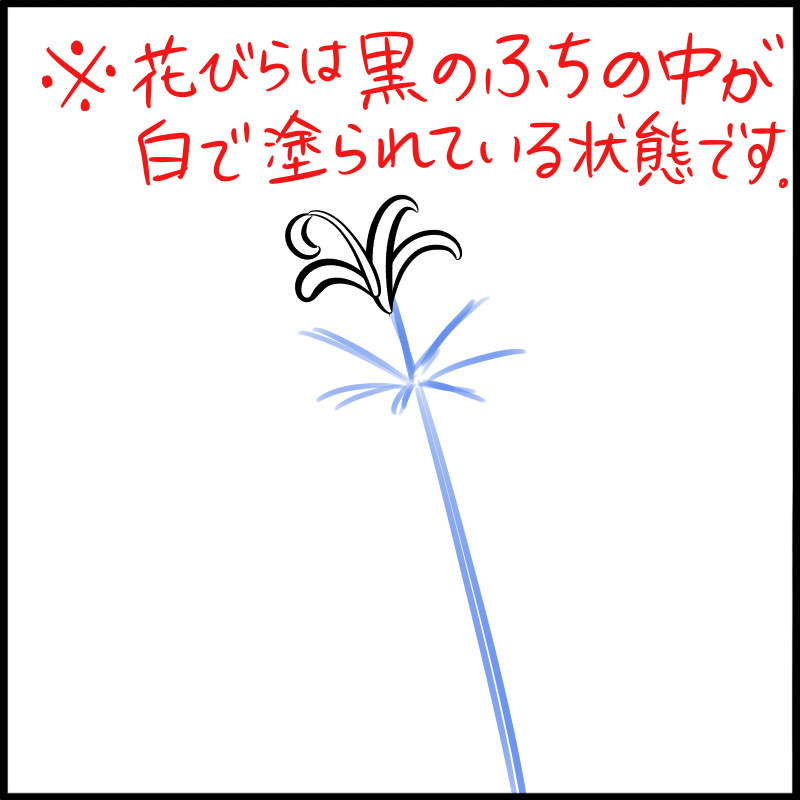
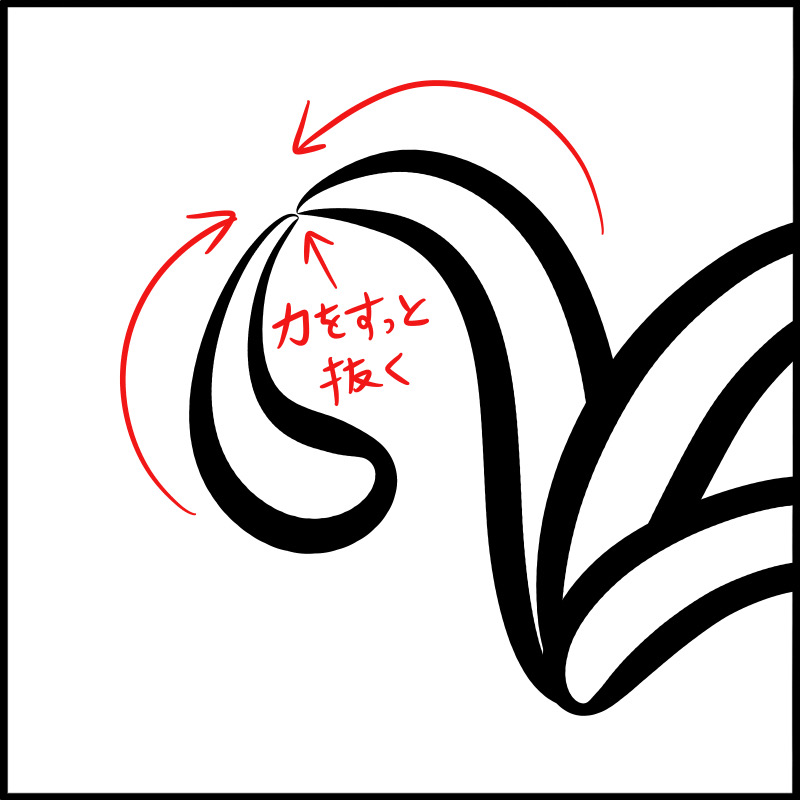
For some of the petals, deliberately draw separate lines as shown in the figure.
This will give the impression that the petals are turned inside out.
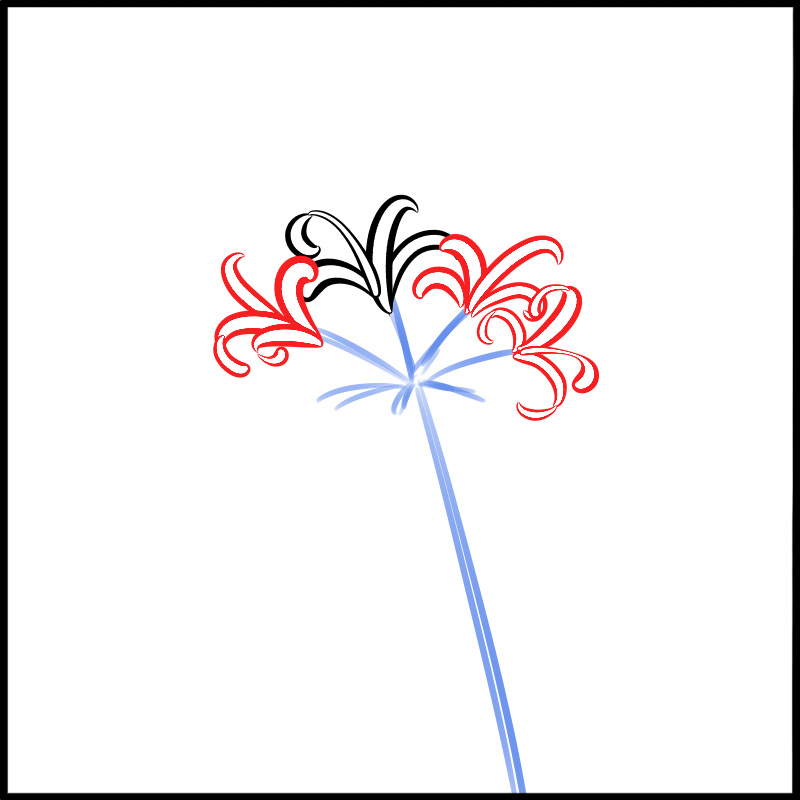
Repeat the same procedure for the petals on both sides, and then on the right.
(Red is the newly drawn area)
4. Draw the stem
Now we will draw the stem first.
Place a new layer.
Use the “edge pen” to trace the bite line.
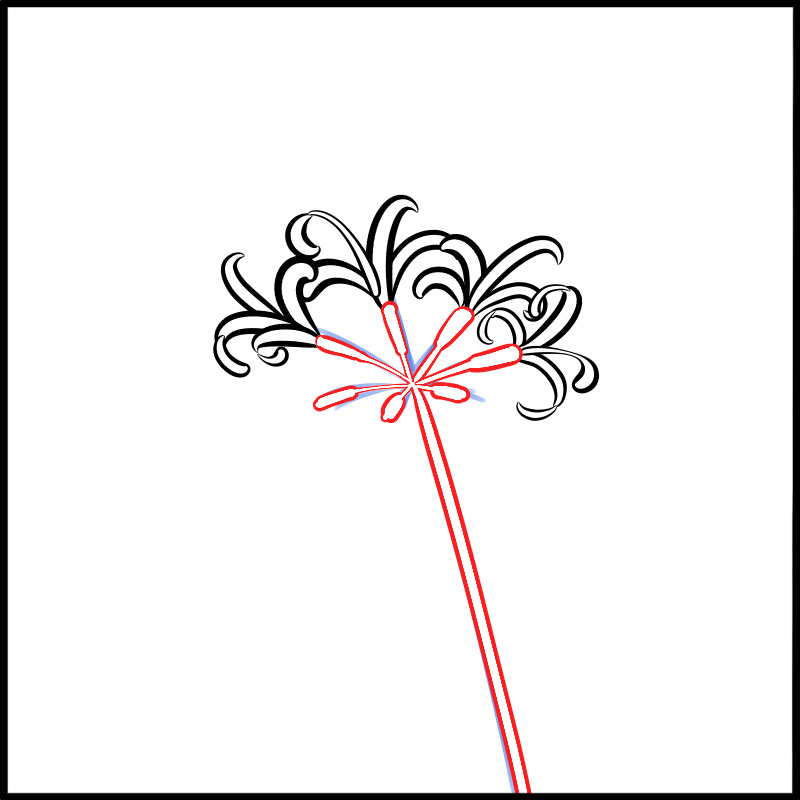
The “Fuchi Pen” allows you to draw all the parts of a stroke in a connected manner.
You can use the pen to draw a single stroke.
On the other hand, once you release the pen from the screen, the lines will be drawn on top of each other.
If it is difficult to draw a single stroke, you can adjust it later by overlapping the lines and filling in the extra “edge” with white.
5. Draw the petals in the foreground
Continue to add petals to the two neighboring branches and then the bottom branch.
This time, draw the petals with the flower facing toward you and open.
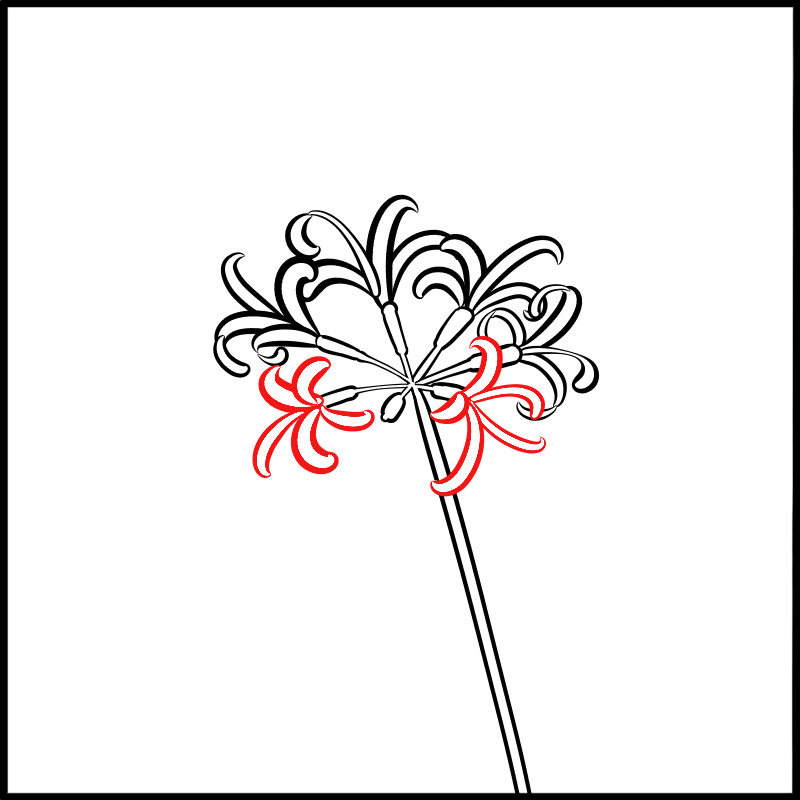
(Red is the newly drawn petal)
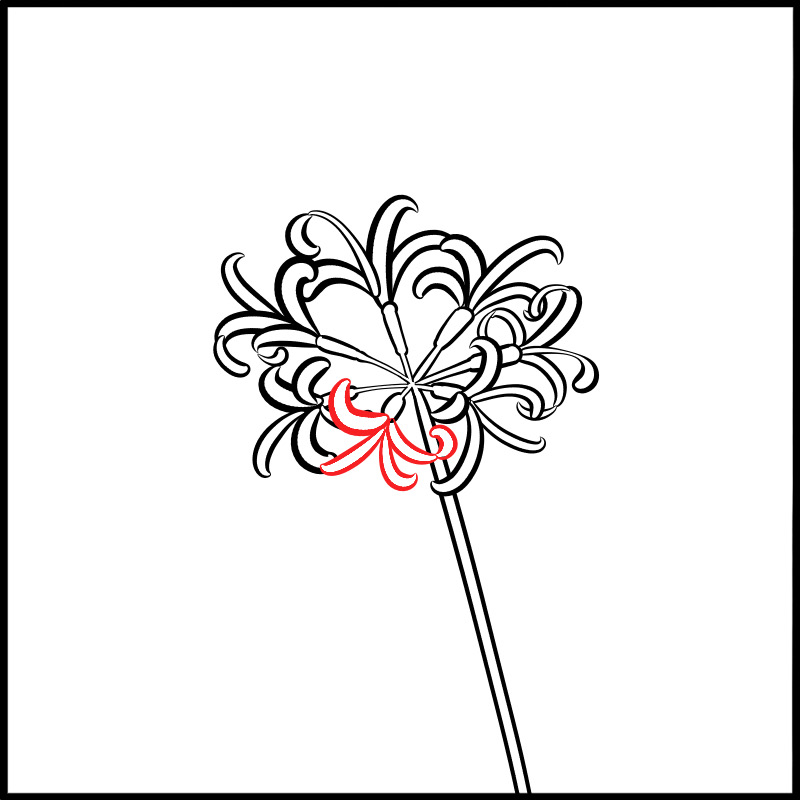
Separating the layers is useful when you want to make corrections.
6. Draw the stamen and pistil
Place a new layer under the back petal layer.
Set the thickness of the “edge pen” to thin and draw several stamens and pistils from the center of the inner petal.
Turn them all upwards as shown in the figure.
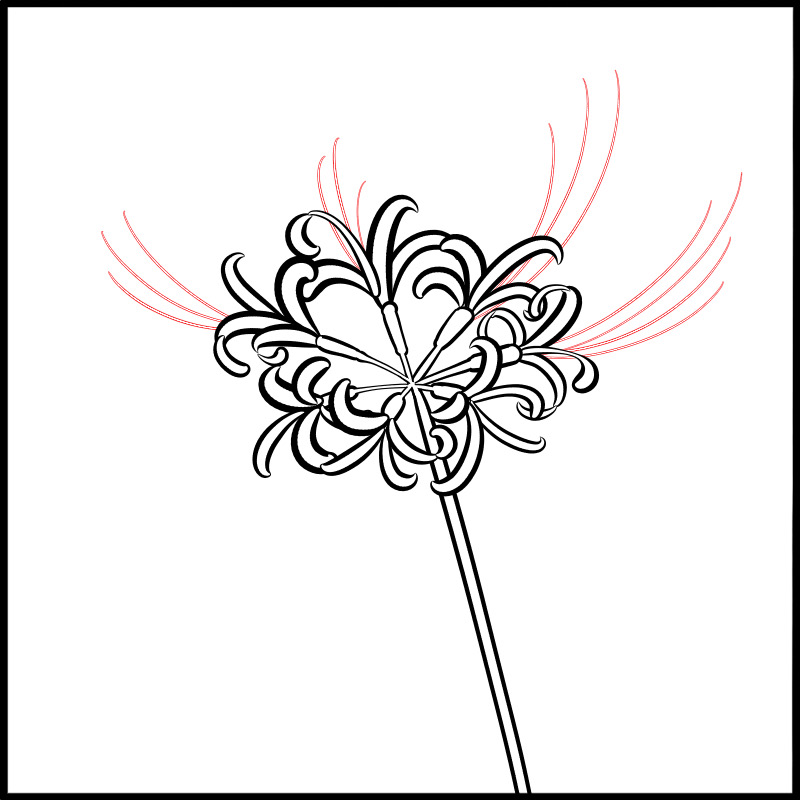
The original higanbana flower has six stamens and one pistil, but I’ve omitted them here because they clutter up the screen.
Place a new layer, this time at the top.
Starting from the center of the three petals in the foreground, draw the stamen and pistil in the same way.
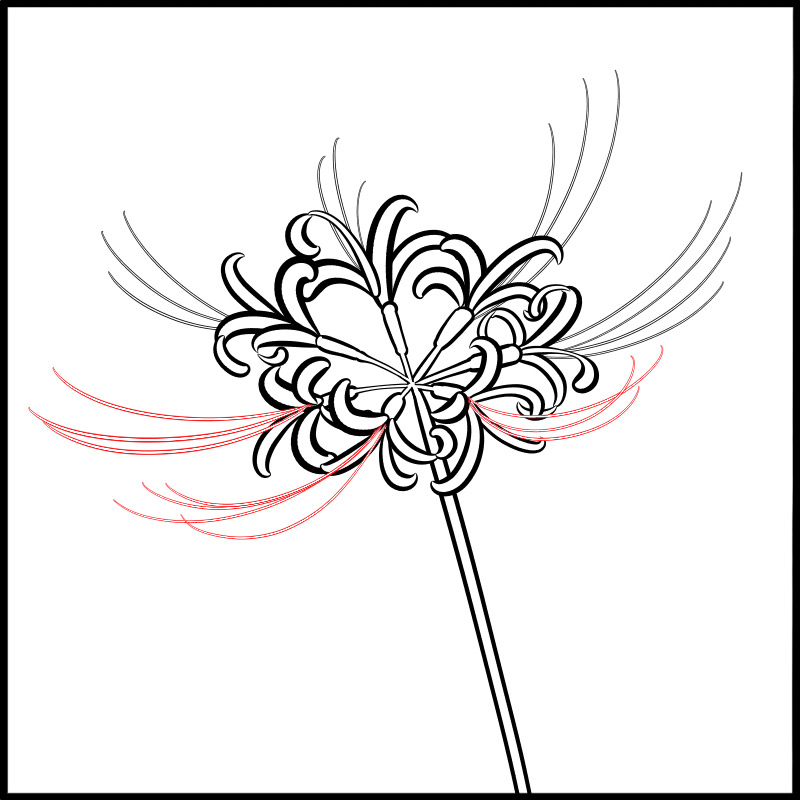
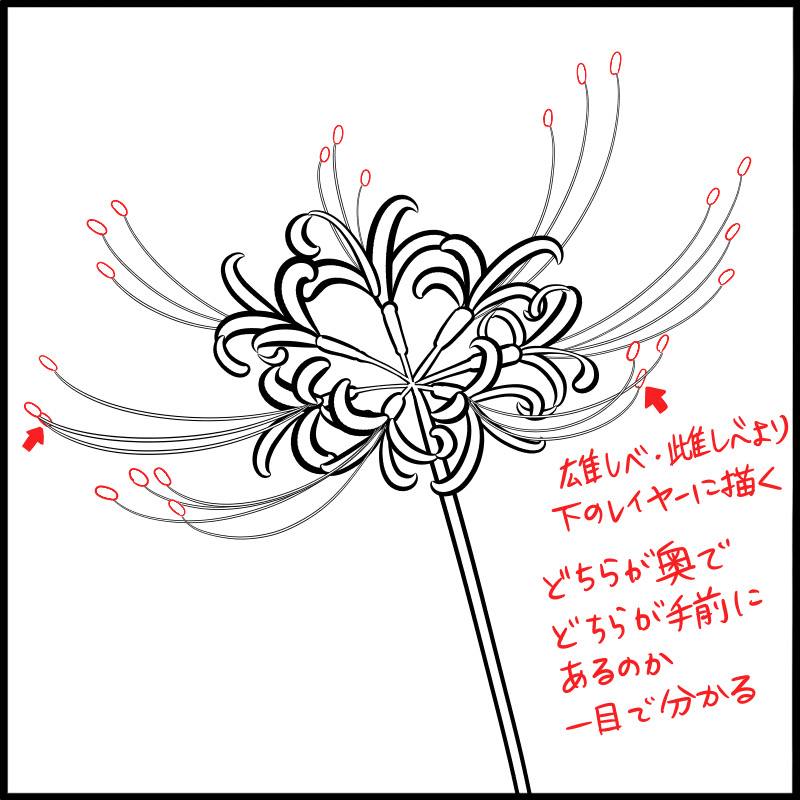
7. Draw the yaku
Finally, let’s draw the stamen.
Draw circles around the tips of the stamens and pistils to spread them out.
Draw some of them on a new layer and place them under the stamen and pistil layers.
This will clarify the position of the stamen and pistil and give the image a three-dimensional effect.
8. Coloring
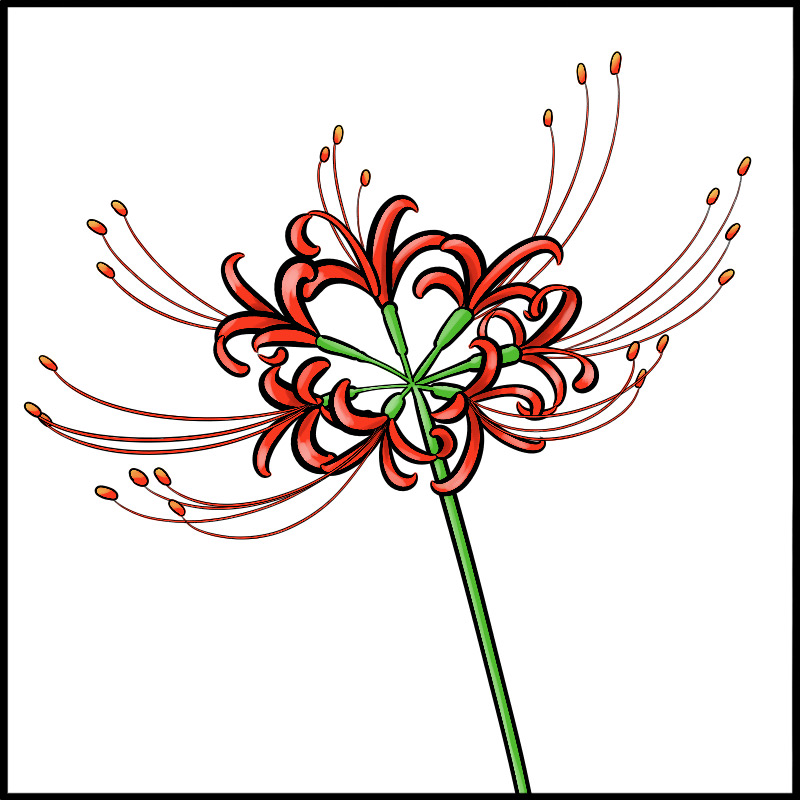
Now you have your higanbana!
If you want to fill it with color or monochrome, merge all the layers drawn with “Fuchi Pen”, and then go to “Filter” and “Extract Line Art”.
If you put a new layer underneath, you can color freely.
What did you think?
In this article, I have shown you a very simple way to draw higanbana.
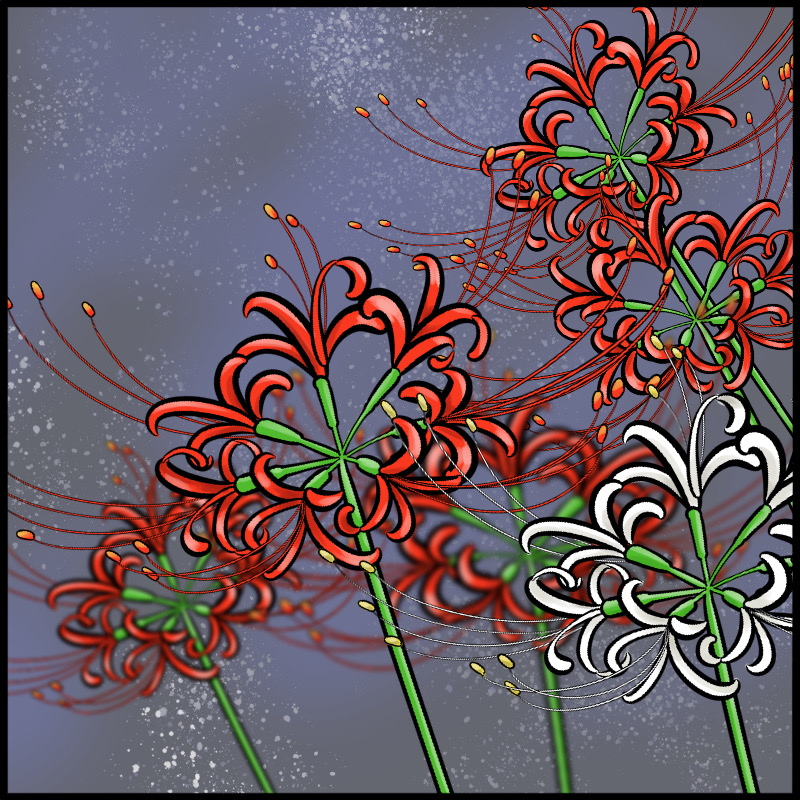
This is the best method if you want to fill in the blank space in a short time, or if you want to give the screen a mysterious atmosphere.
If you want to take more time to draw it carefully, you can use this finished image as a rough draft.
It is also easy to mass-produce, so please try using it in a variety of situations!
\ We are accepting requests for articles on how to use /

