2021.06.30
Let’s apply patterns to your illustration!
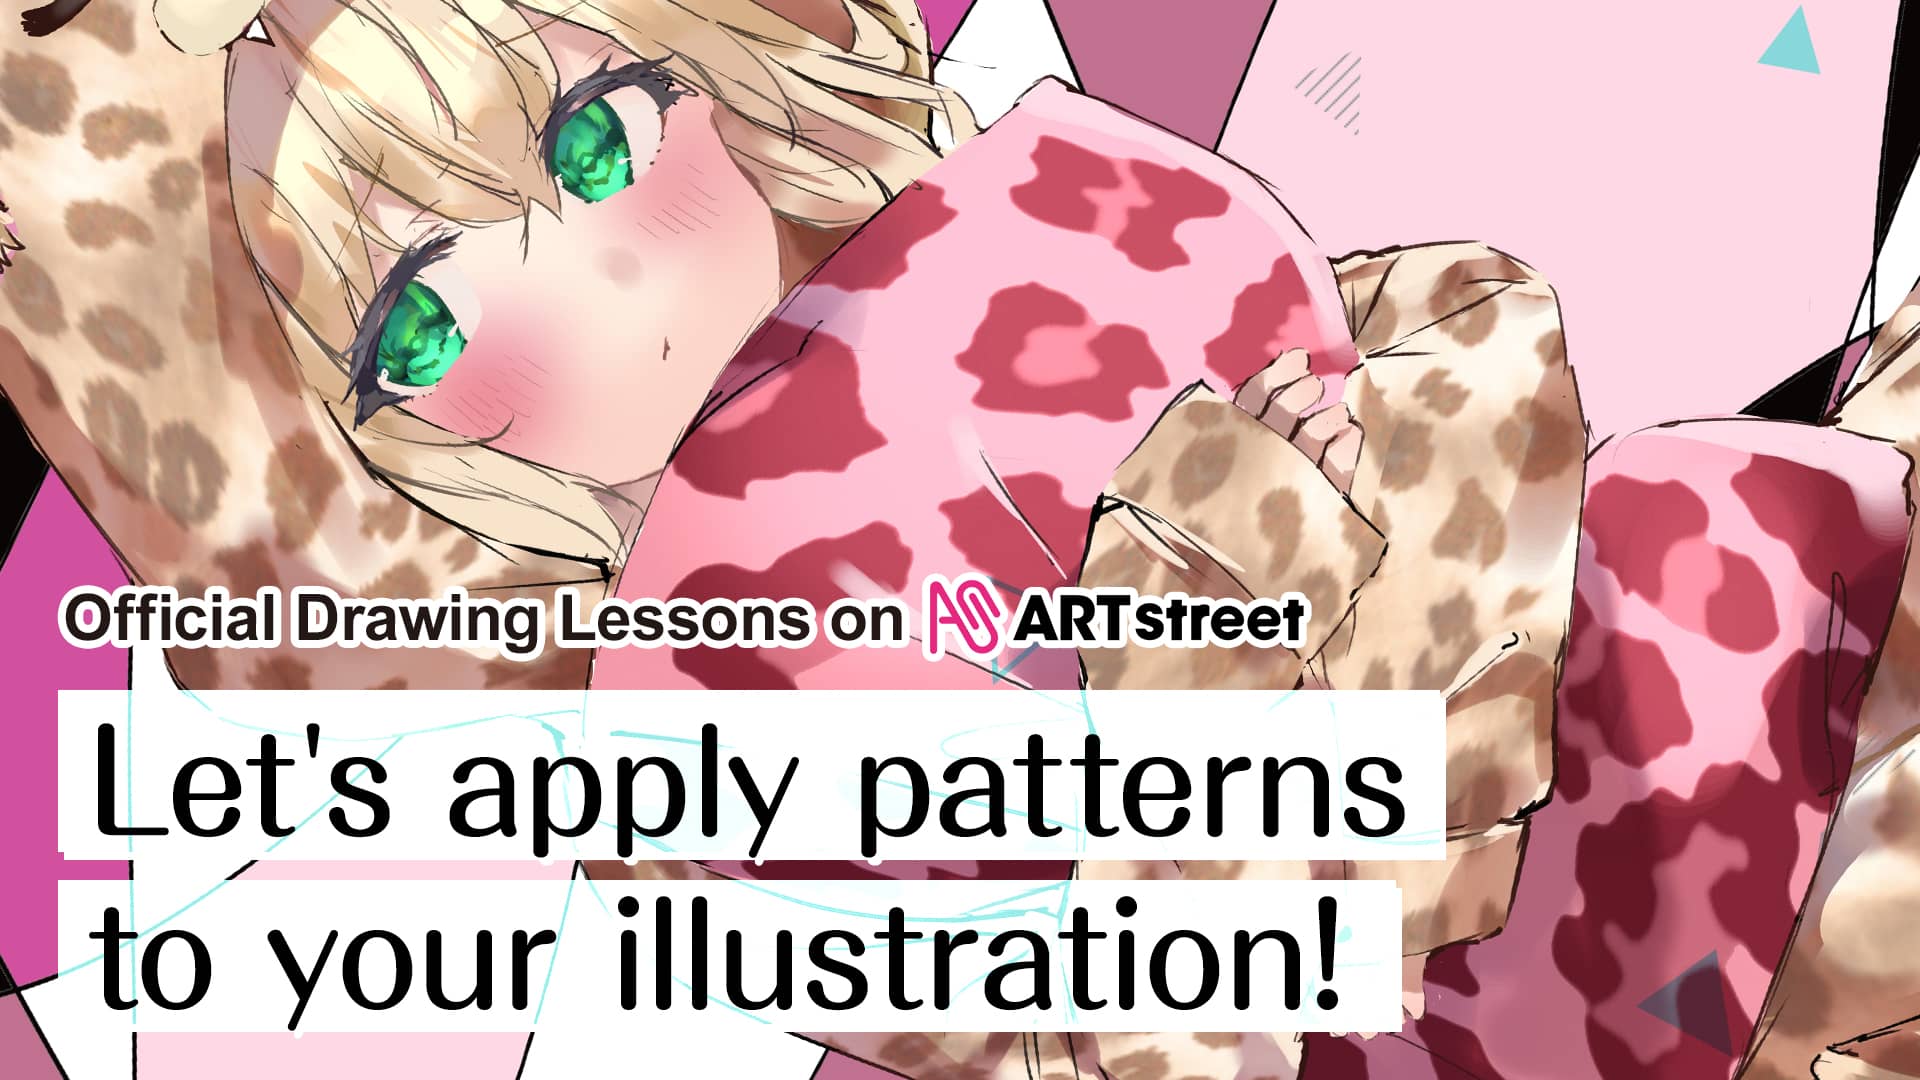
We will show you how you can apply pattern textures to your illustration.
Your ilasration will look more detailed!
The patterns we used are available for purchase on ART street Resources.
Please take a look at what we have.
1.Draw a character.
First, let’s draw a character.
Create a layer with the opacity set to 20%, and sketch out the character.

Be mindful about the form, and add colors to the hair, outfit, skin, etc.
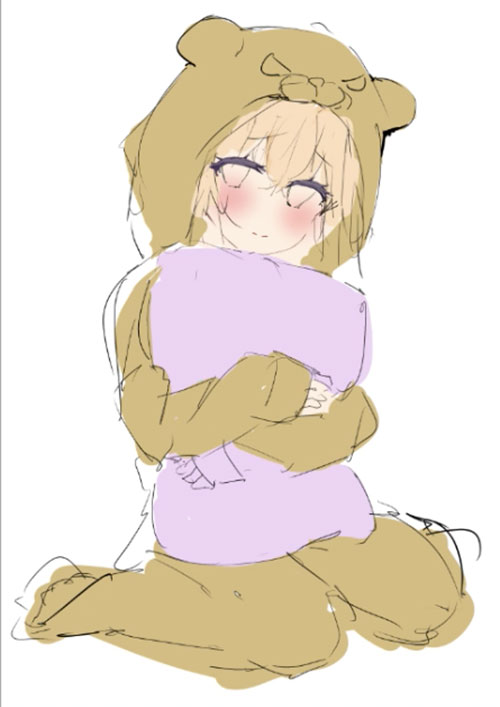
Add eyelashes and draw the eyes.
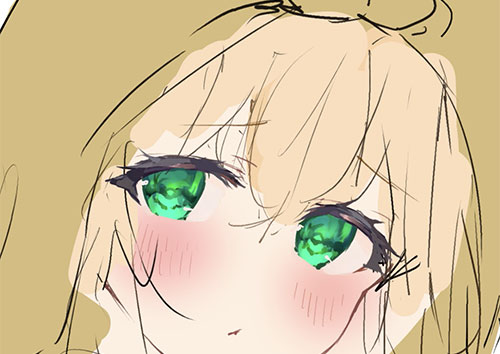
Adjust the shape and form. Then start adding details.
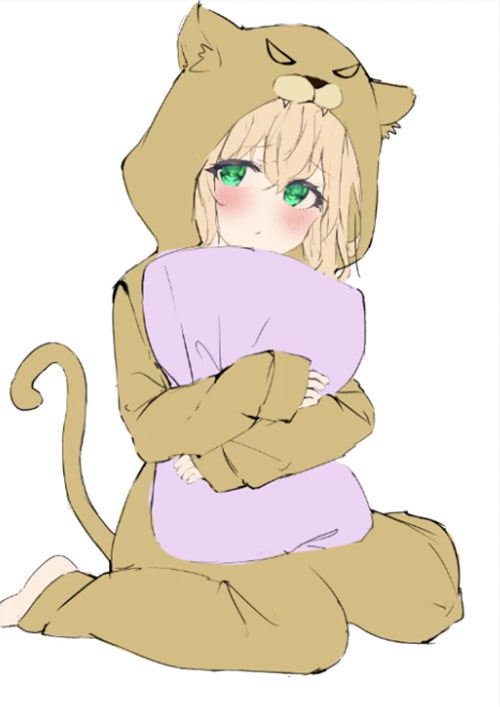
2.Add patterns to the outfit.
Once you have drawn the character, let’s start using the patterns!
(1) Open the pattern file.
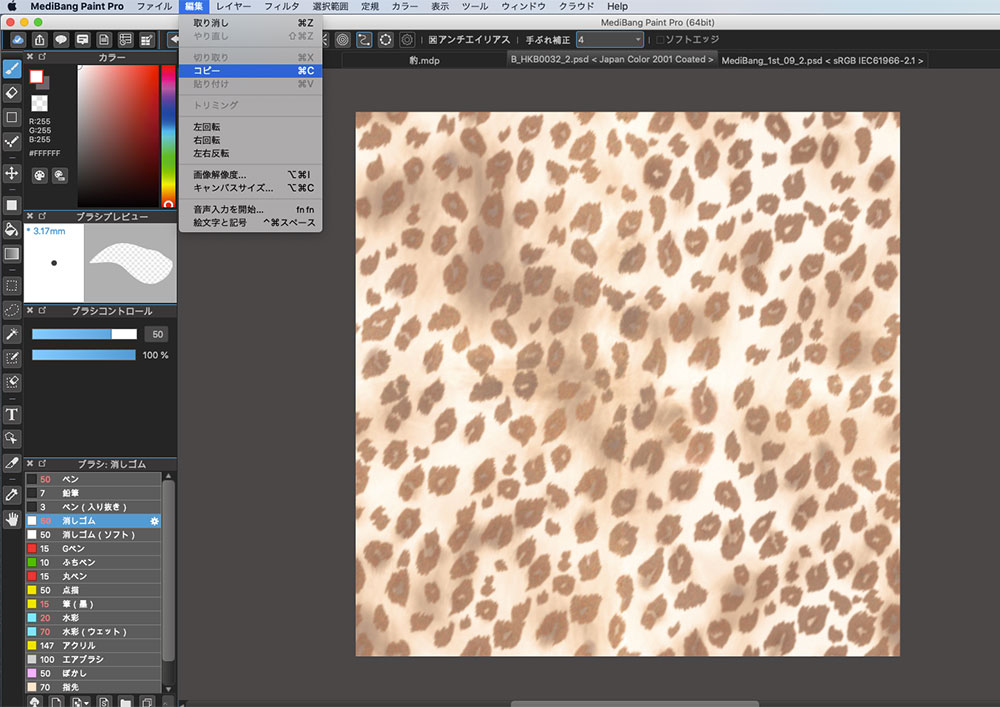
(2) Copy from the texture file and paste it to your canvas.
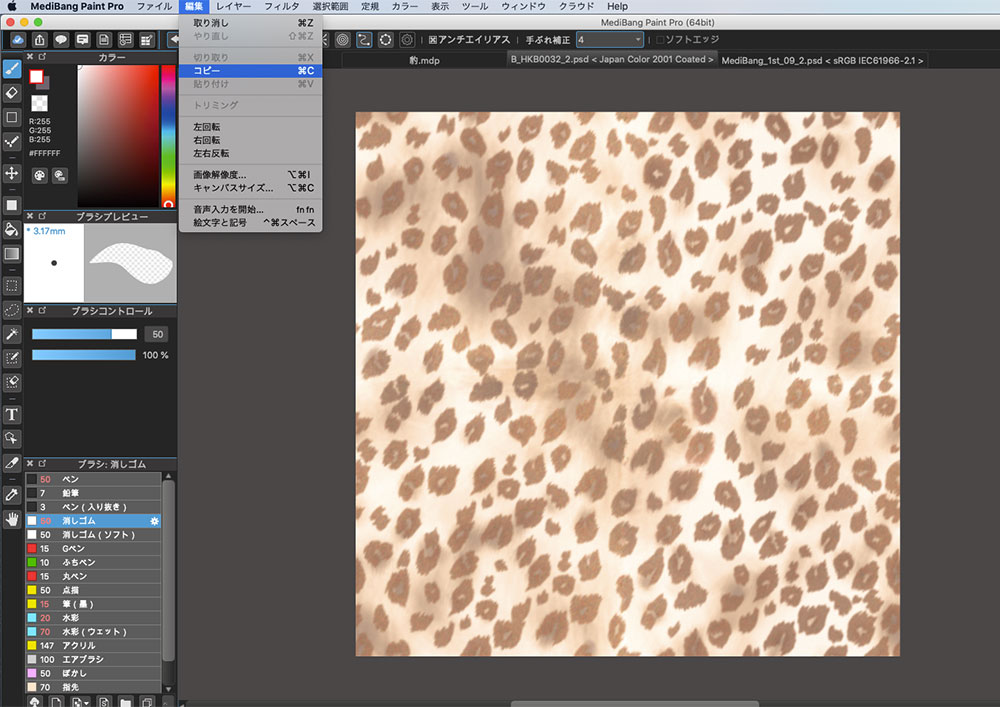
(3) Move the pattern layer above the paint layer of the area where you want to apply to. Then check clipping.
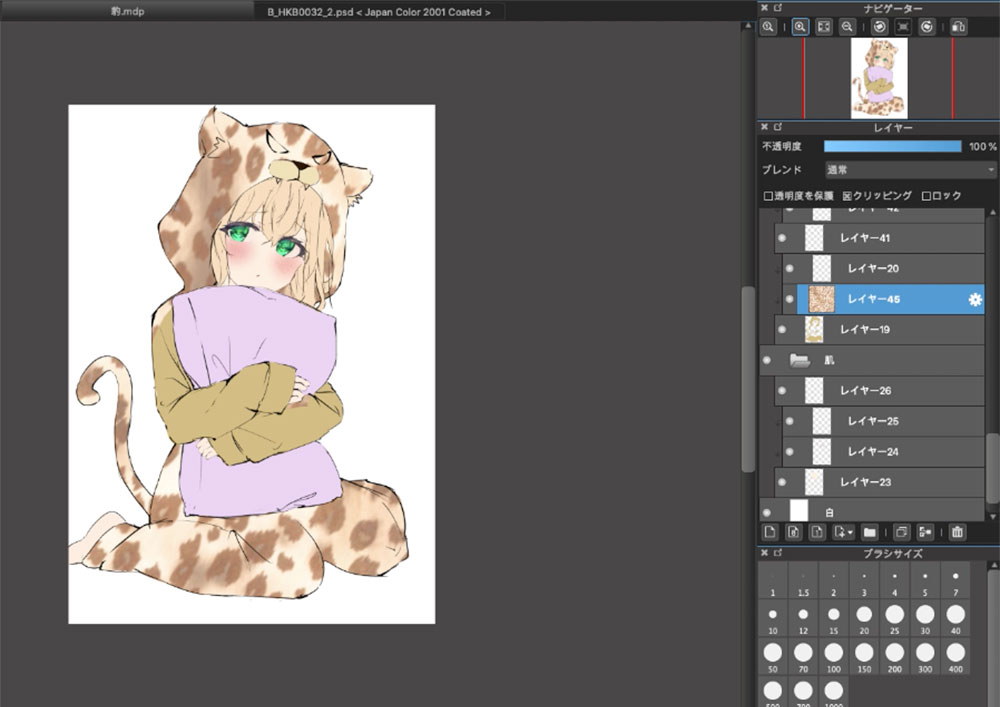
(4) Add more patterns, and use transform to adjust the shape. To make it look more natural, I applied the head, arm, body on a separate layer.
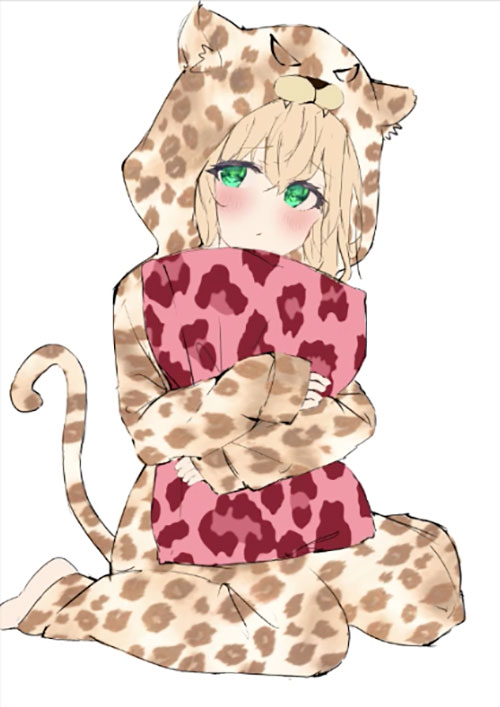
(5) Add shadows with a multiply layer. I decided to change the expression on the hoodie…zzz
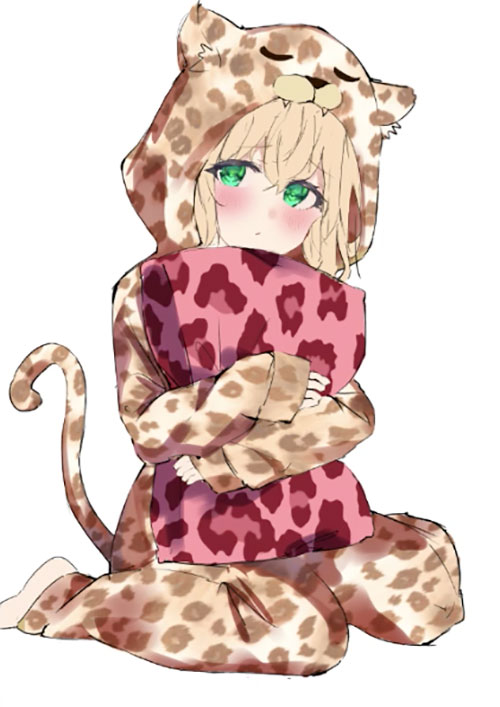
Go to Select > Mesh Transform to adjust the pattern.
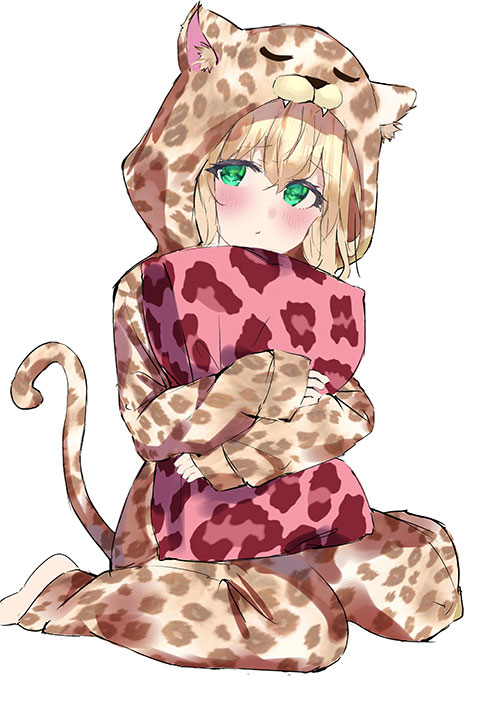
【Important tip!】
You can change the color of the pattern.
Go to Filter > Hue.
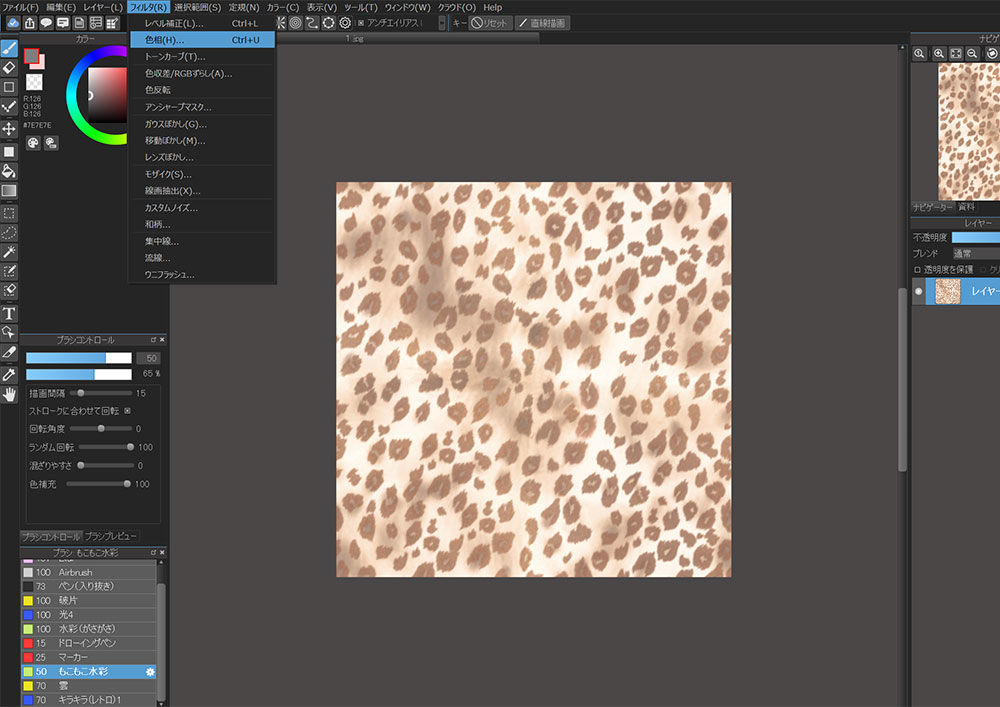
Adjust the Hue, Saturation, and Brightness.
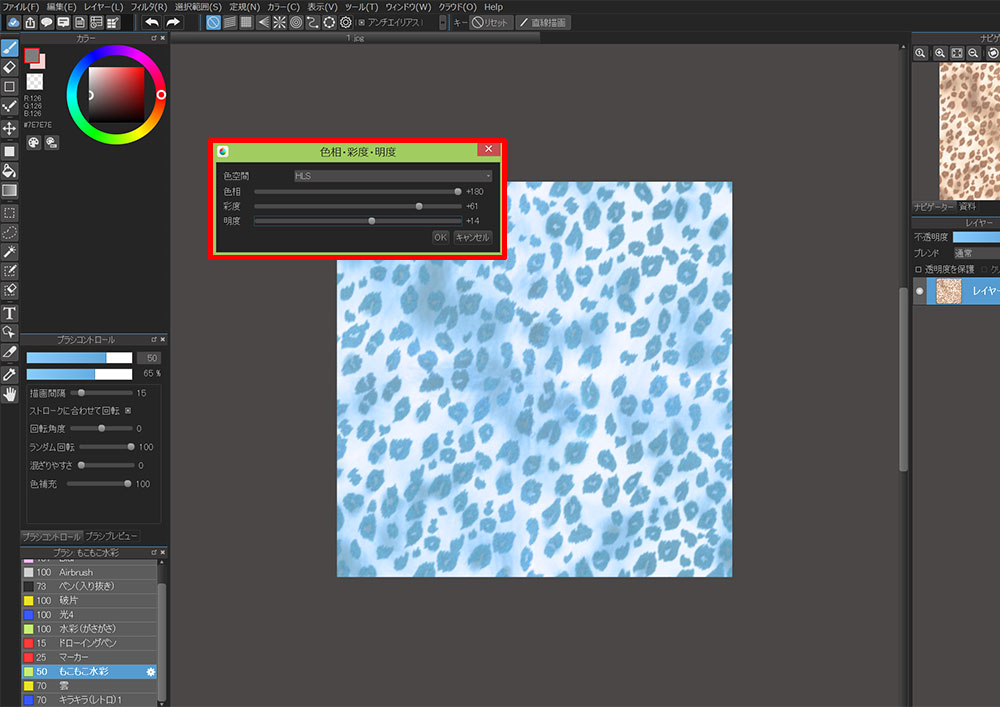
3.Apply a pattern to the background.
Finally, let’s create the background.
First, apply the pattern like we did with the outfits. (Open the pattern file, then copy & paste).
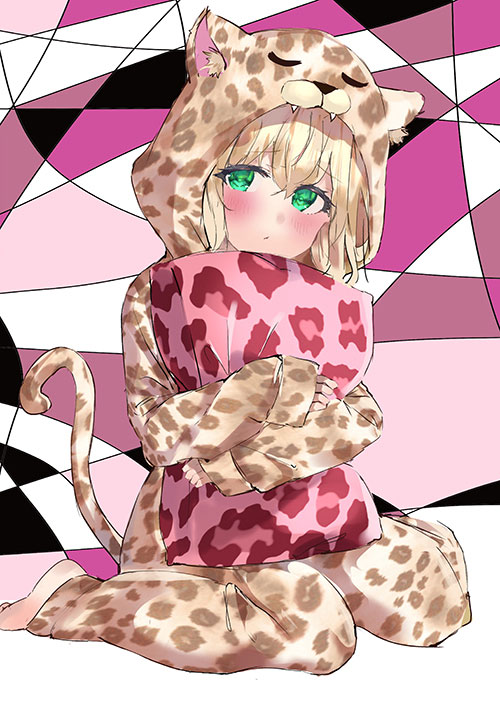
Draw the floor.
Go to Select > Mesh Transform to adjust the pattern.
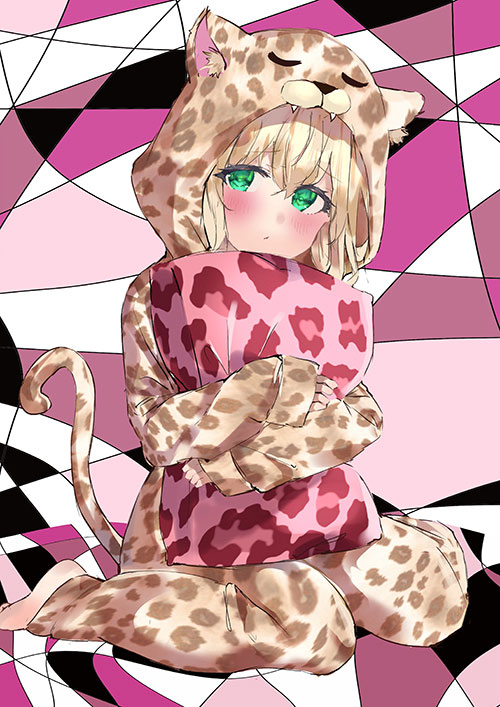
Draw folds on the floor, so it looks like a bed.
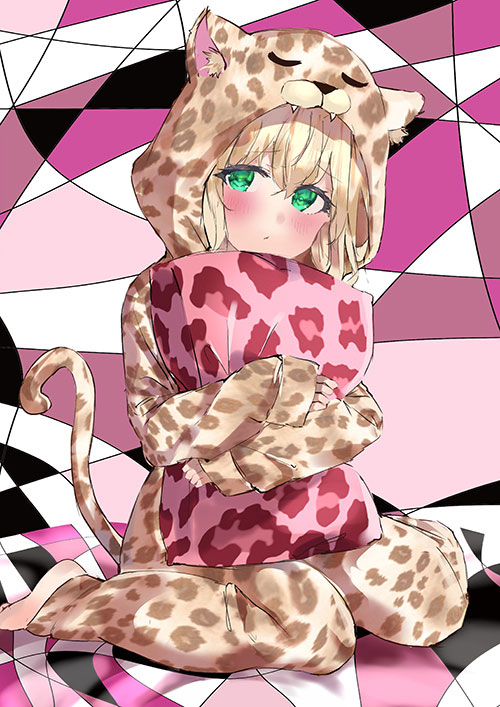
Draw folds on the floor, so it looks like a bed.
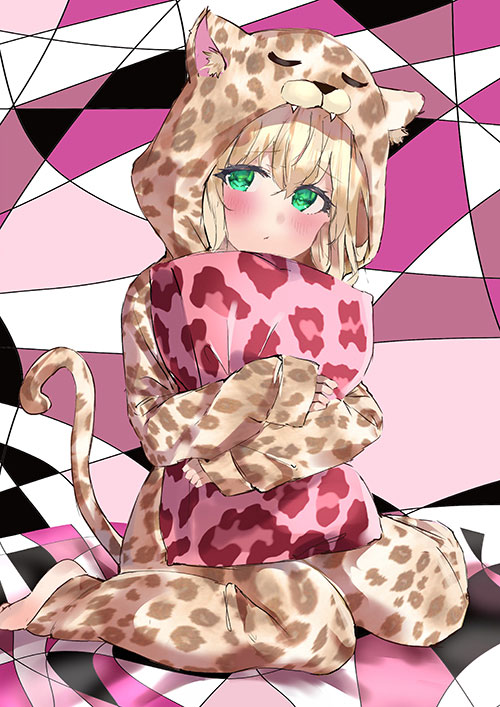
What do you think?
You should experiment with textures to make your artwork stand out!
We look forward to seeing your post on ART street.
Here are the materials used in this tutorial.
「Mile」
ART street
Click here for the collection: https://medibang.com/u/o8q/
twitter: https://twitter.com/o8q
\ We are accepting requests for articles on how to use /

