2021.07.05
[Technique] Landscape Illustration Without Line Drawing!
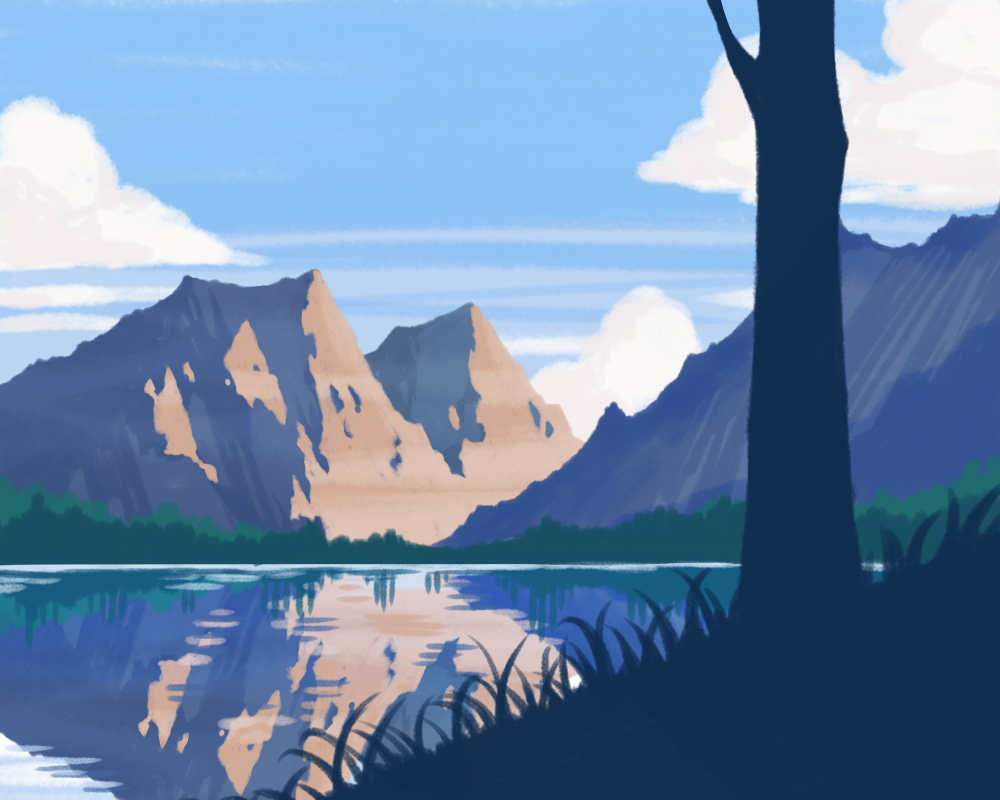
In this article, I’m going to show you the making of a landscape illustration without line drawings, which even beginners can draw intuitively.
I’m not going to use any difficult techniques, so please give it a try even if you’re not very good at it!
1.With and without line drawings
When creating an illustration, you start with a rough draft, make a line drawing, and then proceed to color.
This time, we will skip the line drawing step and proceed to “rough drawing” and “color.
The following is a summary of the characteristics of illustrations with and without line drawings…
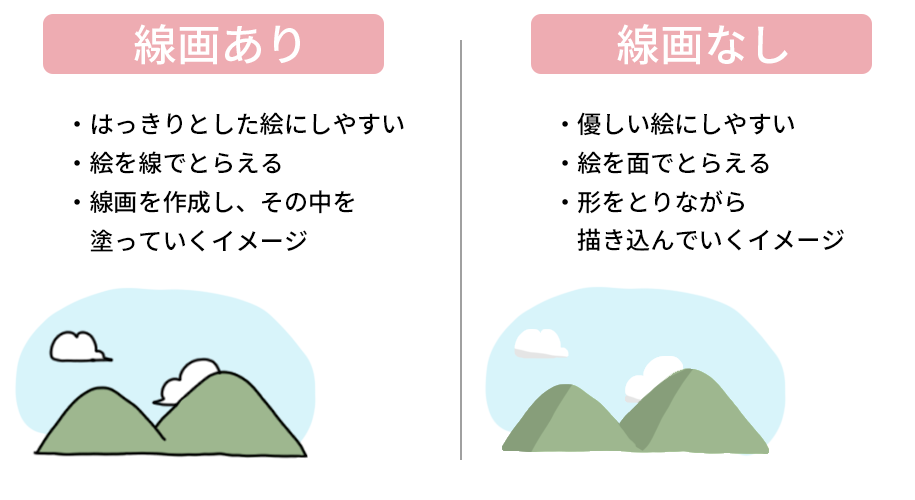
There are good points for both with and without line art.
If you’re still not sure which one your drawing is better suited for, I encourage you to try this illustration without line art!
2.Taking two shapes
Let’s start creating the illustration right away.
This time, we’ll go with the image of a beautiful lake and mountainous area.
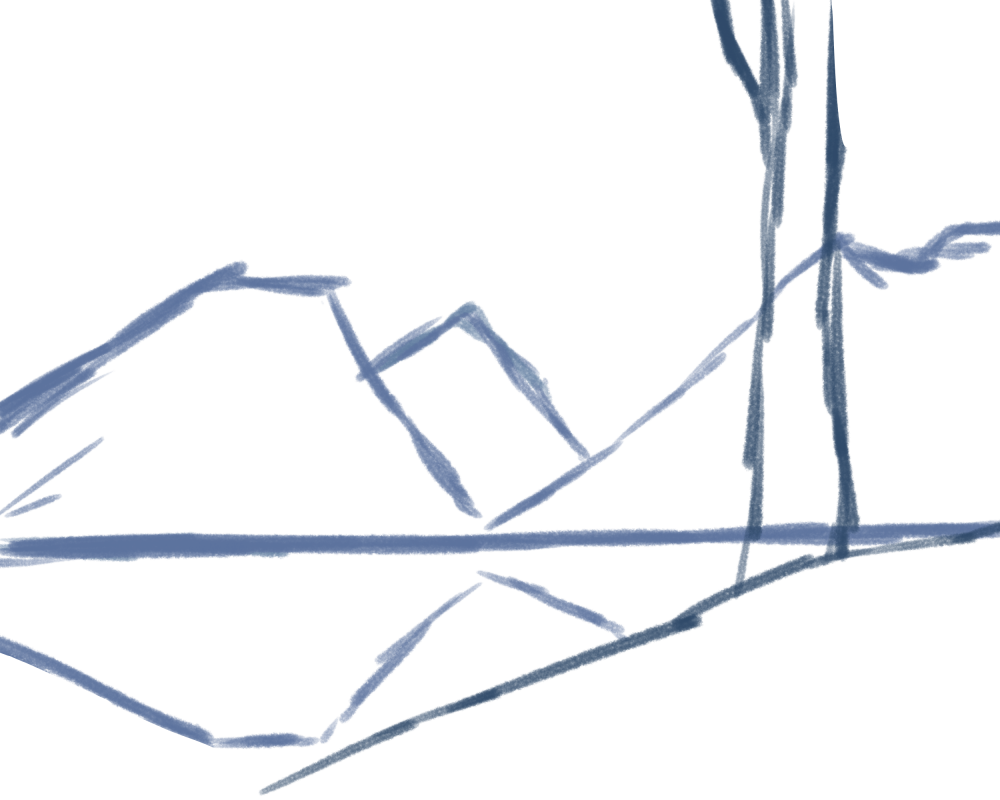
This is a rough sketch.
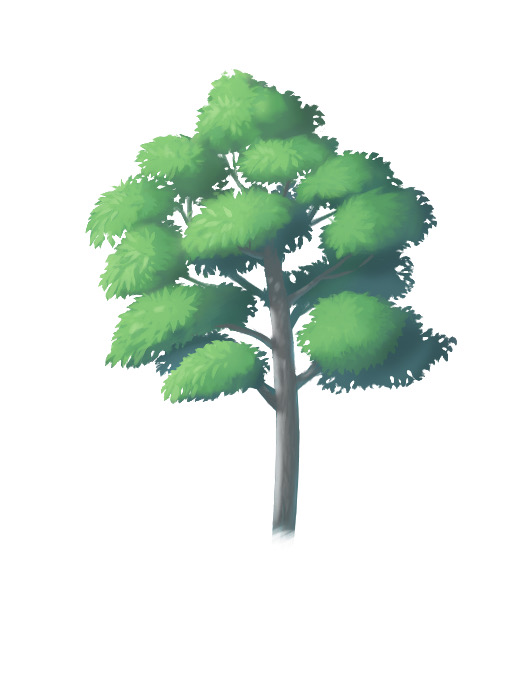
The sky is in the back, the mountains in the middle, and the trees in the front.
At this point, if you start drawing with the back, middle, and front in mind, you can create an illustration with depth, and you can express the goodness of not using line drawings more from the atmosphere.
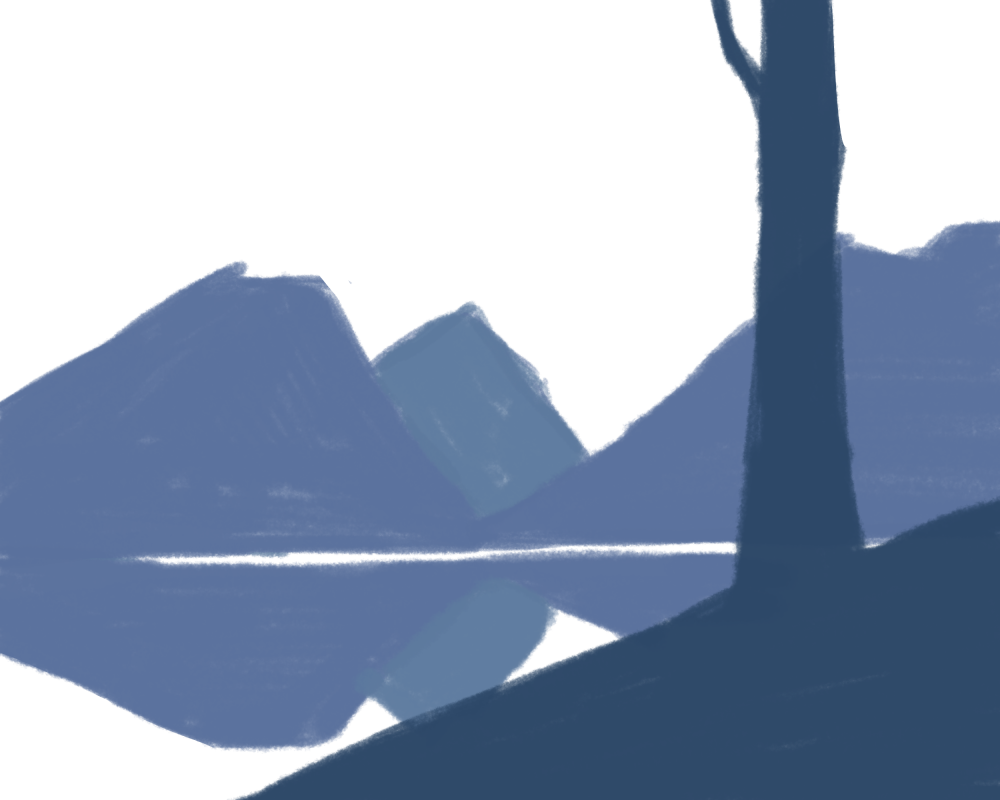
Add color to the rough sketch you drew earlier.
Let’s paint the shape of the trees and mountains as we go.
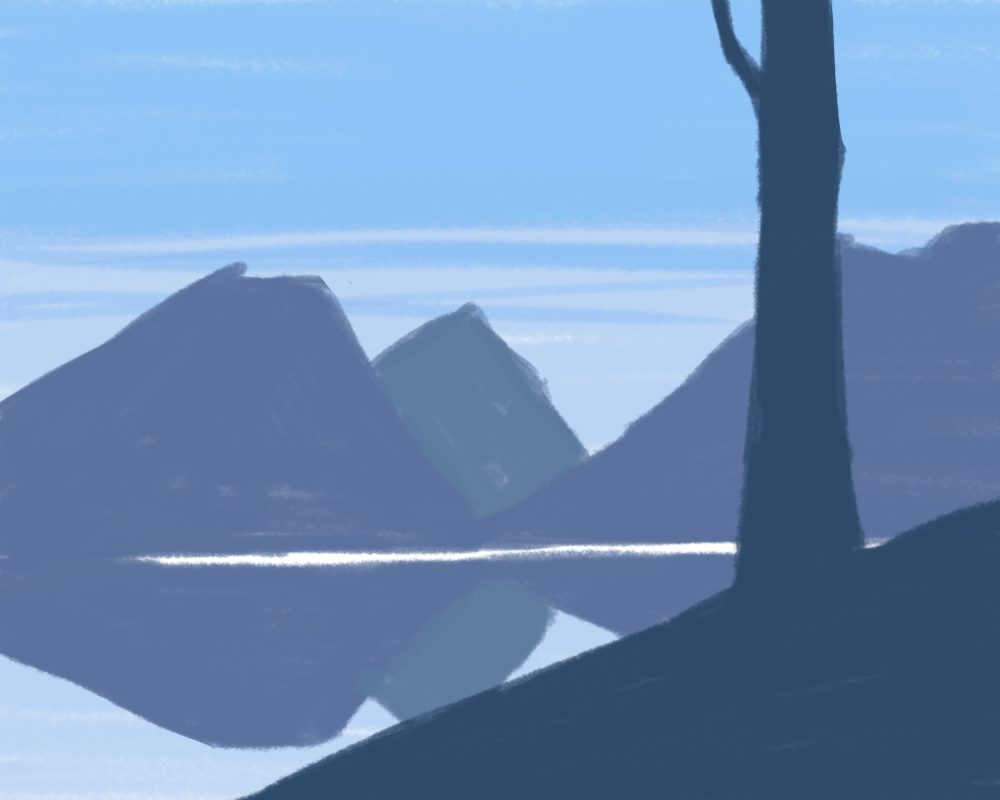
Next, I painted the sky.
It is easier to edit the image later if you paint it on separate layers as shown below.
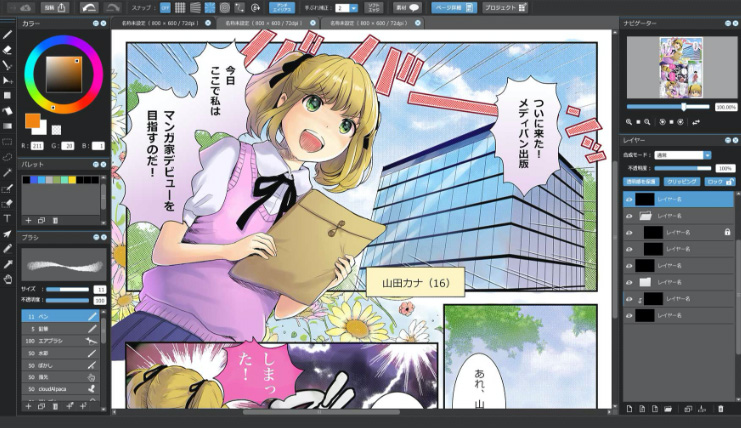
You can add a new layer by clicking on the icon at the bottom left.
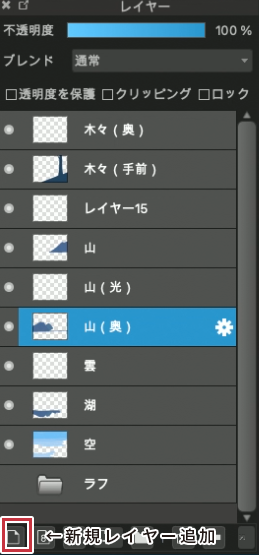
Now divided by tree (foreground), mountain (foreground), mountain (background), lake, and sky.
3.Creating a three-dimensional effect with three shades
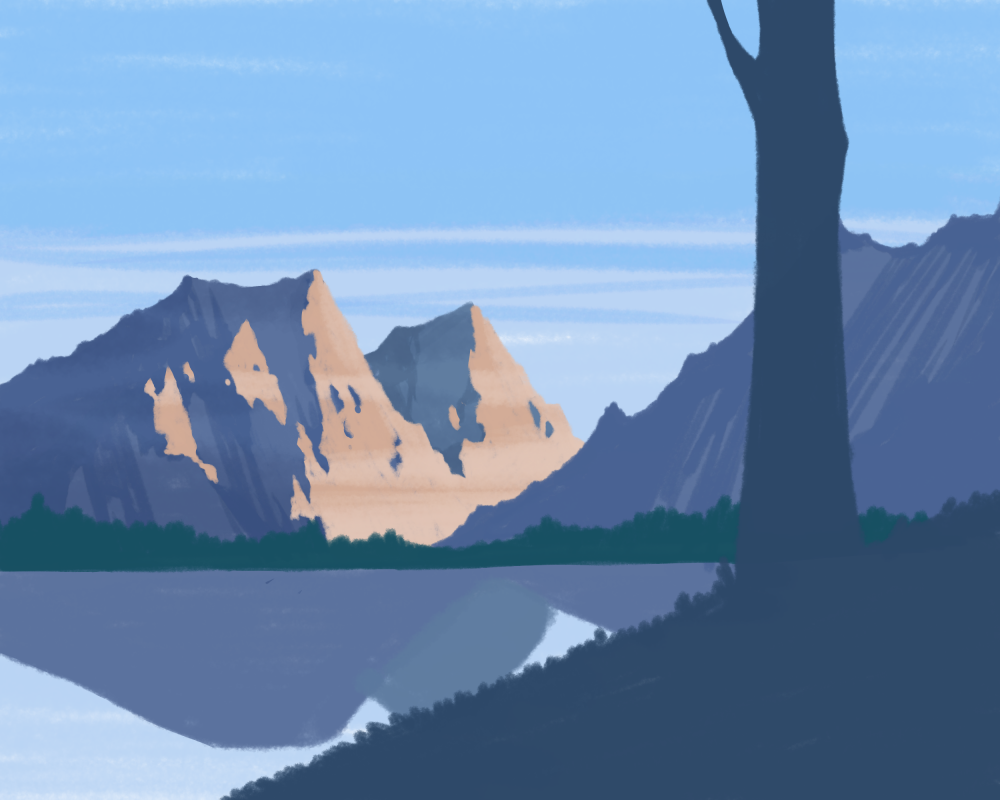
Next, in order to give the mountains a three-dimensional effect, we will draw the brightness in different “planes”.
Let’s draw the brightness on the left side of the mountain as if it were exposed to the sun.
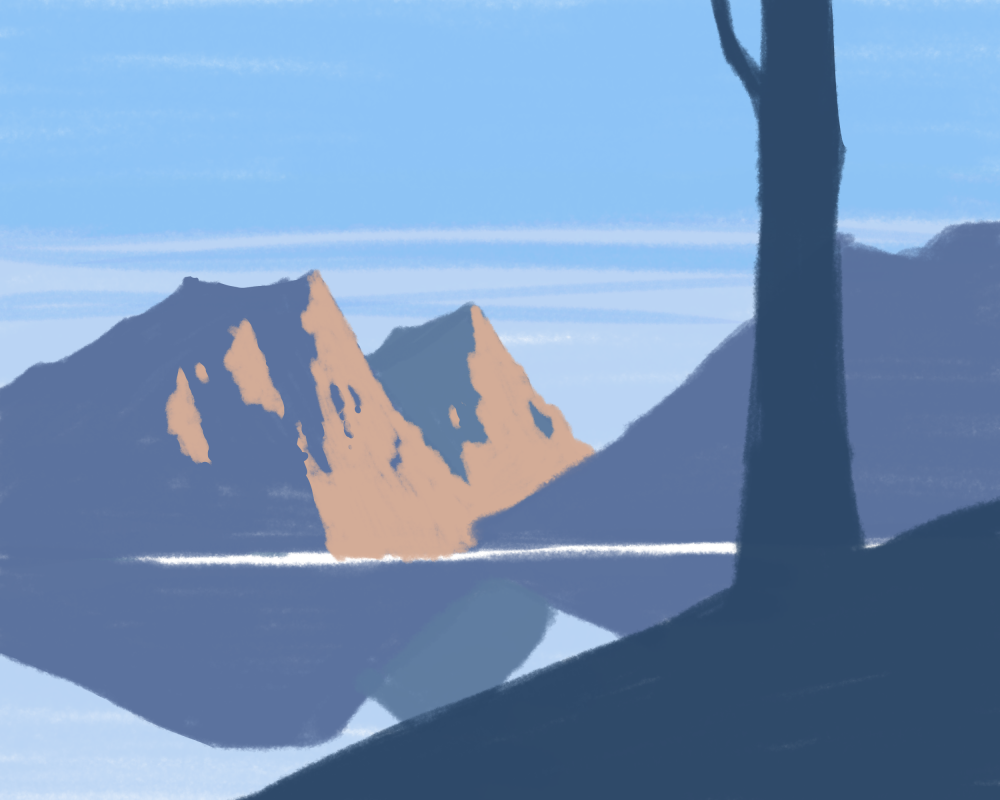
By adding brightness, the flat mountain turns into a three-dimensional image.
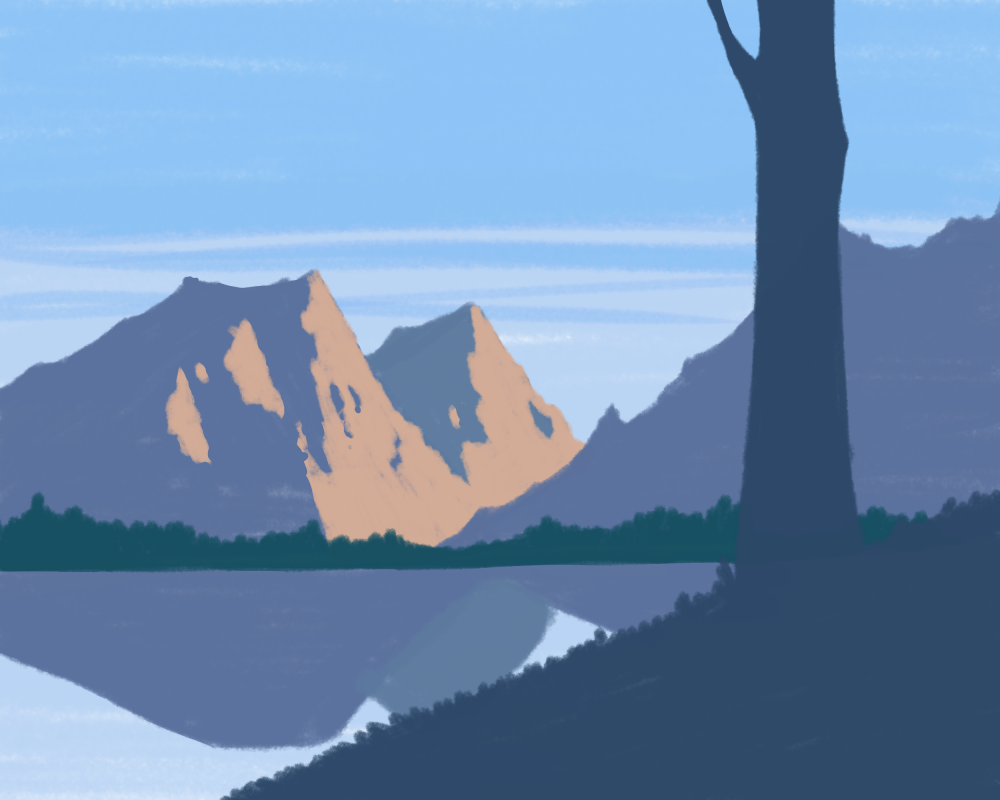
Next, I placed the trees at the foot of the mountain, which I had not yet drawn.
At the same time, the overall shape, which I had only roughly drawn, was adjusted.
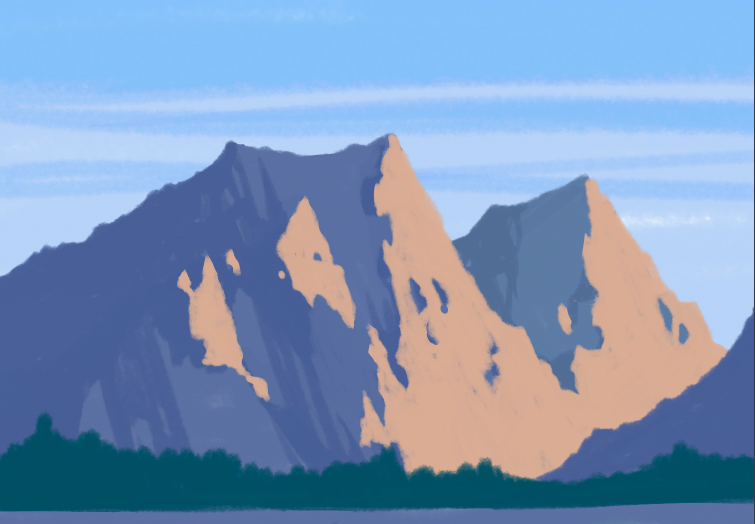
Since you won’t be using line drawings, carefully trace the areas where you want the shapes to show up clearly.
The jagged shape of the mountain will be expressed little by little.
At the same time, we are casting a shadow on the left side of the mountain.
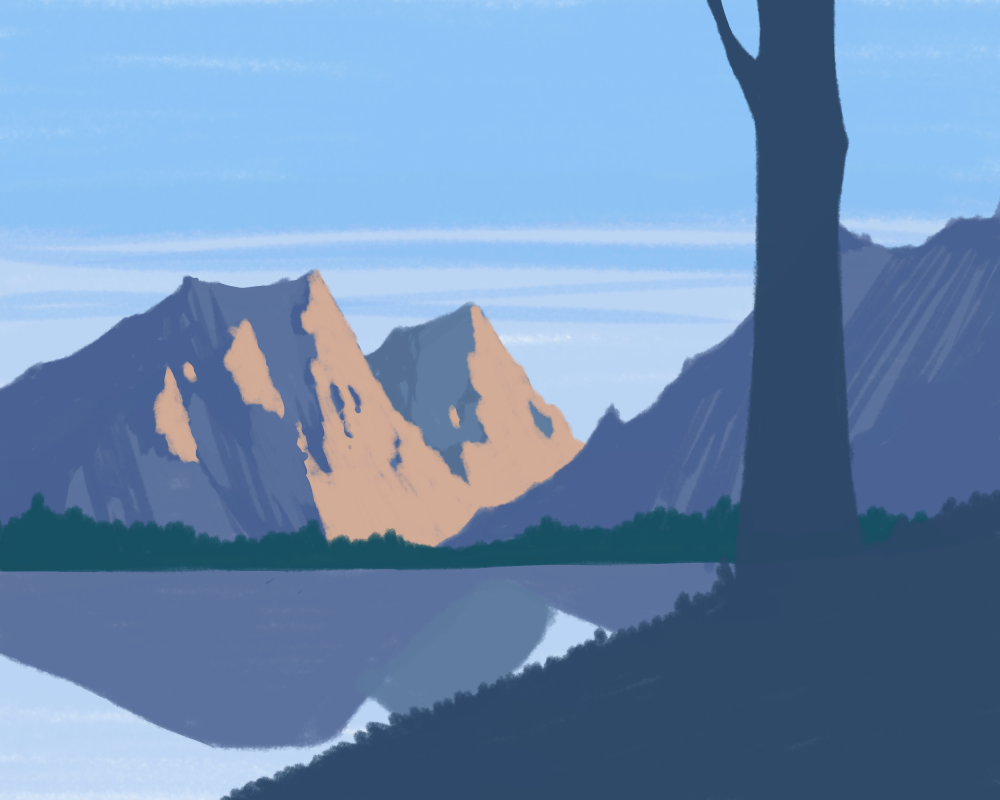
As you can see, the overall shape is gradually taking shape.
Now we’ll add more expression to the brighter parts of the mountain.
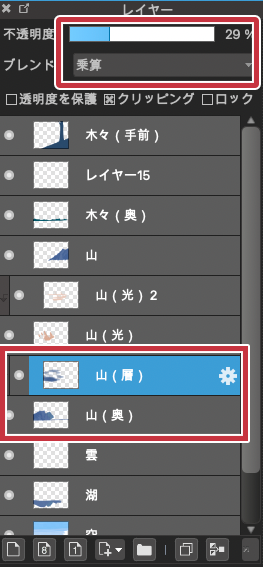
Create a new layer on top of the orange-brightened layer. Select the Clipping at the top.
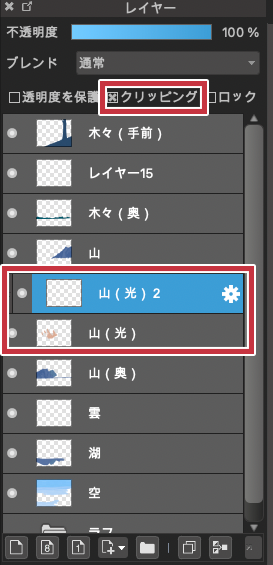
Add another brighter color to the clipped layer to create a pattern.
The flat pattern is now changing.
The shadow part of the mountain is clipped in the same way, and the shadow pattern is added by changing the blend to Multiply and adjusting the Opacity.
Next, let’s add a shadow to the mountain on the right.
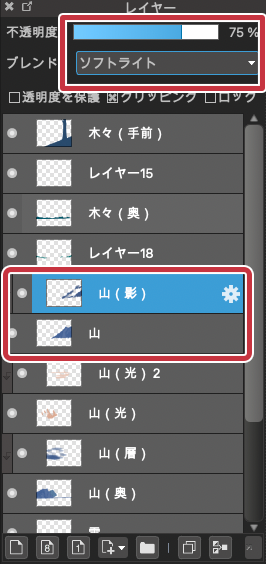
This time I chose a Soft Light and adjusted the depth of the shadow.
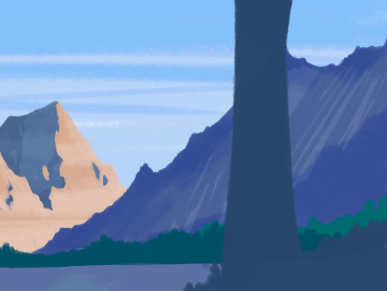
This is how we will add more shadows.
We will also draw in the grass in the foreground, which we have not yet touched.
Let’s draw the grass with the force of our hands rather than with care.
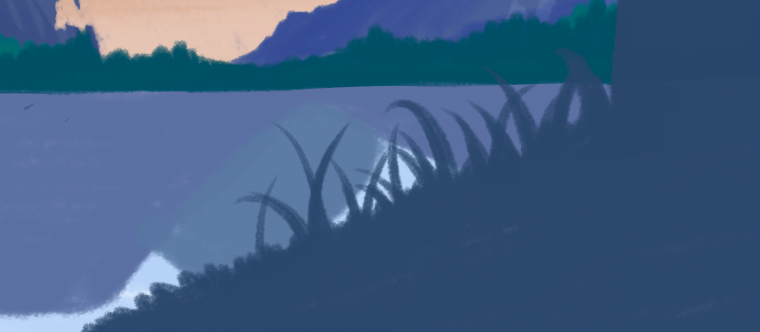
When you finish drawing the grass, it will look like this.
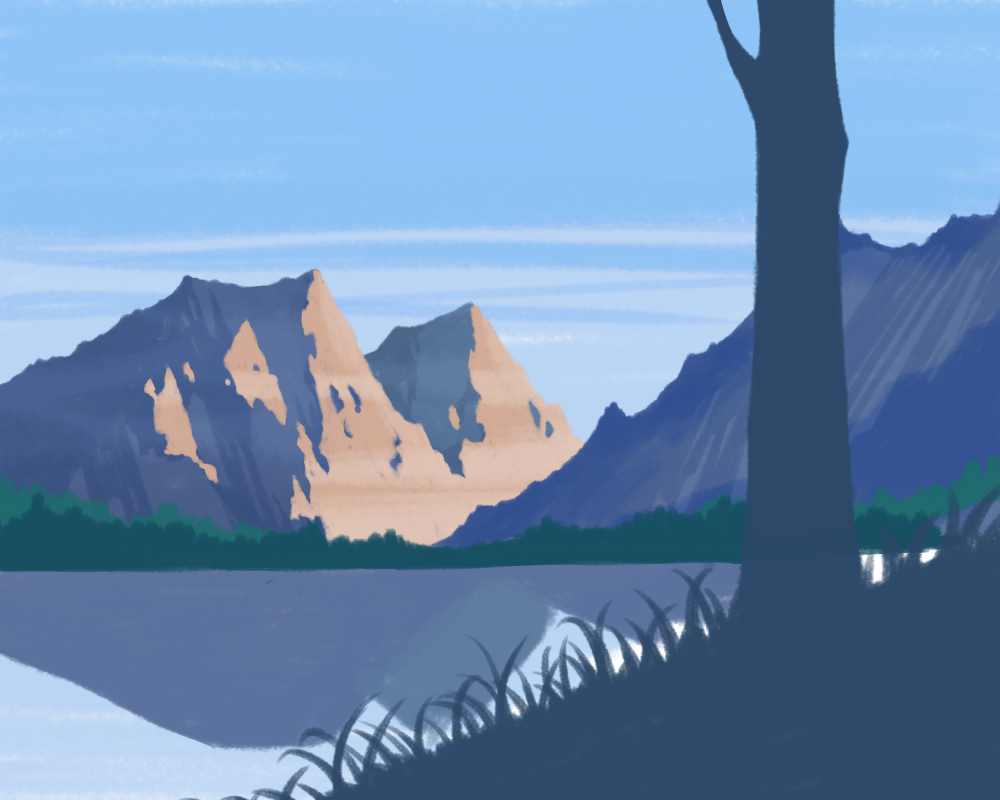
4.Copy-paste for efficiency
We then proceed to the lake.
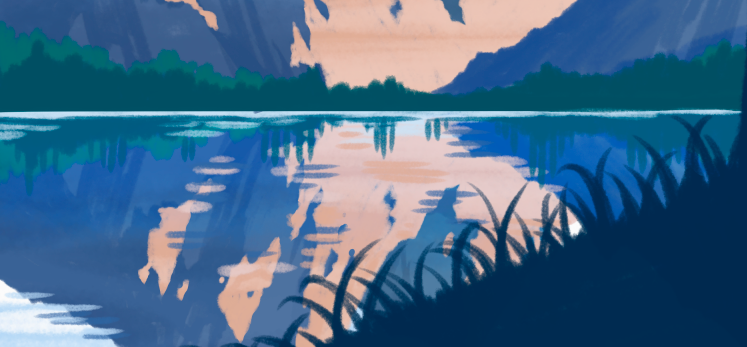
In order to create the mountains reflected in the water, we will copy and paste the mountain illustrations we have drawn so far into the lake.
Select the mountain range to the trees at the foot of the mountain and click on the duplicate icon at the bottom of the layer.
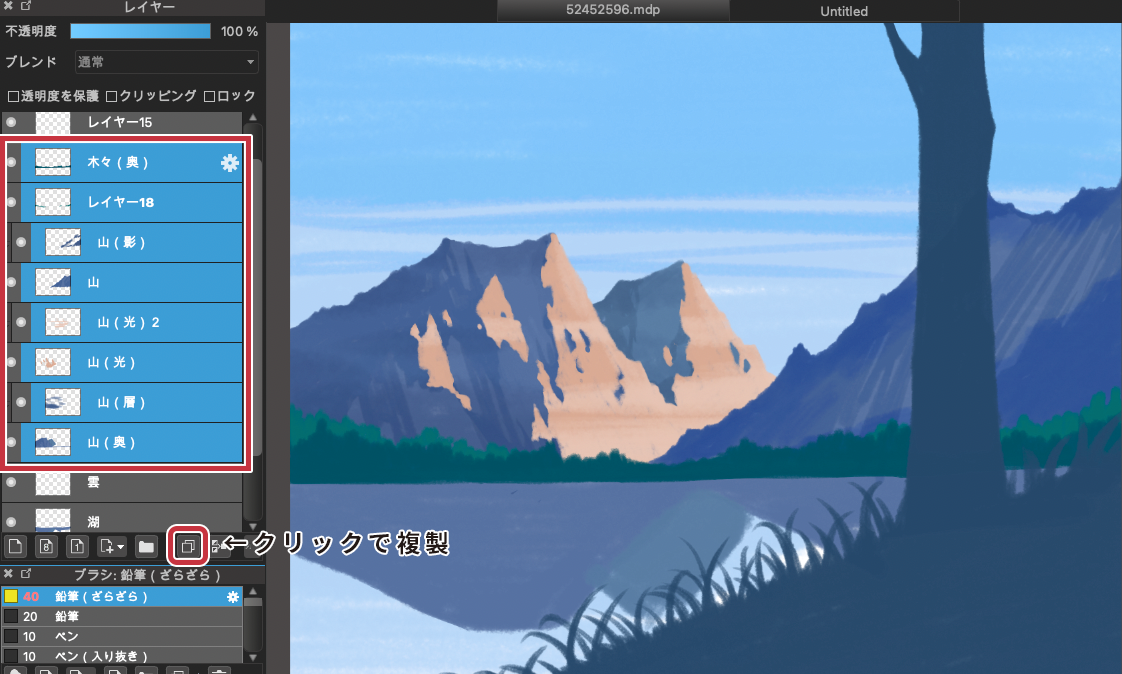
Here is the duplicated layer
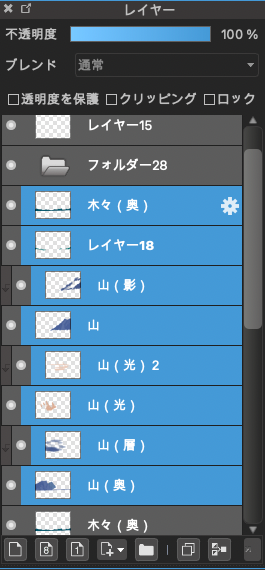
Merge these eight images together to make them easier to edit.
Select a layer at the top of the screen and click Merge Down at the bottom.
Let’s merge all 8 layers.
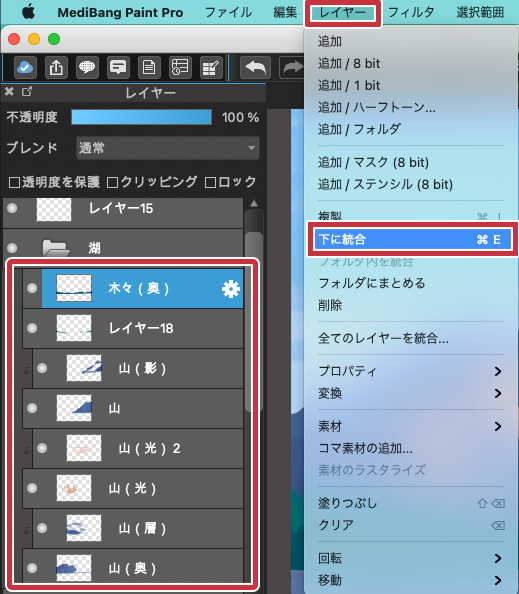
And the layers are now grouped together like this
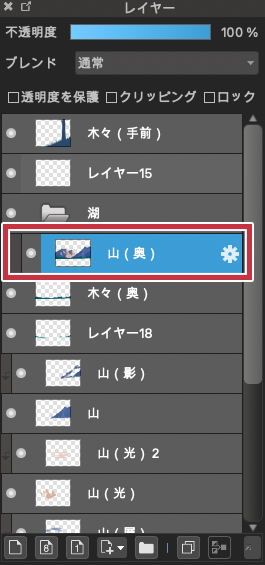
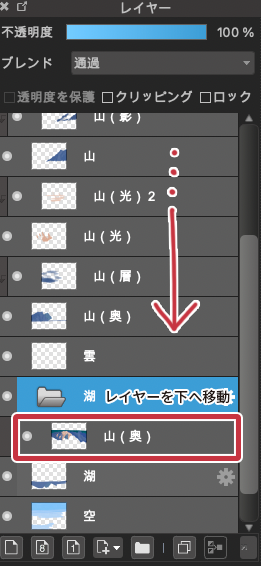
Since the layer you edited is at the top, move it up to the top of the first lake layer you created.
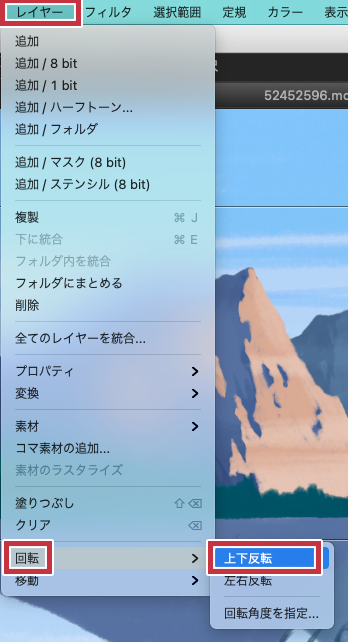
We want to edit the layer we put together to look like a reflection in the water, so we flip it upside down.
Select the layer and choose Rotate -> Flip Vertically.
While using the move tool on the right of the screen, adjust the position so that it is just a reflection.
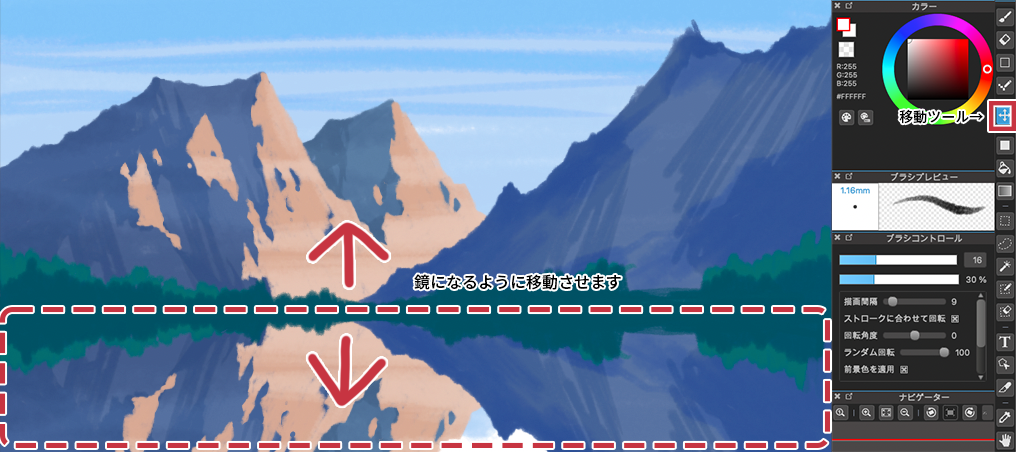
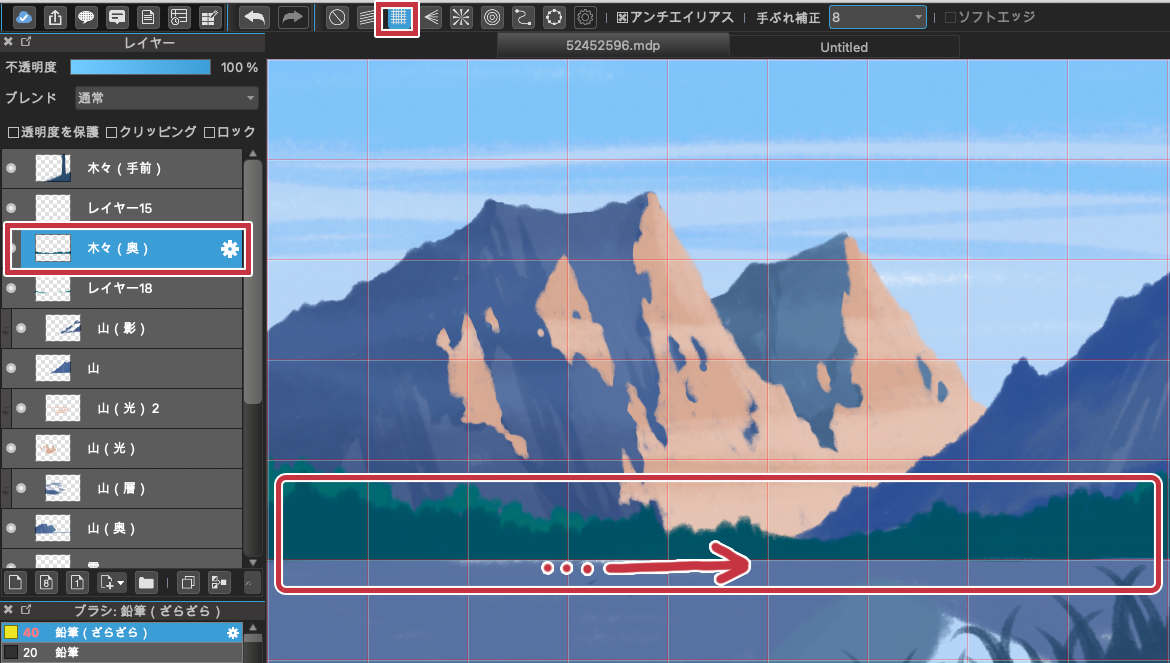
Next, erase the bottom part of the trees with the eraser using the ruler tool so that the trees at the bottom are horizontal.
Select the cross tool at the top of the screen and erase in a straight line with the eraser.
Make sure to “hide” the layer of the lake you moved before proceeding.
This is what it looks like when you show the hidden layer.
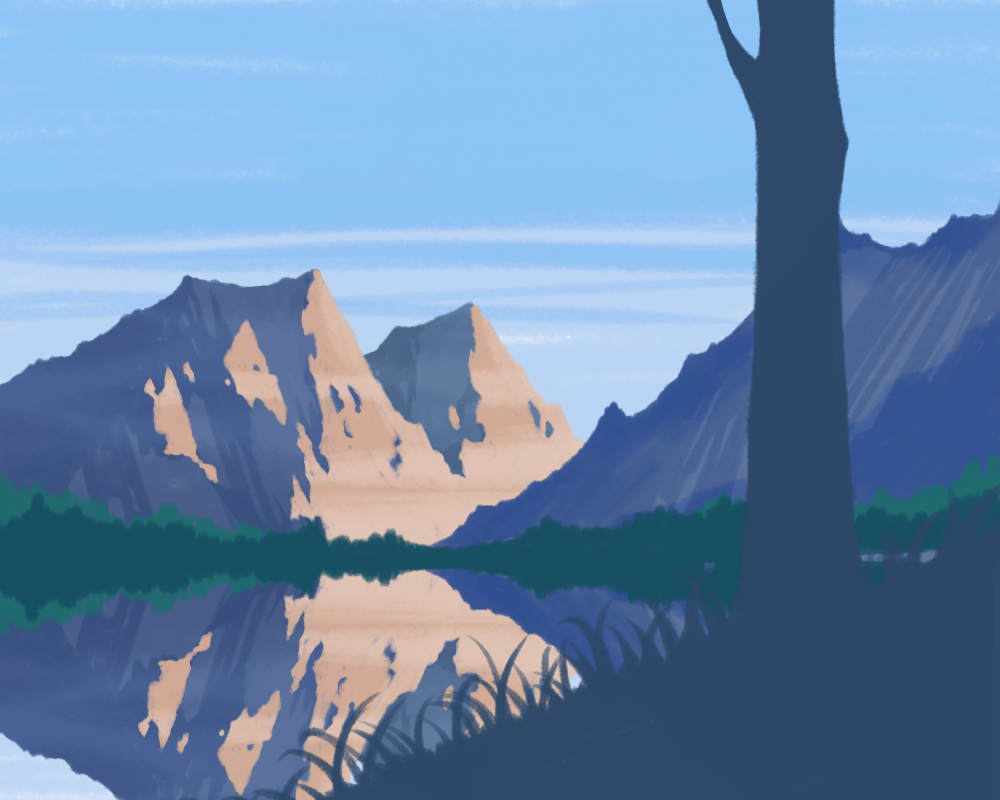
5.Drawings and adjustments
The pattern of the water surface is still too clear, so let’s add some color.
We’ll create a new layer on top of the lake layer and Overlay it with a blend to add more blue.
Adjust the Opacity while reducing it.
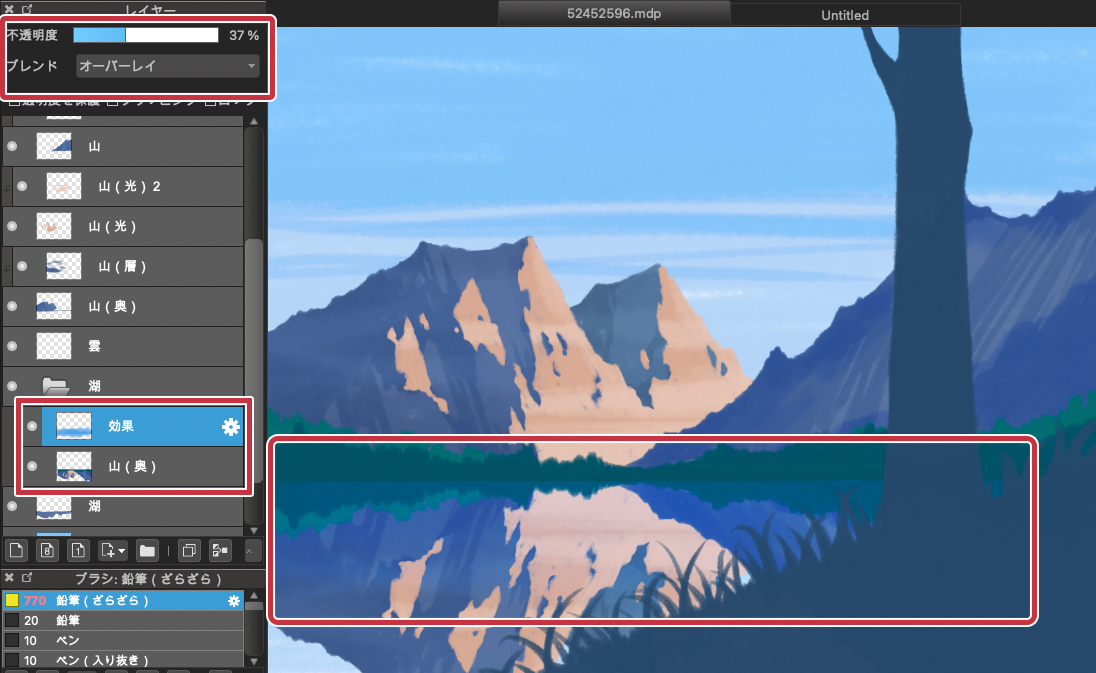
Next, use a brush to blur the pattern to the left and right to express the surface of the water.
The border between the water surface and the trees is traced in white to emphasize the water surface.
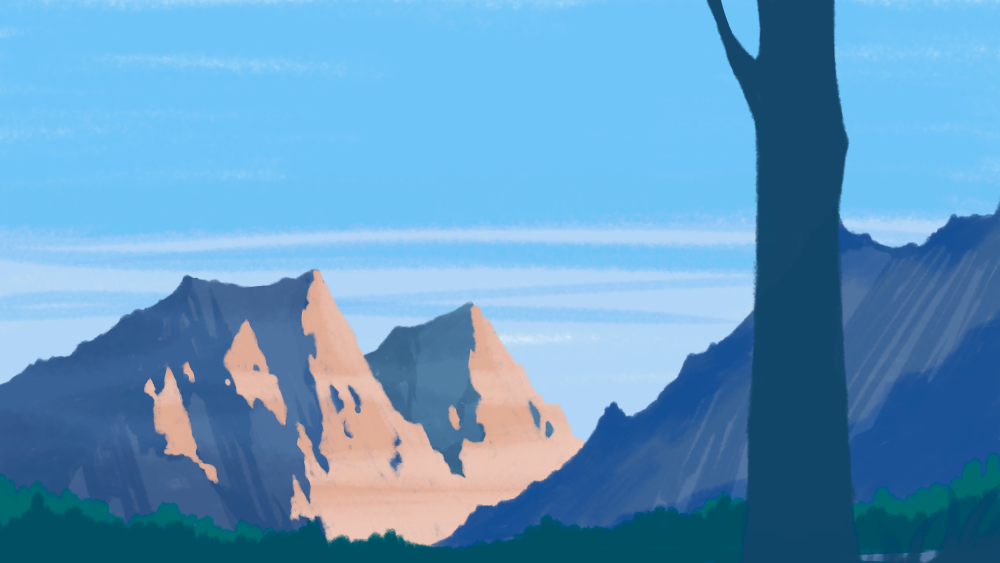
The large tree in the foreground was buried in the drawing, so I’ll add some vibrancy and density.
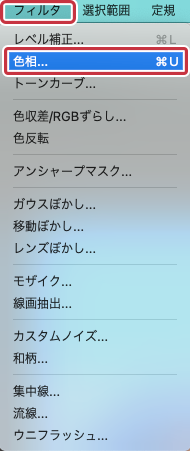
With the tree layer in the foreground selected, select the Filter and click on Hue.
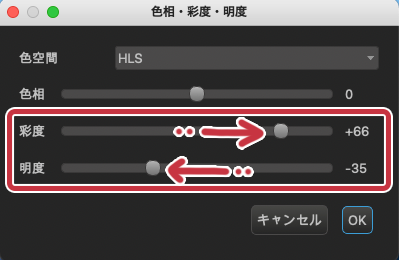
Increase the Saturation and decrease the Brightness.
Now the tree in the foreground, which had been vague, has more definition.
Finally, the clouds are drawn in modestly.
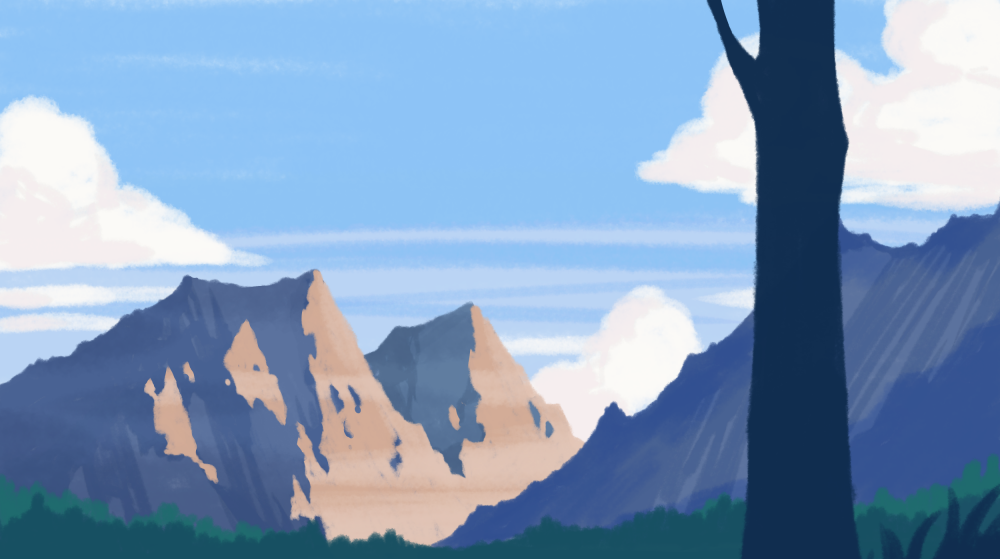
The whole process is now complete.
Here is the finished product

There were a few edits using layers, but I think the illustration turned out to be relatively easy to go through by feel.
Illustrations that do not use line drawings are good at creating a gentle atmosphere and a sense of air within the illustration.
Even if you’re not familiar with difficult techniques, please give this one a try!
(Text and pictures by Hiromi Arakane)
\ We are accepting requests for articles on how to use /

