2022.06.29
Let’s paint a crystal clear rainbow in the sky!
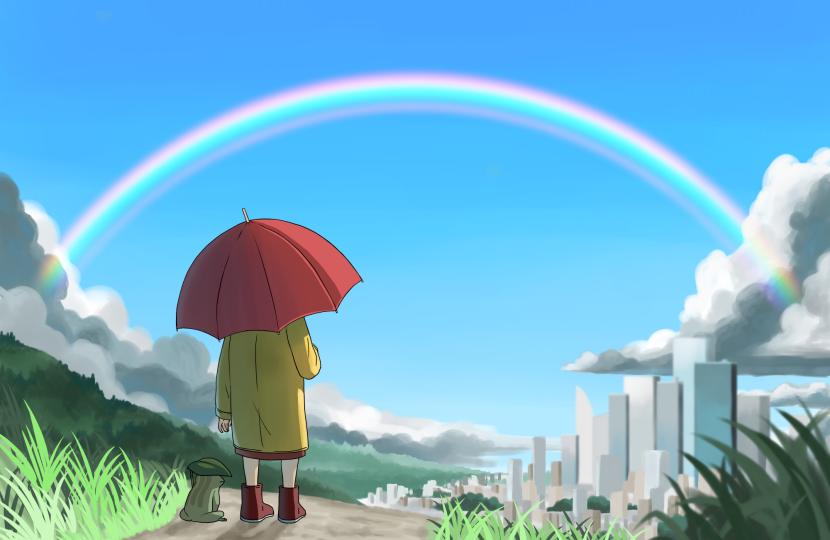
This time, I’m going to make a beautiful rainbow that you can see after the rain!
The difficult thing about rainbows is that you can’t draw them beautifully just by drawing seven lines of colors.
In this article, I’ll show you how to draw a rainbow easily, even for beginners!
Let’s give it a try!!
First, let’s create a clear blue sky.
Select the “Watercolor (soft)” brush.

If you don’t have any brushes, you can add them from here “Add Cloud Brushes“.
Apply the paint so that the top starts off bright and gradually turns into light blue.
At this point, relax your hand and move the pen from side to side to get a nice gradation.

The next step is to set up the Snap to draw the rainbow neatly.
Click on the “Circle Snap” button at the top of the screen.
The “Snap Setting” button on the right side allows you to set the position of the circles where you like, so click here and choose just the right spot.

To hide it, click on “Hide Snap”.
Here I decided the center of the circle to be at the bottom of the screen.

Draw the shape of the rainbow with a soft brush.
Try to relax your hand here and pull the left and right edges so that they appear to disappear smoothly.

Next, we will divide the rainbow into seven colors.
Create a new layer on top of the rainbow layer and select “Clipping”.

Then select a brush to color with.
I selected the “Pen” brush this time.

One of the most difficult parts of drawing a rainbow is choosing the right colors.
Do you ever know the accurate order of colors on a rainbow?
Here’s a simple way to remember!

First, select red on the color wheel.
At this point, select the “most vivid color” at the top right corner in the colored square.
The seven colors of the rainbow will be in clockwise order”orange, yellow, green, blue, indigo, and purple”!
Now, draw the colors you selected in the above method on the new layer you just created.

This is what it looks like when you put the seven colors together.

This is how they are lined up looking closely.

Once the seven colors have been created, use “Layer → Merge Down” to merge the “7 Colors” layer with the original “Rainbow” layer.

We now have one layer like this.

Now let’s edit the rainbow layer.
Select “Filter → Gaussian Blur”.

Change the blur “value” while checking the appearance of the rainbow.

If your change in value does not appear on the image, make sure that the “Preview” checkbox under “Value” is checked.
When the rainbow blur is just right, click “OK” and close the window.
Now change the Blending of the rainbow layer to “Screen”.

This is how the changes were made so far.

We want to add a little more shine to the rainbow, so create a new layer on top of the rainbow layer again and apply Clipping.

In the Snap tool, select “Circle Snap”.
Use bright yellow to gently add color over the rainbow.

The yellow color should not be applied to the entire image, but only to the center of the image, leaving both ends untouched.
Lower the opacity of the layer on which the yellow is placed and select “Add” as the blend.
In this case, the opacity is set to 20%, but you can change it as you see fit.

This will add a gentle glow.
That completes the rainbow creation process!

Once you master how to draw a rainbow, you can apply it to illustrations like this one after rain.

Please challenge yourself and improve the quality of your illustrations!
(Text・Illustrations/荒金ひろみ)
\ We are accepting requests for articles on how to use /

