2022.08.03
[Technique] The basics of drawing stairs
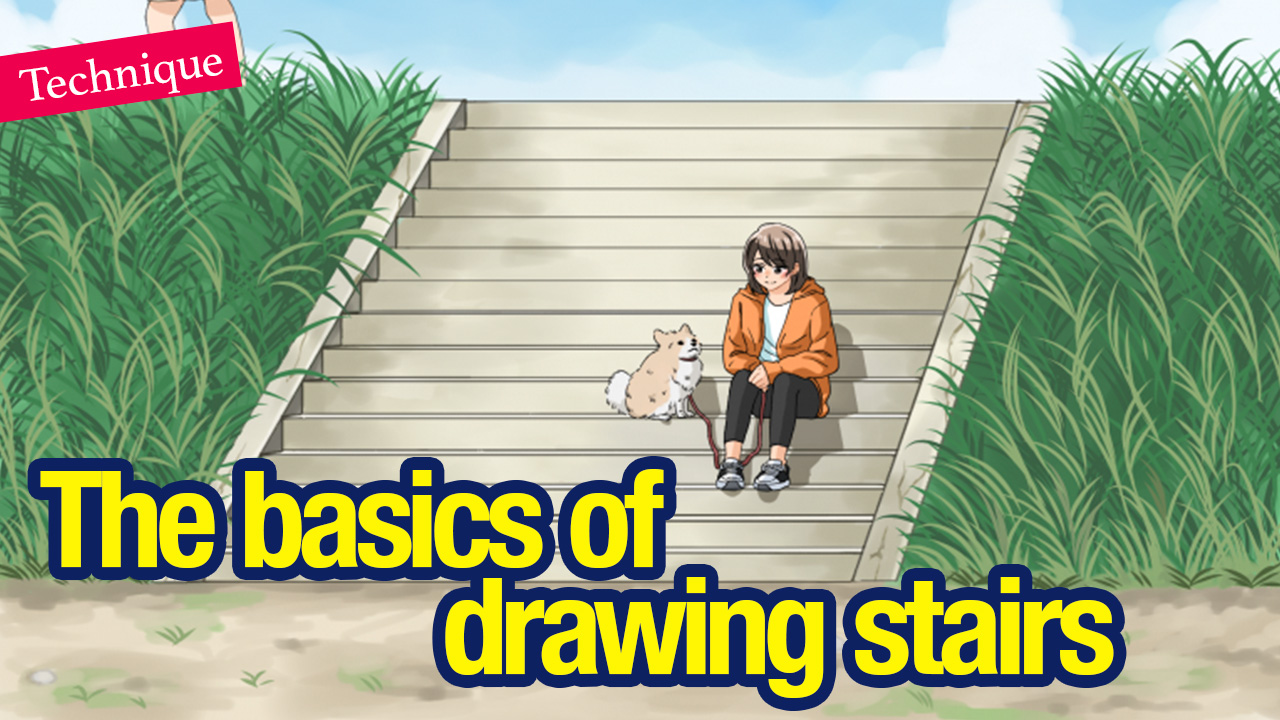
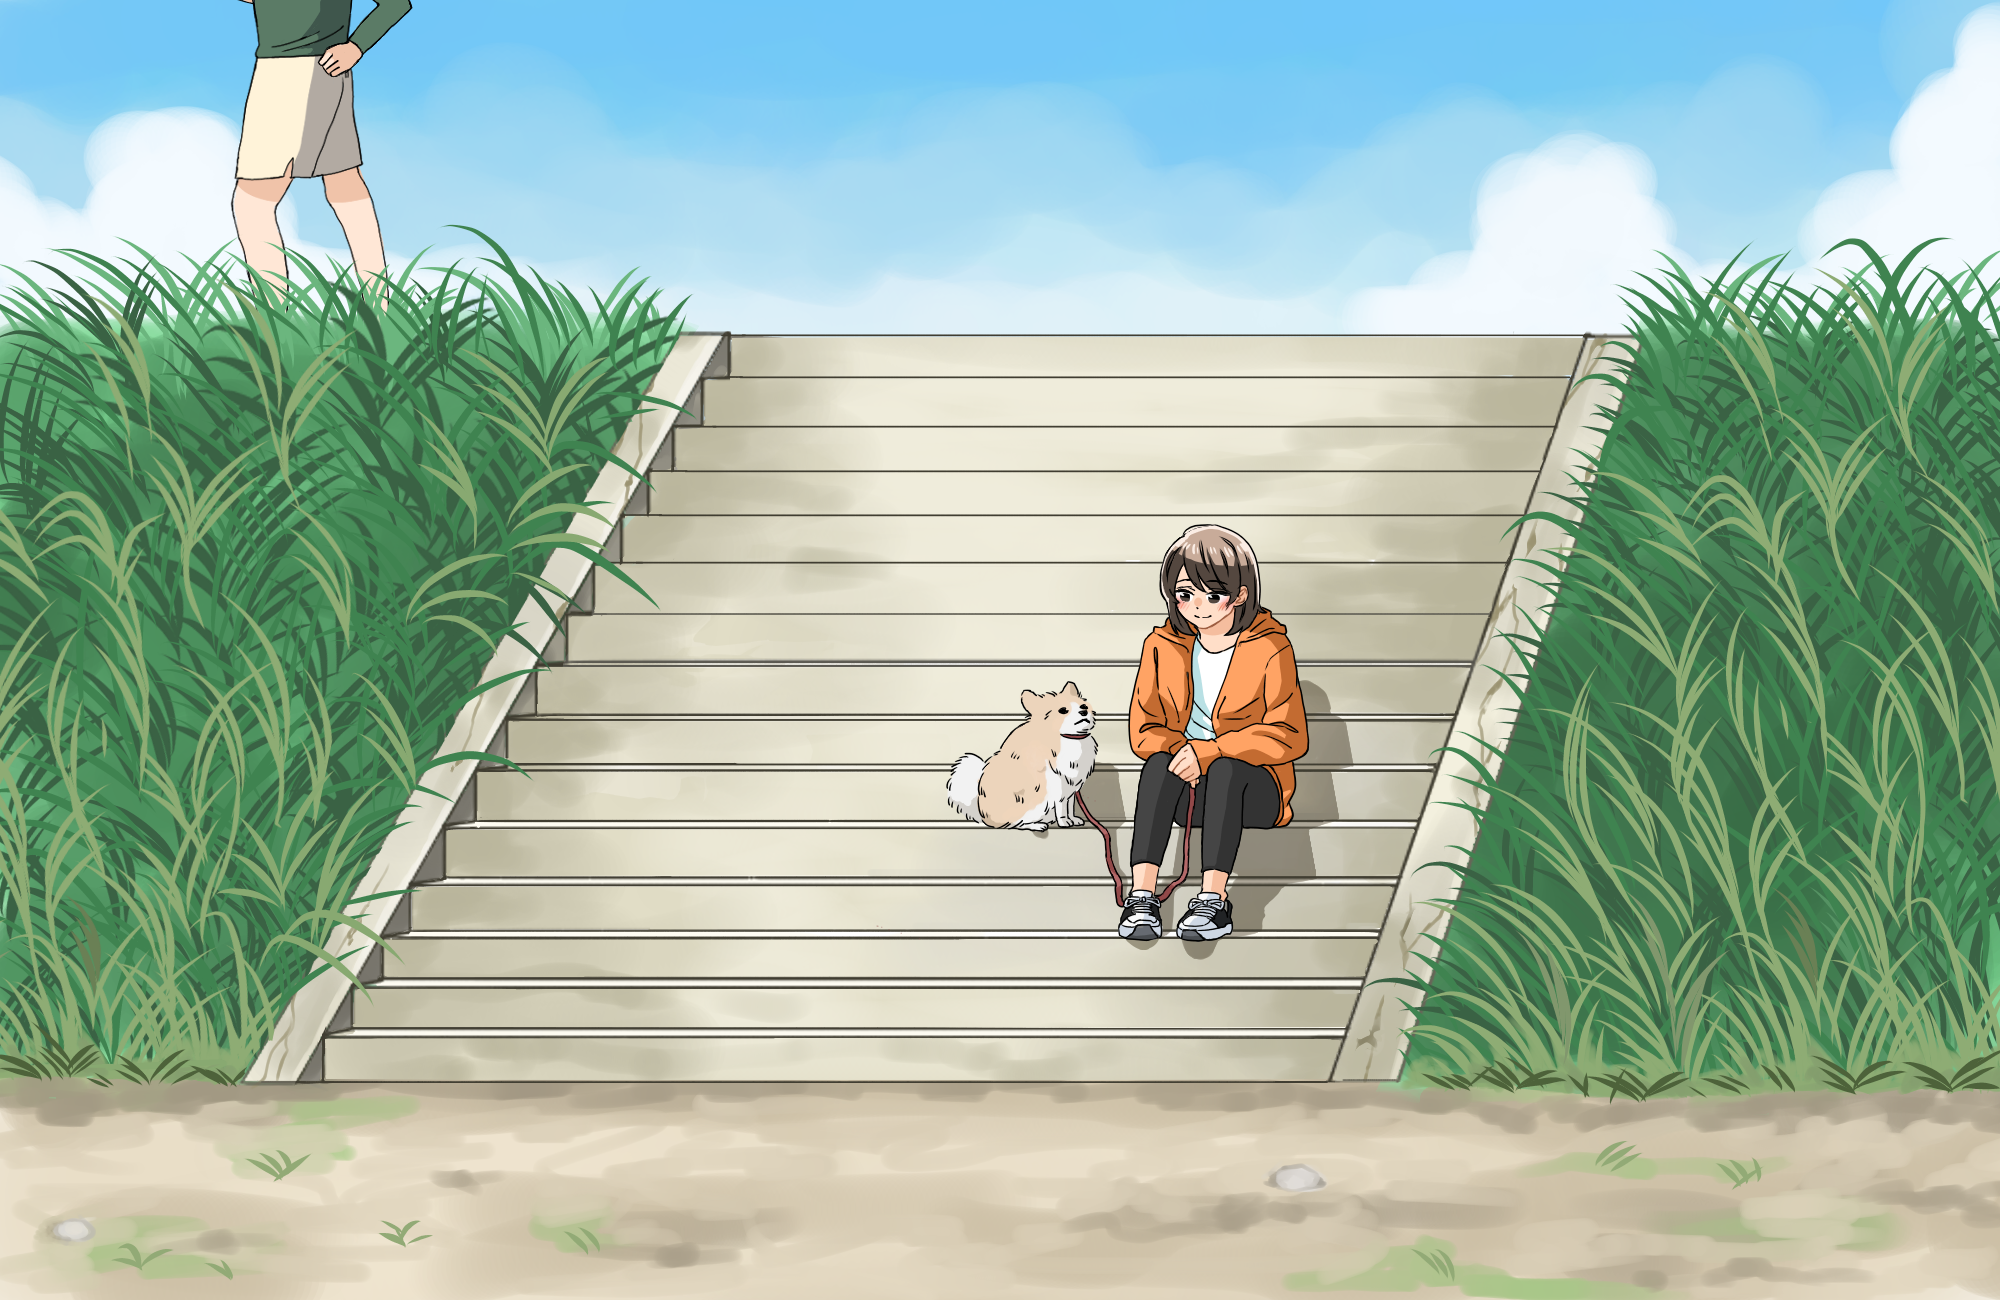
In this tutorial, I will be describing how to draw an essential part of our daily life: “stairs”.
I hope you challenge drawing stairs following my step by step instructions !
1 How to draw a “vanishing point”
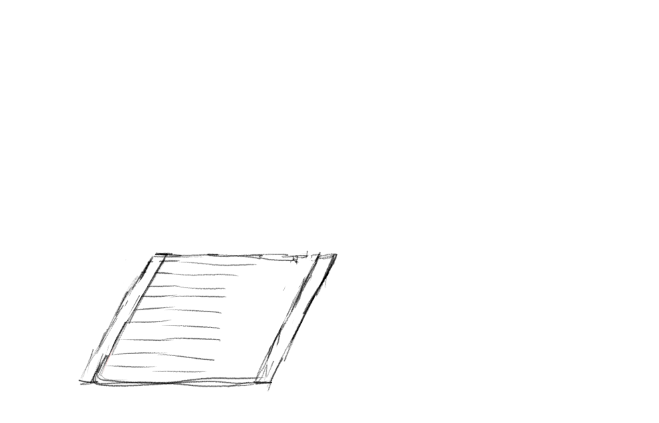
Let’s create a rough sketch first.
I’ve chosen a composition where “each step of the staircase is parallel to the ground”.
Now using the Snap tool, select “Crisscross”.

As shown in the image below, draw a line for the eye level.
Eye level refers to the height of your eyes.
Try to keep in mind that it should be a little higher than halfway up the stairs.
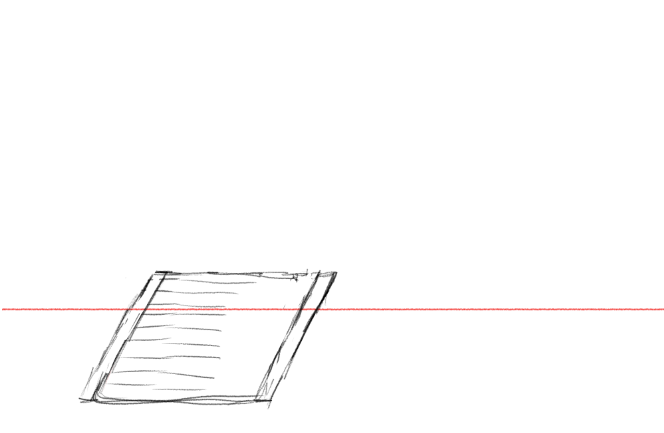
Next, create “Vanishing Point ①” on the eye level line.
You can create a vanishing point along the eye level by drawing the following lines; one line on the eye level and one line with an angle.
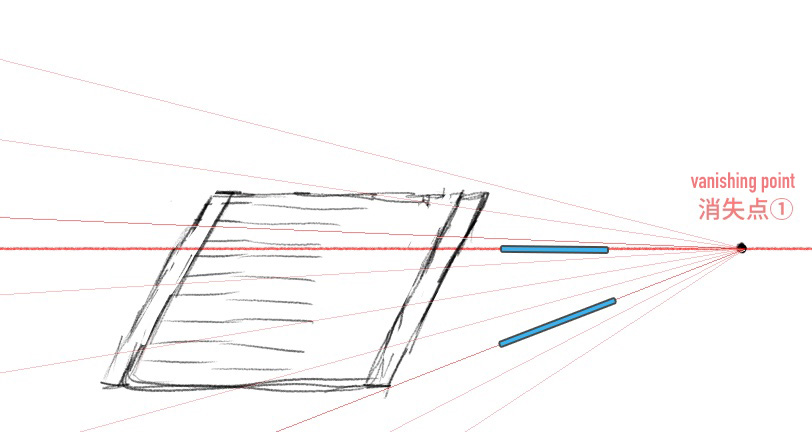
You can also learn how to create and save a vanishing point from the article below !
Please take a look at this one as well.
“Learn the basic tools: Let’s use a “Snap Tool”“
Now that you have created the first vanishing point, save the snap data.
Next, draw a vertical line through Vanishing Point ①.
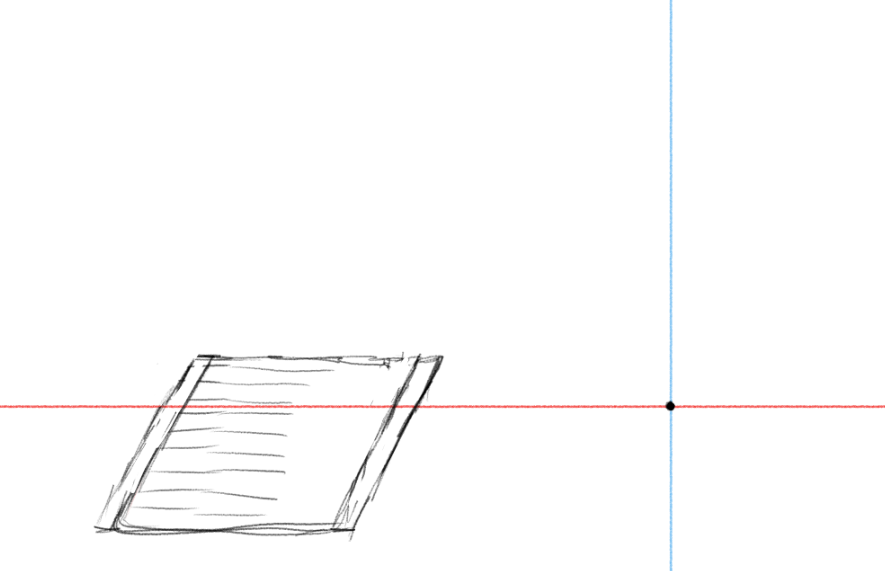
Then create “Vanishing Point ②” on the vertical line in the same manner as you did for ①.
Once you are finished with this step, save it again.
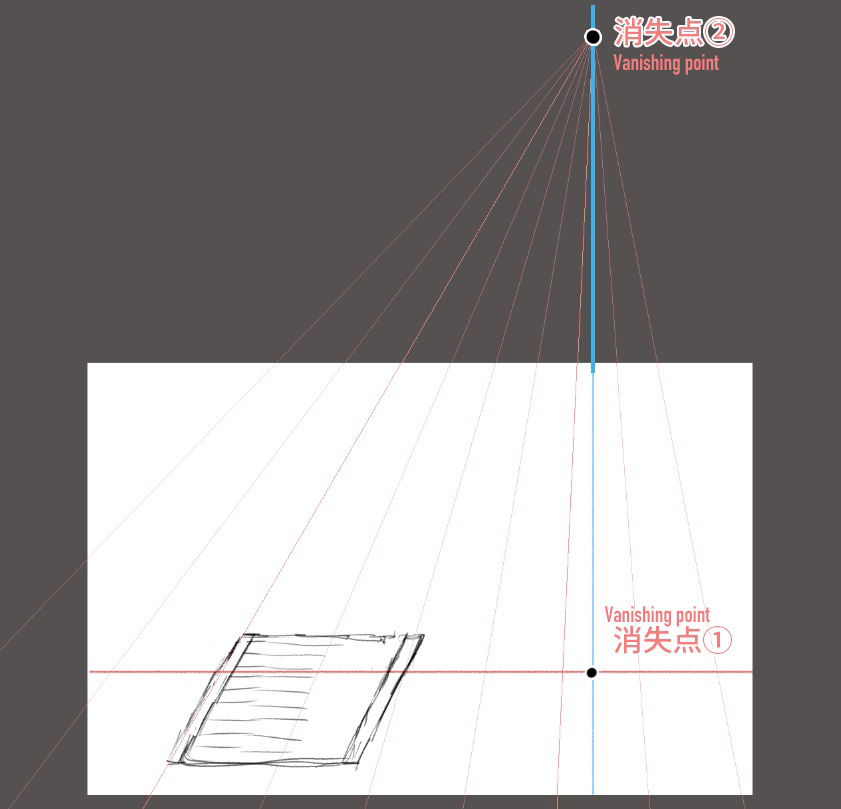
Now you have finished creating the vanishing points.
Vanishing Point ① will be the vanishing point for the steps of the stairs and
Vanishing Point ② will be the vanishing point for the height of the whole illustration.
2 Creating steps
Next, let’s create the steps.
For now, lower the opacity of the rough sketch layer.
Drag the bar for the “Opacity” to 30%.
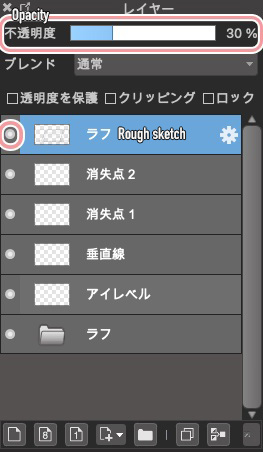
To the left of the layer labeled “Rough Sketch” is a white circle.
If you want to hide this layer and see the whole image, click on the circle.
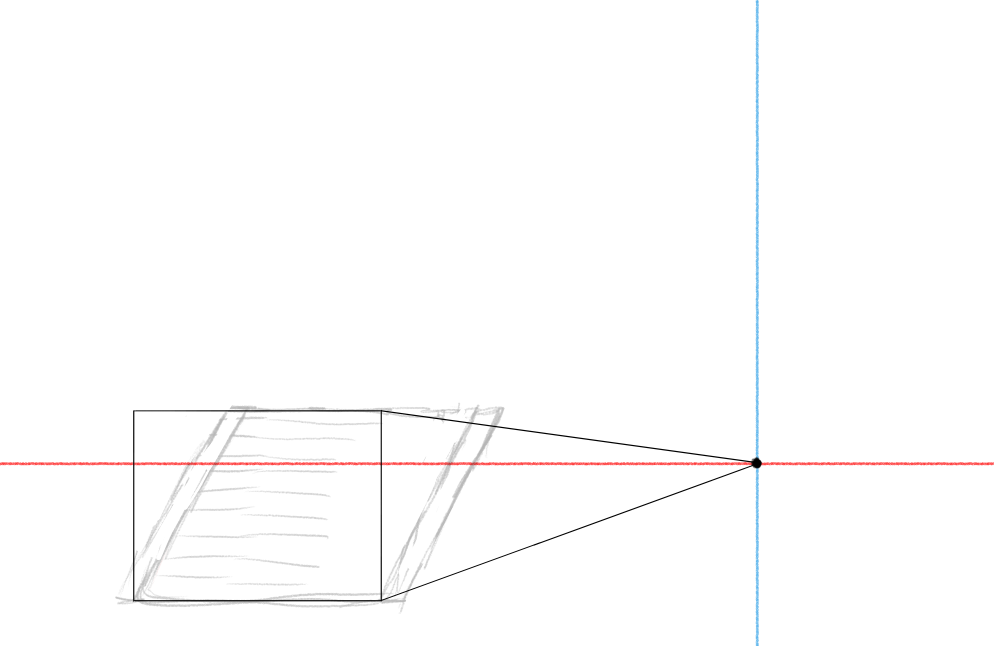
Start creating a framework of the stairs along the rough sketch.
Using the “Crisscross Snap” and “Vanishing Point ①”, draw straight lines to create a three-dimensional rectangle as shown below.
Next, divide the height of the stairs equally by the number of steps you want to illustrate.
I recommend about 13 to 15 steps.
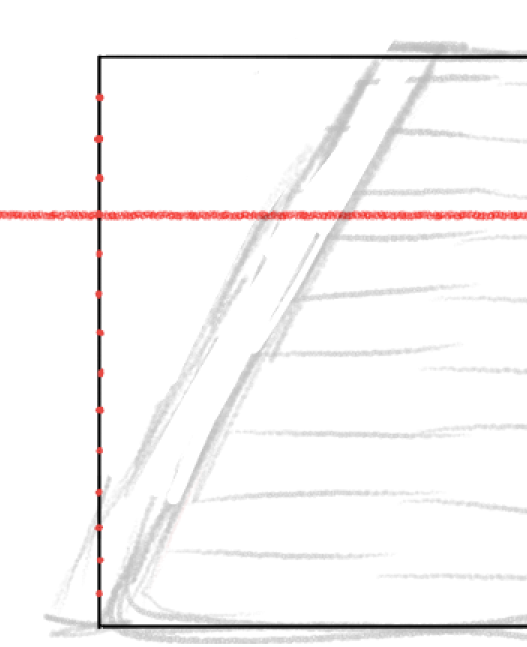
I’ve added red dots to the points divided equally.
Lower the opacity of the current (framework) layer too.
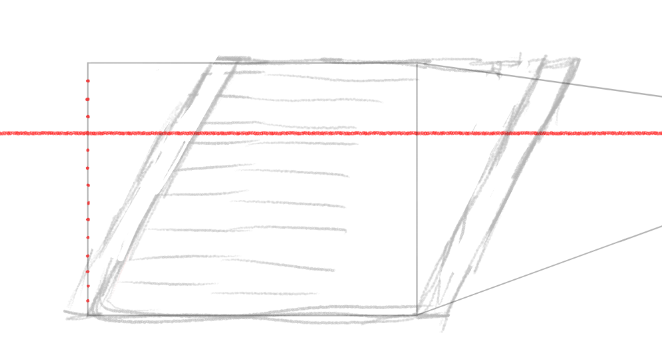
And hide the layer with the rough sketch.
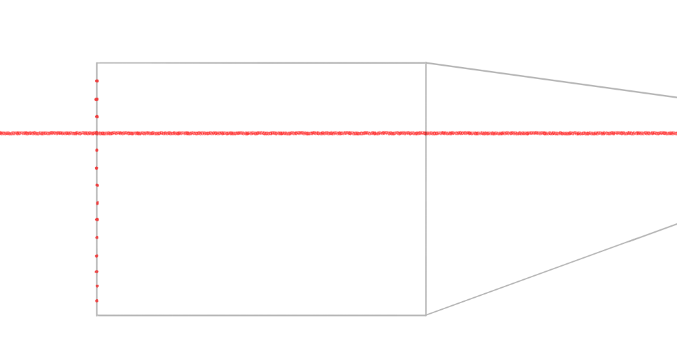
Along the framework, create the first step of the staircase.
From the bottom, create a rectangle up to the first red dot.
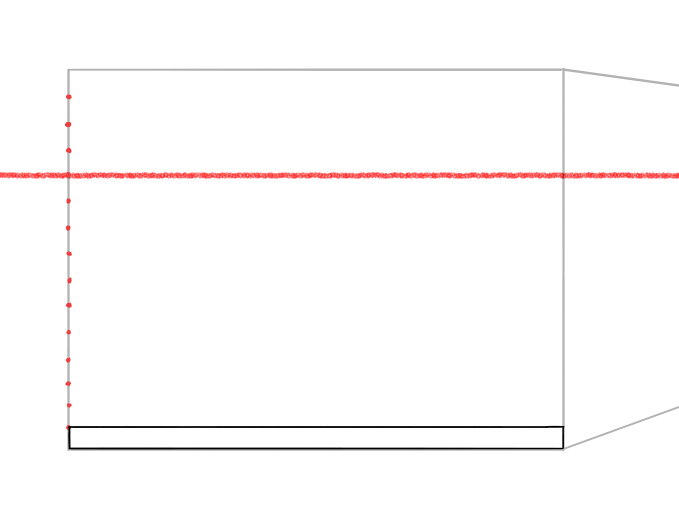
This is the height of the first bottom step.
From the corner of the first step, draw straight lines (green) to Vanishing Point ②.
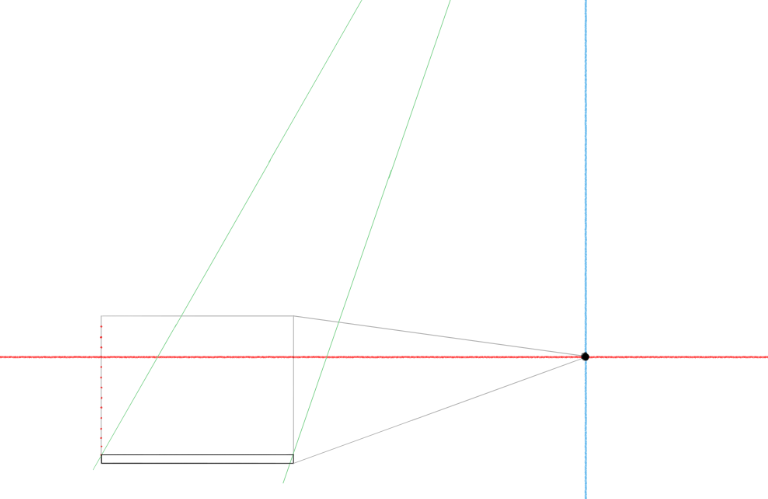
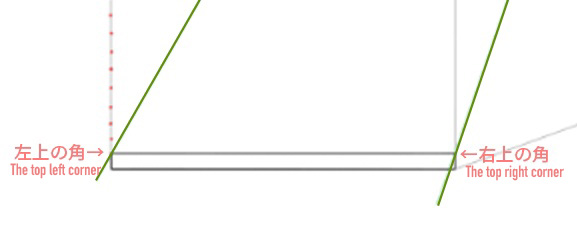
Let’s zoom-in to see where the lines start.
They are straight lines drawn towards the Vanishing Point ② from the top left and top right corner of the rectangle.
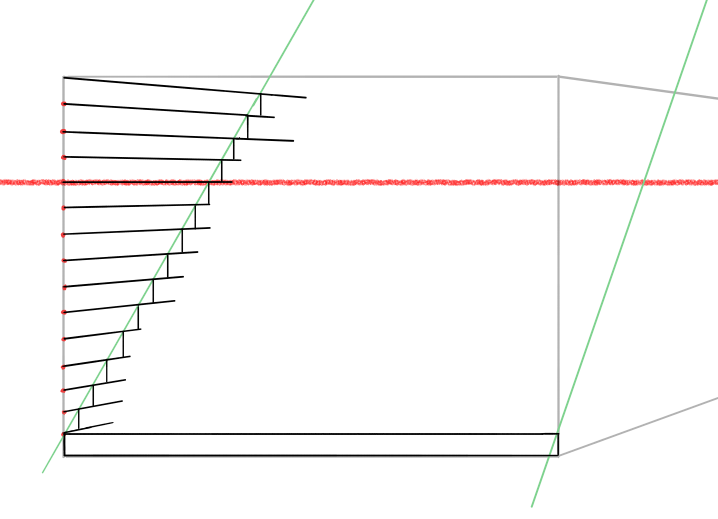
Next, draw straight lines from all the red points to Vanishing Point ① towards the green diagonal line (on the left).
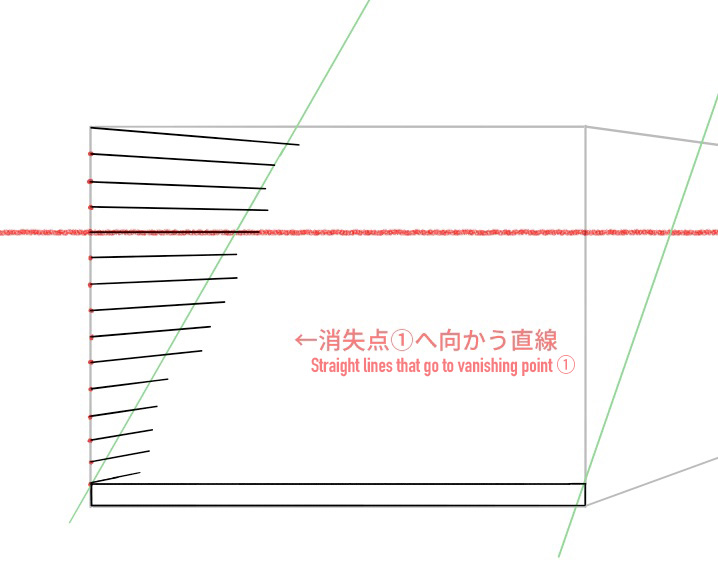
Draw short straight lines down from the contact point between the green line and the black horizontal lines you just drew.
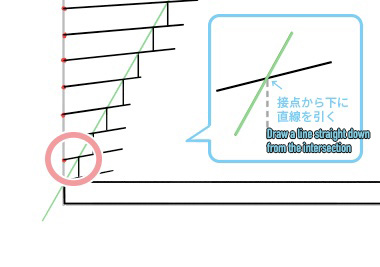
Here is a close-up explanation.
The lines are drawn straight down from the intersection of the green diagonal line and the black lines drawn from the red point to vanishing point ①.
Now, draw parallel lines from the corner of the stairs using “Crisscross” of the “Snap” tool.
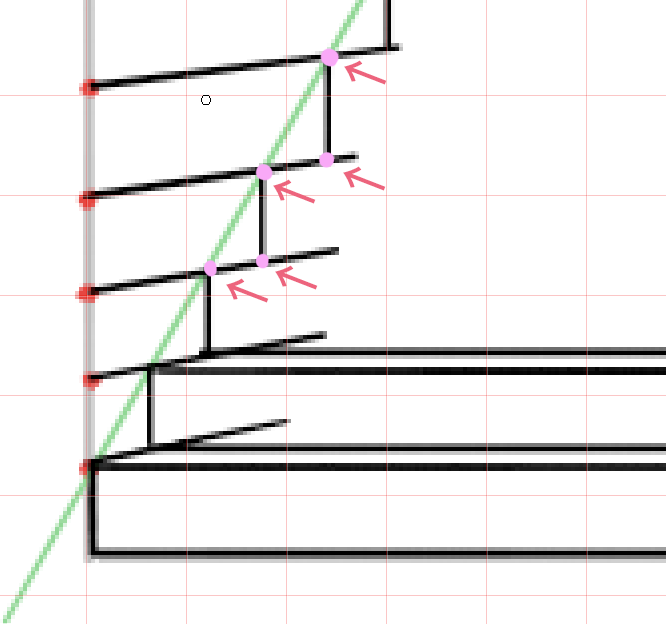
Draw the horizontal lines by selecting the points with pink dots in the image above.
Once you are finished with drawing all lines, your illustration should look like the one below.
The staircase is finally starting to look realistic.
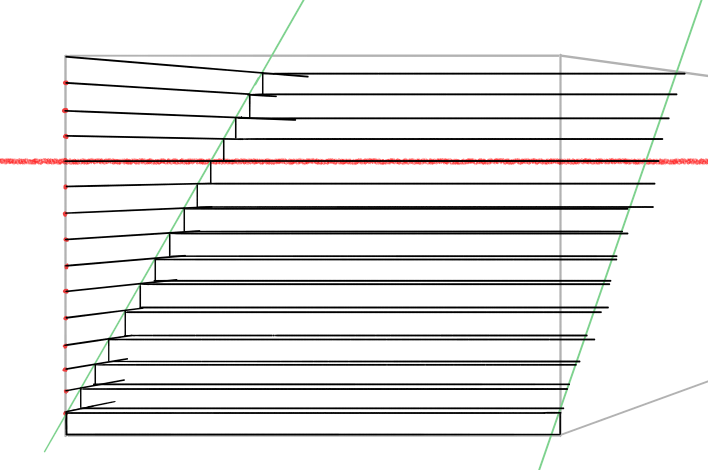
Erase the unnecessary (supplementary) lines with the Eraser tool.
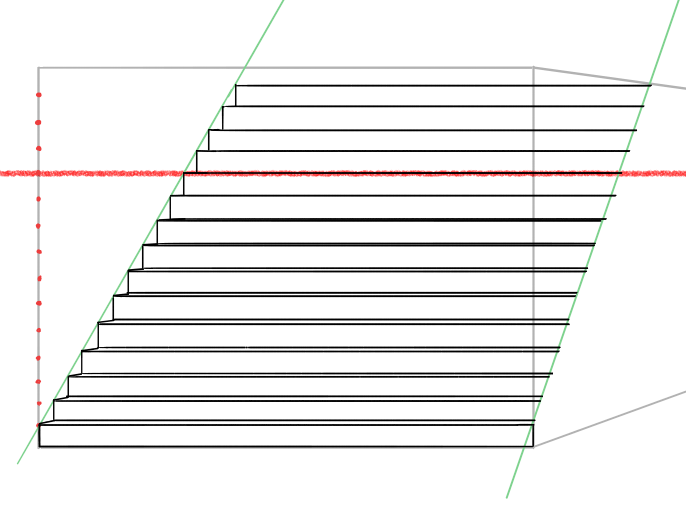
Now, create slopes on both sides of the stairs.
Draw parallel lines towards Vanishing Point ②.
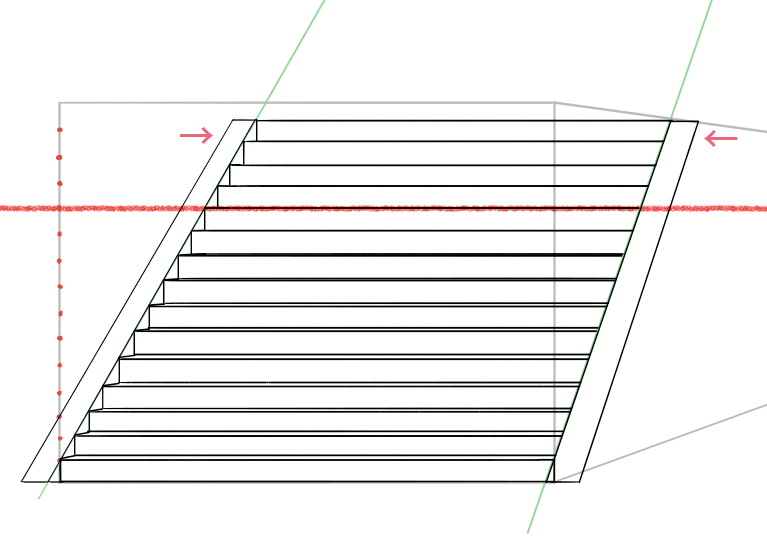
Hide all the support lines and framework too.
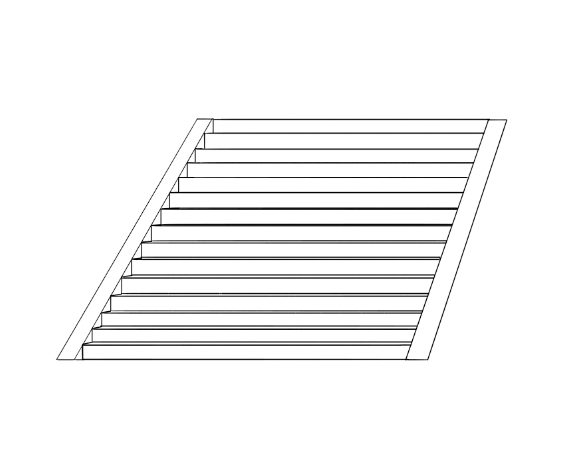
This completes the basic making of the stairs.
Next, let’s add some colors.
3 Coloring
The line drawing steps from above are separated into multiple layers so click on the folder icon at the bottom and move all of the line drawing layers into a folder.
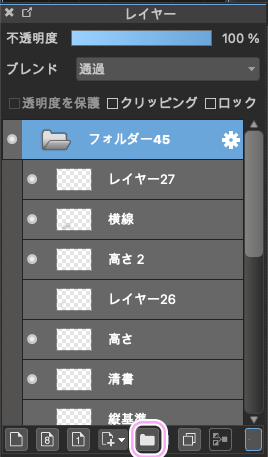
From the menu bar, go to “Layer” and click on “Merge Folder” to merge the layers within the folder you just created.

For this tutorial, I will be using the Watercolor brush to color the staircase.
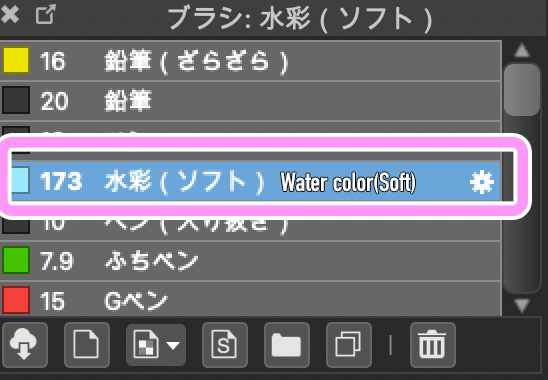
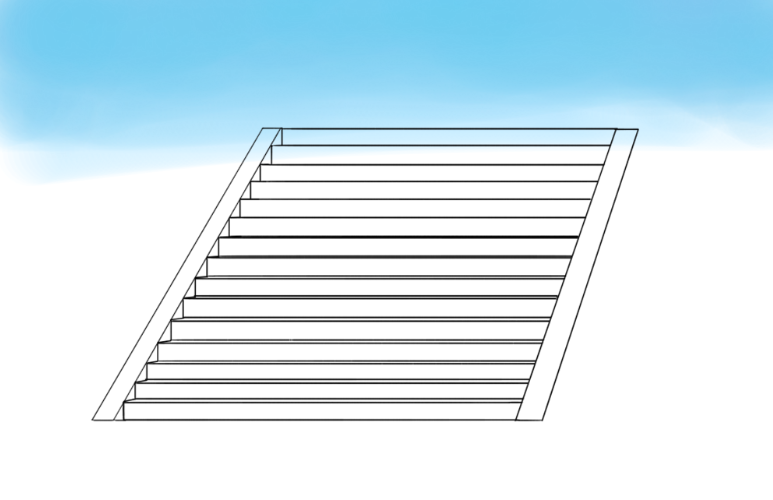
First, paint the sky roughly.
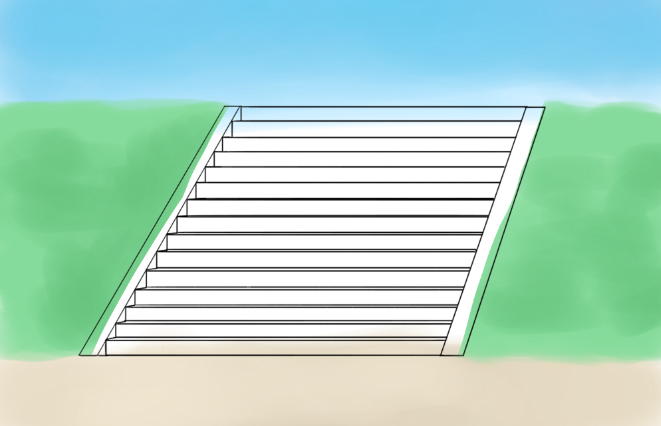
I also painted the ground and the grasses on the slope.
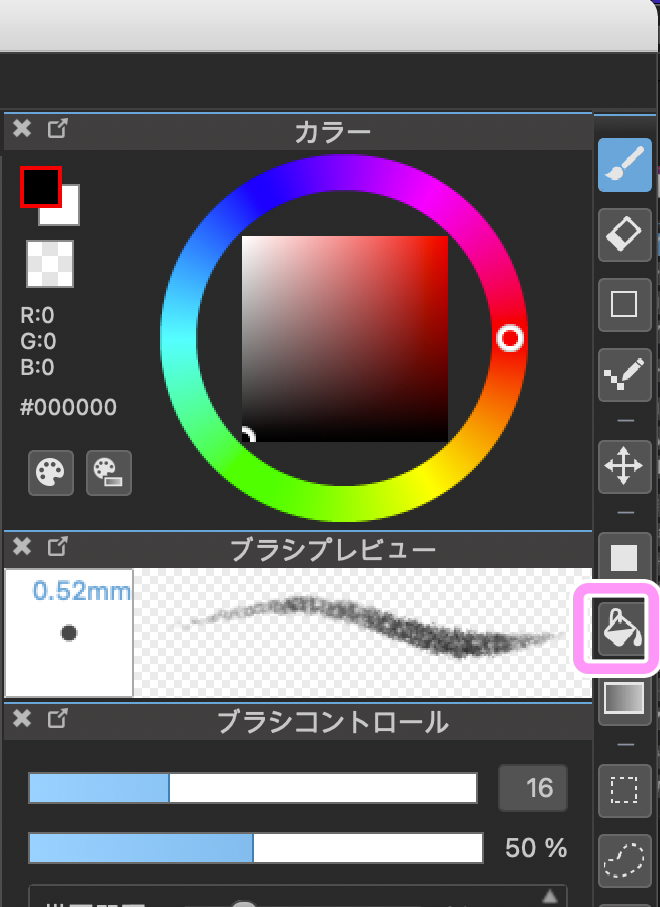
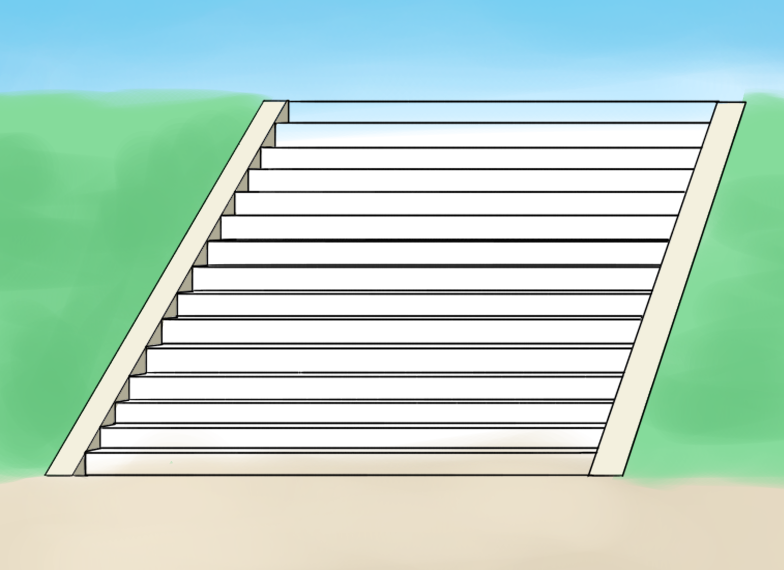
Let’s fill in the color of the stairs.
Click on the “Fill Tool”.
Fill with a light color on the sides of the slope and darken the shadows on the side of the steps.
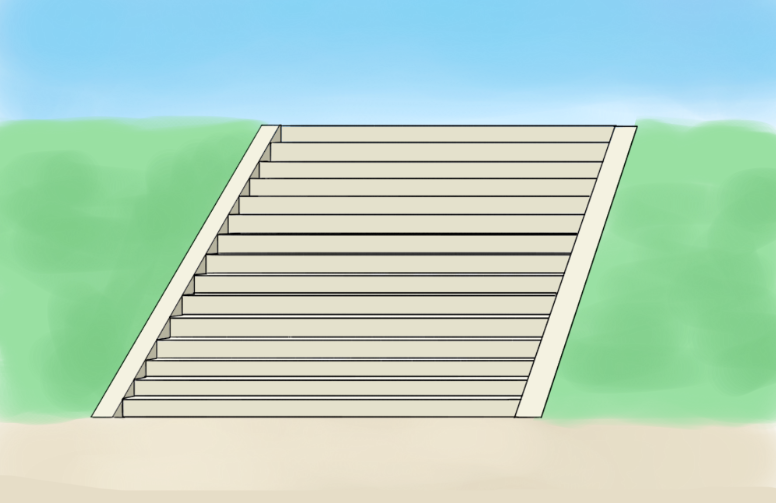
For the height of the steps, I chose a color between the light and dark shade.
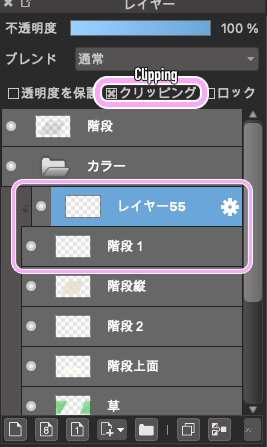
Create a new layer above the fill-in layer and click on Clipping.
By selecting it, you can paint the staircase without going beyond the lines.
Now add some patterns to the staircase on the clipped layer. (layer with Clipping selected)
Since I’m drawing stairs in outside space, I will add rough details of the dirt etc.
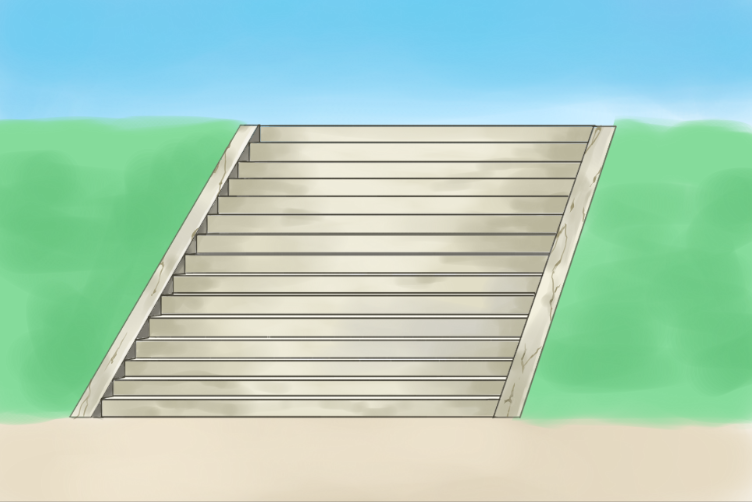
Don’t try to paint the details neatly but move the pen quickly and leave it uneven on purpose.
Next, proceed with painting the sky as shown in the images below.
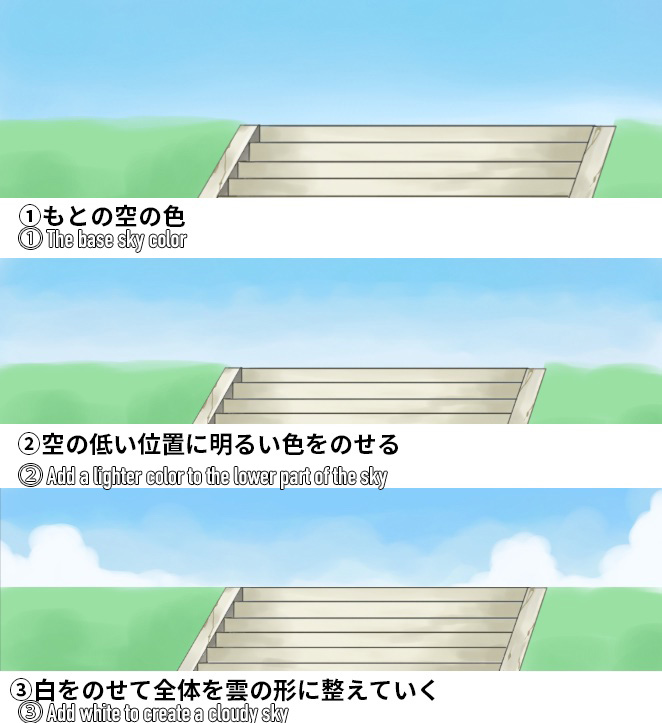
Now that I’m finished with painting the sky, let’s move on to the grass.
First, add a dark green color.
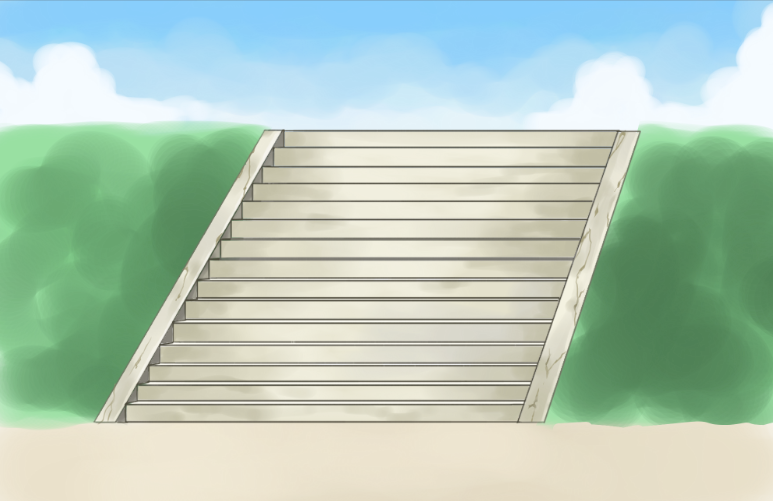
Then use the Pen tool to draw in the grass.
Keep in mind to spread the grass and add them one by one.
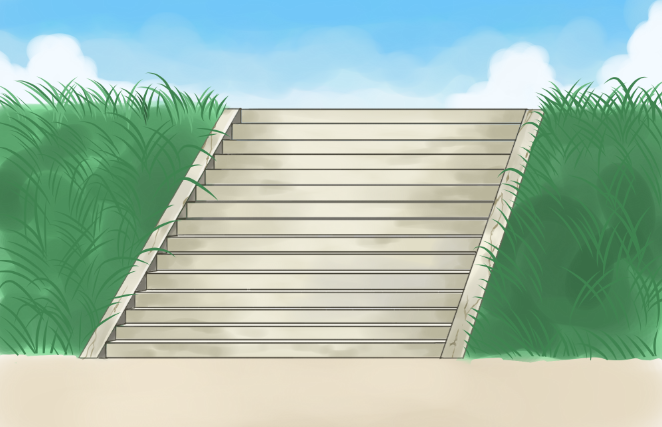
Follow the same steps with a darker and lighter shade of the green color to add more volume to the grass.
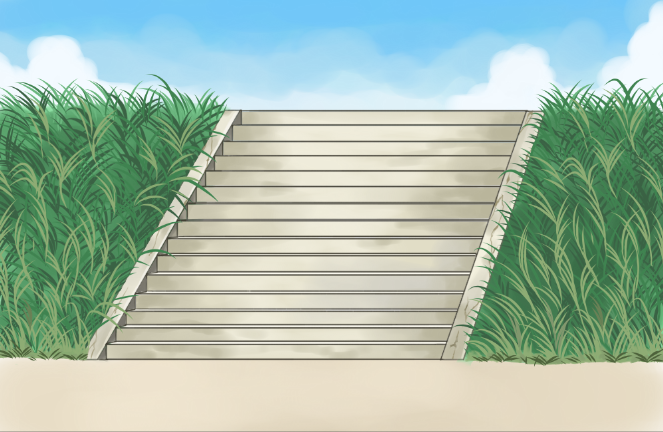
In particular, try to paint more on the areas touching the ground to hide the roots of the grass.
Let’s paint the ground too.
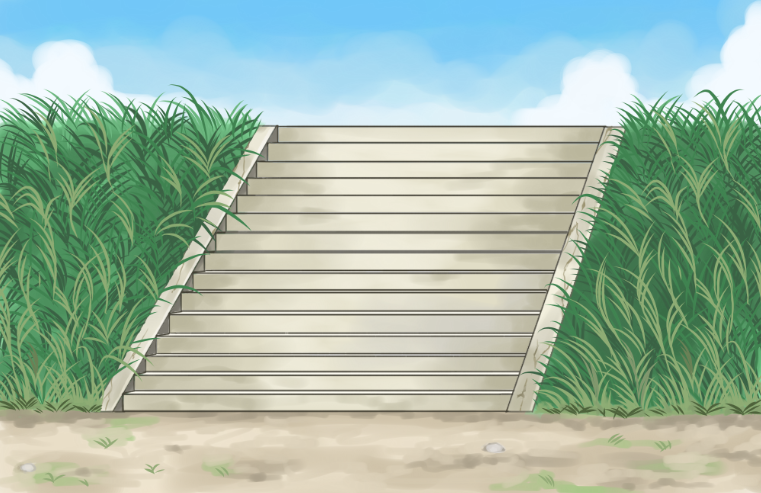
For realism, add some grass and stones.
The staircase is now complete!
This is how it will look with a character placed on the stairs.

You can follow the same steps to draw stairs in a school or a house!
If you are struggling with finding the right balance, please refer to this tutorial!
(Text・Illustrations/荒金ひろみ)
\ We are accepting requests for articles on how to use /


