Below is the basic, uncustomized interface of MediBang Paint that appears upon launching the software.
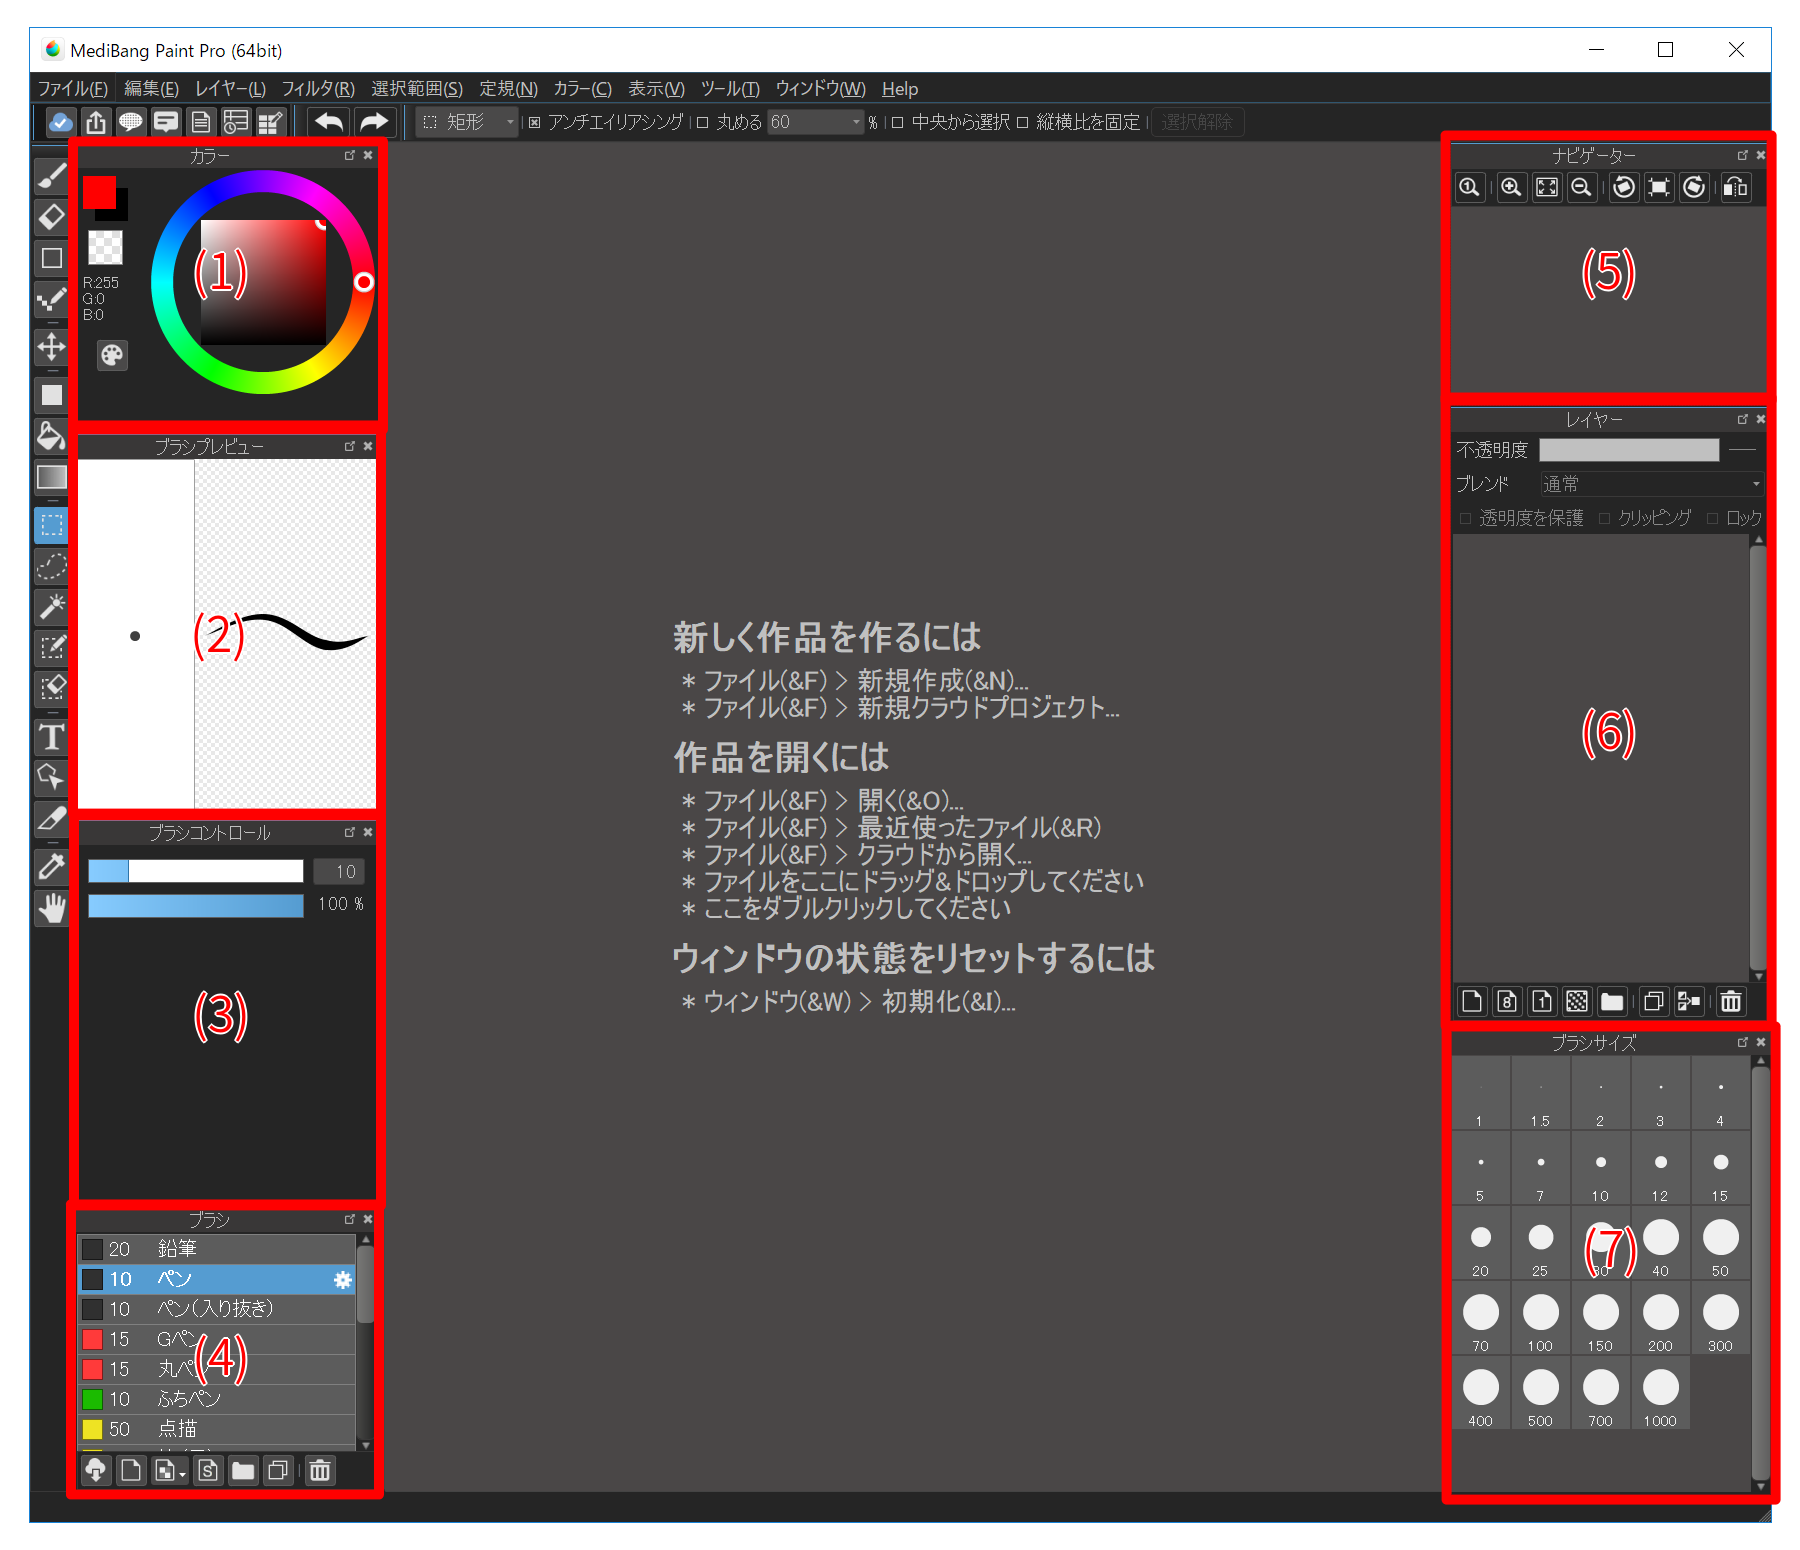
There are six basic windows for MediBang Paint’s interface.
The Color Window is where you can select your brush color and edit palettes.
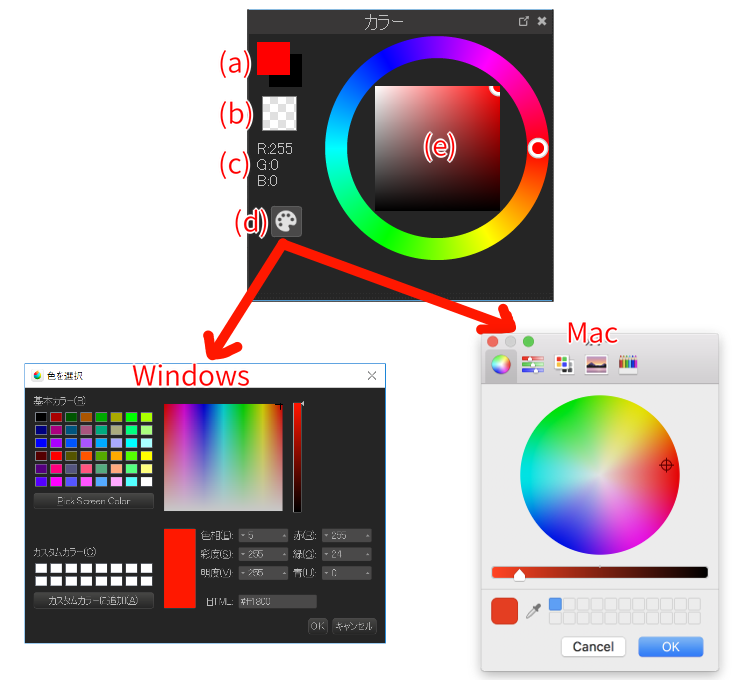
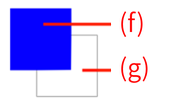
The foreground color and background color of the brush are as shown below.
This window displays the shape of the currently selected brush.
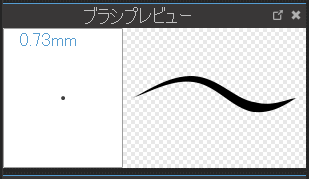
When the canvas is opened, the thickness of the brush is displayed as a numerical value in the upper left corner.
Click “Brush Preview” to reset the brush size to the default value.
See Reset brush size for details.
The Brush Control Window is where you can change brush size and opacity.
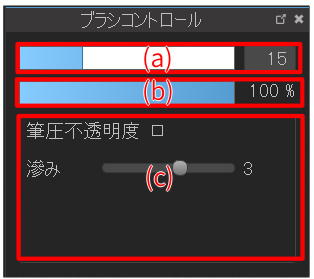
The brush size reverts to the original value (default size) upon restarting the application. If you want to change the default size, please edit it from the brush edit window.
Select a brush to use from this window
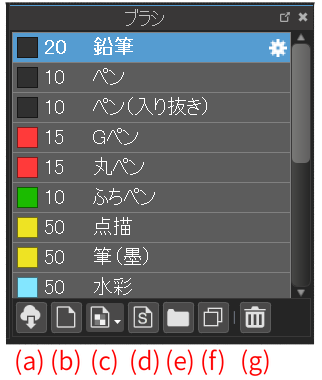
Click the gear icon to the right of the brush name to open the brush edit window.
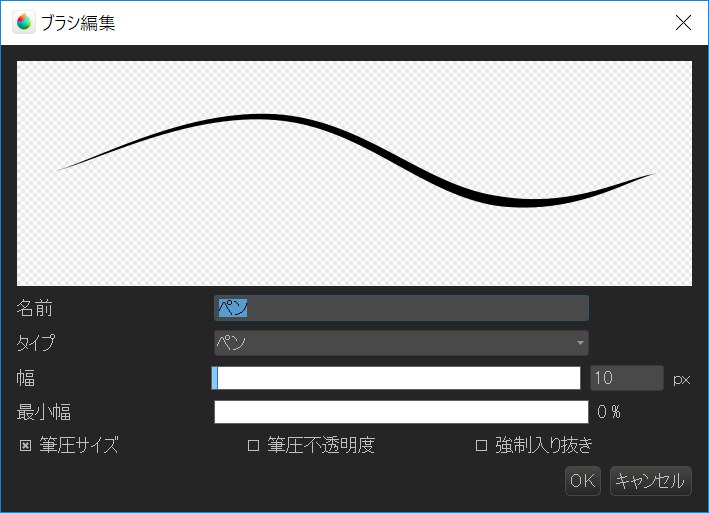
In the brush edit window you can change the default size of the brush.
For details, see the chapter on changing the default size of the brush.
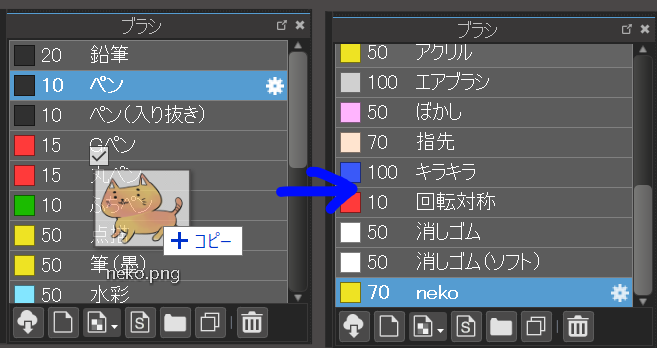
You can add brushes directly by dragging and dropping image files and brush scripts into the “Brush Window”.
The full image of the currently open canvas is displayed in the Navigator Window.
Any actions performed on the Navigator Window will not be reflected on the actual canvas.
The section of the canvas currently displayed on the screen will be indicate by a red frame in the Navigator Window. You can move this red frame to move the section displayed in the main window.
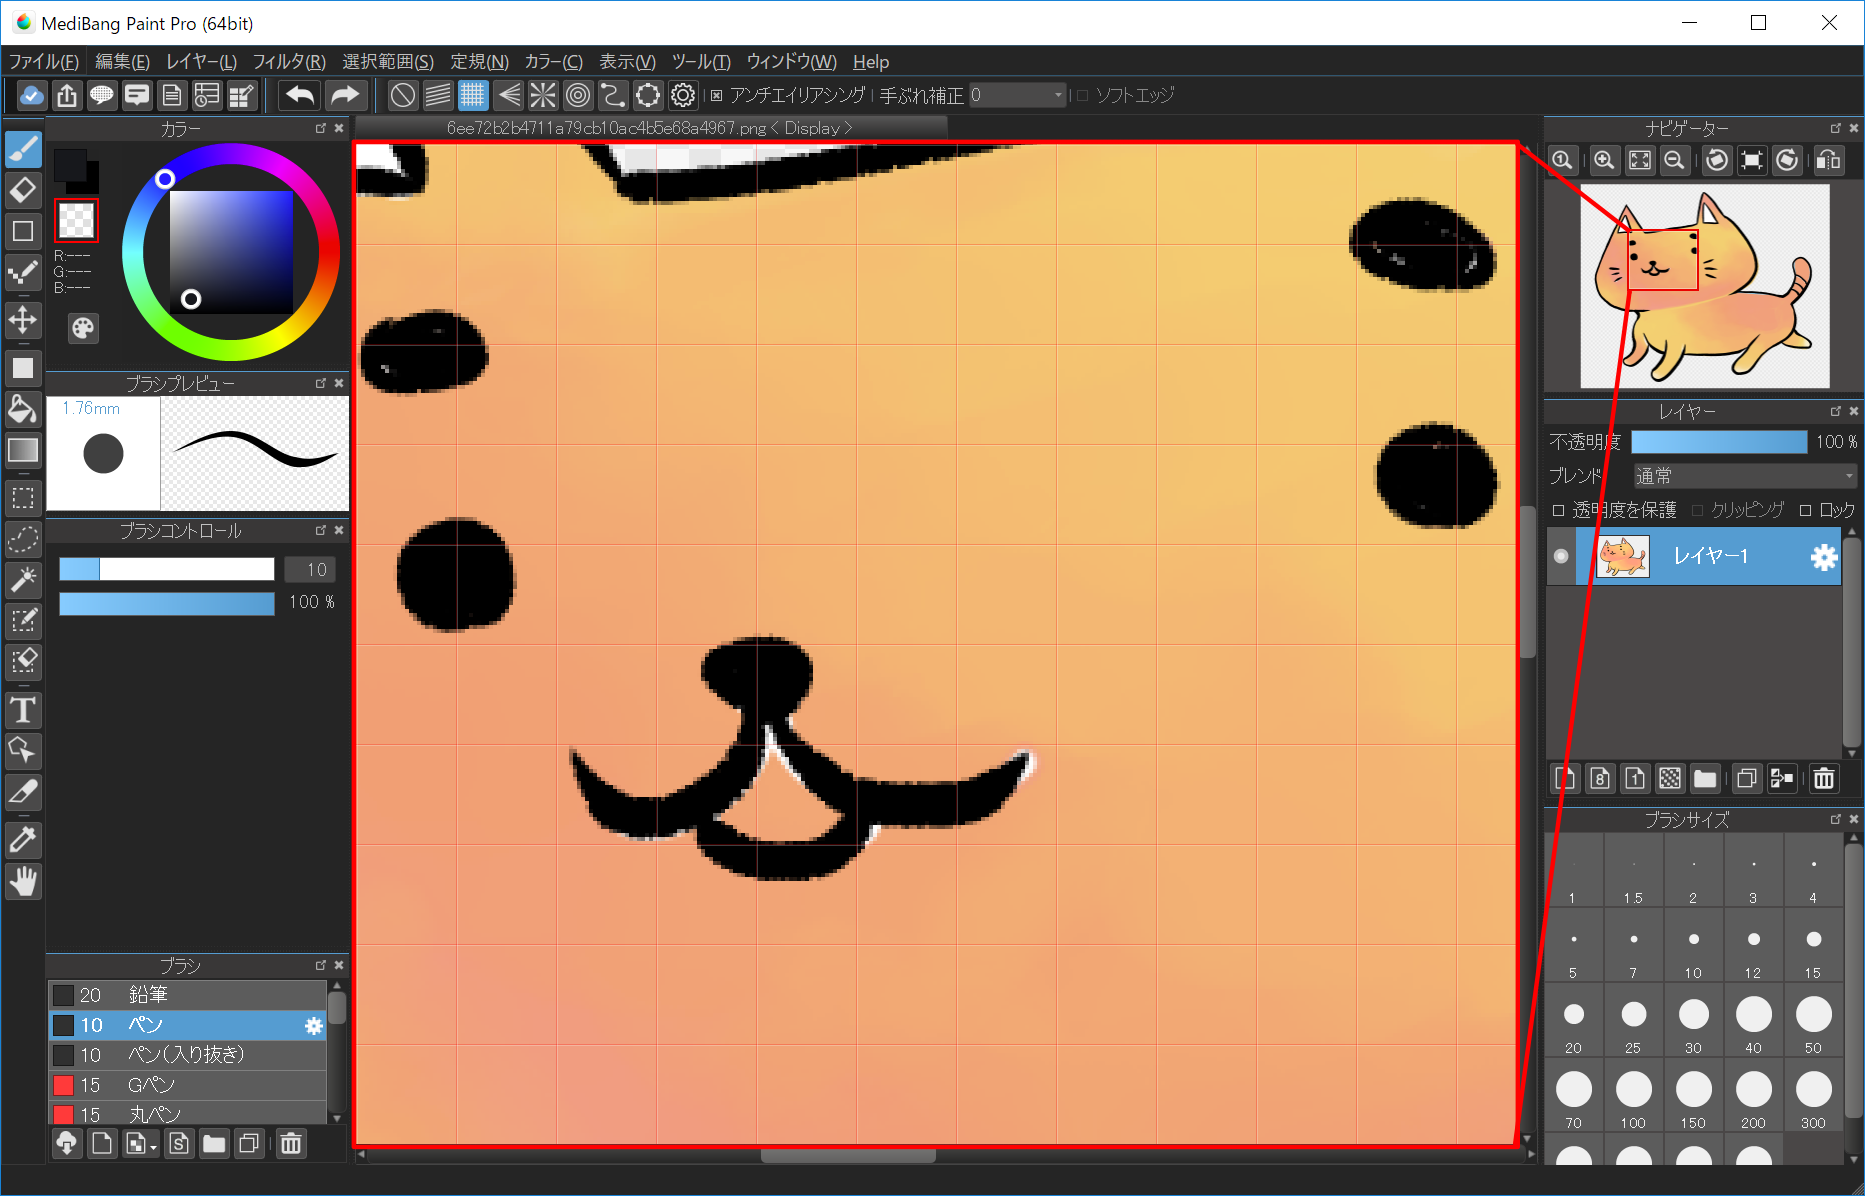
By moving this red frame you can also move the area displayed in the main window.
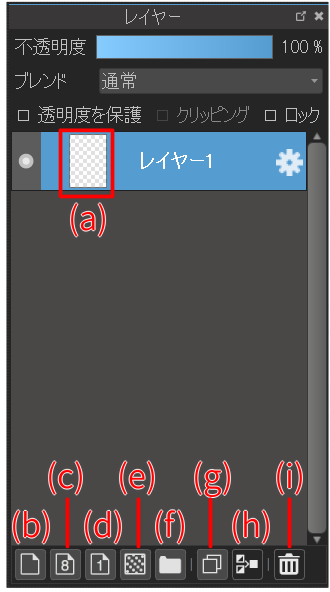
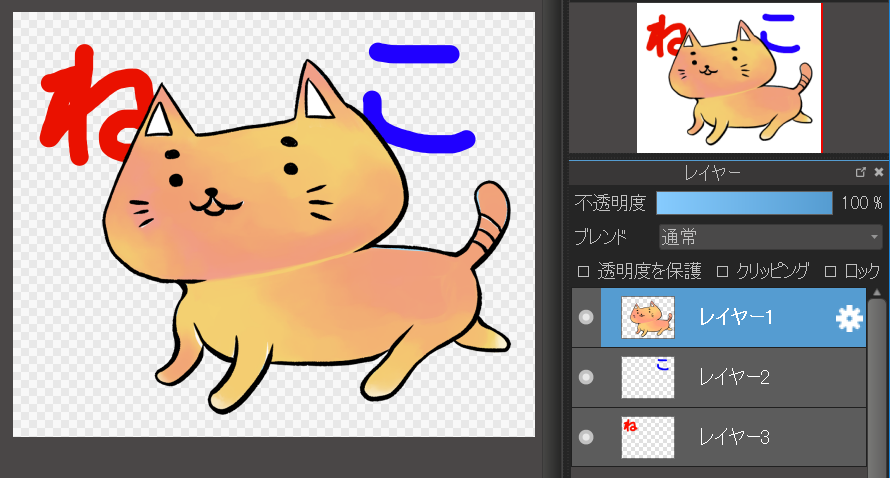
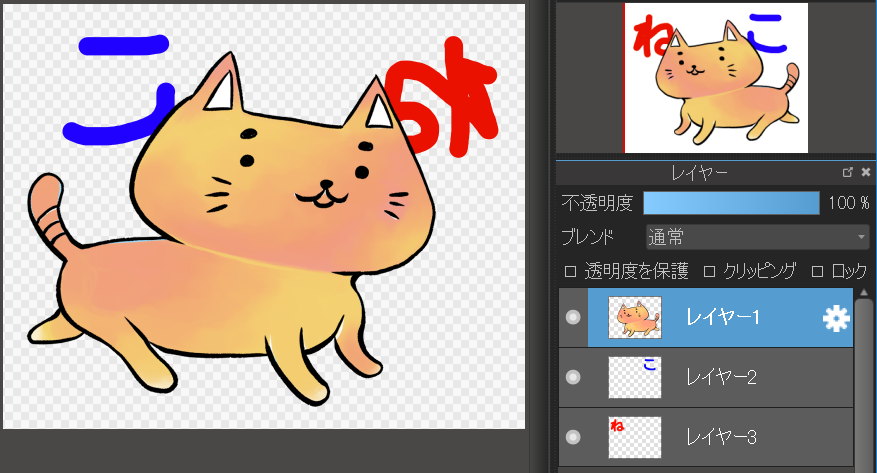
The Layer Window is where you can organize and manage your canvas layers.
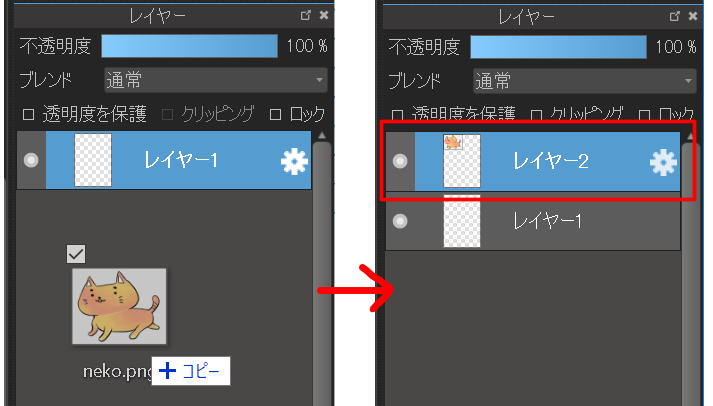
If you drag and drop an image file to the layer window, you can add an image as a new layer to the active canvas.
Registering the brush sizes you use the most often is a great way to streamline your digital workspace.
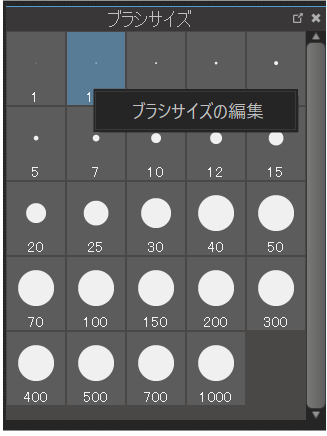
Right click on the brush size window to display the “Edit Brush Size” menu. Clicking the menu will display the brush size edit window.
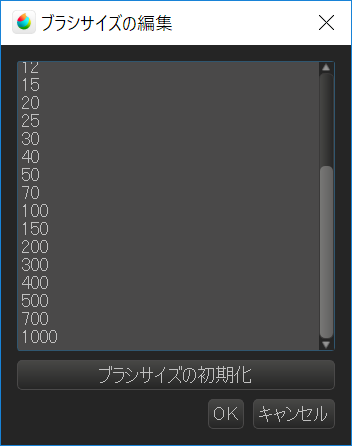
In the “Edit Brush Size” window, you can register your favorite brush size with a line break. If you want to reset the brush sizes, then press the”Initialize Brush Size” button.
While using MediBang Paint, you can reset the interface at any time which will return all the windows and tools to their initial state.
Do this via “Window” → “Initialize” in the case that you accidentally delete functions from the screen.
“Undo” cancels the previous action, and “Redo” to cancels the last “Undo” while working on an active canvas.

Most actions in MediBang Paint can be canceled with Undo.
Hold down Ctrl+Z (for Windows) and Command+Z (for Mac) on your keyboard to use Undo.
MediBang Paint has no fixed upper limit on the number of Undos, so you can continue “undoing” as far as your computer memory allows.
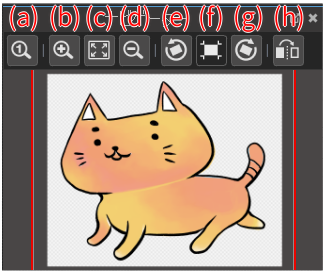
There are three rotation functions as well as the horizontal canvas flip available in MediBang Paint. Here you can learn there differences.
Use this tool by selecting “View” → “Rotate Left” / “Flip” / “Rotate Right” on the menu or in the Navigator Window.
This flips only the canvas display and does not have any effect on the layout and data of the actual canvas.
Use this tool by selecting “Edit” → “Rotate Left” / “Flip Horizontally” / “Rotate Right” on the menu.
This will rotate or flip the whole canvas, editing all the layers data.
This function is how you actually alter the canvas information itself, rather than just the on-screen display.
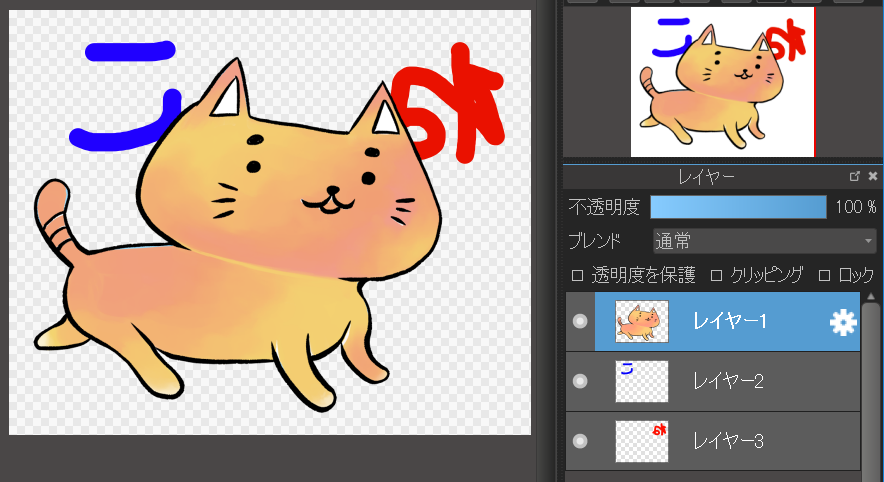
These functions can be accessed in the menu under “Layer” → “Rotate”.
Only the selected layer will rotate or flip.
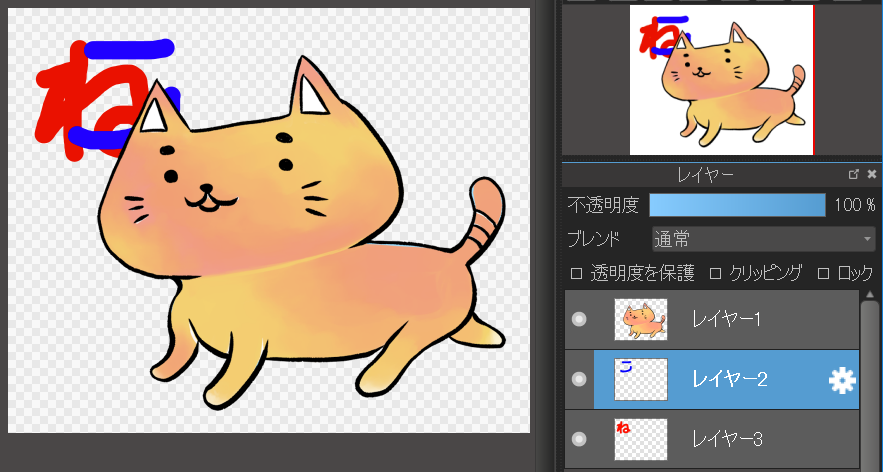
With this operation, not only the canvas display, but also the canvas data will save in a rotated state.
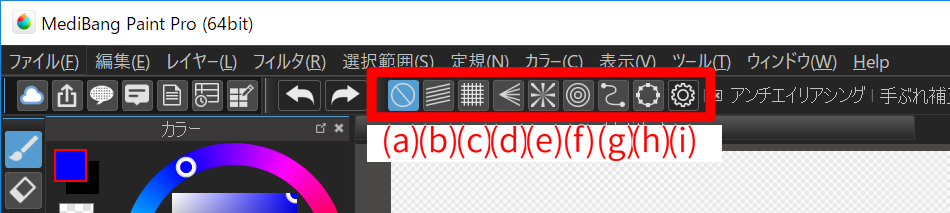
The drawing guides are displayed at the top of the window when you use a tool that can use one of the guides, such as the Brush tool.
You can save your Guide Data as an MDP, and it can store up to 10 pieces per file.
To save them, use “Snap” → “Save Snap” from the drop-down menu.
It’s easy to also retrieve previously saved information from the Snap menu.
(※If you are using Ver 20.1, there is no function to change or delete the name of guide/ruler)
Now it’s time to learn the functions of the Left Toolbar.

Using the Move tool you can easily move anything written or drawn on the selected layer. Drag the selected area around on the canvas to move it to a different spot.
You can move it horizontally and vertically by holding down the Shift key and using “Move Tool”.
Using the Shape Fill Tool, you can easily create rectangular, elliptical, and polygonal shapes. After selecting this tool, you will see the fill tool bar displayed at the top of the main window.

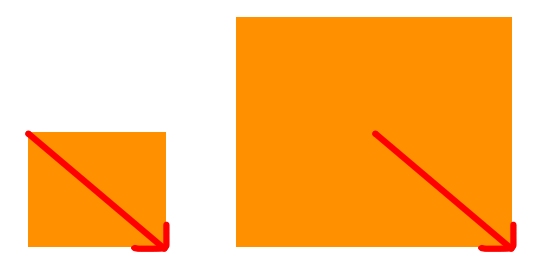
On the right image, this is how checking selecting from the center appears when in use (see red arrow for example).
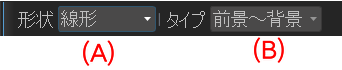
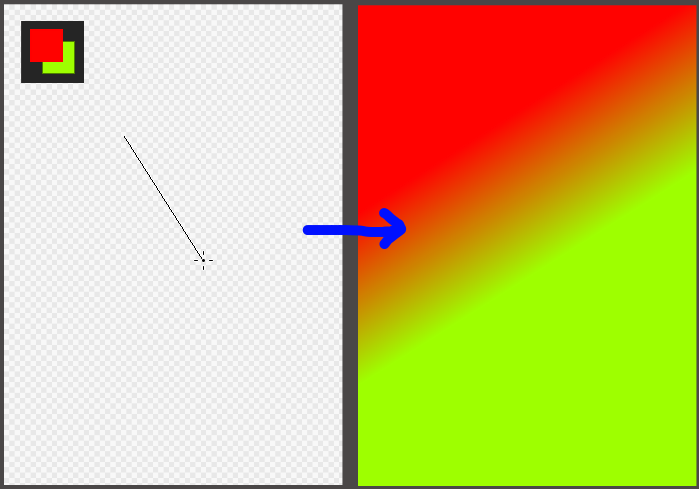
Using the “Gradation Tool”makes it easy to create gradients on your canvas.
When selecting the “Gradation Tool” is selected, the gradient tool bar will display at the top of the canvas.
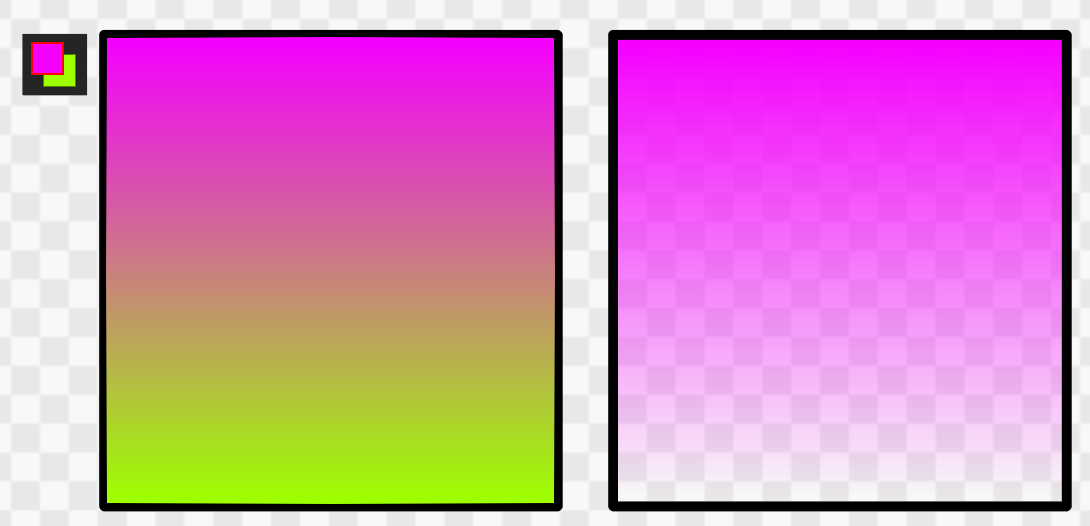
The left is “Foreground to Background” and the right is “Foreground to Transparent”
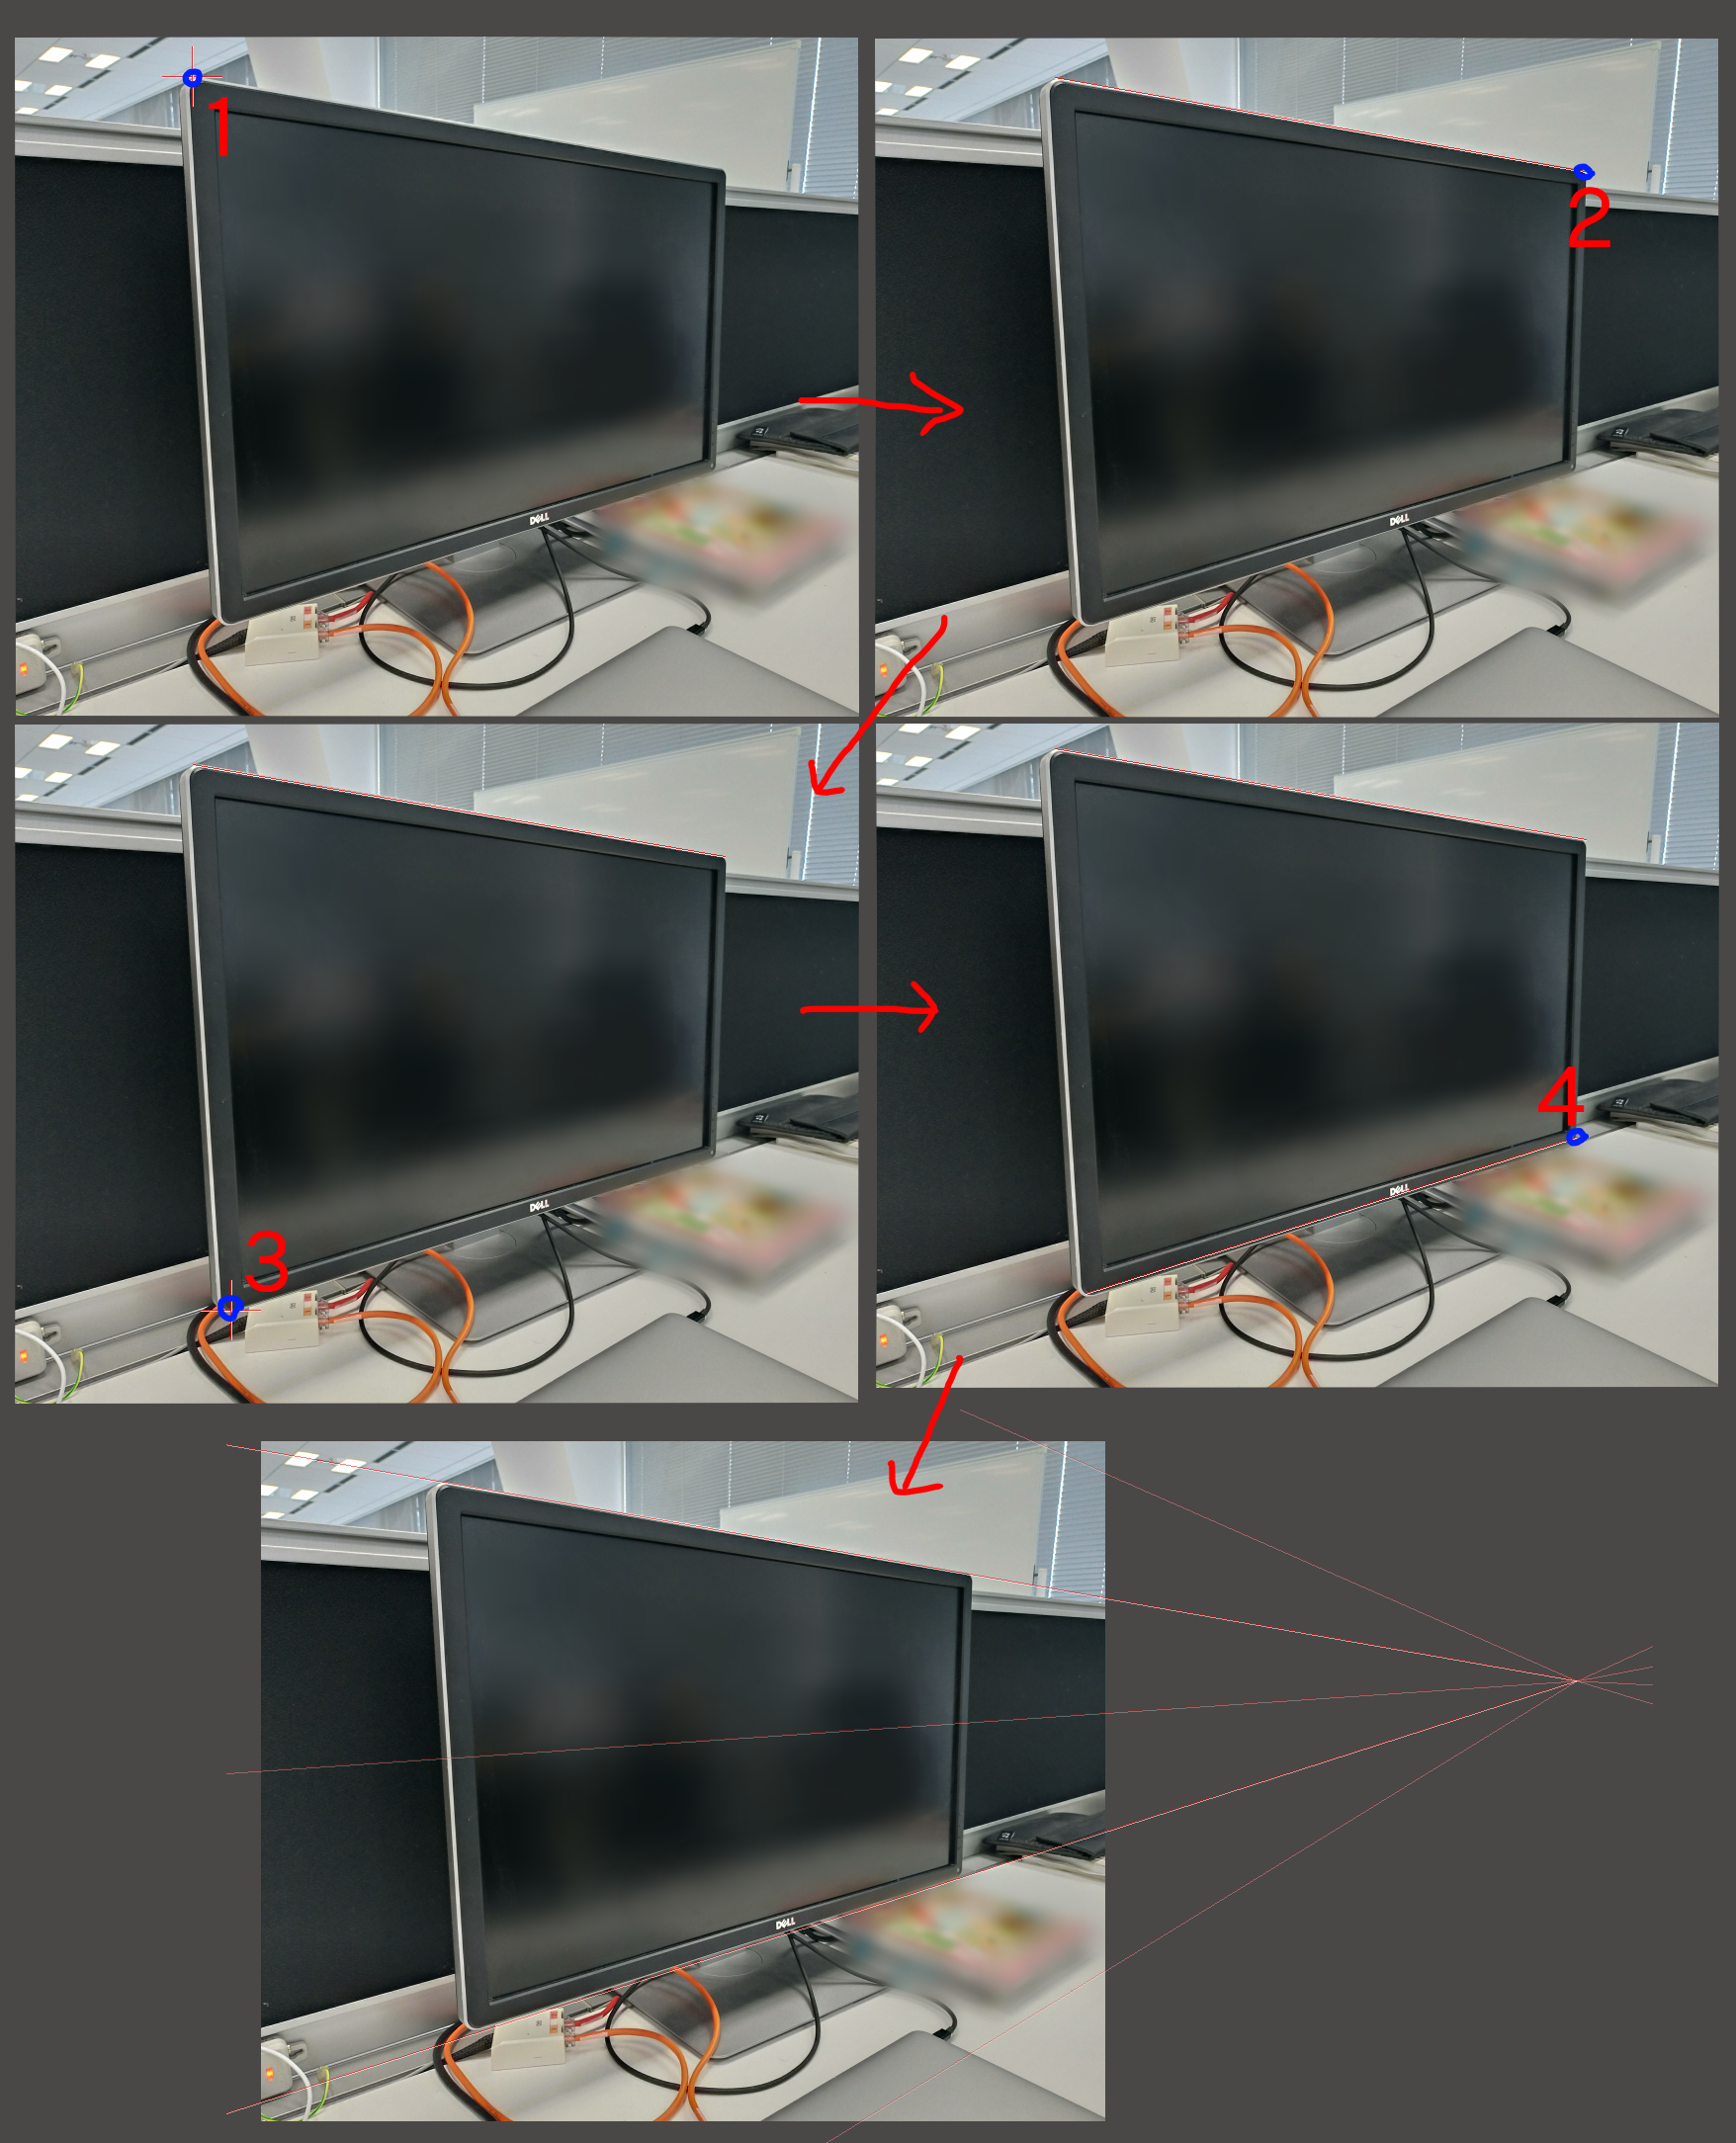
The width and direction of the gradation are determined by the length of the stroke on the canvas.
Easily create shapes on the canvas by using the Shape Brush Tool.
For details, click here.
You can easily choose any color from the canvas you are currently working on and set it as the primary color by using the Eyedropper Tool.
Hold Alt (Option for Mac) and click the canvas to switch to the eyedropper tool.
For details click here .
Move the currently displaying portion of the canvas by using the Hand Tool.
For details click here.
Hold down the space key and drag the canvas to perform the same operation as the Hand Tool.
The Palette Window is not initially shown in the default interface of MediBang Paint. Display the Palette Window via “Window” → “Palette” from the drop-down menu.
For details click here.
The Reference Window is not initially shown in the default interface of MediBang Paint. Display the Reference Window via “Window” → “Reference” from the drop-down menu.
For details click here.
Your creativity will be more special!
MediBang Paint's new service,
Unlimited use of exclusive brushes and
materials,
full access to MediBang Paint,
and many other benefits to help your
creativity.
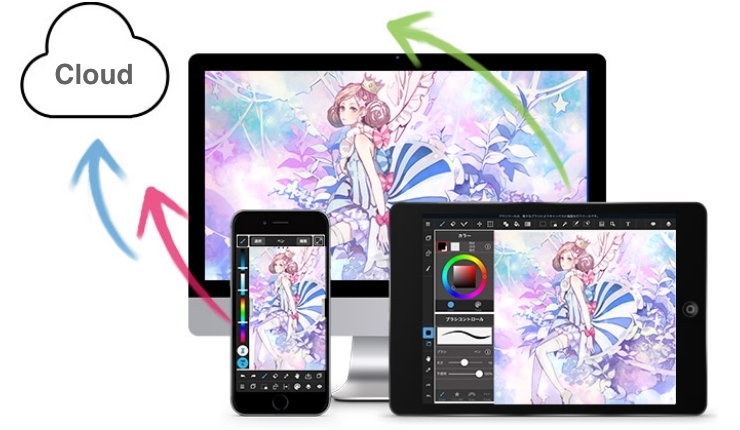
We introduce cloud features available on MediBang Paint.

We introduce specific examples of team production using MediBang Paint and mangainem.

We introiduce "JUMP PAINT", JUMP's official soft and app for manga creators.