2022.09.14
Draw characters in backlight! Learn shadow expressions

In this tutorial, I will be introducing the use of backlight as a final touch for illustrations.
(using MediBang Paint for PC)
※Since I focus on the final touches here, the explanation for the earlier steps have been skipped.
1.Steps up to character painting
First, I will proceed until the basic character painting stage.
(Overall flow)
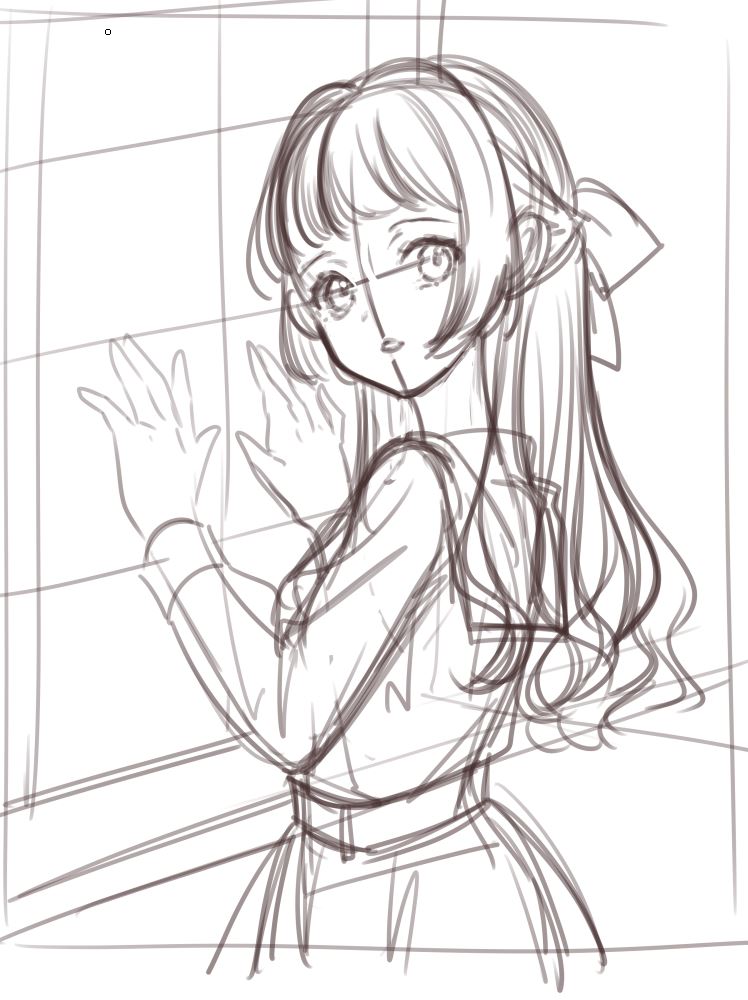
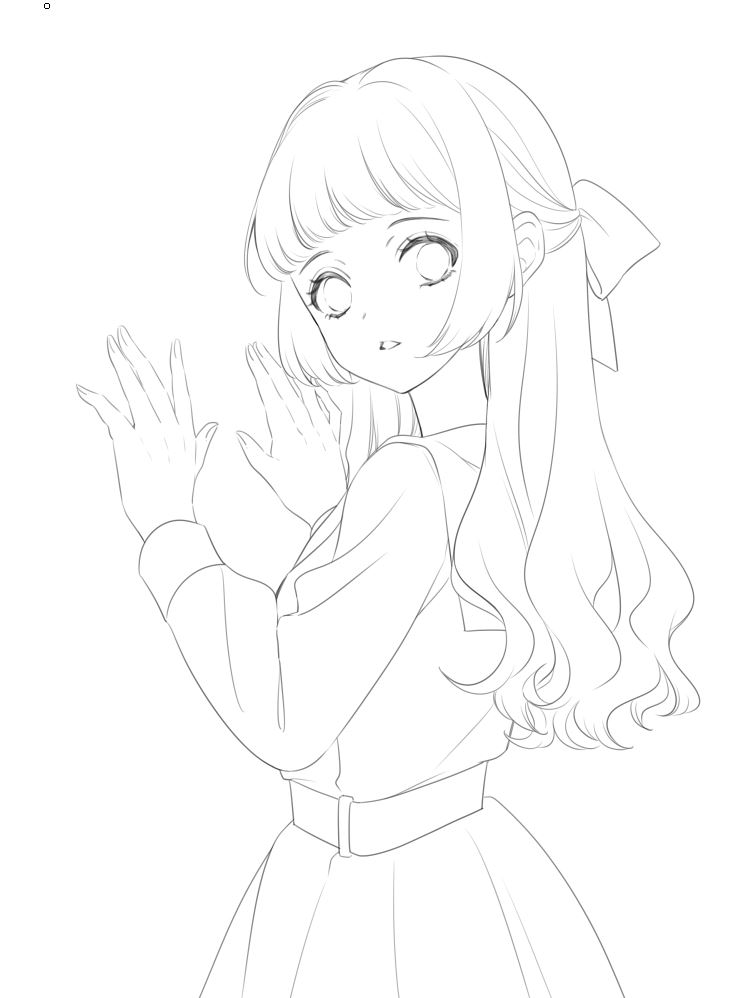
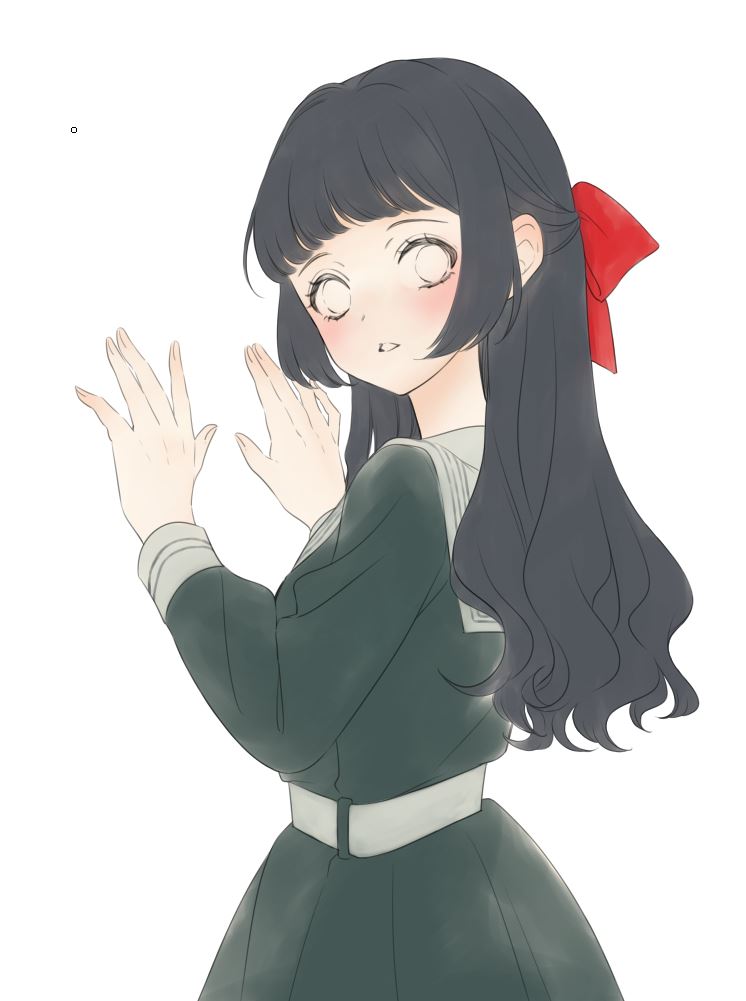
Rough Sketch→Line Drawing→Painting Base Color→Adding Colors→Adding Shades→Adding Highlights
Rough sketch
Line drawing
Painting the base color
Adding colors
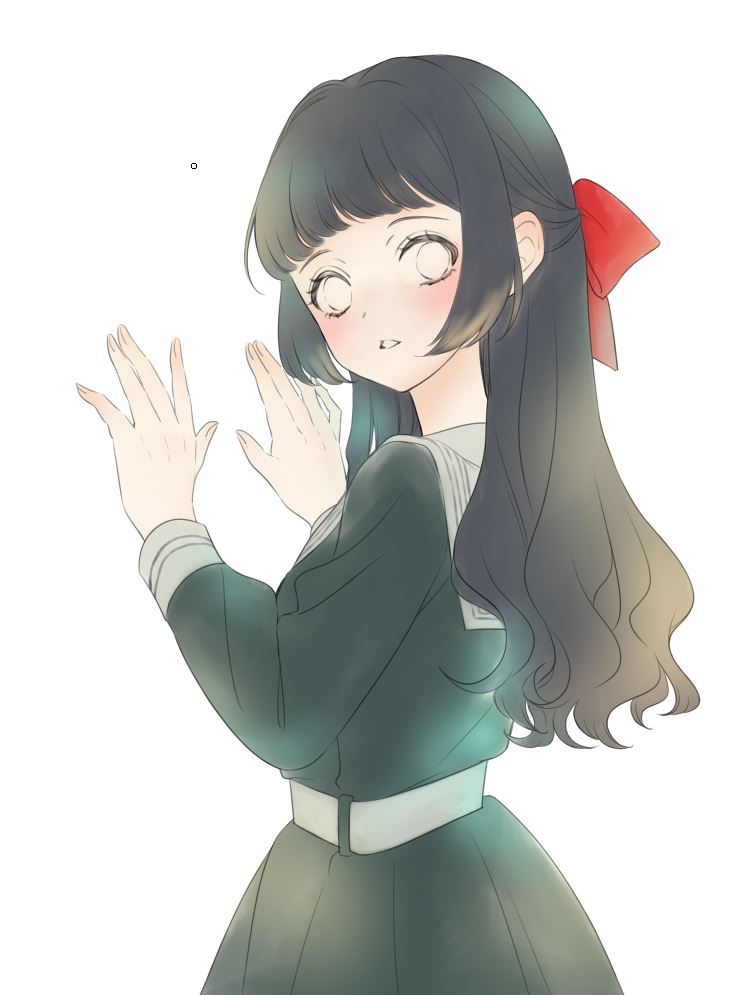
Drawing-in shades and other details

Adding the highlights

2.Painting the backlight
From here on, I will start applying shadows to the whole illustration.
With the rough sketch for the background, the illustration now looks like this.
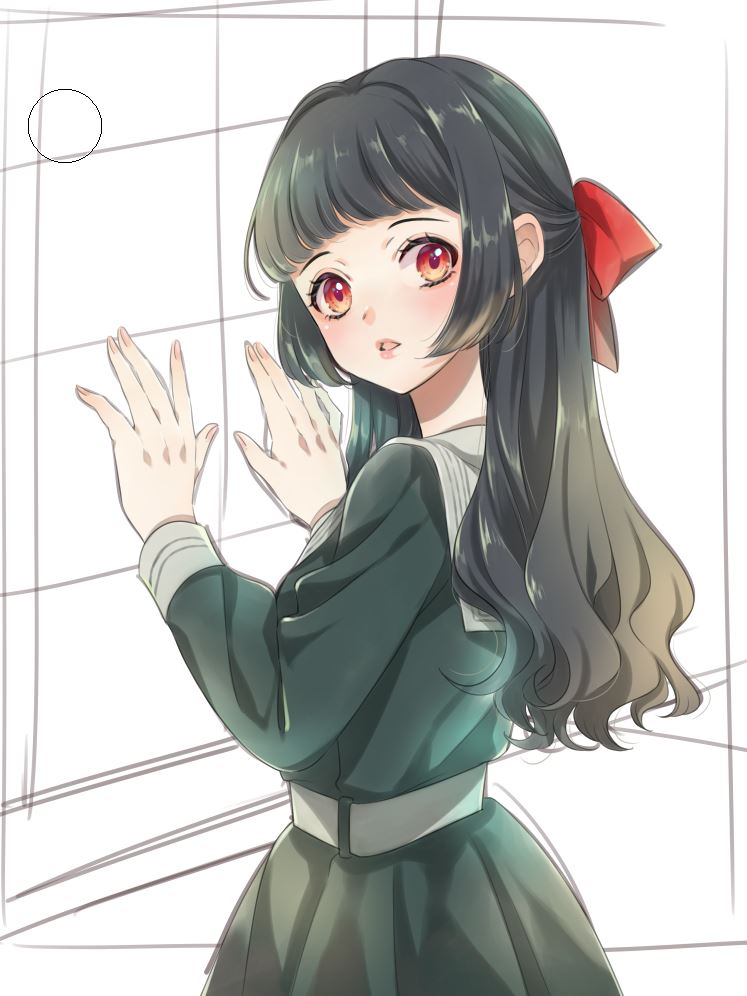
I want to create a darker and much calmer impression so I will start adding shadows to the character.
〈Layer〉
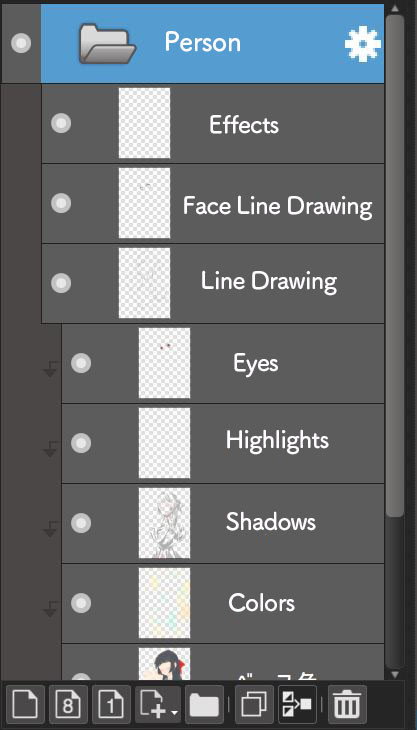
Before I start shading, I will move all layers used to paint the character inside one layer group.
I have created a group folder called “Person” and moved all layers inside, except for the rough sketch.
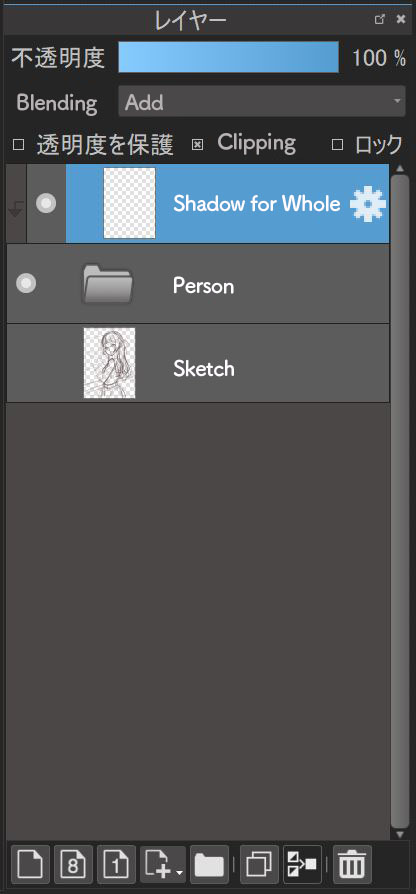
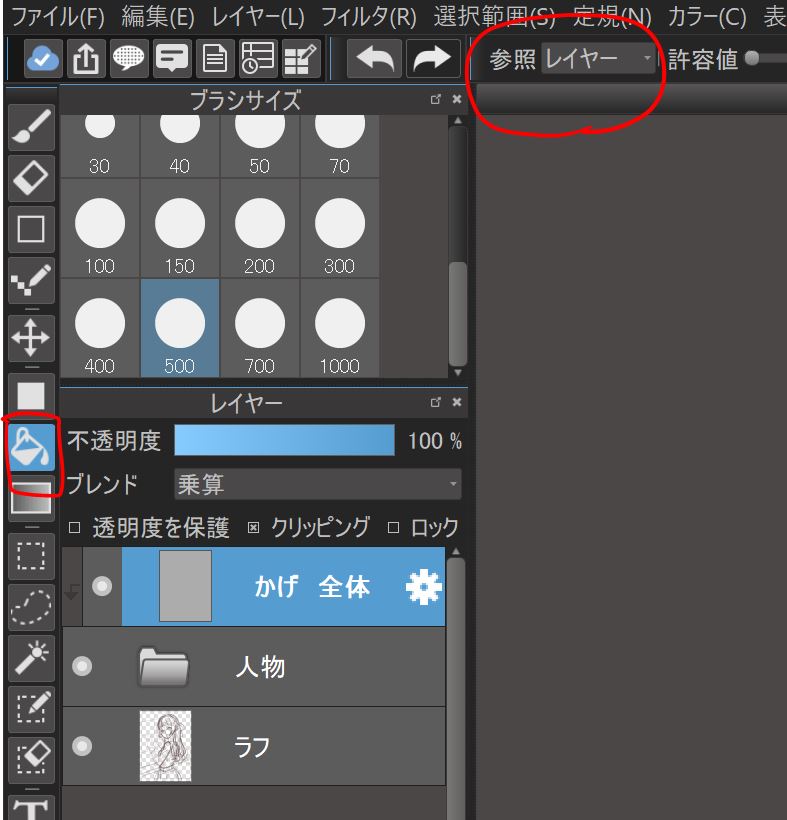
On top of the layer group folder, create a new layer (「Shadow for Whole」) and set the Blending to “Add”. Then clip this on the layer group folder by clicking “Clipping”.
※At this step, make sure to change the Blending of the folder to “Normal” (from “Pass Through”) or else the colors won’t be applied to the other layers even if you choose Clipping.
〈Painting〉
Fill the layer for “Shadow for Whole” with paint using the Bucket tool.
I have set the color to gray, an achromatic color.
Now the character looks much darker.
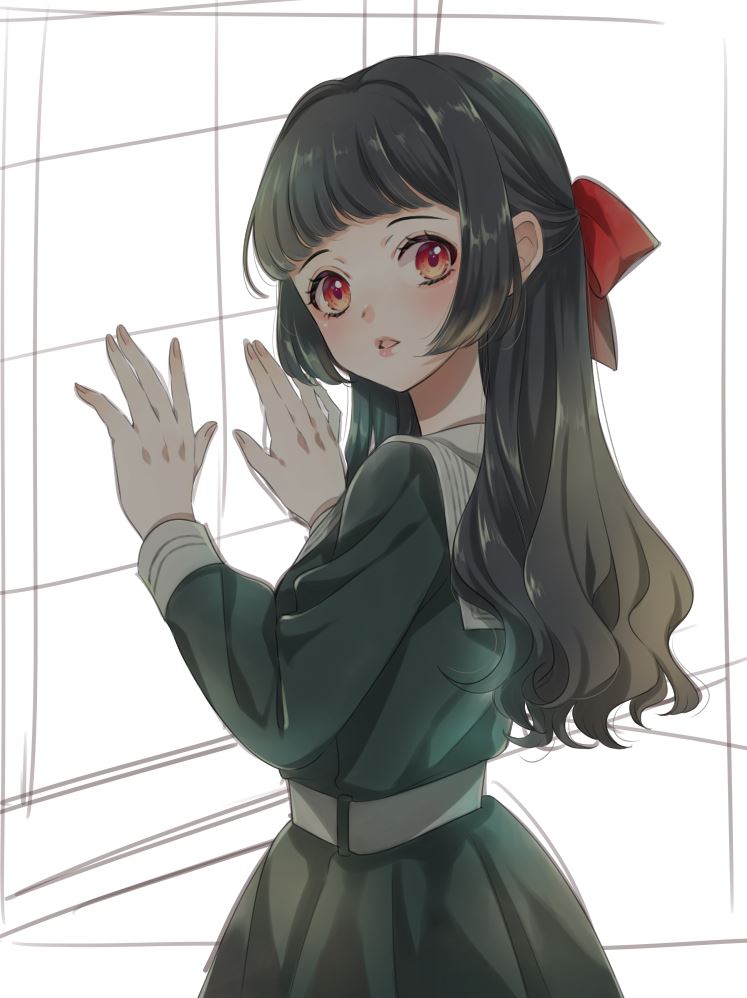
※When you want to fill using the Bucket tool, change the “Reference” to “Layer” first.
Next, I will draw the lighting.
Keeping in mind that the light hits from the left side, I will create a backlight.
Instead of thinking about “adding lights”, think of it as “cutting down the shades”.
On the “Shadow for Whole” layer, used to fill with the shadow, start erasing the parts that receive lighting using the Eraser Tool or the Brush tool (any brush with the color set to transparent).
~Tip~
The transparent color allows you to use the Brush tool as an eraser.
If you set the shortcut keys, you can switch between with/without color for the Brush tool very easily.
For this tutorial, I am using the “Watercolor” Brush tool with its color set to transparent.

I erased bits of the shadow on the face.
Just with the face, it already created a strong backlight feel.

I will continue cutting down on the shadow around the outline of the body.
This is the complete look.
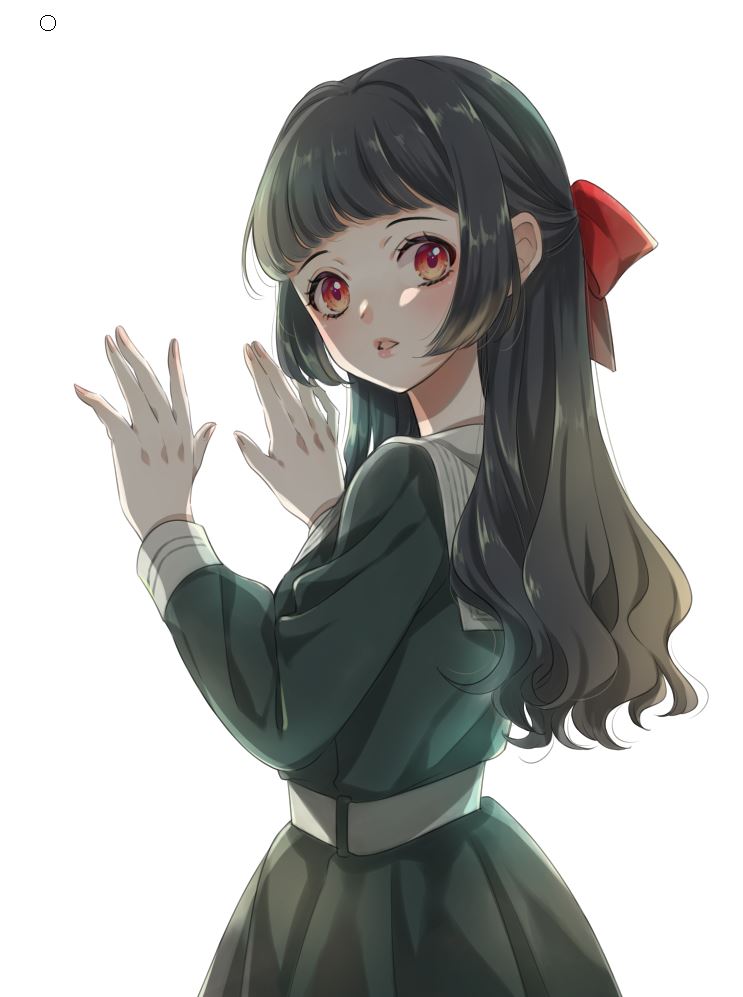
Ignoring the light source for now, I have also cut down the shadow inside the eyes.
Now you can see how the eyes are sparkling even more.

I erased more parts but with a lighter pen pressure.
Changing the pen pressure lets you replicate a such look where the sunlight filters through the trees, from the window frame.
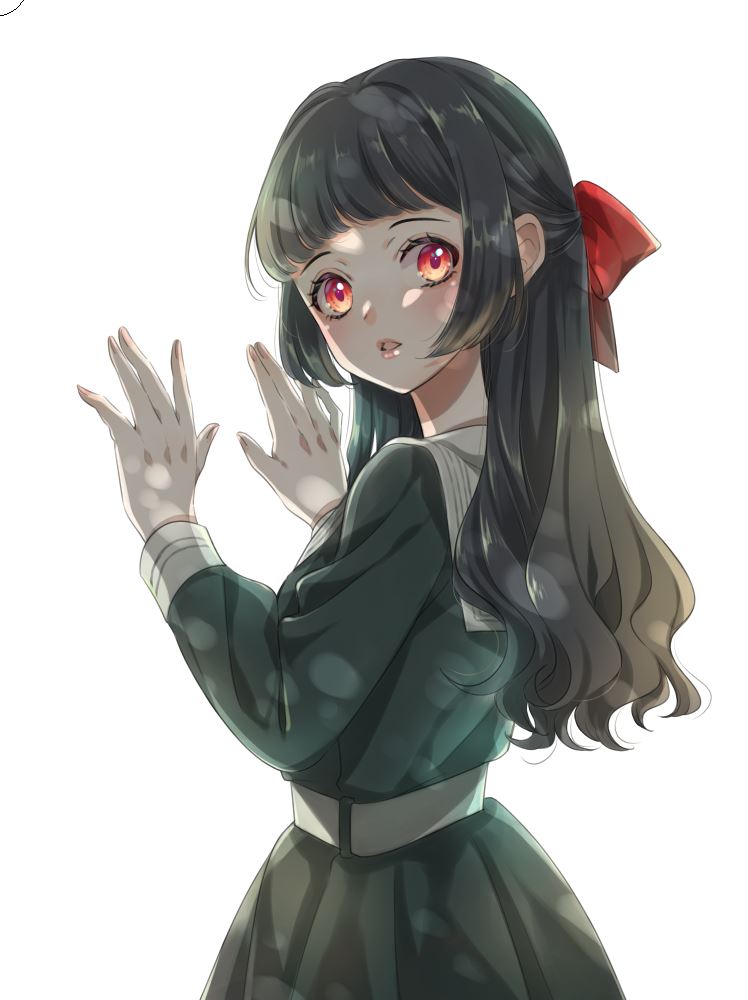
This is the final look with the rough sketch for the background.
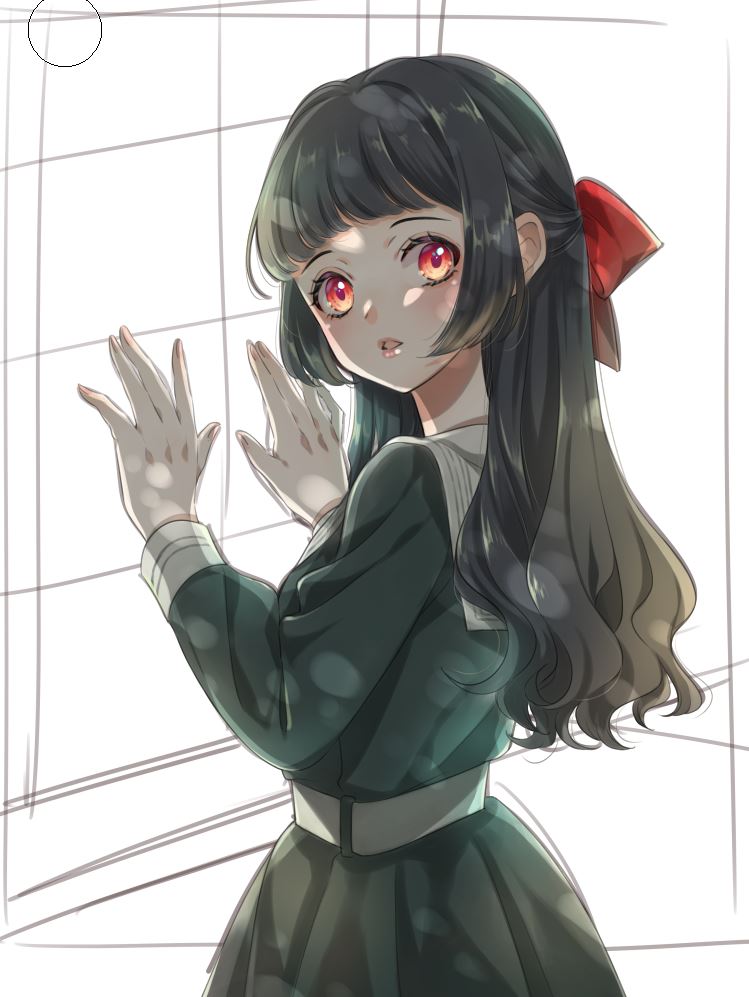
Compared to the earlier illustration, you can see the difference in the character’s impression.


How was this tutorial?
By making use of the backlight, you can change the mood of the illustration a lot so I hope you try it out.
In the next tutorial, I will be drawing the background of this illustration using the Perspective Snap tool in MediBang Paint.
(Text・Illustration/りーりん)
*twitter @ichidanmepile
*instagram @ichidanmepile
*web site https://ri-rin.jimdosite.com/
\ We are accepting requests for articles on how to use /

