2023.03.16
[Easy] How to draw cute Christmas illustrations (Part 1)
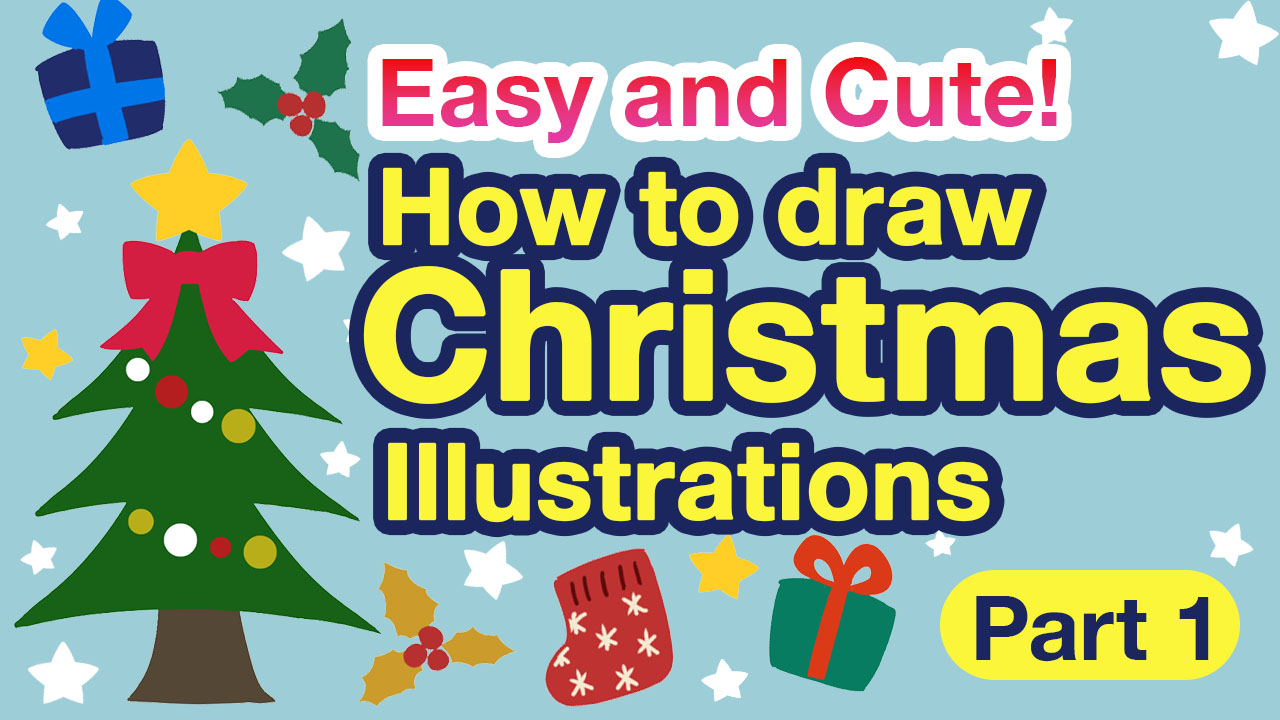
Today I will show you how to draw cute and colorful Christmas illustrations with very little effort.
In part 1 we will learn Christmas designs that can be used for indoor illustrations and in part 2 we will learn designs for outdoor illustrations.
I hope you will find these designs useful as backgrounds for your illustrations.

Christmas Tree
First of all, Christmas wouldn’t be Christmas without the Christmas tree.
Let me tell you the method to draw the lovely Christmas tree with no effort.
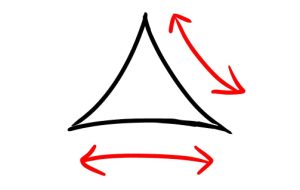
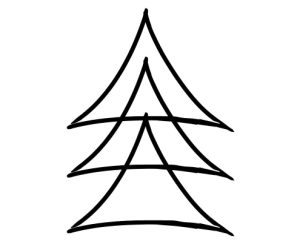
Draw a triangle with each side curved.
Then, press the duplicate button to duplicate the layer.
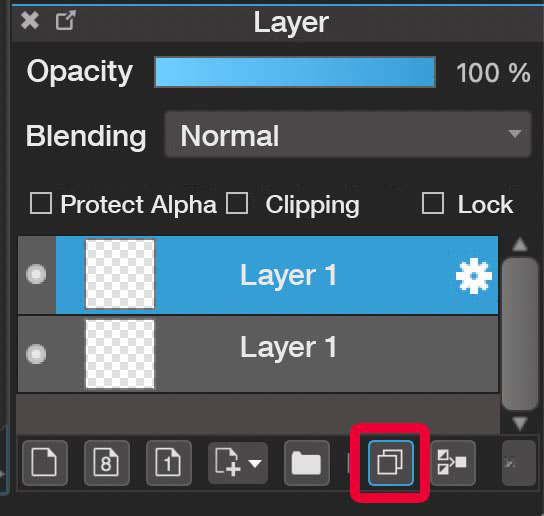
And press again the button to have three same layers.
![]() Use the Move tool to make the three triangles overlap like this.
Use the Move tool to make the three triangles overlap like this.
▼Read to learn how to use the Move tool▼
[For PC]
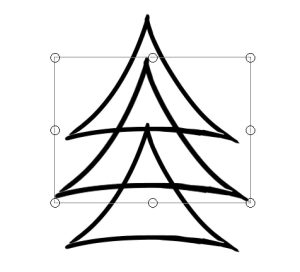
Use the Transform tool to change the size of the triangle in the middle so that it is larger than the one at the top.
▼Read to learn how to use the Transform tool▼
[For iPad] [For Android]
Use the Transform tool to resize the triangle at the bottom so that it is the largest of the three.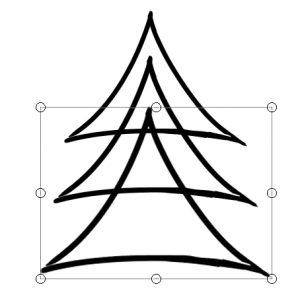
The leaves are finished by painting the color.
Paint the lines with the same color to make them even cuter.

You can also draw the trunk with the slightly curved lines.
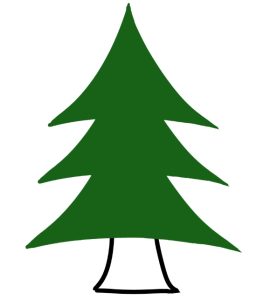
Finish by painting it.

Decorations for the tree (ornaments)
Now we are going to learn the easy way to draw tree decorations that can create a Christmassy feel.
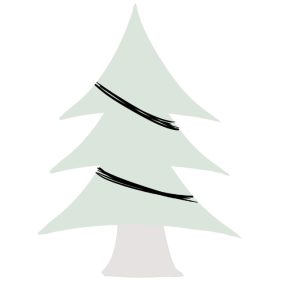
Draw a rough sketch of the slanted lines on the tree.
(With the image of the tree displayed at a low opacity.)
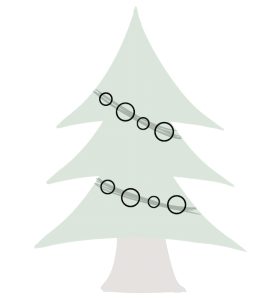
Randomly draw large and small circles based on the rough sketch.
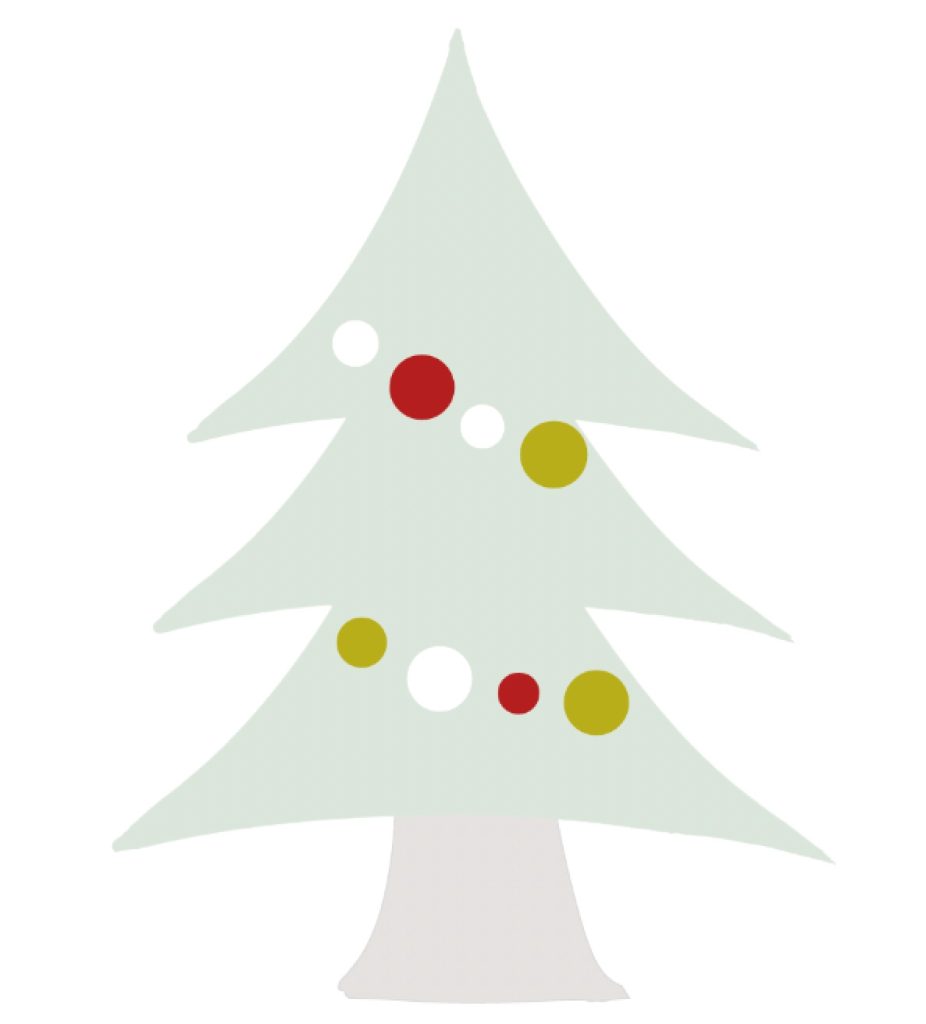
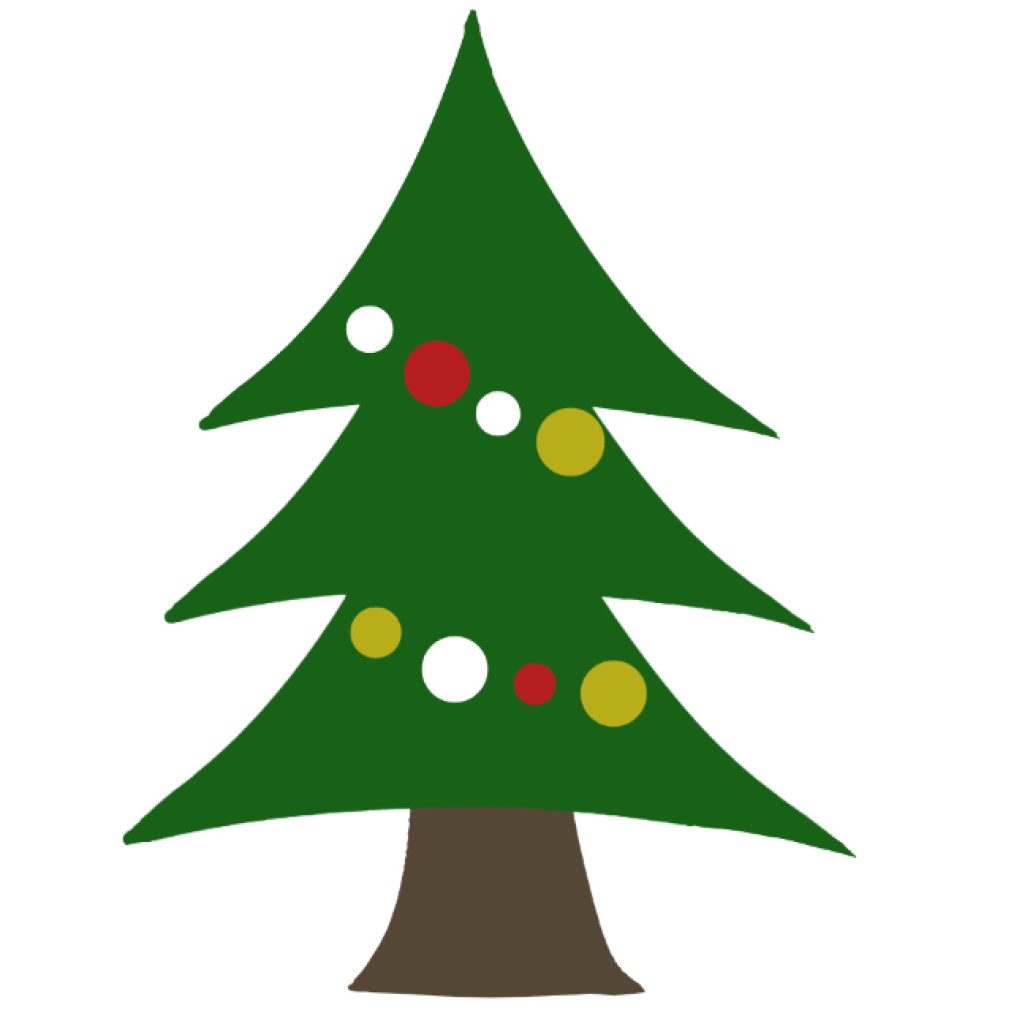
Finish by painting them in the colors you like.
Also, there are Cloud brush materials available for download.
These are really useful.
This brush material is for free.
 [Ornament]
The brush materials below are for MediBang Premium subscribers.
 [Ornament M]
 [Wreath M]
 [Illumination U1]
 [Illumination U2]
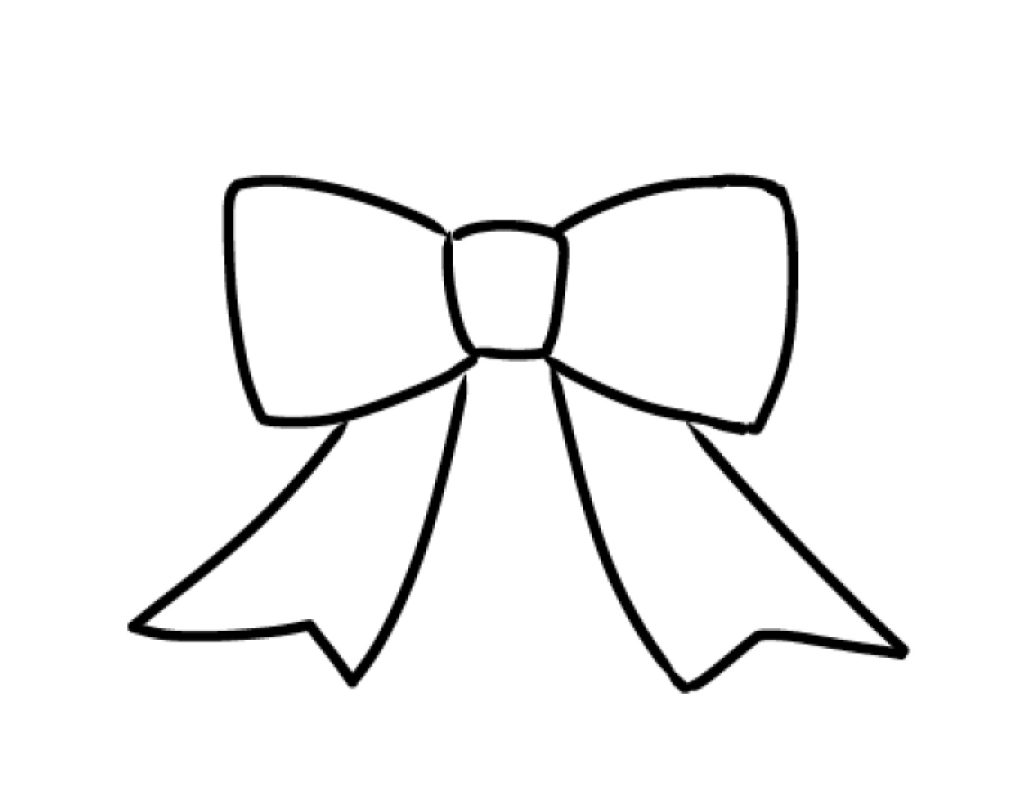
Big ribbon
Draw a square like this.
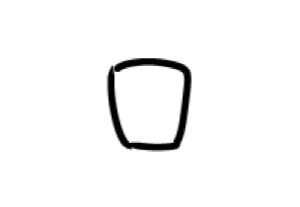
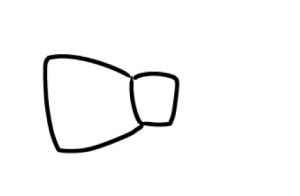
Draw the sides of the ribbon like this.
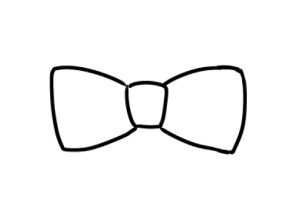
Start drawing the ends of the ribbon from the point indicated by the arrow.
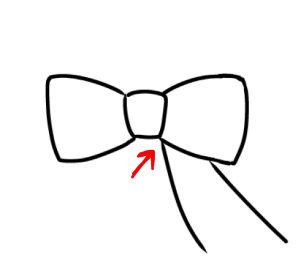
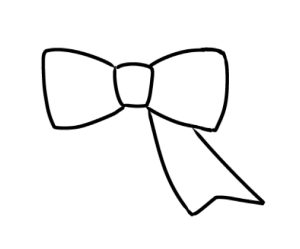
Paint them to finish.

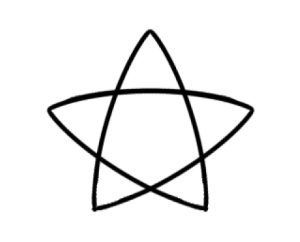
Cute star
If you want to draw a round star with curved lines, rather than a sharp star, you can do this.
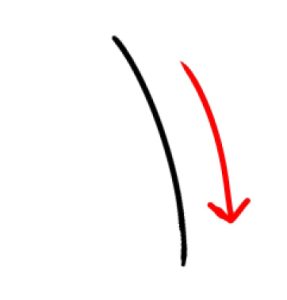
Draw a line with a gentle curve at the same angle as in the image.
Duplicate the line layer with the duplicate button.

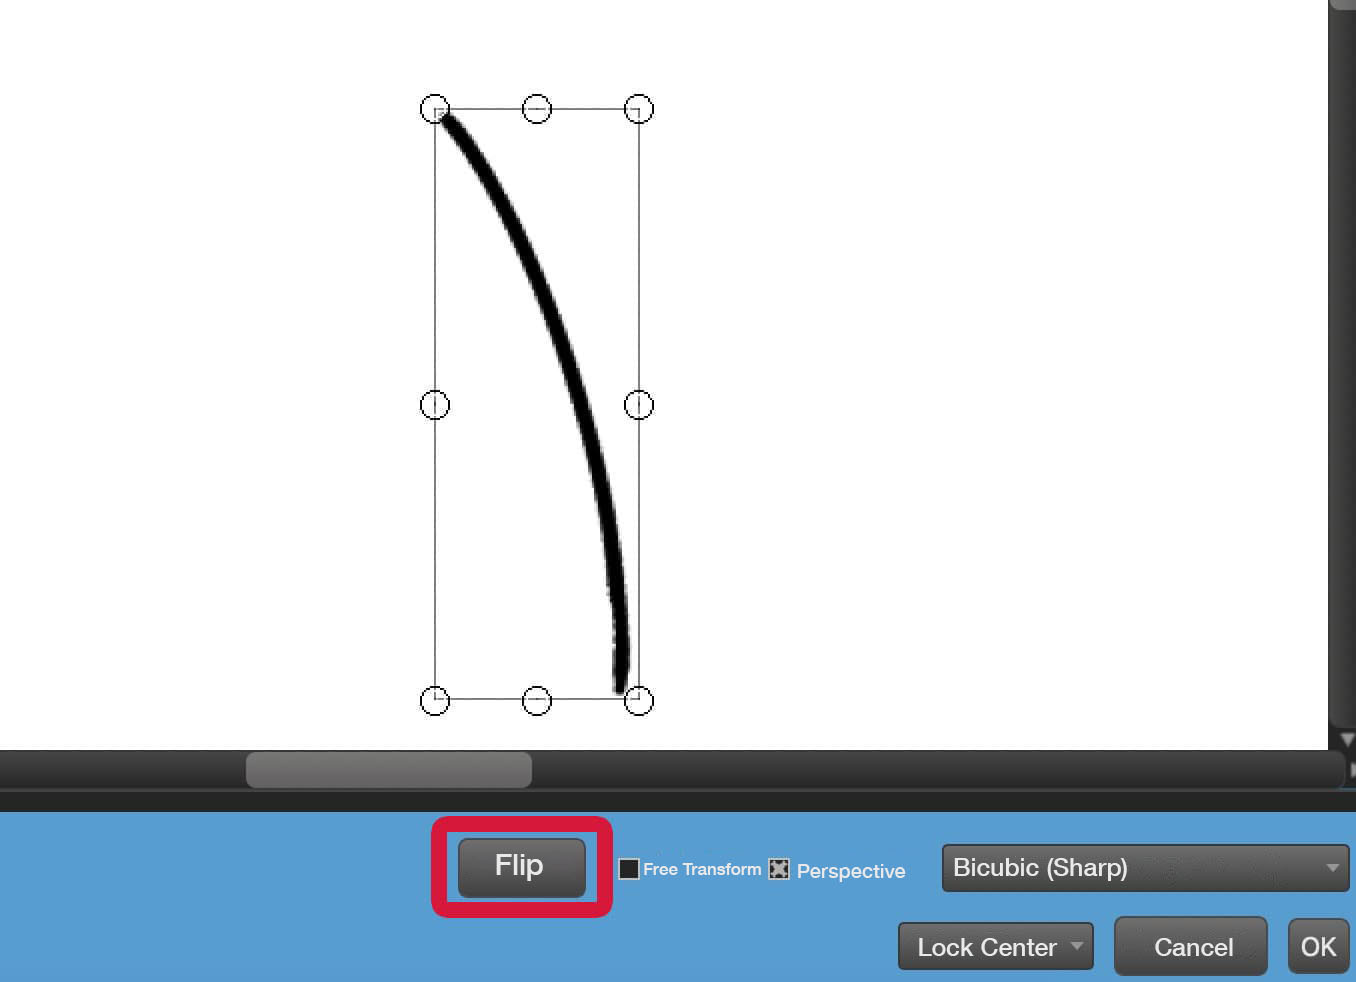
Transform the line and press the Flip button.
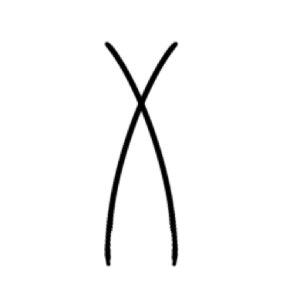
This is how it looks when flipped.
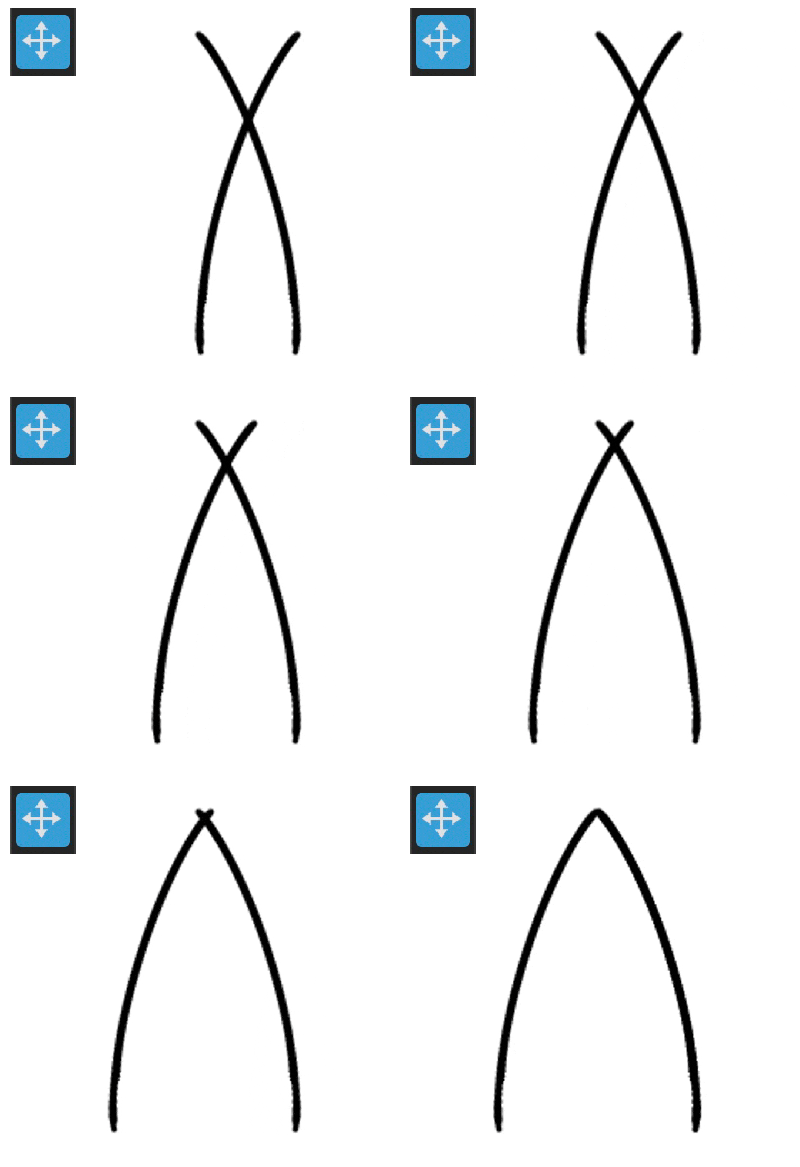
Use the move tool to move the line in this way.
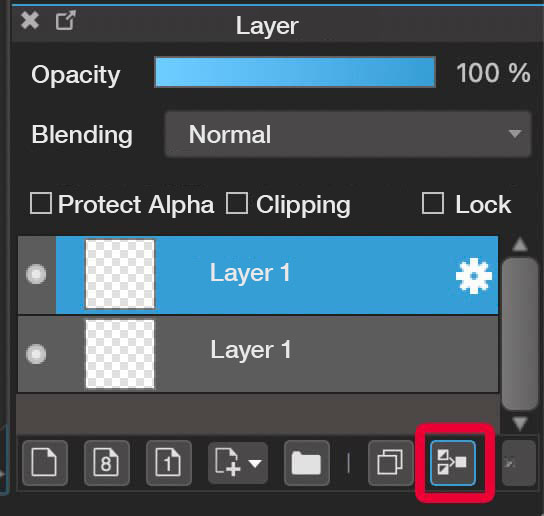
Then press the Merge Layer button to merge the lines on the same layer.
And again, duplicate the layer.

Use the Transform tool to rotate and move the lines to make a star shape.
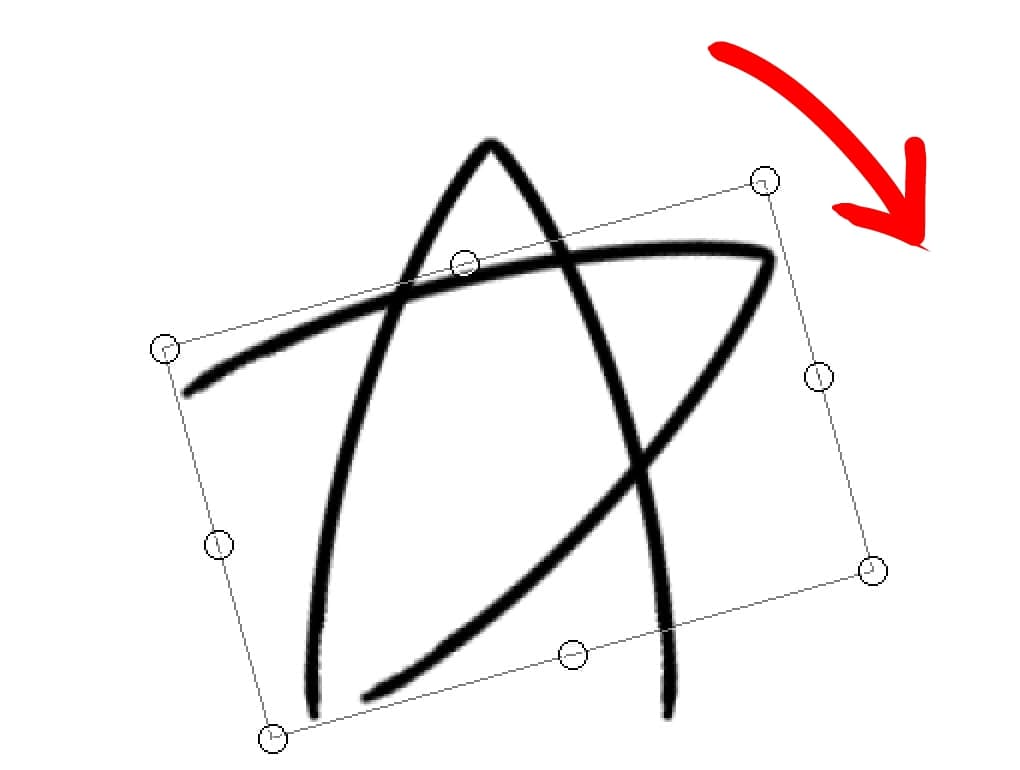
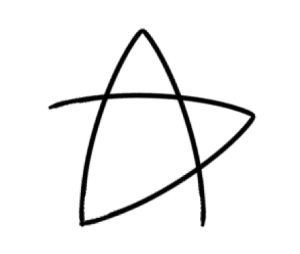
And once again, press the duplicate button to duplicate the layer.

Transform and flip the layer.
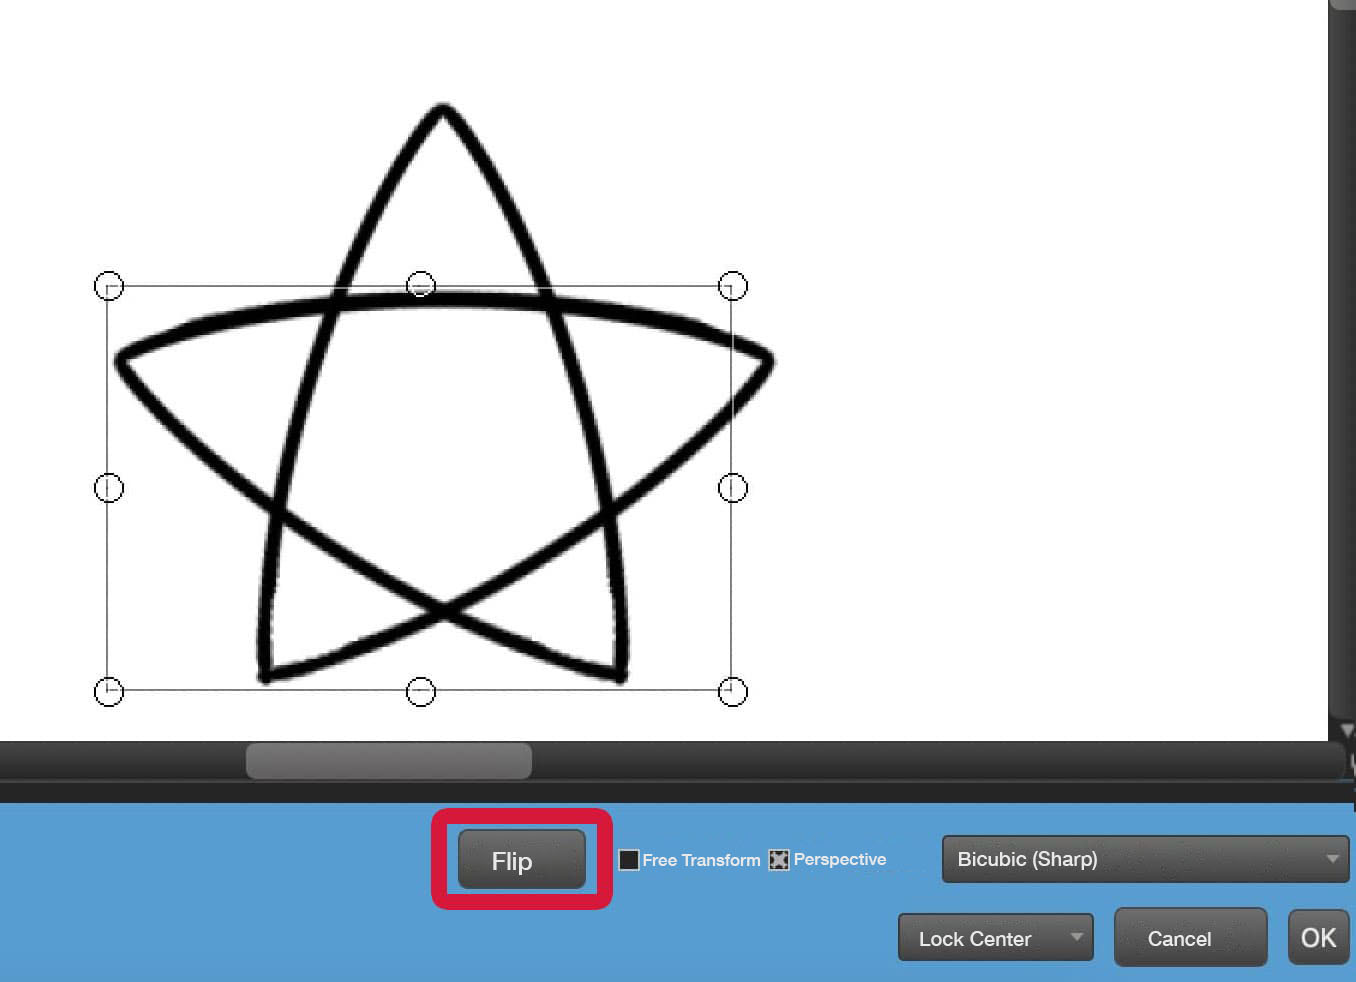
Paint the drawing to complete the star illustration.

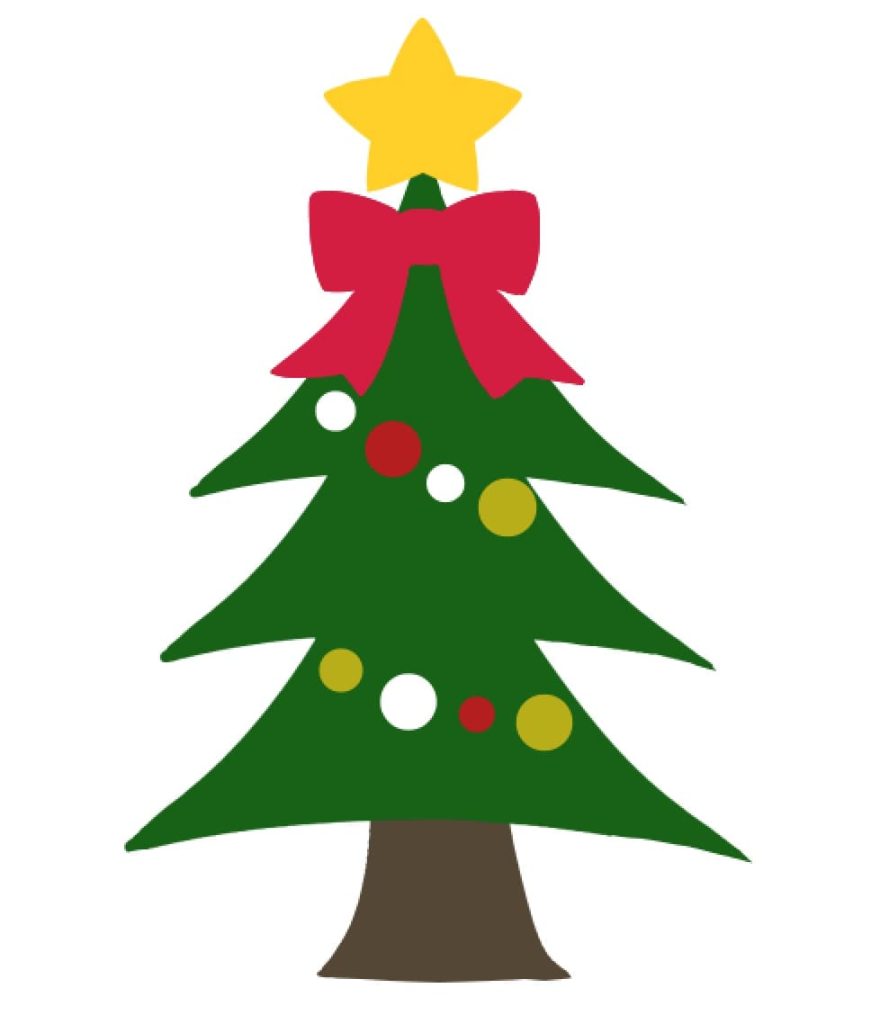
Draw the ornaments in a slightly larger proportion than the tree to make them look even cuter.
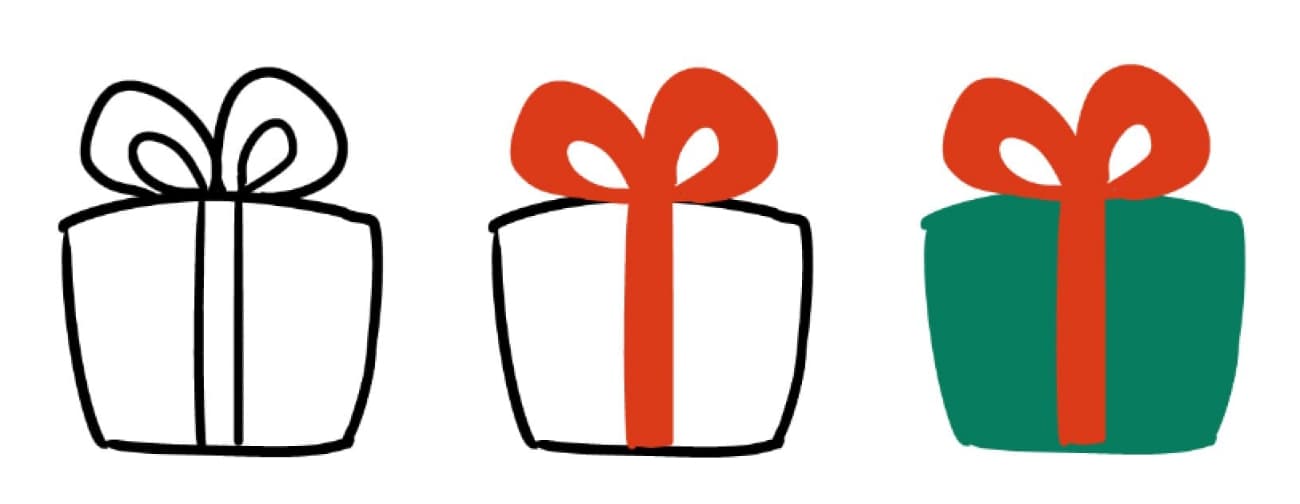
Gift Box
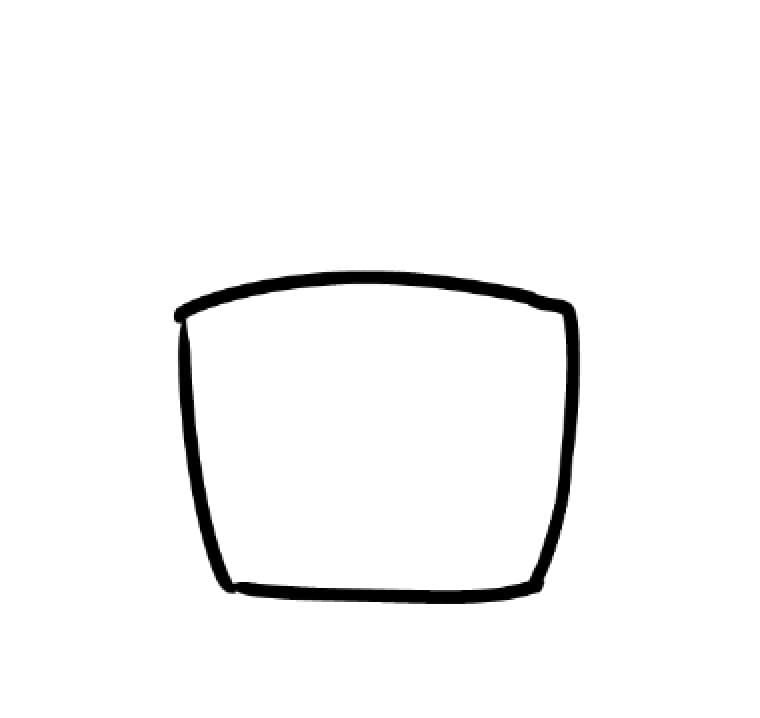
Draw a square first. Instead of a precise square, round squares are cute.
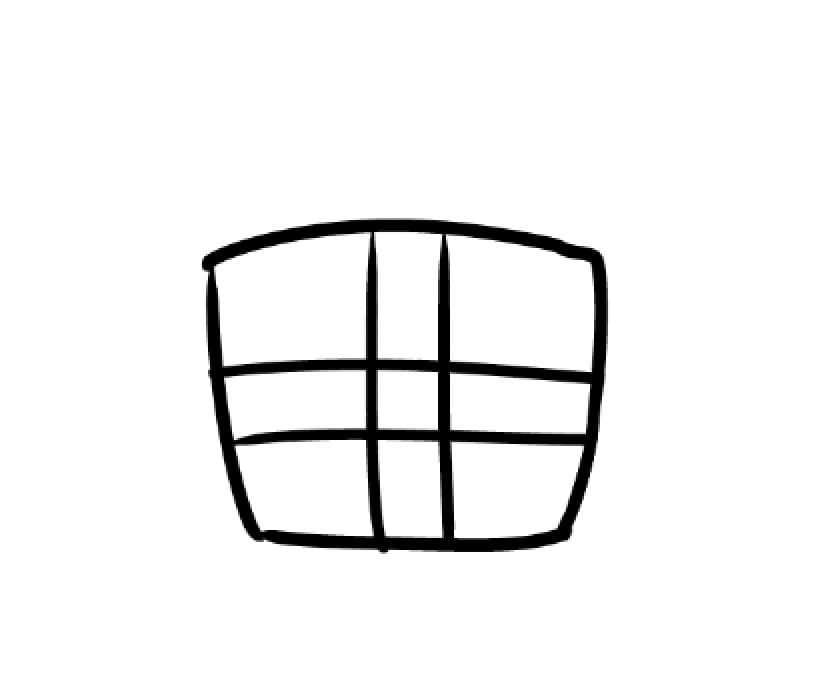
Draw cross lines in this way and add a ribbon at the top.
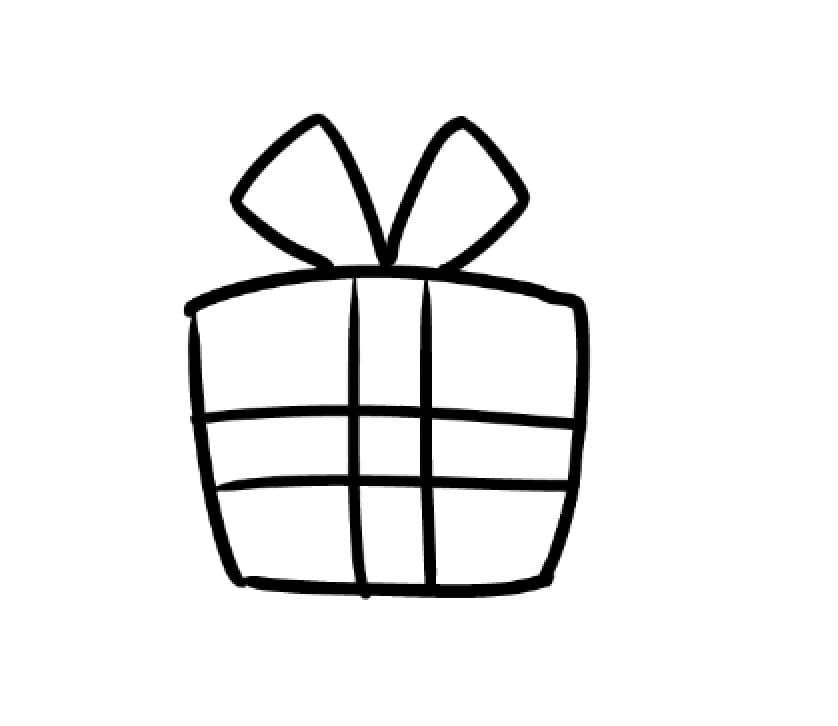
Paint the drawing to complete it.
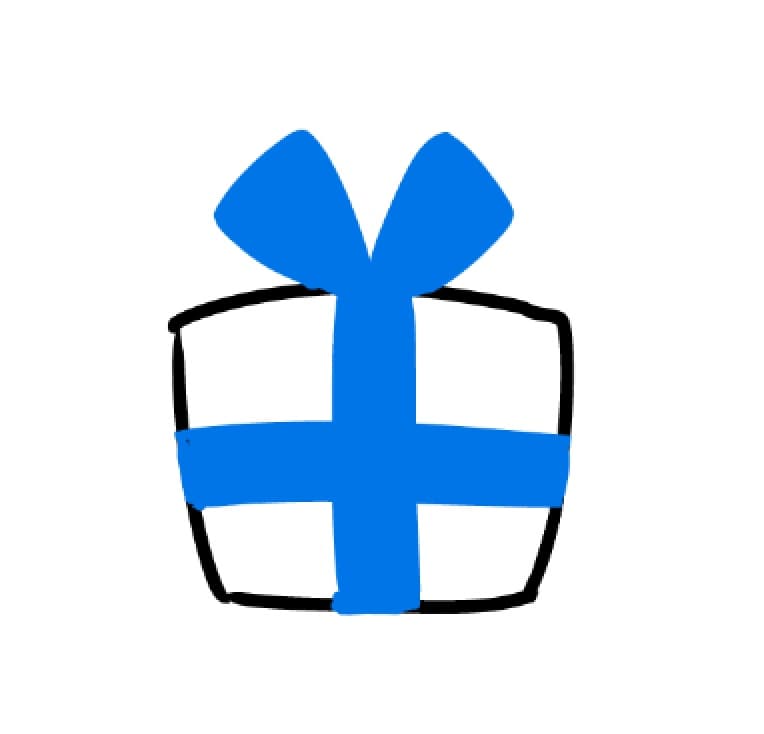

Drawing different types of ribbons allows you to expand the types of gift boxes.
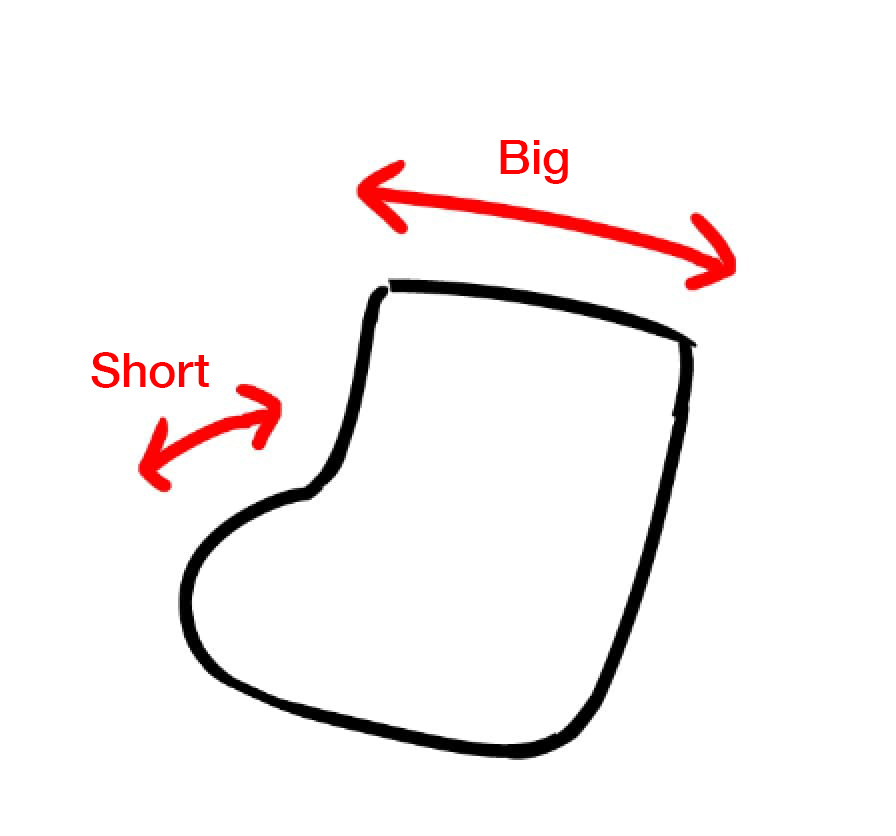
Cute socks
You can draw cute Christmas socks by making them thicker and bigger at the mouth and shorter and smaller at the end.
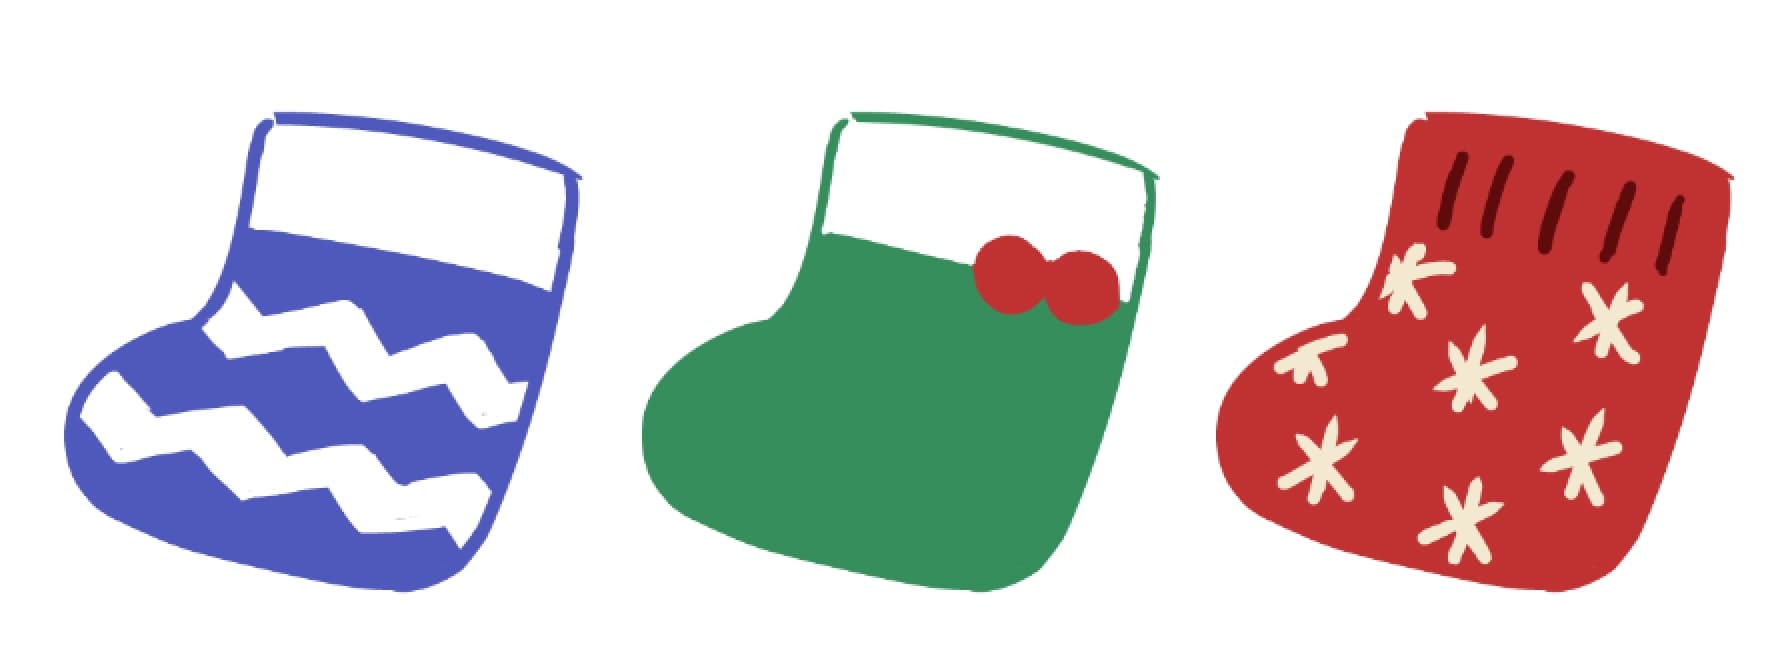
Draw different types of socks by adding different patterns or designs.
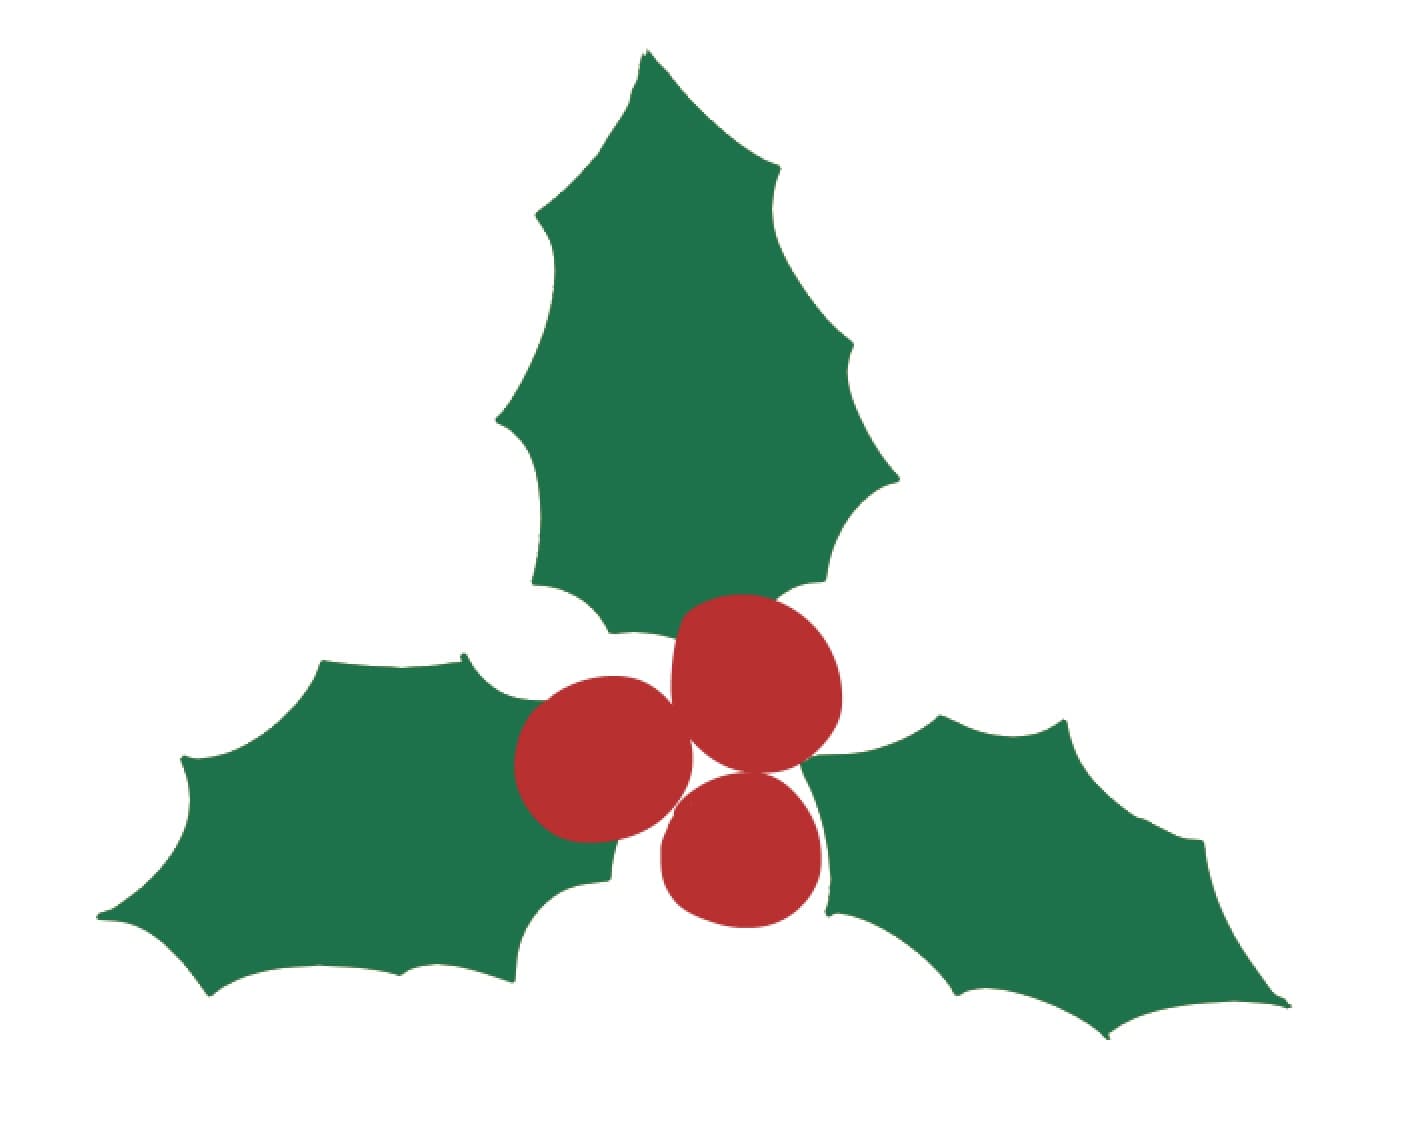
Christmas holly
Christmas holly is really useful for decorating!
Draw a rough sketch in a way like this. You can think of drawing diamonds.
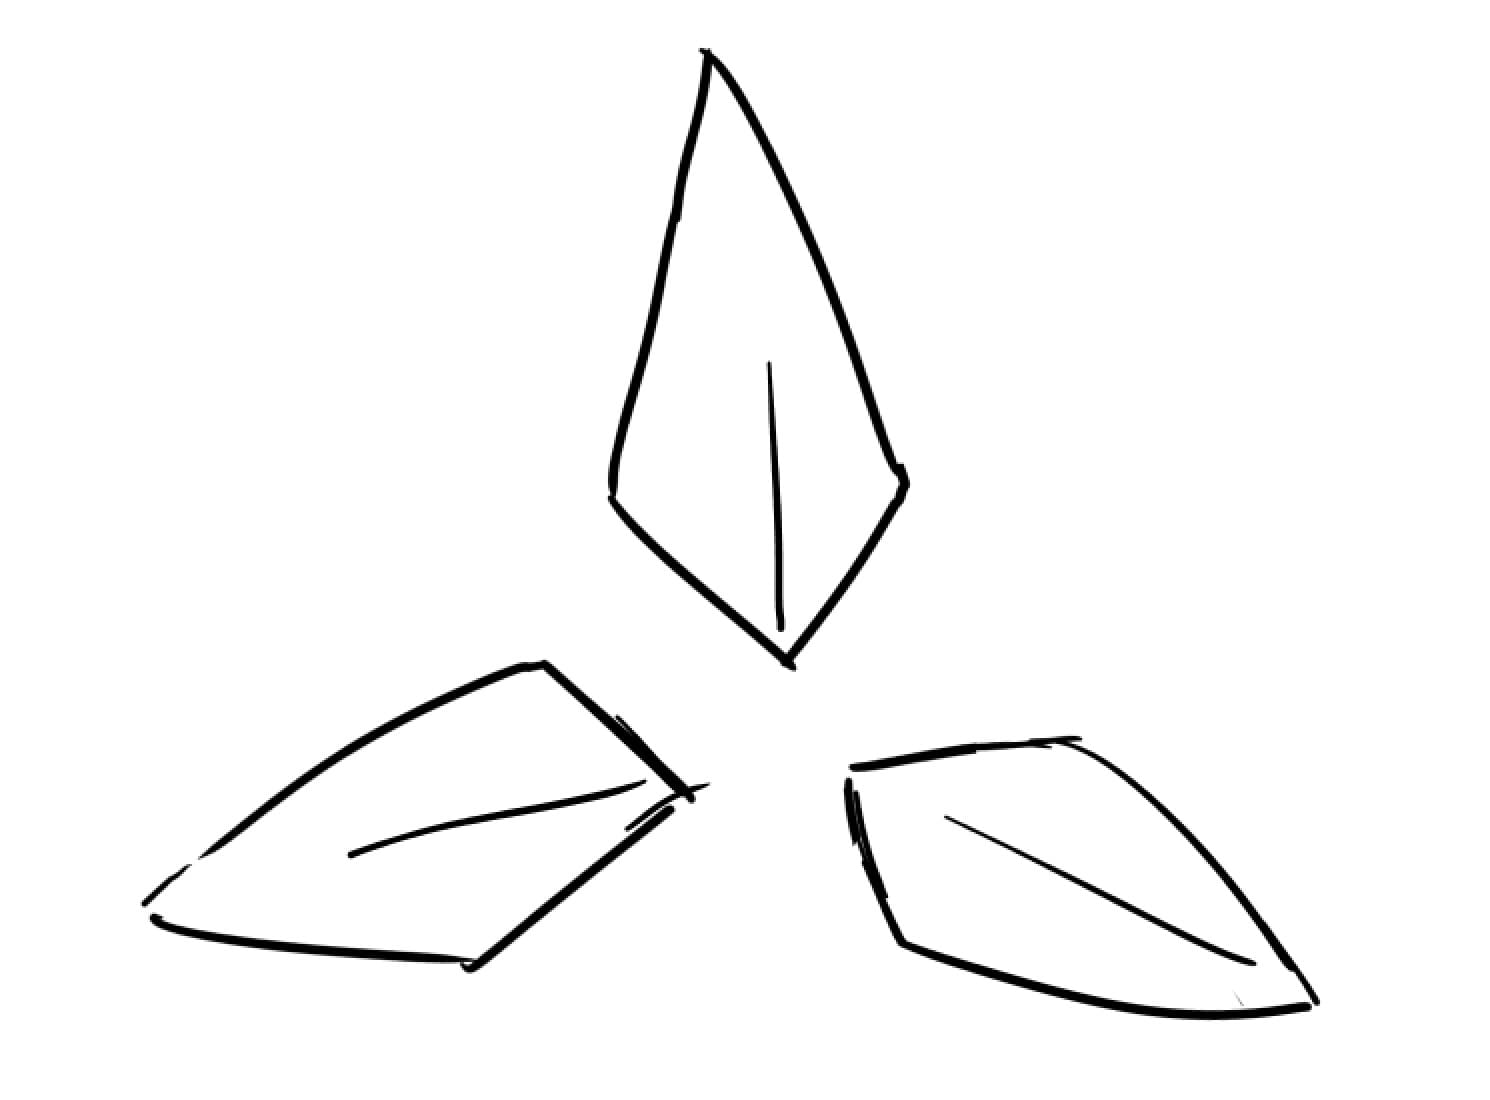
Add some fruits in the center. Three would be great to make it look like a holly.
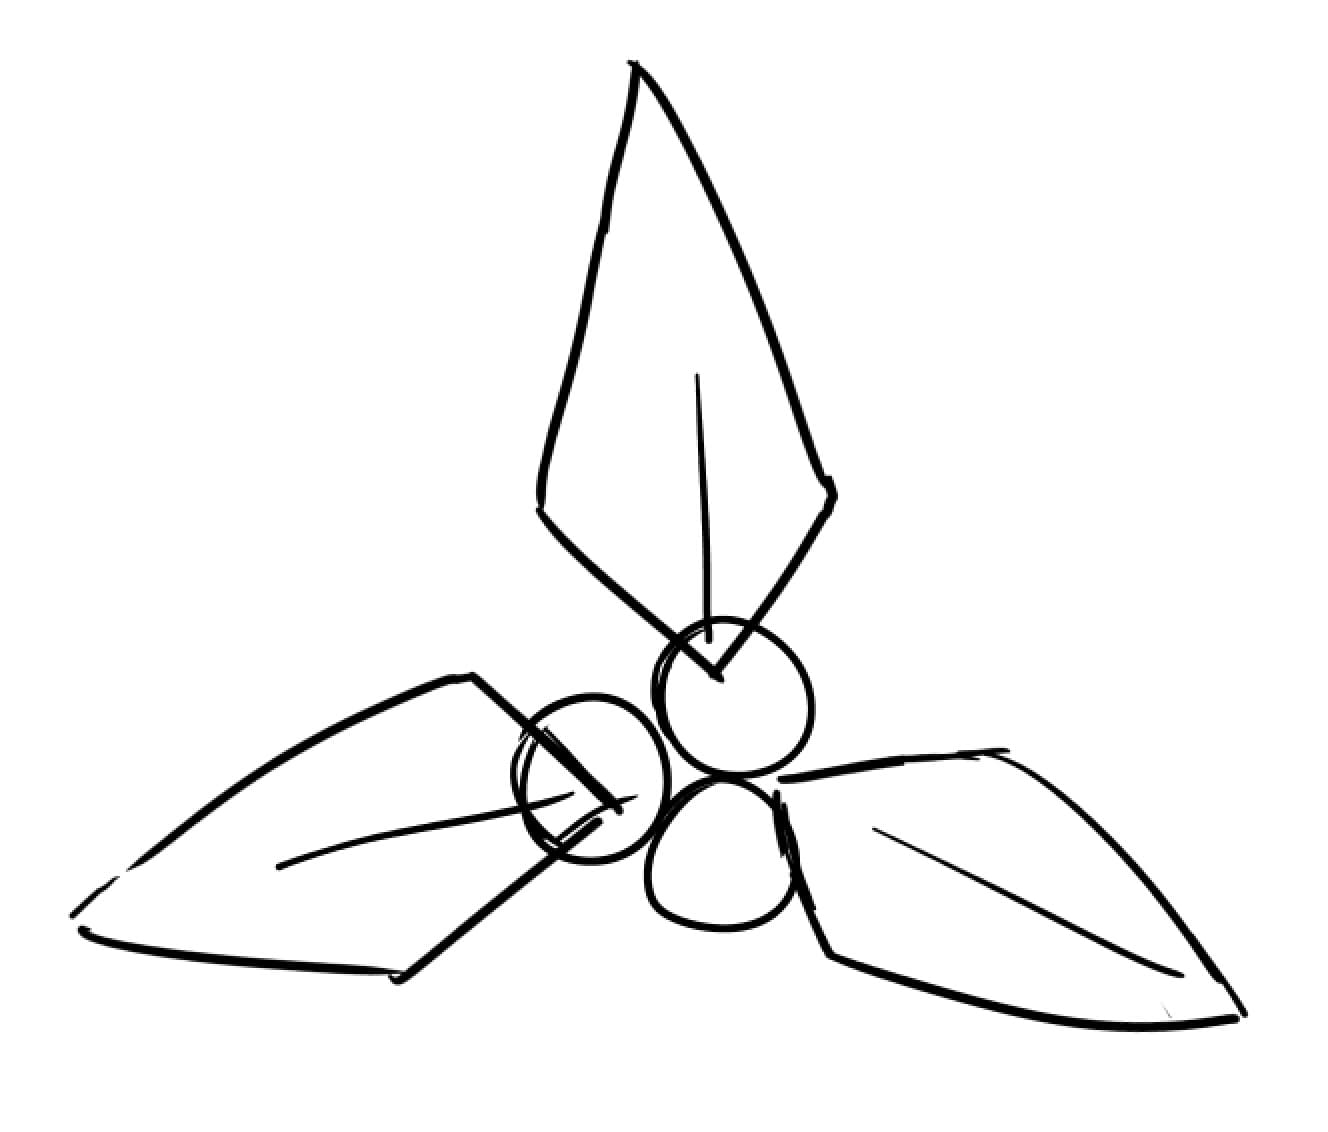
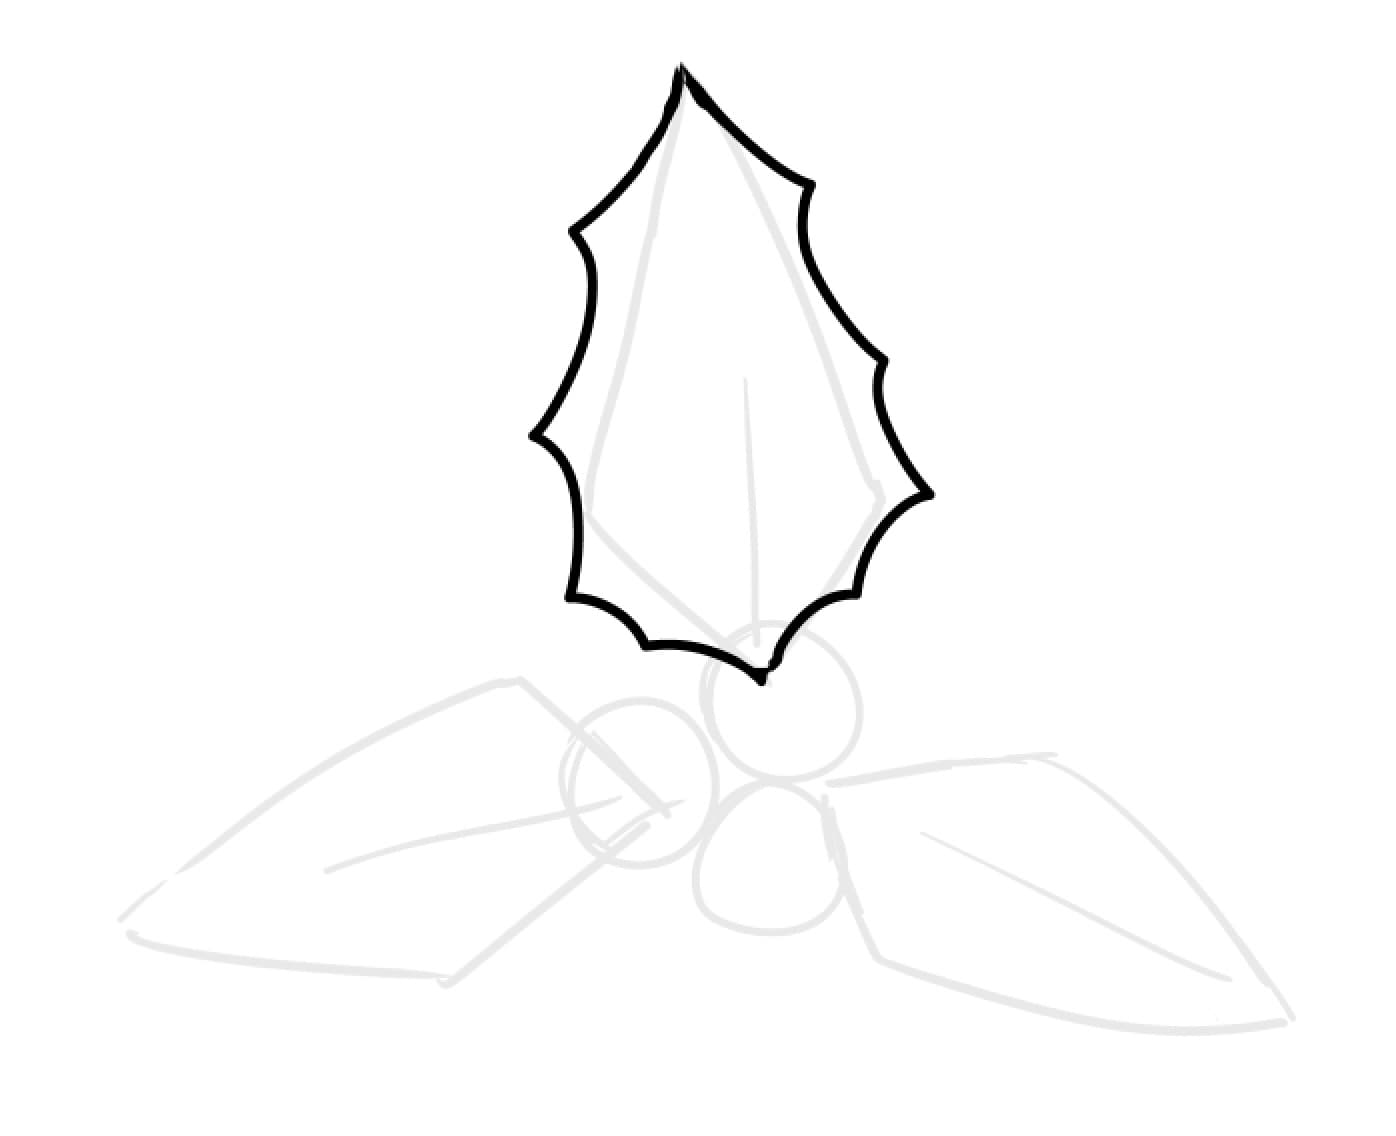
Reduce the opacity of the sketch layer and draw real lines. Draw leaves with thorns.
You don’t need to care much about the balance of their proportions.
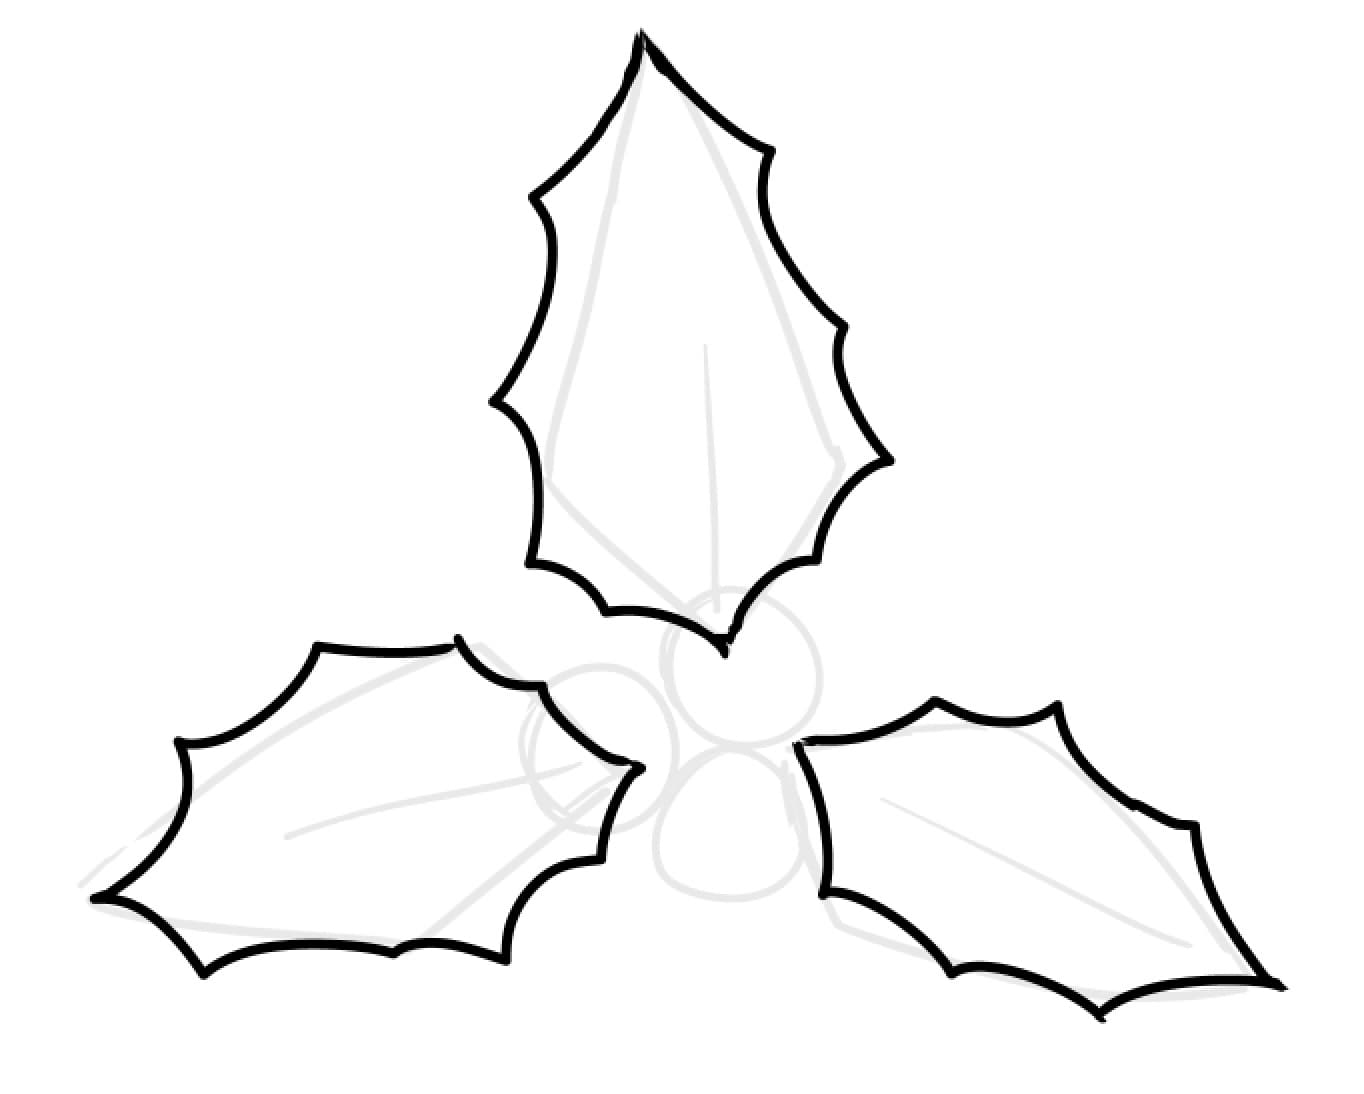
Draw the real lines of fruits as well.
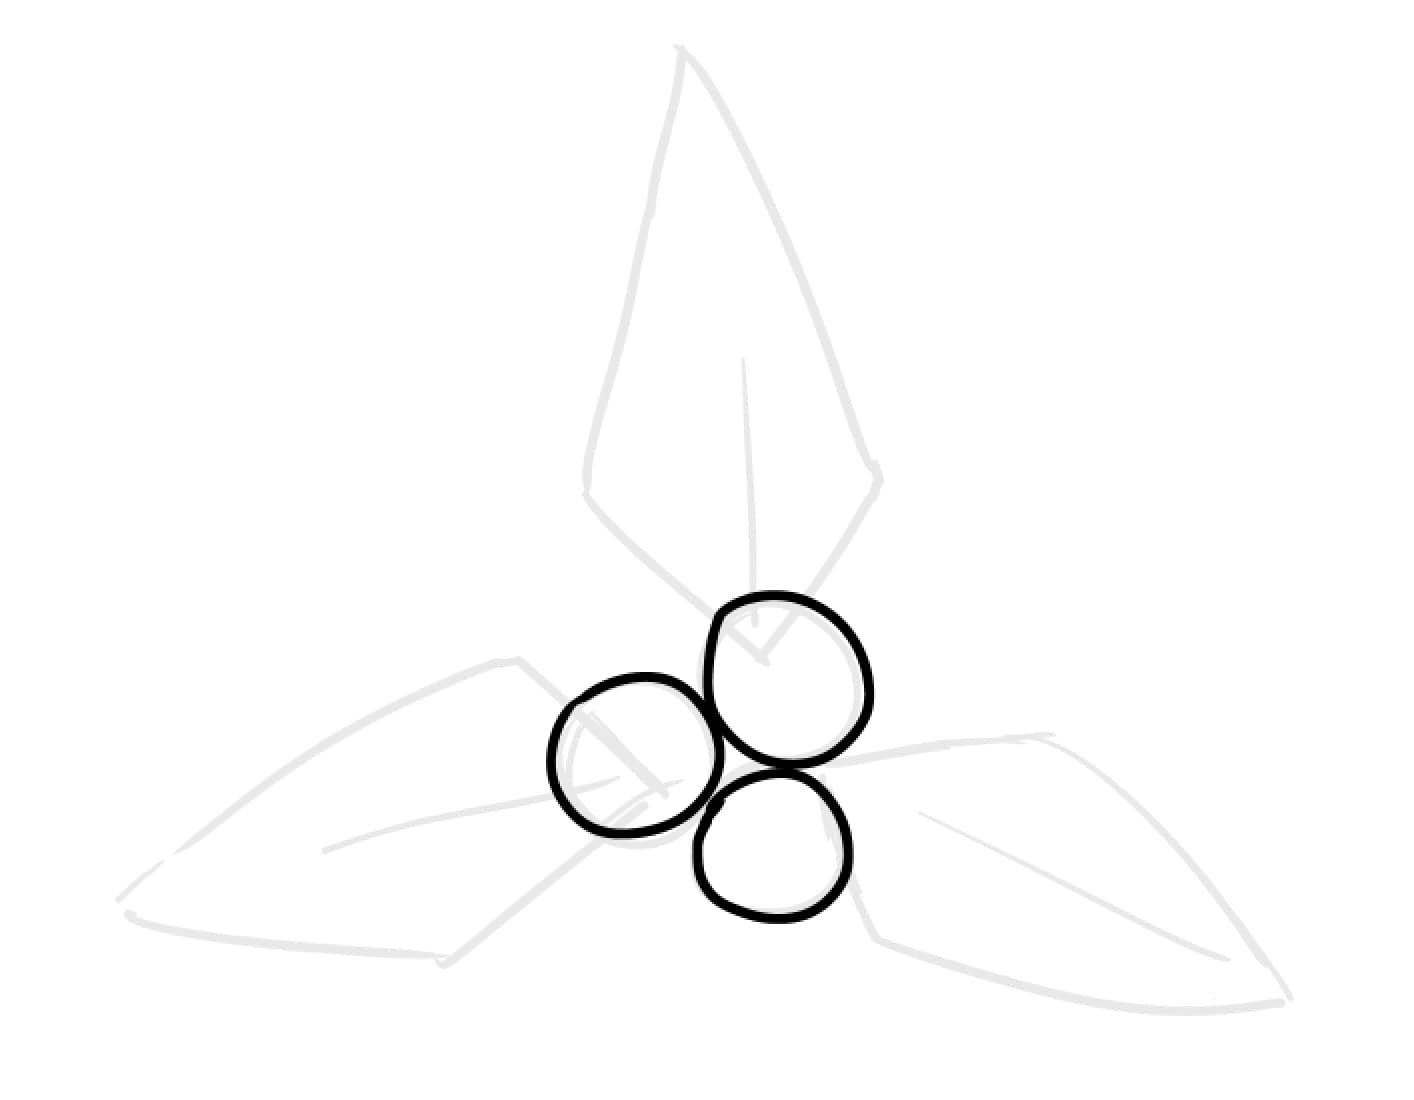
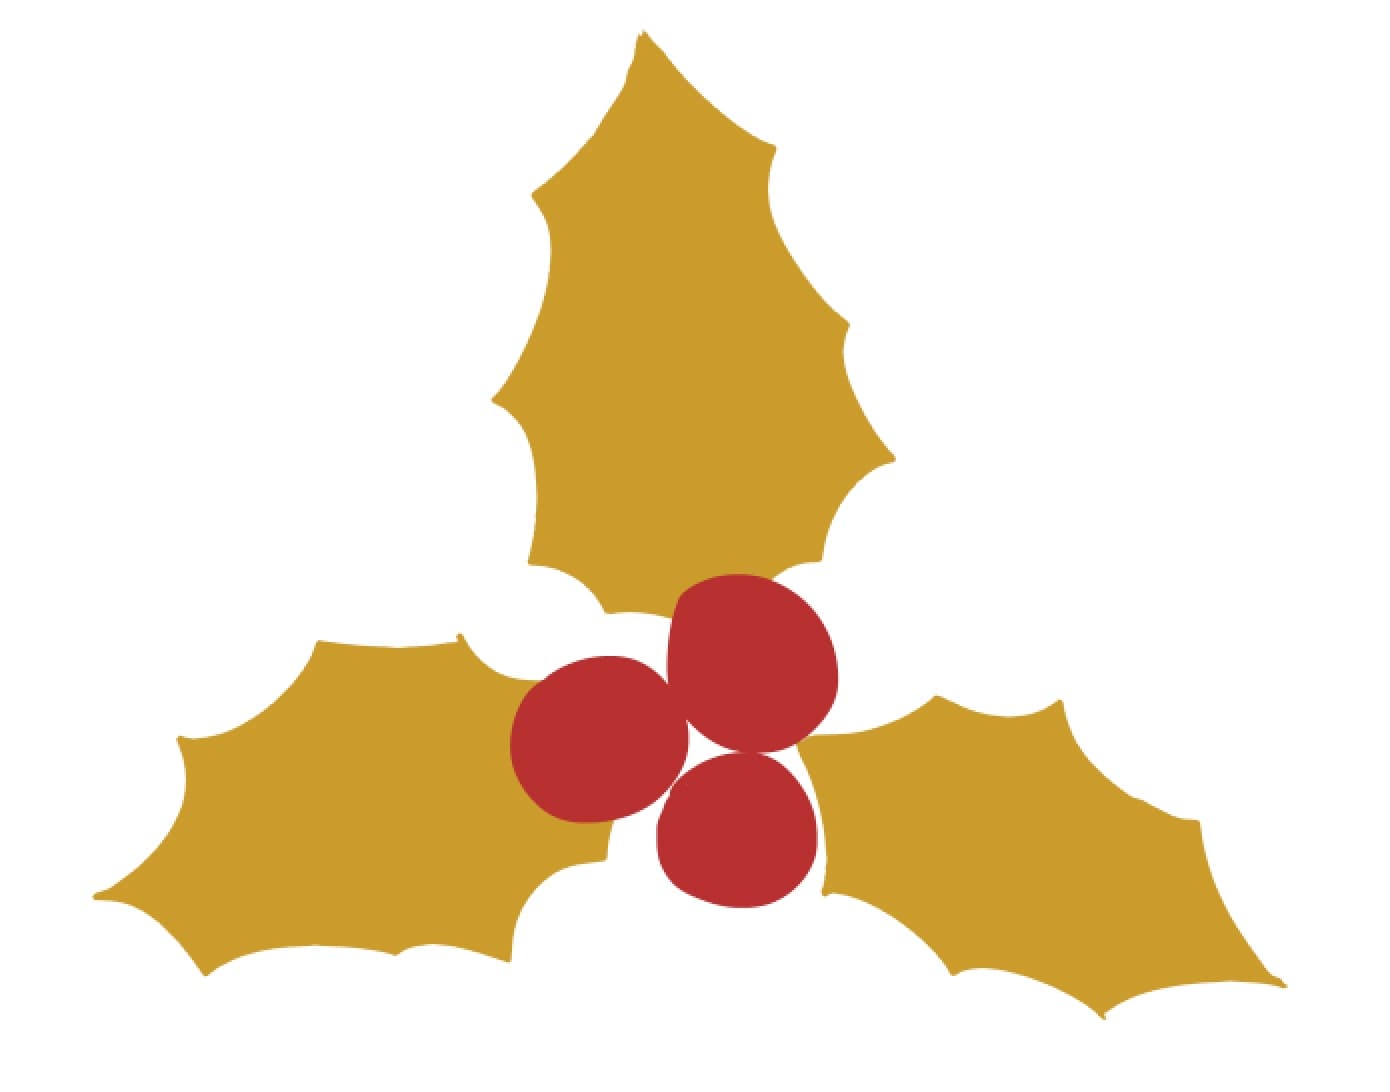
Paint and complete them. Gold leaves are also cute.
Put the designs together to create art!
On a new canvas, paint the whole picture with the colors you like.
The atmosphere of the work may vary depending on the color you choose, so try on various colors.
![]() Use the bucket tool to paint the canvas at once.
Use the bucket tool to paint the canvas at once.

Add the Christmas tree we’ve created using [Copy] and [Paste].

▼Read to learn how to copy and paste▼
[iPad]
![]() Use the Move tool and place the tree where you like.
Use the Move tool and place the tree where you like.
Put the other motifs we’ve created in the same way.
Transform them and change their sizes and angles to create pop arts.

The ground has been added.

In the opening of the background, you can add the stars randomly to make the work even gorgeous.
You can think of filling a void.

Add the text with the Text tool. Now we’ve finished creating the work.

▼Read to learn how to use the Text tool▼
[Android]
The text font used here is [FOT-あおかね].
(Subscribers of MediBang Premium can use this cute font.)
Part 2 is about the method of drawing Christmas designs that can be used for outdoor illustrations, such as snowmen and reindeers. Please read.
https://medibangpaint.com/en/use/2022/12/how-to-draw-chri…strations-second/
\ We are accepting requests for articles on how to use /

