2023.03.30
[Easy] How to draw cute Christmas illustrations (Part 2)
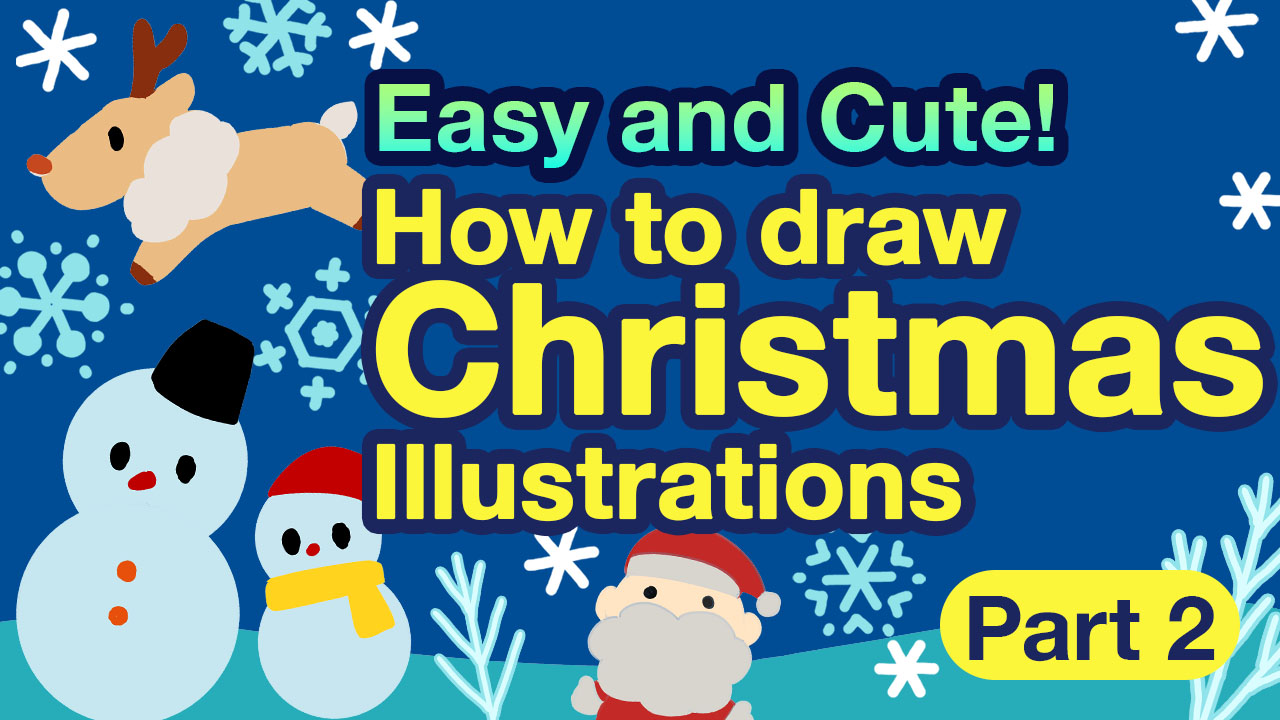
This is a second part of the two-part series of articles: How to draw cute Christmas illustrations.
Same as the former article, I’ve got cute illustrations which are easy to draw.
This tutorial is written straightforward so that beginners can follow.
In part 1, we have learnt Christmas designs that can be used for indoor illustrations.
And in part 2 we will learn designs for outdoor illustrations.
(I will not go into detail about the MediBang Paint functions, which are already covered in part 1. So I hope you will read part 1 first.)

Snowman
Let me show you how to draw a cute snowman.
![]() Use the Shape brush tool to draw the base of the snowman.
Use the Shape brush tool to draw the base of the snowman.
 Select the [Ellipse].
 If you check the “Constrain Proportions”, you can draw exact circles.

Duplicate the layer.
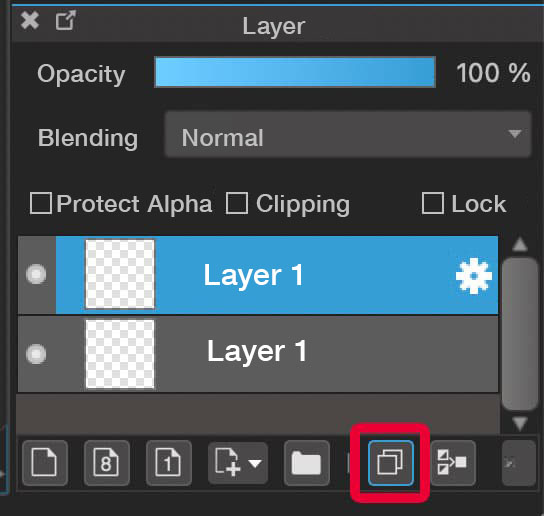
![]() Use the Move tool to move the circle downwards.
Use the Move tool to move the circle downwards.
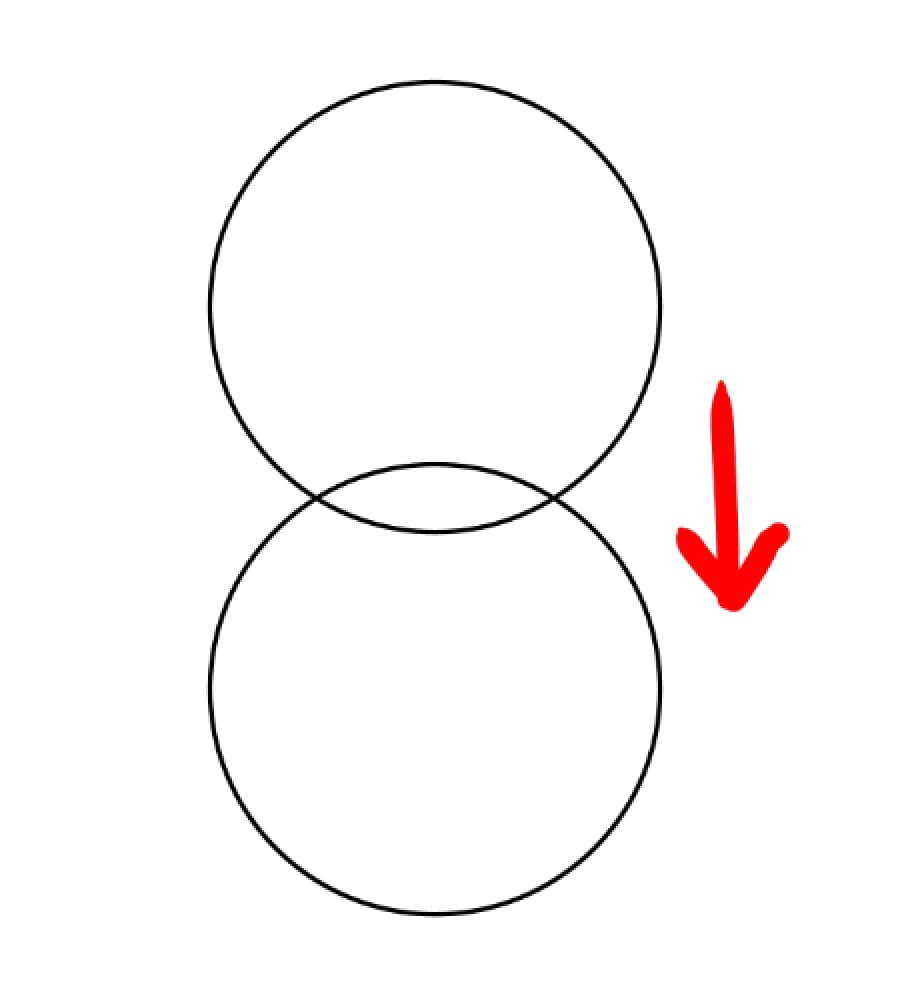
Use the Transform tool to make the bottom circle a little bigger.
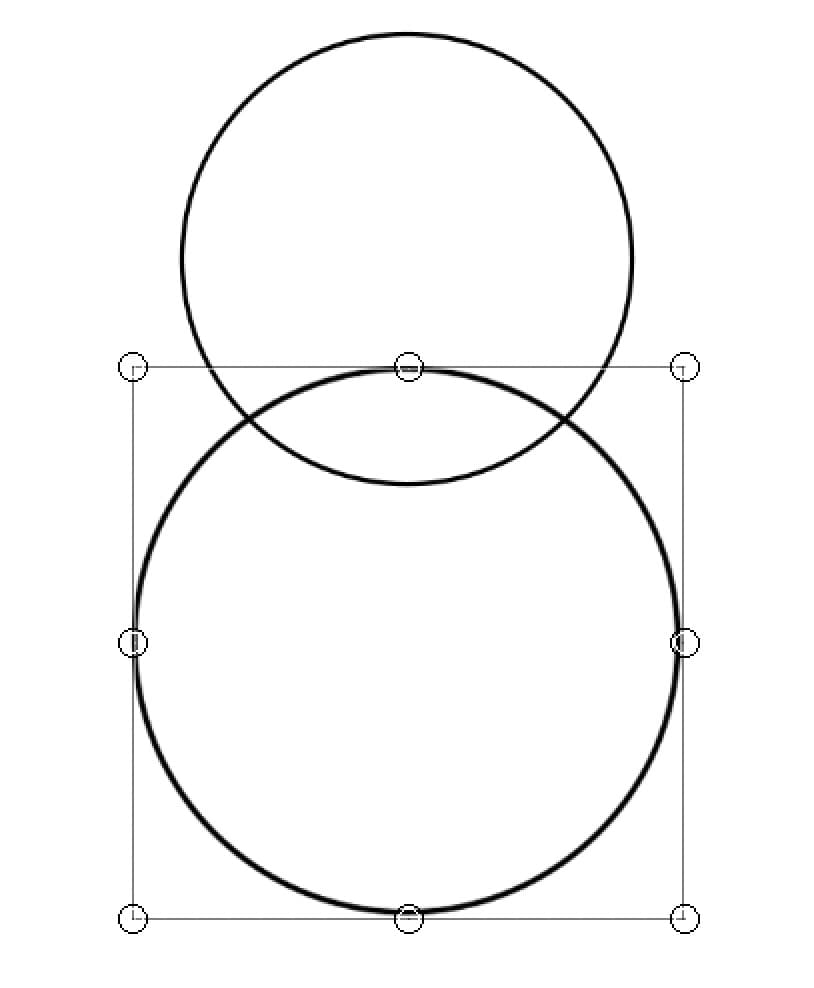
Paint the color.

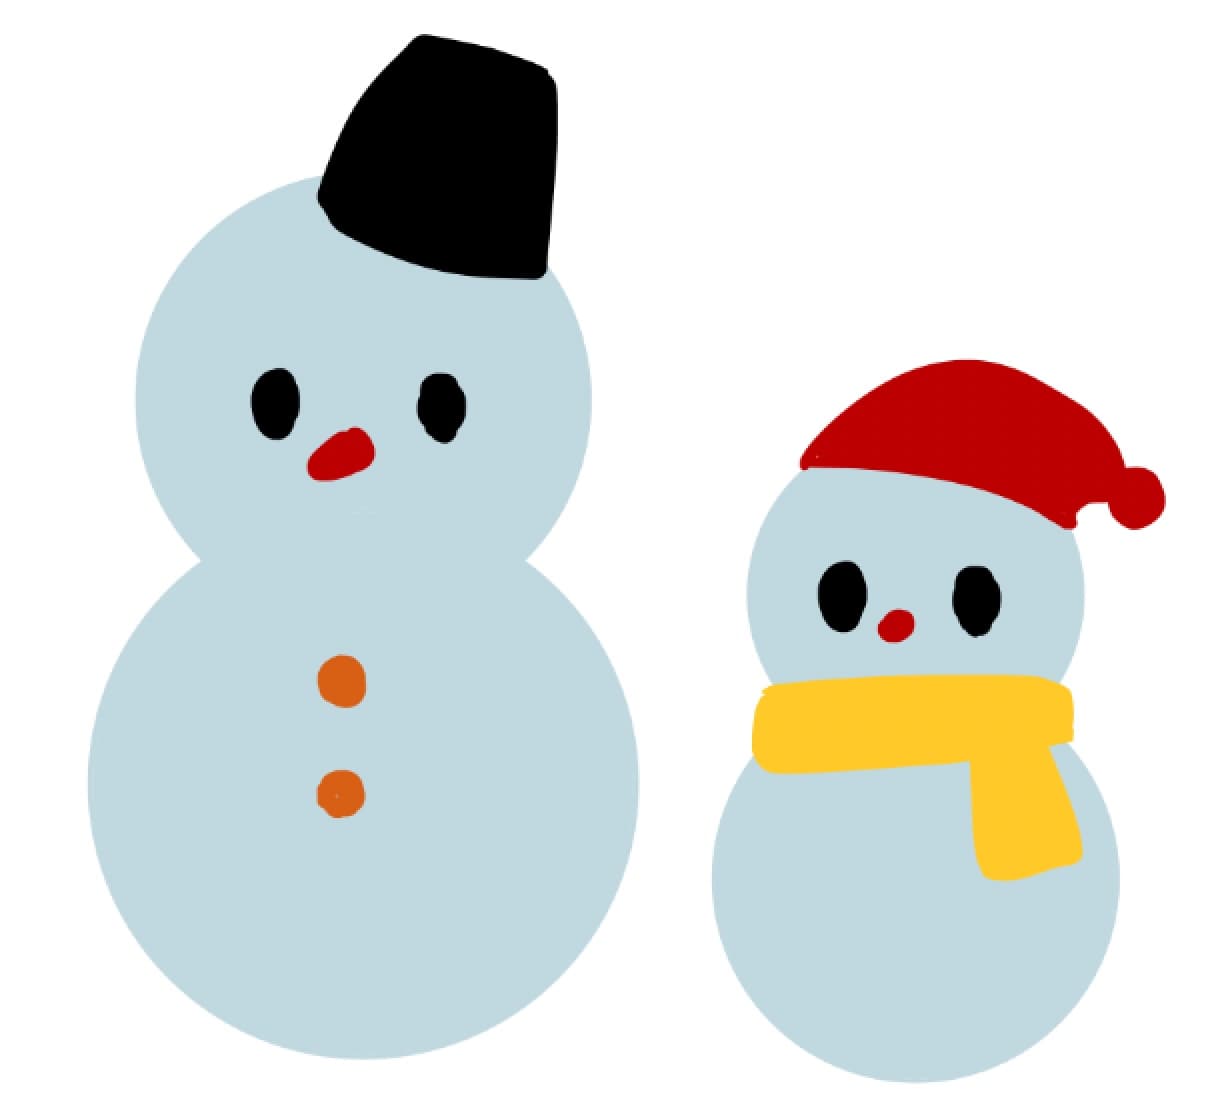
Now I have finished drawing their faces. You can make them unique by changing the size or position of their eyes, or focusing on their noses or moths.
You can also make them wear hats (buckets) and add buttons to make them look more like snowmen.
Or you could also give them a bow tie or branch arms.
Paint them any color you like.
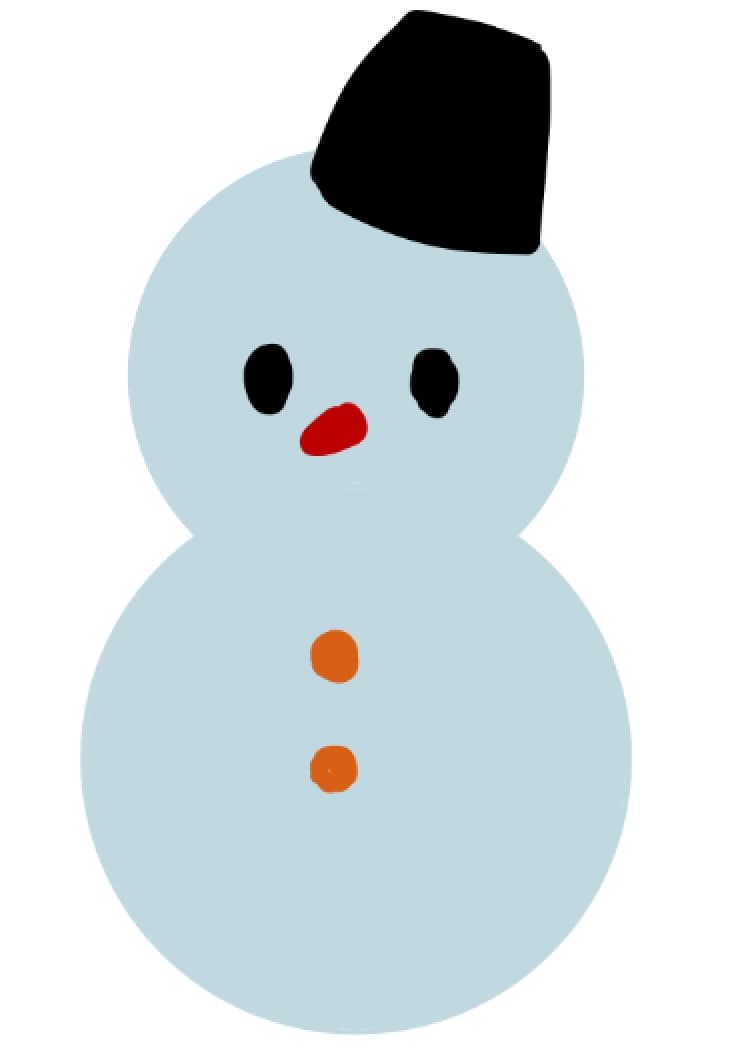

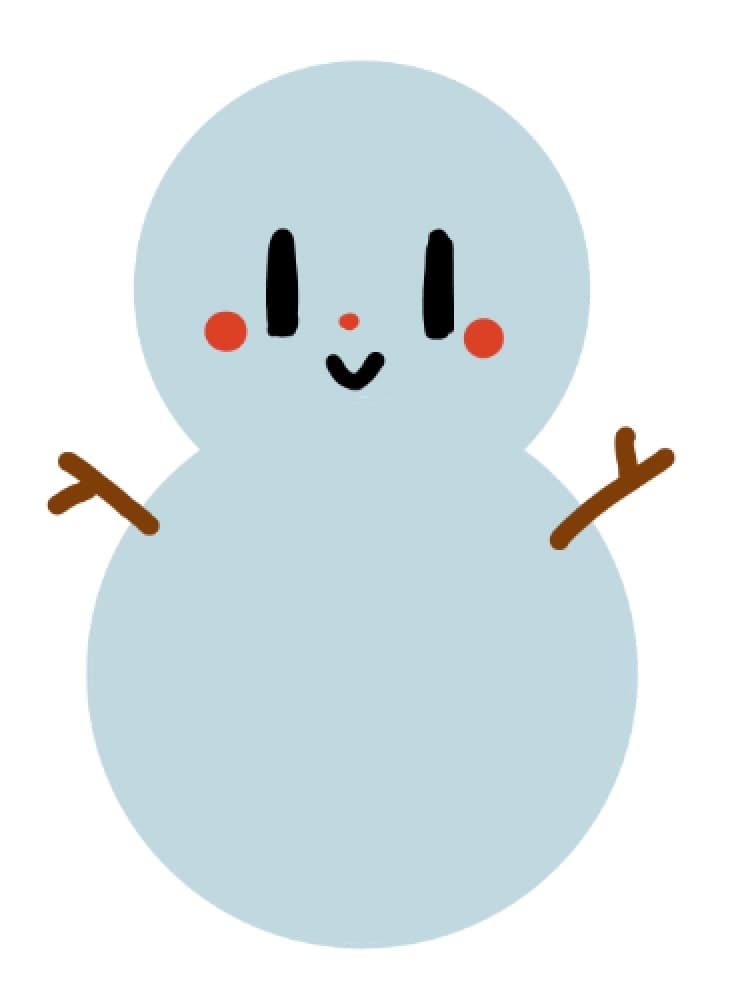
I’ve created a small snowman. It is also a good idea to give them a scarf or a Santa hat.
Now we’re done drawing snowmen.
Snowflake
A really useful brush for drawing things like snowflakes is the Rotation Symmetry Pen.
This is a brush material you can download from MediBang Paint.
And this is for free.
This brush allows you to draw multiple lines at the same time by drawing a single line.

▼Read to learn how to download brushes▼
[PC] [iPad] [iPhone] [Android]
After drawing the brush, open the Edit Brush window to set the number of lines to [6].
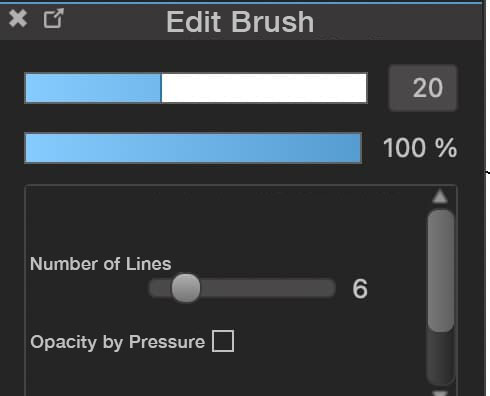
Now you can draw cute snowflakes with no effort by drawing a single line.
Thicker brush sizes will create cute images.

If you want to create more complex images, follow the steps below.
◆ If you are using a Windows PC, press and hold the Ctrl key and click on the canvas.
◆ If you are using a Mac, press and hold the Command key and click on the canvas.
◆ If you are using other devices, click the “Edit the Base Point” button that appears at the top center of the screen, and click on the canvas.
This allows you to lock the center point and draw more detailed patterns.
The basic snowflake shape is something like the one above, but it must be fun to create your own designs.

Also, there are brush materials available in MediBang Paint.
These brushes are for free.
Not only under brushes, there’s more. So try using them.
 [Snowflake]
 [Snowflake 2]
Santa Claus
Santa Claus is what you think of when you think of Christmas. Let me show you how to draw a simple Santa with a white beard.
If you are not familiar with drawing characters, you can follow the instructions below.
Start with the beard.
This will help you avoid problems with the proportions of the picture.
Draw a cloud-like object.
It can be a simple fluffy ball, but you can also draw it in the shape of an inverted triangle.

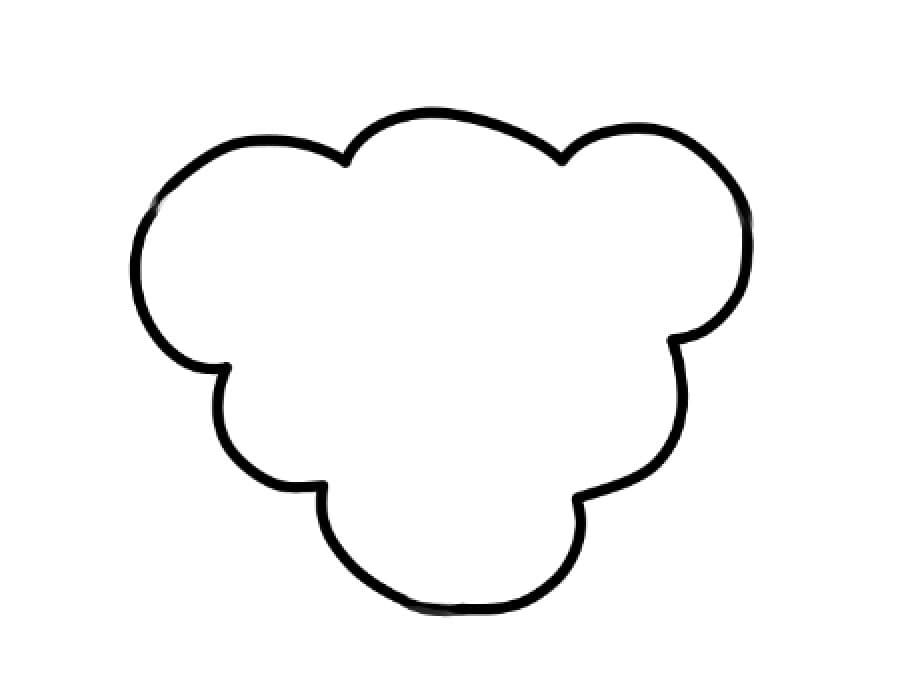
Then draw lines like this. These are the outlines of the face.
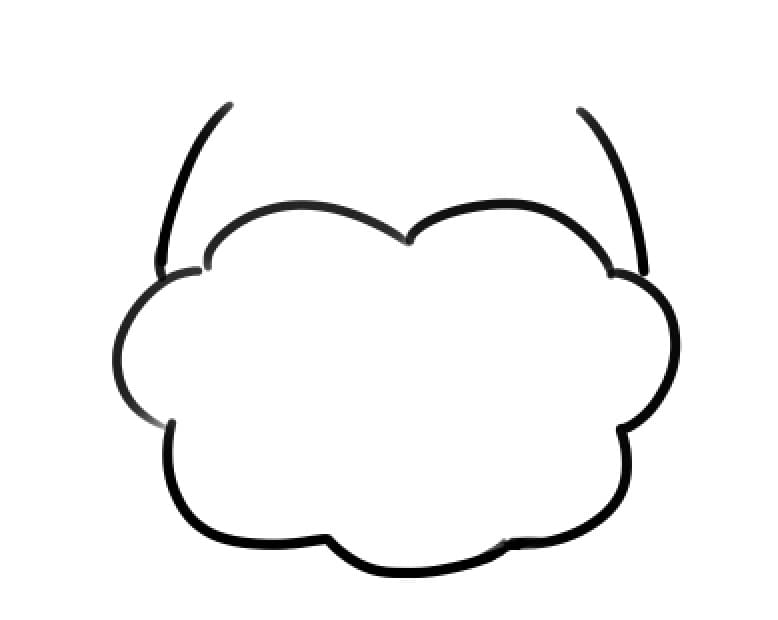
Draw the Santa hat over them.
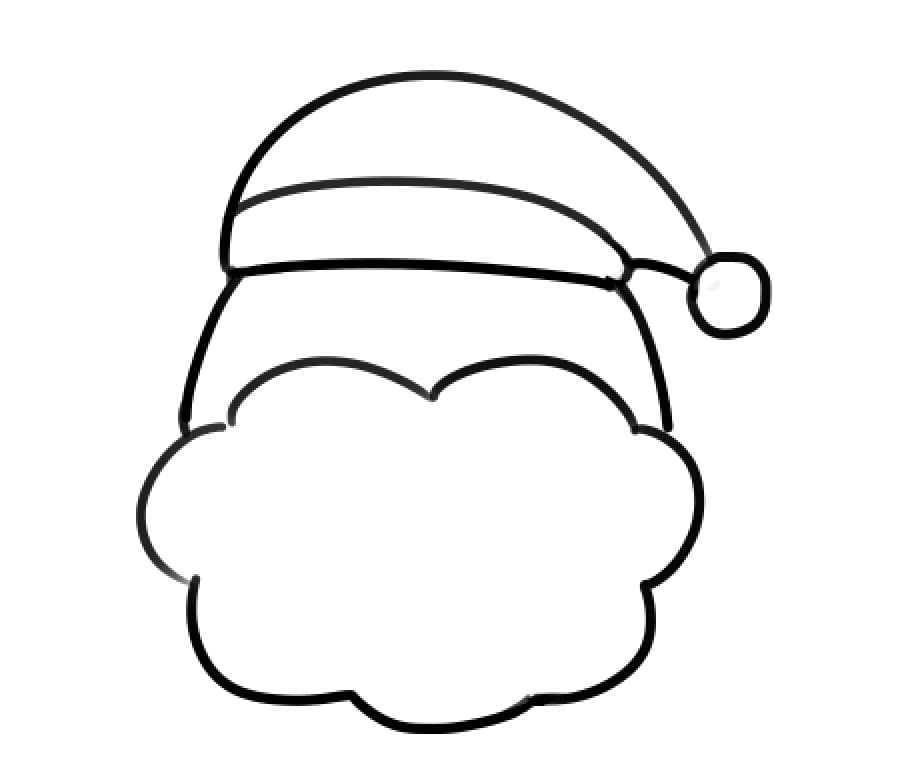
Add eyes and ears.
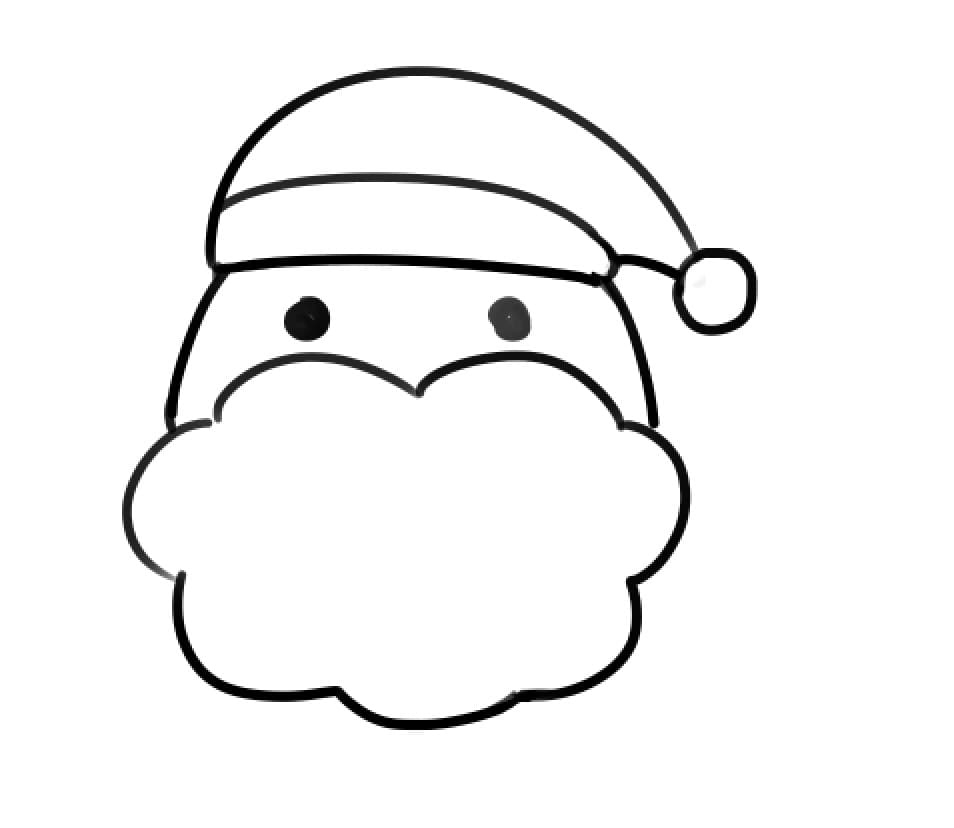
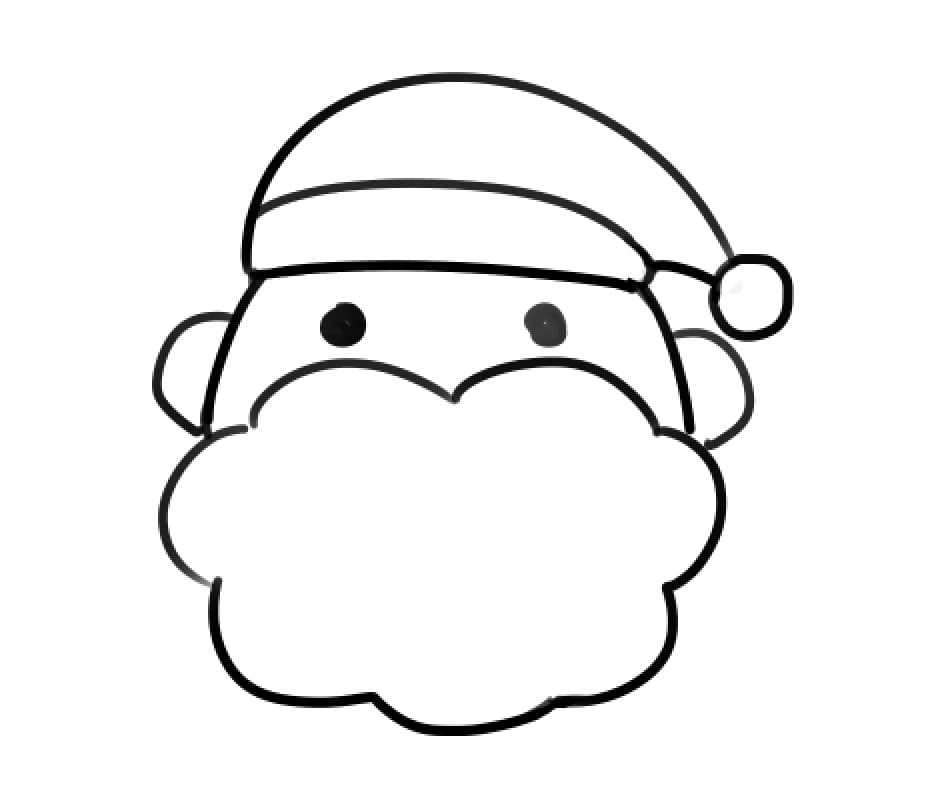
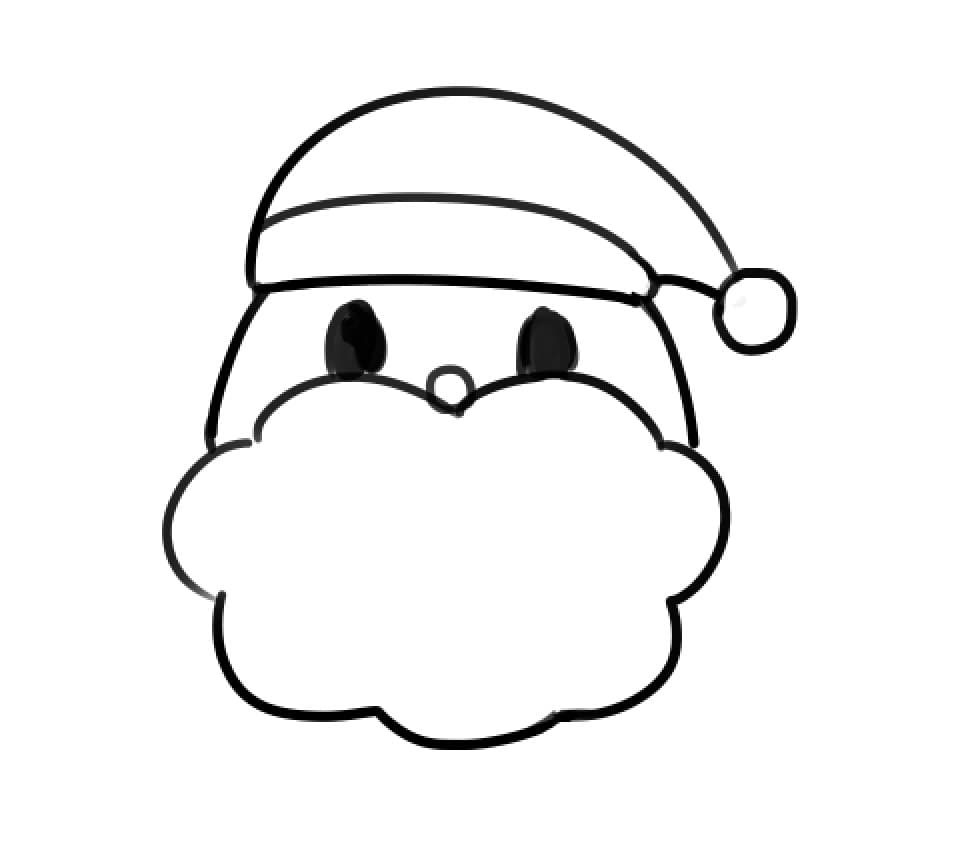
You can make it unique by changing the size or position of the eye.
Next, the body.
You can create a Santa with an ample figure by drawing the body with a flat and round square.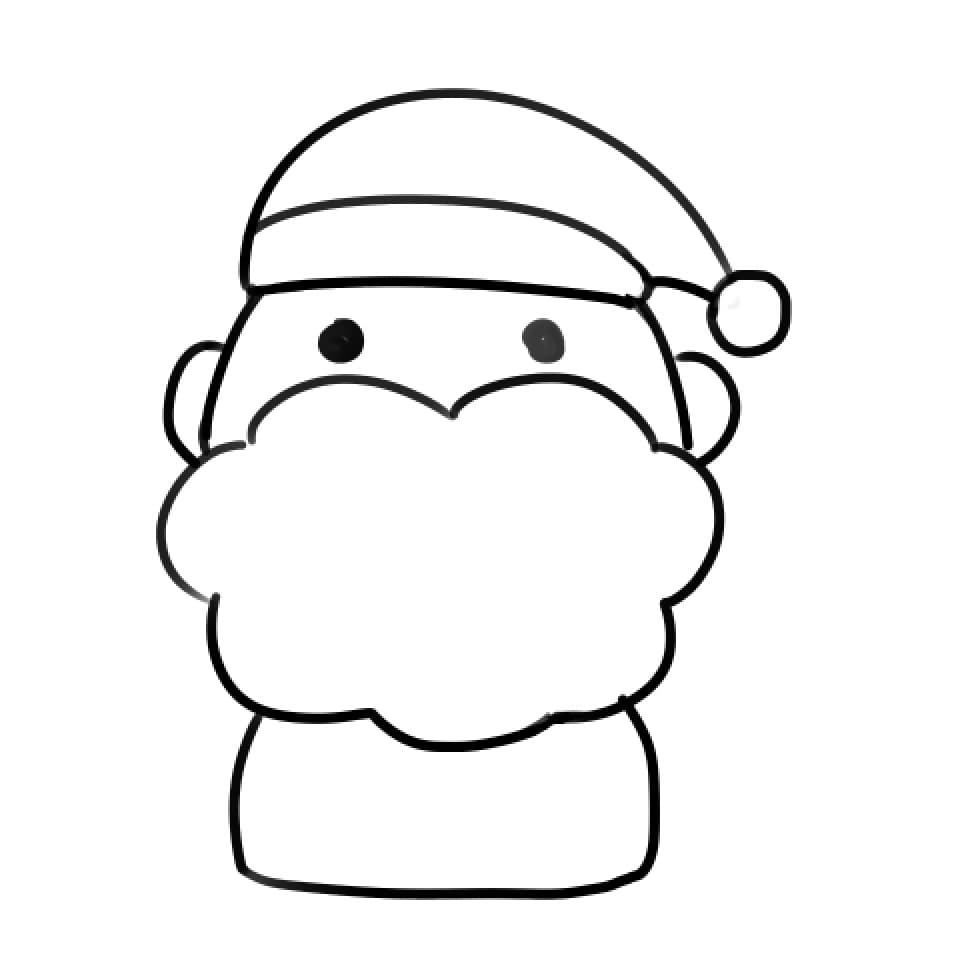
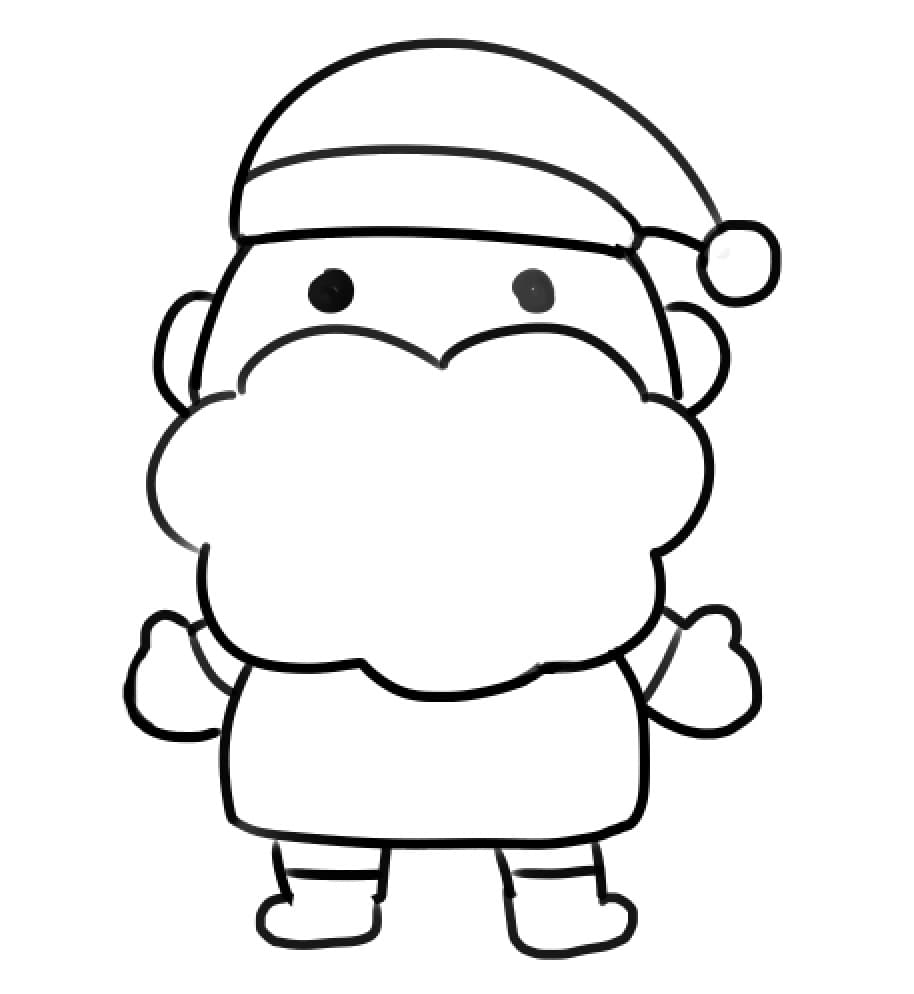
Draw the arms and legs. Short ones make a cute Santa.
As drawing fingers can be a tough and complicated effort, you can leave out the details to keep the picture simple.
Then add a new layer so that you can paint on a layer other than the line layer.
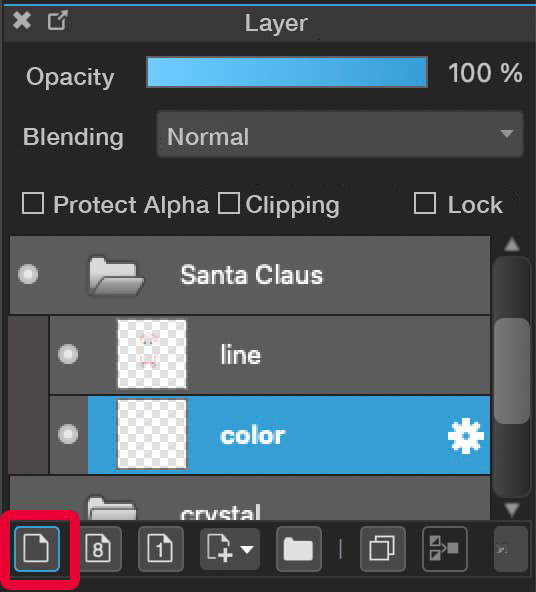
Paint with colors on the new layer.
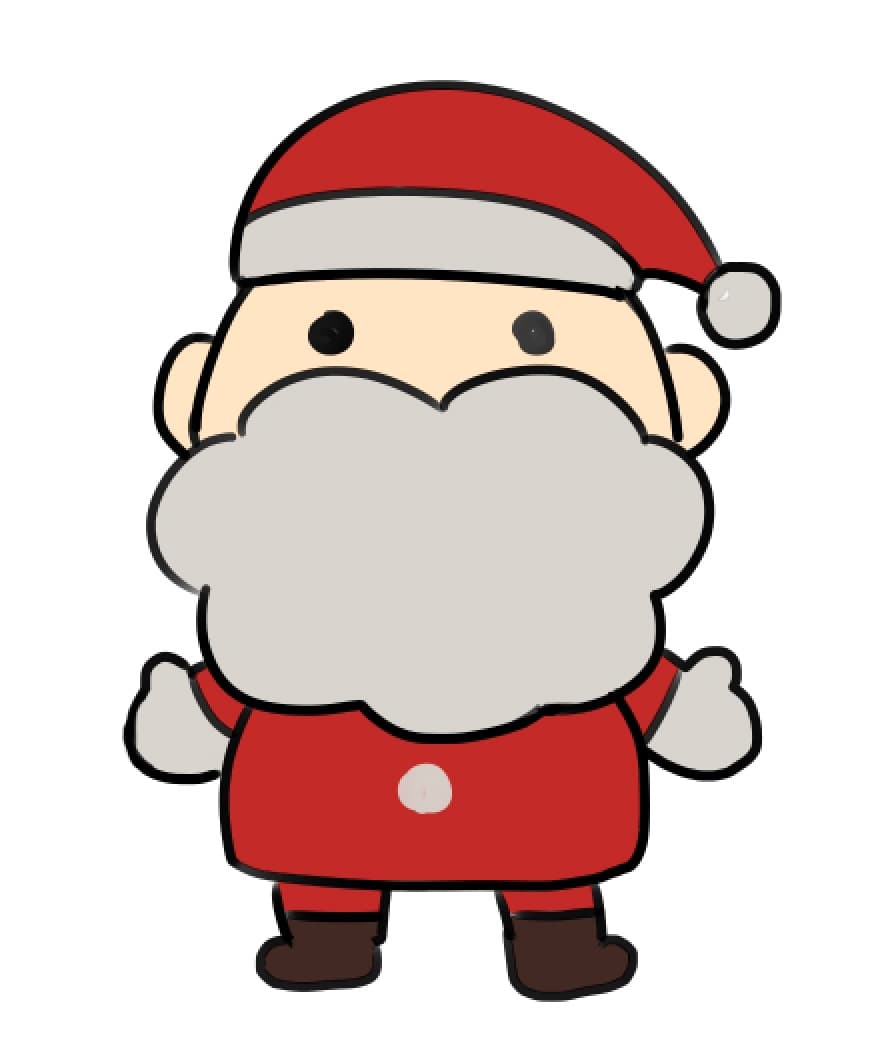
Now let’s see how we can add color to the line drawings we created earlier.
Select the line layer and check the Protect Alpha option.
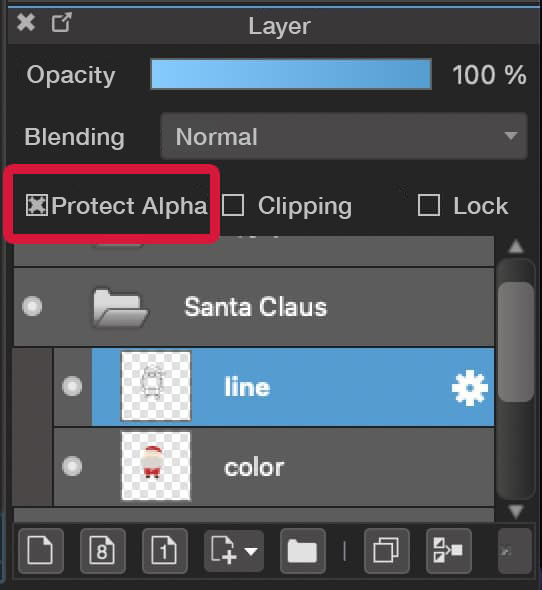
By checking the “Protect Alpha”, you can avoid painting where you don’t want to.
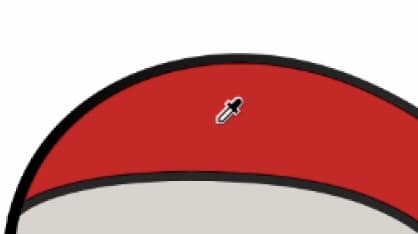
![]() Use the Eyedropper tool to click on the area near the lines you want to change the color of (red in this image).
Use the Eyedropper tool to click on the area near the lines you want to change the color of (red in this image).
Trace the lines with the Brush tool and paint them.
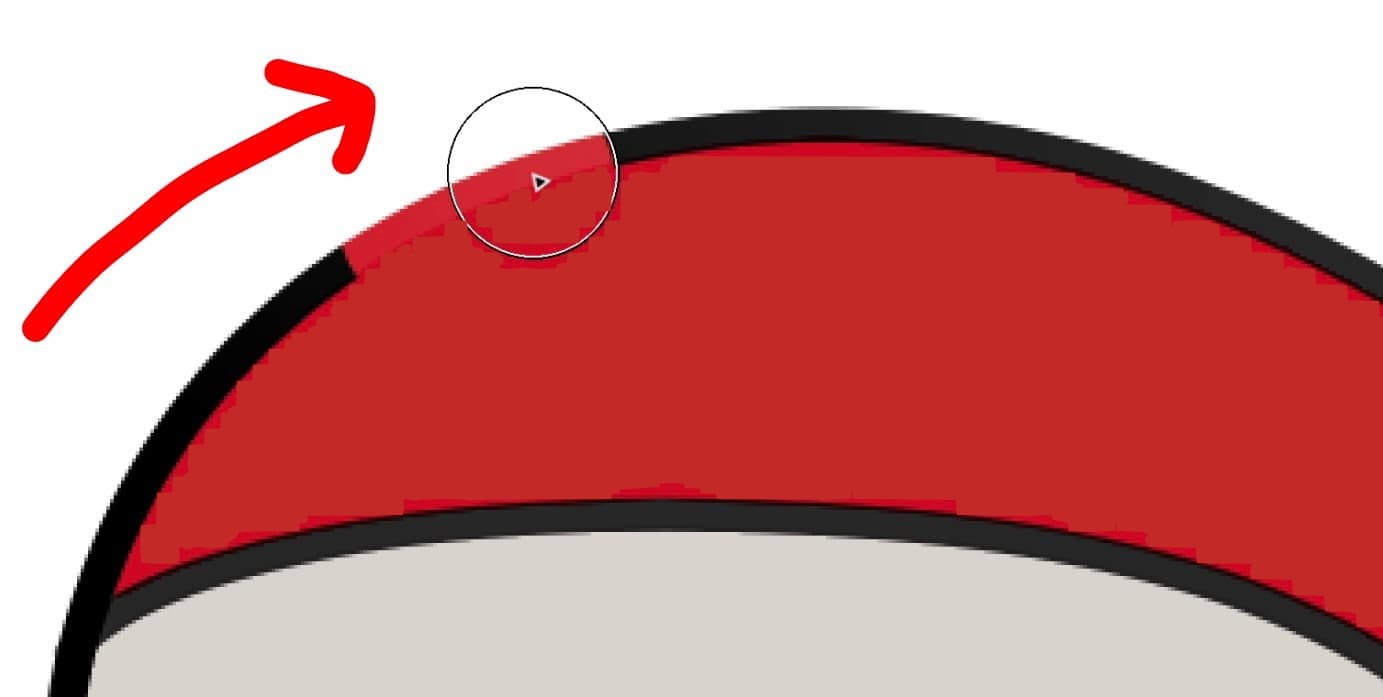
In this way, use the Eyedropper tool and paint the lines with the color you extracted.
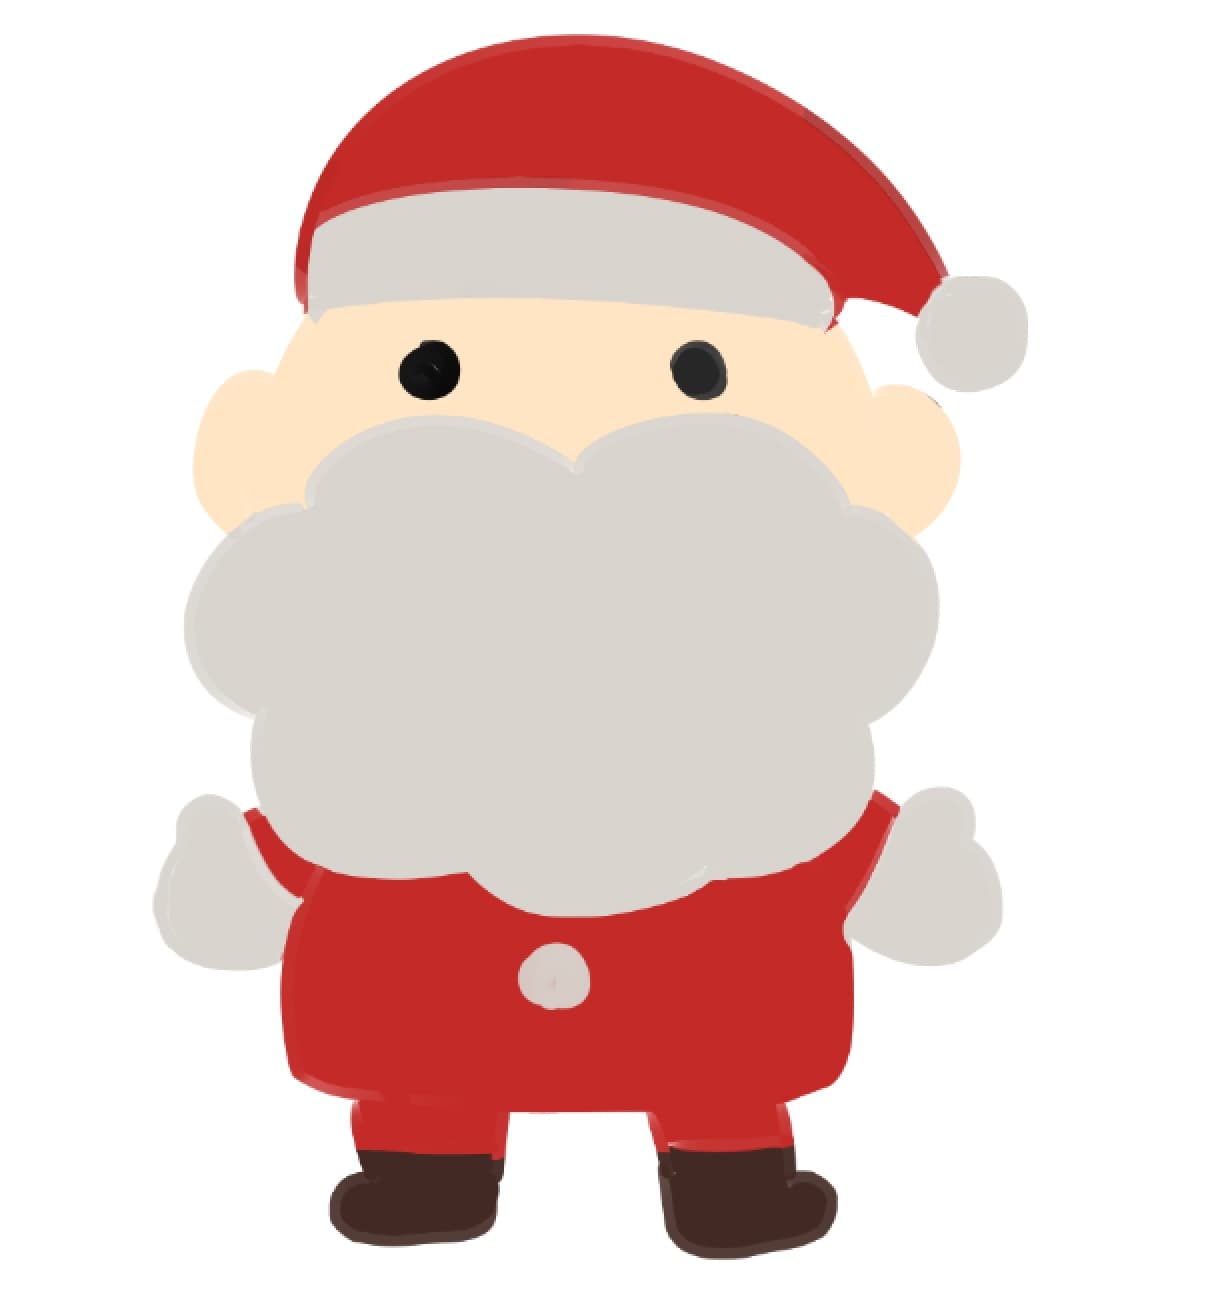
Now we’ve done with creating the beard Santa Claus.
Reindeer
Drawing animals with four legs can be difficult for beginners.
This time I’m going to show you how to draw a cute reindeer, which is super easy even for those who are not good at drawing animals.
What we are going to draw is a reindeer standing sideways, as the side view is the easiest to draw.
Start with the head.
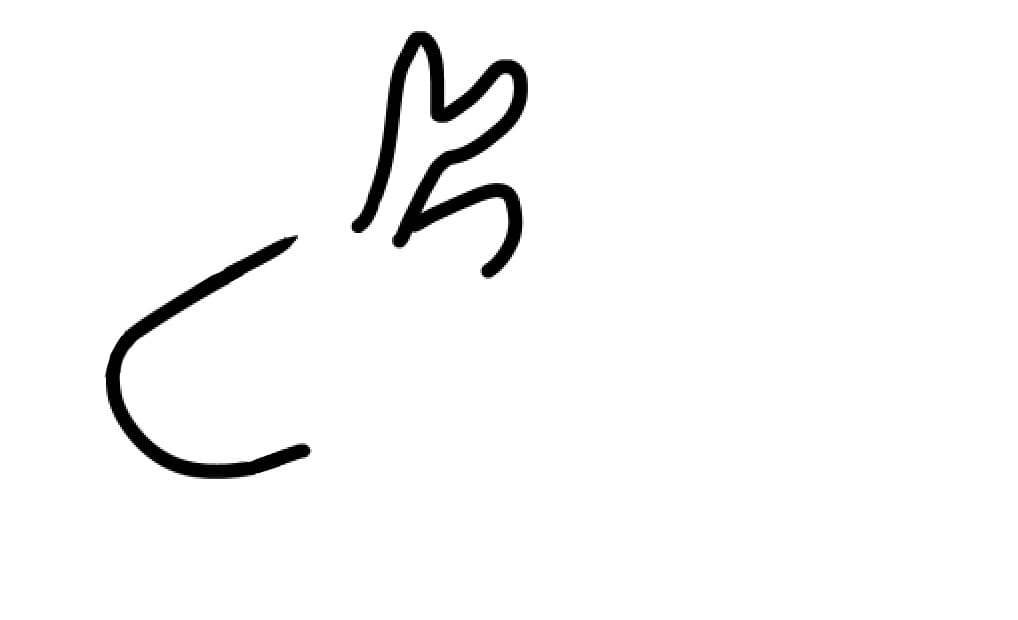
Draw a curved line like this with the image of a slanted Japanese character “し” in your mind.
Draw the ear here, with the image of a Japanese character “つ”.

Draw the horn above the ear with the image of drawing “Y”.
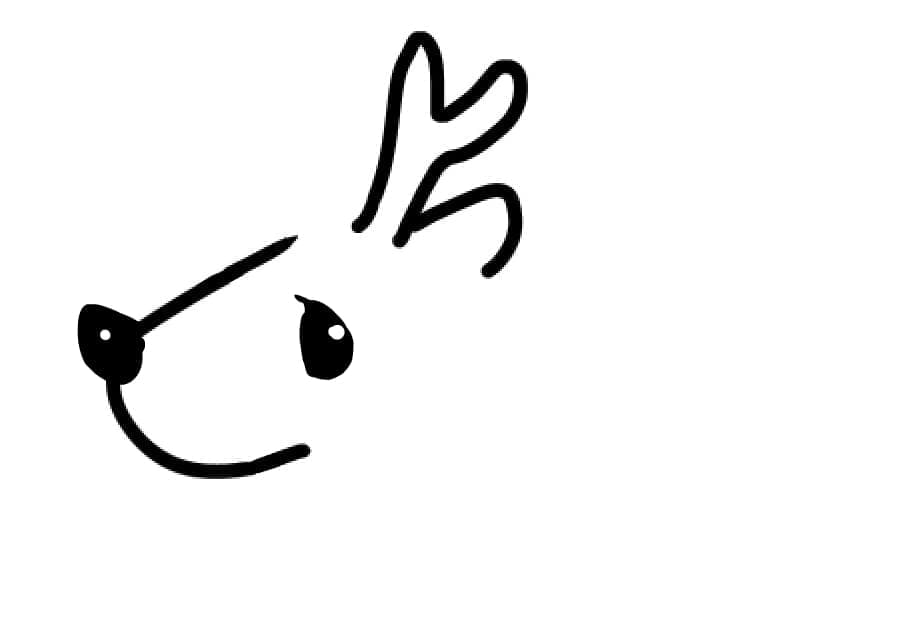
Draw the nose and eye.
Reindeer can be cute in different ways depending on the size of the nose and eye.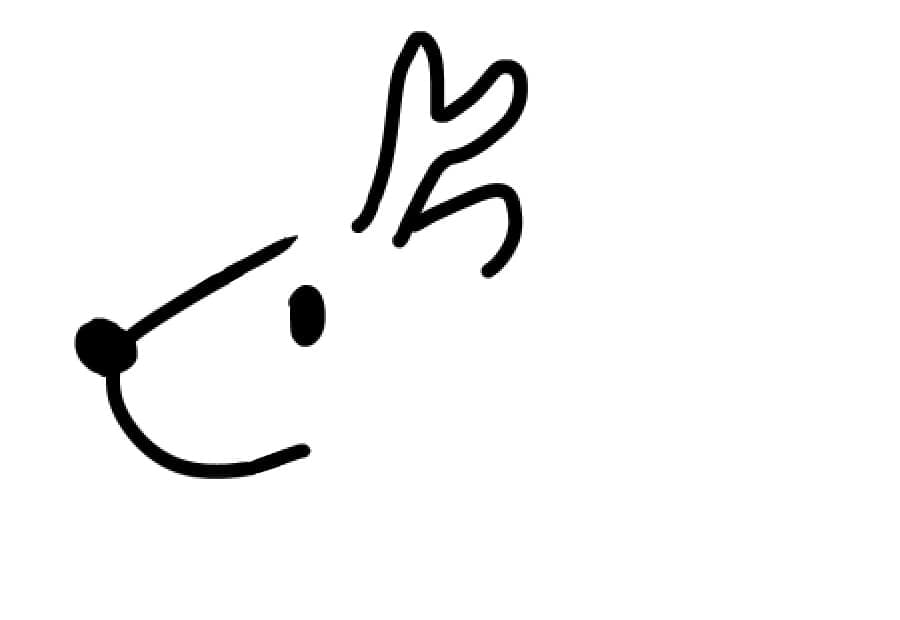
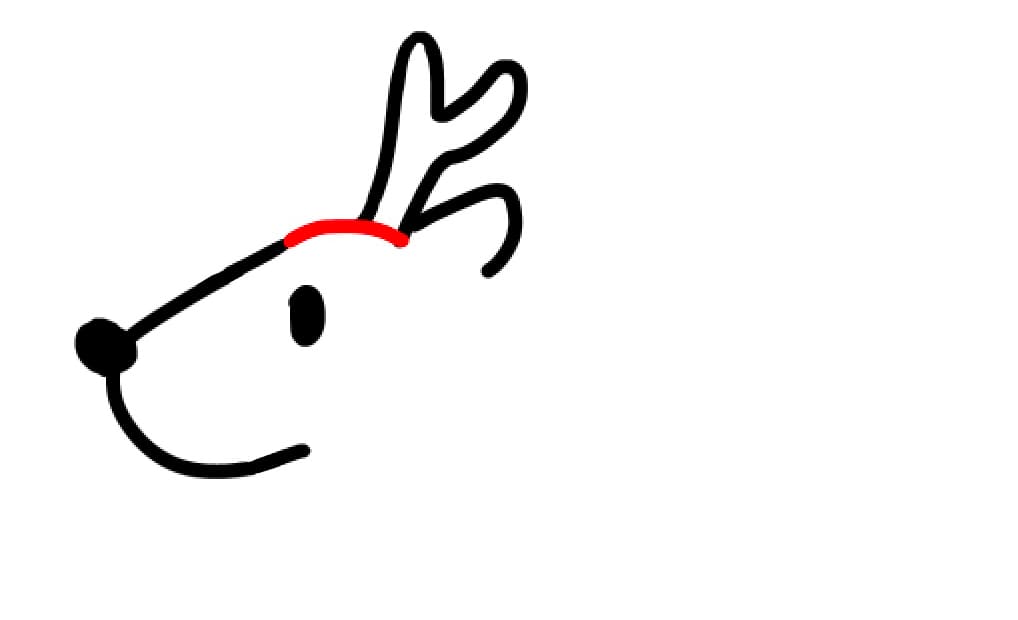
Draw lines between the head and the horn.
Draw a fluffy hair on the neck.
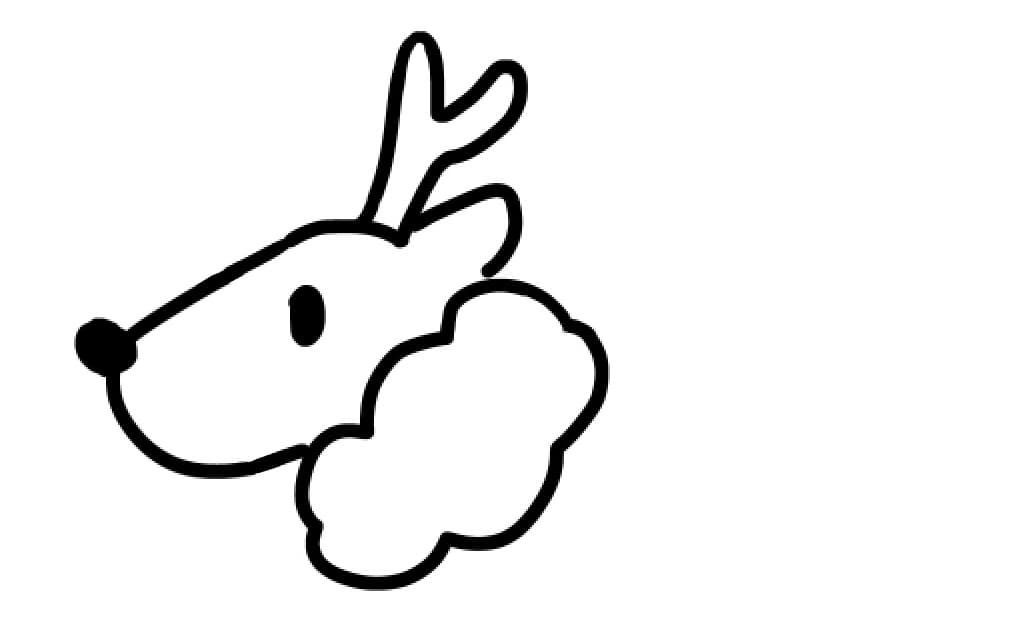
Draw a forefoot in a way like this. Drawing four legs can be a tough job for beginners so it can be simplified like this.
Slant legs can make the reindeer look as if it is running.
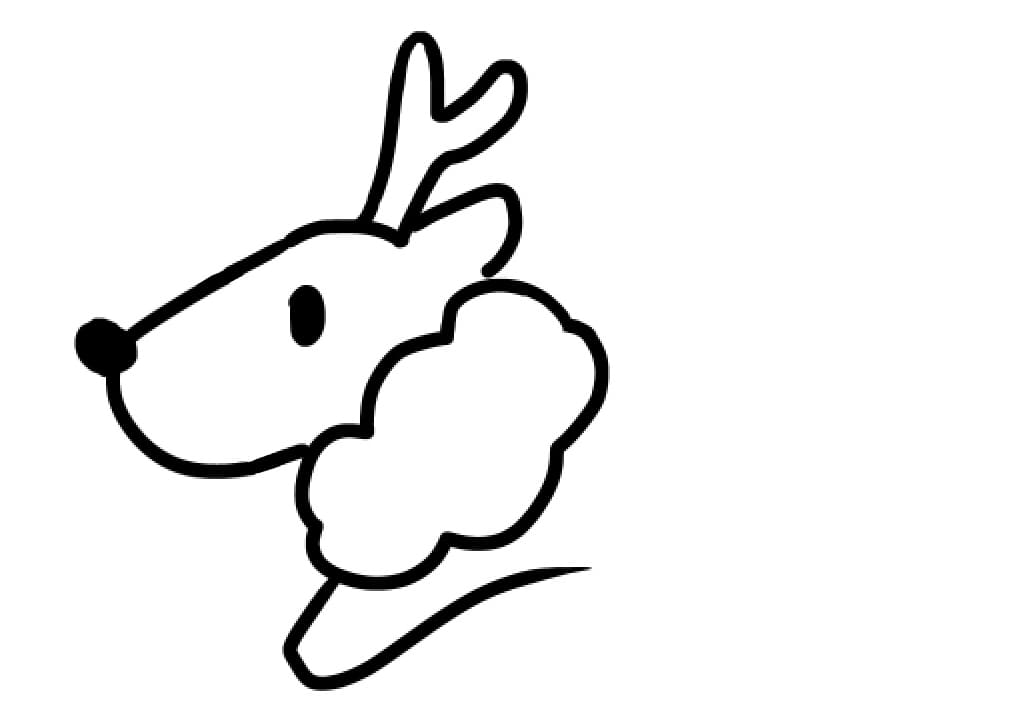
Draw the body.
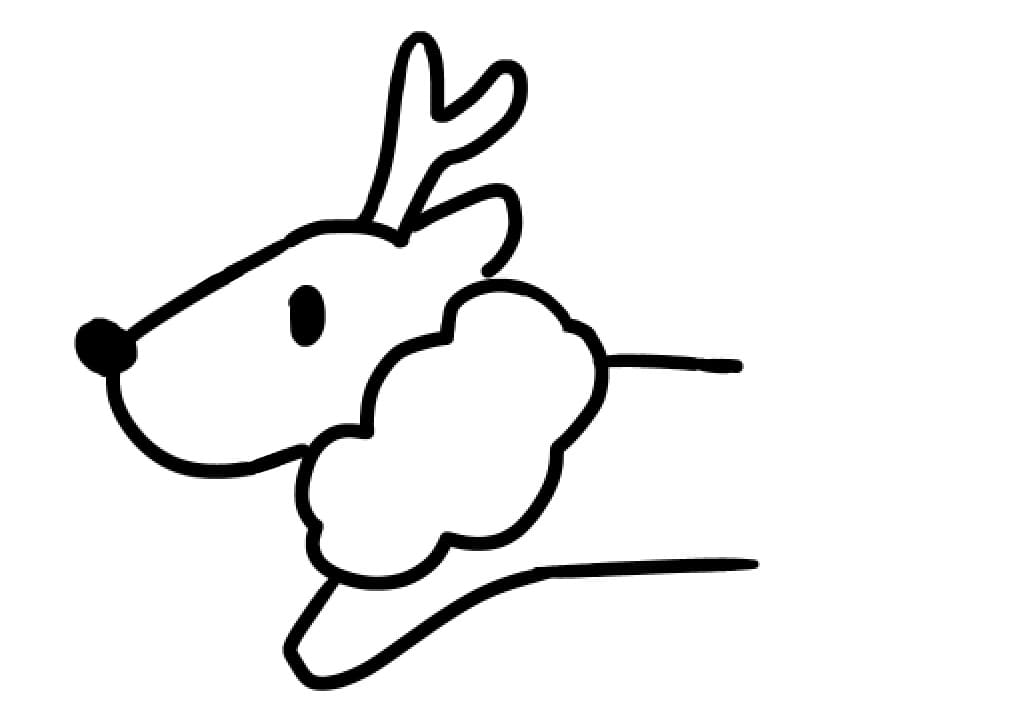
Draw a hind foot like this.
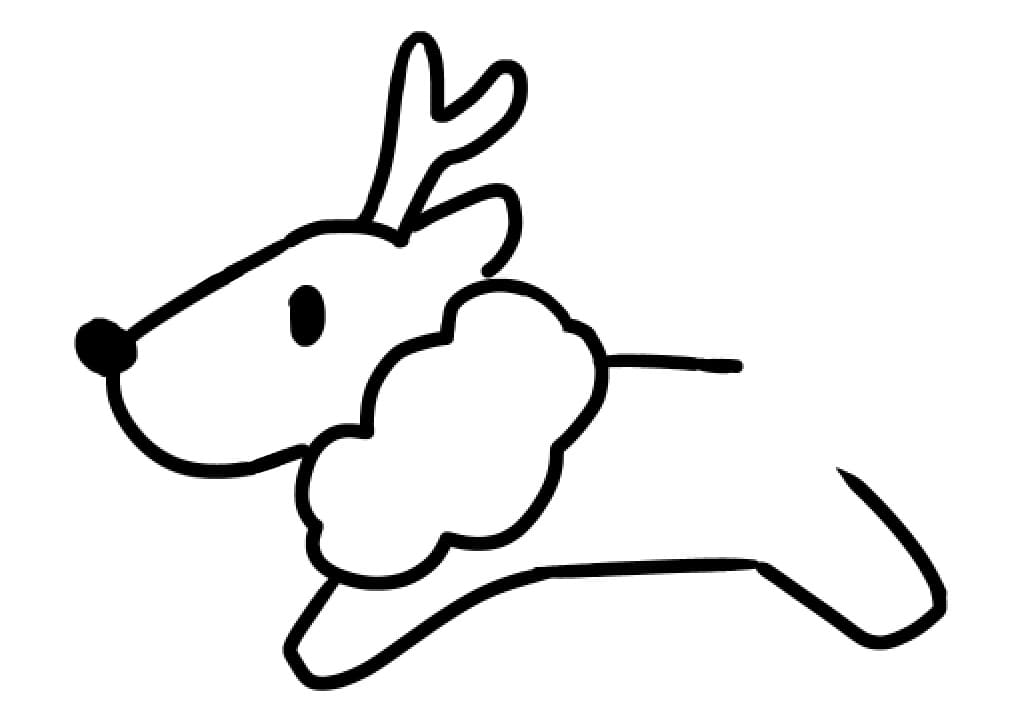
Then draw a hip to connect the body and legs.
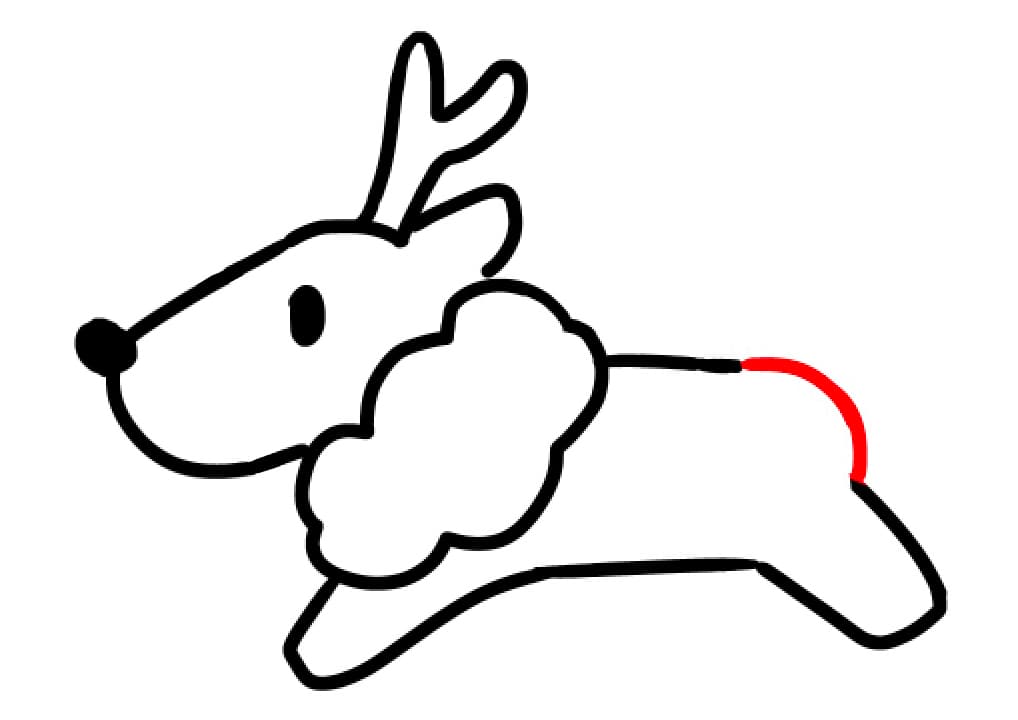
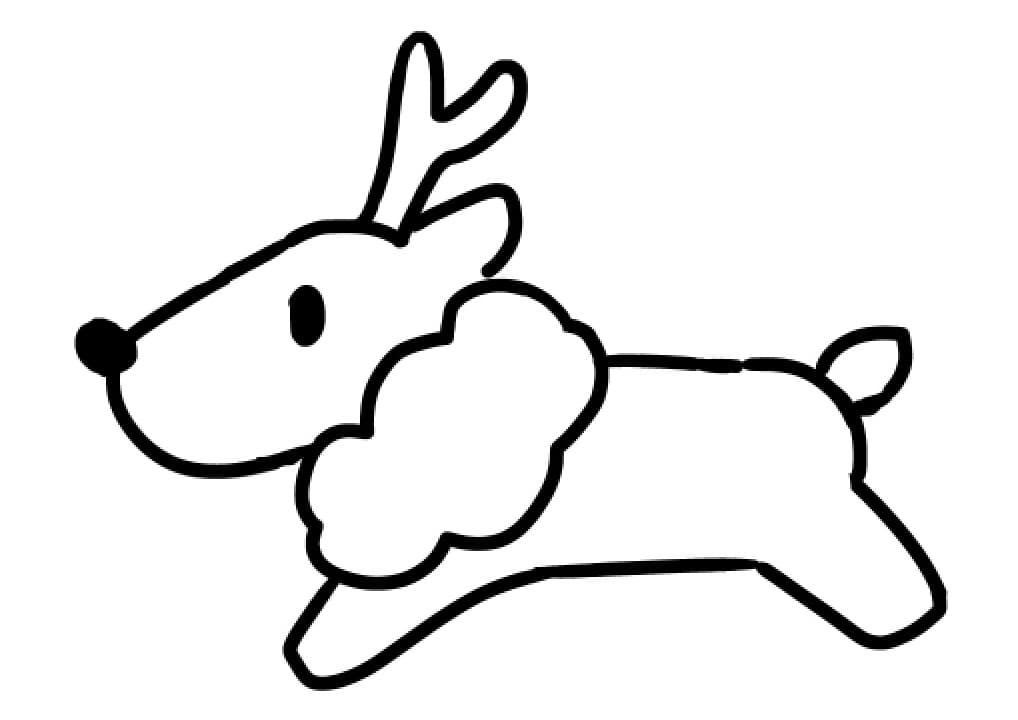
Draw a tail.
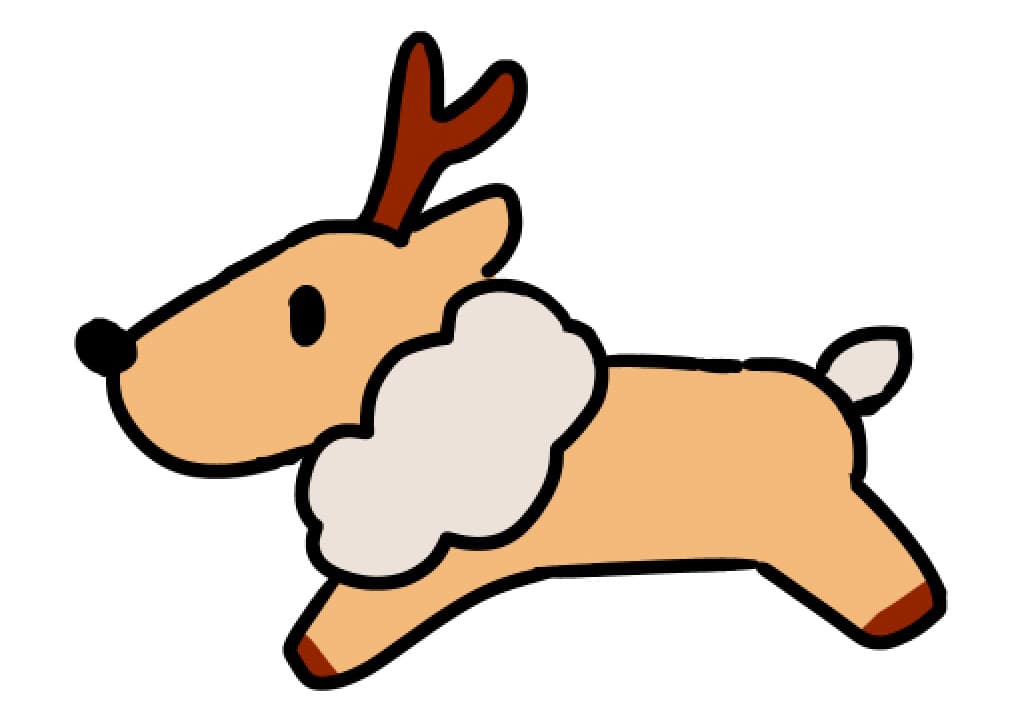
Just like what we did in Santa Claus, paint in the colors on the other layer and also add colors to the line drawing layer.
The red nose makes it look more like a reindeer.
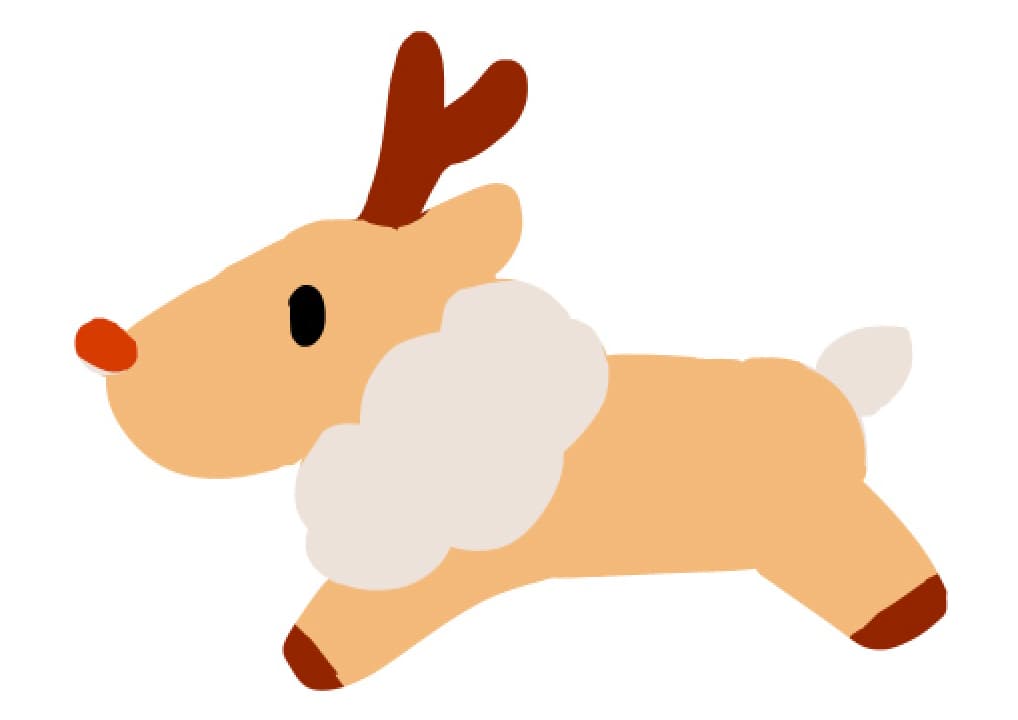
We’ve finished drawing the cute reindeer.
White branch (Birch tree)
White branch trees give the canvas a Christmas feel. I recommend you to add them.
The best brush for drawing the branches is the Edge Pen.
Lines drawn with this special brush have edges.
Available for free.

Adjust the “Edge Width” to change the size of the edge.
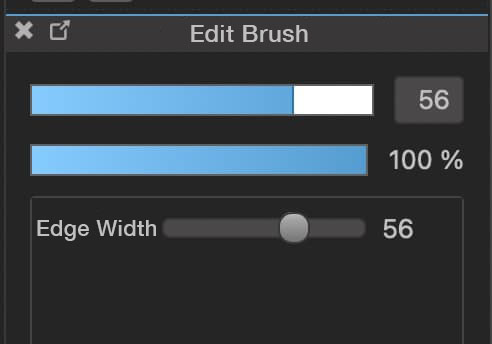
By default, this brush has edges for each line.

If you want to connect the edges, do the following.
◆If you are using a Windows PC, hold down the Ctrl key and draw lines.
◆If you are using a Mac, hold down the Command key and draw lines.
◆If you are using other devices, click the “Keep Edges” button that appears in the top center of the screen and draw lines.
These steps will allow you to draw lines like this.

The foreground color will match the edge color and the background color will match the color inside the lines.
(In this image, the foreground is black for the edge and the background is white for the inside).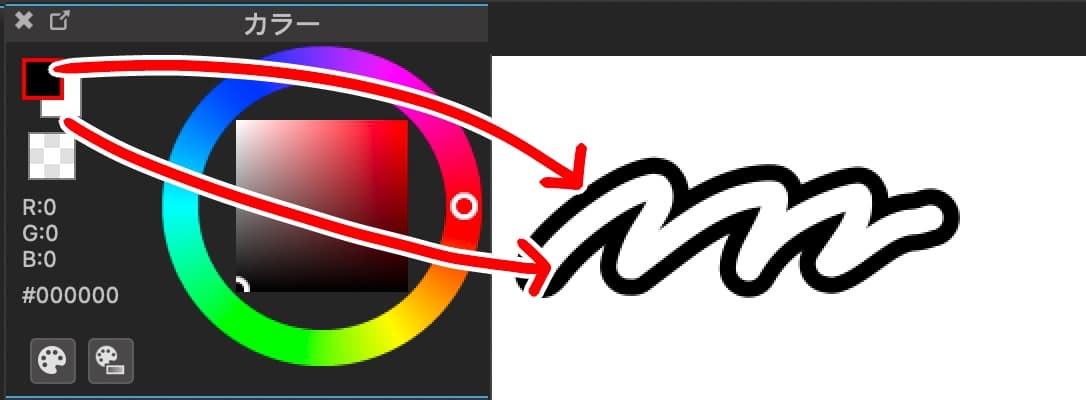
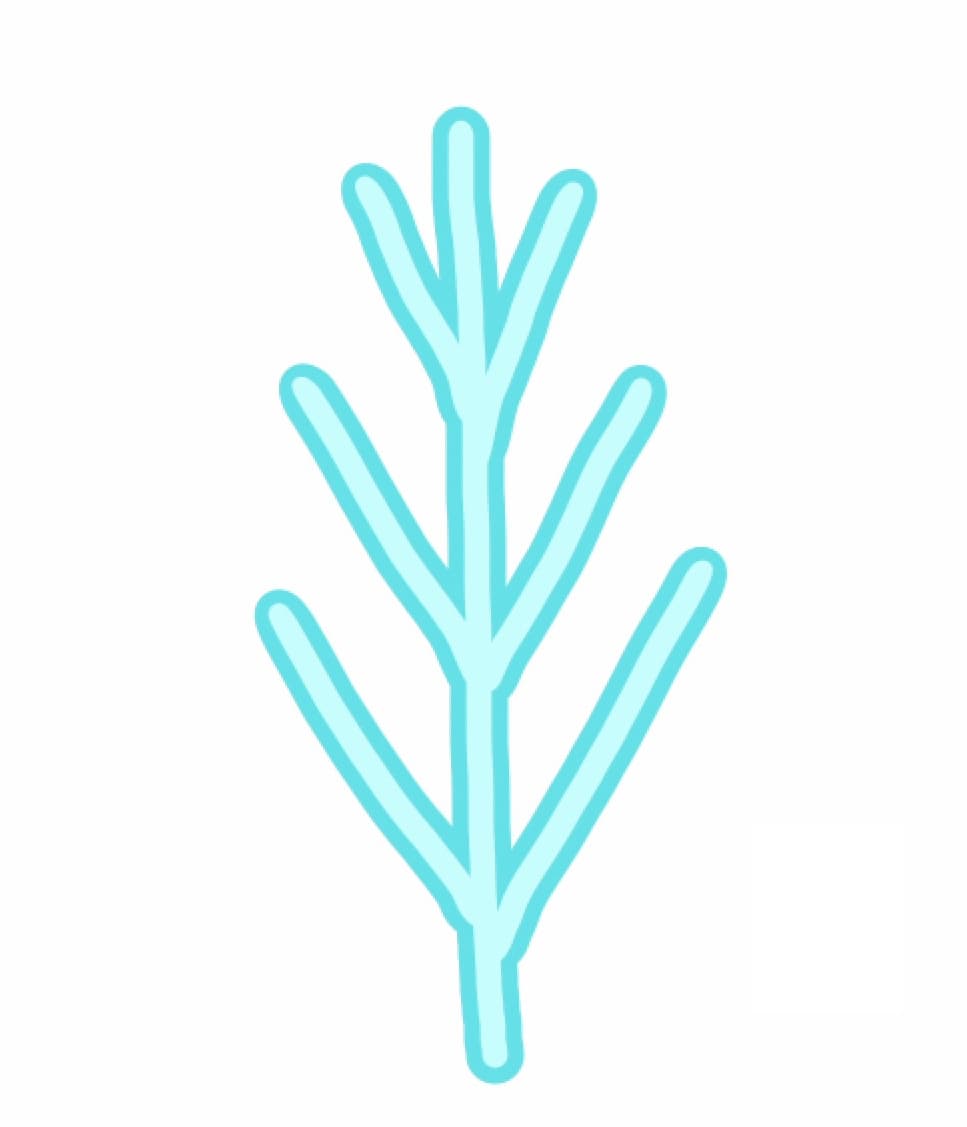
Now let’s start drawing the white branches with this brush!
It is a good idea to use pale blue.
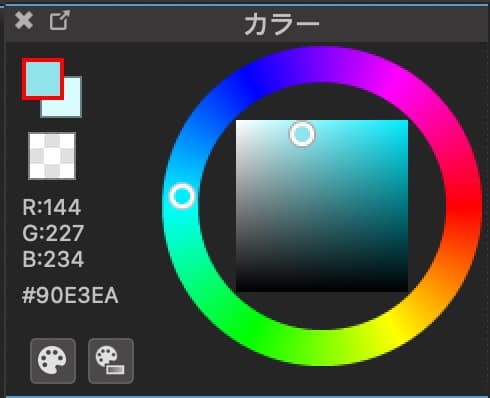
Make sure you connect the edges and draw a straight line first.

Then draw the branches at the top of the line.
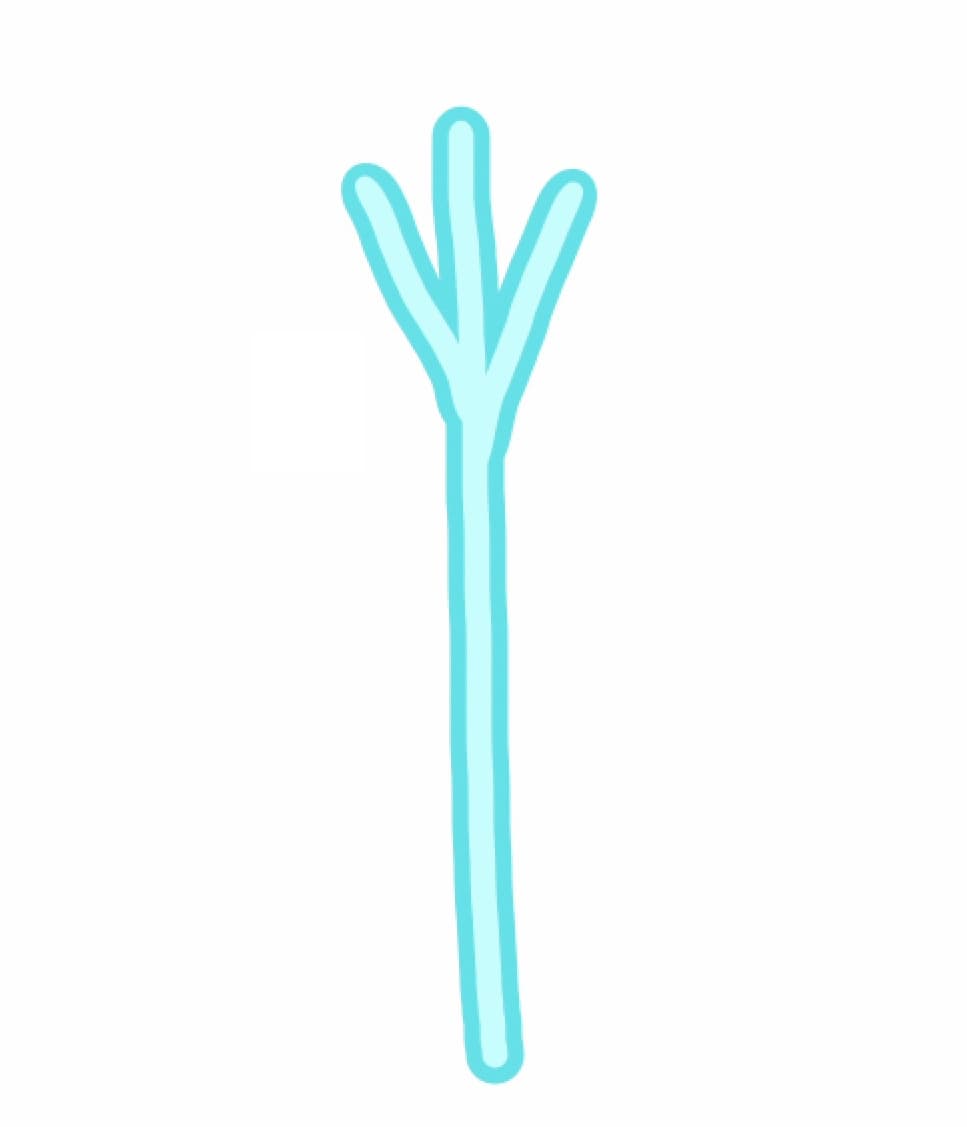
Continue in the middle, down to the bottom of the line.
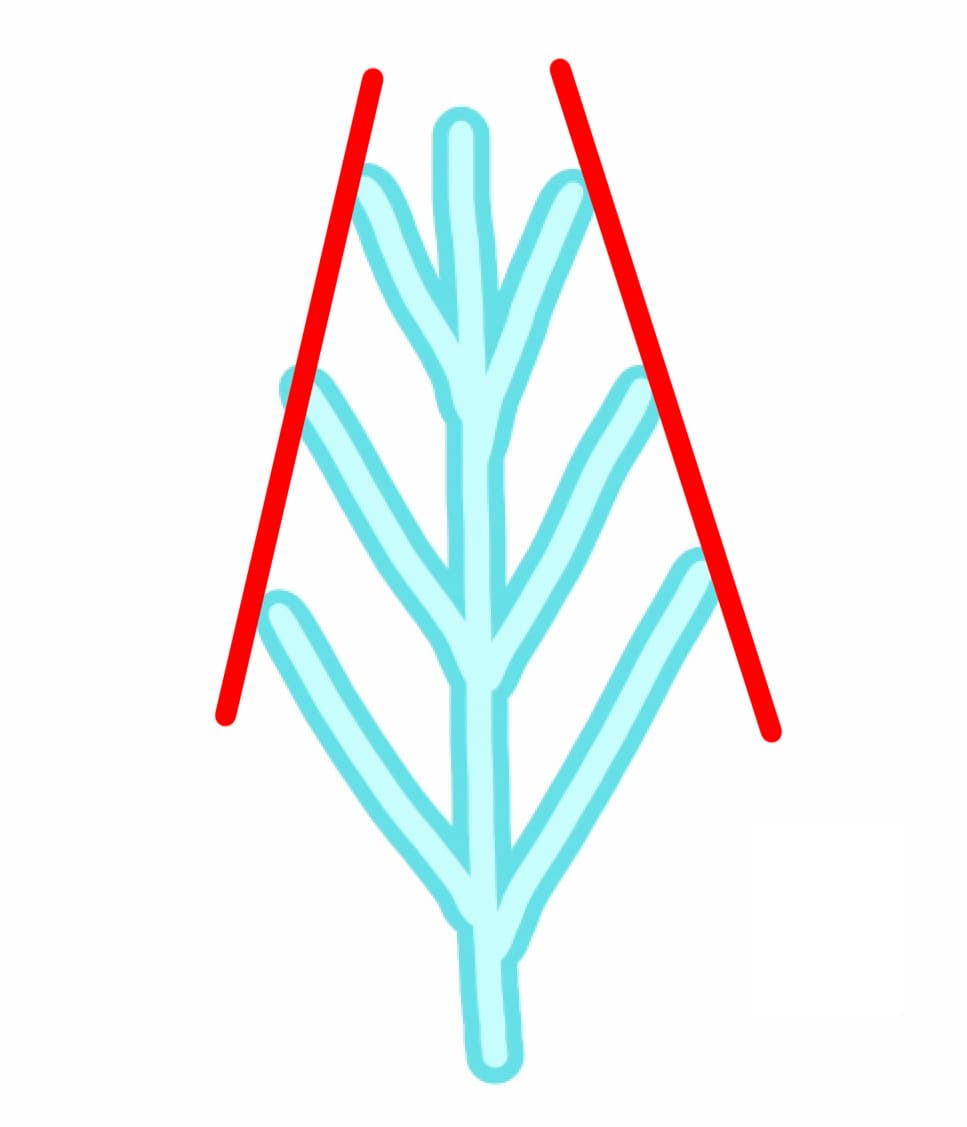
You can draw the tree in good proportions by drawing longer branches as you go down.
Now you have a white birch tree.
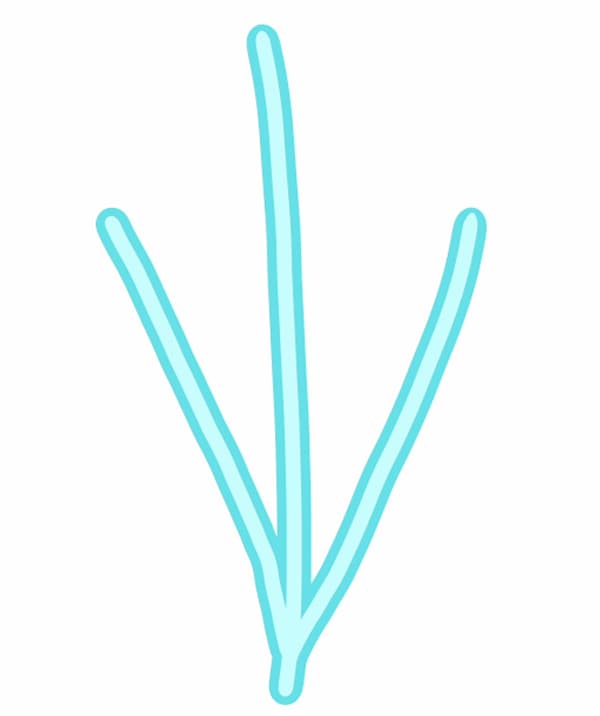
Let’s draw another branch with a different shape.
Draw a straight line.

Draw two long branches from the near end of the line.
Draw a couple of short branches from each line.
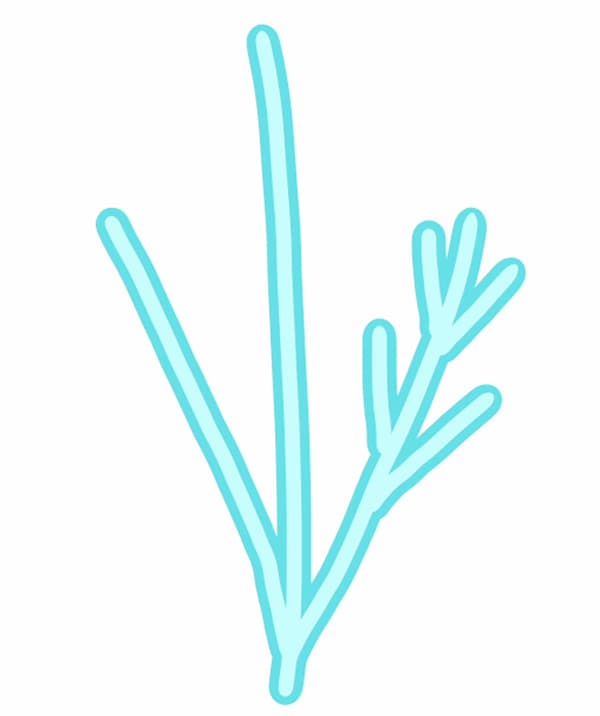
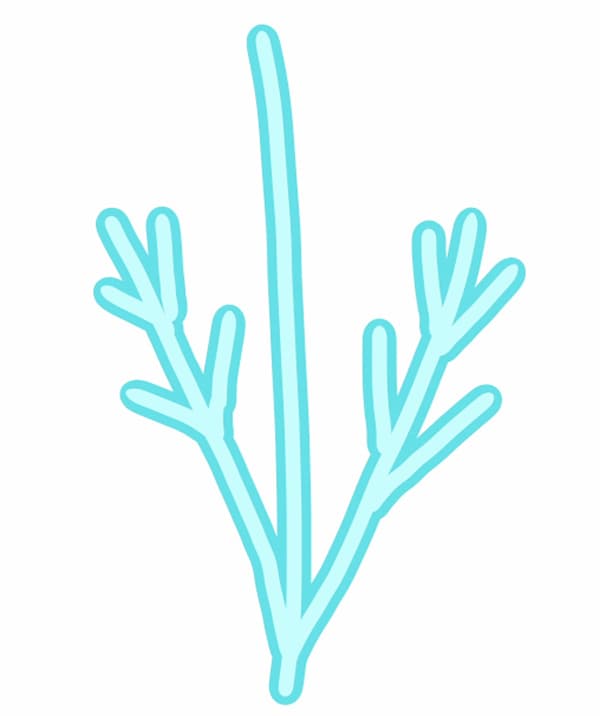
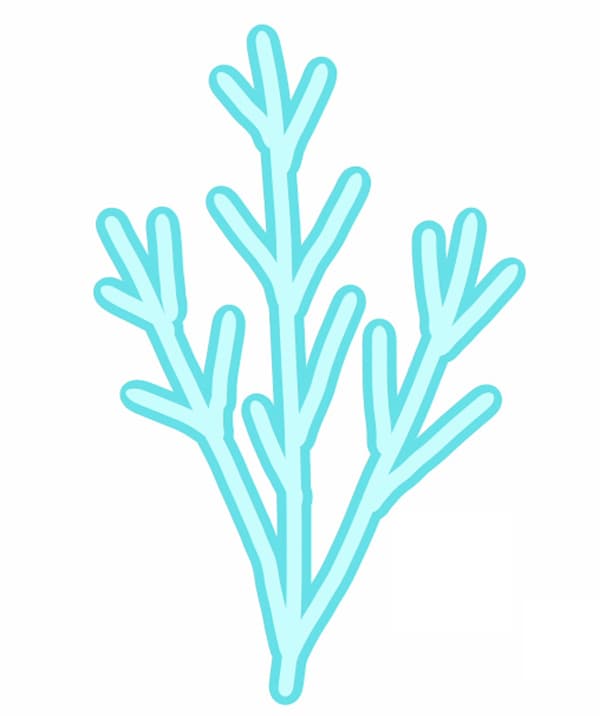
Now the tree is complete.
Instead of straight lines, slightly curved lines give the warmth of hand-drawing.
Put the designs together to create art!
Now let’s create a piece of art on a single canvas that combines the designs we’ve created.
Create a new canvas and paint it with whatever colors you like.
Since these are the outdoor pictures, I chose blue to make it look like an outdoor scene.

In a picture of snow, the ground is added with light blue.
Slight changes in color can make a big difference to the overall look of the artwork, so try different colors.

This time the letters are added before the images are added.
This is done with the intention that the images will be scattered across the canvas, while the letter will act as the centerpiece.
If you are struggling to decide where to place them, add the things you want to be in the center first.

The font I used this time is [FOT-ユールカ].
This font is available for free. Its pop font design makes it easy to use.
Paste the images we’ve created so far onto the canvas.
The method of copying and pasting the images onto the canvas is covered in the previous How to draw cute Christmas illustrations (Part 1) article, so please read it.
Add the snowmen and white branches.
They are slightly angled using the Transform function.

Santa Claus and the reindeer are added as if they were floating in the sky.

Fill in the space with the beautiful snowflakes.

And add the simple snowflakes to fill in the gaps to complete the artwork.

If you start adding images with the larger and gorgeous ones, you won’t have much trouble thinking about the proportions.
This is the end of the article.
I hope you will enjoy creating Christmas illustrations.
In part 1, we learn how to draw Christmas trees, gift boxes, and cute socks, etc.
\ We are accepting requests for articles on how to use /

