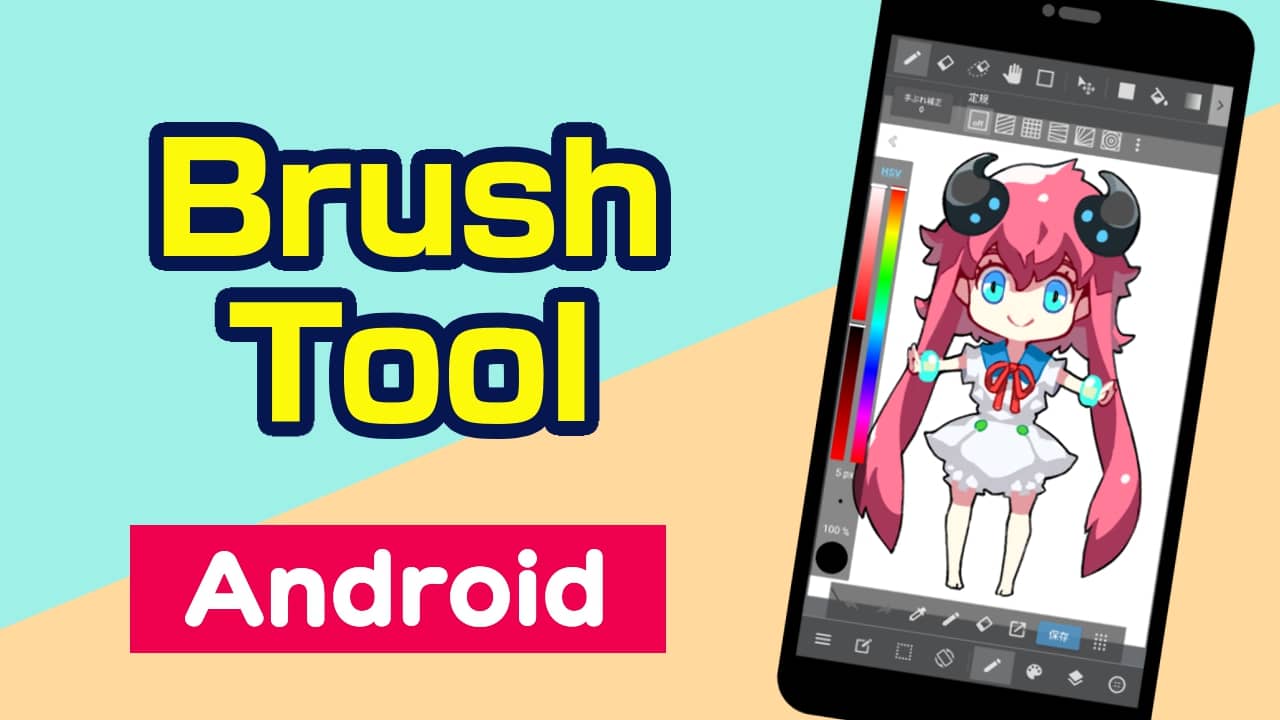
Here you will learn the basics of using the Brush tool.
Let’s start by selecting a brush.
With a canvas open, click on the icon in the toolbar at the top of the screen.

The toolbar may be hidden.
Click on the icon on the command bar at the bottom of the screen to show the toolbar.
The brush tool is now ready to use.
Use your finger or stylus pens to draw your illustrations on the canvas.
You will learn how to change brushes.
Let’s start by changing brush types.
Open the brush settings window by clicking on the icon in the command bar at the bottom of the screen.

Select the brush you want to use from the brush list in the brush settings window.

The selected brush is now ready to use.
See how it looks by drawing on the canvas.
Now let’s add new brushes to the brush list.
Open the brush adding window by clicking on the  icon in the brush settings window.

In the brush adding window, select the brush you want to add.

You’ll now see the settings window for the brush you selected. Click on the SET button at the bottom of the window.

You are now ready to add brushes.
You can use the added brush from the brush list on the brush settings window.
Learn how to add brushes from the cloud to the brush list.
Open the brush adding window by clicking on the  icon in the brush settings window.

Open the list of cloud brushes by clicking “Cloud” at the top of the brush adding window.

Select the brush you want to use from the cloud brush list.

You’ll then see the settings window for the selected brush. Click the SET button at the bottom of the window.

Finally, learn how to delete unnecessary brushes from the brush list.
You can delete brushes by clicking on the  icon in the brush settings window with the brush you want to delete selected.

Go slowly when deleting brushes, you will not be able to restore your settings for the properties of the deleted brushes.