Learn the basics of the Layers feature.
Layer is a unique digital feature that allows you to draw images in sections, like layering transparent film.

Start by learning the basics of using layers.
Click the icon  in the command bar to open the layers panel.

Click on the icon  in the layers panel to add layers.

A window for selecting additional layers will appear. Click on the layer you want.
The basic types of layers are as follows.
・Color layers: Use if you are drawing work in free colors. (Basically this is sufficient)
・Select images to add: You can add images from your devices as layers.
・Take a photo to add: You can take photos using the camera functions on your devices and add them as layers. (Camera will be activated)
・Folders: Folders can be added to layers to help organize multiple layers.
The locations where layers are created depend on the currently selected layer.
・If the layer is selected: New layers are created on top of the selected layer.
・If the open folder is selected: New layers are created on top of the layers in the folder.
・If the closed folder is selected: New layers are created on top of the selected folder.
You can switch layers for drawing by clicking on the layers that are not selected in the layers panel.
The currently selected layer is highlighted and the icon  appears on the right.

To change the order of layers, click on the icons 
 in the layers panel with the layer you want to change selected.

Click the icon to switch with the layer above the selected layer.
Click the icon to switch with the layer below the selected layer.
To delete layers, click on the icon  in the layers panel with the layer you want to delete selected.

If you delete layers by mistake, try the following steps.
・Tap the canvas with two fingers to return to the previous state.
・Click the icon  in the shortcut bar to restore the previous state.
Finally, learn the basics of useful functions for layers.
Opacity allows you to change the transparency of layers.
As the opacity value increases, the layer becomes more visible. As the opacity value decreases, the layer becomes transparent.


Protect Alpha allows you to lock or modify the blank (unpainted) area of the layer.
By enabling Protect Alpha, you will not be able to draw new illustrations on the blank area, and by disabling it, you will be able to draw.

By enabling Clipping, illustrations drawn on top of a layer will only show the area that overlaps a layer below the layer you have painted on.
Clipping can be enabled by turning it on and disabled by turning it off.


The icon  appears to the left of the layer when Clipping is enabled for the layer.
Applying the Draft Layer option to a layer will hide that layer when you save the artwork in file formats other than mdp by rasterizing or “Save As…”.
Turn on to enable the Draft Layer, off to disable it.

The icon  appears at the bottom right of the layer when Draft Layer is enabled for the layer.
Your creativity will be more special!
MediBang Paint's new service,
Unlimited use of exclusive brushes and
materials,
full access to MediBang Paint,
and many other benefits to help your
creativity.
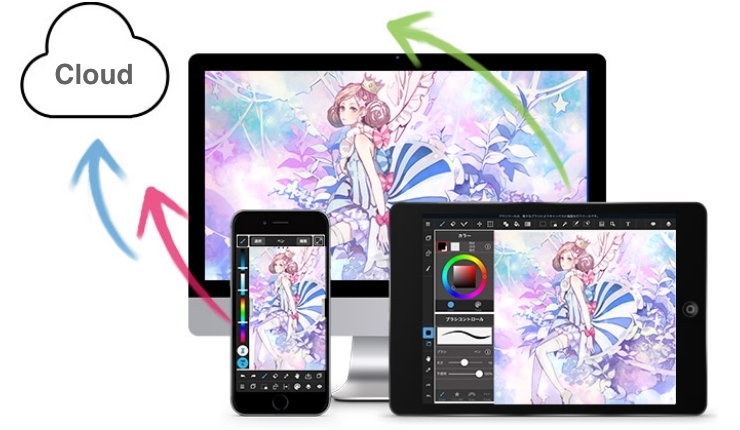
We introduce cloud features available on MediBang Paint.

We introduce specific examples of team production using MediBang Paint and mangainem.

We introiduce "JUMP PAINT", JUMP's official soft and app for manga creators.