2020.04.06
Creating an Illustration Using the Grisaille Technique –Part 1–

This time, we will draw an illustration that has a background in it.
Rough sketch
Pick a theme you like and make a rough sketch on it.
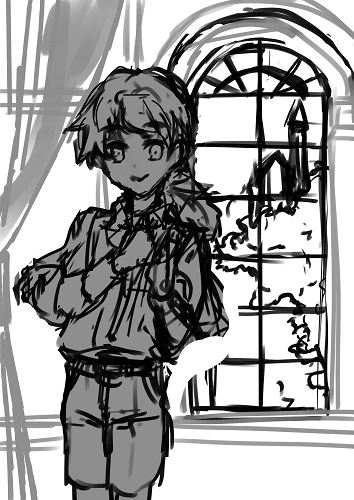
We will be using the grisaille method for coloring this time.
Shading the illustration when it’s still just a rough sketch makes it easier for us to see how it would be like when it’s colored, and also makes it easier to grasp the positional relationship between the person and the background.
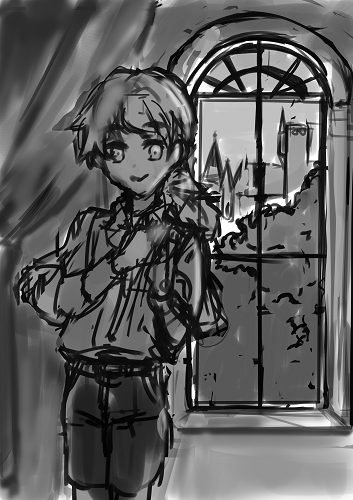
When you are done drawing the rough shape of the person, you can add some lines to it.
Integrate the rough sketch and lock it.
Inking Your Rough Sketch With a Pen
We will create a new layer to draw lines with, and ink them with a pen.
We will use a pencil brush to make a clean copy.
Lower the degree of opacity of the rough sketch to where you can see the sketch easily, and add lines in to the line layer of the person.
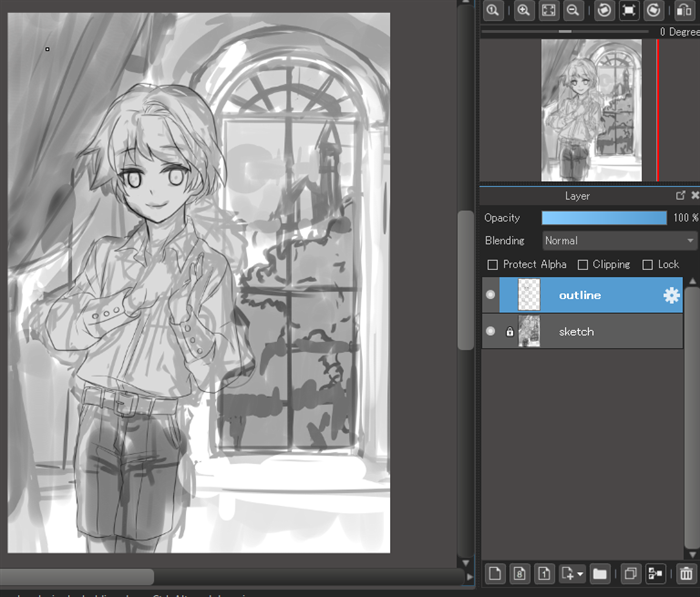
The Rose
We will draw a rose for the person to hold.
The flower would be easier to draw if you give the details some silhouette when coloring it.
Create a new layer and draw a rough silhouette for the rose.
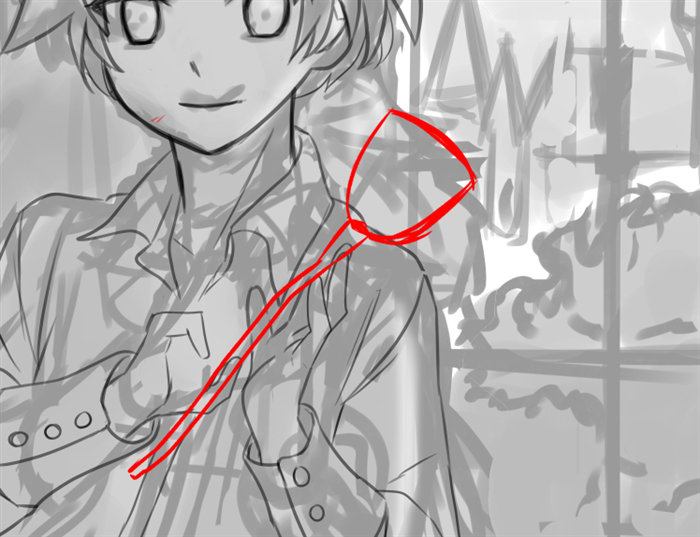
Roughly sketch the petals at an angle.
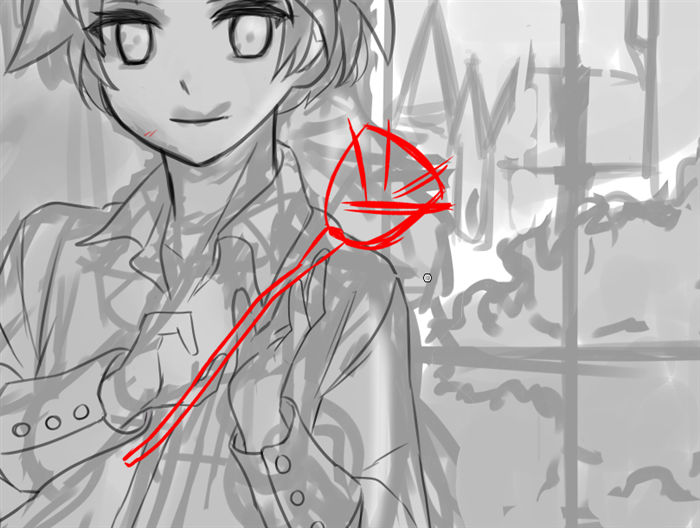
Add silhouette to the petals.
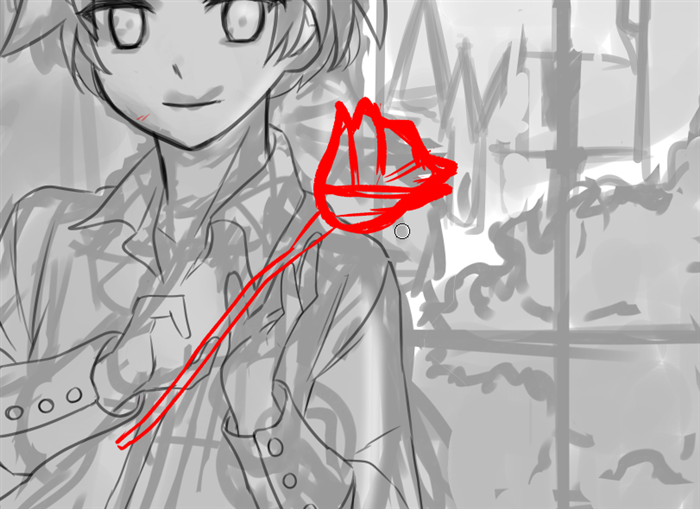
Add leaves and paint with a pencil brush to create a silhouette.

We are done with the rose here.
While layer blending is usually a matter of multiplication, we will integrate it later with the line drawing layer of the person, so multiplication is fine either way.
The Hands
Next, we will be drawing the hands that hold the flower.
Create a new rough draft layer and roughly draft the wrists.
Feel free to lower the degree of opacity of the line layer so it’s easier to sketch.
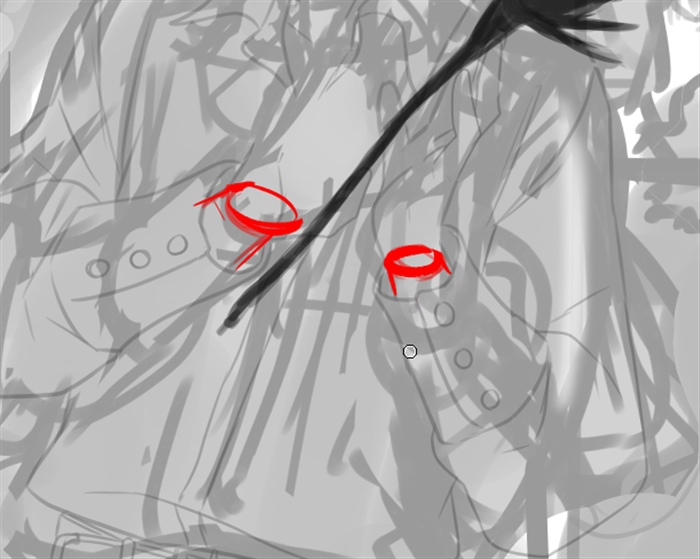
Roughly sketch the wrists and the palms.
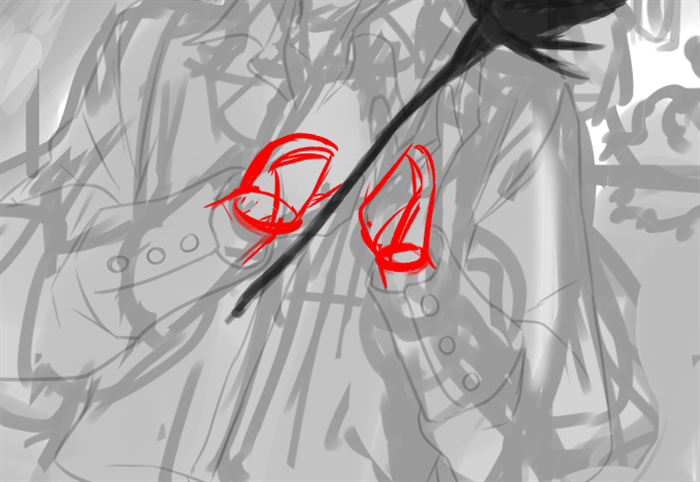
Sketch the fingers.
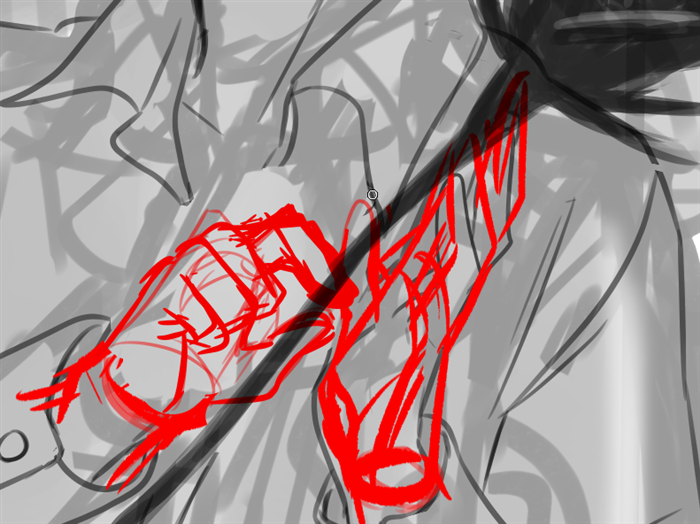
We are done with sketching the hands now, and will make a clean copy on the line drawing layer.
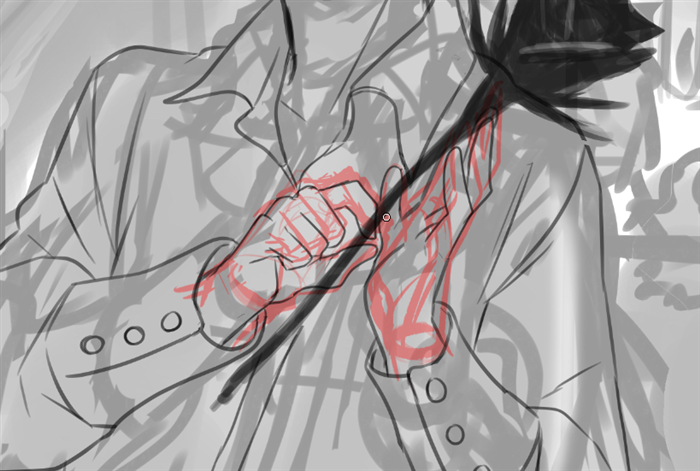
Choose the rose’s layer, move the flower with the moving tool, and adjust the position of the person’s hands and the flower.
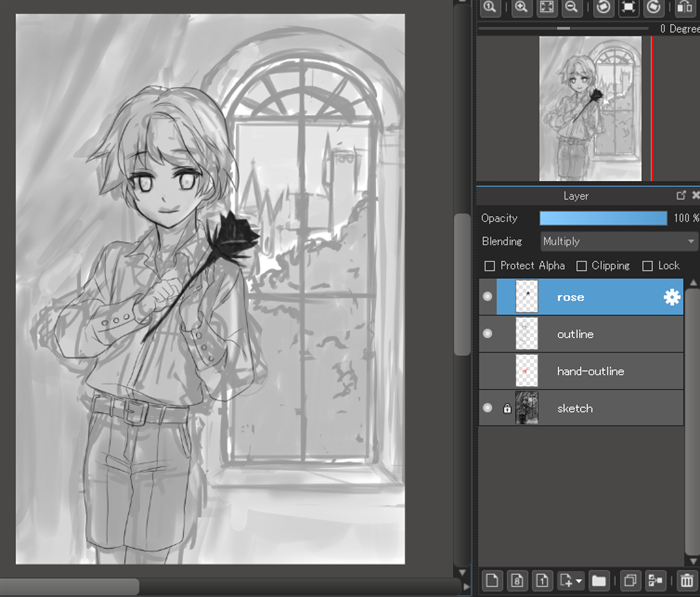
Hands, especially fingers, have a complicated structure when viewed from the side, so it might be a little difficult to draw.
Let’s draw and observe the reference image or your hand from various angles.
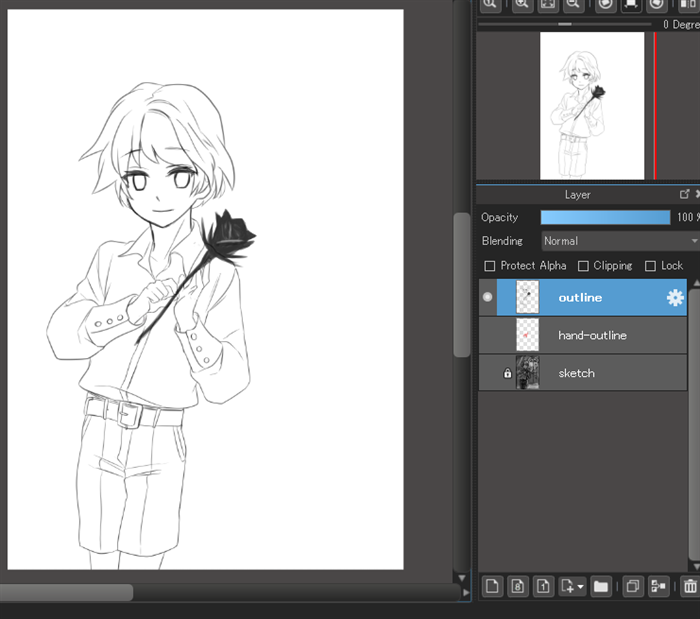
We are done making a clean copy of the person.
Next, we will put the lines together with the rose layer.
Select the margin of the line drawing layer with the automatic selection tool.
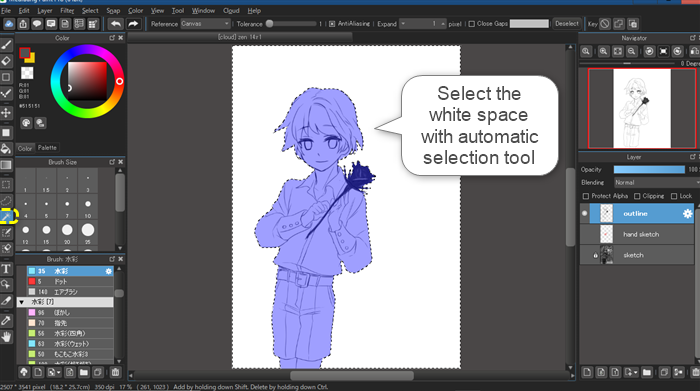
Select Reverse from the menu.
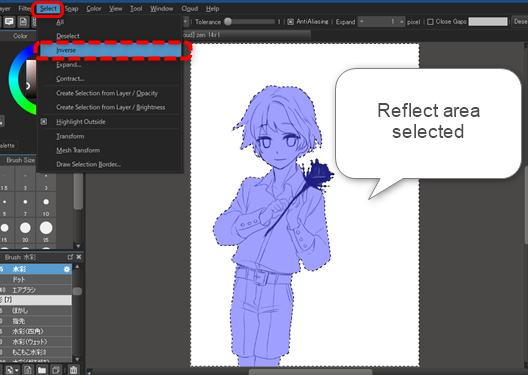
The area selected has been applied to the person.
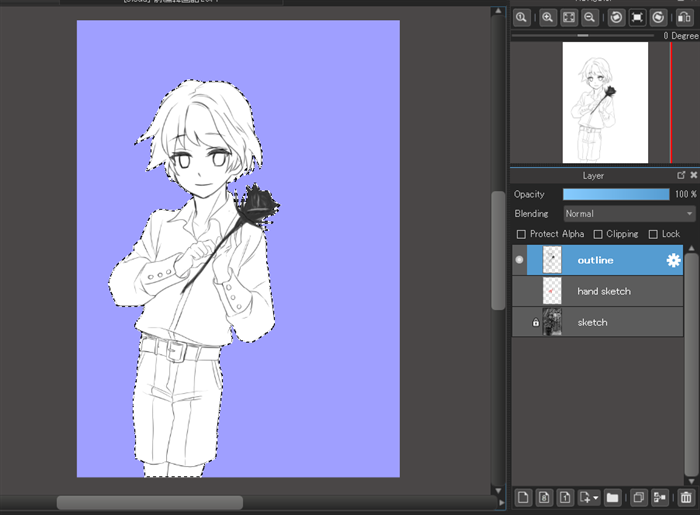
Create a base layer under the line drawing layer to avoid leaking, and fill the base layer with gray.
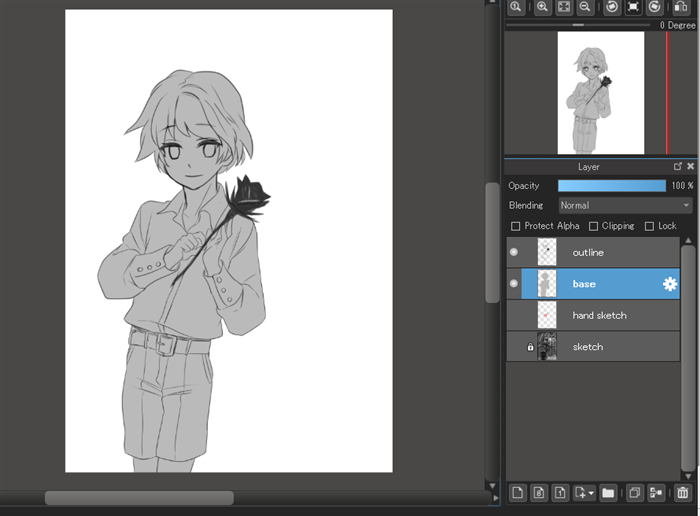
We are done drawing lines of the person.
We will be drawing the background next.
The background
We will be using the roughly sketched background.
Copy the rough draft layer and adjust the degree of opacity to 100%.
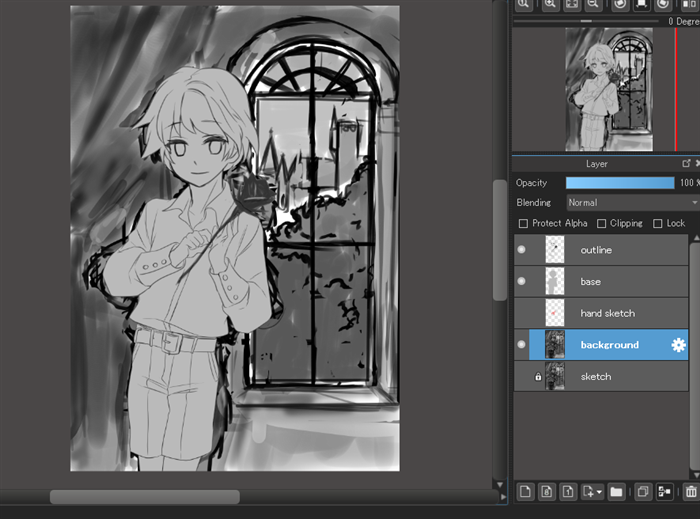
Use airbrushes, watercolor brushes and pencils to create lines and shades.
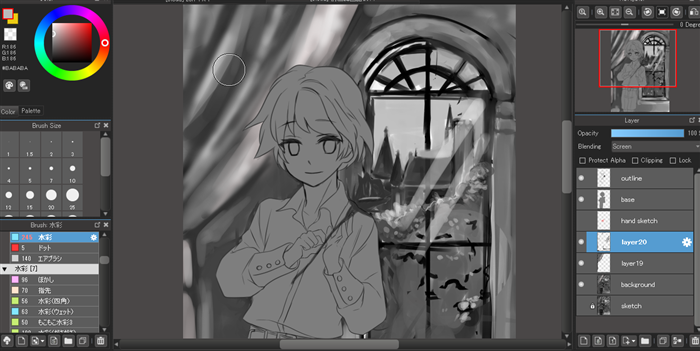
The point is to paint while getting a nearby color with a dropper.
We suggest that you paint the curtain with an airbrush so as to better show the softness of the cloth.
Also, create a new layer with layer blending such as multiplication and screen, and paint the shaded and lighted parts.
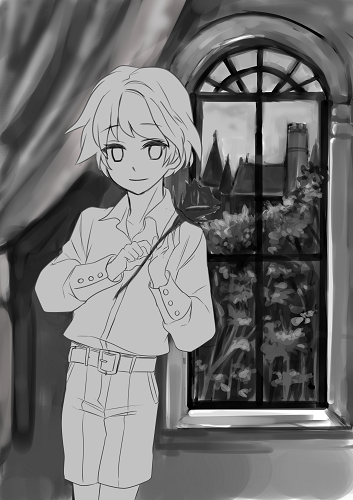
We are done with the background.
\ We are accepting requests for articles on how to use /

