2022.07.01
How to paint sparkly eyes
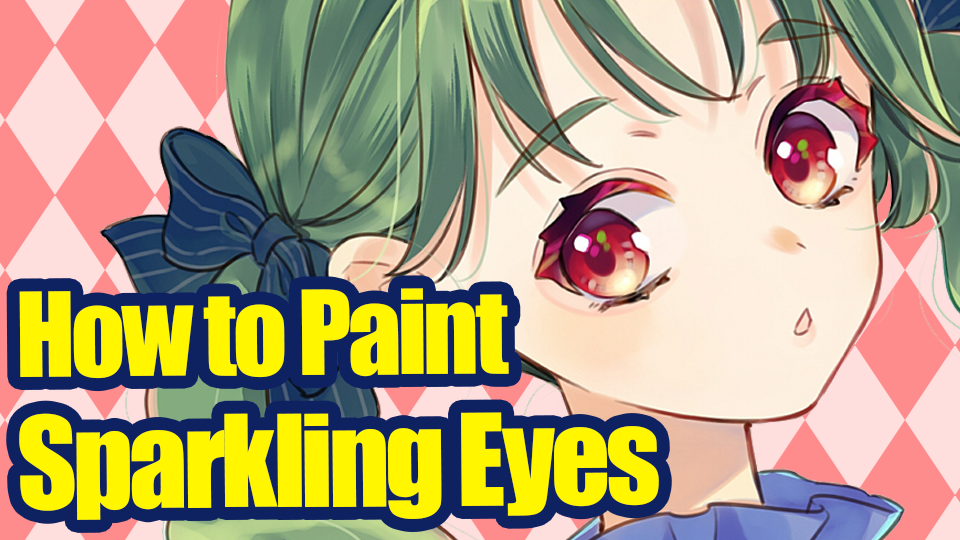
In this article, I will be explaining how to paint sparkly eyes using MediBang Paint (for PC).
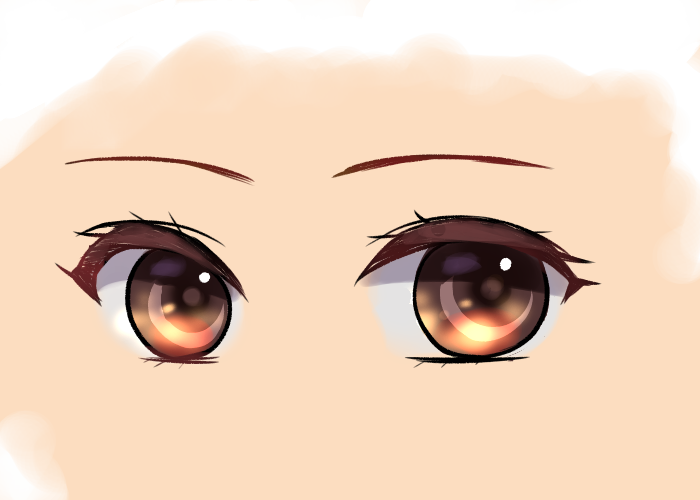
The image below is the finalized piece.
From this illustration, I will be focusing on the eyes and how to paint them.

〈1〉Layers
I mainly use 3 to 4 layers.
・Line Drawing Layer
・Effect Layer (only if necessary)
・Paint (Coating) Layer
・Undercoat Layer
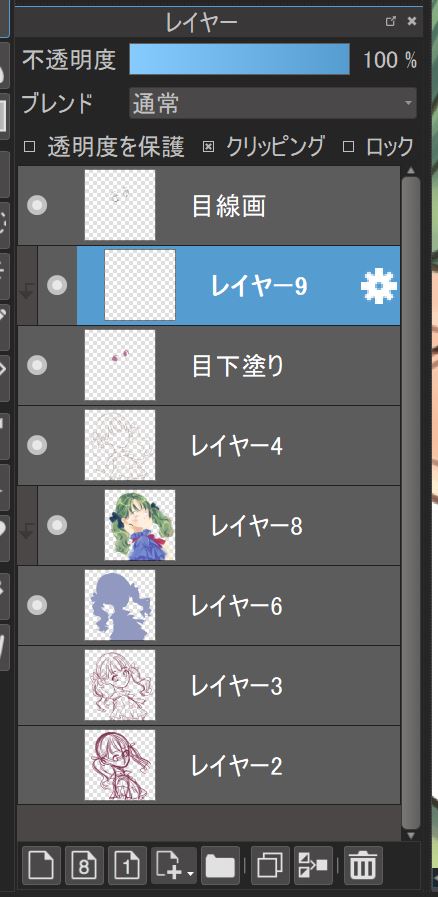
This is how my layers are composed for this illustration. All the layers above Layer 4 are the ones used for drawing and painting the eyes.
〈2〉Painting
1.Undercoat Painting
Create a new layer (Undercoat Layer) below the Line Drawing Layer.
Fill in (with any color you like) all the parts that you want to paint, including the eyelashes.

2.Base
Add a new layer (Paint Layer) above the Undercoat Layer and choose “Clipping”.
Use your desired color (red in this case) for the eyes to fill in the eye parts and make a gradation to yellow, towards the lower part of the eyes.
I used the “Watercolor” brush.


3.Gradation
Now I will be adding more color and paint by creating darker gradations.
First, draw the pupils in the center of the eyes.
Use a darker color than the base color, which is red in this case.

Add more colors to make the upper part of the eyes the darkest.
For this process I’m only using the Paint Layer.
It’s easier to make gradations using the same, single layer when you add all the colors.


4.Light Reflection
Let’s draw the reflection in the upper part of the eyes.
First, paint with an even darker color and cover it using a bluish purple with low saturation.
To leave the dark color apparent around the edges, add some purple on the top.


5.Eyelashes
Now I will paint the eyelashes.
Paint with a gradation so the center area will be the darkest.


6.Highlights
It’s time to add the highlights.
This is the most exciting part since adding the eye highlights make the illustration look much more vivid.
Before adding the color white, draw the highlights with the color pink and make sure to leave the pink visible around the rims when you paint the highlights using white.
I chose the “Pen” brush to make the highlights look crisp here.
It doesn’t have to be drawn using just the “Pen” brush, you can use any brushes with clear edges.


I will be adding more variations to the hue of the eyes.
You can make the eyes look more lovely using a highly saturated color from different hue scales.
I added some yellowish green for this illustration.
Unlike the highlights, I wanted to create a soft impression so I chose the “Watercolor” brush.


7.Effects
Create a new layer (Effect Layer, which is Layer 10 here) on top of the Paint Layer and choose “Add” for Blending and click Clipping.

To the lower part of the eyes, add some round light effects using the color yellow.
Lower the opacity of the layer to tone it down.

8.Adjusting Colors for the Outline
Lastly, adjust the colors used for the line drawing to blend with the whole picture.
Create a new layer (Layer 11 here) above the line drawing layer and choose Clipping.
Change the color of the line drawing to brown or orange so the edges have a brighter hue.


With this step, the outline now looks well blended with the whole illustration compared to when it was set to black.
The eye painting process is complete!
〈3〉Finishing touches
Lastly, adjust the hue and retouch some areas a bit.
For this illustration, I used the “Watercolor” brush to draw the line drawing so the overall impression came out nicely.
I added a little bit of sharpness using the “Unsharp Mask” from Filters.
This is the finalized piece!

(Text・Illustrations/りーりん)
*twitter @ichidanmepile
*instagram @ichidanmepile
*web site https://ri-rin.jimdosite.com/
\ We are accepting requests for articles on how to use /

