2022.11.07
Let’s draw spring illustrations with cherry blossoms
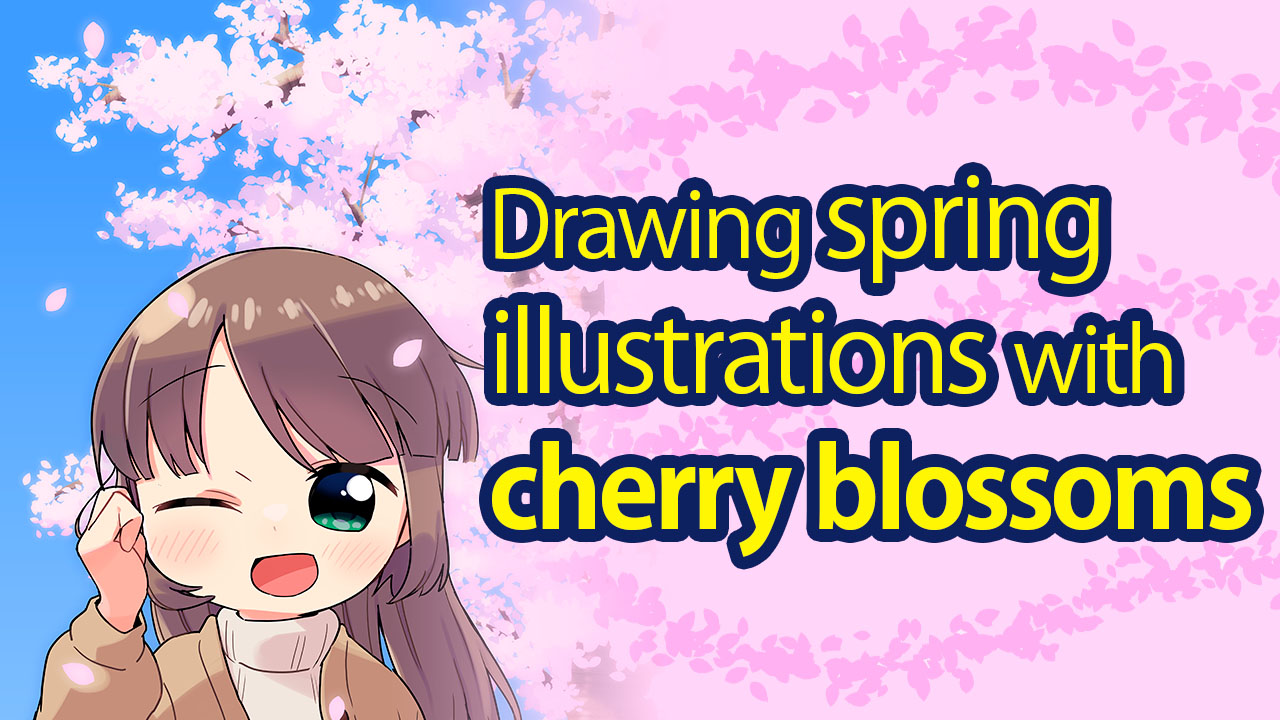

Cherry blossoms are symbolic of the spring season.
In this tutorial, I will be discussing the tips for drawing an illustration with cherry blossoms as its background, showing each step of the making process.
I hope this helps with your spring illustrations!
Rough Sketch

I decided on the rough composition before I started drawing.
For Cherry Blossoms
Let’s start off with the background cherry blossom.
Trunk・Branches

Once you draw the main trunk, start growing the branches then draw in the sprigs.
Don’t make the color too dark.
Flowers
I will start drawing the flowers using a Scatter brush of leaves.
For details on registering brushes, please read the article below.
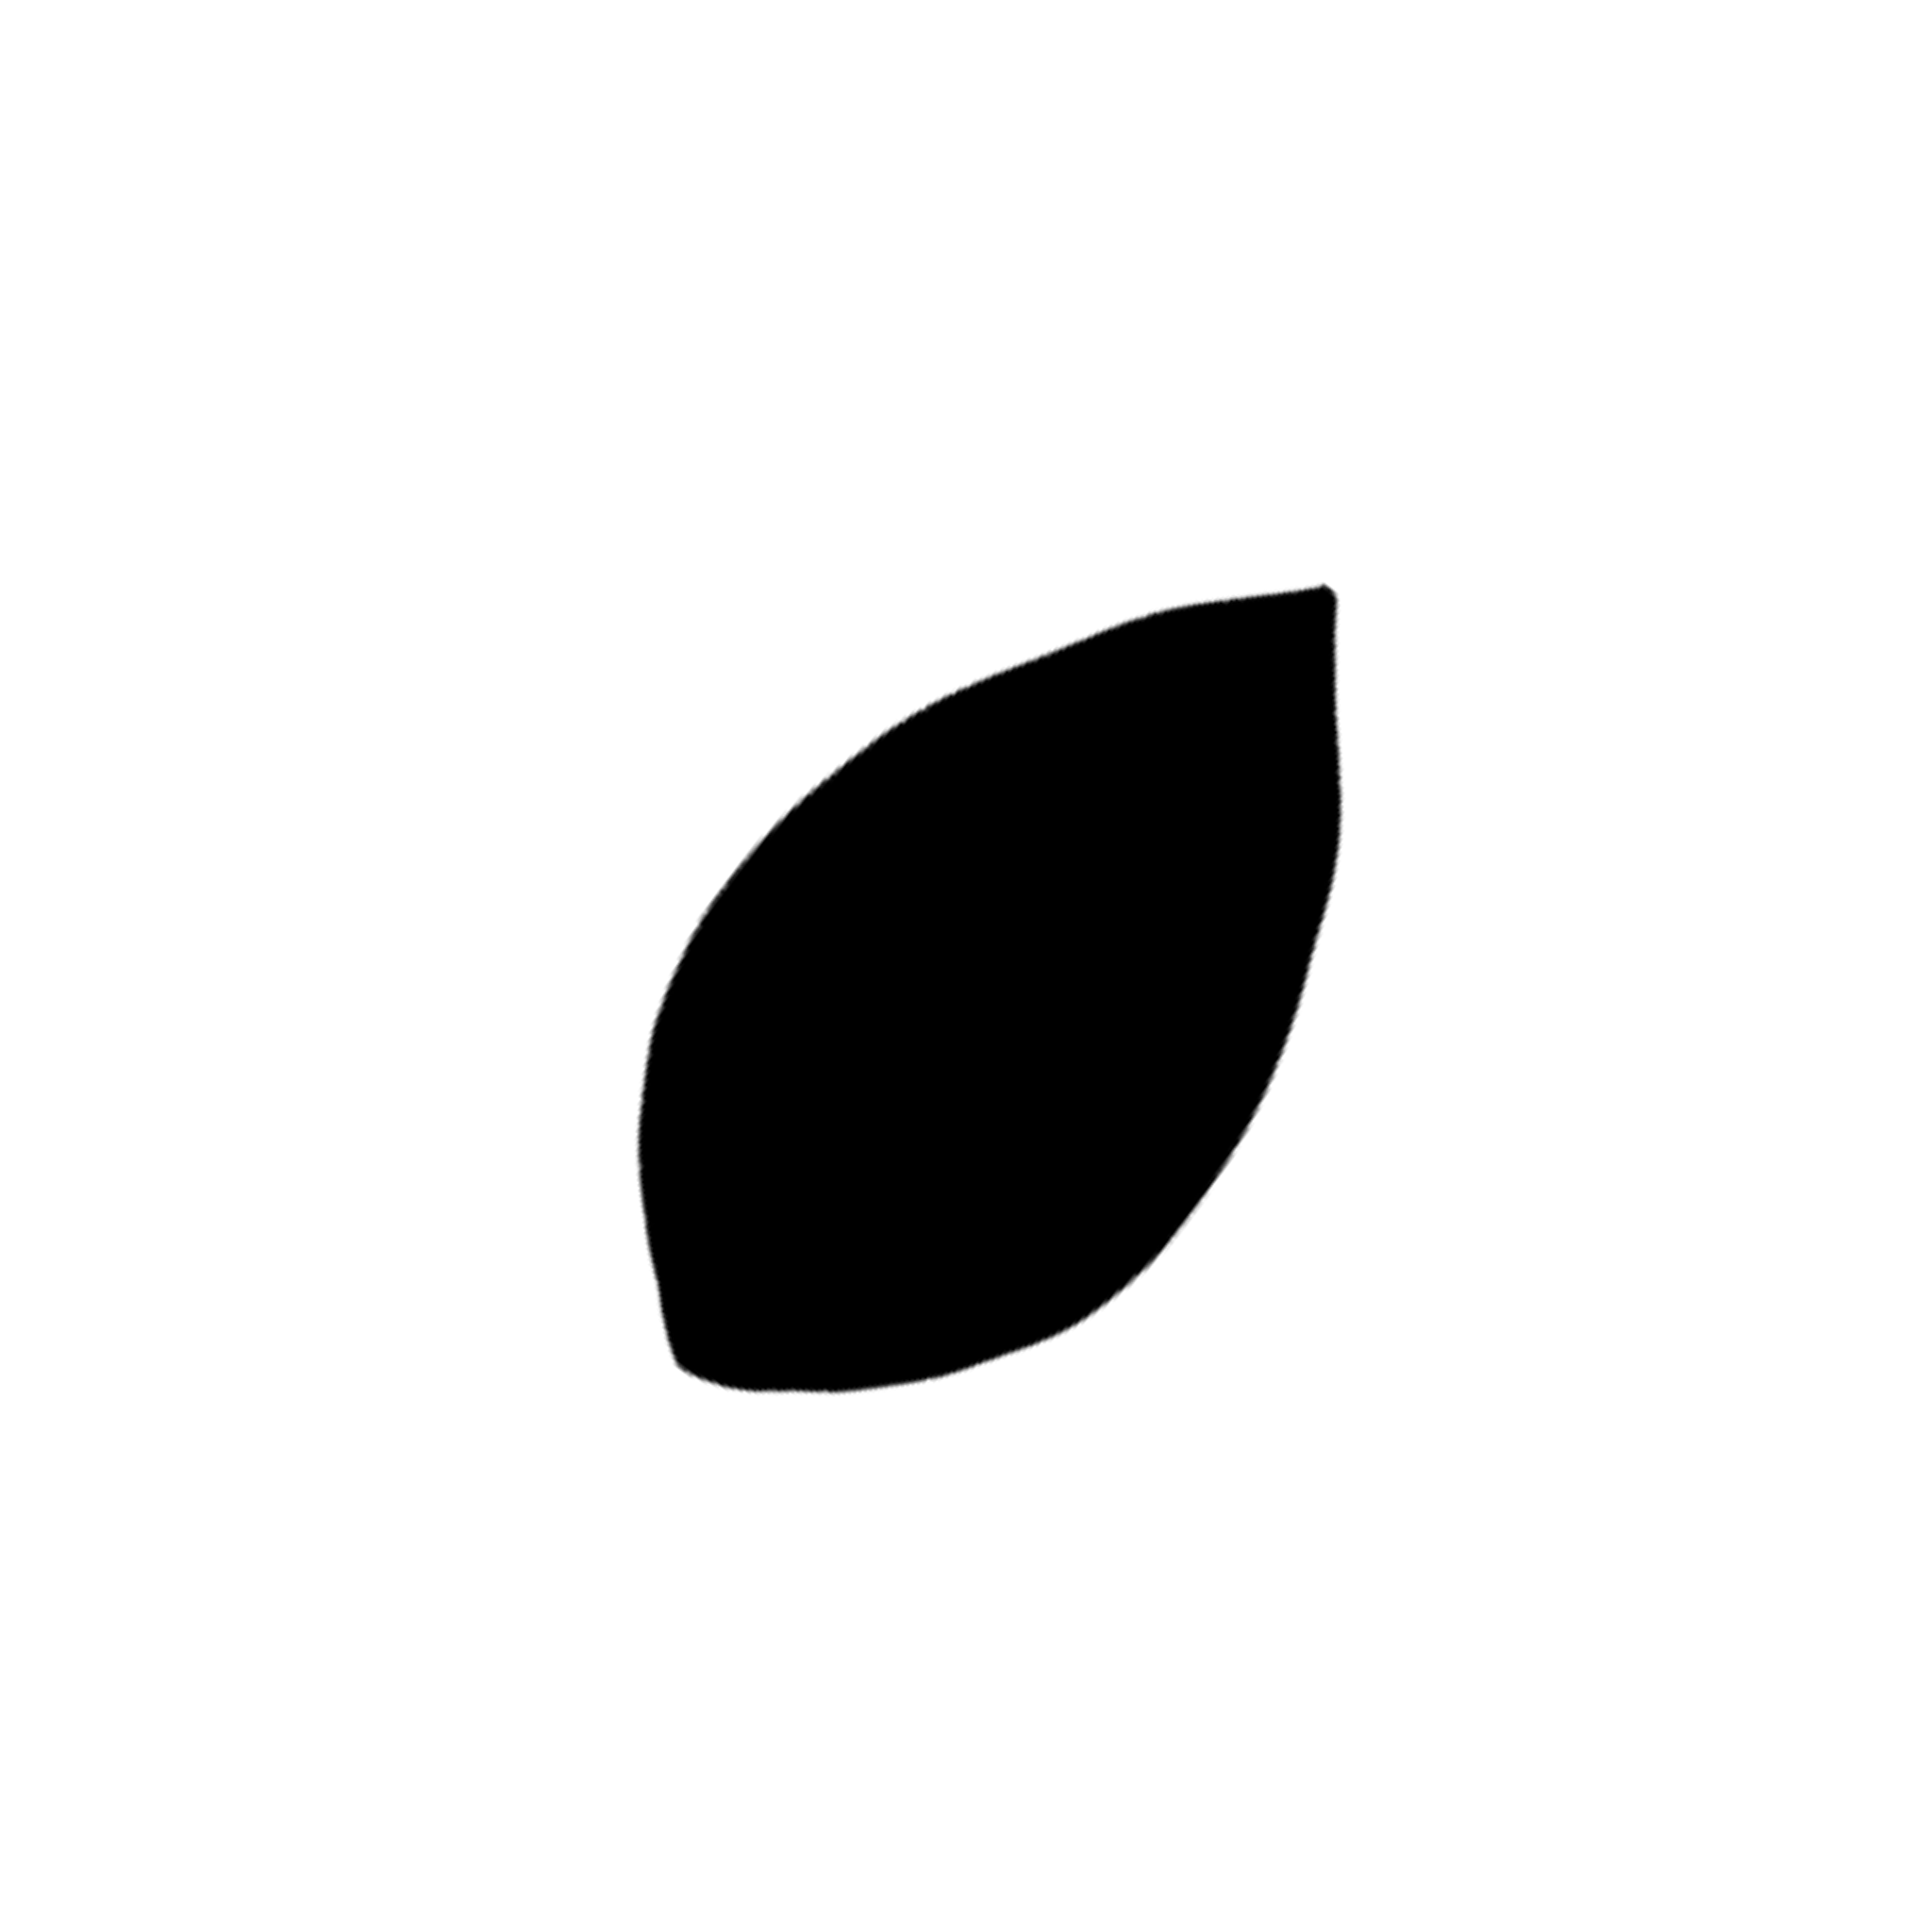
Draw a simple leaf shape like the one above and choose “Scatter” for the Type, adjusting each parameter when you register the brush.
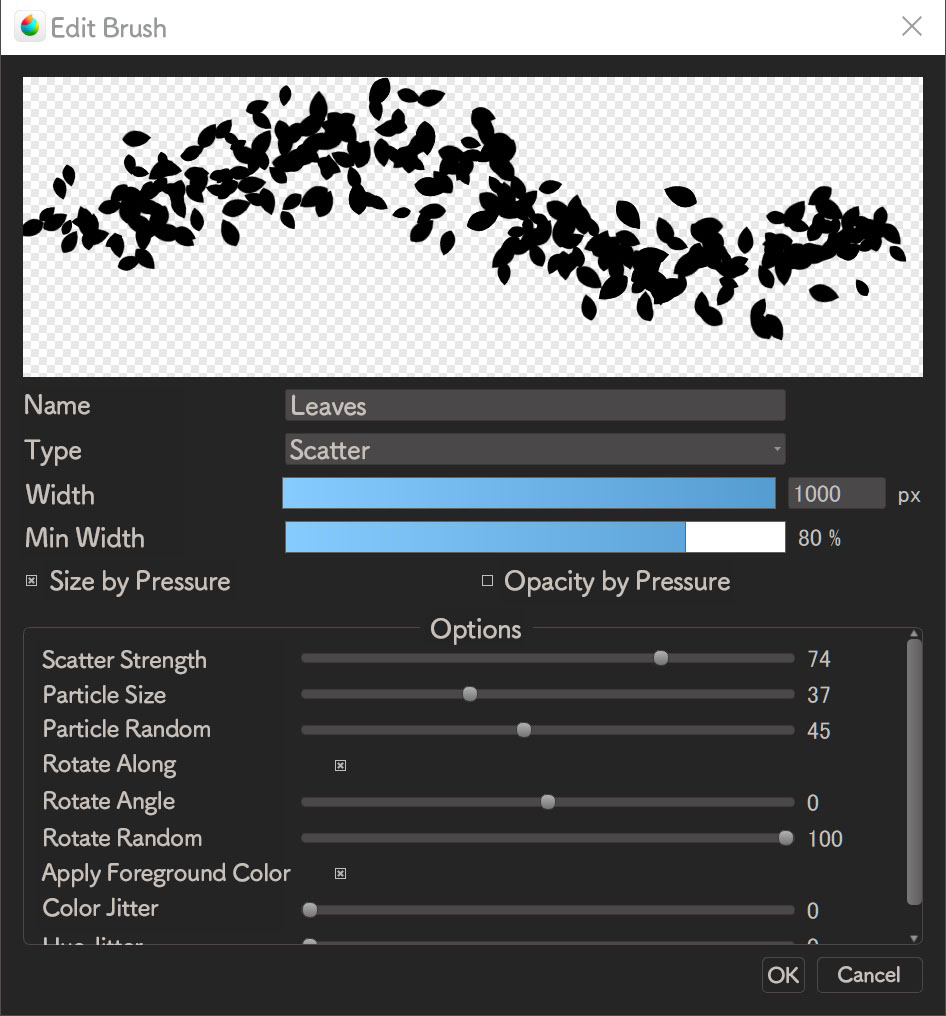
Choose the appropriate density so it doesn’t look too crammed nor too empty.
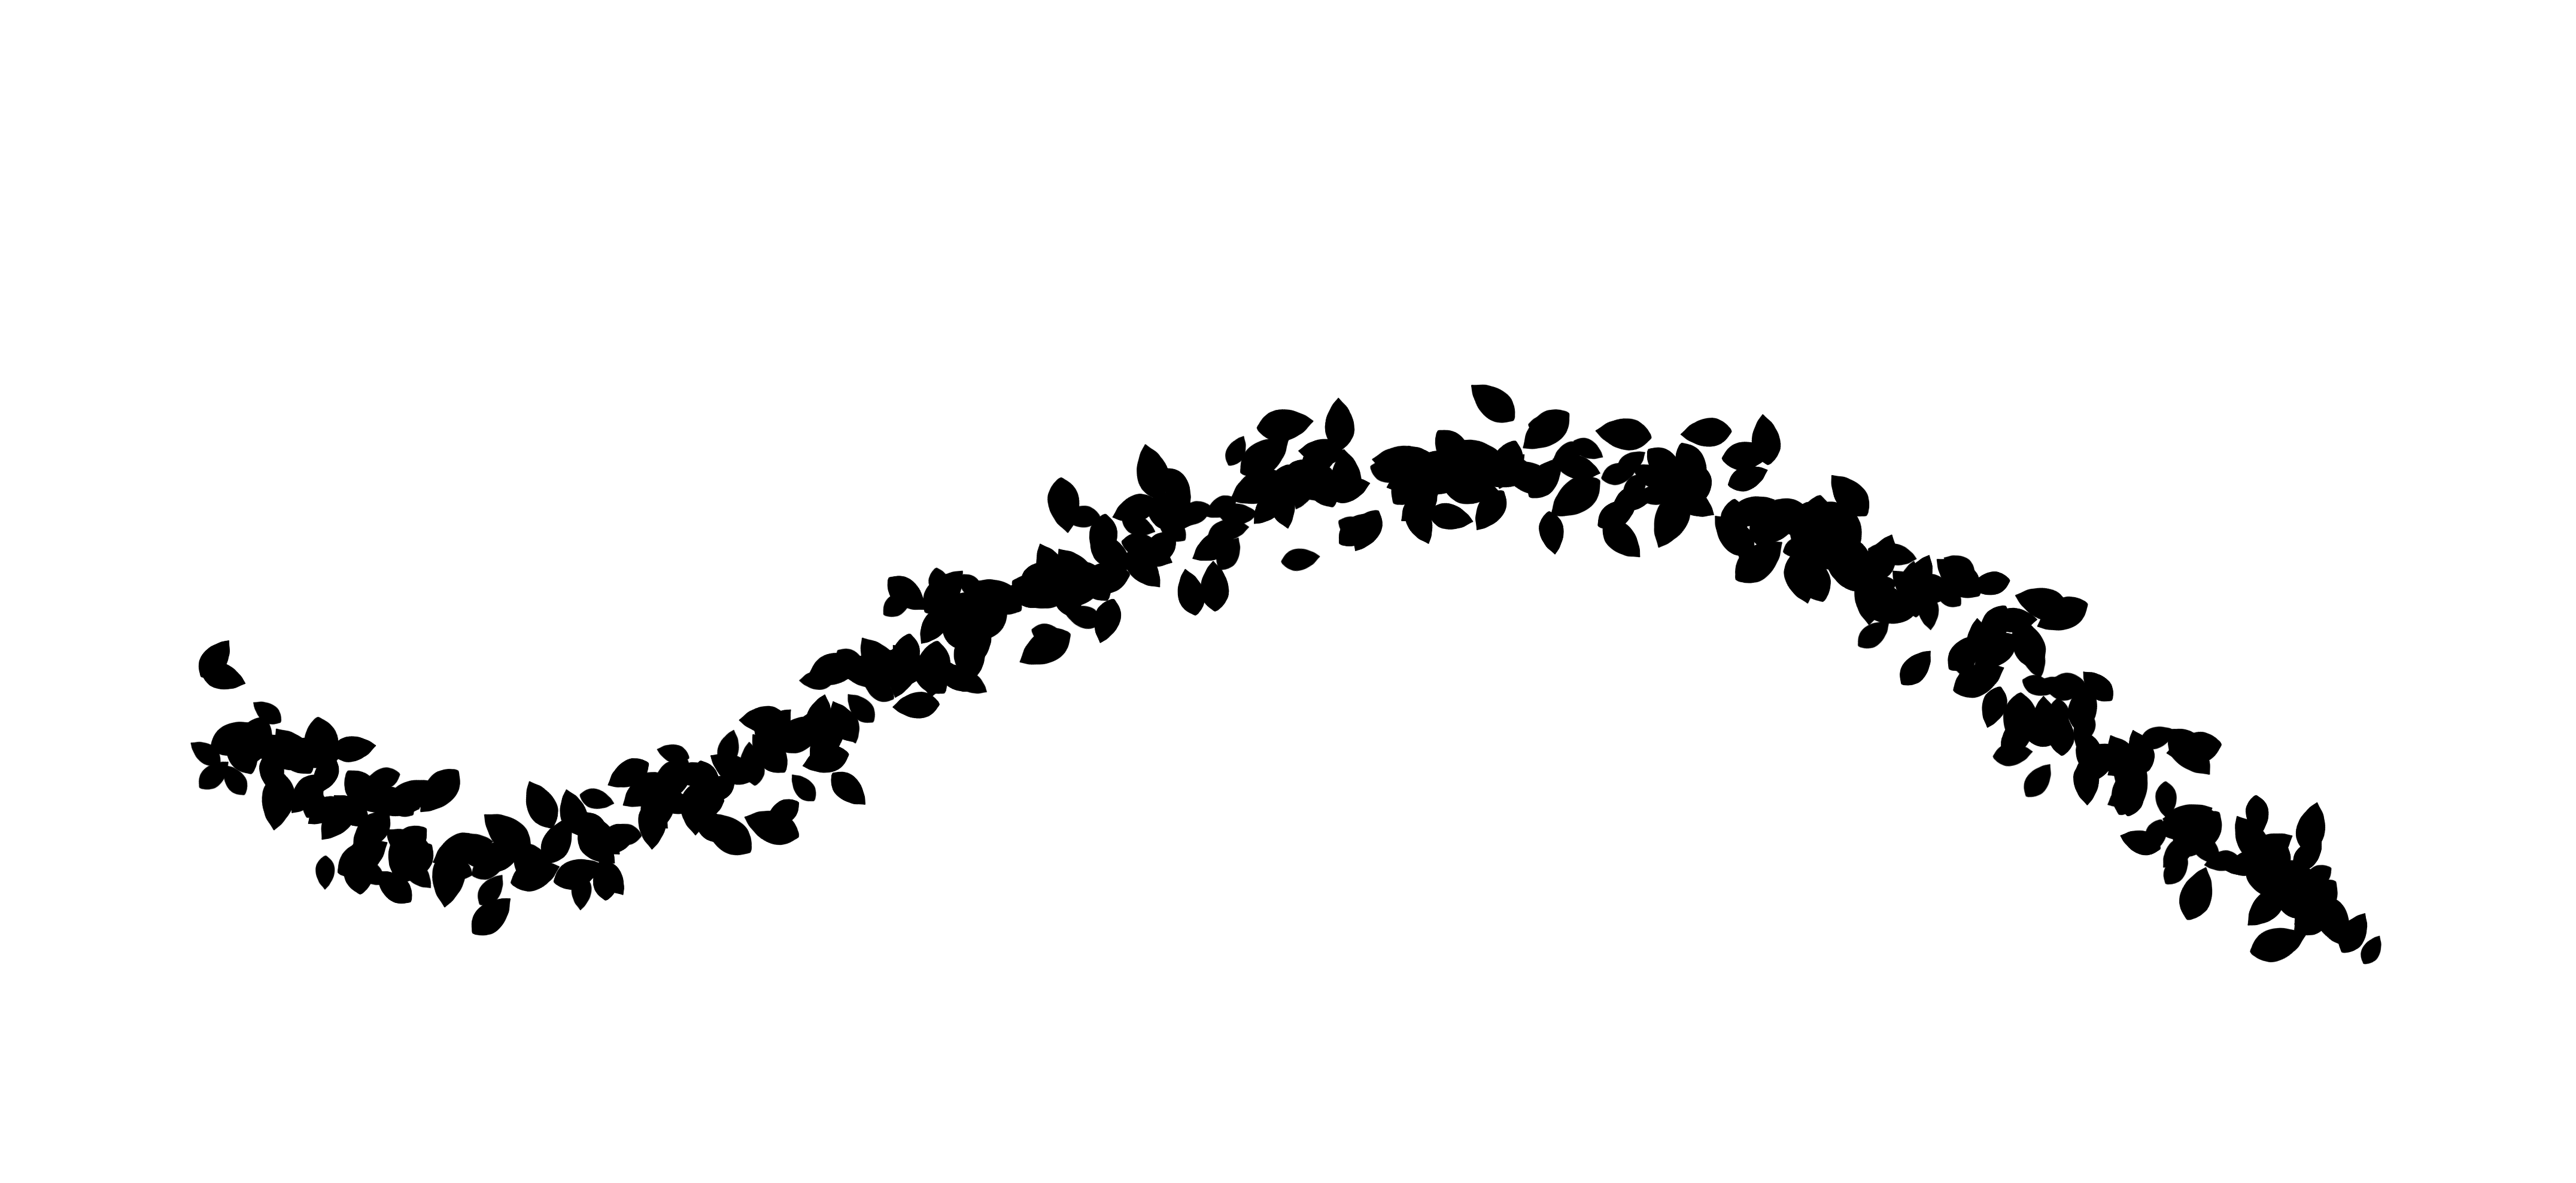
Now you are ready to draw the flowers!
Let’s start blooming the tree!
You are now the Hanasaka Jiisan!

The cherry blossoms are in full bloom! The tip here is to keep some sprigs visible.
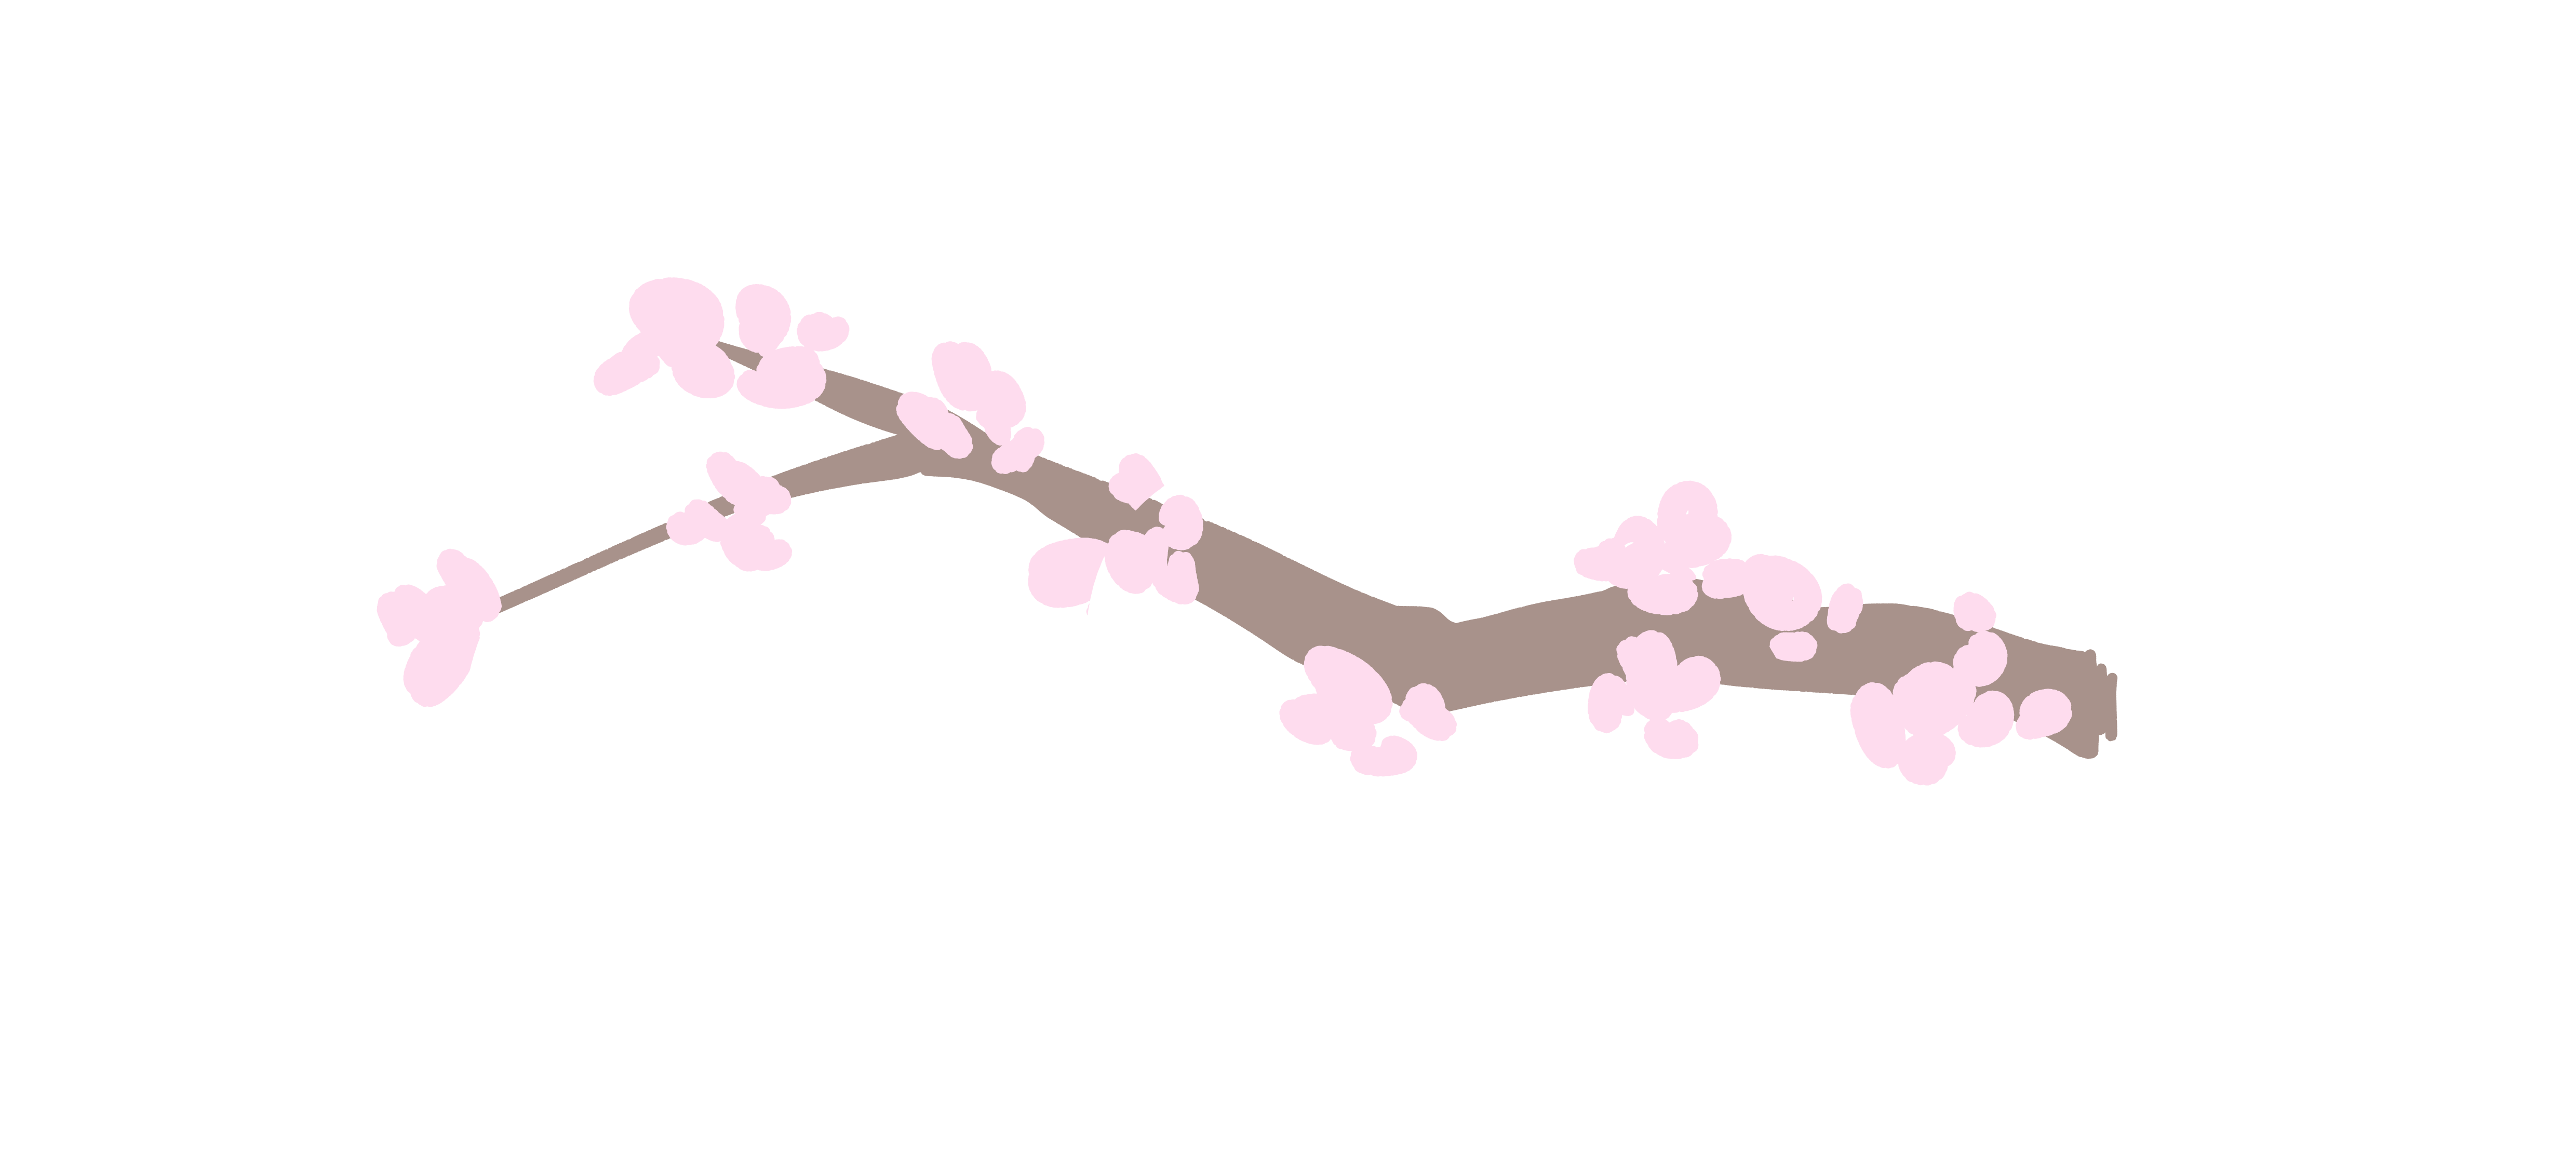
For the sprigs extending a little, add flowers like the image above.
Instead of covering the whole twig, try making small chunks of flowers here and there.
You can achieve a realistic look if you let a single cherry blossom bloom at the tip of sprigs.
The illustration for this tutorial is composed of three layers; “flowers in the front”, “trunk・sprigs”, “flowers at the back”.
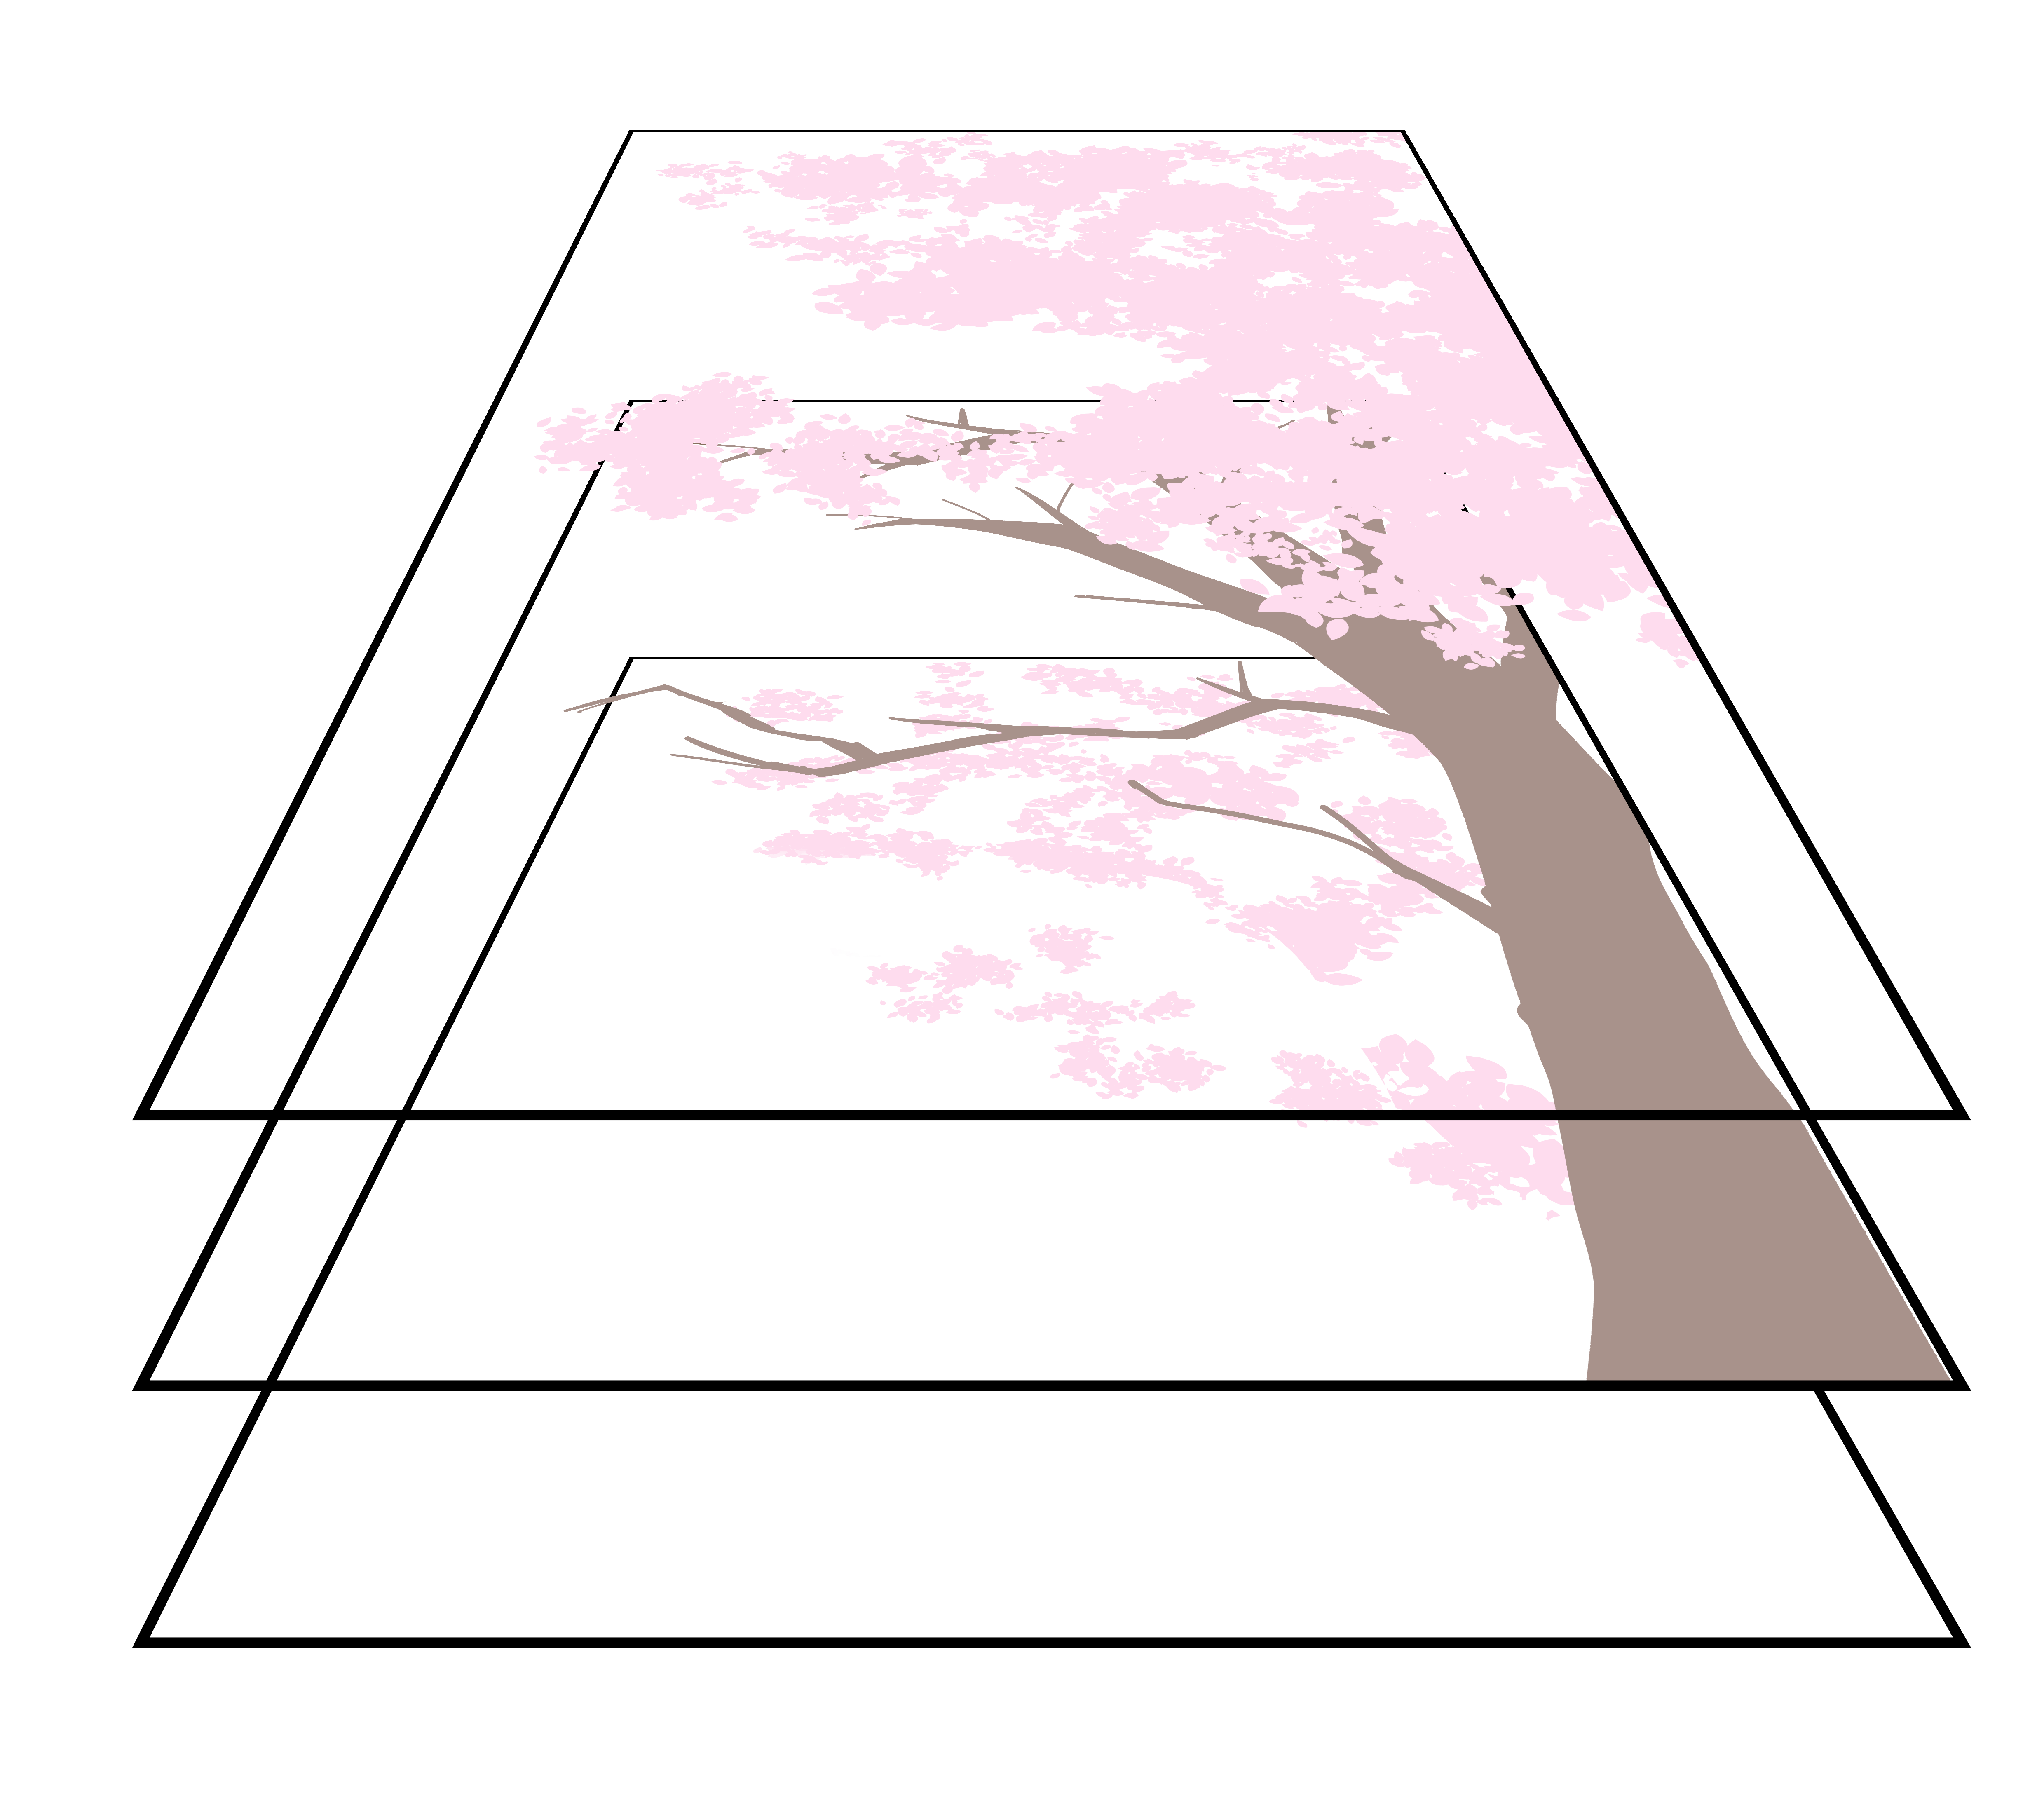
Just like the image above.
This will make it easy for you to change the color of the “flowers at the back” after you are done with the painting process!
Shadows

Let’s start shading.
Paint them like clouds, using a pale color.
You can make the tree look three-dimensional by drawing darker shadows for the “flowers at the back” layer.
I will also draw the texture of the tree trunk as well.
Cherry blossoms are characterized by the stripe looking patterns on the tree trunk (depends on the species) so make sure to add such details.
Final Touches

Adjust the overall texture and draw the background sky to complete!
You can create a realistic spring look by lowering the saturation for the blue sky.
For Characters
Next, let’s draw the character.
I will draw a cute character to match the background.
Line Drawing

Let’s draw the line drawing.
Make sure to draw a soft and warm outfit.
Undercoat

Recreate the spring feel with calm, gentle colors with moderate saturation.
Shadows

Let’s add shadows to the character.
Use a pale purple as the base color to paint the shadows on a layer with Multiply blending.
Highlights・Adjustments

Add highlights to the hair and the skin. Adjust the color of the line drawing to blend well with the rest.
Final Look

Combine the cherry blossom layers with the character layers and make the flower petals flutter over the character! Make some adjustments to the overall hue and now you are done!
The spring season is well portrayed!
Lastly
How was this tutorial?
I hope this becomes useful for when you want to draw illustrations with cherry blossoms like hanami or entrance ceremony scenes.
(Text・Illustration/つかさん)
\ We are accepting requests for articles on how to use /

