2023.01.05
How can you protect your work from image theft and secure your copyright? 3 strategies!
 With video

Sadly enough, here in this society, there are some people who steal works created by others and claim that “this is what I made ?” or “although my skills aren’t good enough, I did my best to draw this ha-ha (*´∇`*)”.
…Unfortunately, this is what actually happens.
It is quite difficult to reduce the number of people who commit image theft or make fraudulent copyright assertions. So in this article we will learn 3 things you can do to prevent image theft and false copyright claims.
Index
Add your signature to your artwork
Use text tools to add characters such as your SNS ID or URL, and image theft warnings.
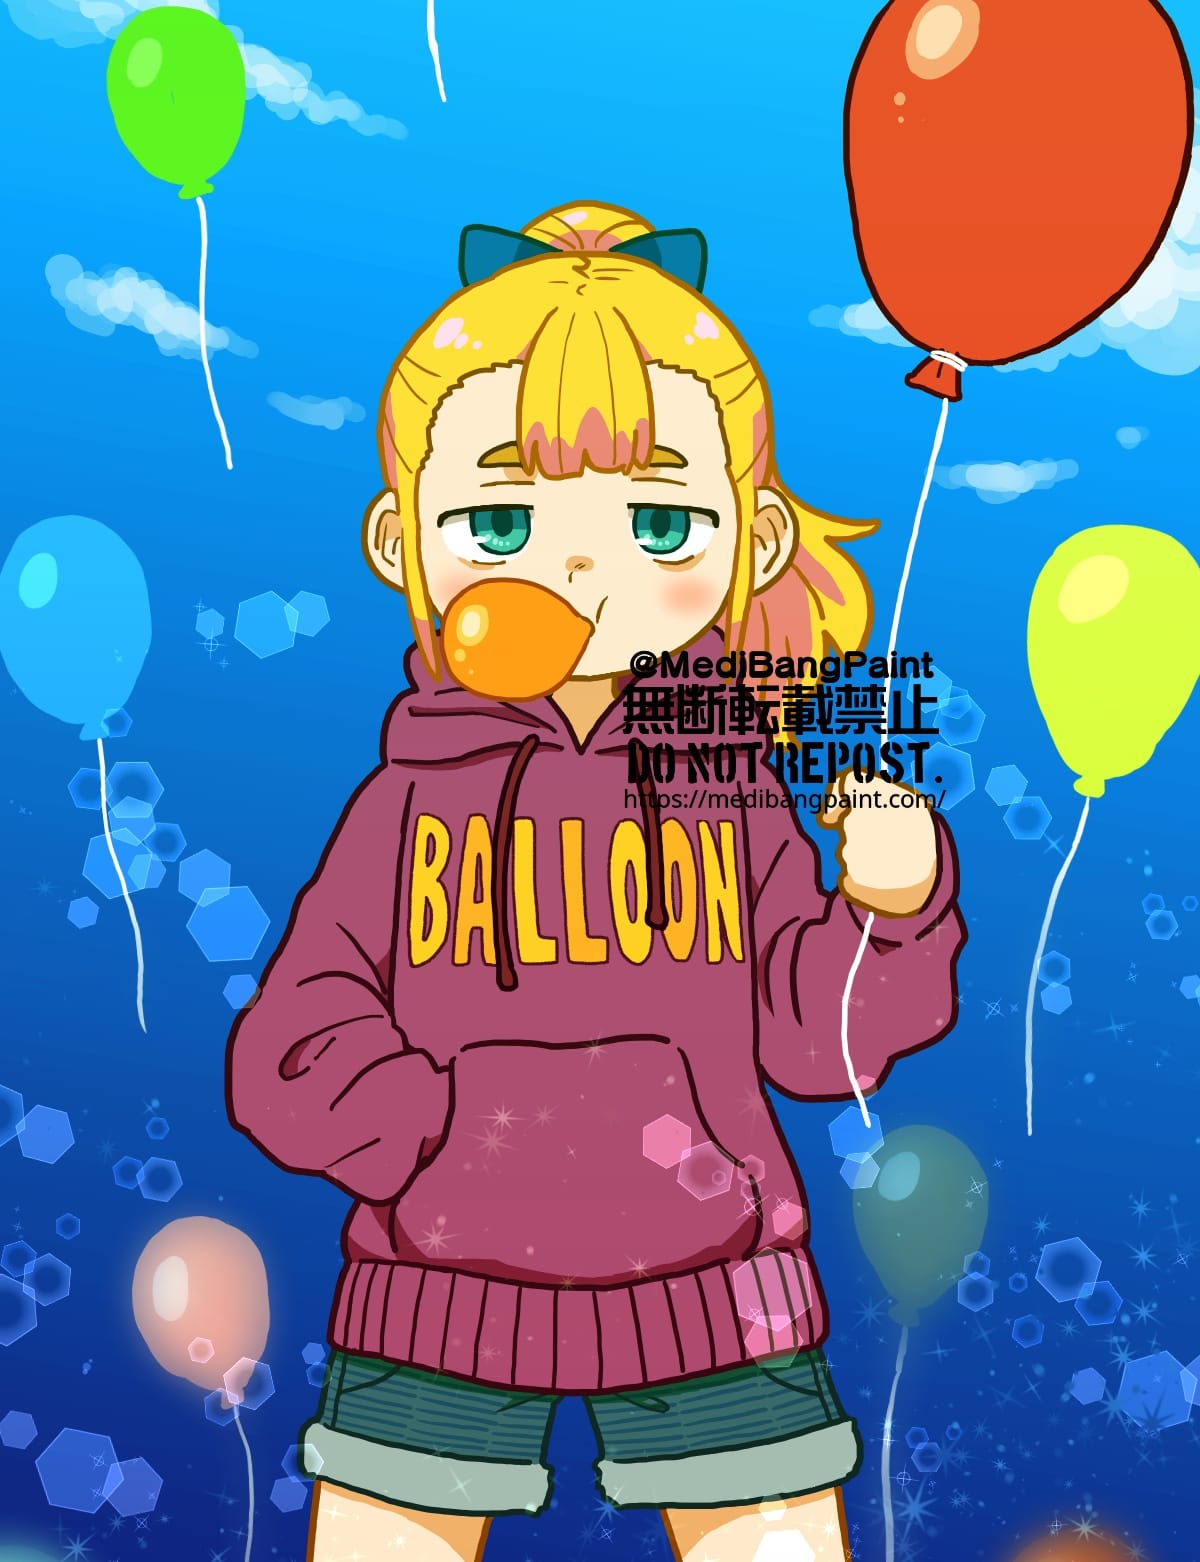
・@MediBangPaint (← SNS ID)
・無断転載禁止 (← “Do not repost” in Japanese)
・Do not repost.
・http://medibangpaint.com/(←URL)
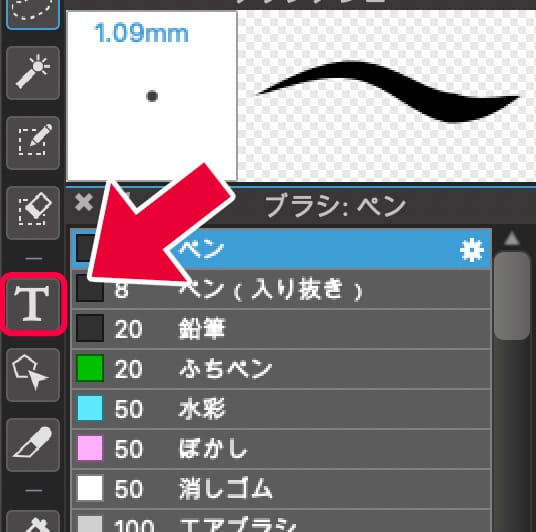

There are many types of fonts available so you can choose what you like.
Read the article below to learn the basics of using the text tools.
If you don’t want the text to stand out more than the drawing itself, try reducing the opacity a little.
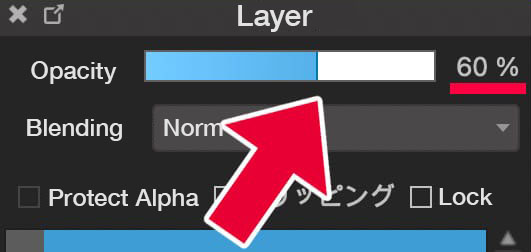
But still, it should not be too faint. The most important thing is to make the word “do not repost” recognizable.
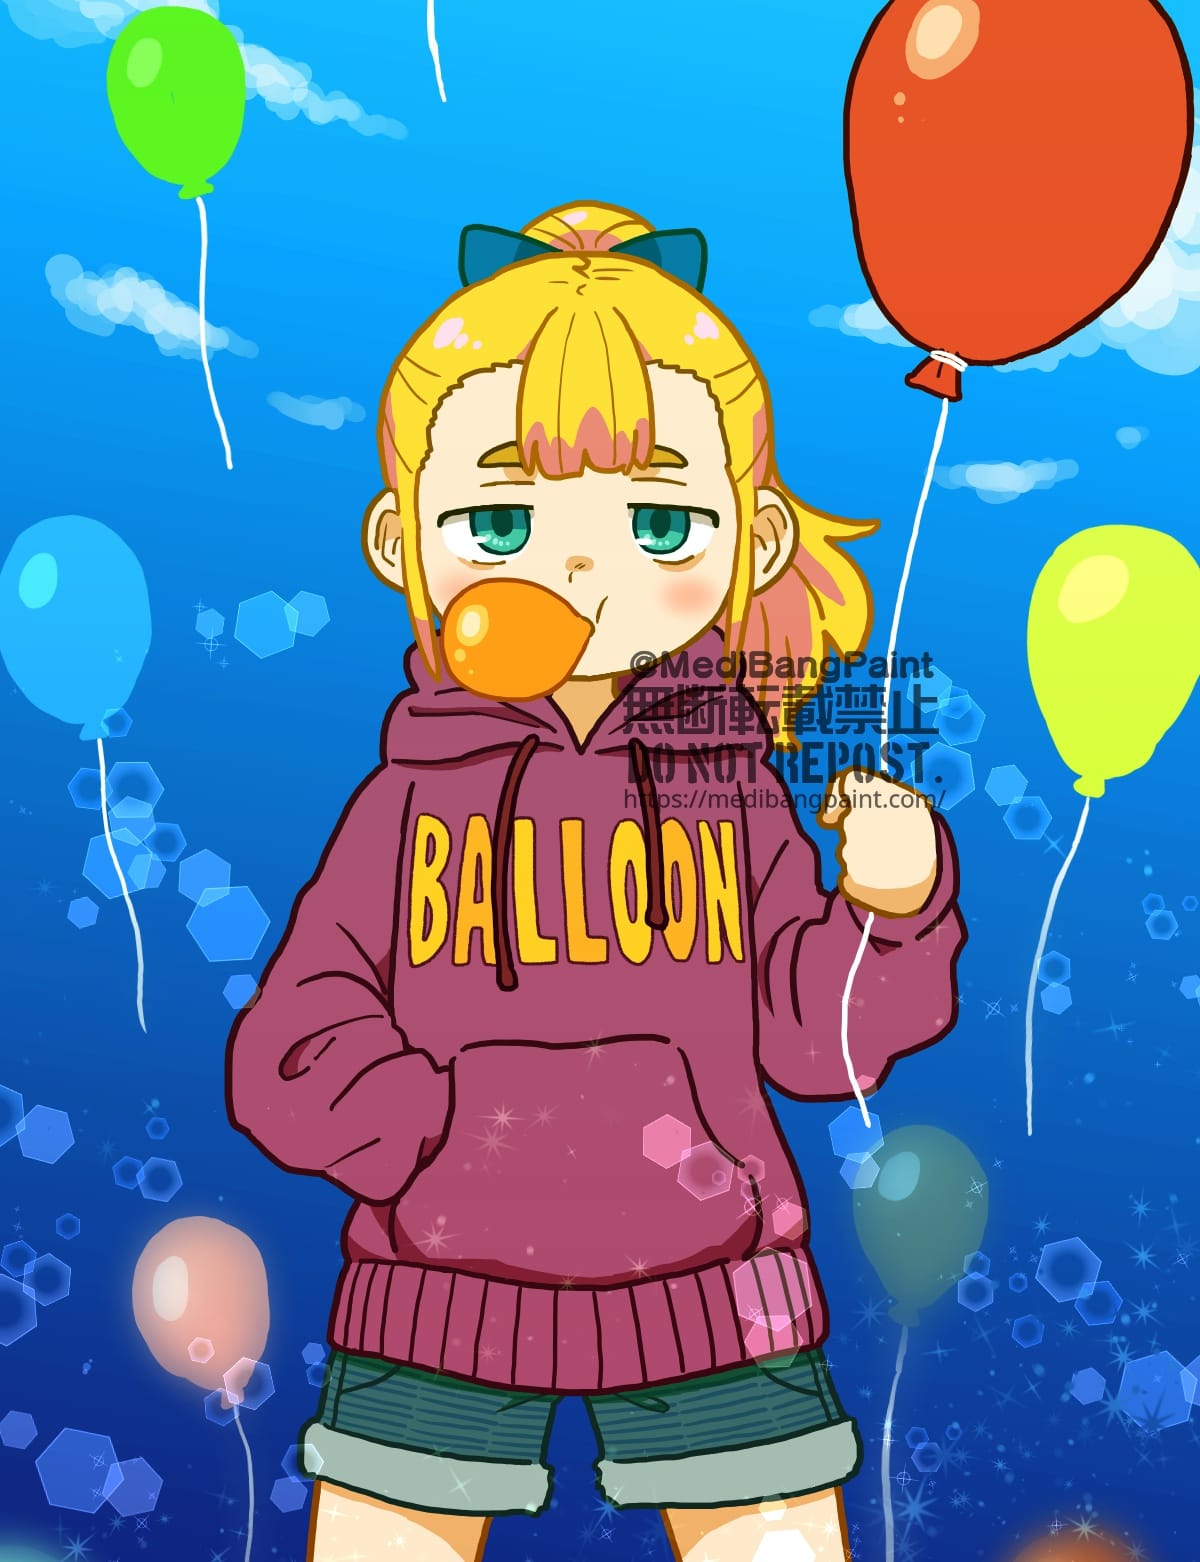 ( ← I’ve left the opacity as it is readable)
It is also a good idea to add your handwritten signature using the brush tools.
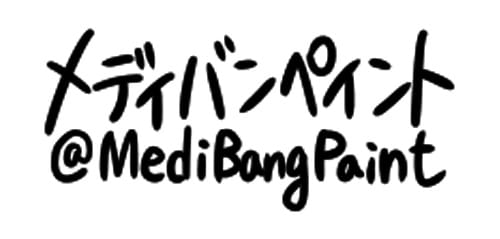
If possible, add the signature so that it covers significant parts of the drawing. This is because a signature in the corner of the picture is easy to cut out and the work is easy to plagiarize.
Although you may not like it, put the signature as close to the face as possible.
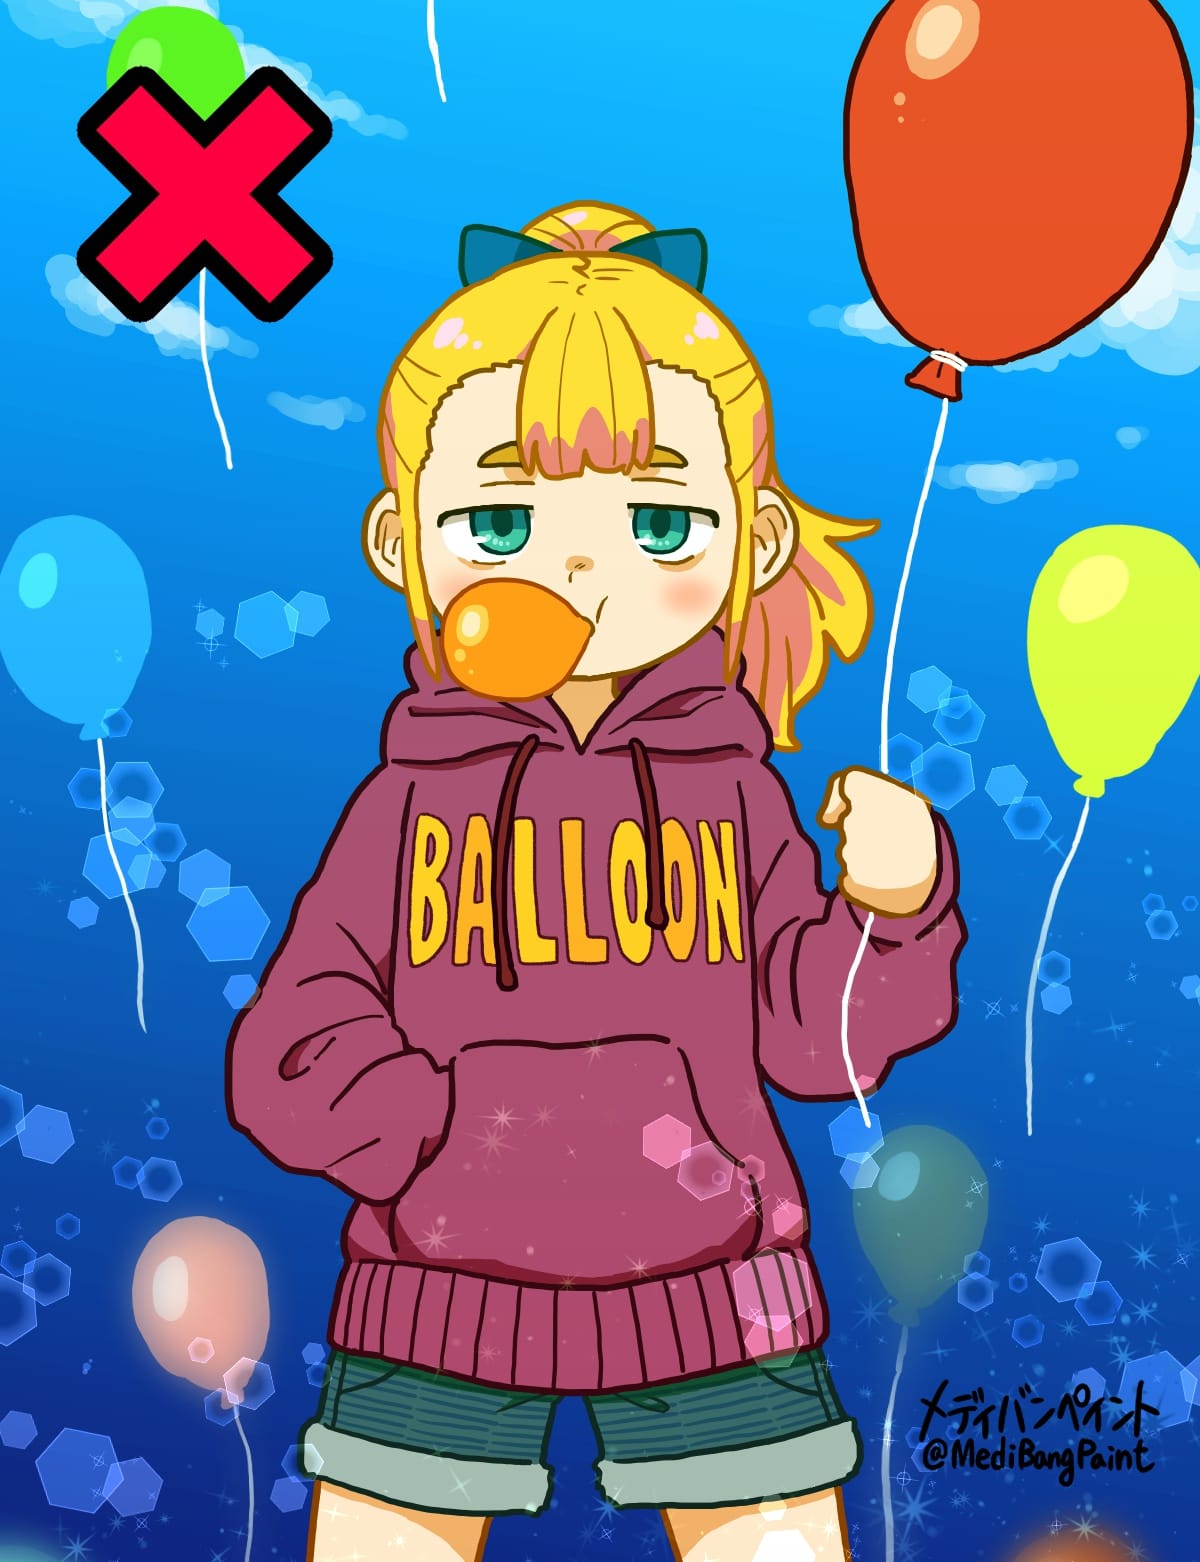
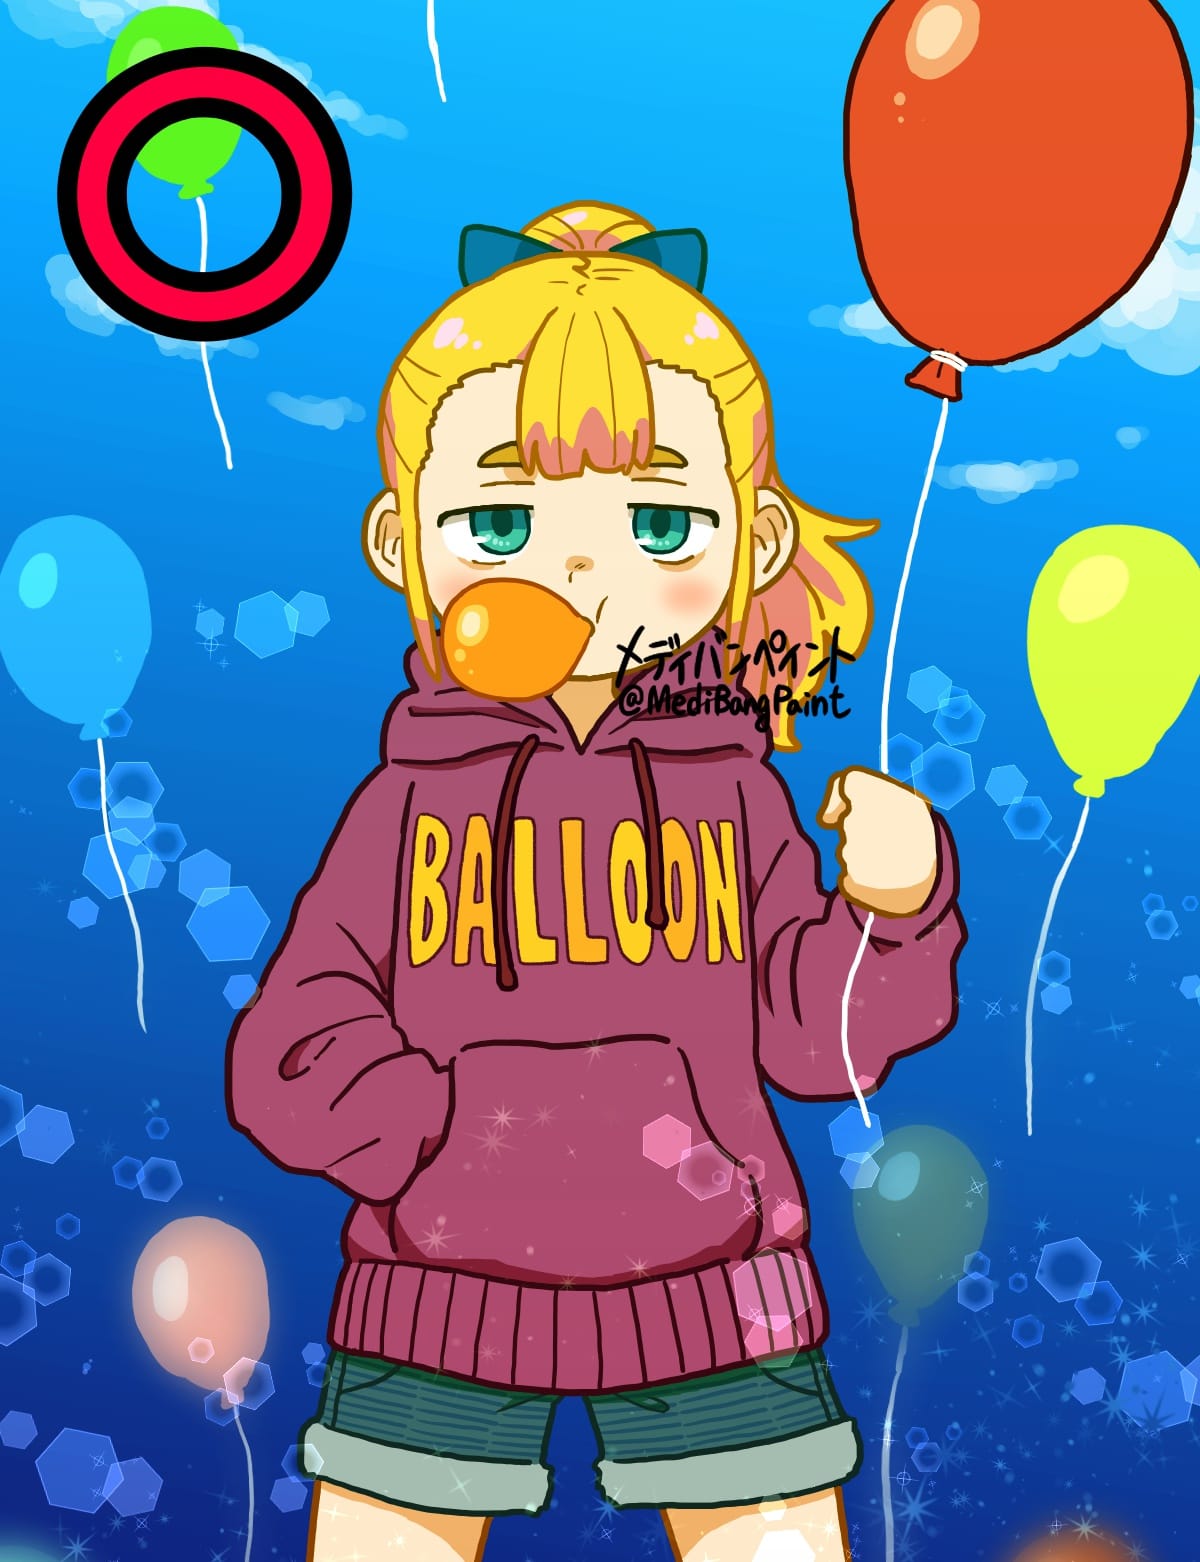
(Left) It is easy to erase the signature that is not on the character. There is also the risk that it will be cut off, leaving only the character’s face.
(Right) The signature is on the character’s face which is an essential part of the artwork. This prevents the face from being cut out.
Add watermarks
This is what we call a watermark – a viable strategy for protecting artwork against reposting.
If you just add a signature, it may well be deleted and re-posted, so a watermark is also recommended in conjunction with the signature.
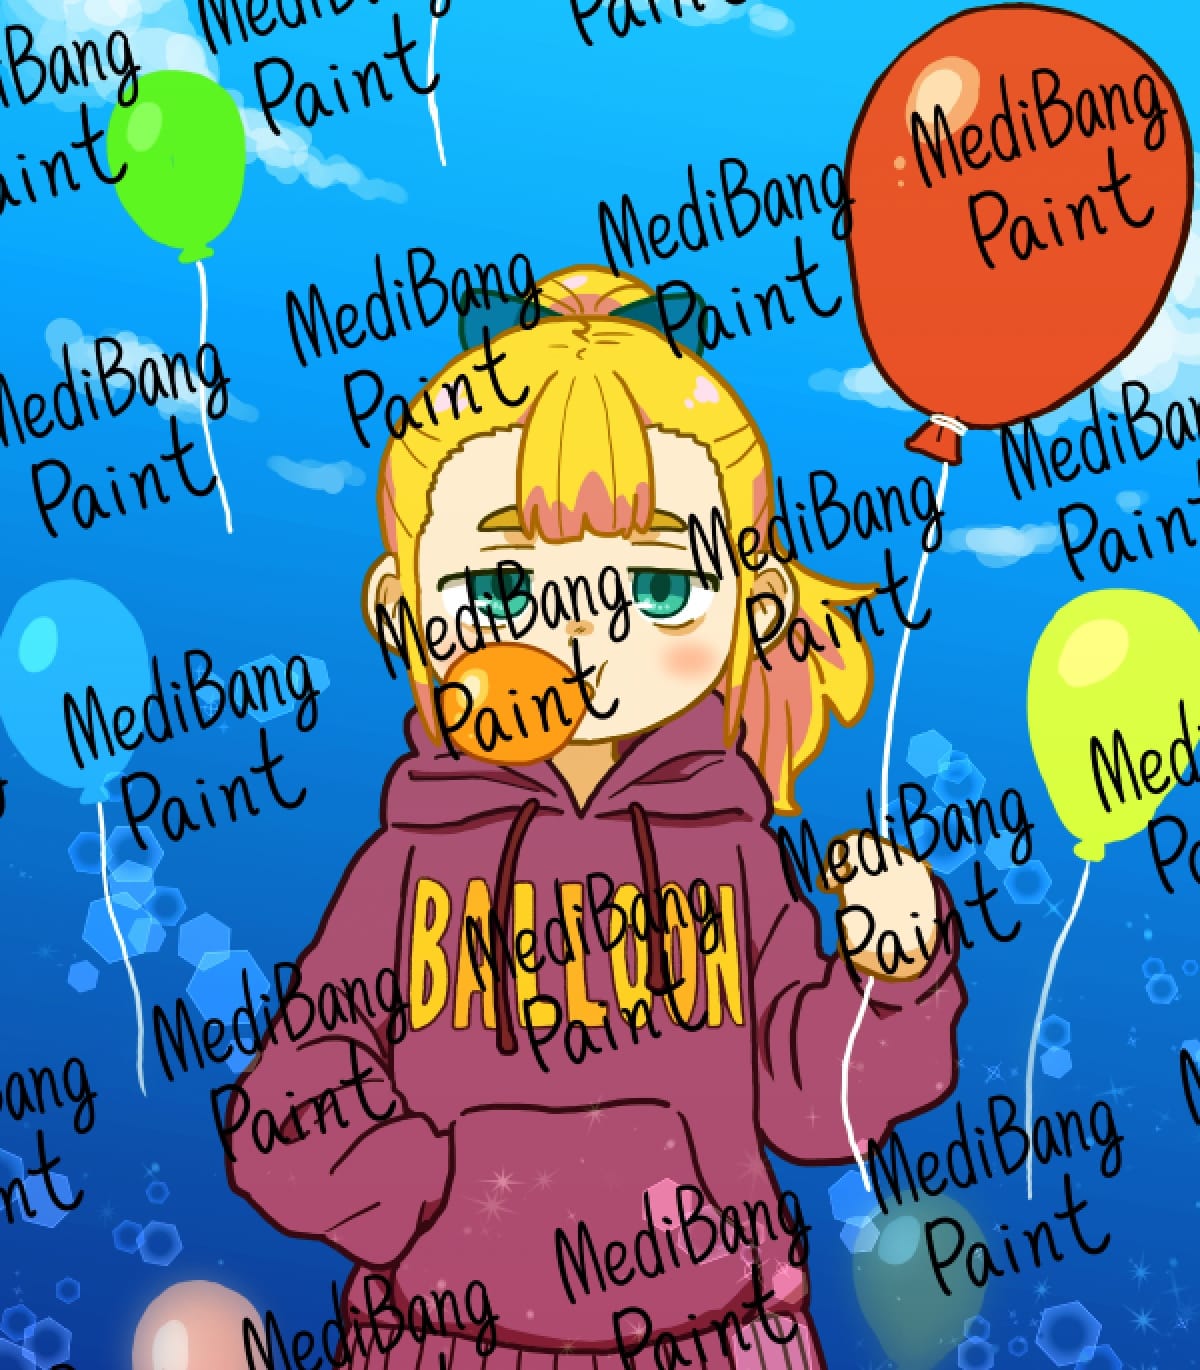
However, these bold watermarks make the work less attractive…
Now let’s make them faint so they don’t stand out.
(The watermarks lose their deterrent effect against image theft or false copyright claims, but are still effective if you become a victim of these fraudulent acts.)
Select [New…] from the [File] menu to open the [Create New Image] window.
Set the width and height to [500 pixels] each.
※ What we’re about to do won’t work if you go beyond 512 pixels, so leave it at 500.
Set the background color [Transparent]. I encourage you to do this. This will make the image easier to view.
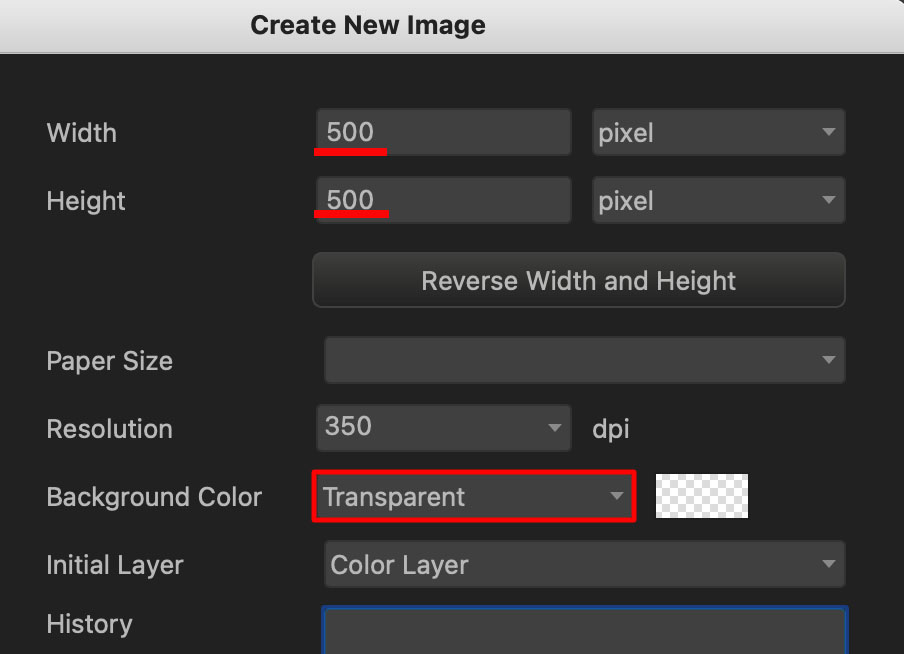
The next step is to do one of the following: A. or B.
A. Writing text using text tools
Select a text tool and type the letter you want.
It is important to leave some space around the letter.

B. Handwriting text
Or you can add handwritten text instead of using the text tools.
Write the letter with your preferred brush.
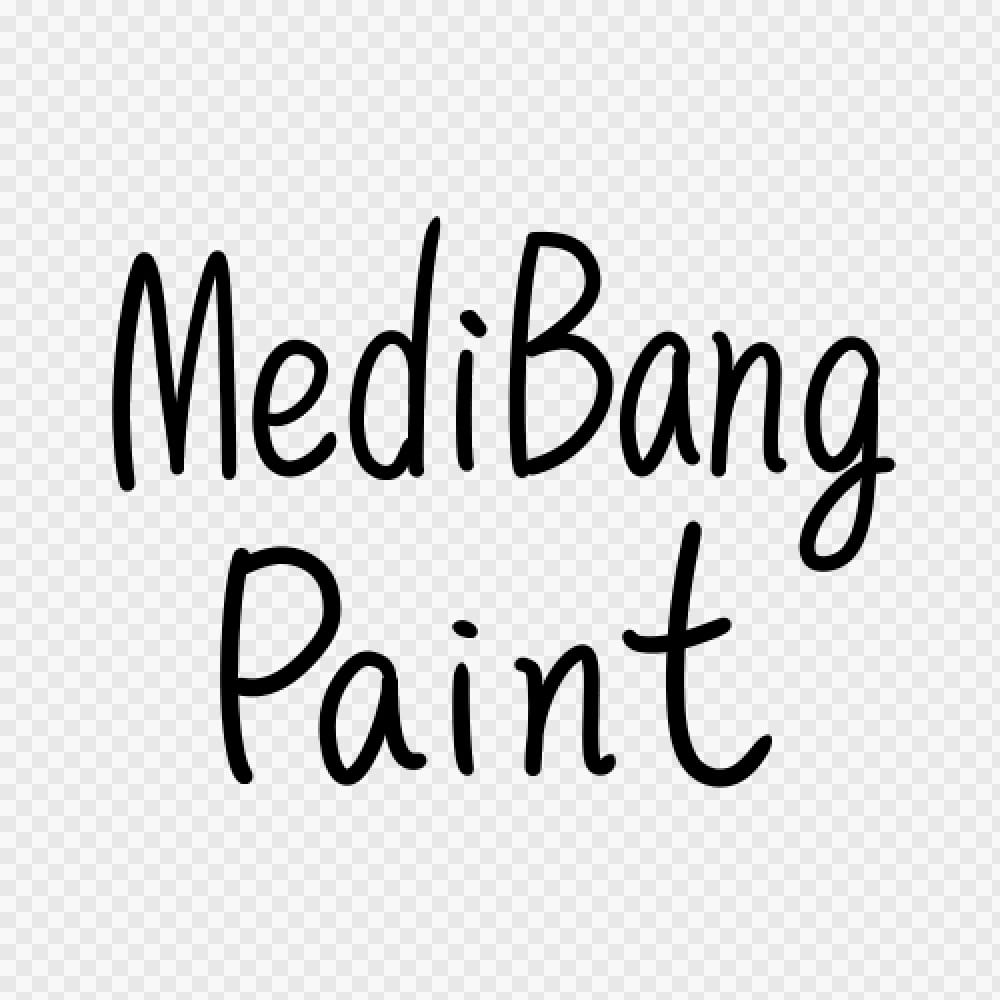
Leave some space around it as before.
After doing either A. or B., open the material window.
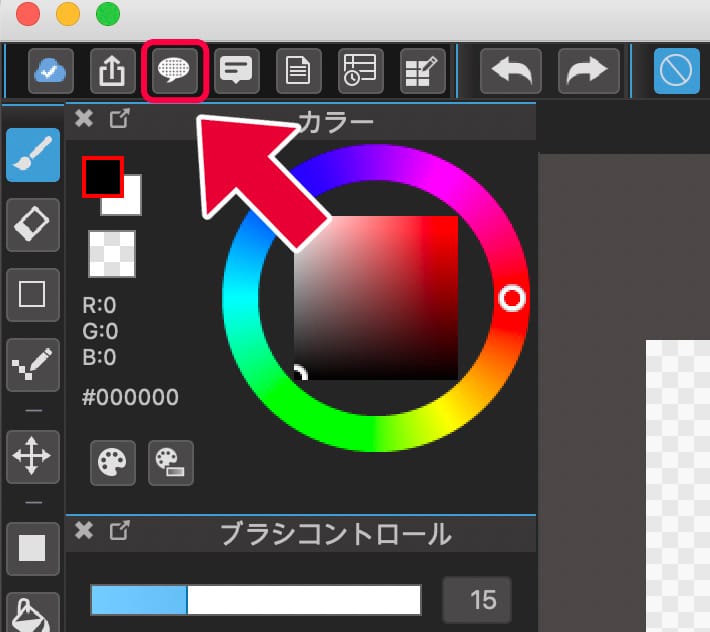
From the [Tile] tab, select [Add Material from Canvas].
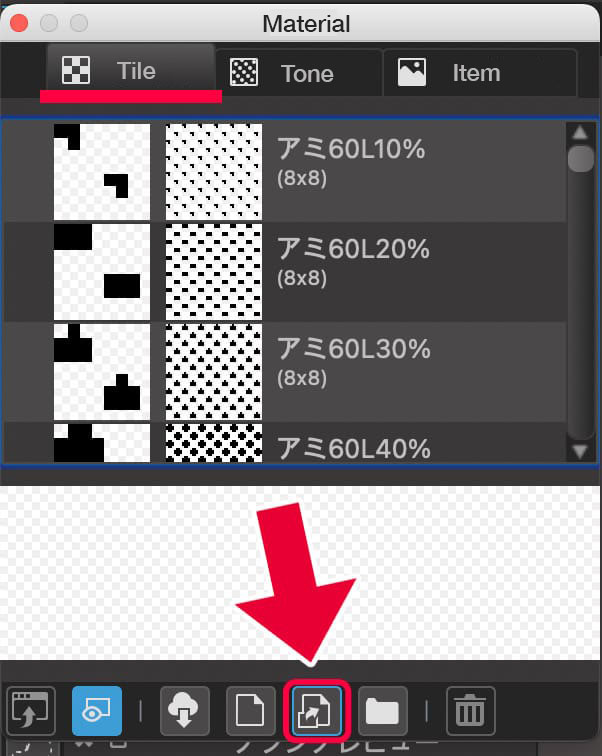
We have now registered our watermark as a tile material!
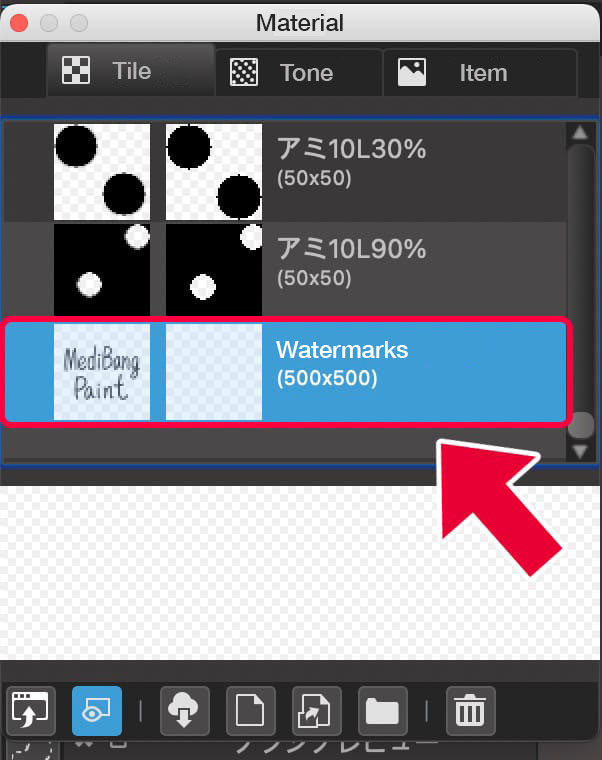
Open the image to which you want to add the watermark, and then add a new layer on top of it.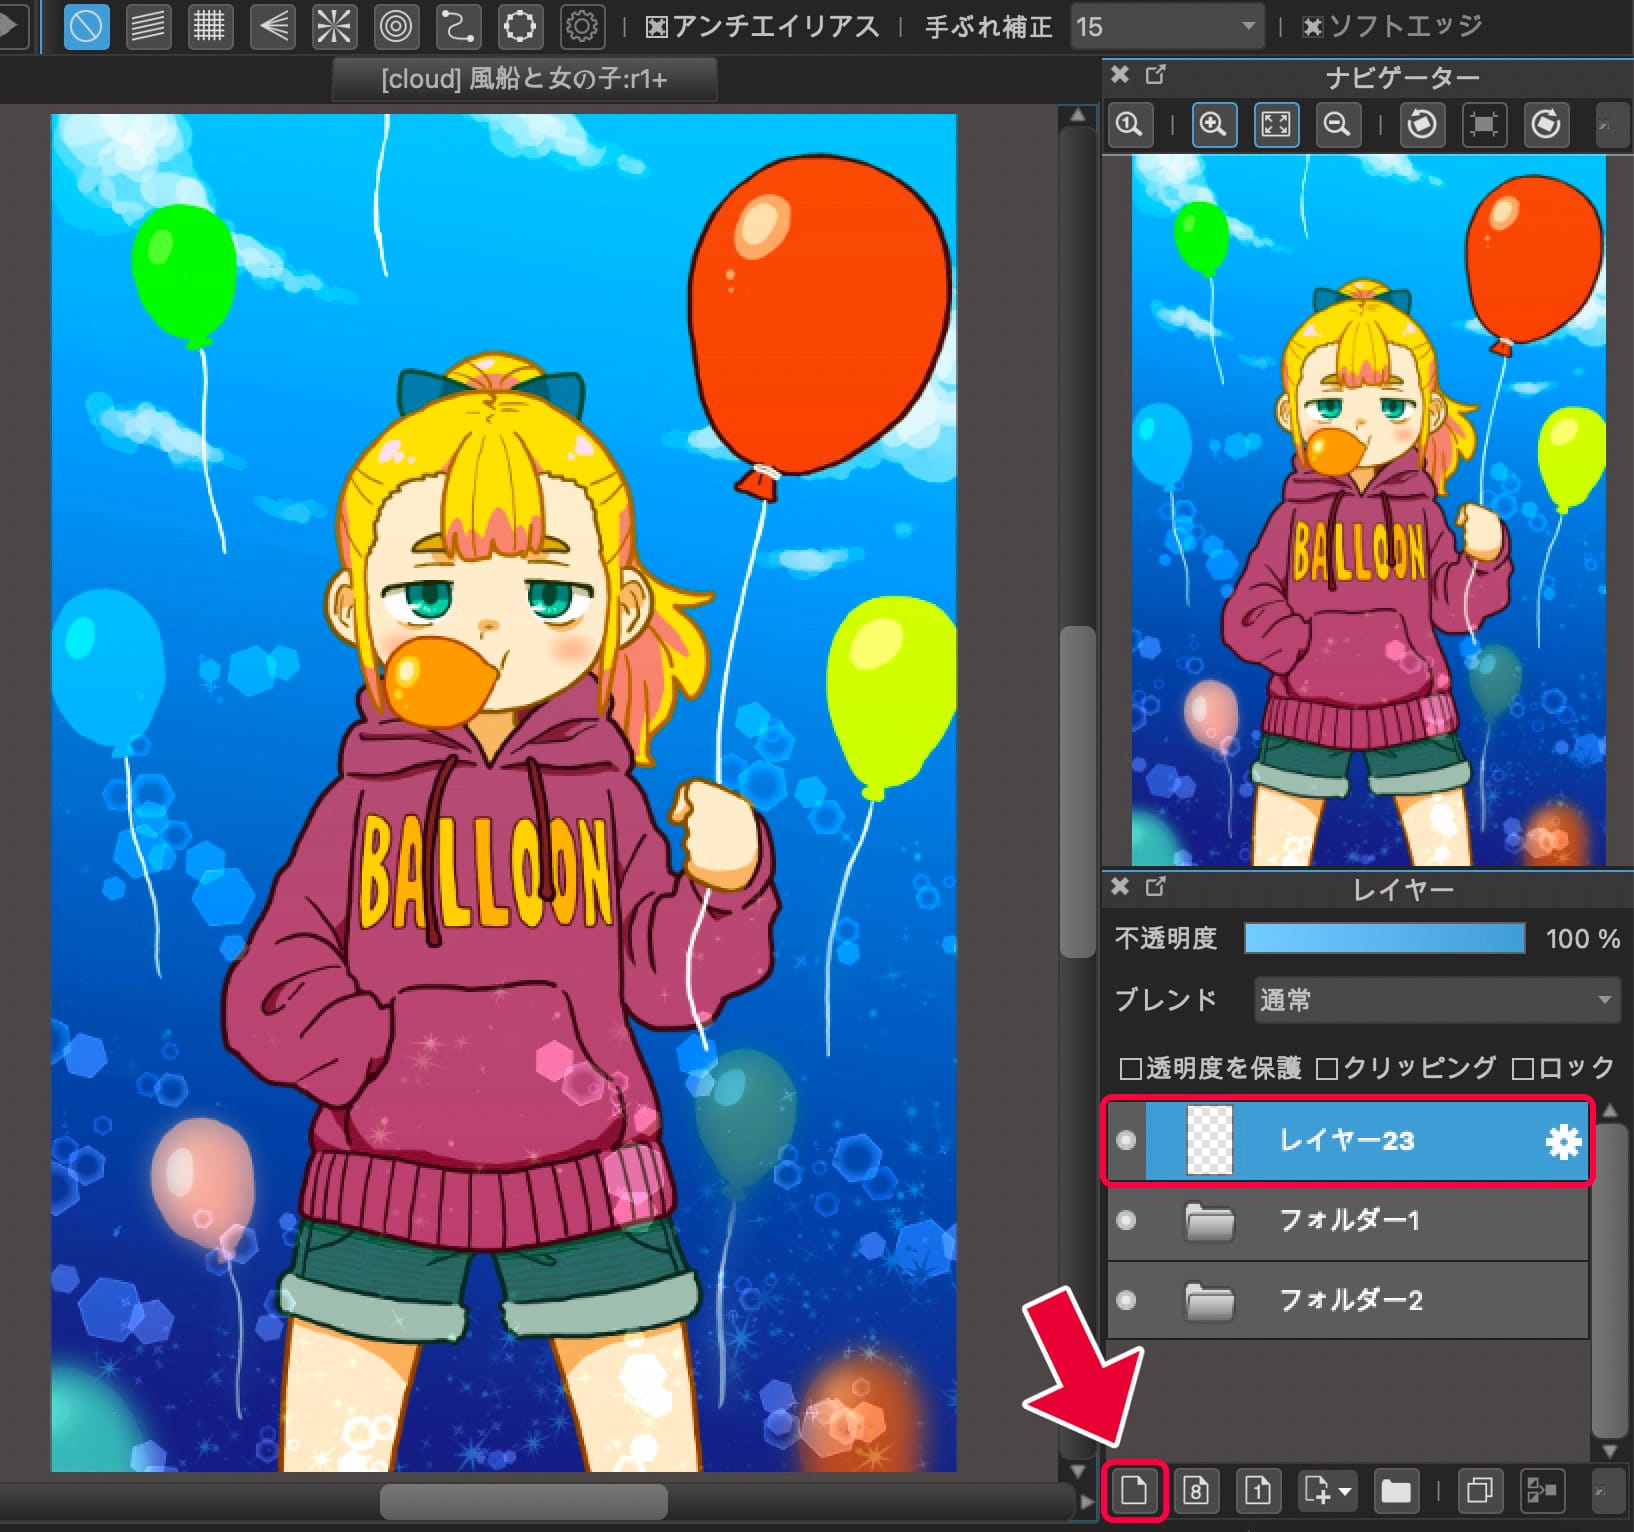
Drag and drop the watermark we’ve created from the material window.
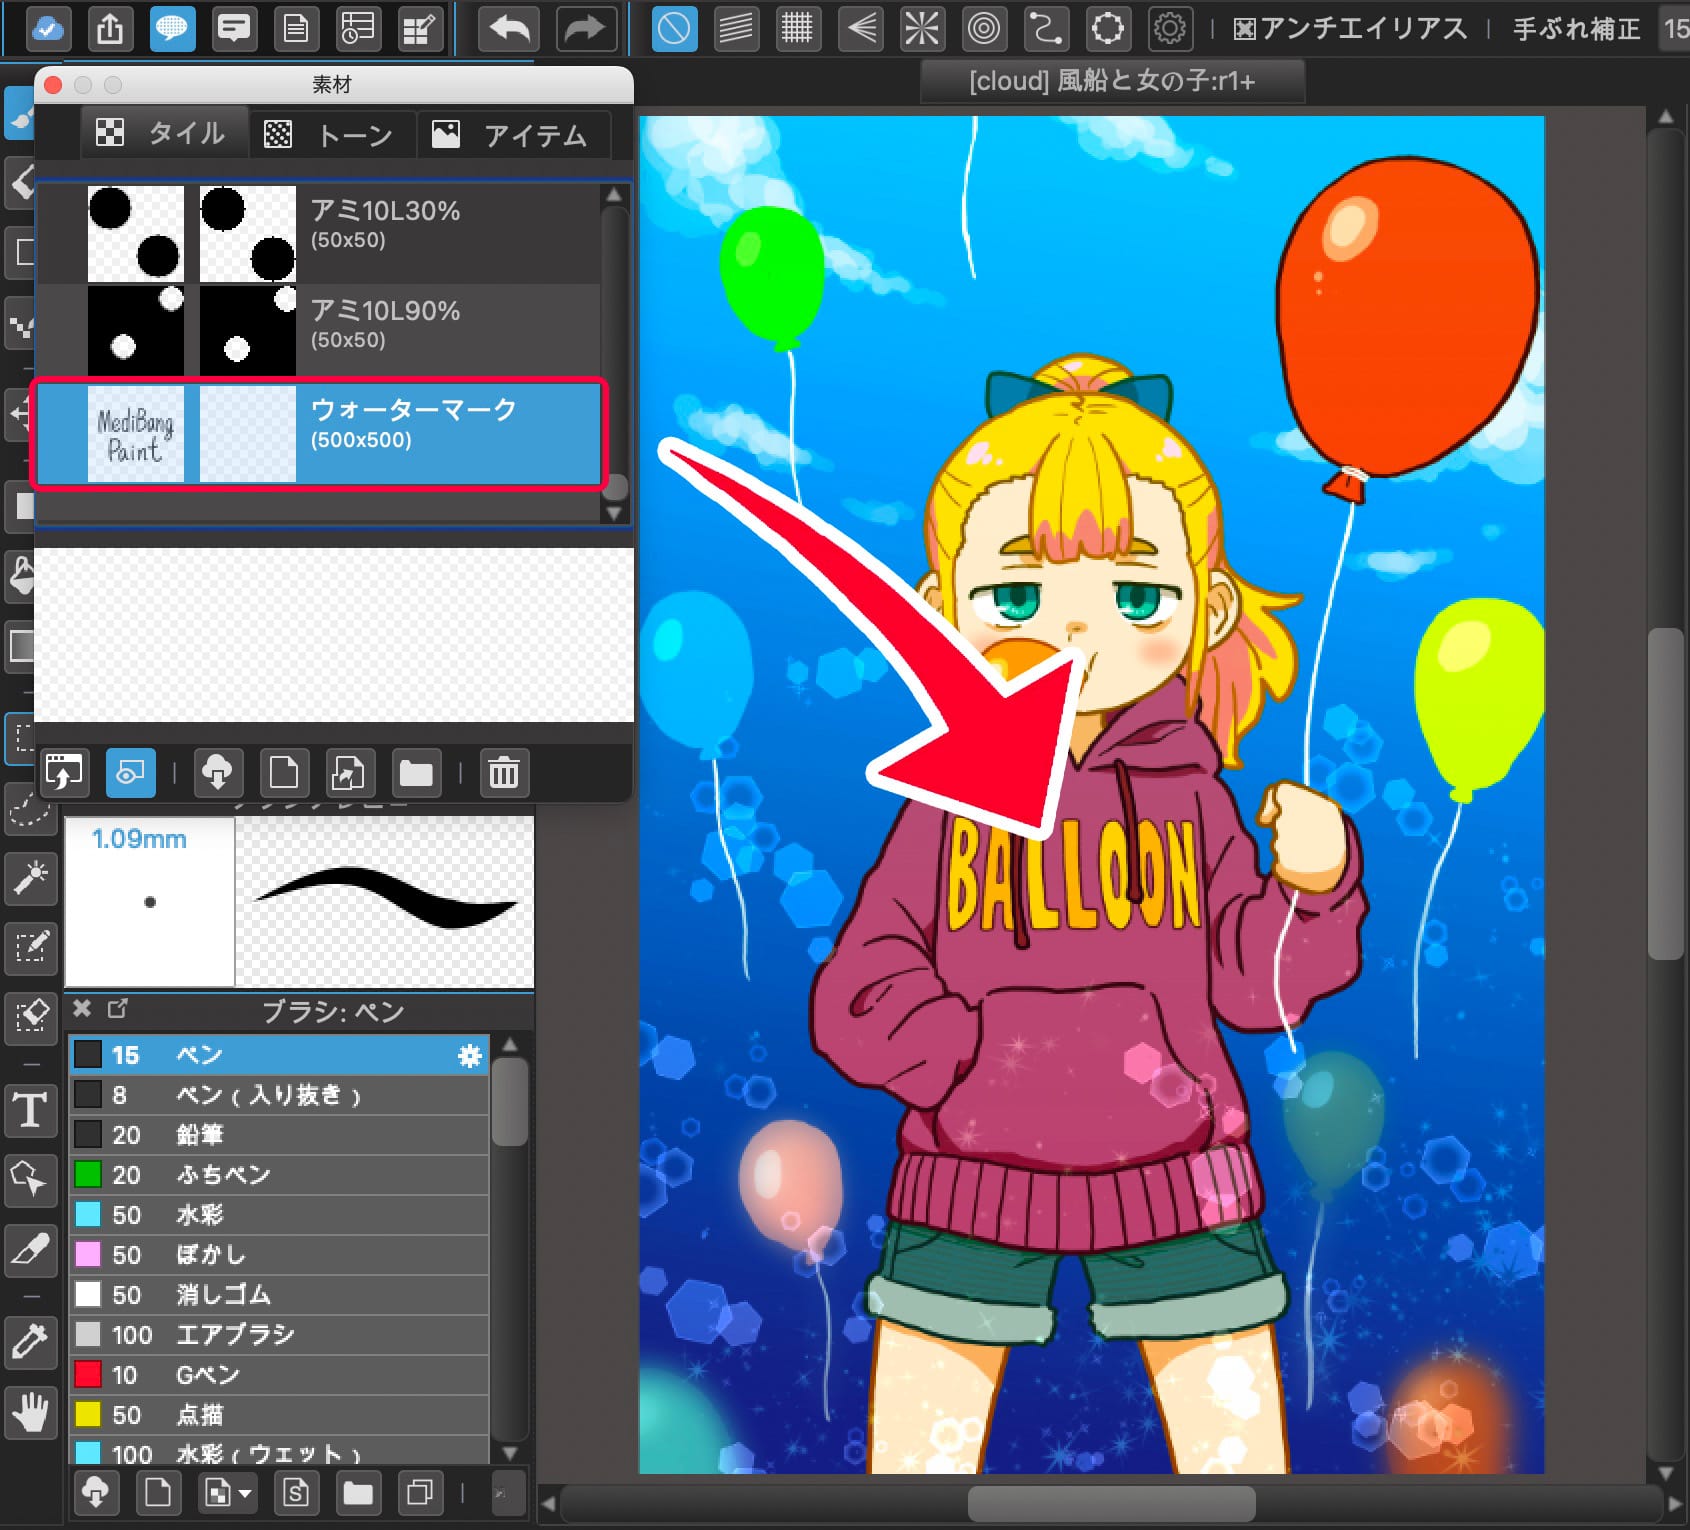
Adjust [Rotate] and [Zoom] according to your preference.

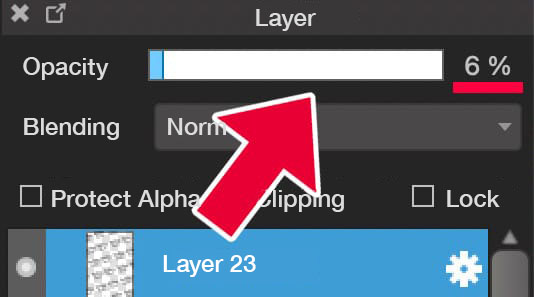
Then make the watermark fainter.
Reduce the opacity of the layer to 2-3%.
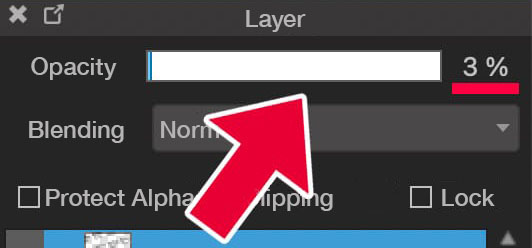
Now we are done.
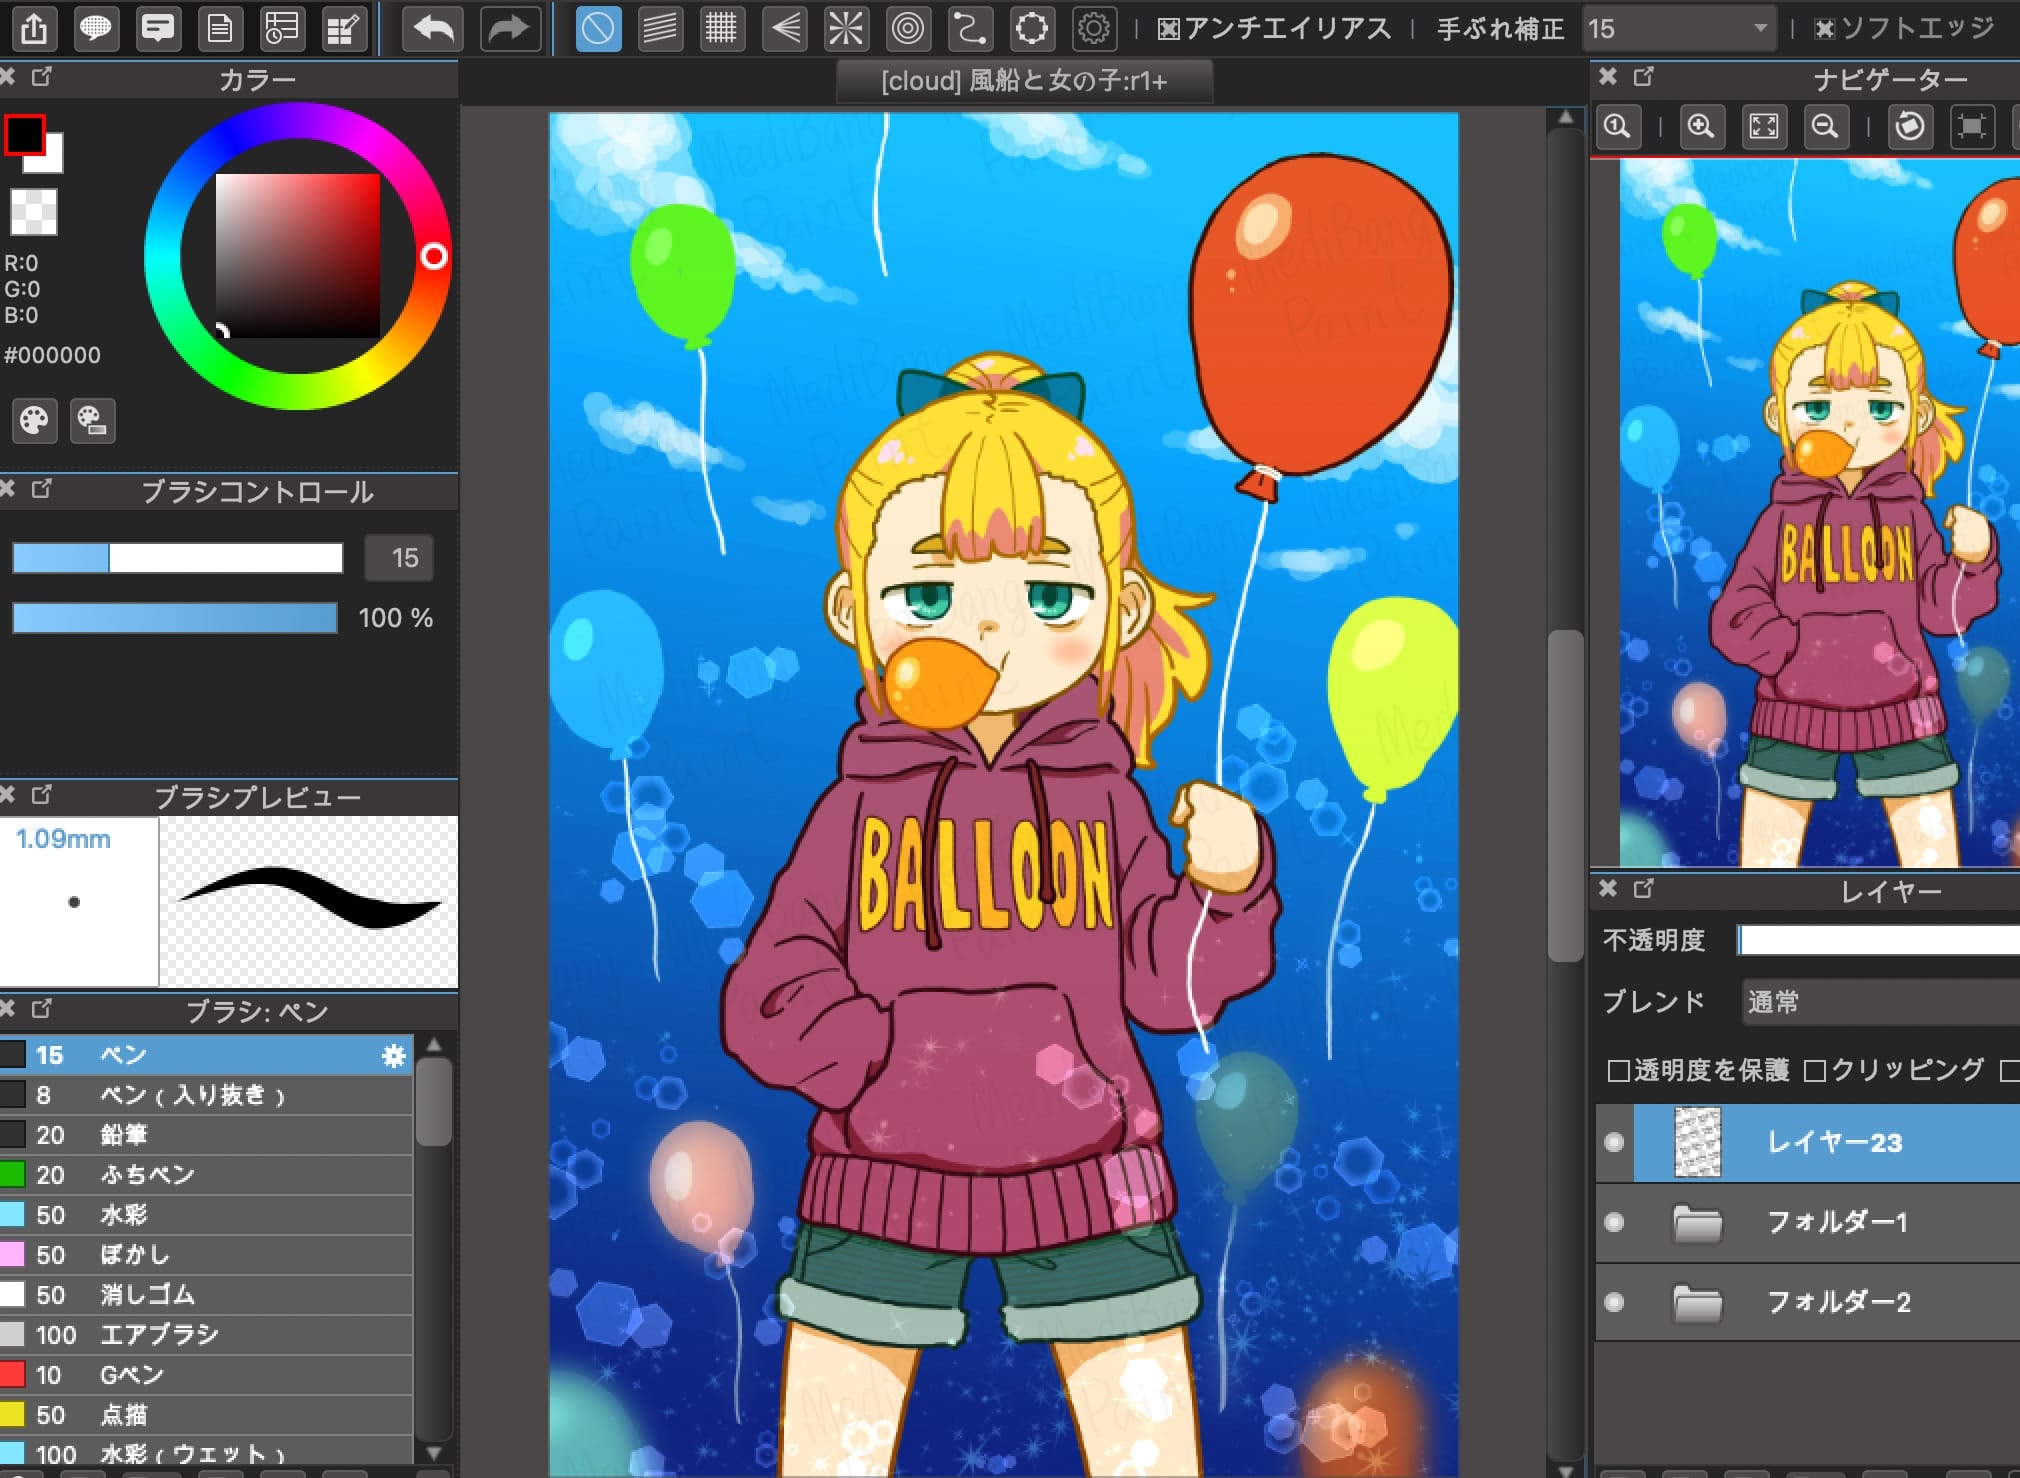

You may still find that the watermark still stands out.
If so, try setting the layer blending to [Multiply] or [Overlay].
In this case, you should set the opacity to 4-5% so that the watermark doesn’t fade too much.
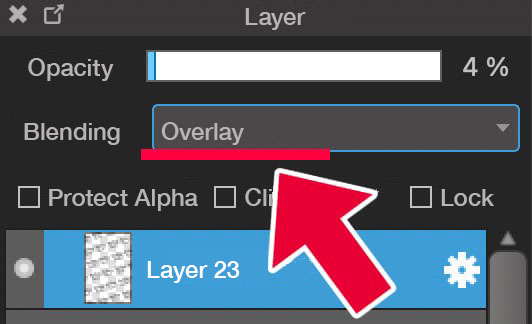

We have finished the work.
However, there is one more thing we need to do.
That is to confirm that the added watermark is working properly!
If the watermark is too faint to do what watermarks are supposed to do, It is absurd.
Each time you add the watermark, make sure you check the following!
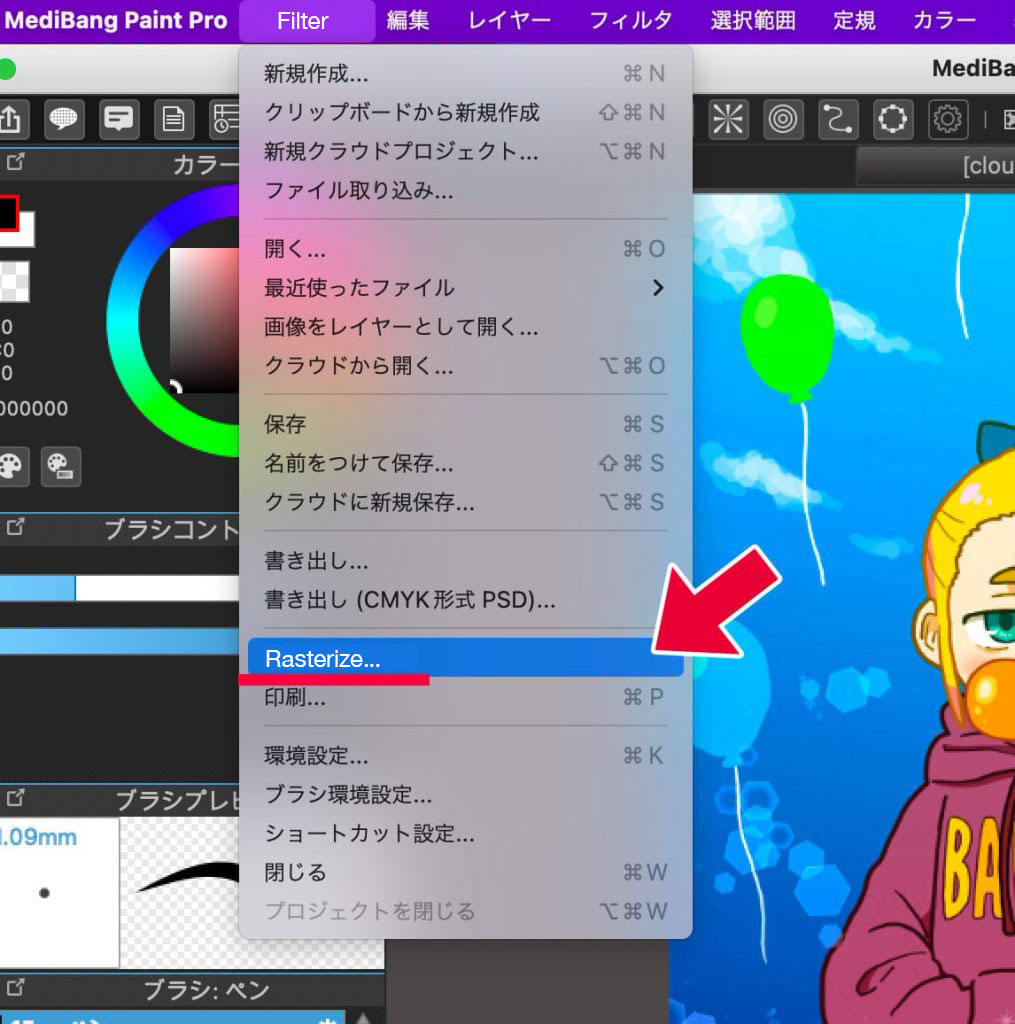
First, the watermark and illustration must be combined into a single artwork.
Selecting [Rasterize] from [File] allows you to create an integrated image as a new file.
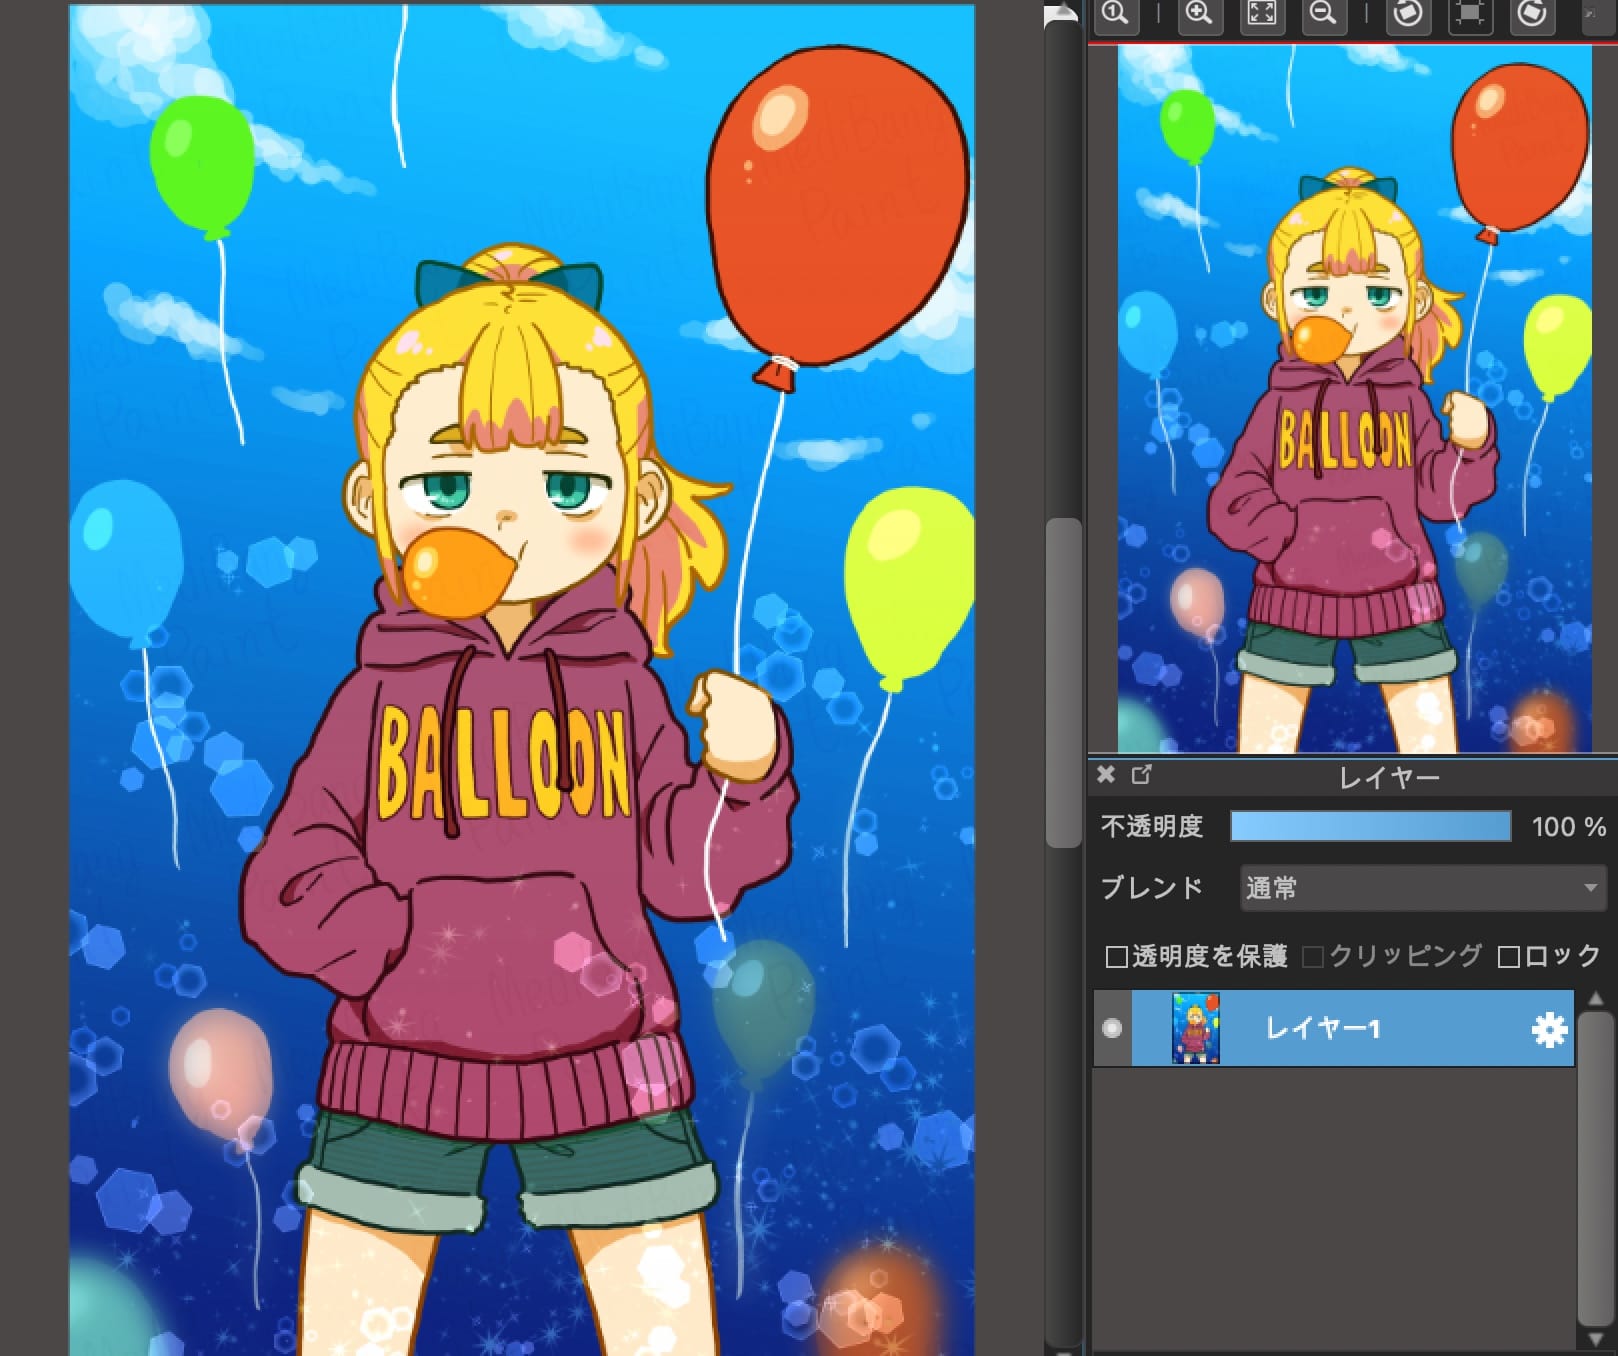
↑ The watermark is faintly visible on the work.
And then, check one of the following: A. B. or C.
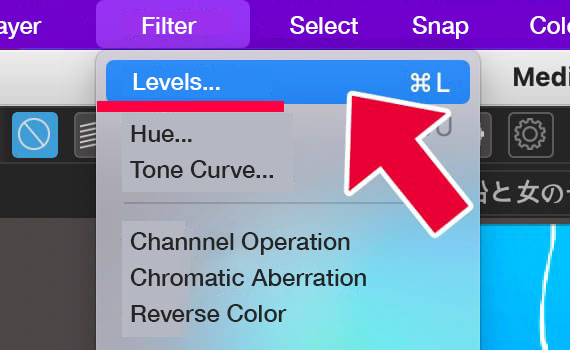
A. Check by adjusting the levels
Select the [Levels] from the [Filter] window.
Move the arrows at either end of [Input] to the center.
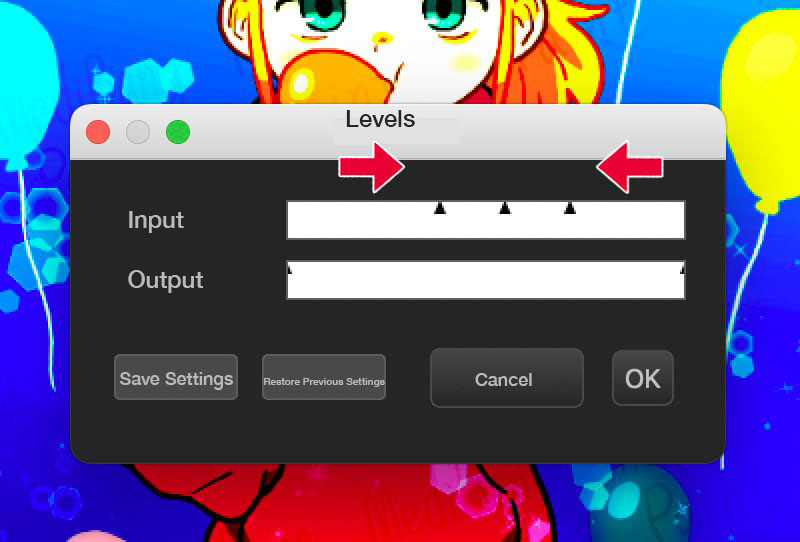
The watermarks have come into view.

B. Check by the Tone Curve
Select [Tone Curve] from the [Filter] menu.

Click and drag the straight line and change its shape to look like this.
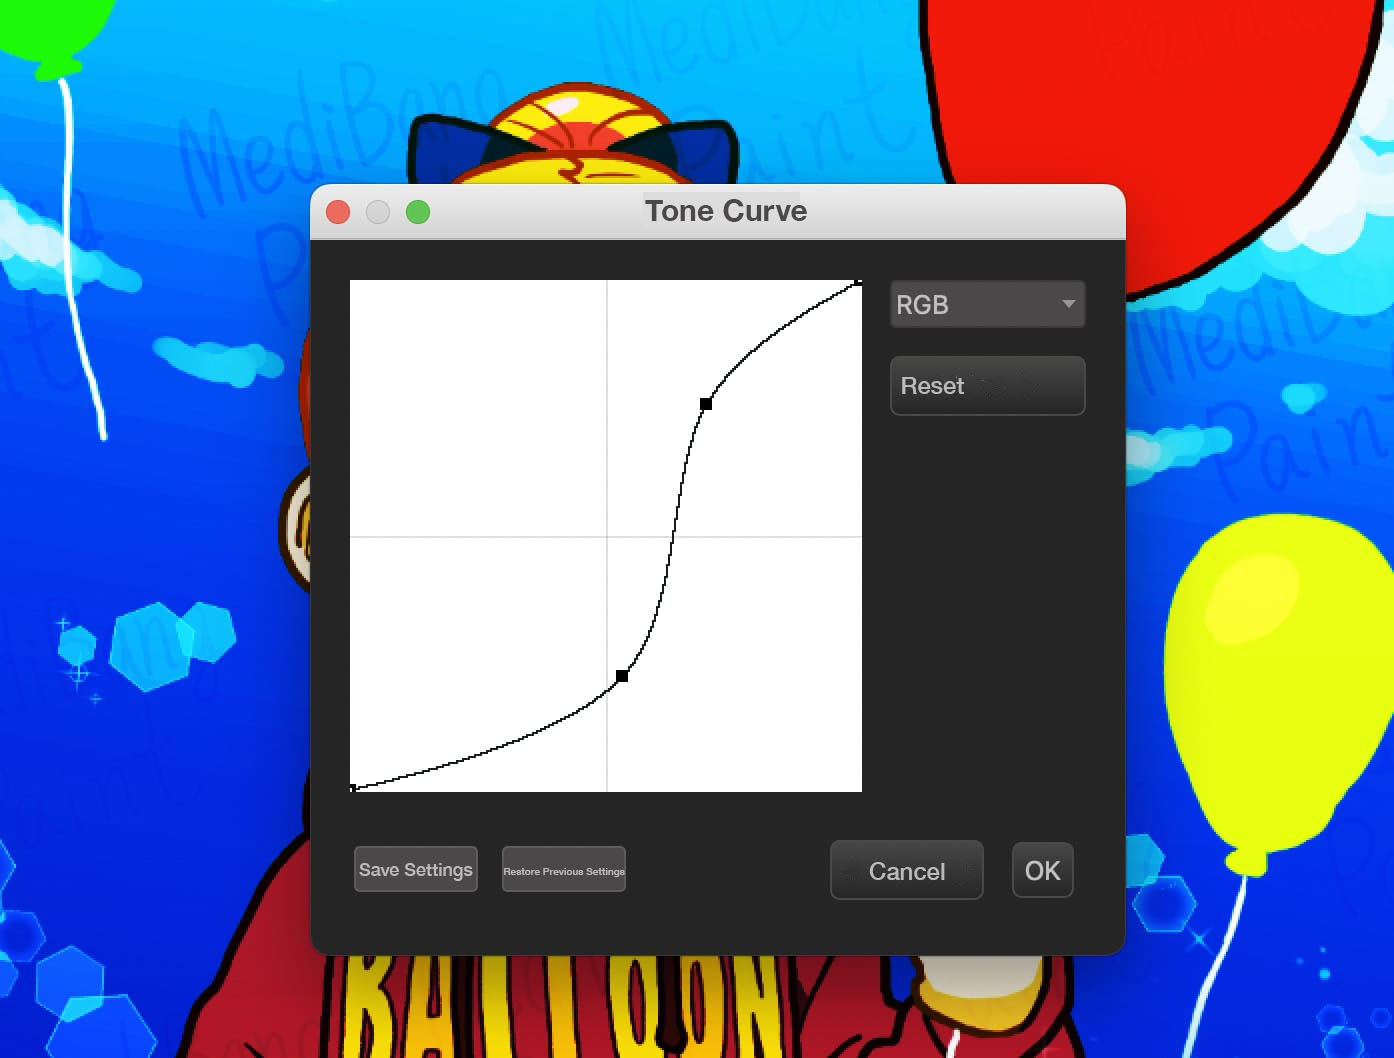
The watermarks have come into view.
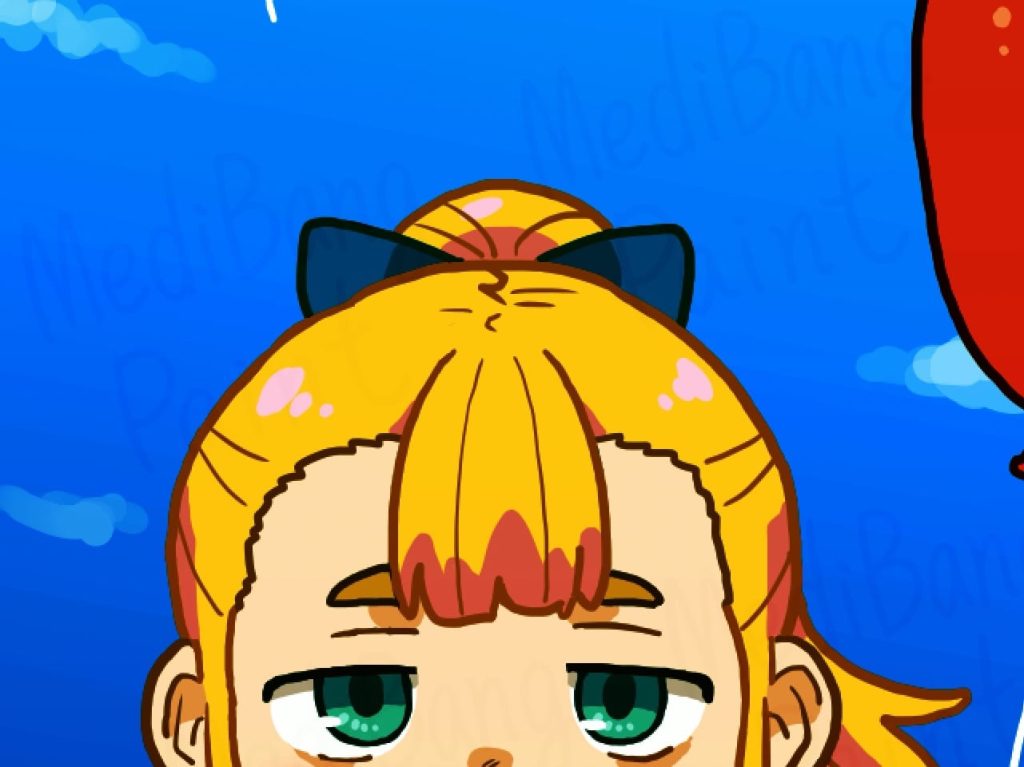
C. Check by duplicating the multiplied layer
Set the layer blending to [Multiply] and press the duplicate button.
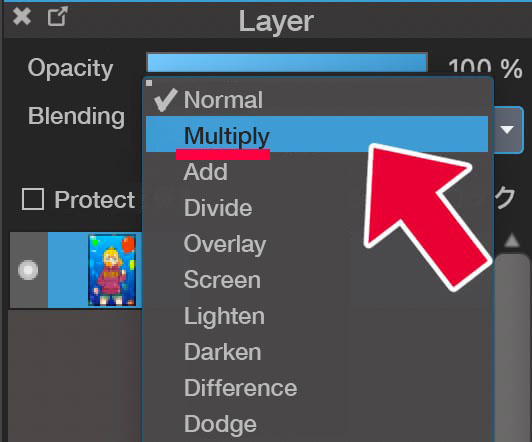
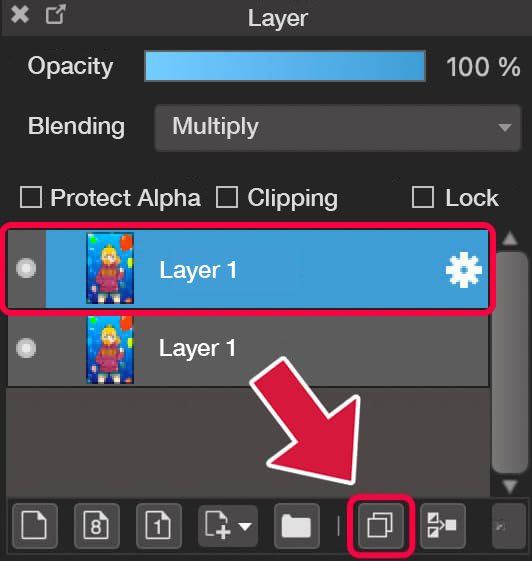
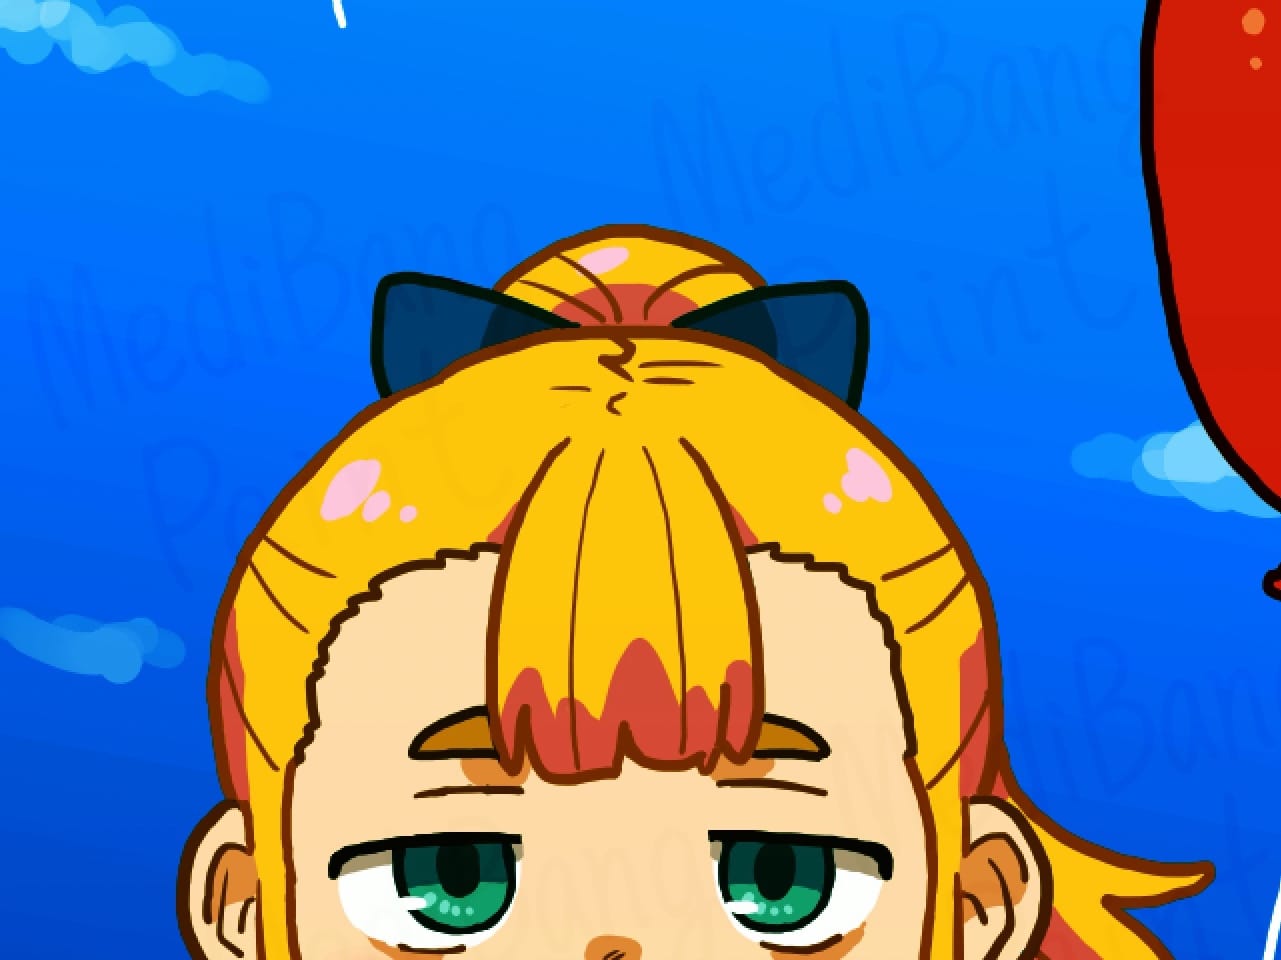
The watermarks have come into view.
It’s not good if the watermarks are too faint to see despite these three checks.
This means that you should have placed the watermarks a little darker.
Make it a little bit darker by increasing the opacity percentage of the layer.
If you are confronted with image theft and false copyright claims, this will serve as proof that you actually created it. The watermarks will appear by following the procedures above.
Record time-lapse videos
Time-lapse allows you to record the process of drawing on the canvas and create making videos.
You can prove your copyright in the event of image theft by saving a time-lapse video with you that shows the drawing process from the beginning.
Time-lapse is a fun feature in its own right, so please give it a try.
→How to use the Time-lapse function
Let me say something about false copyright claims…
This is difficult to deal with.
To be able to prove “I’m the one who created it first!”, I believe the best we can do, in the current situation, is to store data that includes the date of creation of the work, or record time-lapse videos…
The emergence of an AI system that automatically detects and reports false copyright claims is highly desirable…
Thank you for reading.
All three procedures we’ve looked through are the countermeasures that I want you to take.
Don’t think “Am I being too self-conscious?”, and protect your own work!
Watch the video clip to see the process
\ We are accepting requests for articles on how to use /


