2023.05.04
How to draw gems! – No need to use complicated functions –
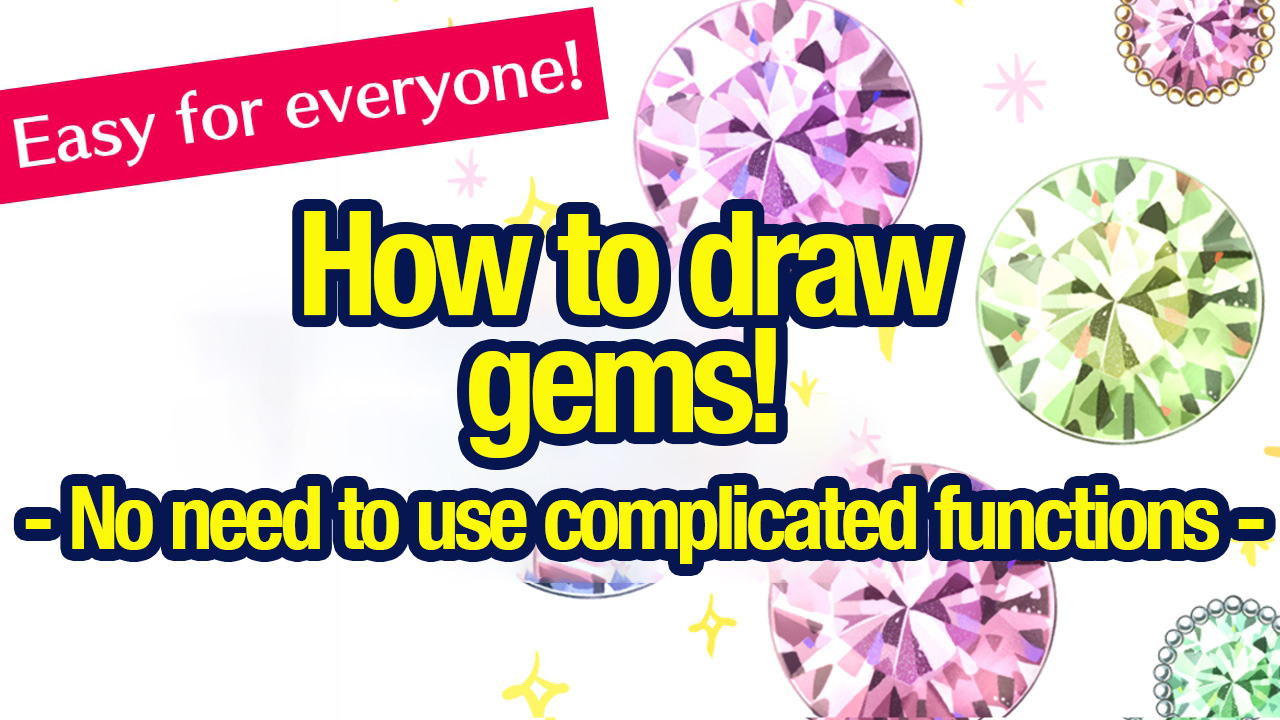
Have you ever felt like, “I want to create cute gemstone designs! but it seems difficult because they are complex to shape and color”? It may seem bothersome, but anyone can create gem designs, once they’ve got the knack of drawing them.
Today I am going to show you how to draw cute gem designs that do not require tedious features. I will explain it in a simple way so that beginners can put it into practice, so I hope this will help.
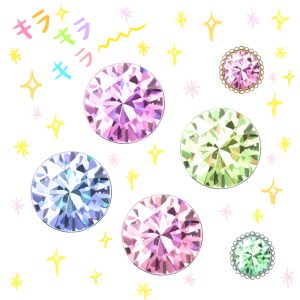
Drawing gemstones
1. Select a color and draw a circle
The first step is to draw a circle in a color that you want to apply to your gems.
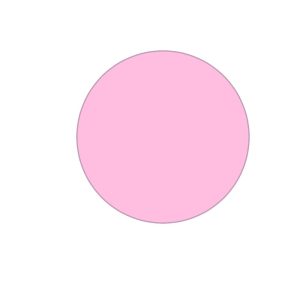
(The finished image of the step)
1-1. Choose the Brush tool.

1-2. Click on the Circle snap from the snap tab.

1-3. Draw a circle.
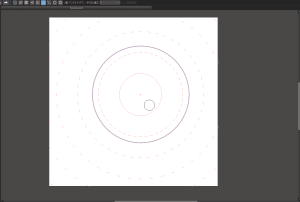
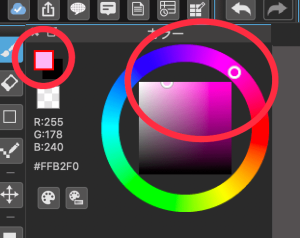
1-4. Select the colors.
This time I will use pink, my most favorite color.
1-5. Add a new layer below the circle layer, and fill in the layer with the Bucket tool.
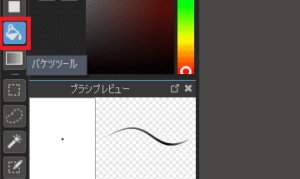
▼ The use of the functions is explained

(The finished image of the step)
2. Locate a light source and add shadows
The next step is to define the location of the light source and add light and dark to the circle. In this illustration, the light source is defined at the top left of the canvas.
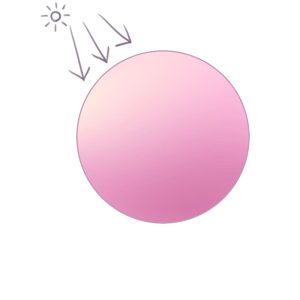
(The finished image of the step)
2-1. Add a new clipping layer below the circle layer and select the Airbrush tool.
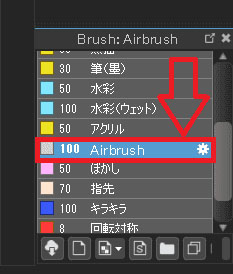
▼ The use of the functions is explained
2-2. In the color bar window, select the pink that is lighter than the pink we used in the step 1-4.
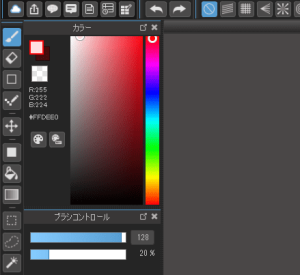
2-3. With the enlarged brush size, add the color with a soft touch.
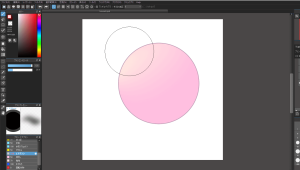
2-4. Add a new clipping layer. In the color bar window, select the pink that is darker than the pink we used in the step 1-4.
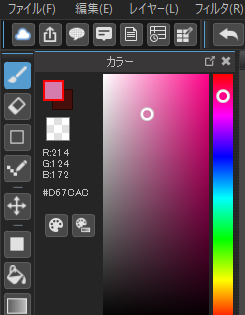
2-5. Add the color with the large brush as in the step 2-3. Now we have a circle with shadows.
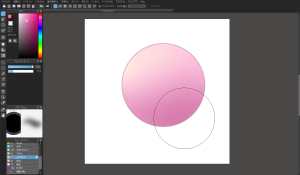
(The finished image of the step)
3. Use the Multiply to draw shadows created by the faces of cut gems
Next we will patiently draw shadows created by the faces of the cut gemstones using the Multiply layer.
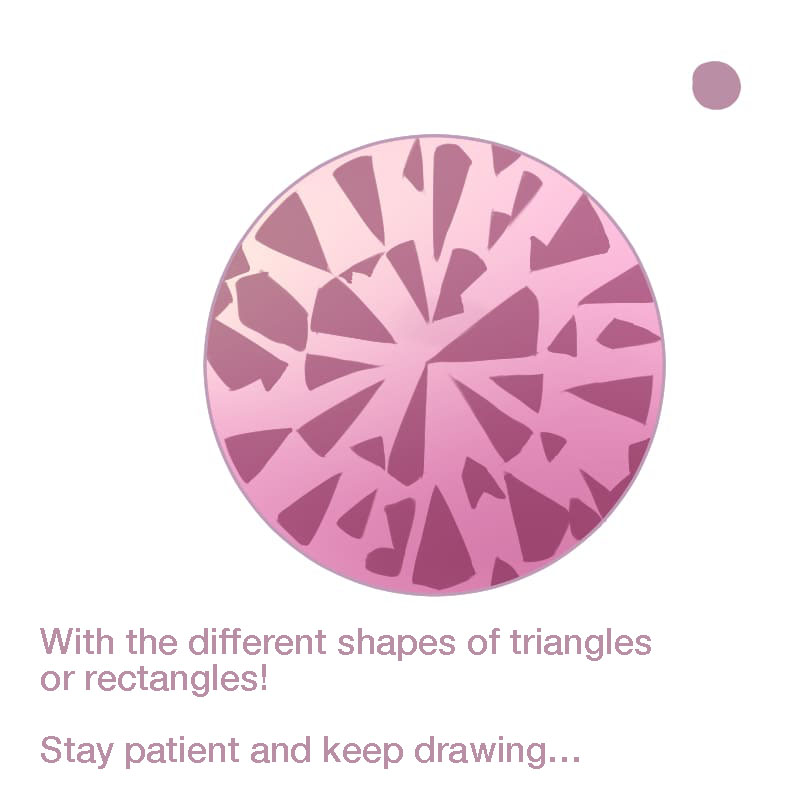
(The finished image of the step)
3-1. Add a new clipping layer and set the layer blending to Multiply.
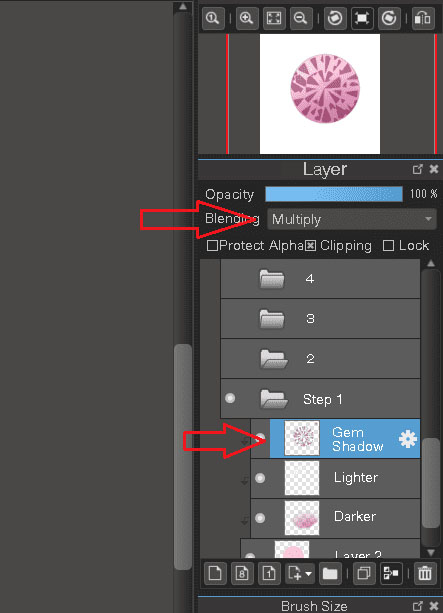
▼ The use of the functions is explained
3-2. In the color bar window, select darker colors to use as shadows.
We will use the dark purple as shown on the top right.
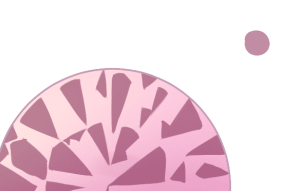
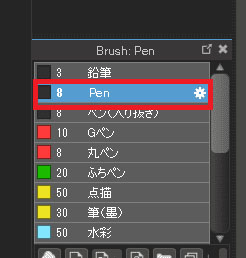
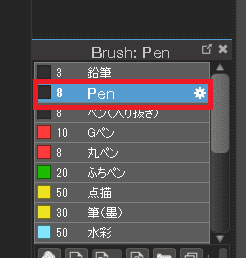
3-3. Select the Pen brush from the brush window to draw the shadows.
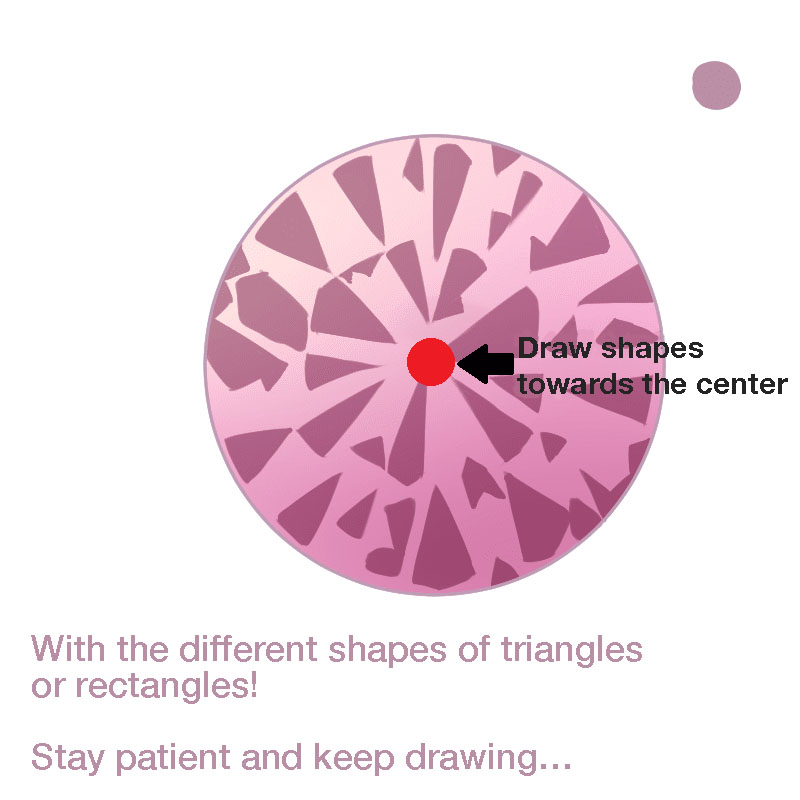
3-4. Draw tiny triangles or rectangles all over the circle. They should face the center of the circle.
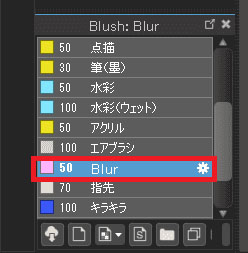
3-5. Use the Blur brush to add the blur.
Blurs add a touch of variety to your work, making it less monotonous. Try them out if you have enough time.
It may not be easy to see, but some blur is added to the image.
These slight blurs make a big difference to the look of the finish.
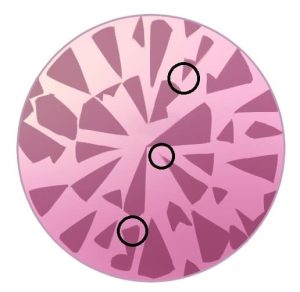
You would do well to search for “Jewels” or “Crystals” to see the actual images of the jewels, and to get an idea of the shadows of the jewels.
4. Draw darker shadows (shadow 2)
Then draw the shadows even darker than the shadows in step 3, keeping them in balance with the overall image.
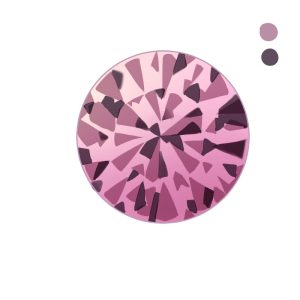
(The finished image of the step)
4-1. Add a new clipping layer with the layer blending “Multiply”.
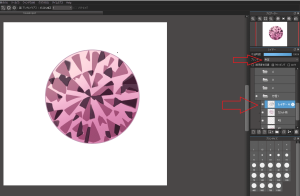
4-2. In the color window, choose the purple that is darker than the one we used in step 3-2.

4-3. Use the Pen brush to draw shadows as in the step 3-4.
Darker colors can attract the audience’s attention, so be careful not to draw too much or too little.
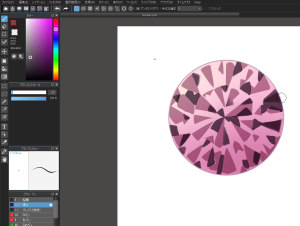
5. Use Multiply/Lighten to add bright light
Next step is to add the brightest light using the multiply/lighten layer!
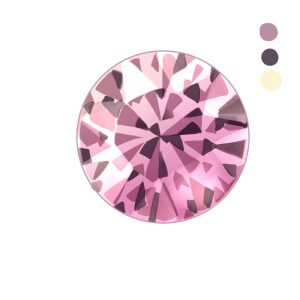
(The finished image of the step)
5-1. Add a new clipping layer and set the Layer blending to “Multiply/Lighten”.
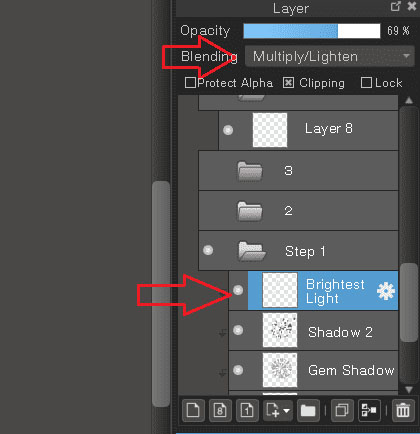
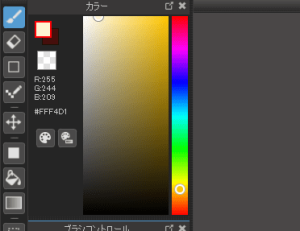
5-2. Choose the color of the light.
This time, we will be using the right yellow in the color bar.
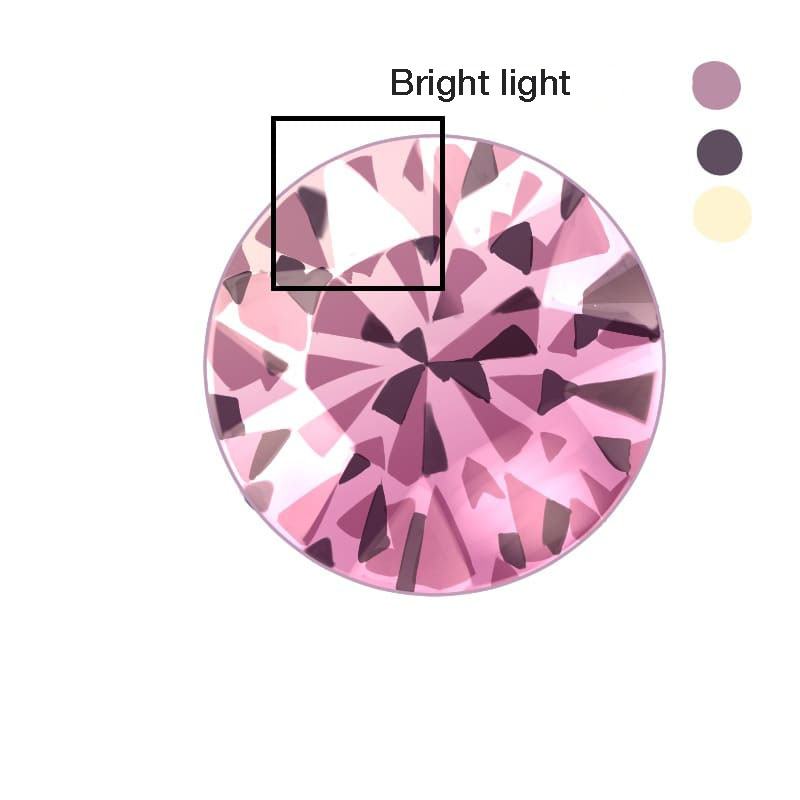
5-3. Add lights roughly.
Draw a large, bright light clearly where the light falls.
At this stage it is fine for the light to be roughly cast.
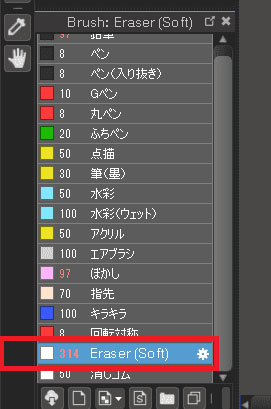
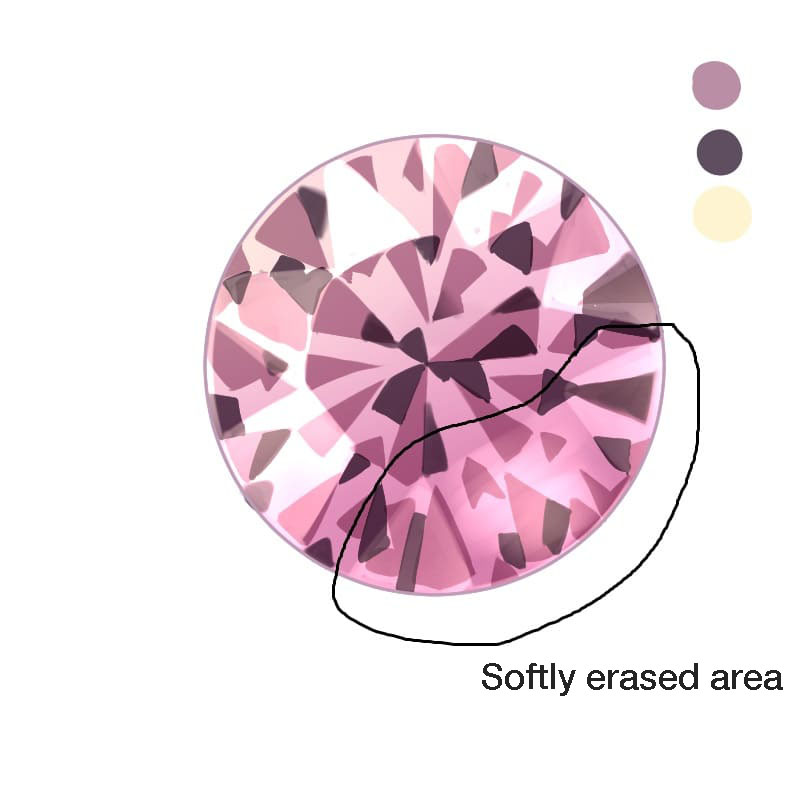
5-4. Use the Soft Eraser tool with reduced opacity and draw the area on the opposite side of the light to make it translucent.

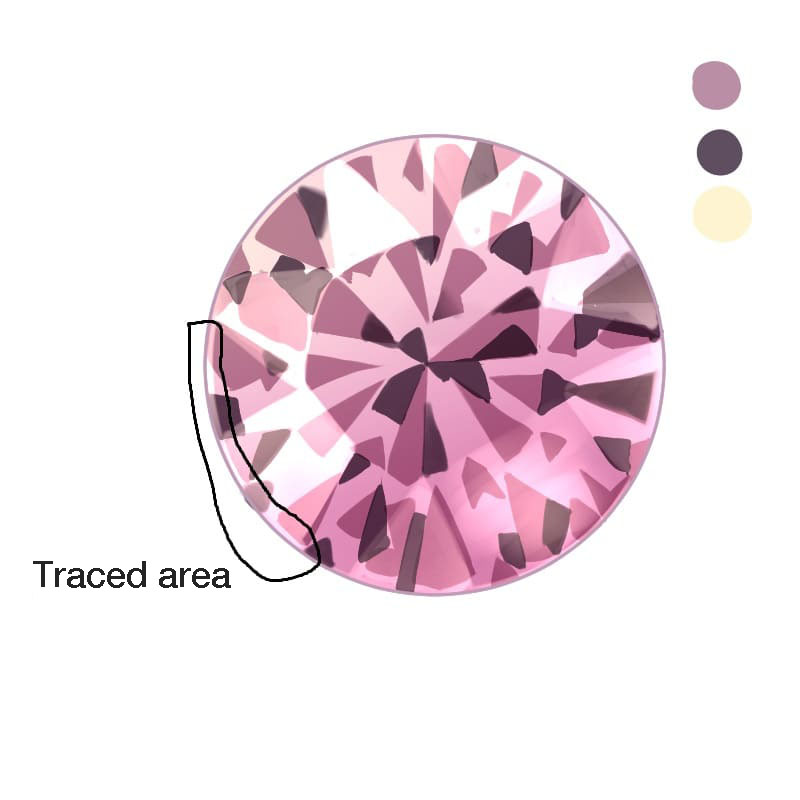
5-5. Trace the outline.
6. Add colors
As the gem needs a little more colors, we will add them.
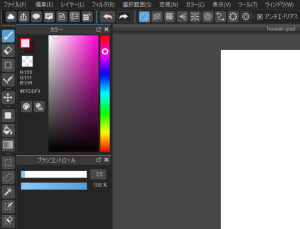
6-1. Add a new clipping layer and select the colors.
This time we will be using the faint pink in the color bar.
6-2. Add small shadows.
Keep the shadows small and scattered.
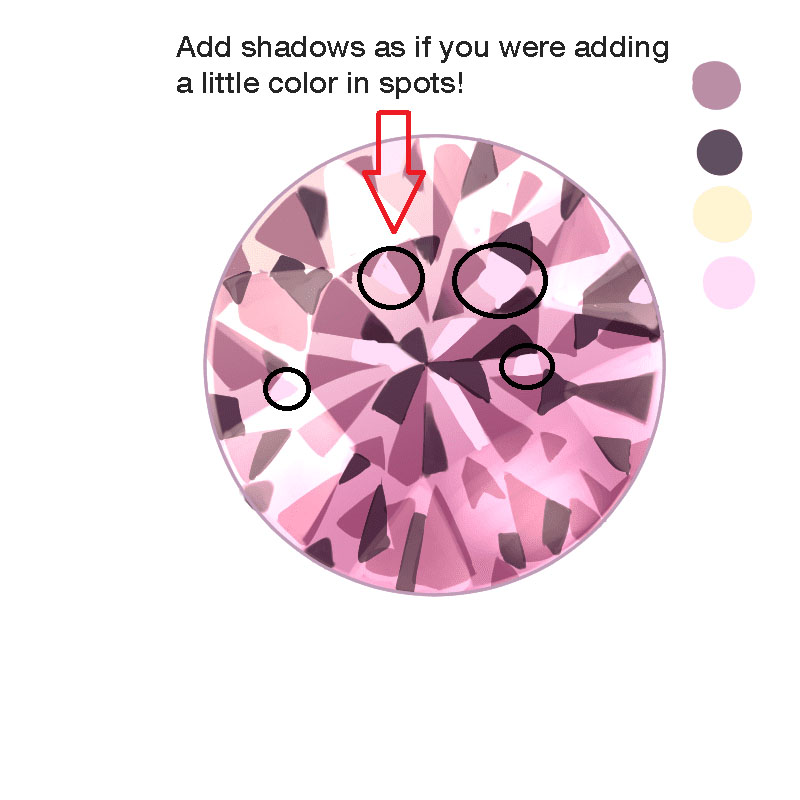
(The finished image of the step)
7. Add finer lights
Now let’s add the reflected light in the gem.
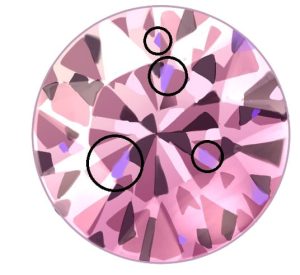
(The finished image of the step)
7-1. Add a new clipping layer and select a deep bright purple in the color bar.
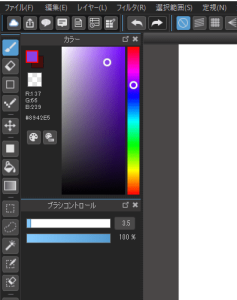
7-2 Use the Pen brush to draw small triangular lights.
As the lights drawn with the Pen brush give a better finish, you should apply them to your illustrations according to their color and feel.
8. Add detailed lights
This step is to draw the details of the light. I love this part, so I hope you will enjoy this step too.
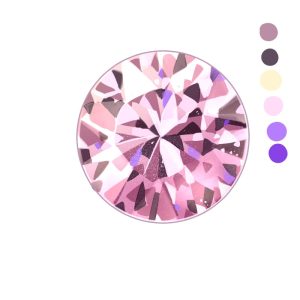
(The finished image of the step)
8-1. Add a new clipping layer and select the light color.
In the color bar, we will be using the pale pink which is almost white (highly intensified version of the base color).
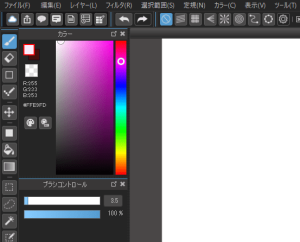
8-2. Set the Layer blending to “Hard light”.
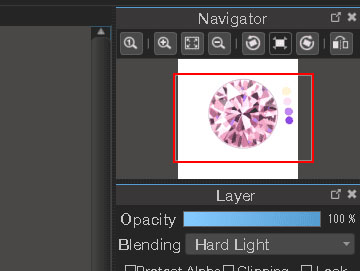
8-3.Draw the lights with triangles or brush tools.
You can either draw triangles or rectangles as in the shadow drawing, or draw tiny sparkle lights. You can draw the sparkle powder lights with the Sparkle brush.
Adjust the values of the Sparkle brush as you draw. The setting I used this time is as follows.
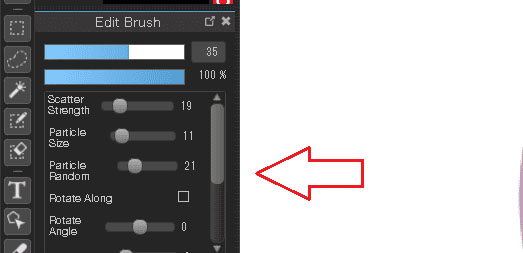
You can also draw lines along the outline of the gem’s shadow. You will have fun drawing while looking at pictures of real gems.
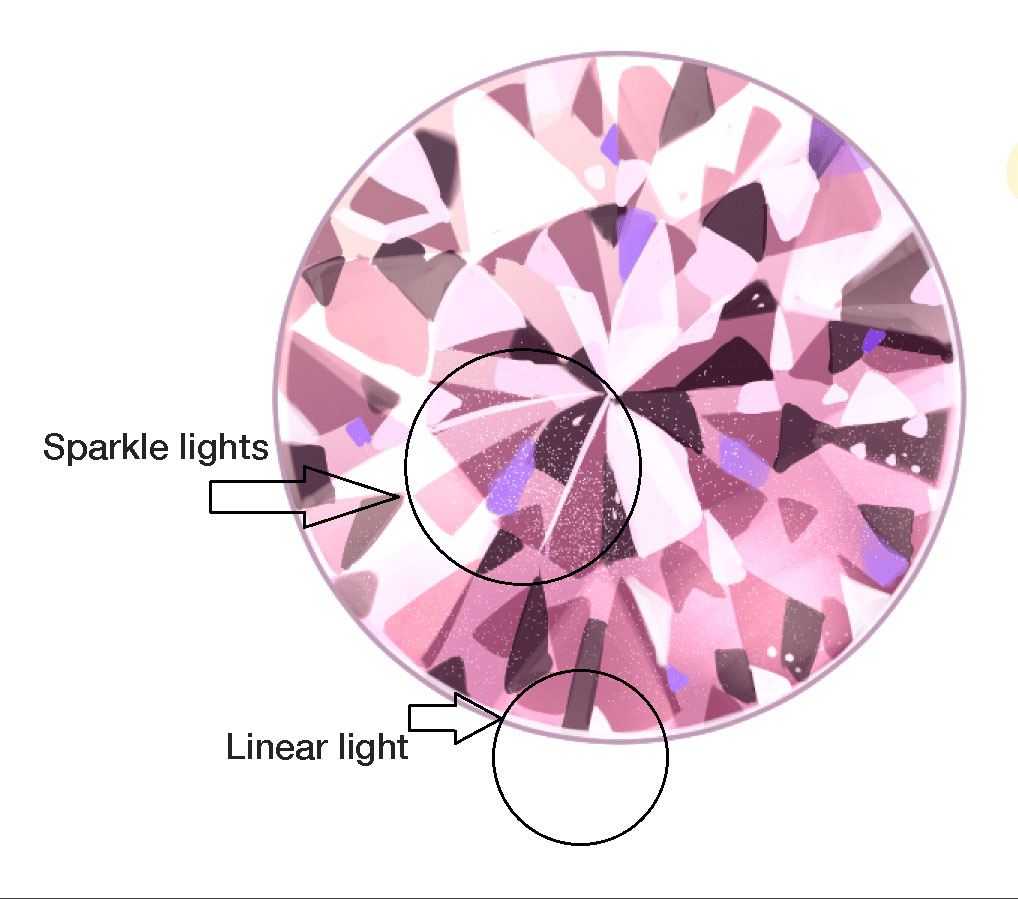
(The finished image of the step)
9. Paint the table (the flat area on top of the gems)
The end is near. This step is about painting the table, which is the flat area on top of the gems.
The finished image from this step looks like this. The transparency is not changed in the image, but you can reduce the opacity to blend the colors according to your needs.
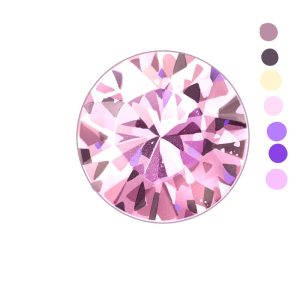
(The finished image of the step)
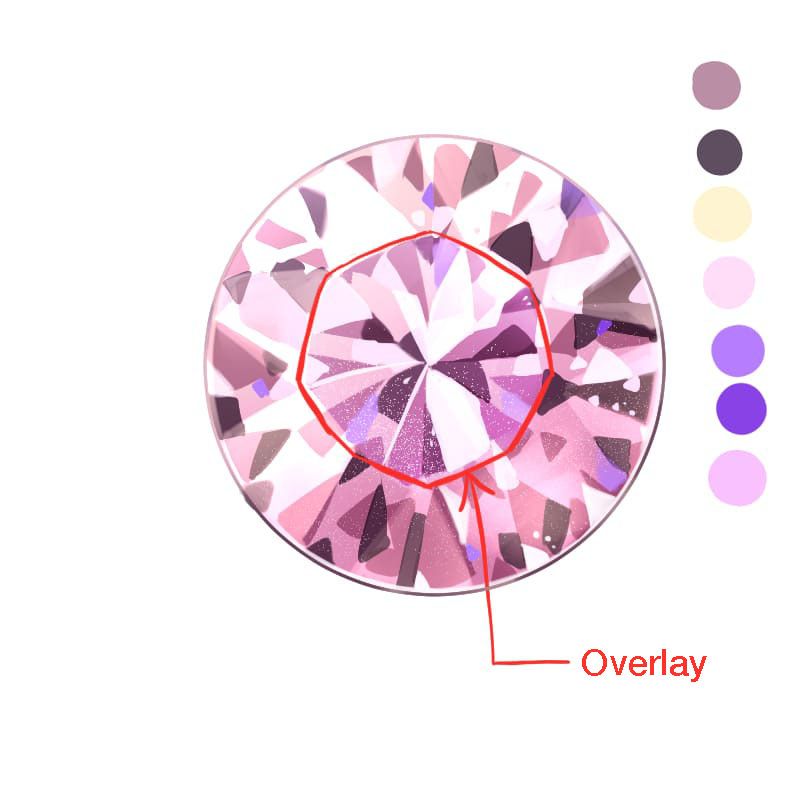
9-1. Add a new clipping layer and set the Layer blending to “Overlay”.
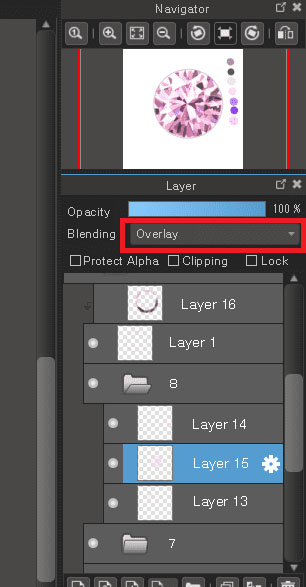
9-2. Choose the color of the table
This time we will be using purple which matches the gem color.
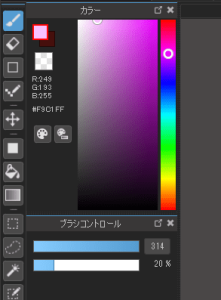
9-3. Draw an octagon in the middle of the gem.
You can draw it roughly as in the image below.
10. Change line color
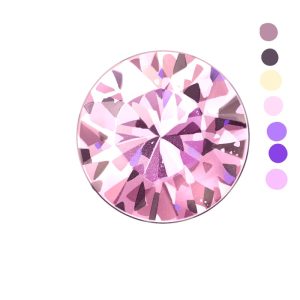
Finally, change the color of the line drawing to complete the creation.
(The finished image of the step)
10-1. Add a clipping layer on top of the line drawing layer. Use the Eyedropper tool to extract the colors around it and change the color of the line.
At this point, I recommend that you use the ALT key, which is the shortcut to the Eyedropper tool, to make your work more efficient.

▼ The use of the functions is explained
Conclusion
Today’s tutorial is about drawing gemstones without using difficult functions. As I have explained each process in detail, it may seem that there are many processes and that it takes a lot of time. However, as you get used to it, you will be able to draw faster and you will develop your own taste and technique, which will make drawing different gems much more exciting.
Try changing colors or surrounding gems with pearls to make accessories or wands for magical girls. Gems are the motifs that will dramatically improve the quality of your illustrations, so I hope you will practice drawing them.
Thank you for reading to the end.

(Text・Illustrations / アニー)
Twitter:https://twitter.com/annie_pinkpom
\ We are accepting requests for articles on how to use /

