Using layers in MediBang Paint allows you to place elements on the canvas on top of each other without altering the different individual parts on your canvas.
With the layer function, you can paint over objects without permanent changes, move objects around, edit elements, and delete whatever you need to.
Think of a layer as stacking sheets of transparent glass on top of each other.
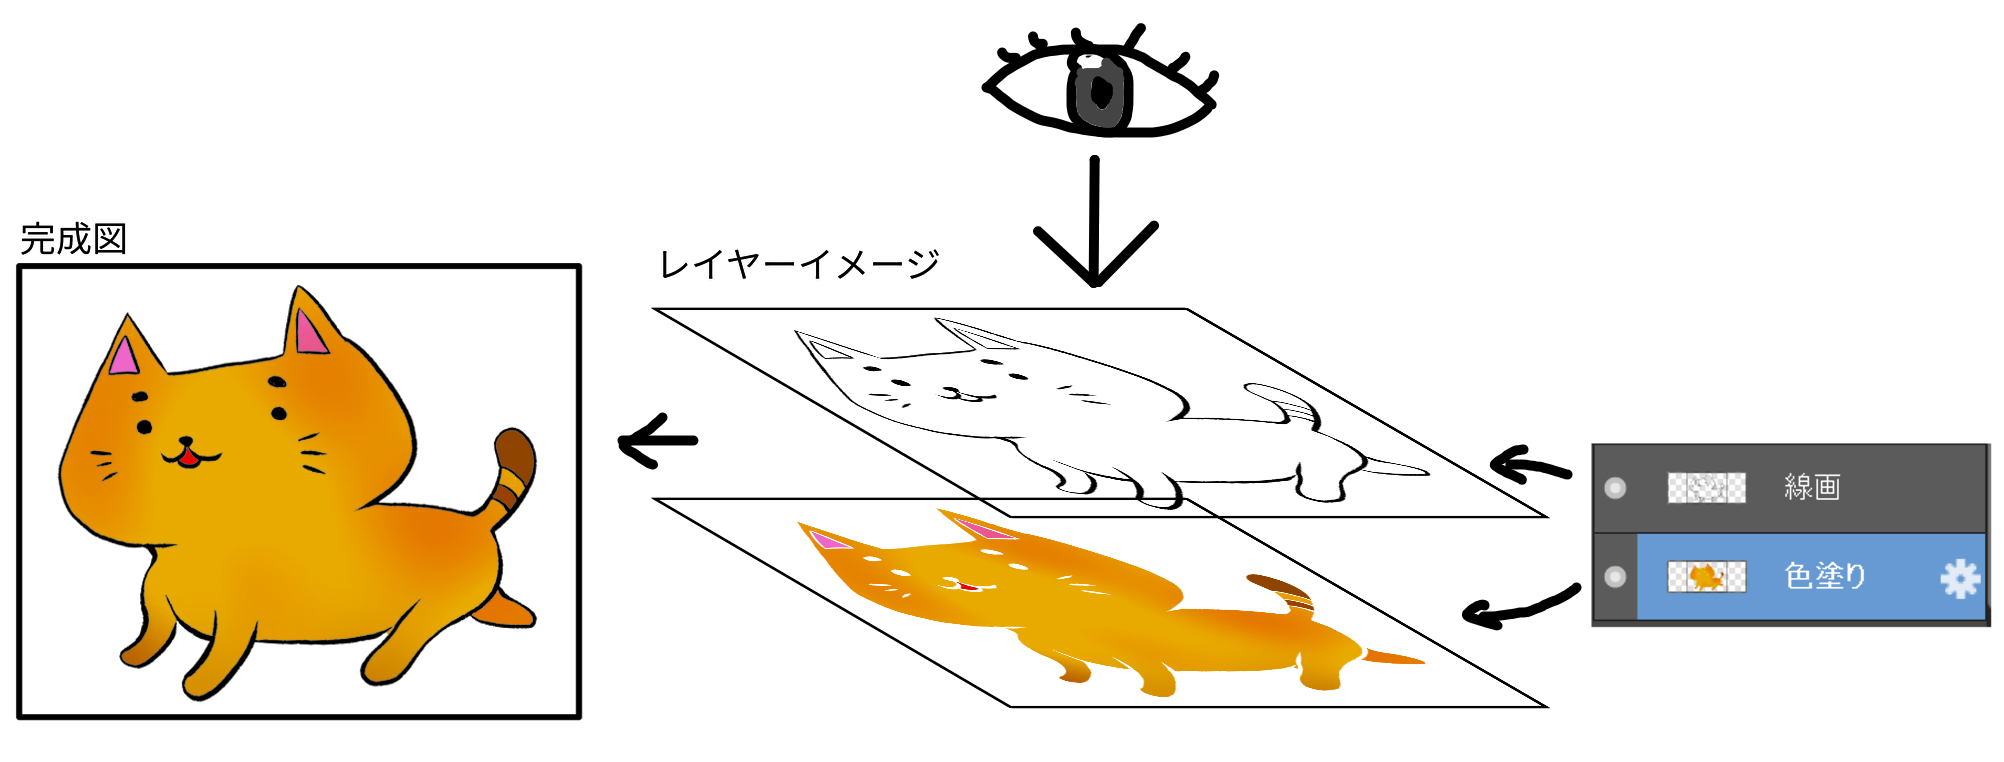
You can paint on different sheets of glass and put them together to get a different effect aka, “layering” them. Dividing these layers allows you to better control and edit different parts of your art.
For example, if you separate “the line-art layer” and “coloring layer” you can erase only the painted part without erasing the line drawing as seen below.
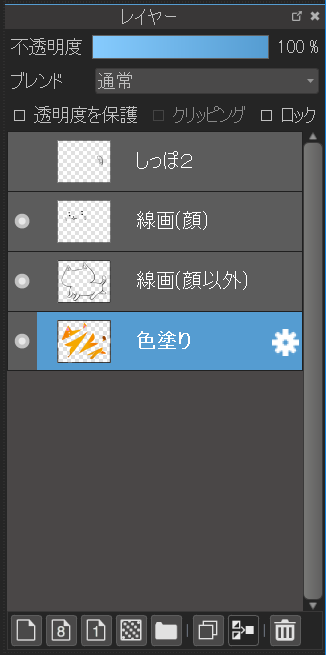
You can operate the layers function via the Layer Window (1) or the drop-down menu labeled Layers.

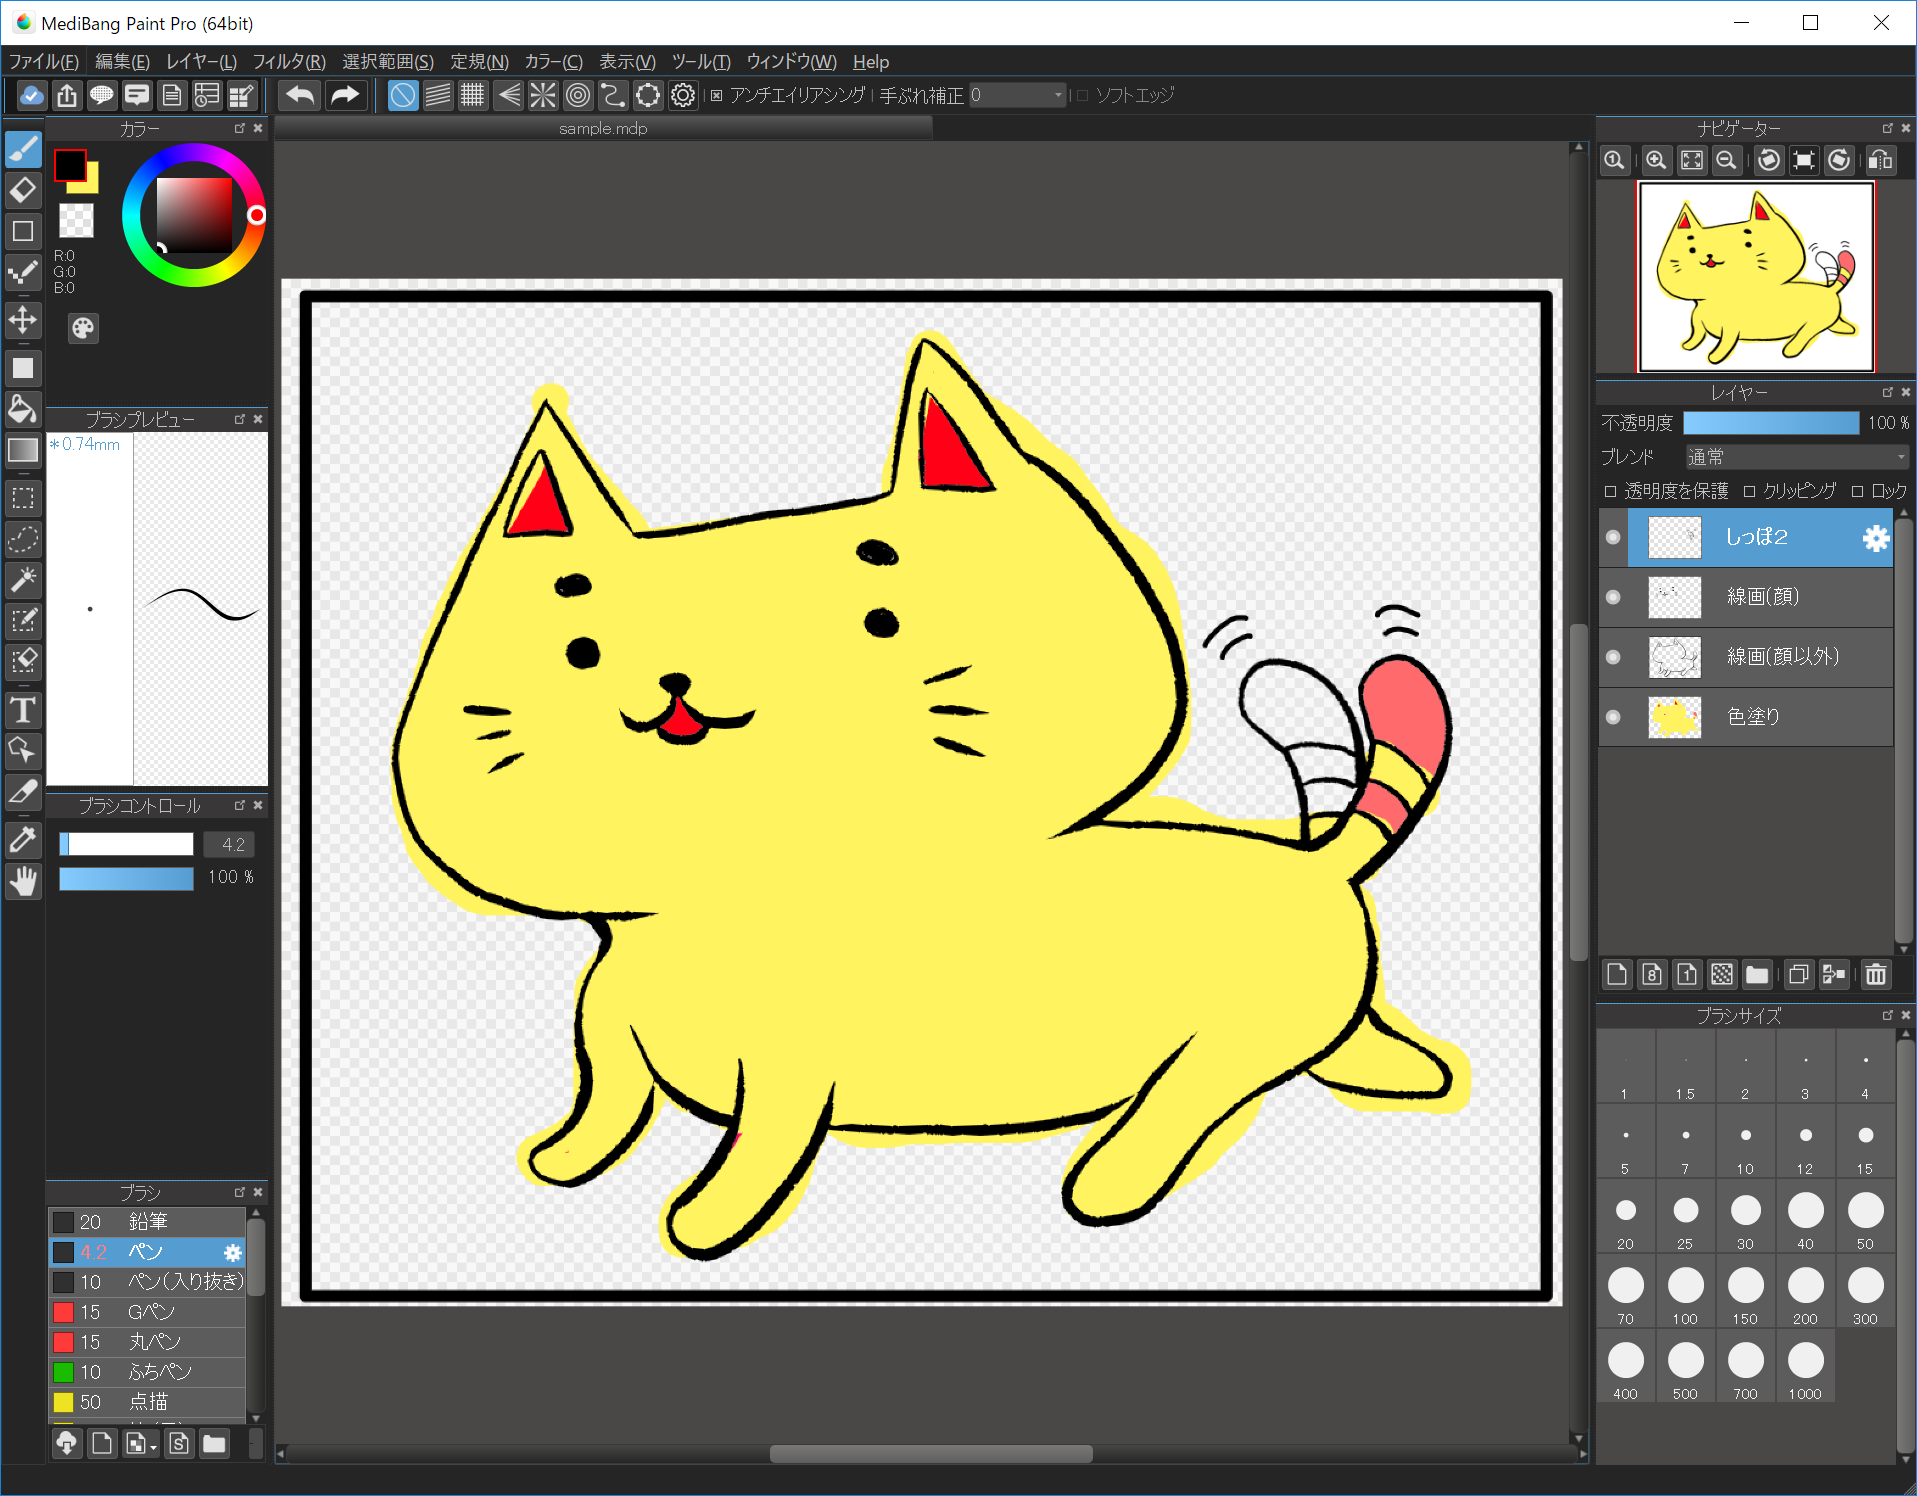
Now, you can practice using the layer function. Click the button below to download sample.mdp and open it using MediBang Paint.
The file “sample.mdp” contains 4 layers. First, click the “coloring” layer in the Layer Window to select it. You can tell whether a layer is selected by checking to see if it is highlighted blue.
Now we are going to learn how to use the “clear” function to erase everything in the “coloring” layer.
When you want to get rid of anything on your canvas, you can either use the eraser tool to remove finer details, or the Clear function to erase the entire layer at once.
This is great to use when you want to completely start over.
There are multiple ways to access the Clear function. To erase all the contents of your currently selected layer, either click “Layer” -> “Clear” on the menu or the “Delete” key on your keyboard.
If you mistakenly erase or draw anything, you can use the Undo function to fix it.
After deleting the initial “coloring” layer, feel free to use the line-art to practice coloring in MediBang Paint by using the Brush Tool you learned about earlier.
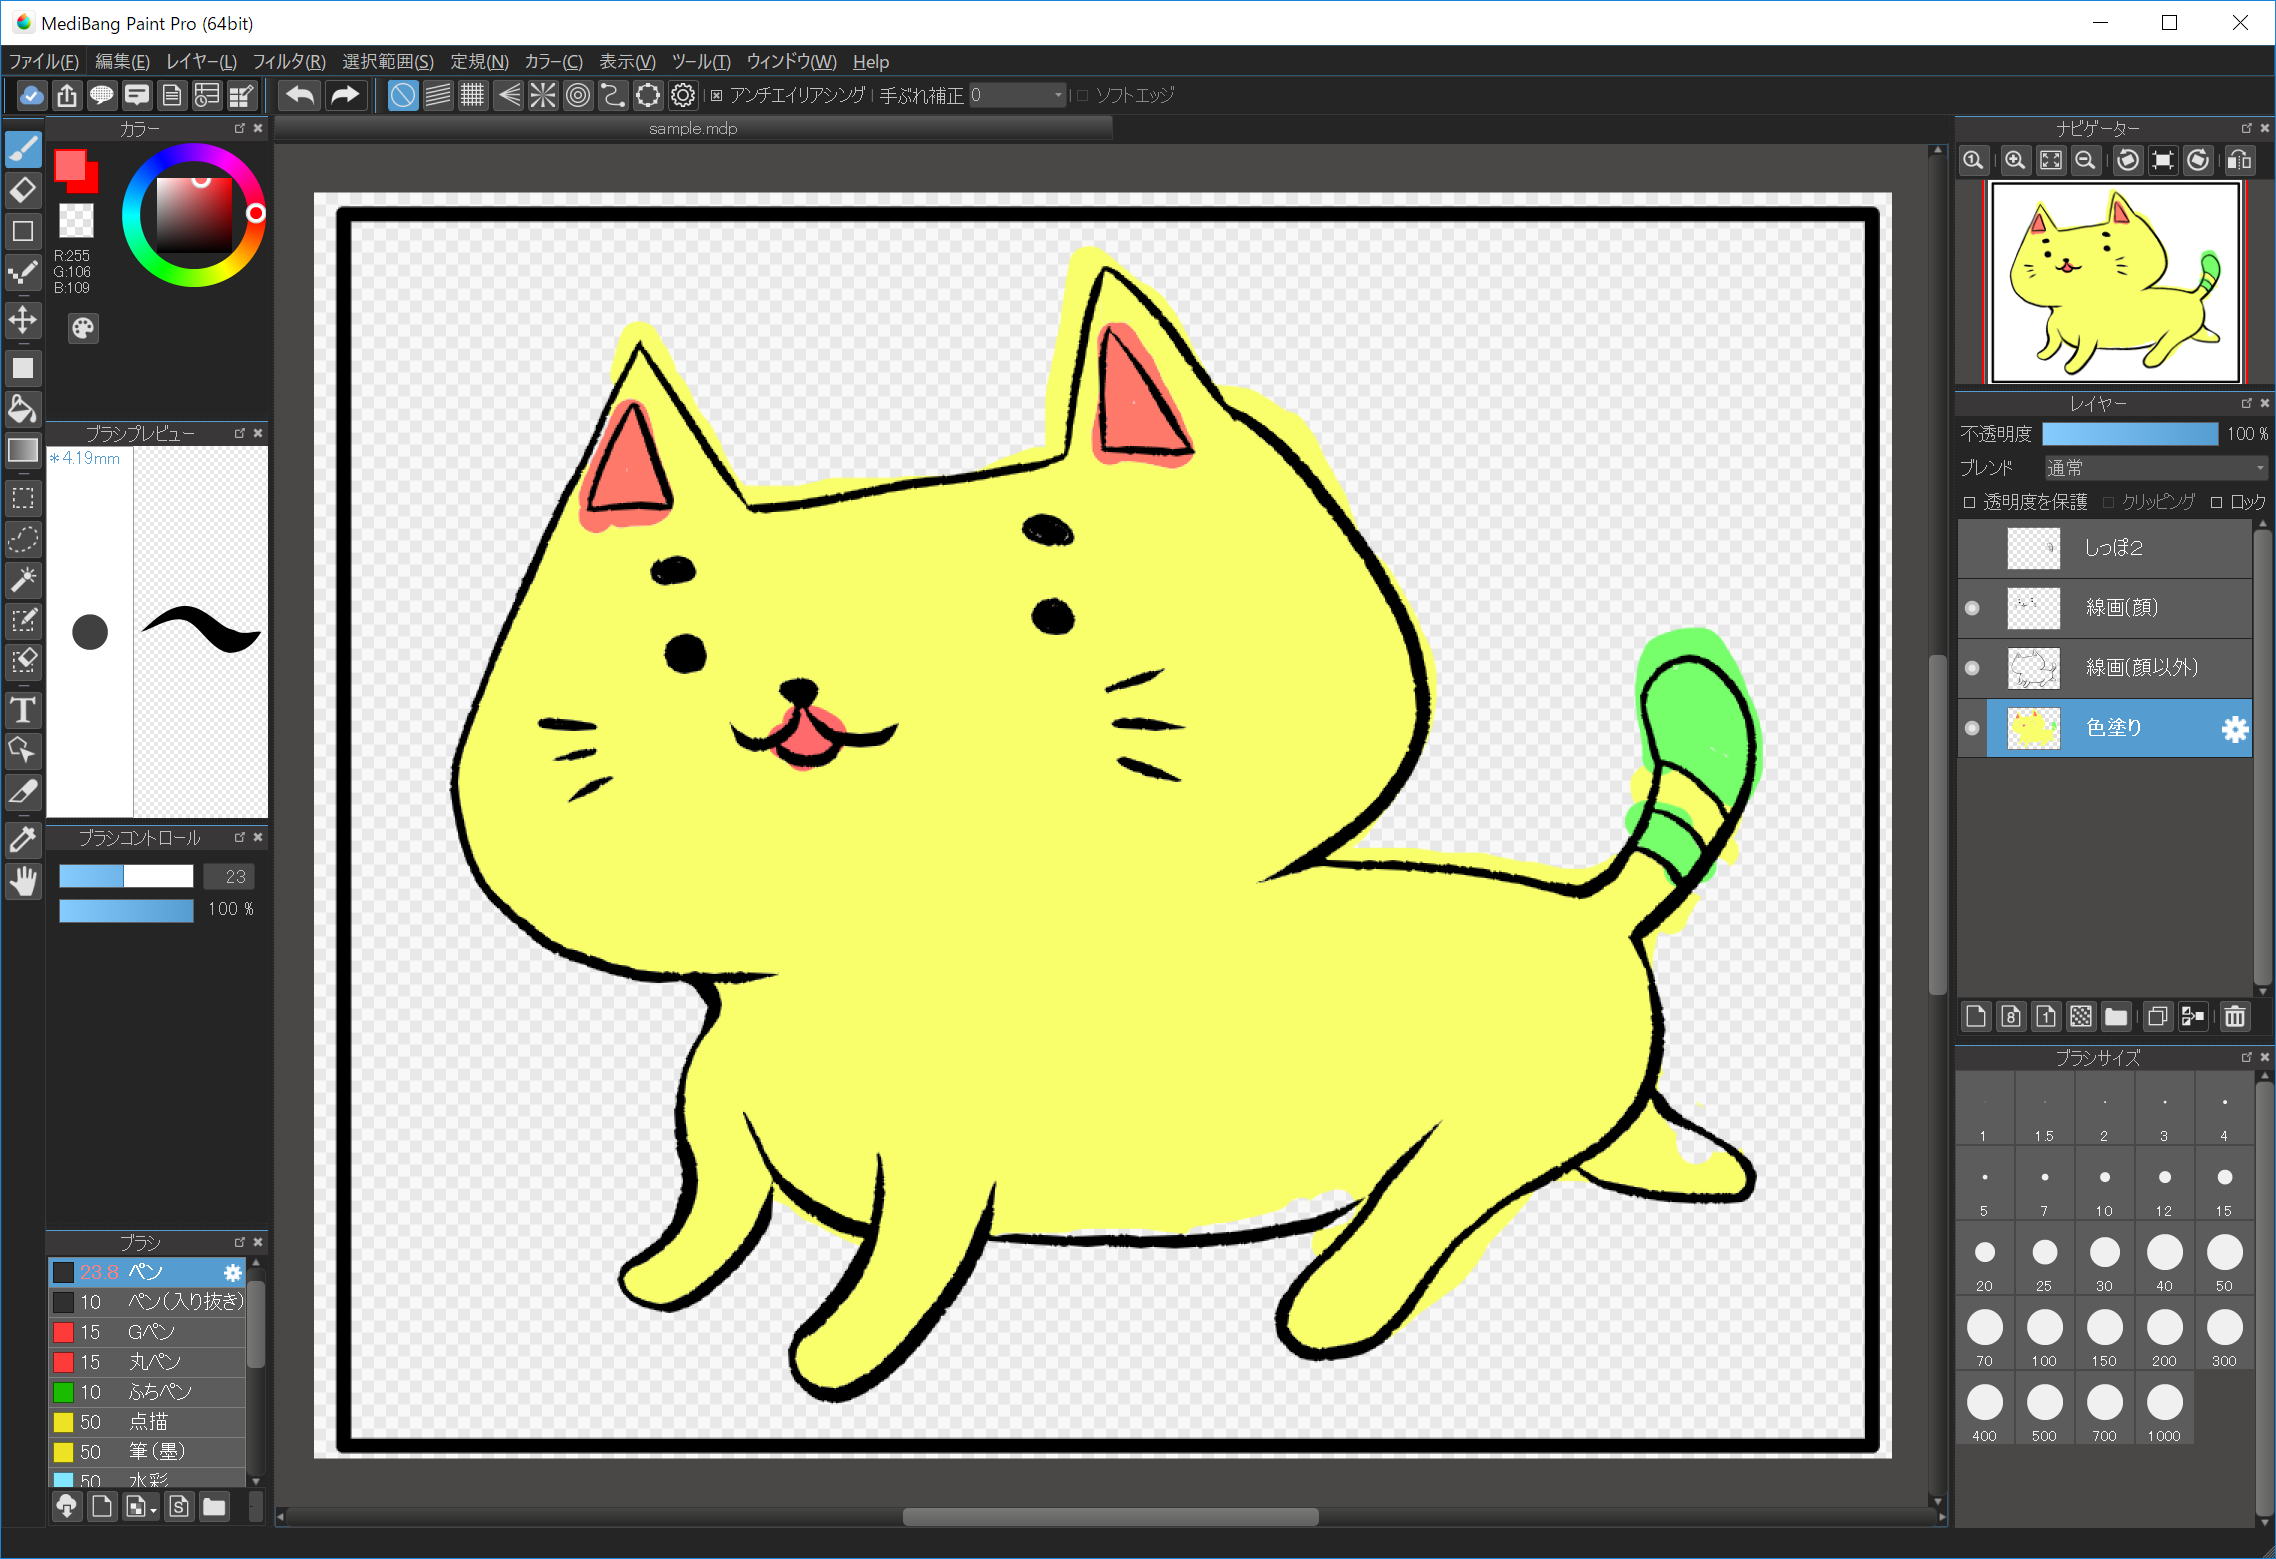
Even though we have colored outside the lines, as you can see, the line-art layer remains unaffected by any actions taken on the coloring layer.
To rearrange layers, drag and drop the layer you want to move to the desired destination.
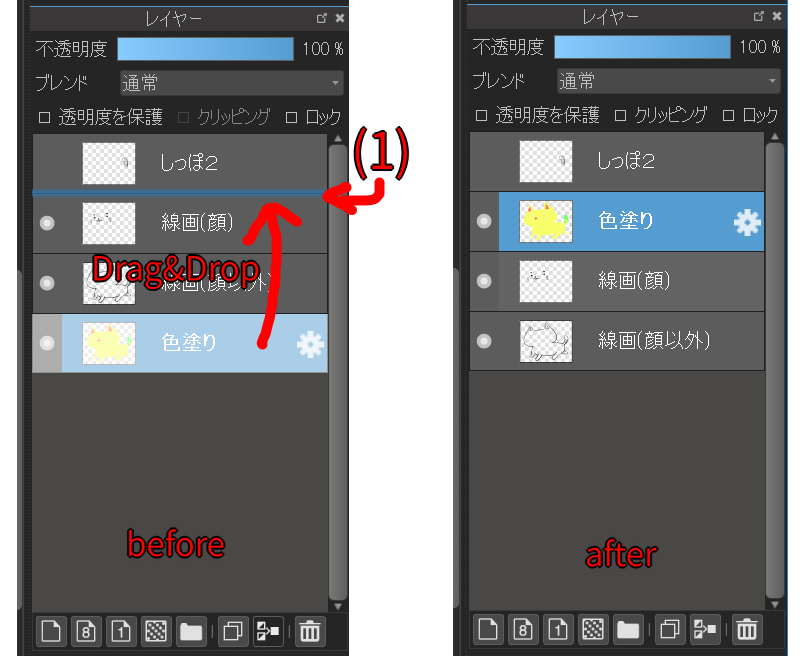
While dragging and dropping, the destination of the moving layer is highlighted with blue as seen in (1).
As an experiment, move the “coloring” layer above the “line” layer.
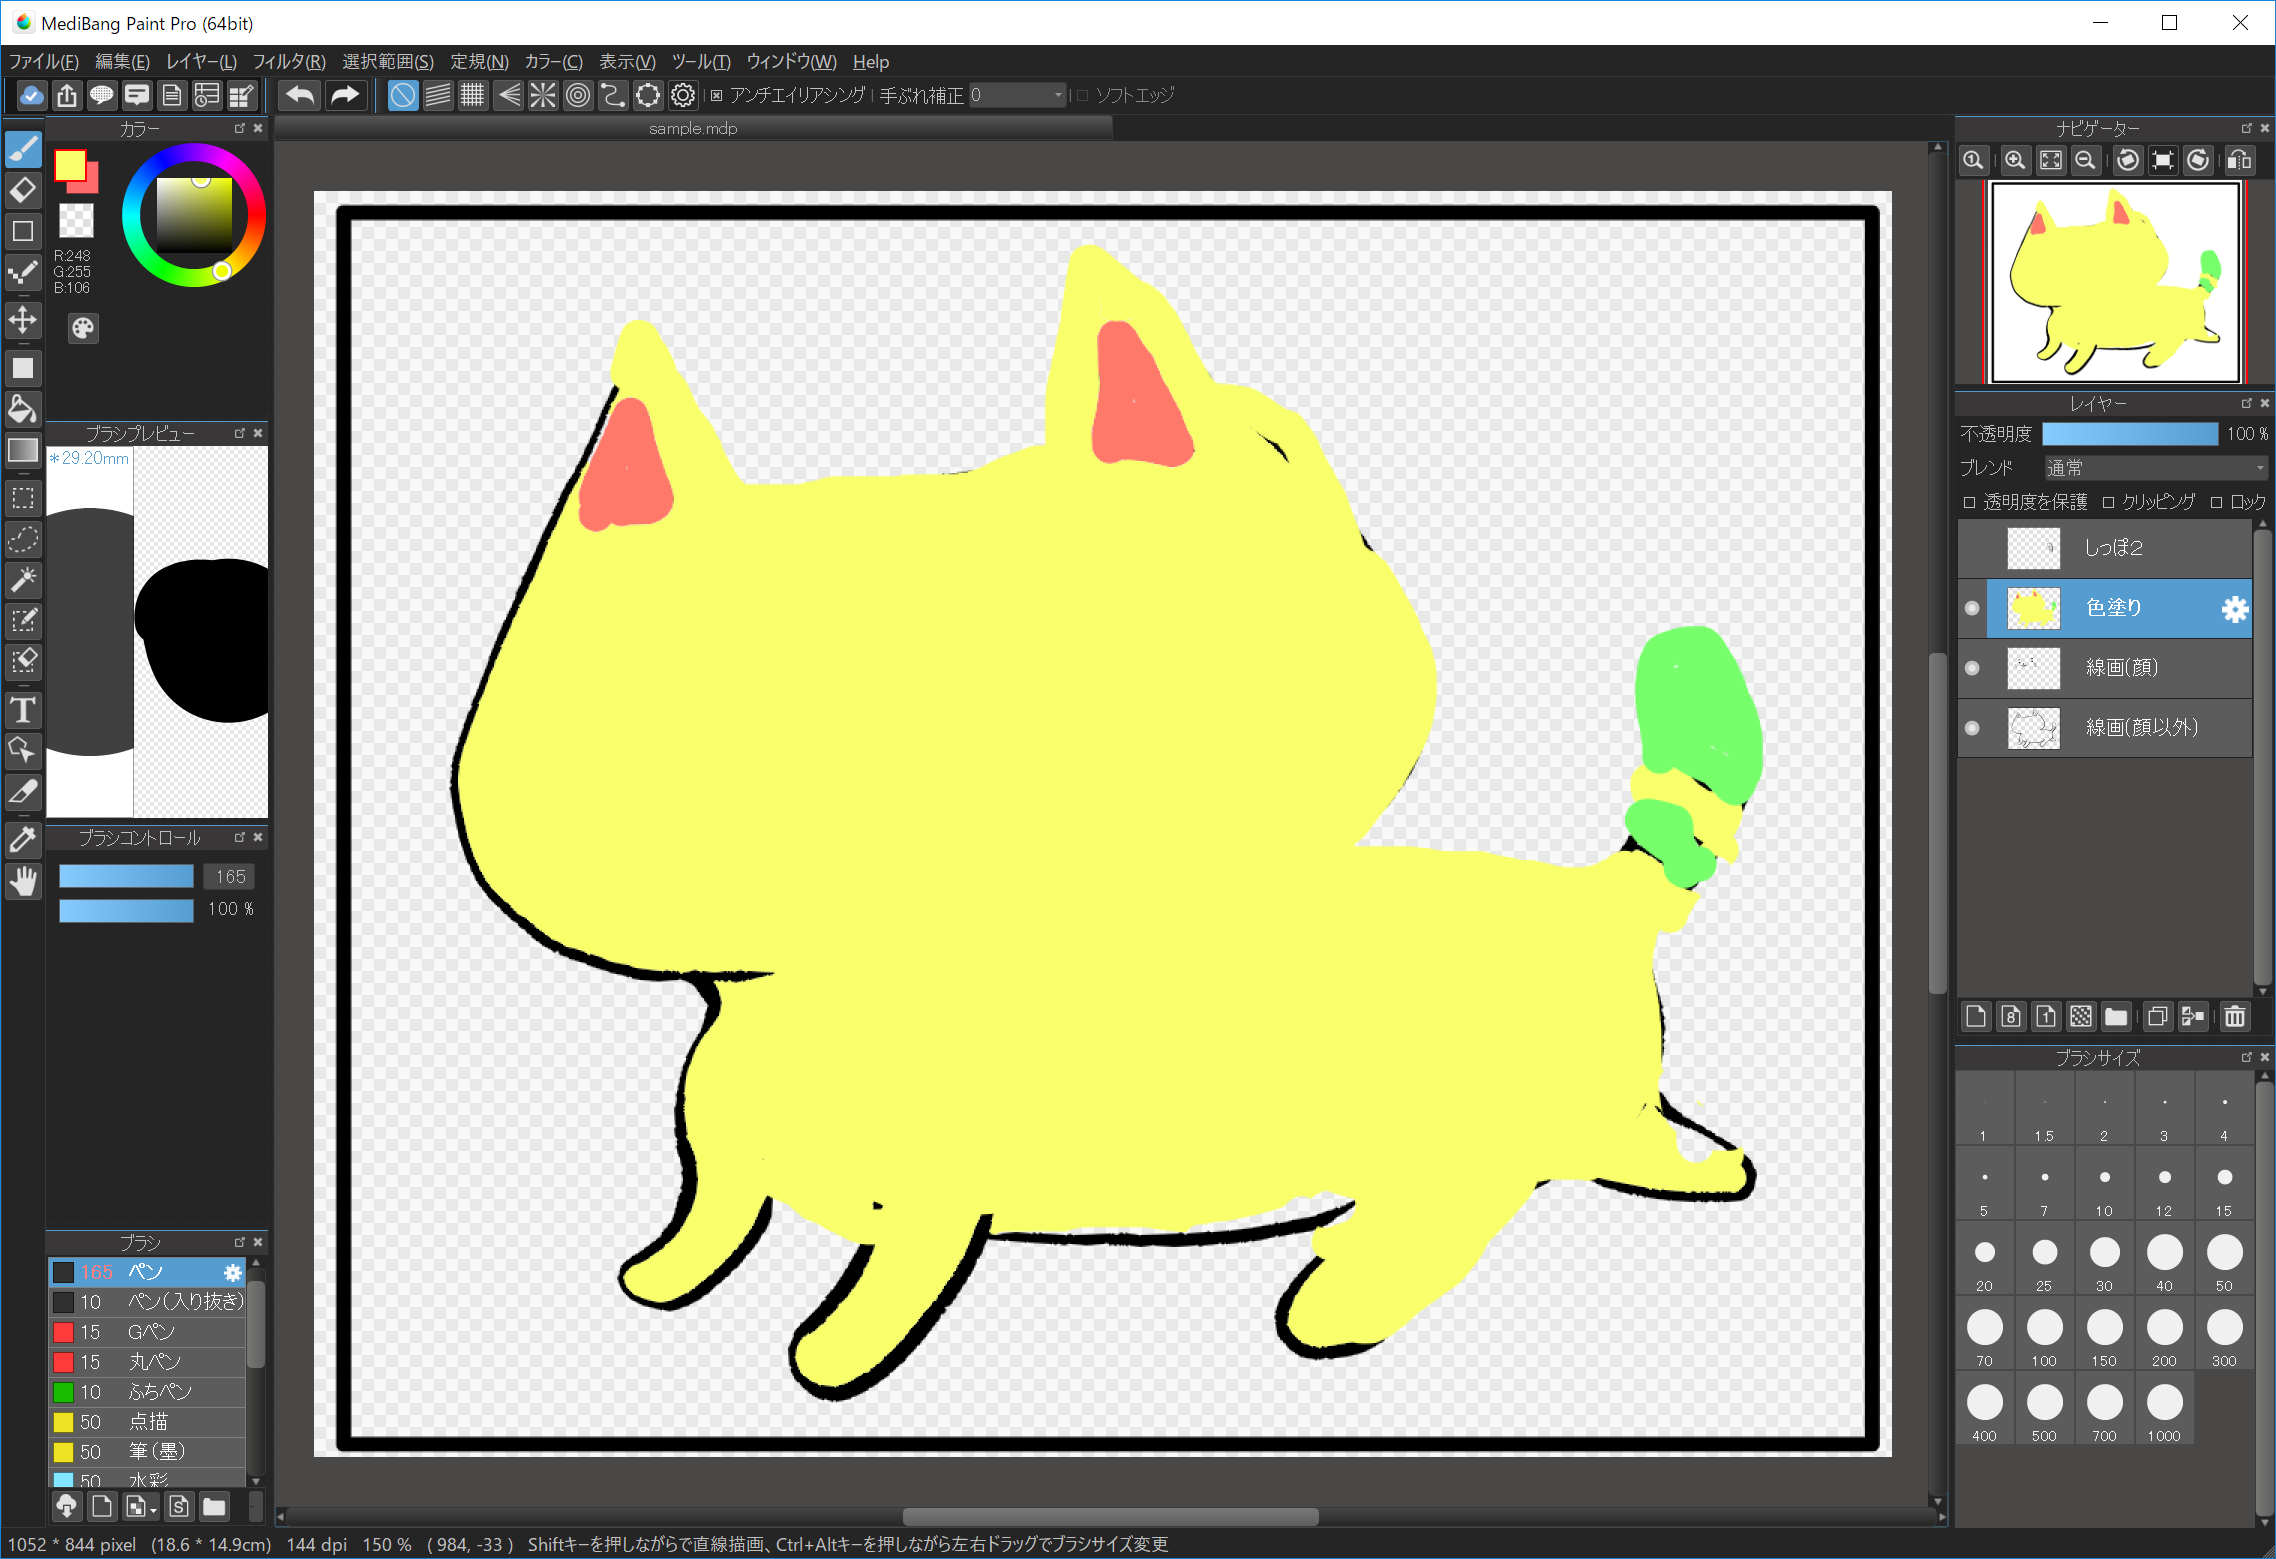
This is a good example of how layers work. The coloring layer is resting on top of the line-art layers, hiding anything that the top layer overlaps with. When you want to see the line-art layer again, simply move the color layer underneath it.
Undo can be used for any operation within MediBang Paint, including reordering layers.
Earlier, I explained that layers are like panes of glass stacked on top of each other, with any marks made overlapping with each other, blocking colors beneath.
However, in illustration software like MediBang Paint, you can change the opacity level of the marks made on each layer.

Use the “Opacity”(1) function in Layer Window to change the opacity of a layer. When the opacity is set to 100%, the contents of the layer will be completely opaque. If the opacity is set to 1% the layer will be nearly transparent.
Set the opacity of the color layer to different levels and observe the effect it has on the canvas.
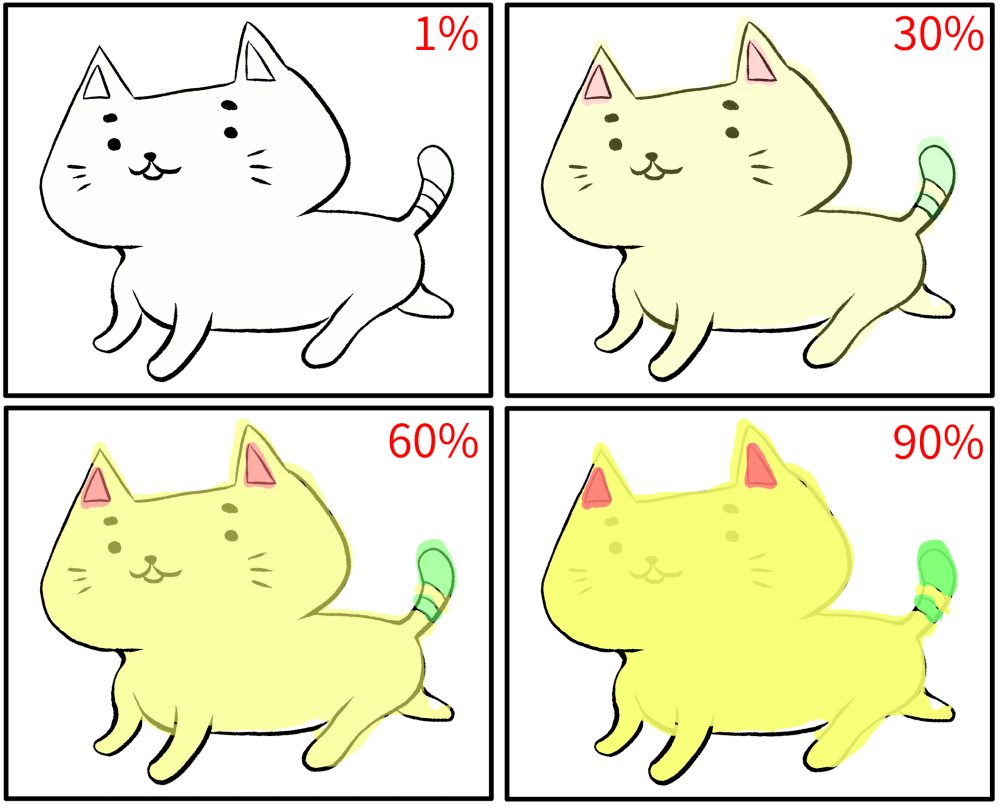
The higher the opacity of the layer, the harder it is to see the picture below.
When it’s time to line a rough sketch, we recommend that you lower the opacity of the sketch layer to make it easier to see what lines you’re making.
Add and delete layers using buttons located at the bottom of the Layer Window.
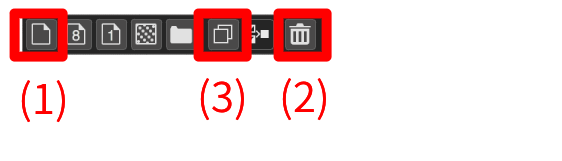
(1) Add layer / (2) Delete layer / (3) Duplicate layer.
The delete and duplicate functions will only affect the currently selected layer.
To learn what the other buttons in the Layer Window do, click here.
Name your layers to better organize your workflow.
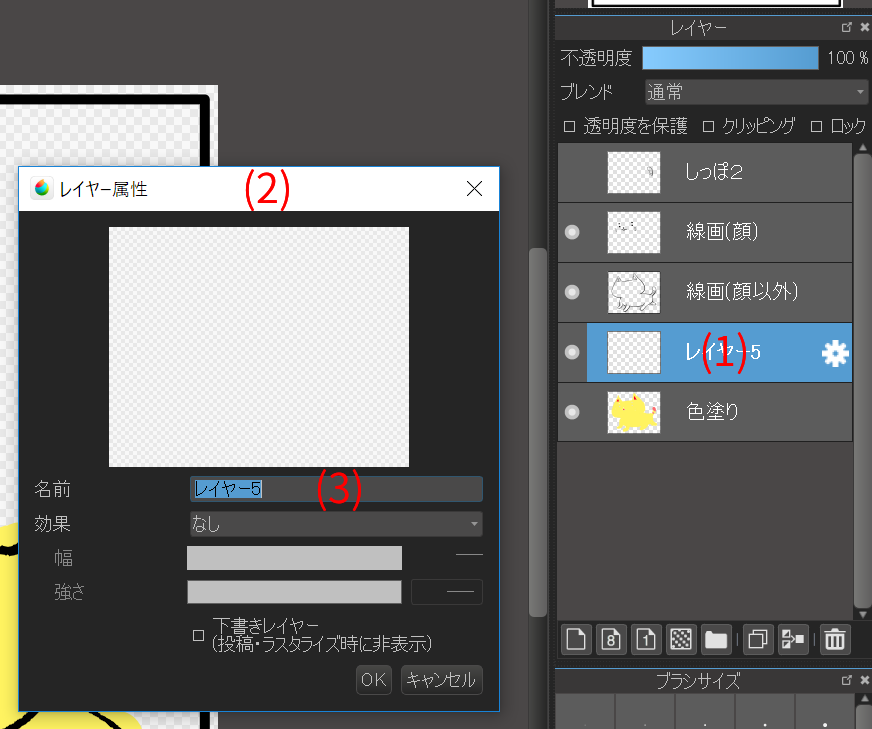
Click the gear icon (1) on the Layer Window to open the Layer Property Window (2), and then change the Name (3) of the selected layer. After you are satisfied with the name change, press “OK.”
You can temporarily hide layers. For example, the “tail” layer of sample.mdp is hidden.
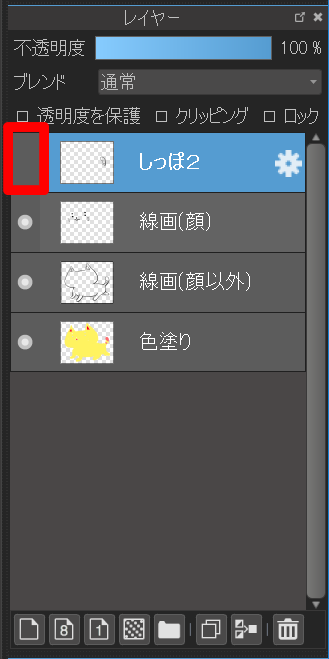
To switch between hiding and displaying a layer, click the left highlighted part of the selected layer. When the “●” icon shows, the layer is visible.
Displaying “tail” layer changes the sample.mdp file as shown below.
Now, the cat in the image is waving its tail.
We will introduce more useful functions in using layers.
If you want to make sure you do not accidentally edit or change a layer that you have finished working on, you can lock it to prevent future edits.
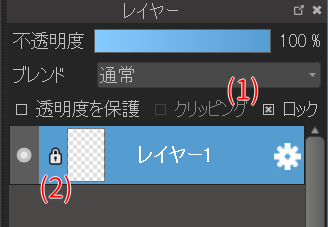
After selecting the layer you want to lock, click “Lock (1)” in the Layer Window”. The “Lock” icon (2) will appear on the left side of the locked layer thumbnail.
If you suddenly find yourself unable to draw anything on your layer, first check the layer lock settings.
These are the cases when you will not be able to draw on a layer.
Alpha Lock essentially protects the transparency of any layer. If you lay down a a few strokes or shapes on a layer, and then turn on Alpha Lock, you will only be able to edit the part of the layer that already has “paint” on it.
You can easily recolor lines or add details to characters without concern for coloring outside the lines thanks to the Alpha Lock function.
If you want to change the shape itself, simply turn the Alpha Lock function off.
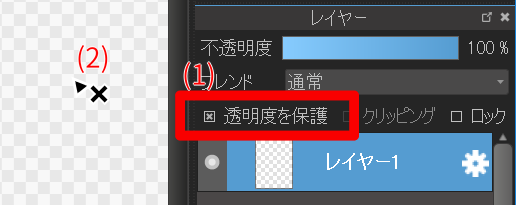
To activate this function, first select the layer you want to lock and then check the “Alpha Lock (1)” in the Layer Window.
If you attempt to add new marks on a layer with Alpha Lock activated, the cursor will change as shown in (2).
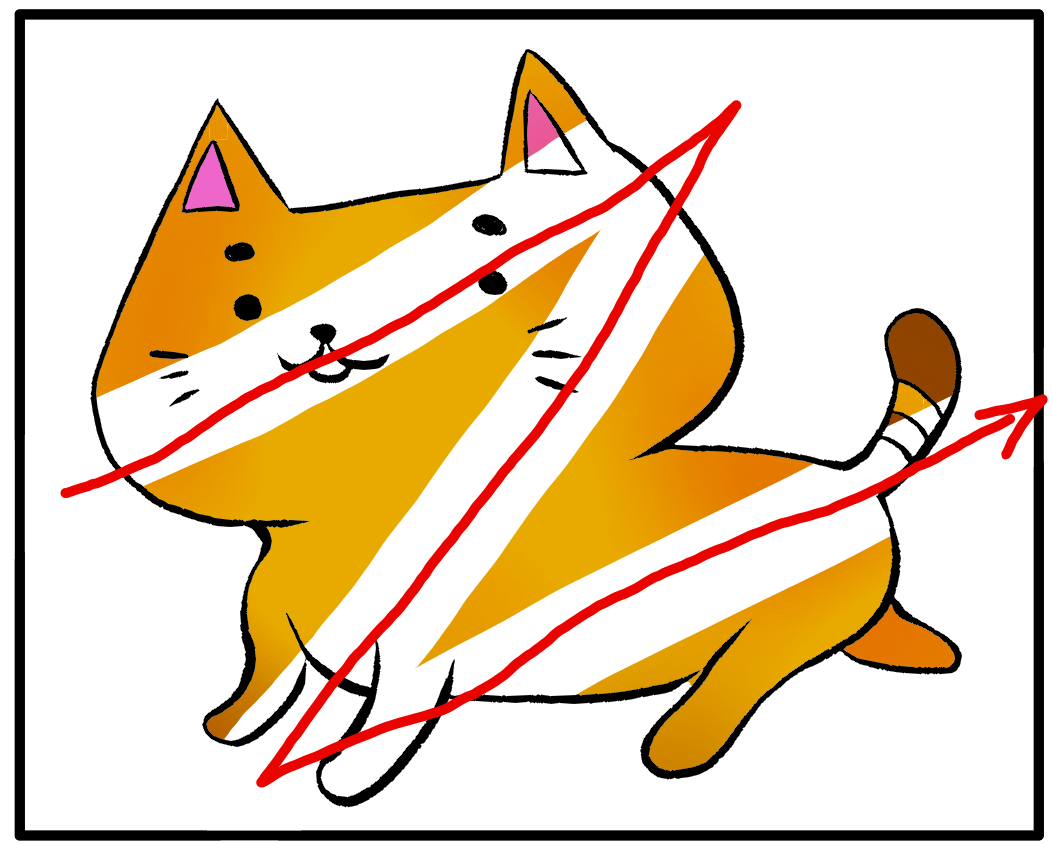
Refer to the example image for how to change the color of your lines.
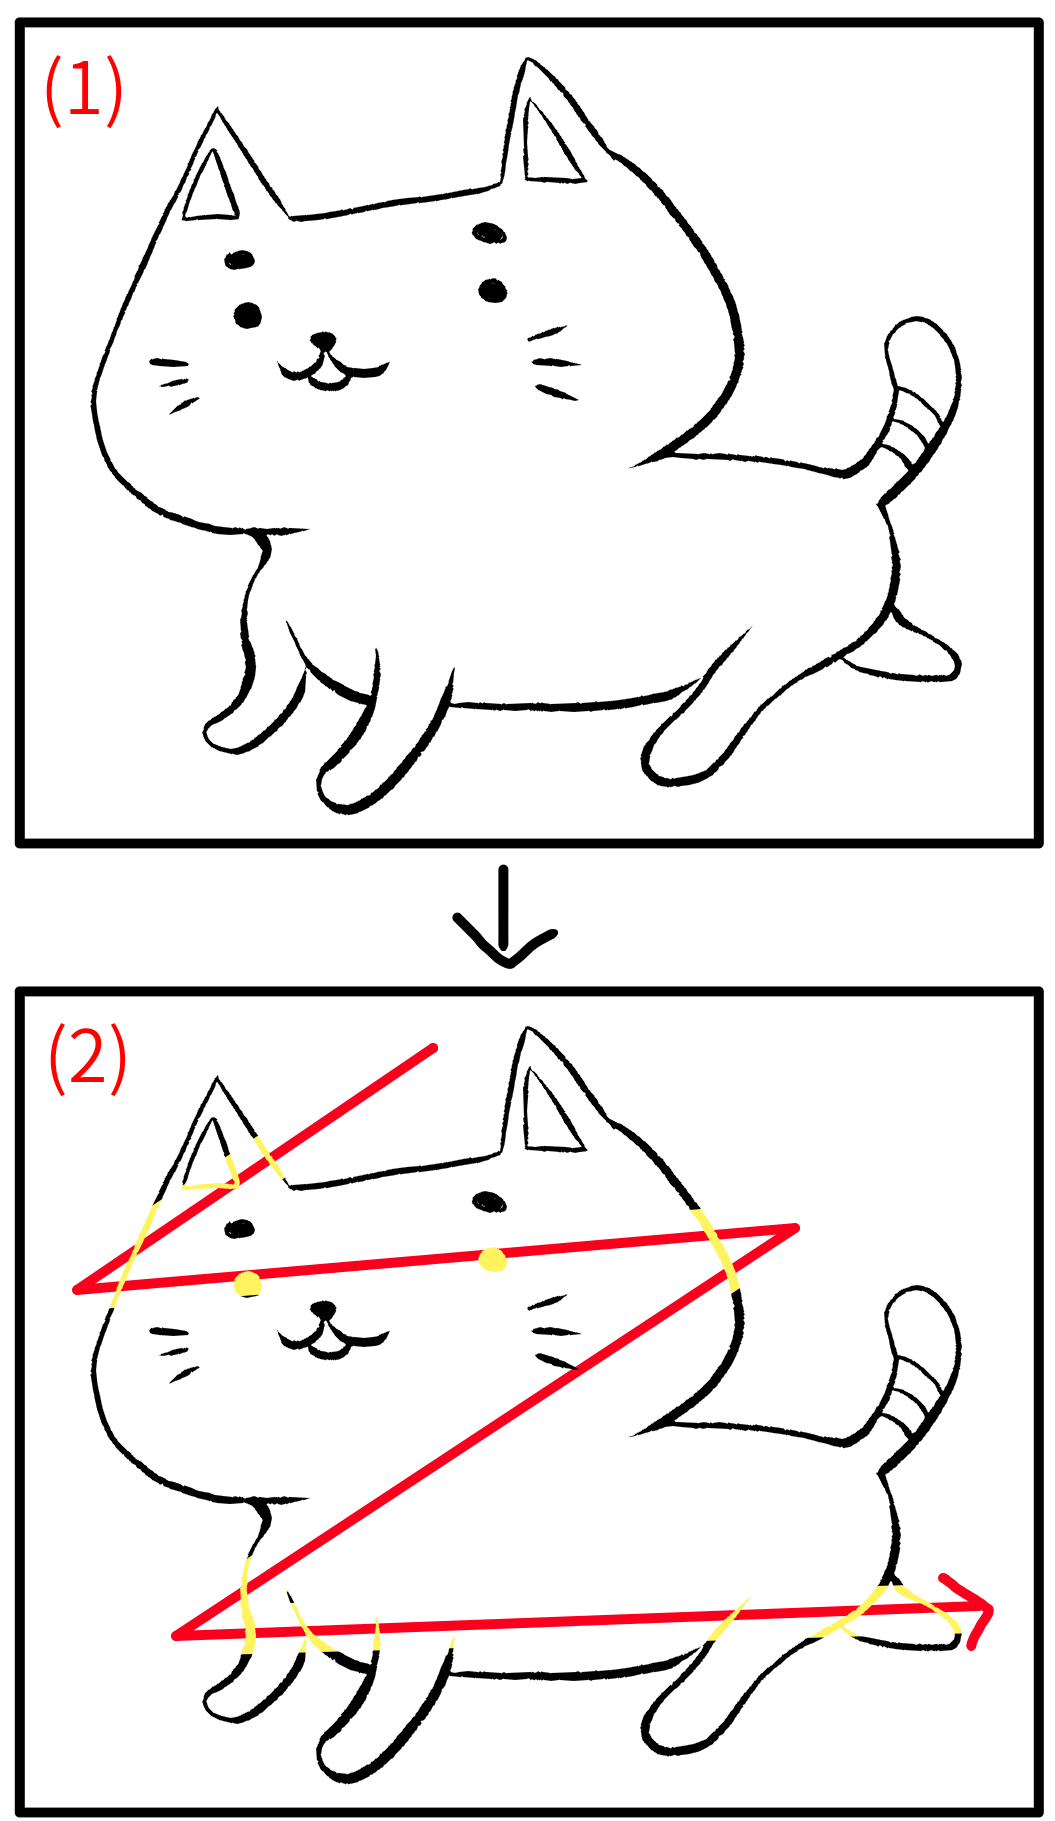
If (1) is the original line layer, after activating Alpha Lock on the layer and painting using a yellow brush in accordance with the arrows shown, the image will look like (2).
MediBang Pro’s Draft Layer is a kind of layer that when saved does not show up in the exported product or when “Rasterized“.
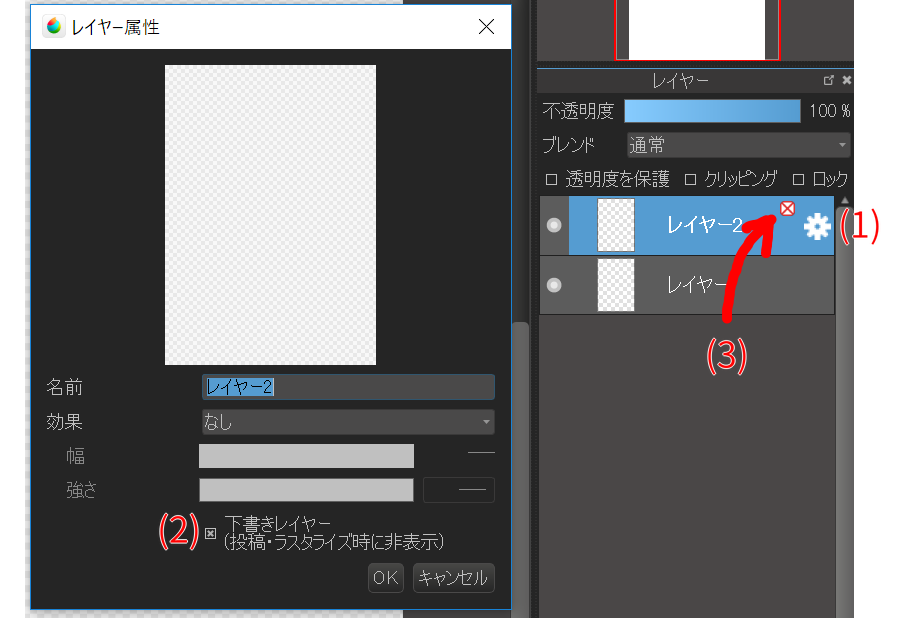
Click Layer Property (1) to access the draft layer settings.
After opening Layer Property, check “Draft Layer (2)” and and click OK to turn the selected layer into a draft layer.
Draft Layers are distinguished from regular layers with a red X mark (3) in the layer window.
Layers can be “Duplicated” and “Merged” using buttons at the bottom of the Layer Window.
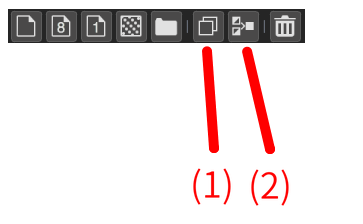
Click “Duplicate Layer (1)” to duplicate the selected layer on your canvas.
“Merge Layer(2)” will integrate the active layer into the lower layer.
Please refer here to learn about layer blending modes.
Your creativity will be more special!
MediBang Paint's new service,
Unlimited use of exclusive brushes and
materials,
full access to MediBang Paint,
and many other benefits to help your
creativity.
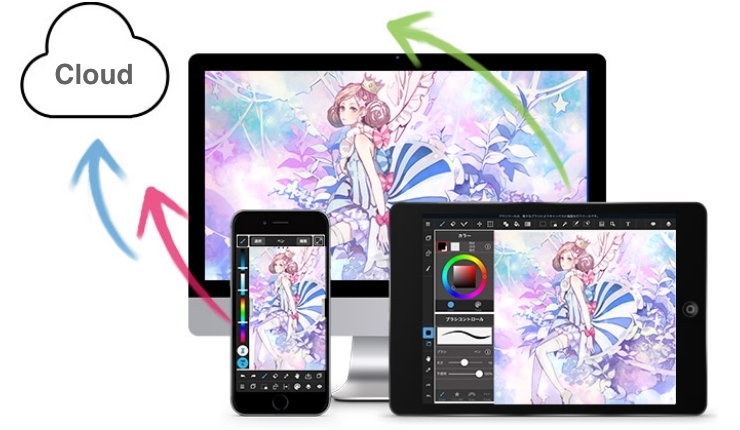
We introduce cloud features available on MediBang Paint.

We introduce specific examples of team production using MediBang Paint and mangainem.

We introiduce "JUMP PAINT", JUMP's official soft and app for manga creators.