The bucket tool is a great reminder of how wonderfully convenient digital art can be. Using the bucket tool in MediBang Paint, you can easily fill lines on a layer, or the entire canvas, with one color.
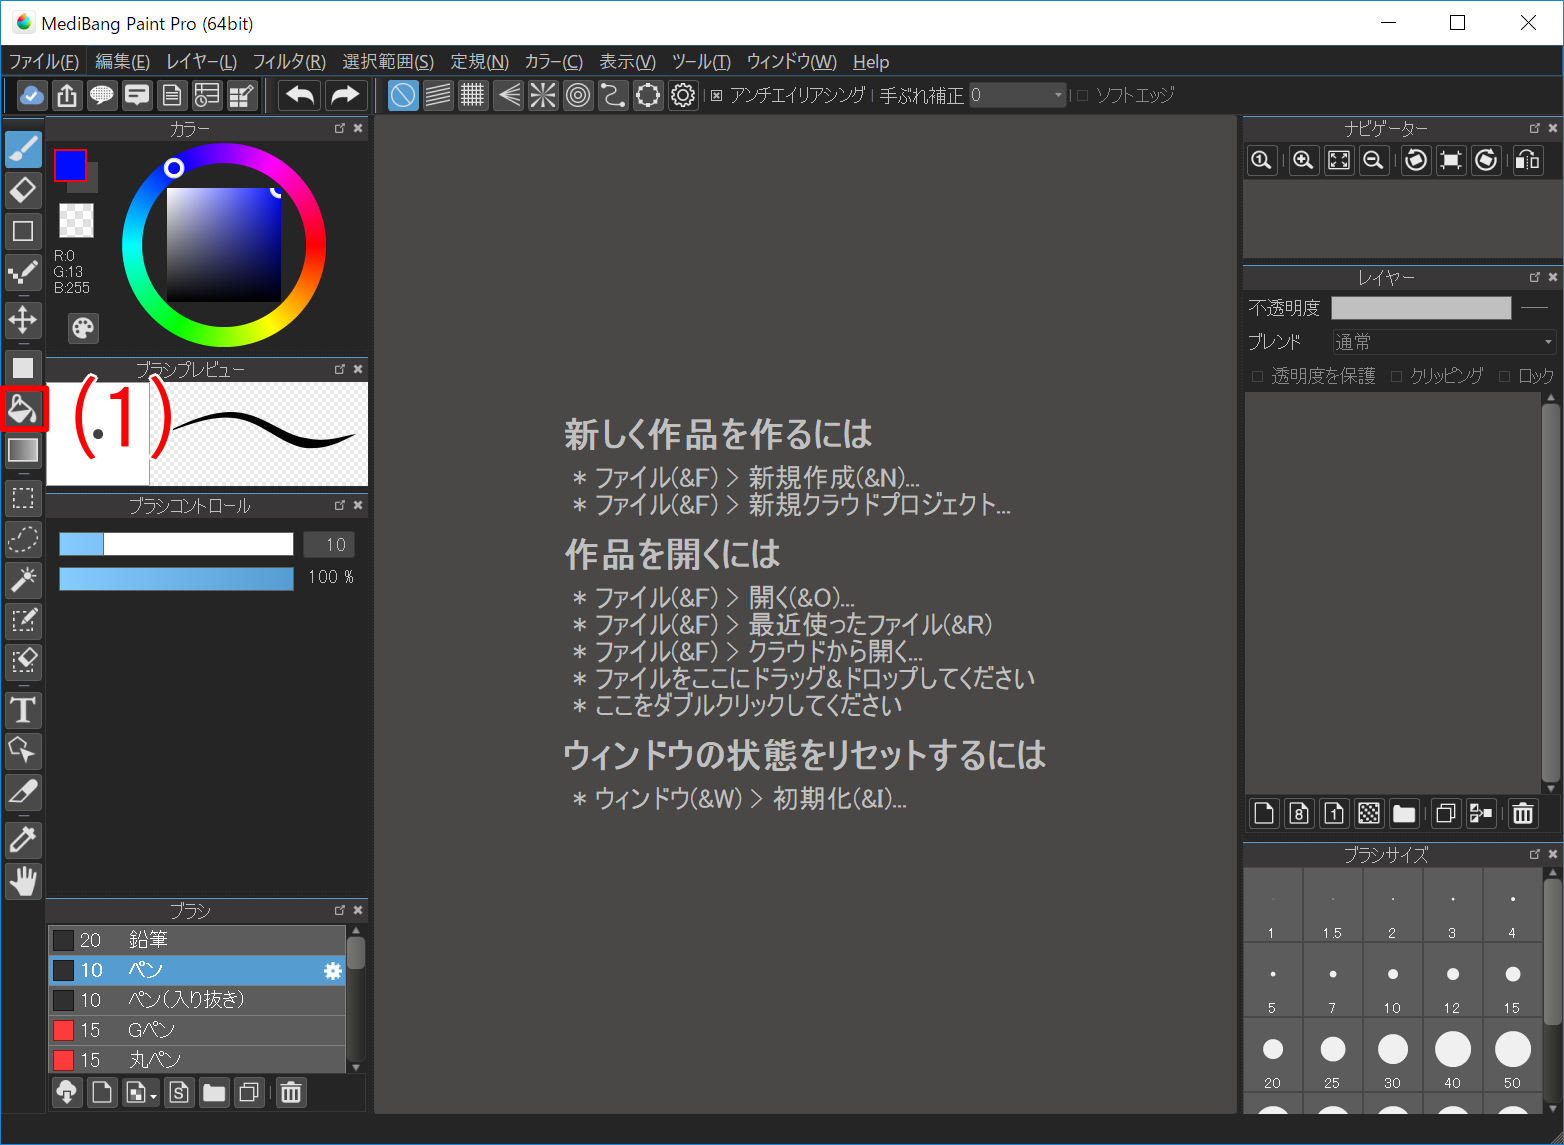
You will find the Bucket Tool in the toolbar on the left side of the main window (1).
Click the button below to download and open a sample to follow along with using this tutorial.
After opening the file, click the Bucket Tool (1) button to use the function.
The Bucket Tool toolbar will display at the top of the main window.

The toolbar will allow you to customize the bucket tool to suit your artistic needs.
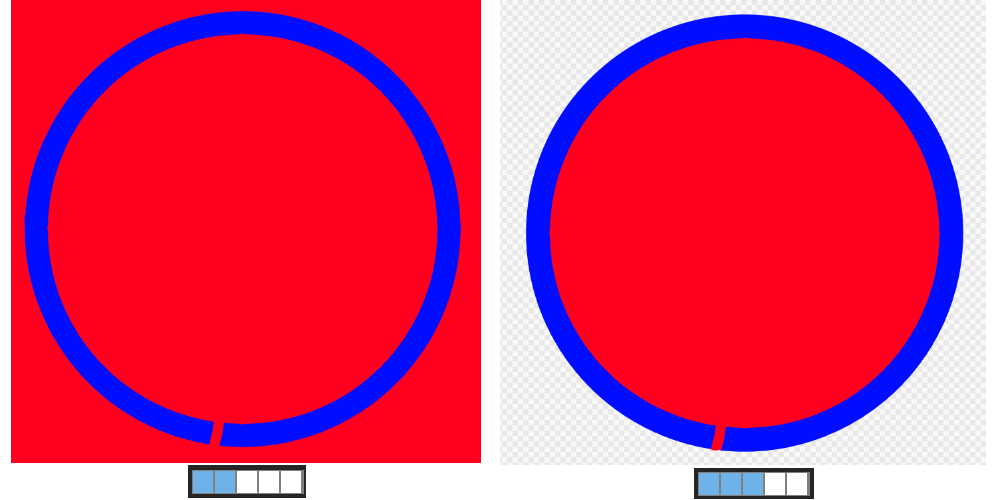
This setting determines what to reference, the Layer or the Canvas, when filling an area with the bucket tool.
If you set the reference to “Layer”, the Bucket Tool fills the active layer area that is enclosed by a line. If the reference is set to “Canvas” the tool will fill the lined area on the canvas.
Please select the “not drawn” layer of the sample, set the reference to “Canvas” and click inside the red circle. The inside of the red circle will be filled with the primary color of the brush.
Next, please undo once to cancel the previous action.
Now, select the “not drawn” layer again, set the reference to “Layer” and click in the red circle. The entire canvas will be filled with the primary color.
By switching the Reference, you can adjust the area that will be affected by the Bucket Tool.
After adjusting the Tolerance, the active color can be applied all using the Bucket Tool, even in areas where the colors are slightly different.
First, select the “not drawn” layer of the sample, set the reference to “Canvas” and change the Tolerance to a different setting before selecting the Bucket Tool and using it inside the yellow-green circle.
(Use the Undo tool every time you fill a circle or use the eraser tool/layer clear function.)
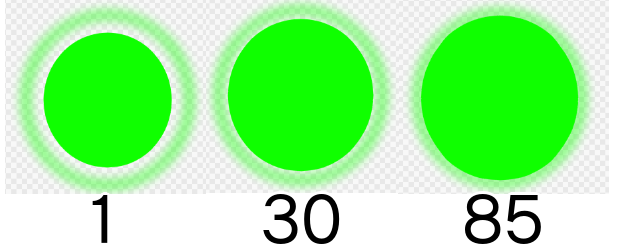
When the Tolerance is set to 1, the Bucket Tool stops filling the area when the color changes just a little, leaving a large white area around the line.
With this setting, you will not be able to effectively use the Bucket Tool on lines that were painted with a textured or blurred brush, such as the Airbrush. However, if you adjust the Tolerance setting appropriately, you can cleanly fill even an airbrushed line.
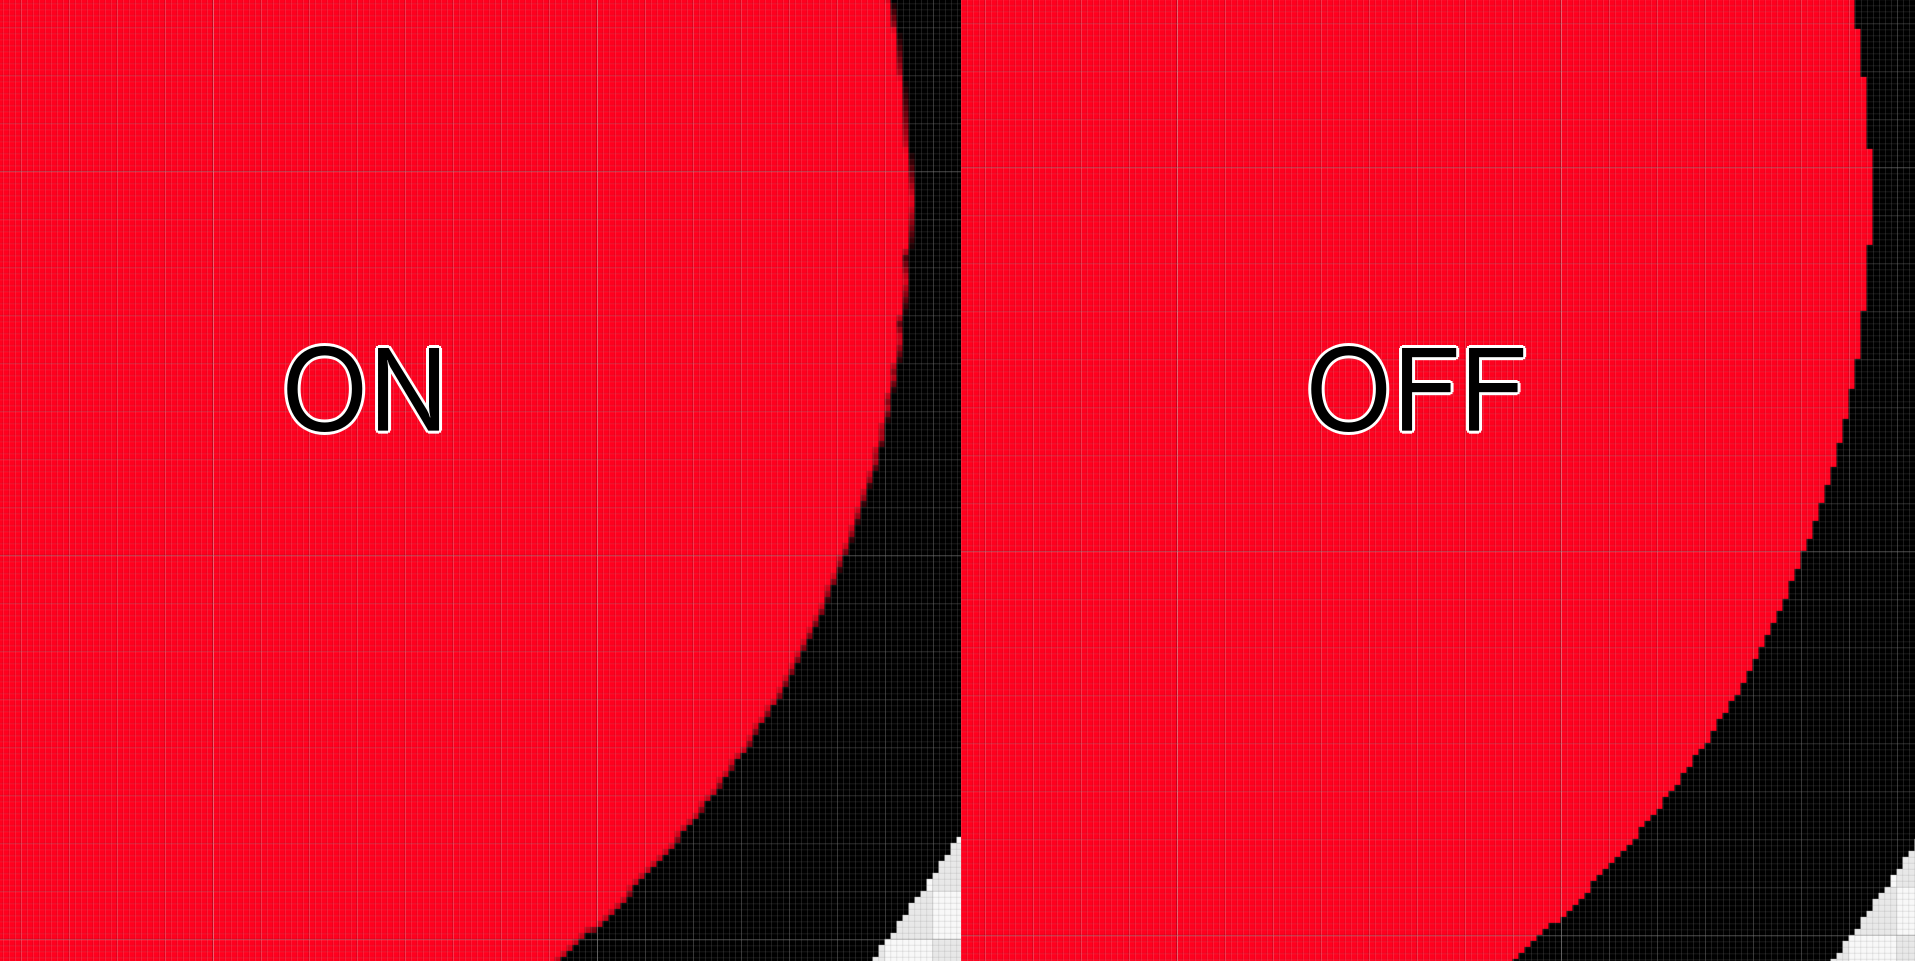
When checked, this activates anti-aliasing for a filled border.
Check the anti-aliasing box and then and fill in the inner area of the black double circle on the “not drawn” layer to see the difference. Let’s take a closer look to see the effects of anti-aliasing.
If anti-aliasing is in effect, this may result in a gap between the line art and Bucket Tool fill. You can tweak the “Expand” settings to fill that gap.
Increase the Expand number and then fill in the outer circle of the black double circle on the “not drawn” layer. Take a closer look to see the difference.

If you check the box next to the “Close Gap” function for the Bucket Tool, you can fill line drawings that may have small gaps. There are 5 levels for this function that you can adjust based on the size of the line gaps. “Close Gap” will be invalid if unchecked. This function comes in handy for those who enjoy using textured pens for their lines.
Let’s fill the blue circle on the “not drawn” layer using the Bucket Tool with a different setting for Close Gap.
When the level set to 1 or 2, the filled area will protrude out of the circle, but if you increase the level above 3, only the circle itself will be filled.
Your creativity will be more special!
MediBang Paint's new service,
Unlimited use of exclusive brushes and
materials,
full access to MediBang Paint,
and many other benefits to help your
creativity.
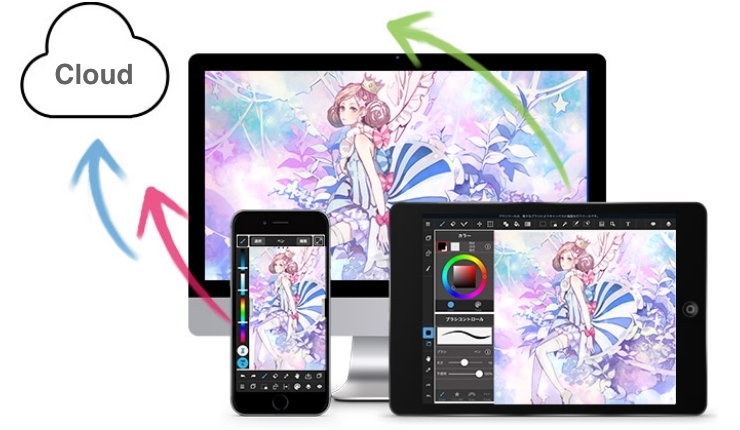
We introduce cloud features available on MediBang Paint.

We introduce specific examples of team production using MediBang Paint and mangainem.

We introiduce "JUMP PAINT", JUMP's official soft and app for manga creators.