I will explain the basics of drawing cartoons using MediBang Paint.
Although I will not explain in this tutorial, MediBang Paint has a service called «cloud project» to draw comics in earnest. (To use the cloud project, user registration to MediBang is necessary.)
«Comic guide» is a guide line when printing manga. When opening a new canvas as «manga manuscript», «Comic guide» will be displayed automatically.
To open the canvas as «manga manuscript», open the «New Image» dialog with «File» → «New» in the menu and create a canvas from the «Comic (1)» tab.
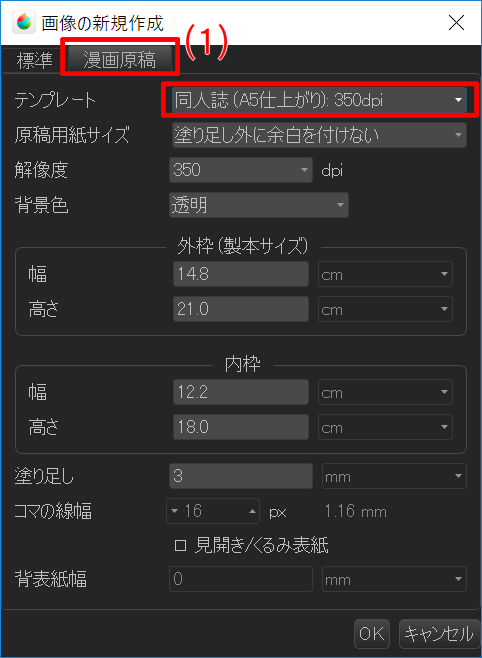
Let’s create a canvas by selecting «Doujinshi (A5 finished): 350 dpi» as a template on the «Comic» tab.
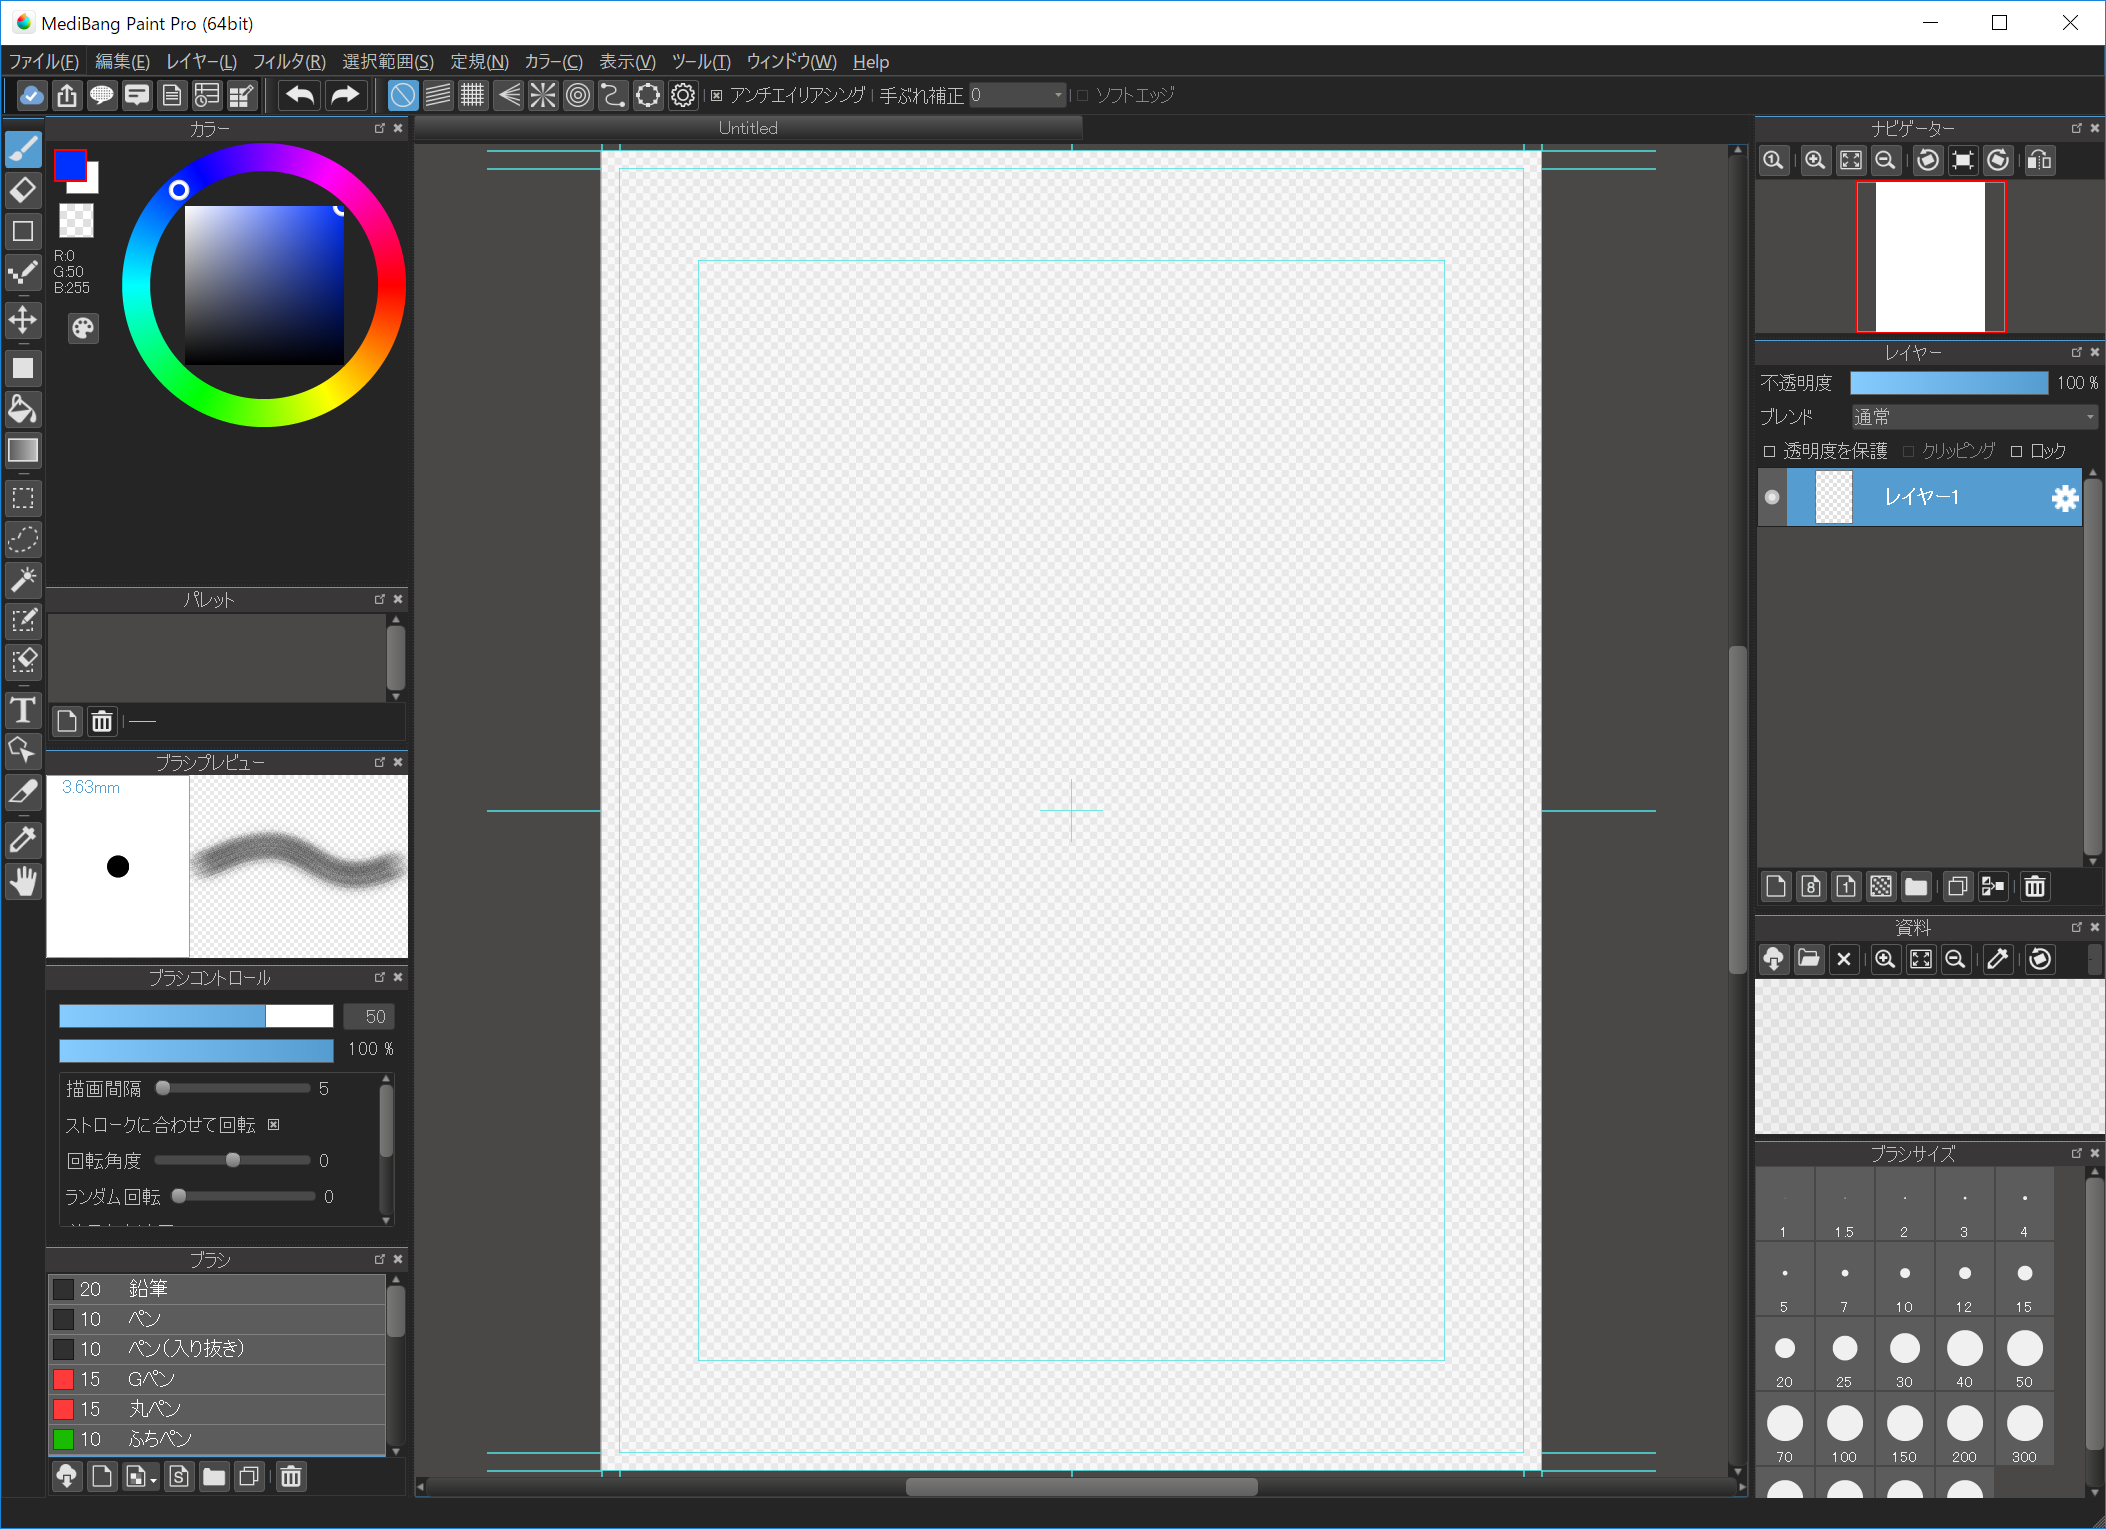
A canvas of «Comic» was opened. This light blue color guideline is «Comic guide». (Please see here for the meaning of the lines of the guideline.)
When checking «Spread / Cover page» at the time of new creation, the spread canvas will open.
«Comic guide» can be displayed / hidden at any time by «View» → «Show Comic Guide Lines» of the menu. You can also change the setting by «View» → «Comic Guide Lines Settings».
I will explain «Panel Divide» which is indispensable process for drawing cartoons. You can easily «Panel Divide» with MediBang Paint.
First, add «Panel Material» to the canvas with «Layer» → «Add Panel Material» in the menu.
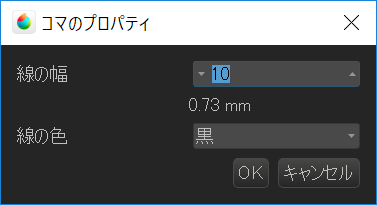
The «Comic Panel Property» dialog is displayed and you can set the «Panel Material» to be added. Please press OK as it is here.

«Panel Material» is added according to the inner frame of «Comic guide» and the cursor changes to the shape of the cutter (A). («Divide Tool» is selected.)
With this «Divide Tool» selected, you can «Panel Divide» by cutting «Panel Material».
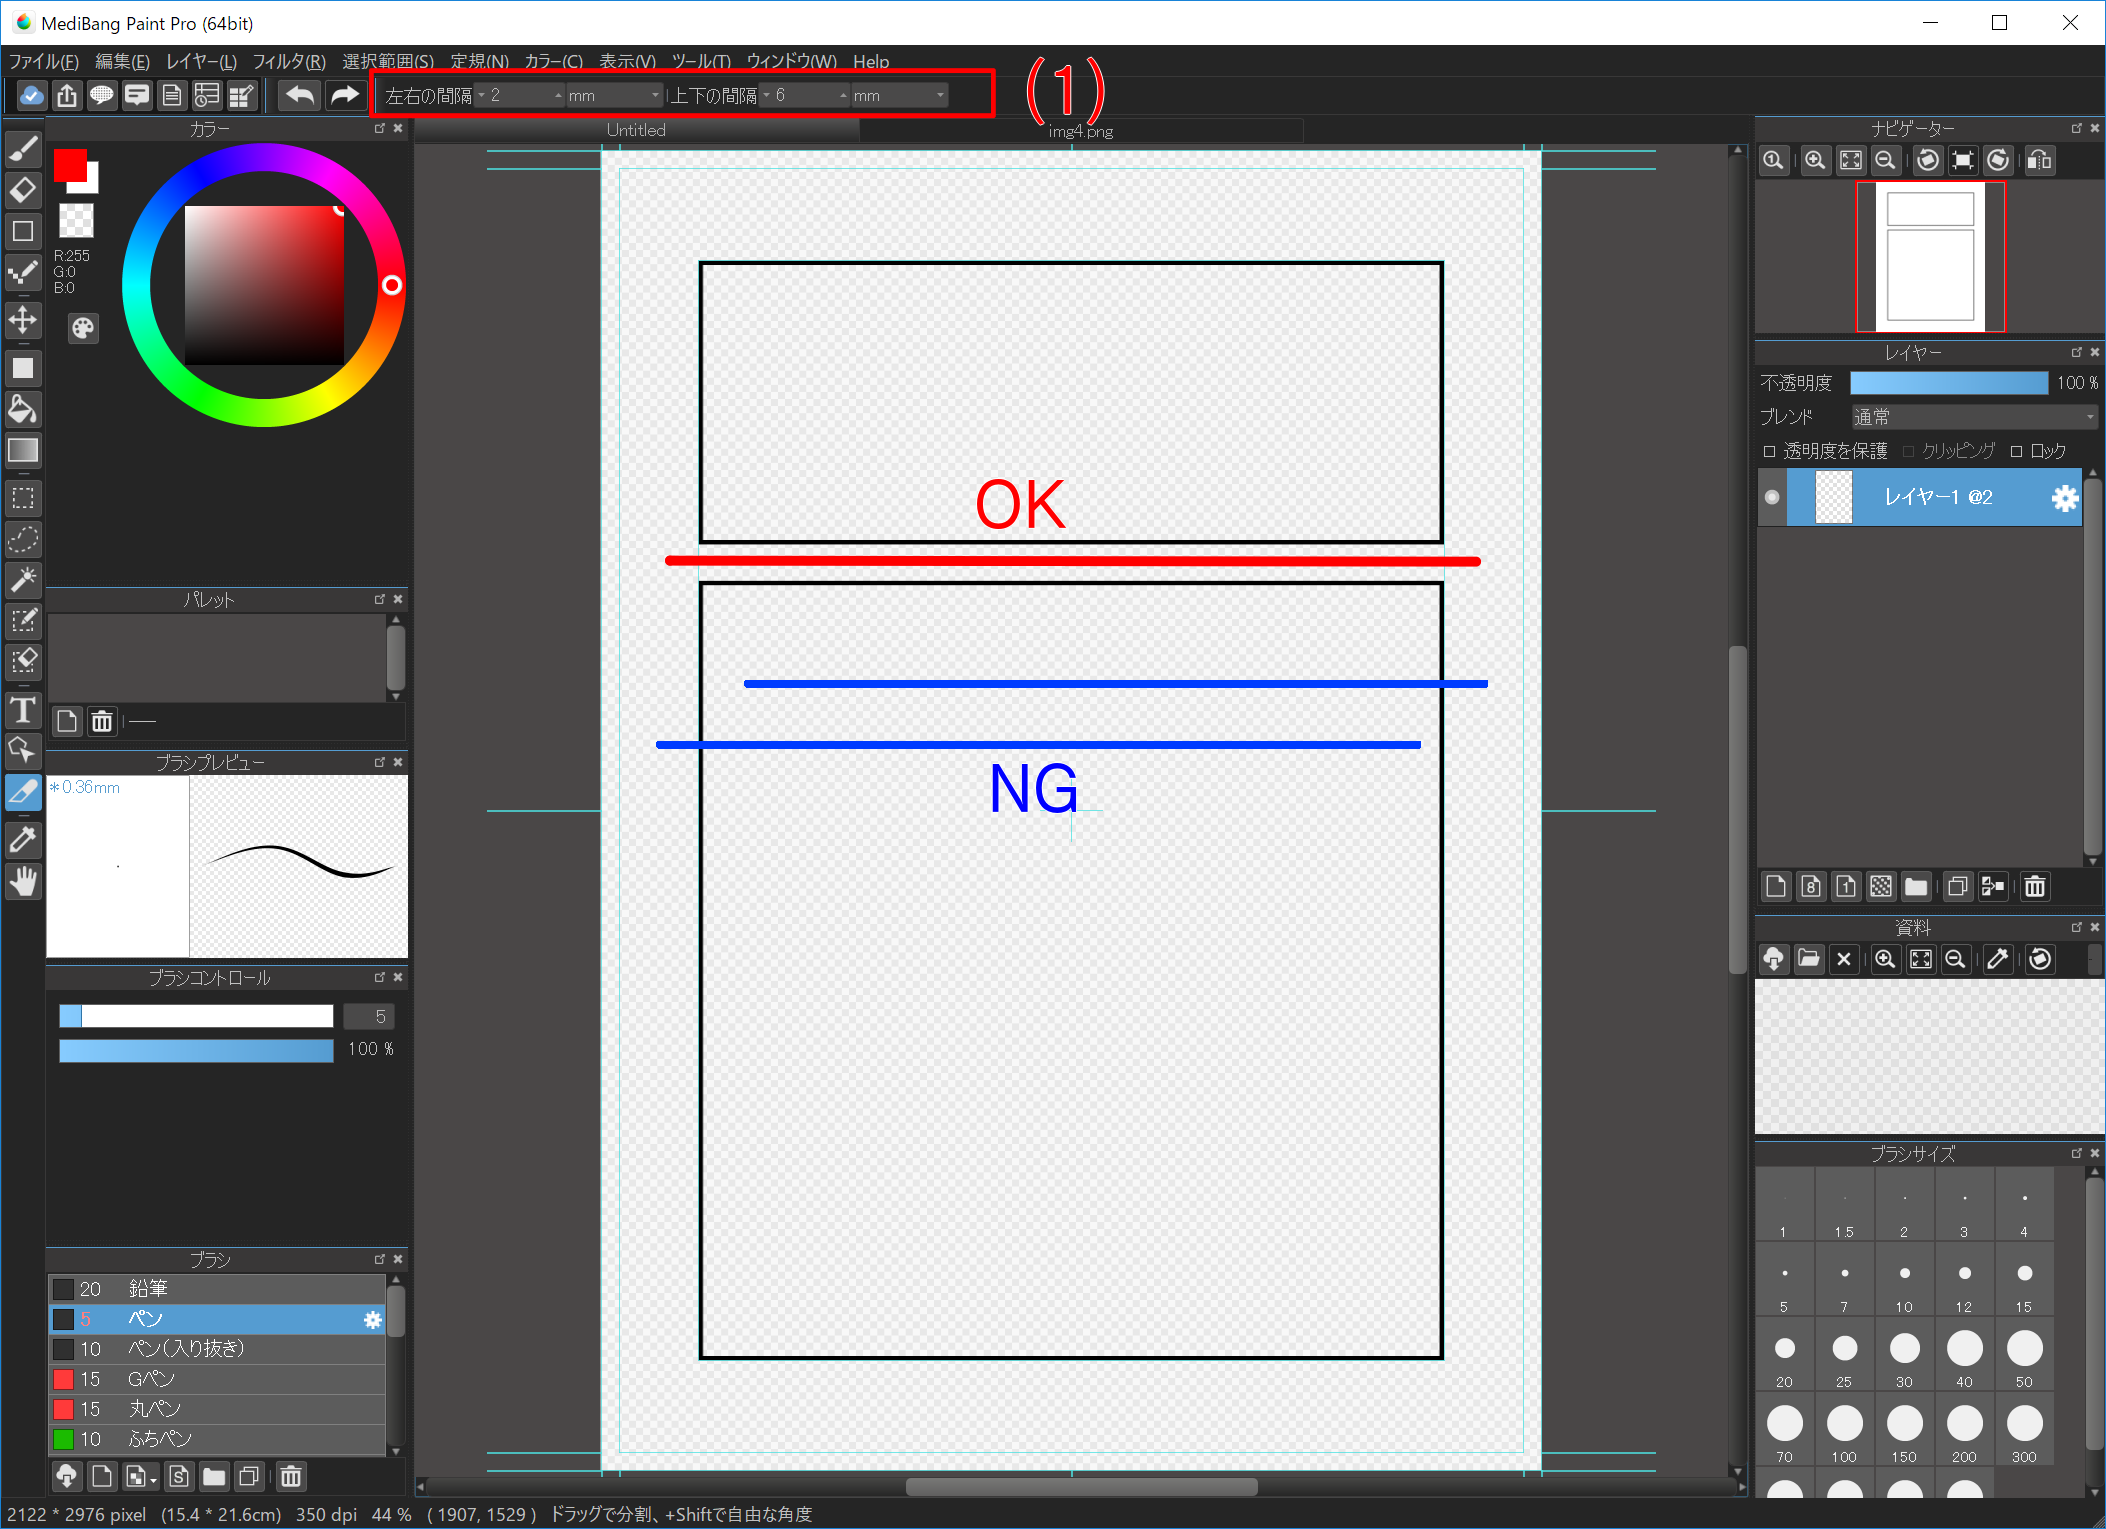
Let’s cut the panel next to it like a red line.
When cutting a piece, please cut it so as to divide the piece. When the panel can not be divided properly like the blue line, the panel will not break. In the (1) toolbar, you can also set the vertical and horizontal spacing when splitting a panel.
If you want to divide panel diagonally, please hold down Shift key and break panel.
Let’s divide the panel appropriately. When I accidentally devide a piece, It’s expected «Undo».
To Transform / Move some Panels, use the «Operation Tool».
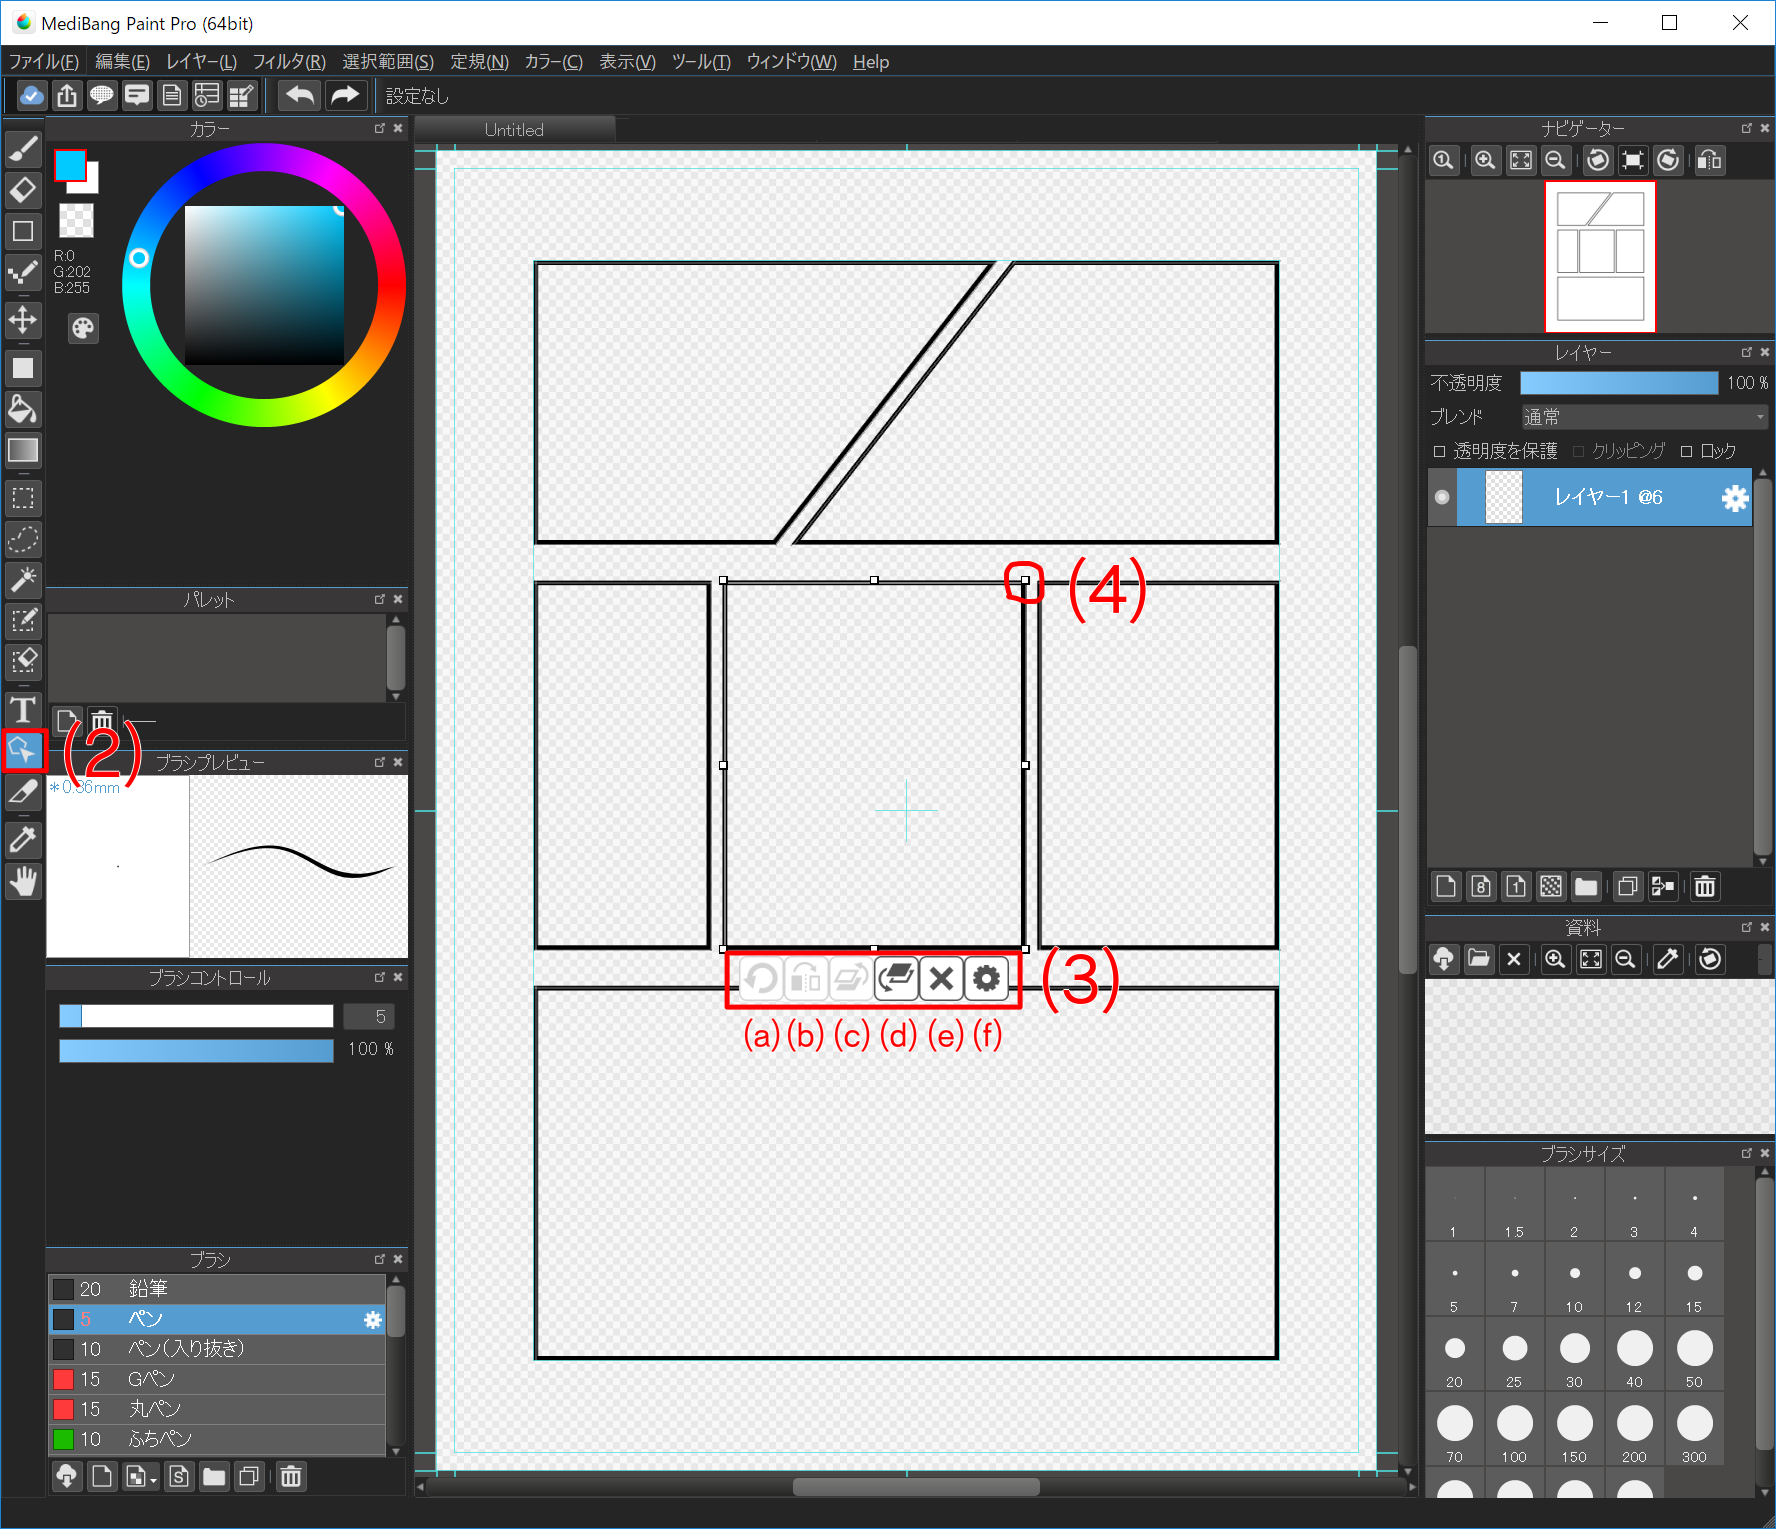
Select «Operation Tool (2)», click «Panel» you want to operate, «Toolbar (3)» will be displayed under «Panel». Operation of «Panel» is done by grasping «handle (4)» around «Panel».
If you want to erase part of «Panel» please see here.
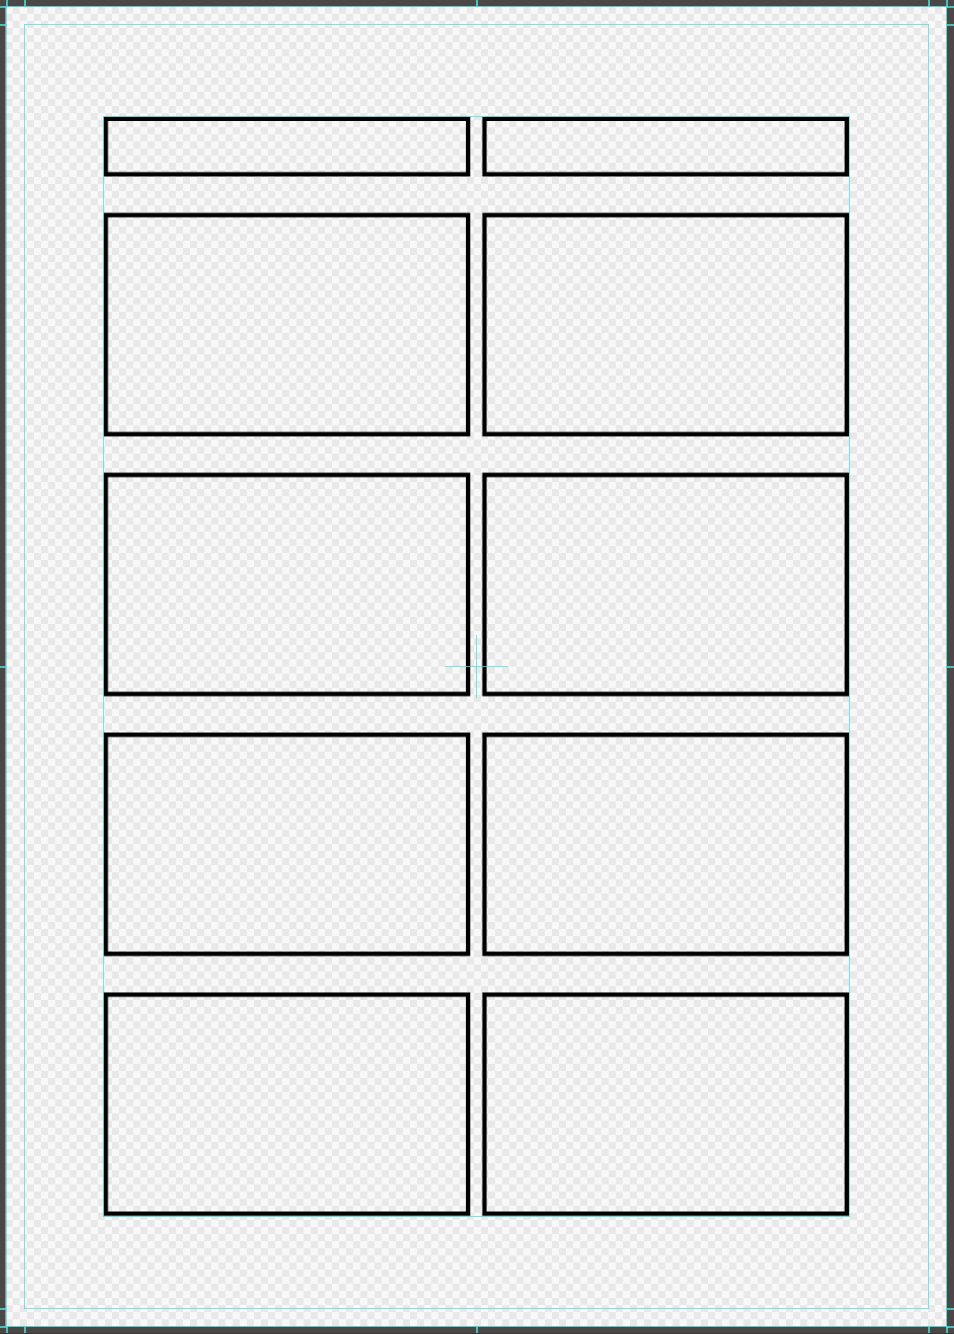
If you want to divide «Panel» evenly, let’s use «Layer» -> «Material» -> «Divide» in the menu. Since this function equally divides the currently active «Panel», execute with the «Panel» you want to split with the operation tool selected.
If you use it successfully, you can also «Panel Divide» for «4-frame cartoon».
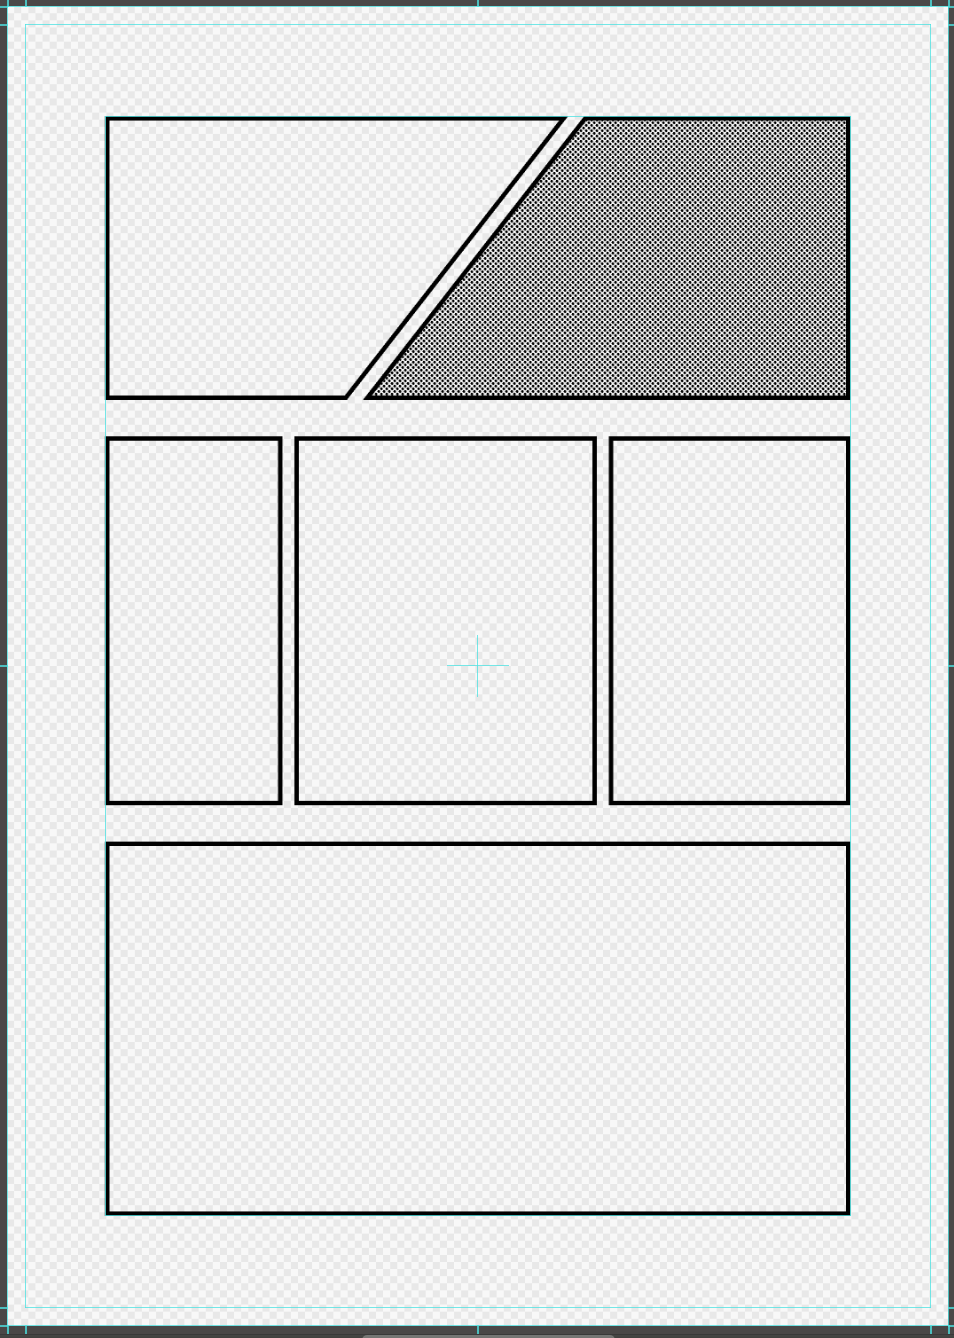
In MediBang Paint, you can easily paste materials such as tone on your manga.
Please refer to here for basic usage of the material.
First, add a new layer for pasting the material. Next, let’s select the appropriate frame with «MagicWand Tool» and open the «Material Dialog» by pressing the «Open Material Dialog» button.
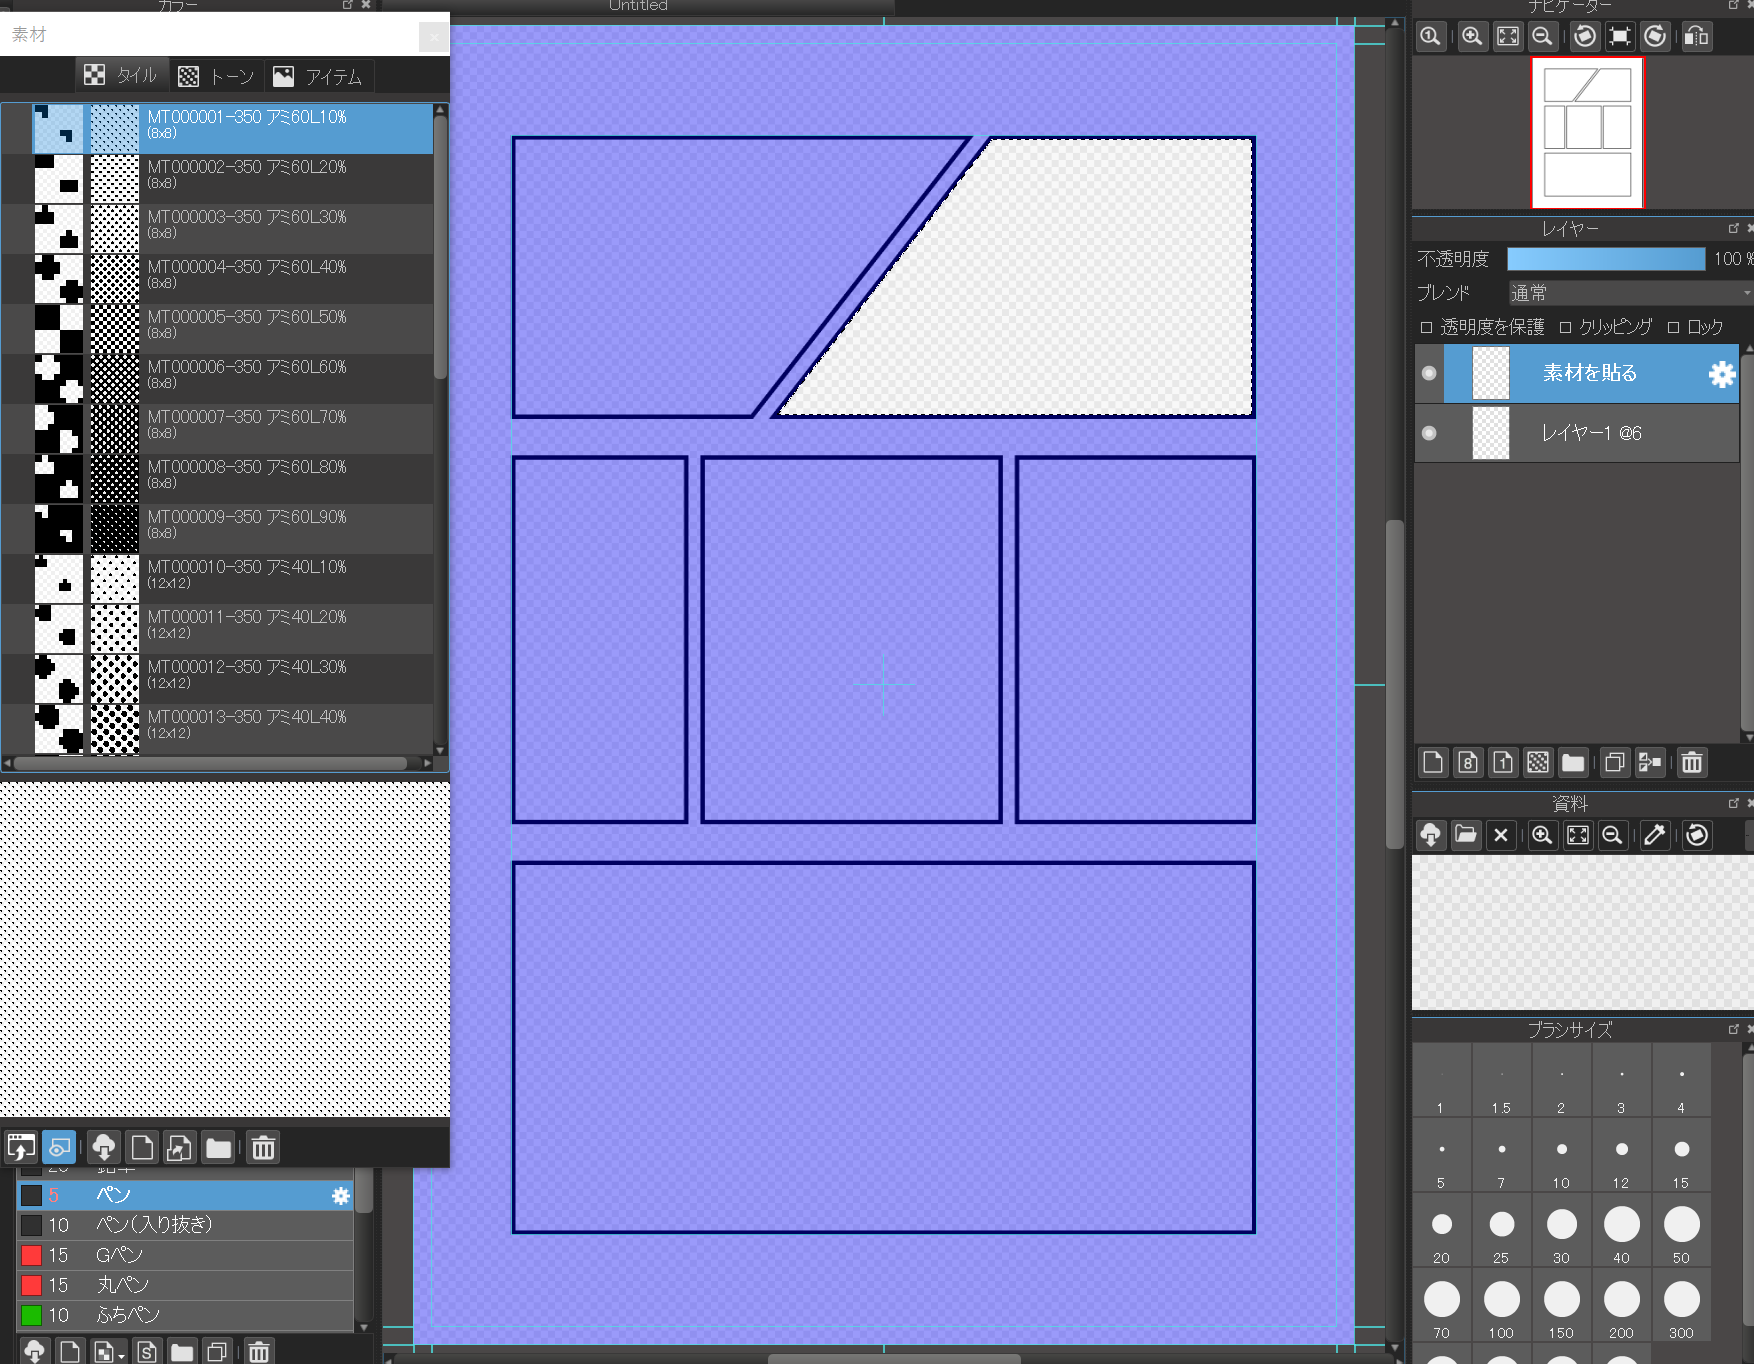
When «Material Dialog» opens, drag and drop the tiles and tones you want to use onto the canvas.

A bar is displayed at the bottom of the main window where you can set the angle and magnification of the material. If you set an appropriate value here and press the «OK» button, pasting of the material is confirmed. If you paste it correctly, if you release the selection, the material is stuck in the «Panel» neatly.
In this way, by pasting the material after creating the selection range, you can paste the material only to the place you want to paste.
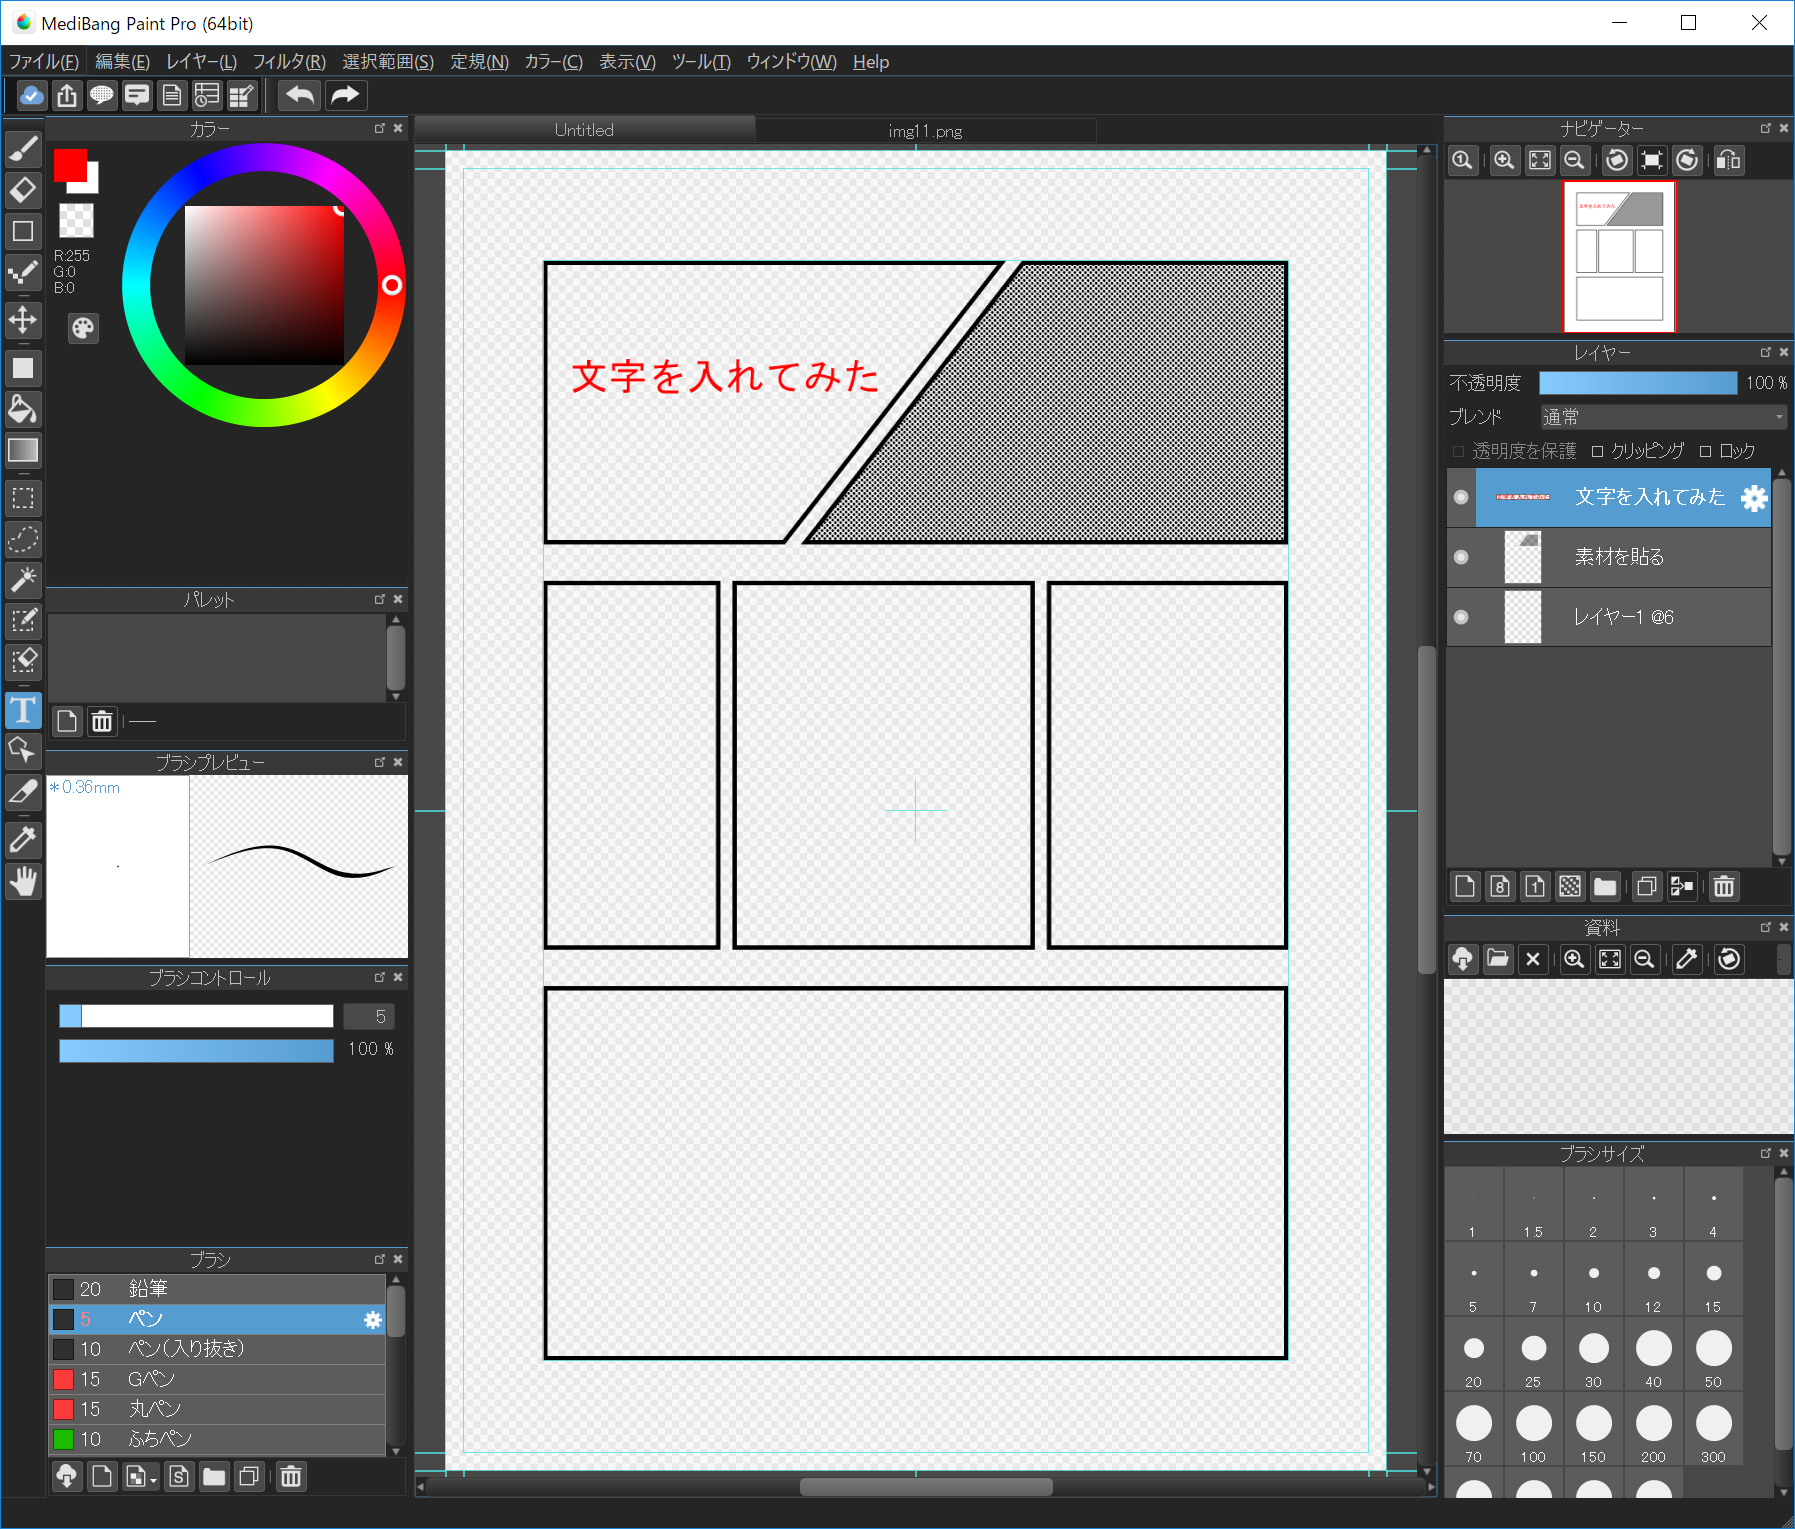
By using «Text Tool», you can easily enter characters.
For the basic usage of «Text Tool» please refer to here.
Select «Text Tool» from the toolbar on the left of the main window and click where you want to place the letters on the canvas. The «Edit Text» dialog is displayed.
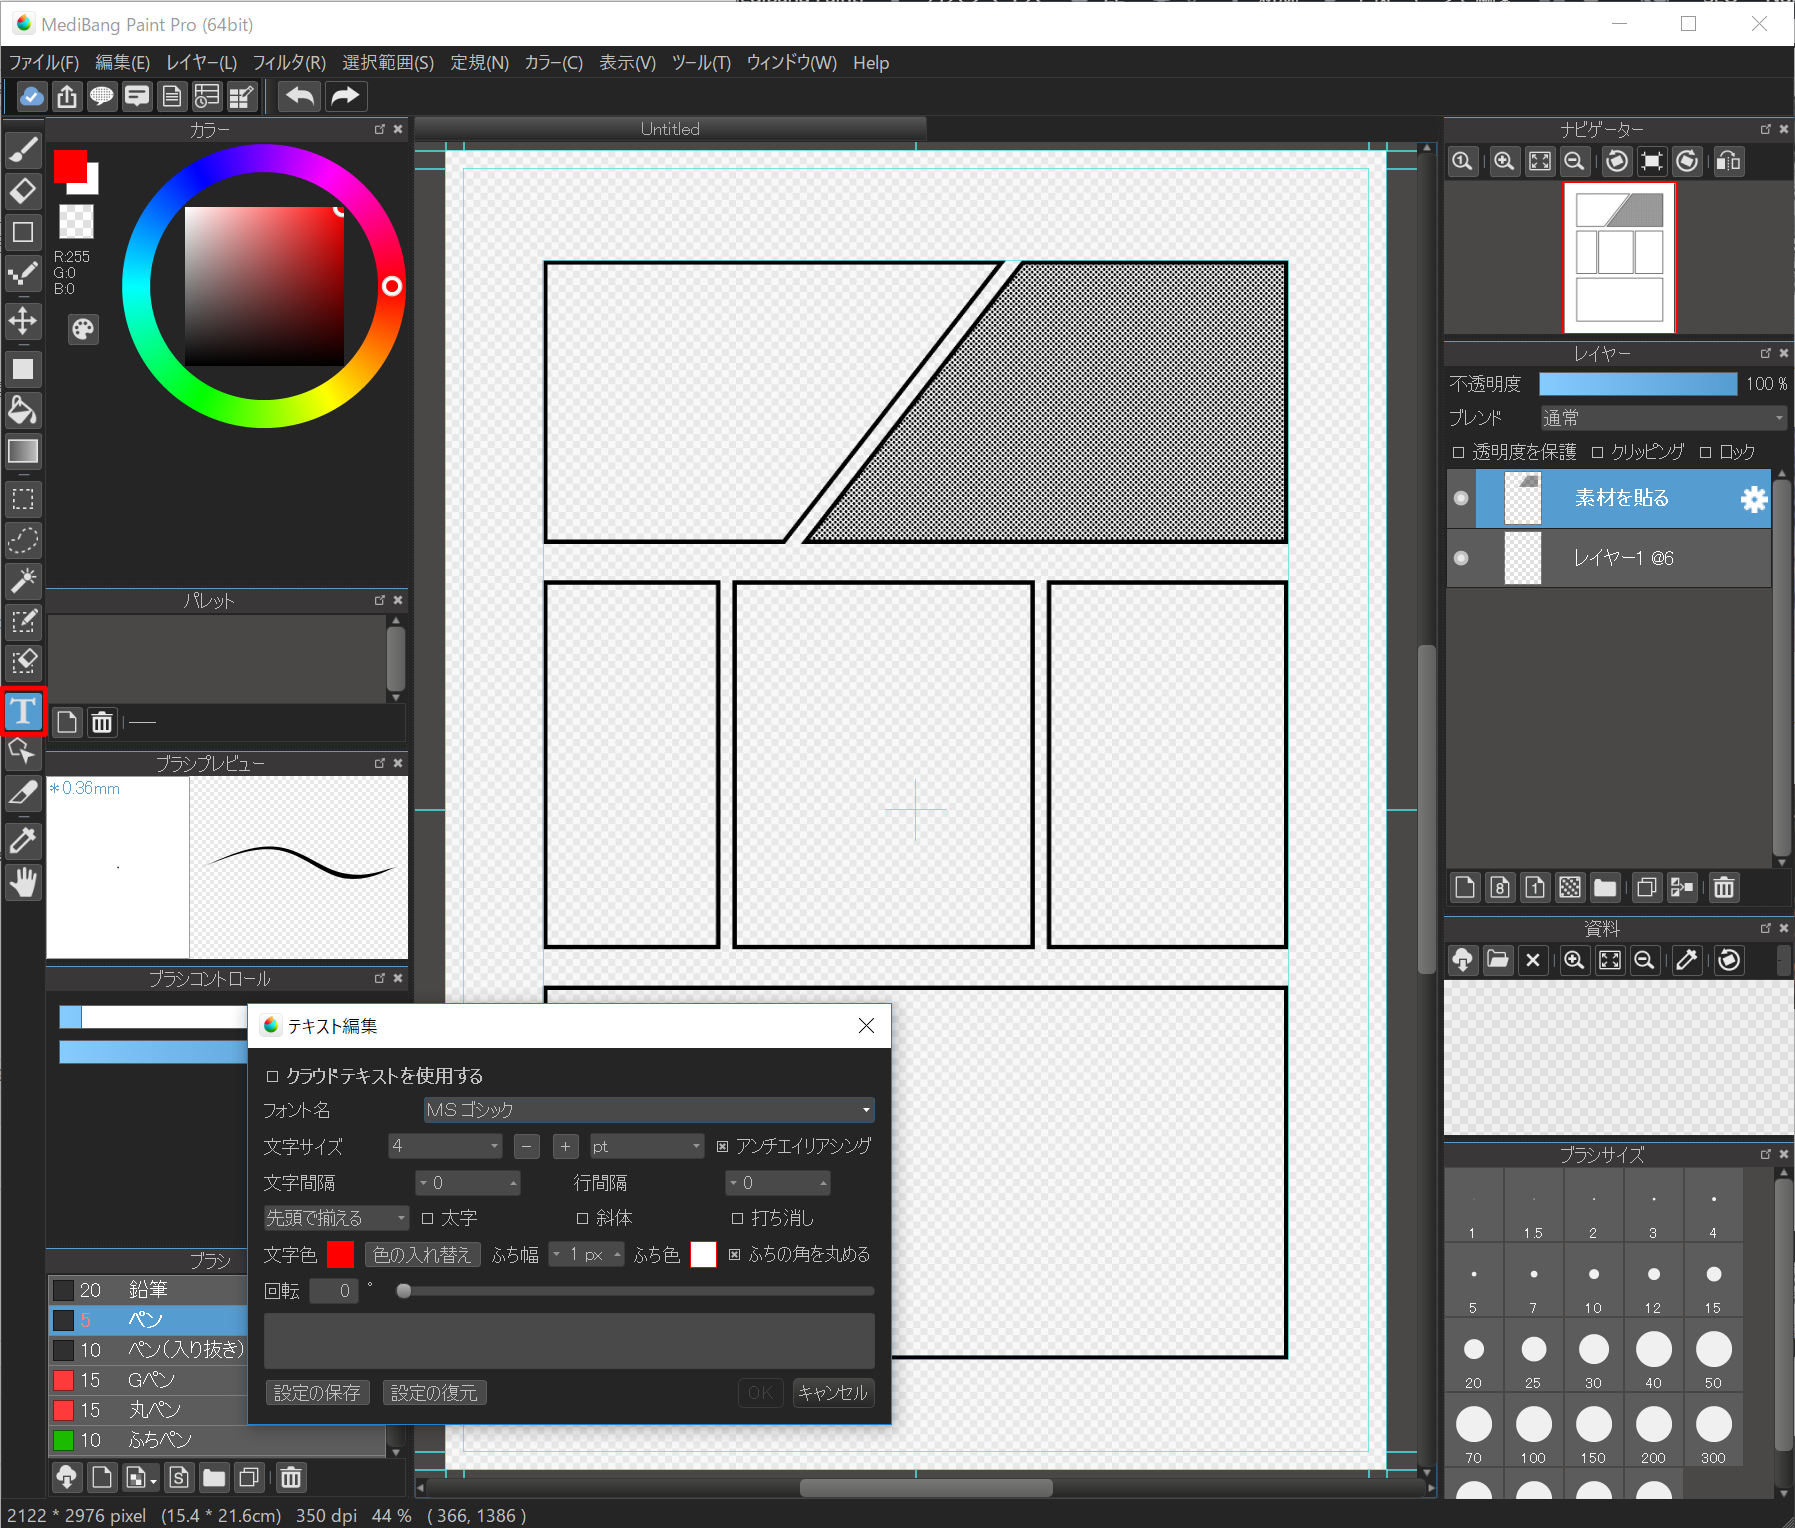
After entering the characters you want displayed on the canvas and pressing the OK button, the layer of text is added and the characters are displayed on the canvas.
This character can be moved when «Text Tool» or «Move Tool» is selected.
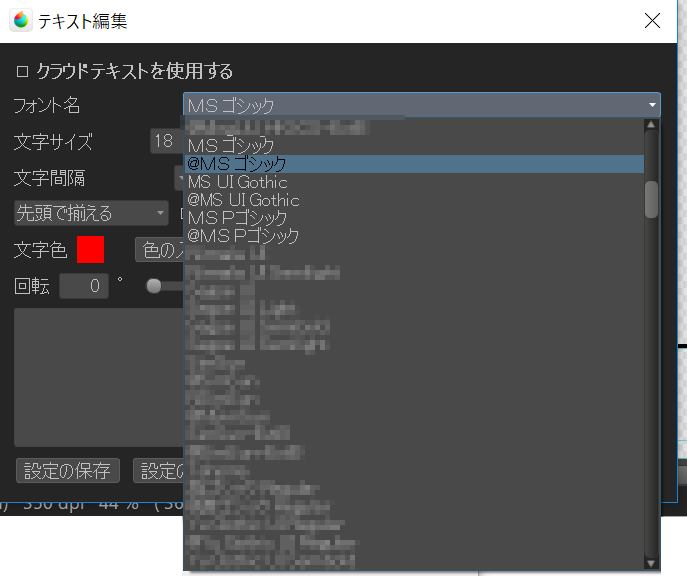
If you want to write text vertically using Windows fonts entered in the computer, using fonts with «@» at the beginning of the font name will be written vertically.
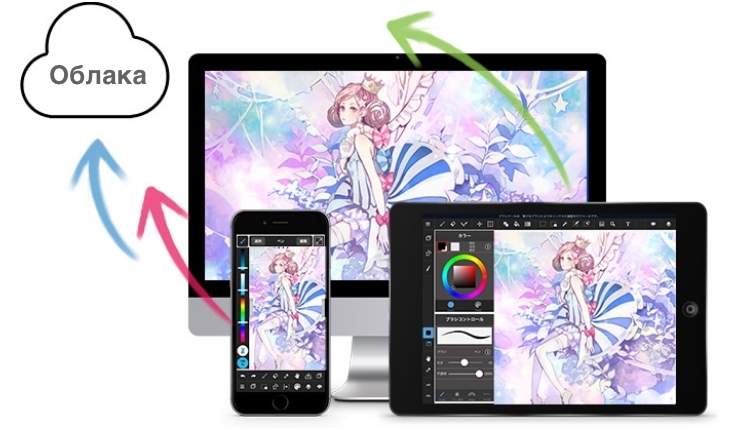
MediBang Premium, новая услуга MediBang Paint, теперь доступна!
Вы получите неограниченное количество кистей и материалов,
полный доступ ко
всем функциям MediBang Paint,
а также множество других преимуществ,
которые
помогут вам в ваших творческих начинаниях.
Введем облачные функции, доступные в краской Medibang.

Введем конкретные примеры командной продукции, используя Medibang Paint и Mangainem.

Введен официальное программное обеспечение Manga Production Software «Right Paint».