Now that we’ve mastered how to set up a canvas in MediBang Paint, let’s learn how to use the most basic tools: the brush and eraser.
Launch MediBang Paint and open a canvas if you haven’t already.
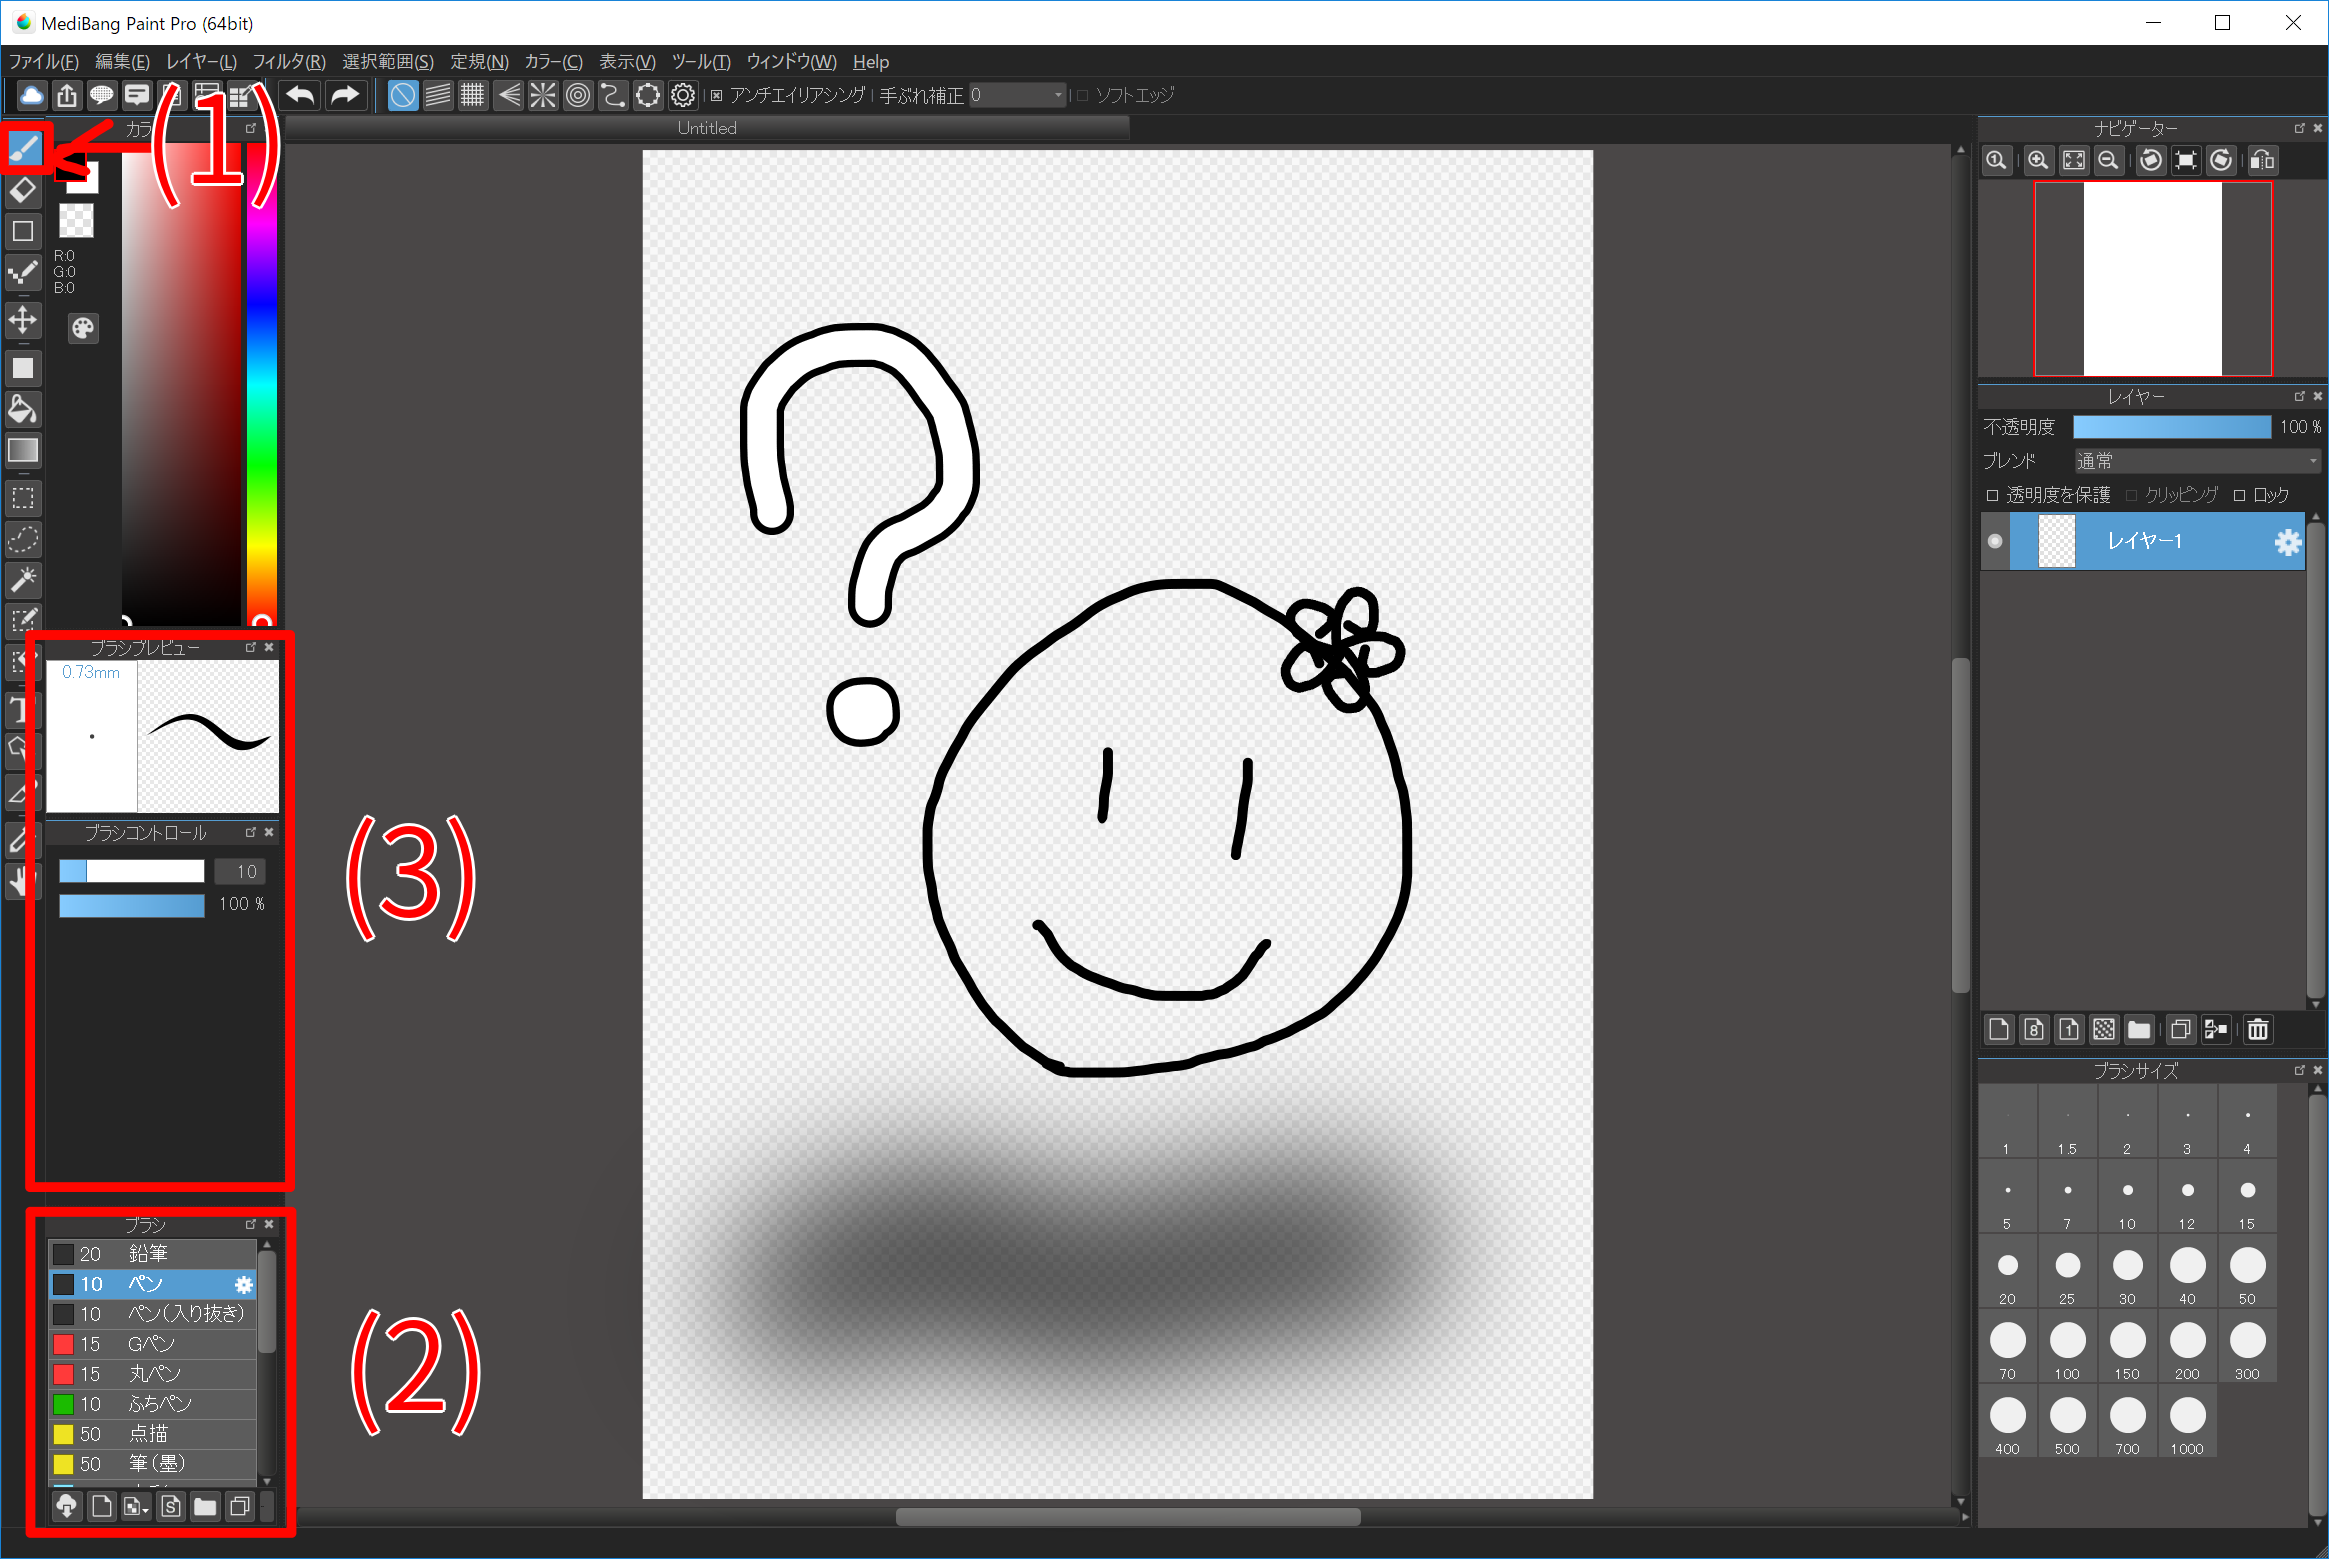
Select “Brush Tool (1)”, pick a brush to try, and begin laying down marks on the canvas.
Different brushes can be selected within “Brush Window (2)”. Change the brush size, opacity, and other settings with “Brush control (3)”. Enjoy experimenting with different settings for the brushes until you find one that feels comfortable.
And if you end up making a line you end up disliking, that’s what the Undo button is for.

Refer to the top of the window and you will find the Undo (1) button. Press this to cancel the last action and return to the canvas’ previous state.
If you accidentally undo too many times, you can simply press “Redo(2)” to fix it.
Test out undo and redo until you are comfortable using these functions. (Details of the function is explained here)
Unless you only want to color with black, it’s probably a good idea to learn how to change your brush color. Luckily, it’s easy in MediBang Paint.
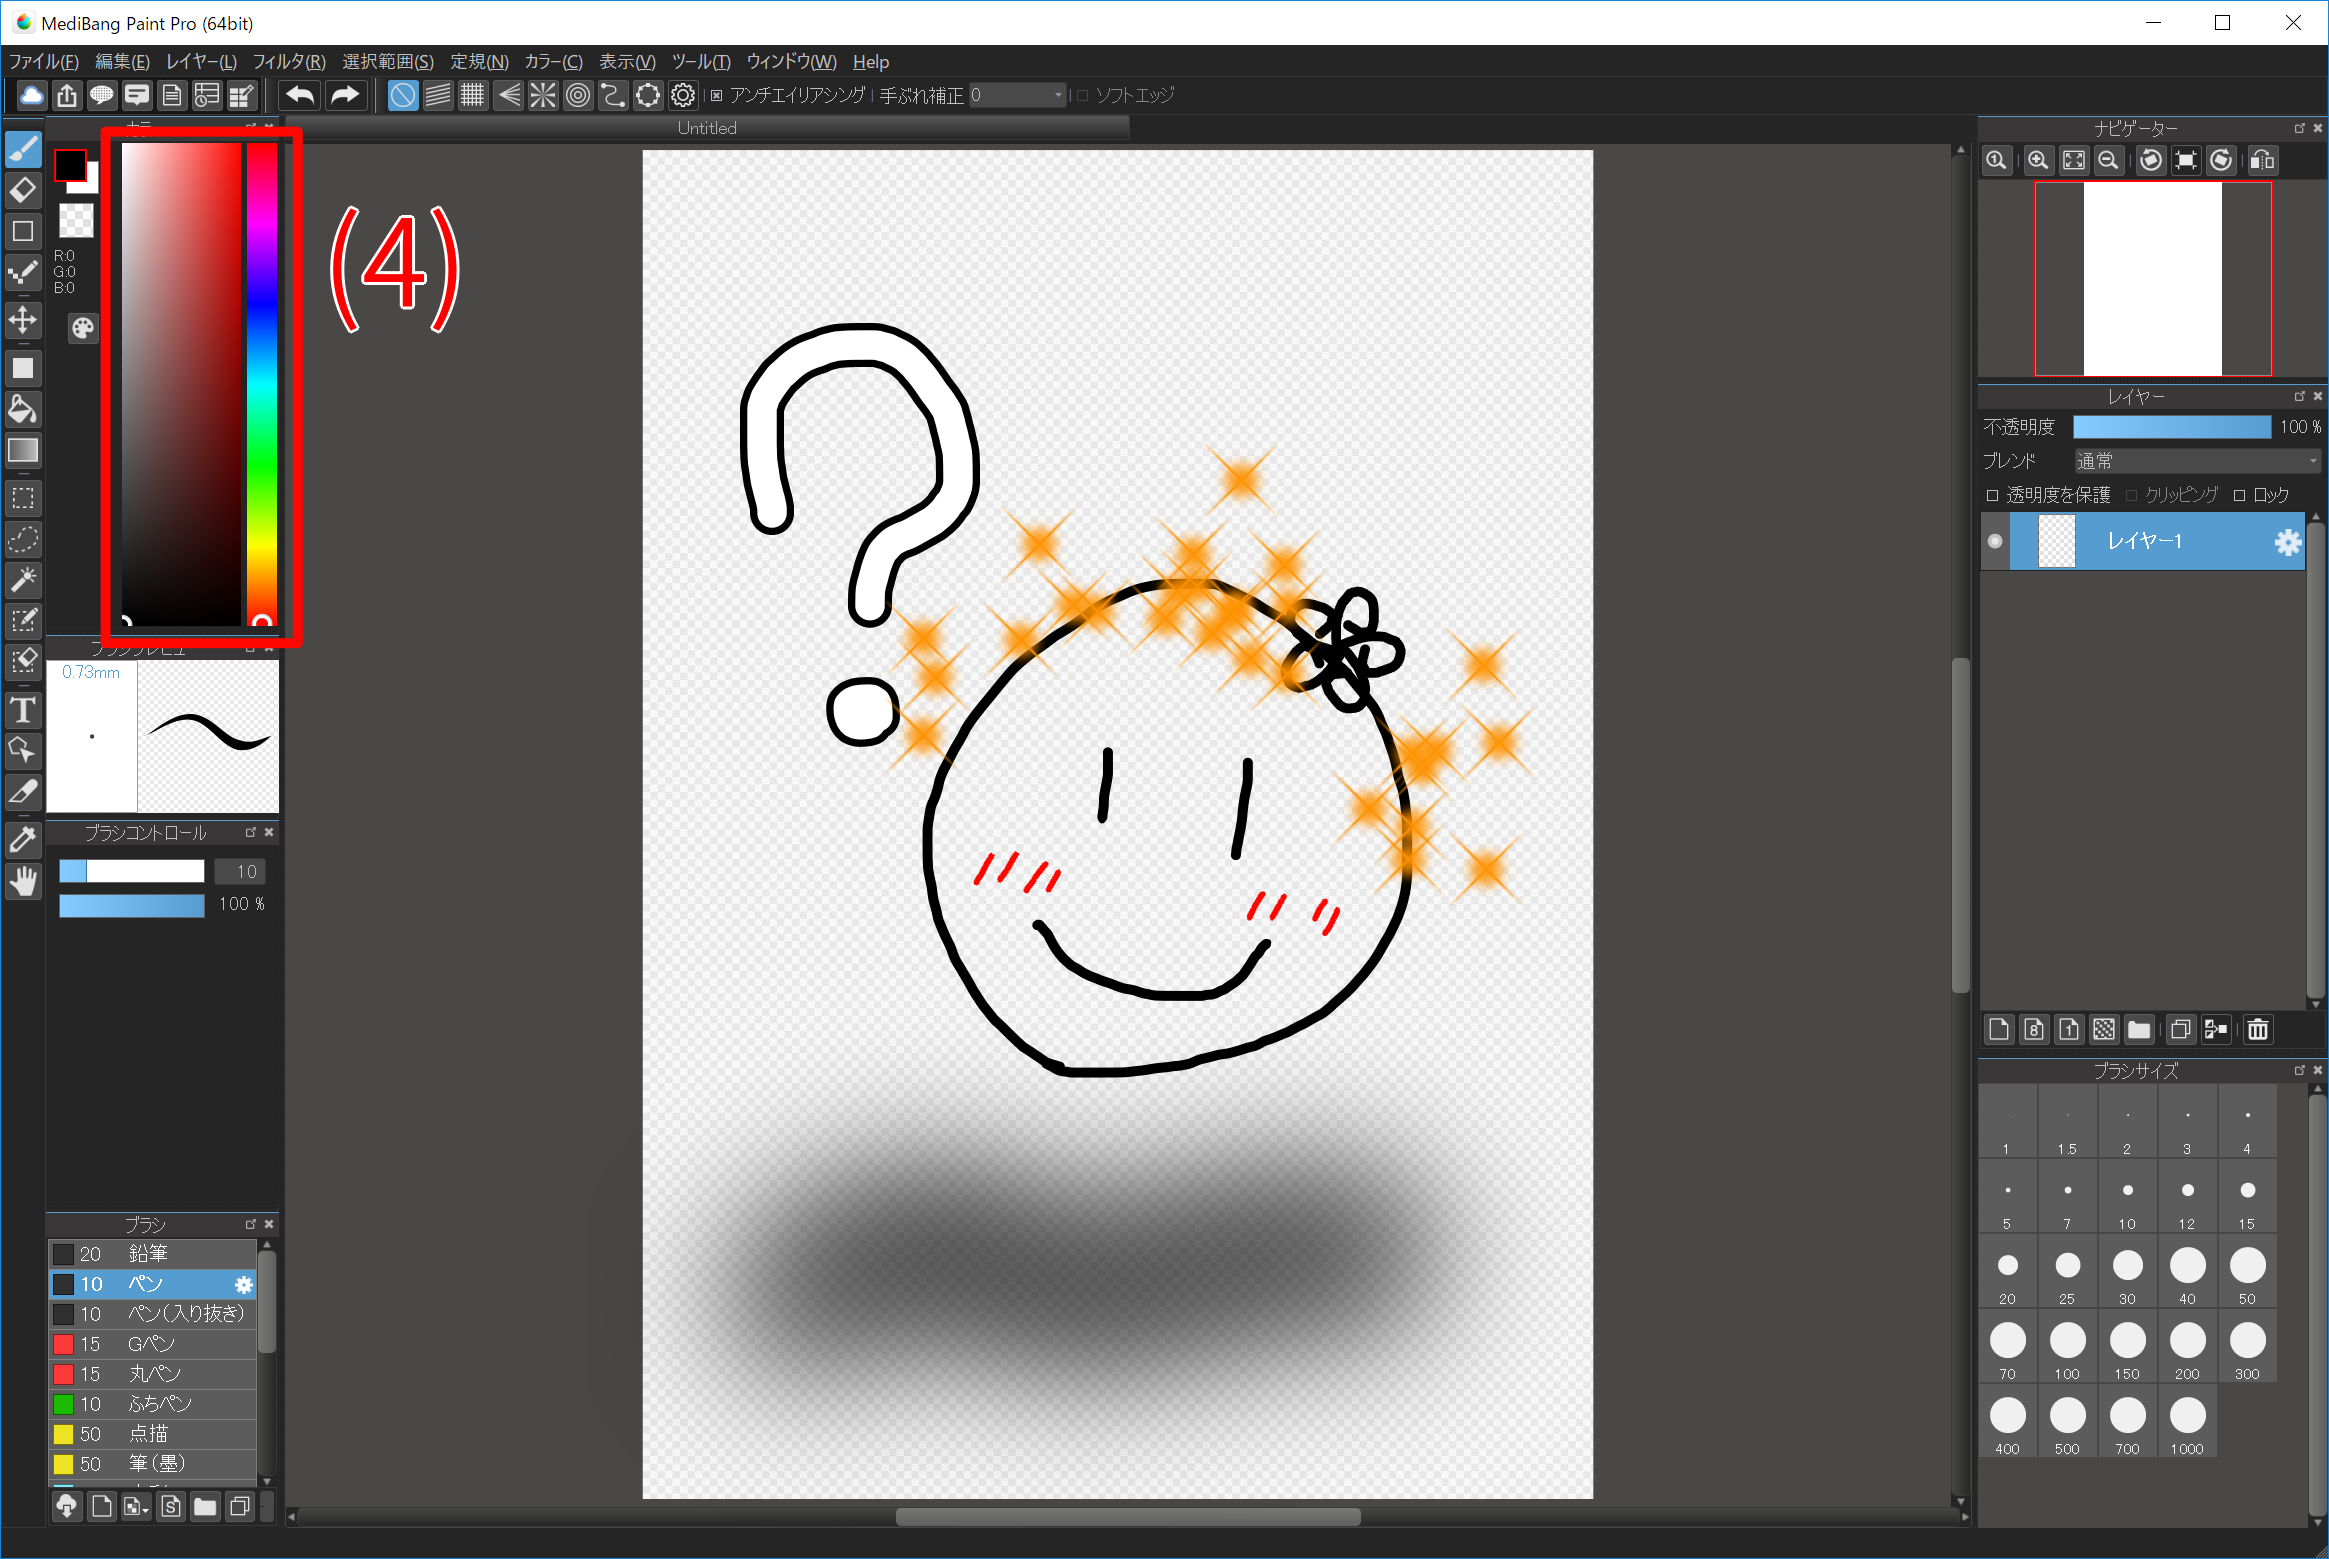
You can change your brush color from the “Color Bar (4)” and play around with the different color combinations.
Use the Eraser tool to remove unwanted marks on the canvas.
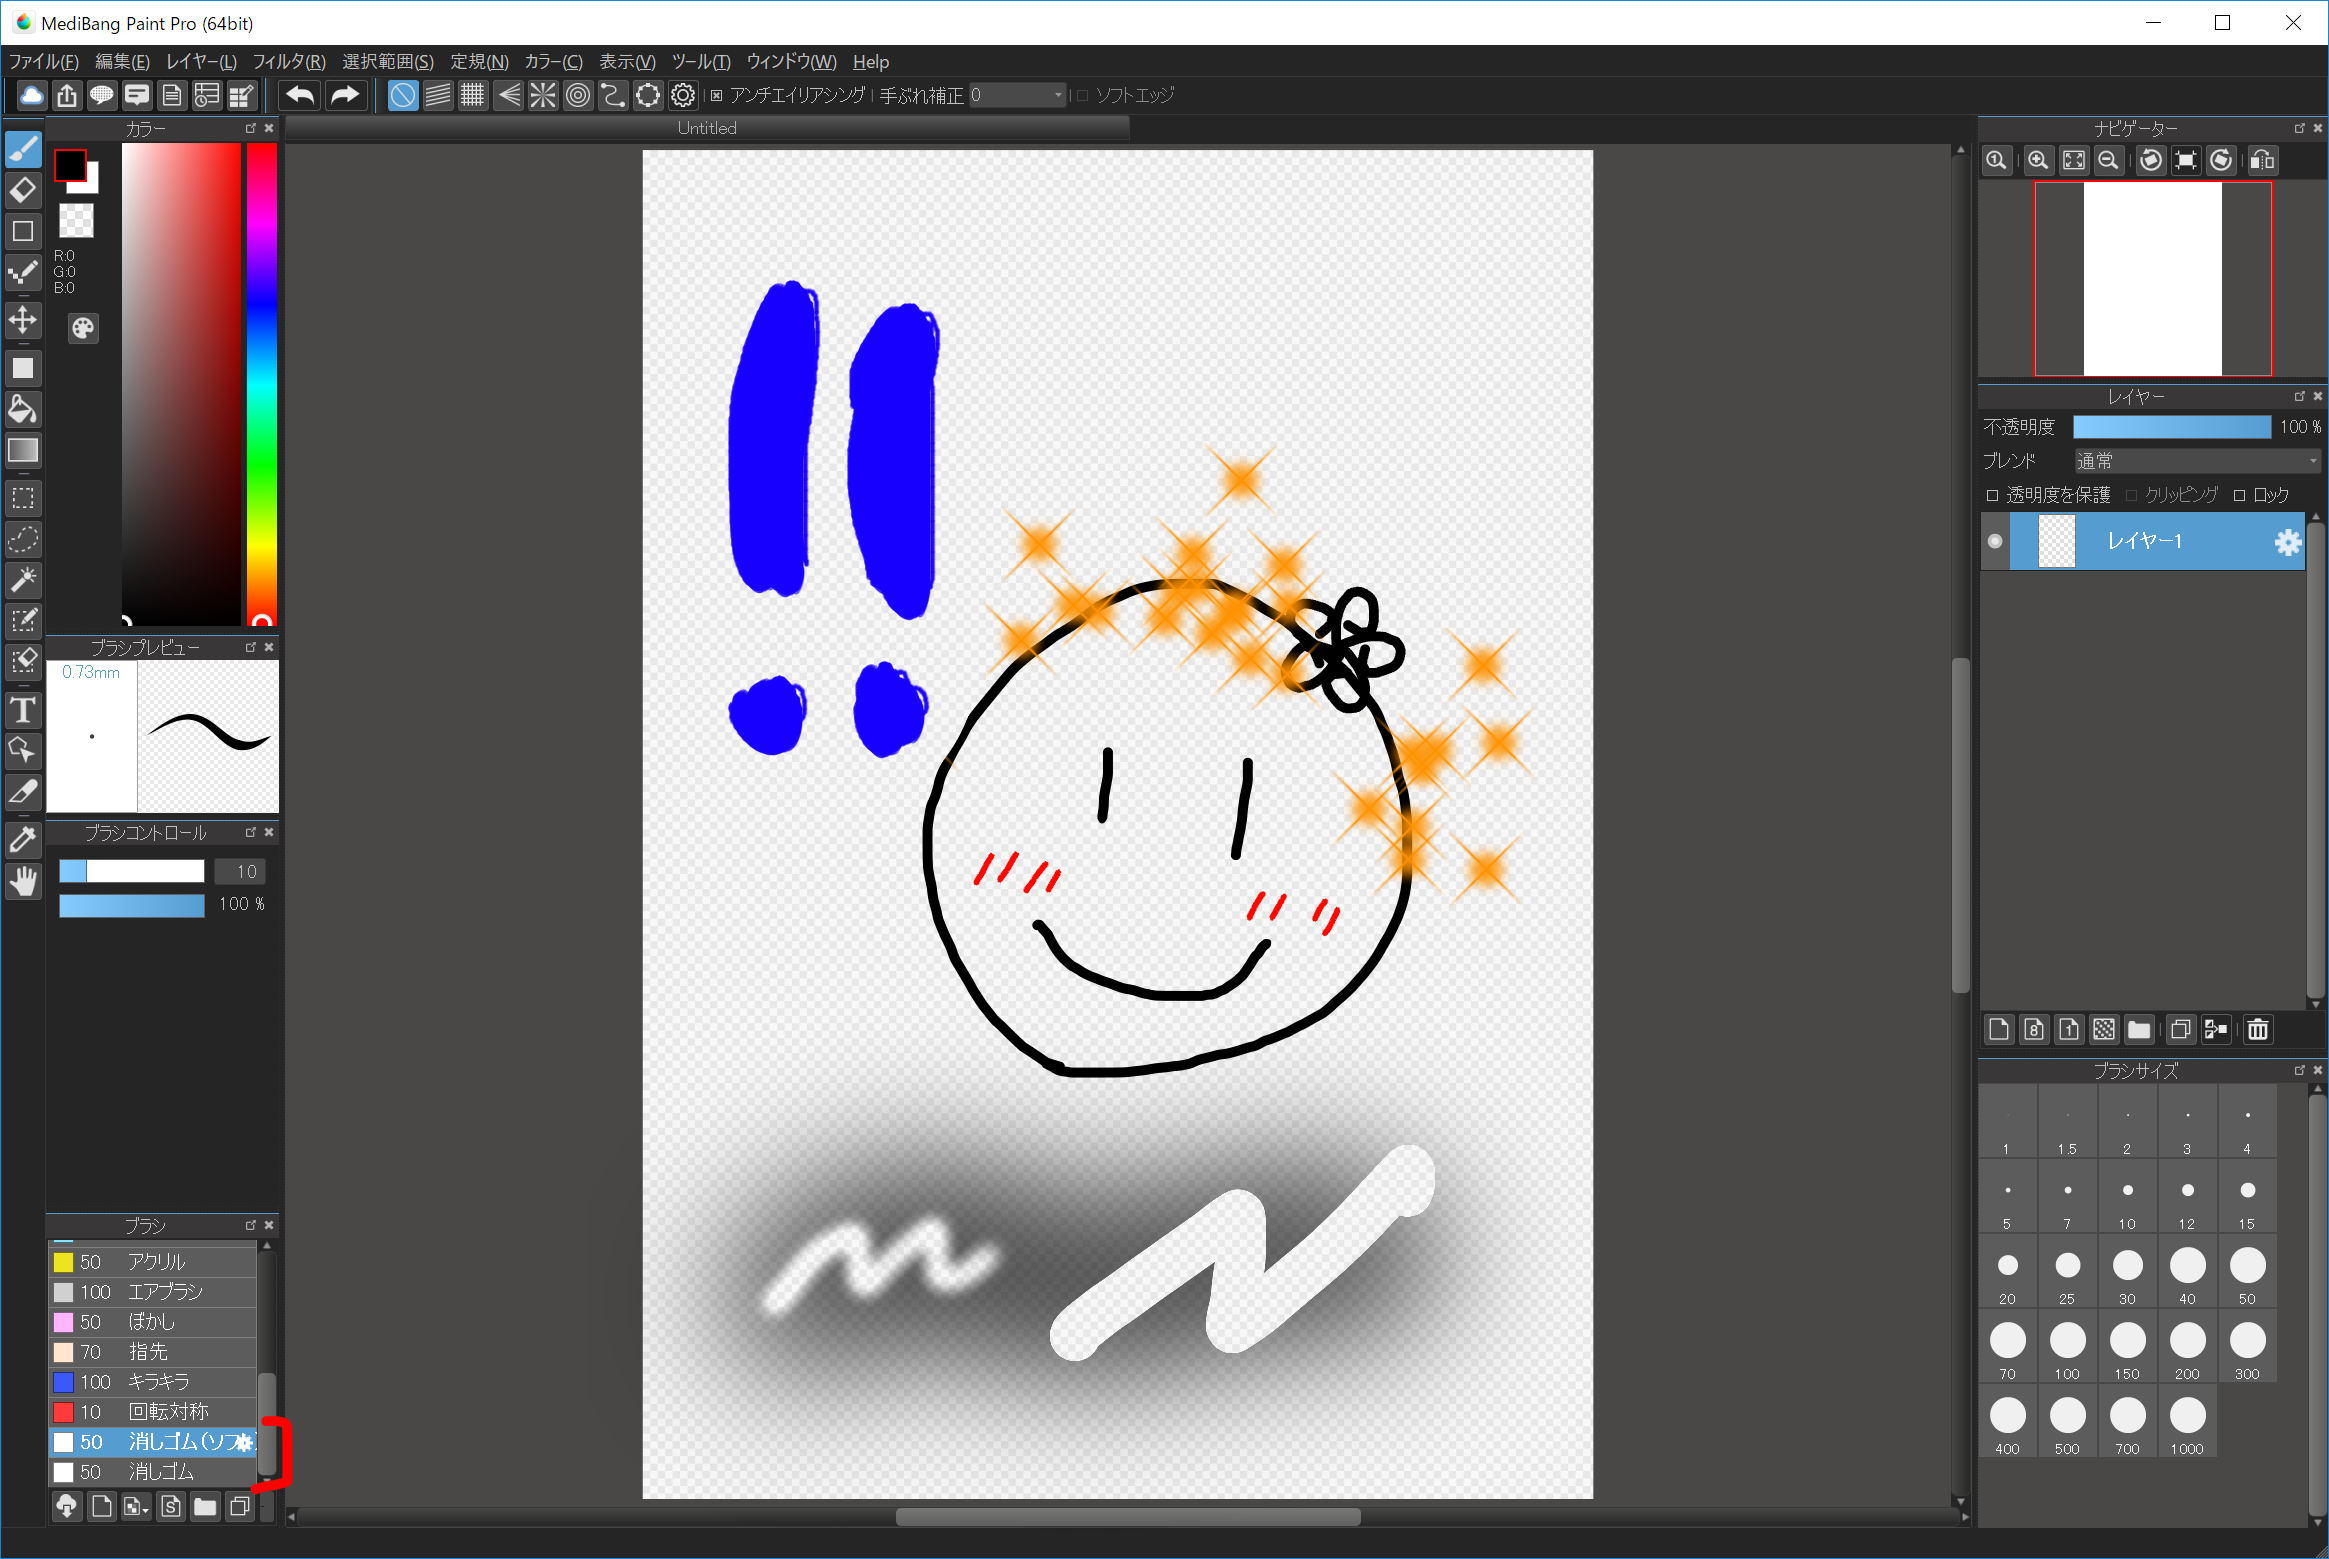
In the “Brush Window” select one of the brushes titled “Eraser.” You can select either “eraser” and “eraser (soft)”.
Like with the standard “Brush” with the eraser”Eraser” you can also change the size and opacity from “Brush Control.”
After you are finishing using the Eraser, feel free to switch back to Brush.
You can also erase an entire Layer’s contents by using the “Layer” -> “Clear” function in the menu, or the “Delete” key on your keyboard.
While these features are not necessary to illustrate on MediBang Paint, they are still useful for streamlining your creative process. This feature in question is the “transparent color” function.
You can use any brush as an eraser by switching its color to transparent.
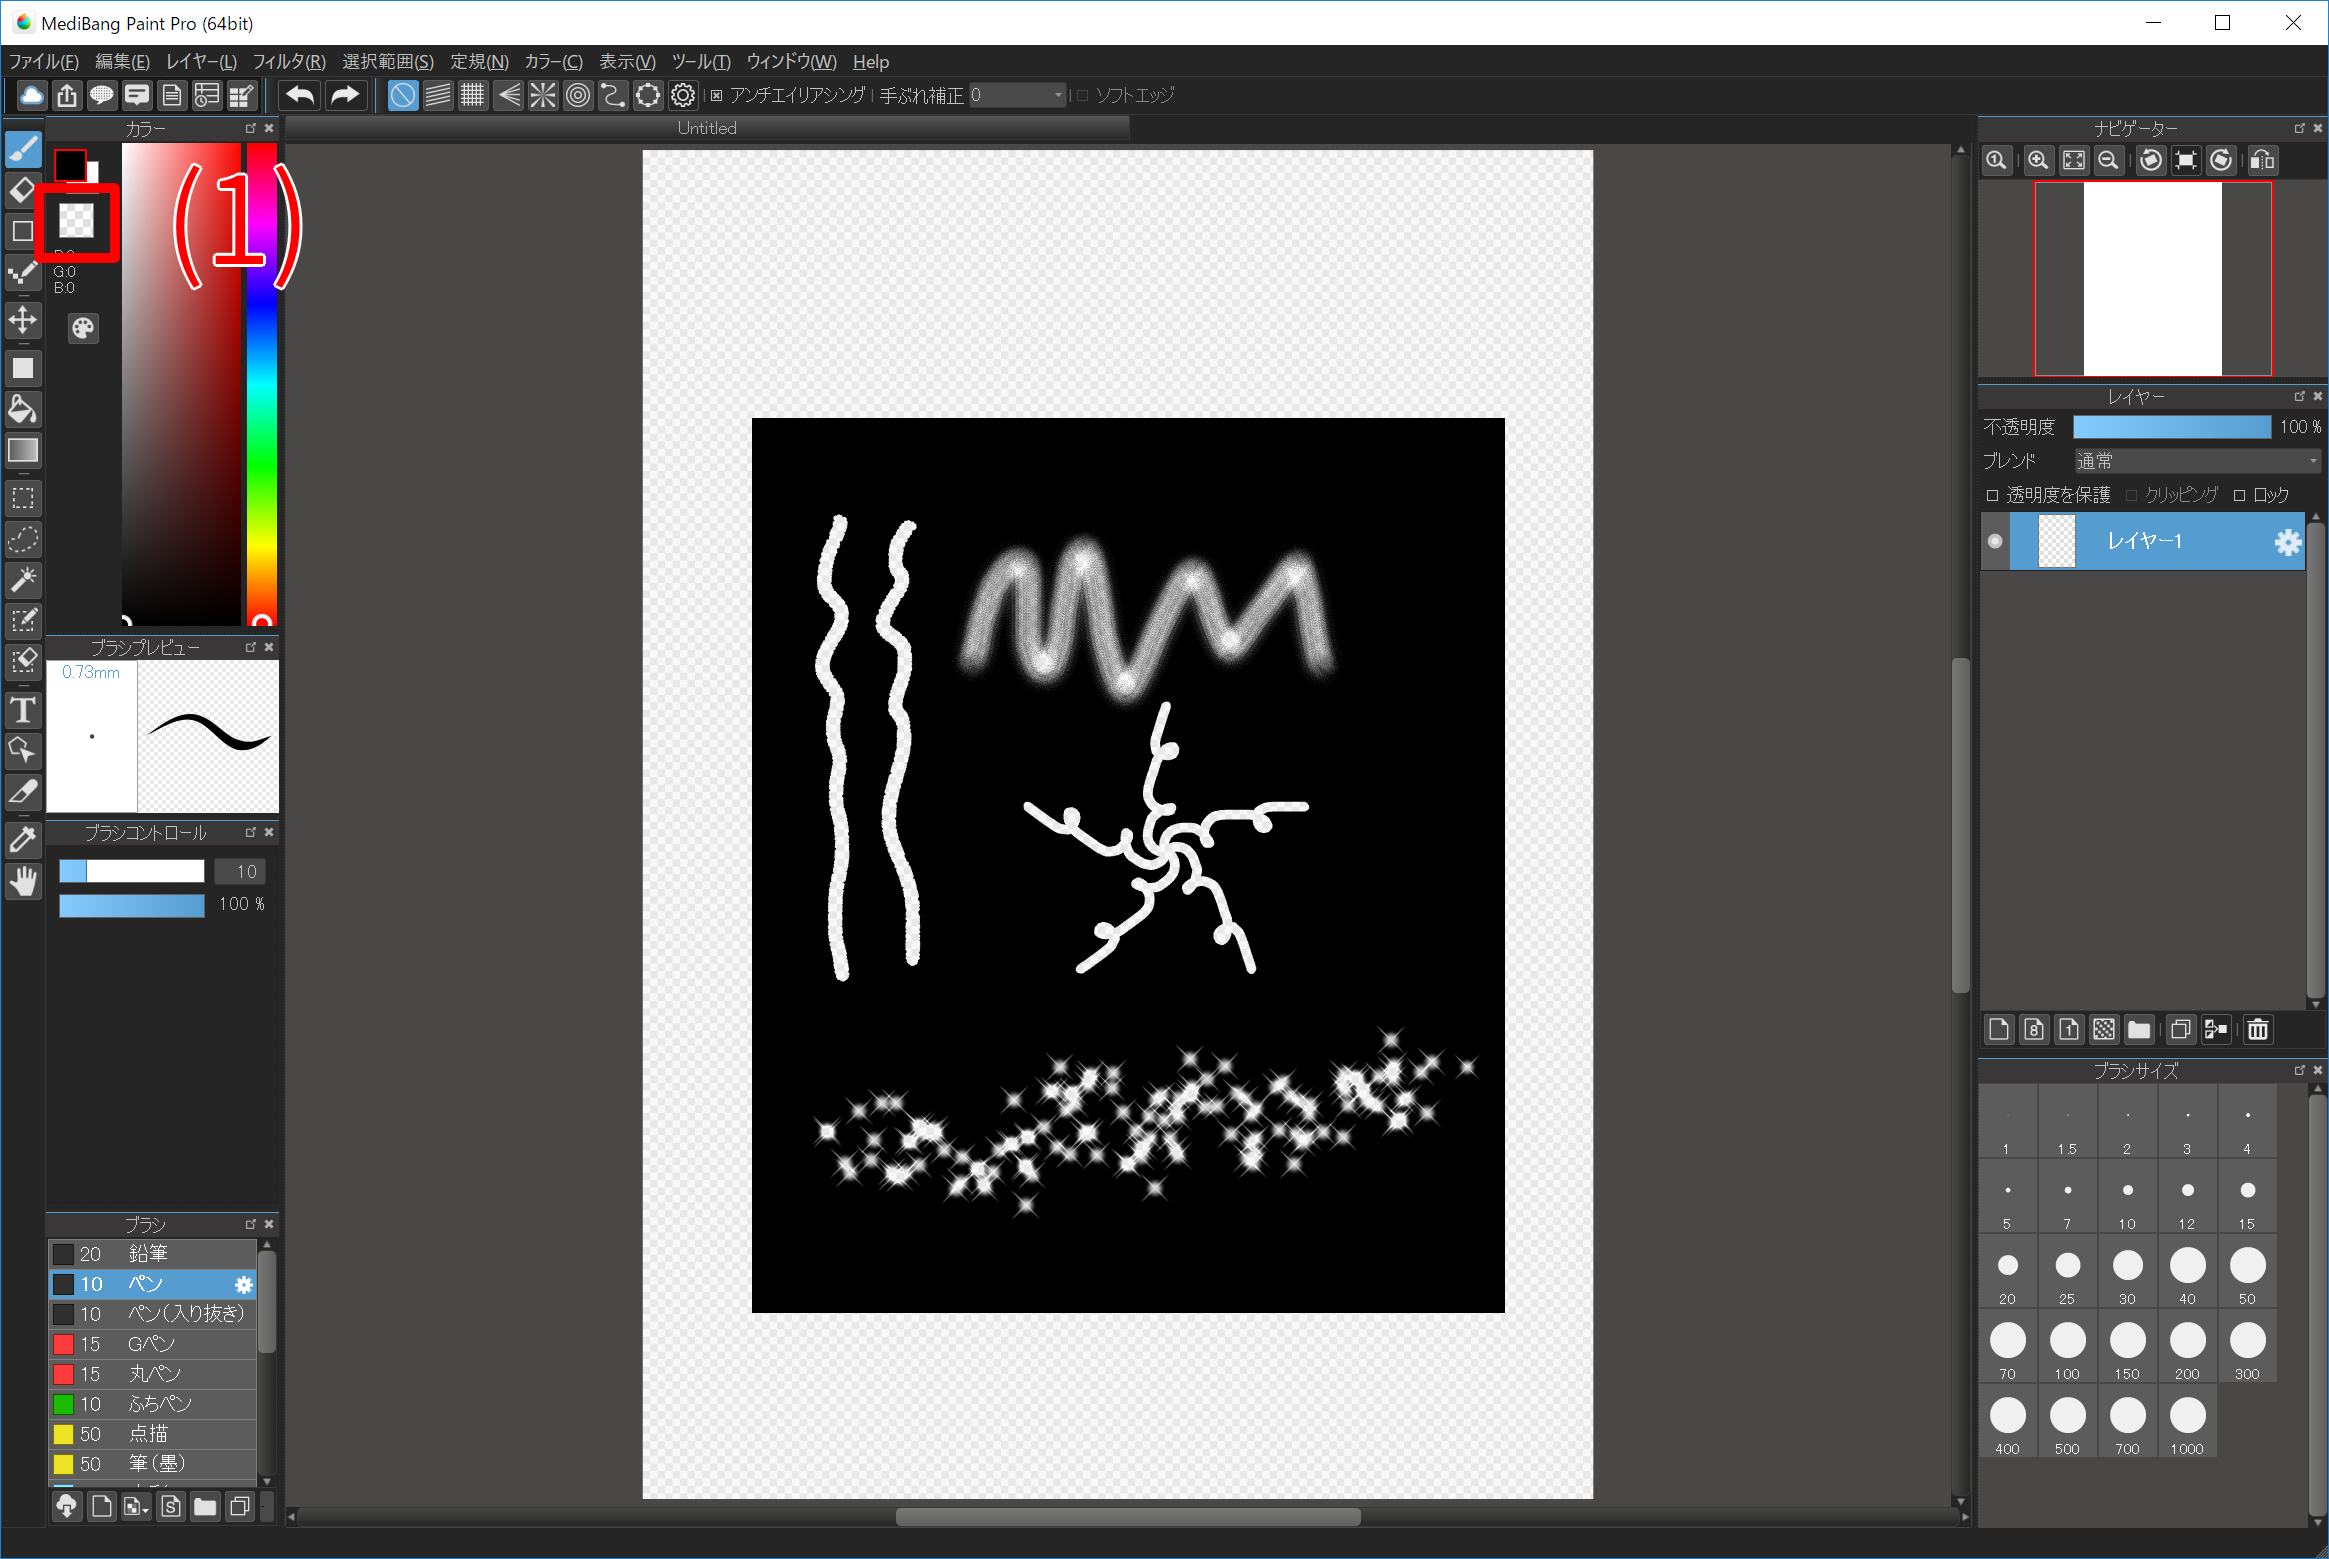
Select transparent color (1) from the Color Window. By doing so, you can retain the texture of the brush you were previously using to paint while now erasing.
If you hold down the [z] key on the keyboard and draw, you can draw in transparent color while pressing the [z] key.
Anti-aliasing (anti-aliasing) is a function that smoothes the edges of images less noticeable. If you notice that your lines are jagged or messy looking, please check your anti-aliasing settings. (Click here for details on anti-aliasing)
)
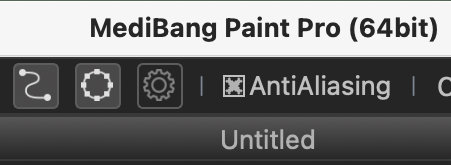
Anti-aliasing can be switch on or off here (1) when the brush tool is selected. When a cross appears, it is active.
Lines look like this when anti-aliasing is in effect.
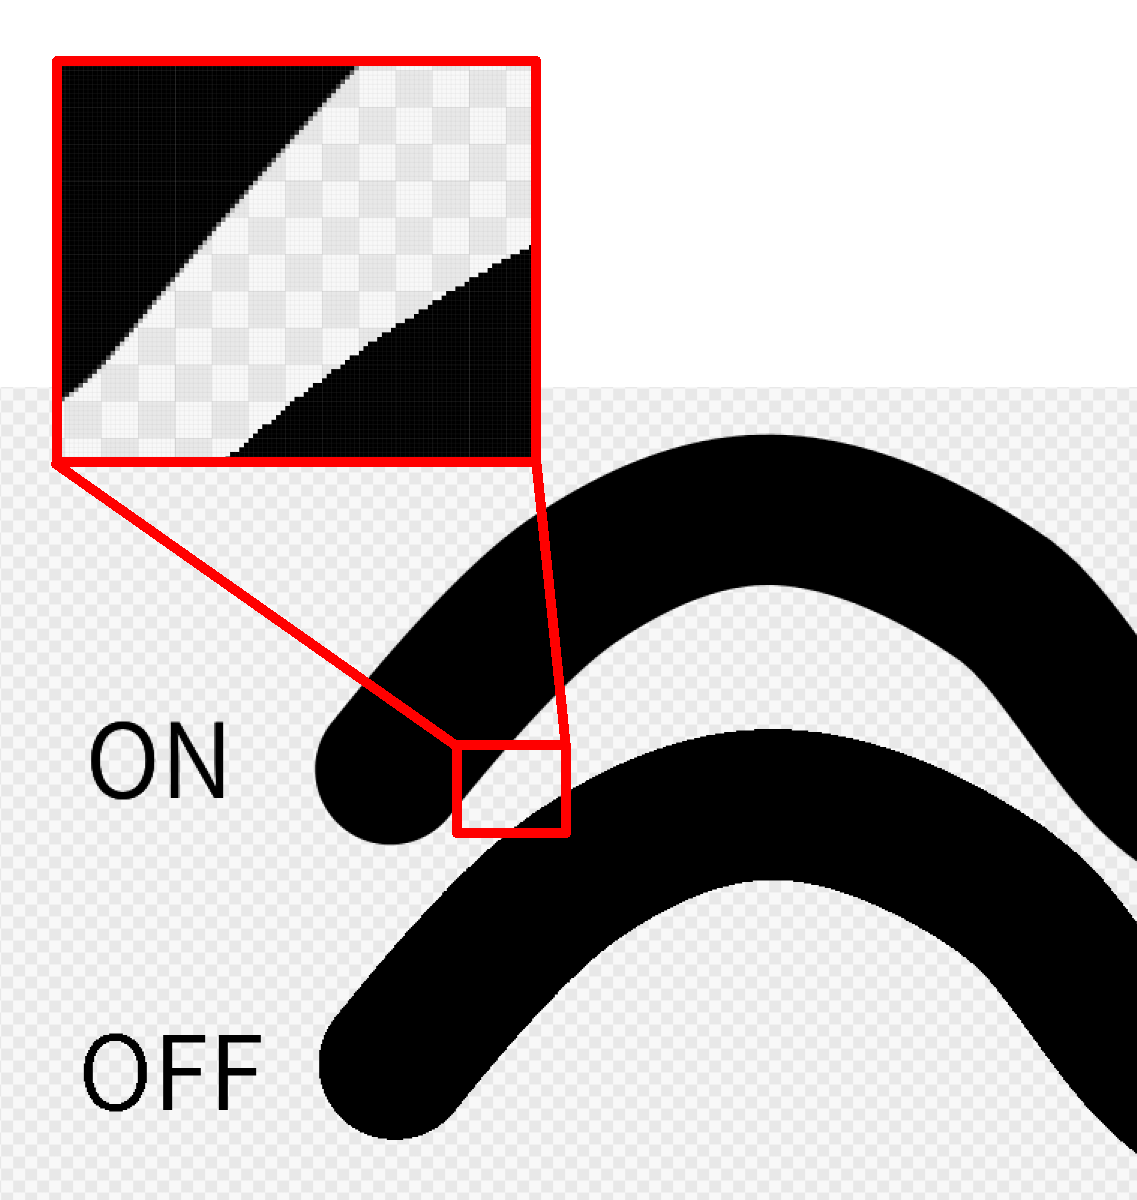
We recommend you enable anti-aliasing for smoother lines.
Correction is a stabilizing function to smooth and “correct” lines that are shaky or rough.
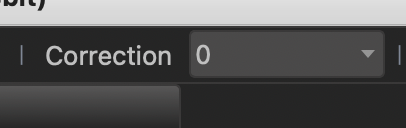
With the brush tool selected, you can check and set the Correction level in the toolbar (1). The higher the number, the stronger the degree of correction. However, when the number is set high, this may slow down your drawing speed.
Test out different correction settings to find the one that works best for your art.
Refer to the “Color” tab in the menu and drop down to switch between “Color Bar” and “Color Wheel” according to your preference.
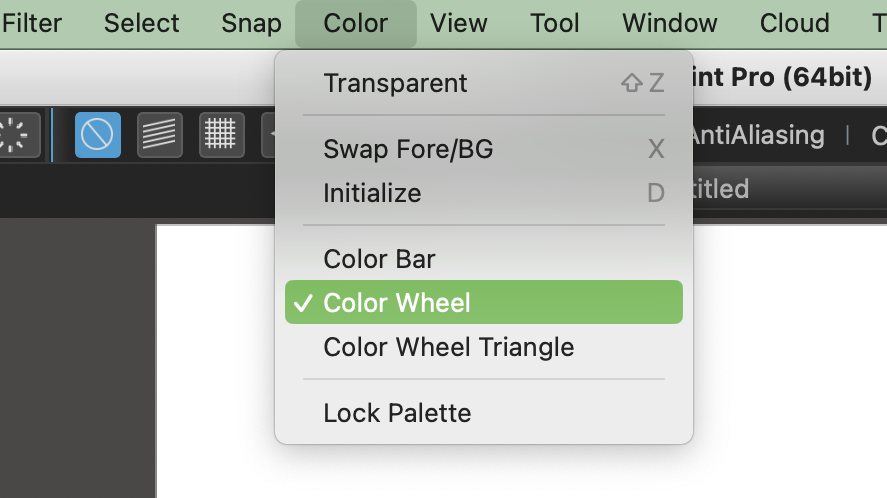
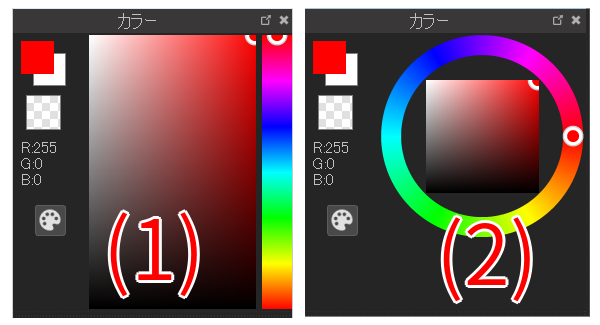
Note the difference between “Color Bar” and “Color Wheel”
Your creativity will be more special!
MediBang Paint's new service,
Unlimited use of exclusive brushes and
materials,
full access to MediBang Paint,
and many other benefits to help your
creativity.
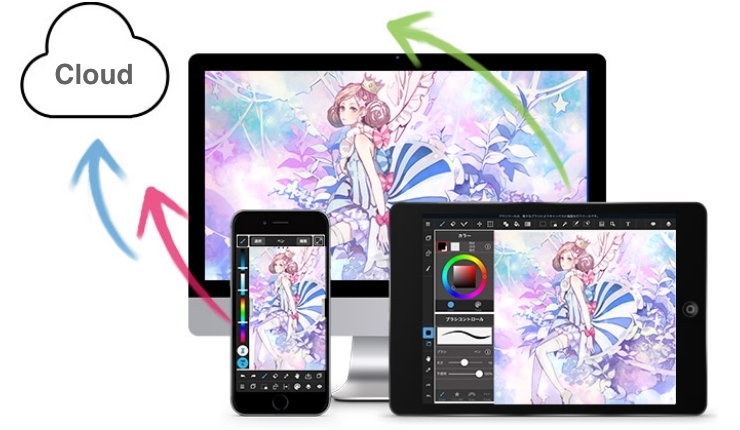
We introduce cloud features available on MediBang Paint.

We introduce specific examples of team production using MediBang Paint and mangainem.

We introiduce "JUMP PAINT", JUMP's official soft and app for manga creators.