The comic creation tools in MediBang Paint were designed to seamlessly translate the process of traditional Japanese manga-ka onto a digital canvas.
MediBang Paint has a cloud server to make your comic projects convenient. You must register for a MediBang account in order to use it.
Create a Comic canvas, open the “New Image” window by clicking “File” → “New” from the menu and then selecting the “Comic” tab.
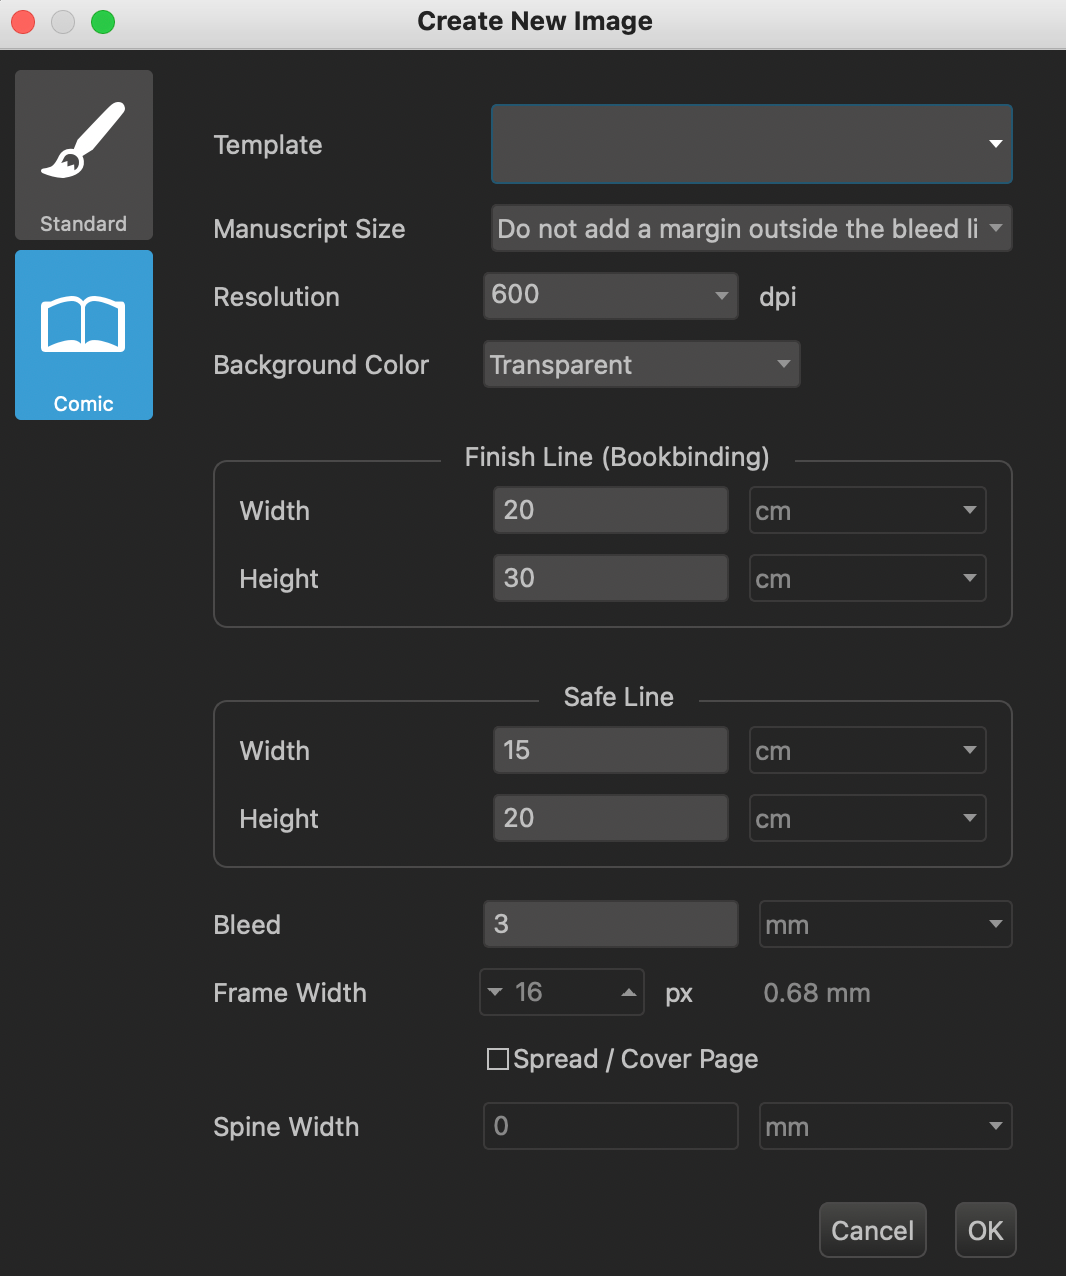
Create a canvas by selecting “Doujinshi (A5 finished): 350 dpi” as a template on the “Comic” tab.
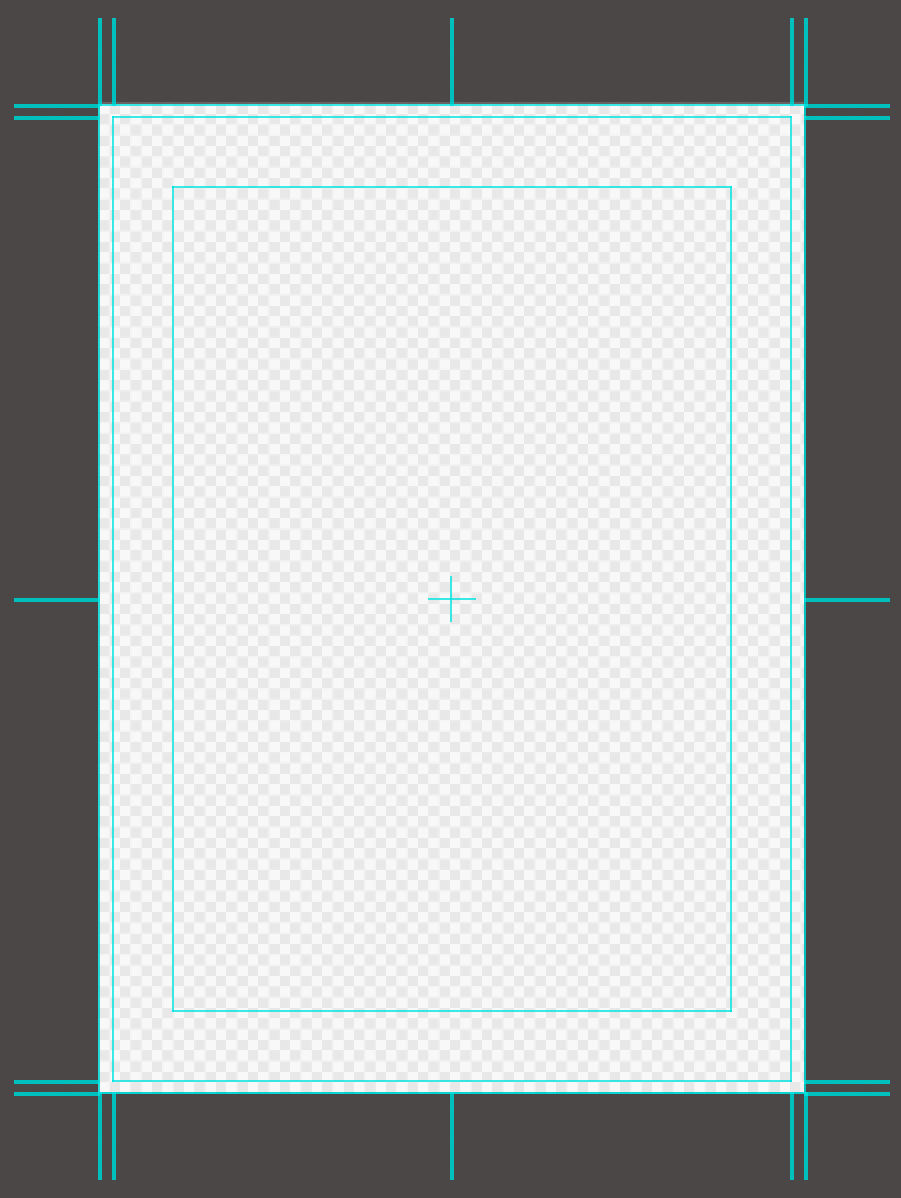
This is what a Comic canvas looks like in MediBang Paint. The light blue lines are known as “Comic Guides” and are traditionally used when creating manga.
“Comic guide” can be displayed or hidden at any time by clicking “View” → “Show Comic Guide Lines” from the menu. You can also change the settings from “View” → “Comic Guide Lines Settings.”
When you create a new canvas under “Comic” instead of “Standard” the comic guide will be automatically displayed. Please see here for further information about Comic Guidelines.
Checking “Spread/Cover Page” when creating the canvas will make a canvas that is twice the width of the normal page. This is to create either a 2-page spread in a comic, or a front and back cover for the comic.
Making different panels is an indispensable part of creating comics. Easily divide your panels in MediBang Paint by using the “Panel Divide” tool.
First you’ll need to create panels on your canvas. Do this by clicking “Layer” → “Add Panel Material” from the menu.
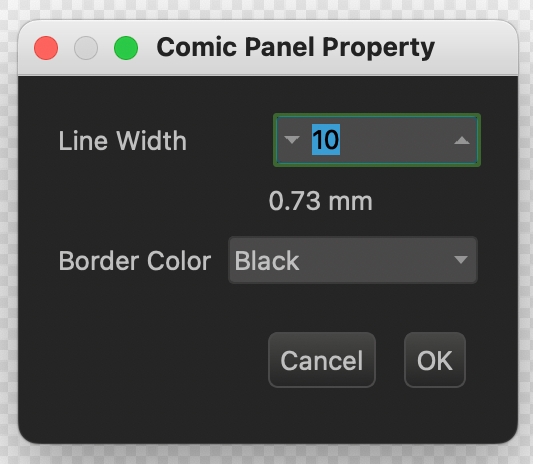
The “Comic Panel Property” window will display so you can edit the Line Width and Border Color of the Panel Material as needed. Press OK for now.
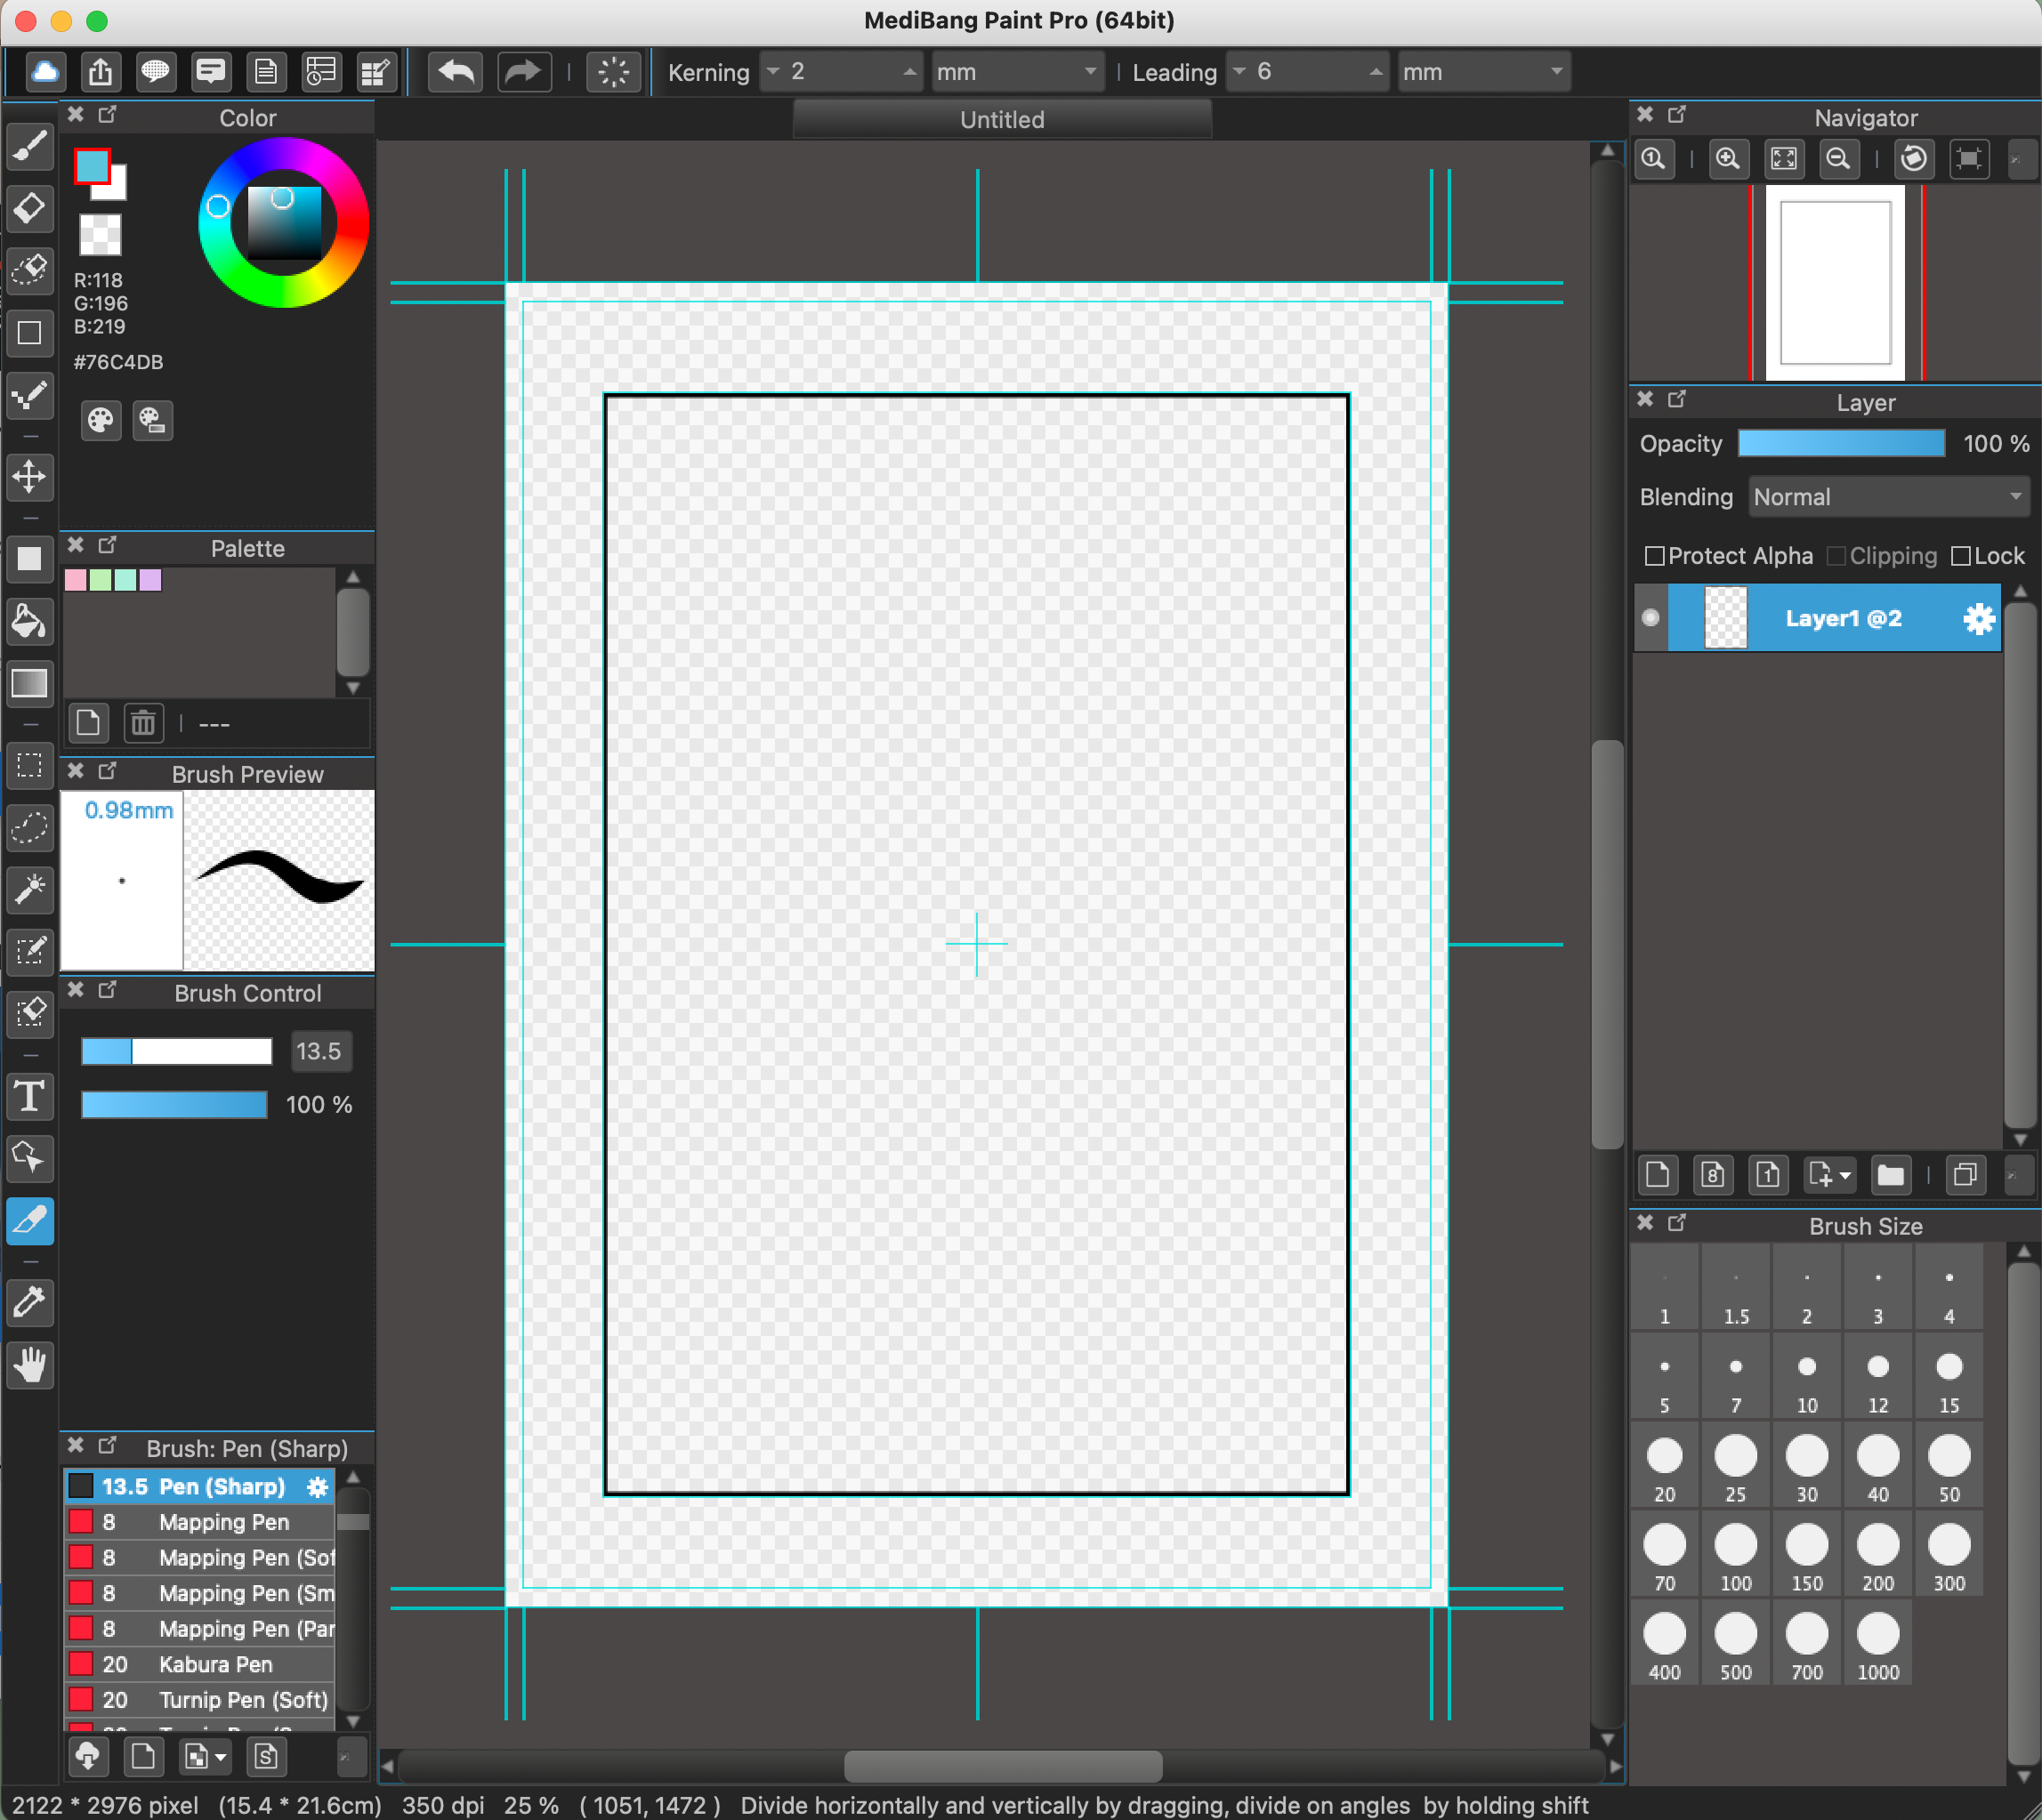
The Panel Material will be created according to the inner frame of the Comic Guide, and the cursor will change to the knife-shaped Divide Tool.
Using the Divide Tool, you can cut the Panel Material into various smaller panels.
Drag the Divide Tool in a line that crosses the entire panel to divide it. If you only drag the tool over part of the panel, it will not divide properly.
In the toolbar at the top of the canvas, you can also change the Kerning and Leading settings to adjust the width between panels.
To divide a panel diagonally, please hold down Shift key and use the Divide Tool.
You can use the Undo tool if you divide a panel by mistake.
To Transform and Move a Panels, use the “Operation Tool”.

Select the blue-highlighted “Operation Tool” and then click the Panel you want to edit. The Toolbar will be displayed under the Panel as shown below. Operation of “Panel” is done by grasping “handle (4)” around “Panel”.
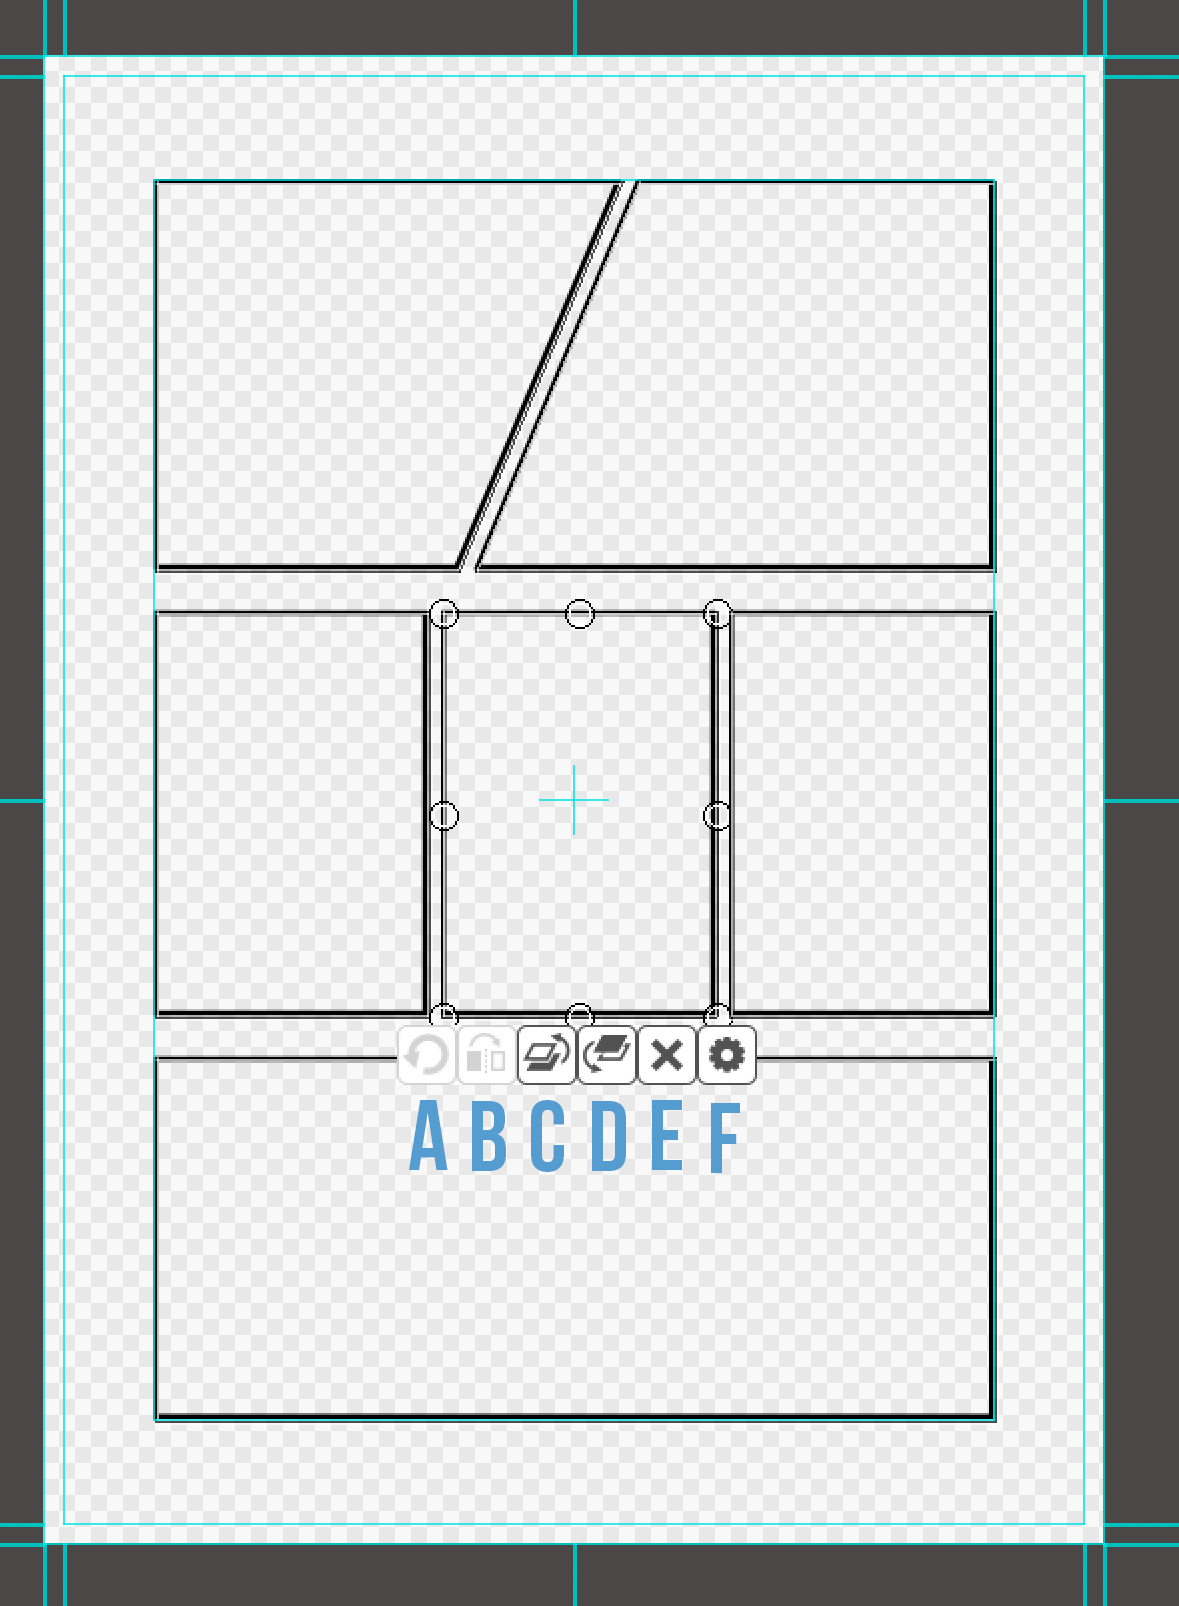
A and B: These functions cannot be used with Panel Divide.
C: This button allows you to edit the overlapping order of the Panels. If you have overlapping panels, click this button on the panel you wish to move to the top.
D: This button allows you to edit the overlapping order of the Panels. If you have overlapping panels, click this button on the panel you wish to move to the bottom.
E: Delete the panel.
F: Edit the panel properties.
If you want to erase part of a Panel, learn more here.
If you want to create evenly divided Panels, use Layer -> Material -> Divide from the menu. This function will equally divide the currently active Panel.
MediBang Paint has a wide variety of materials available to use for comic creations, with several inspired by traditional screen tones used by manga-ka in Japan.
See here to learn the basics of using materials.
Add a new layer to your canvas to for using materials. Next, select a target frame with the Auto-select Tool. Then click “Cloud” → “Open Material Dialog” from the menu. When “Material Dialog” opens, drag and drop the tiles and tones you want to use onto the canvas.
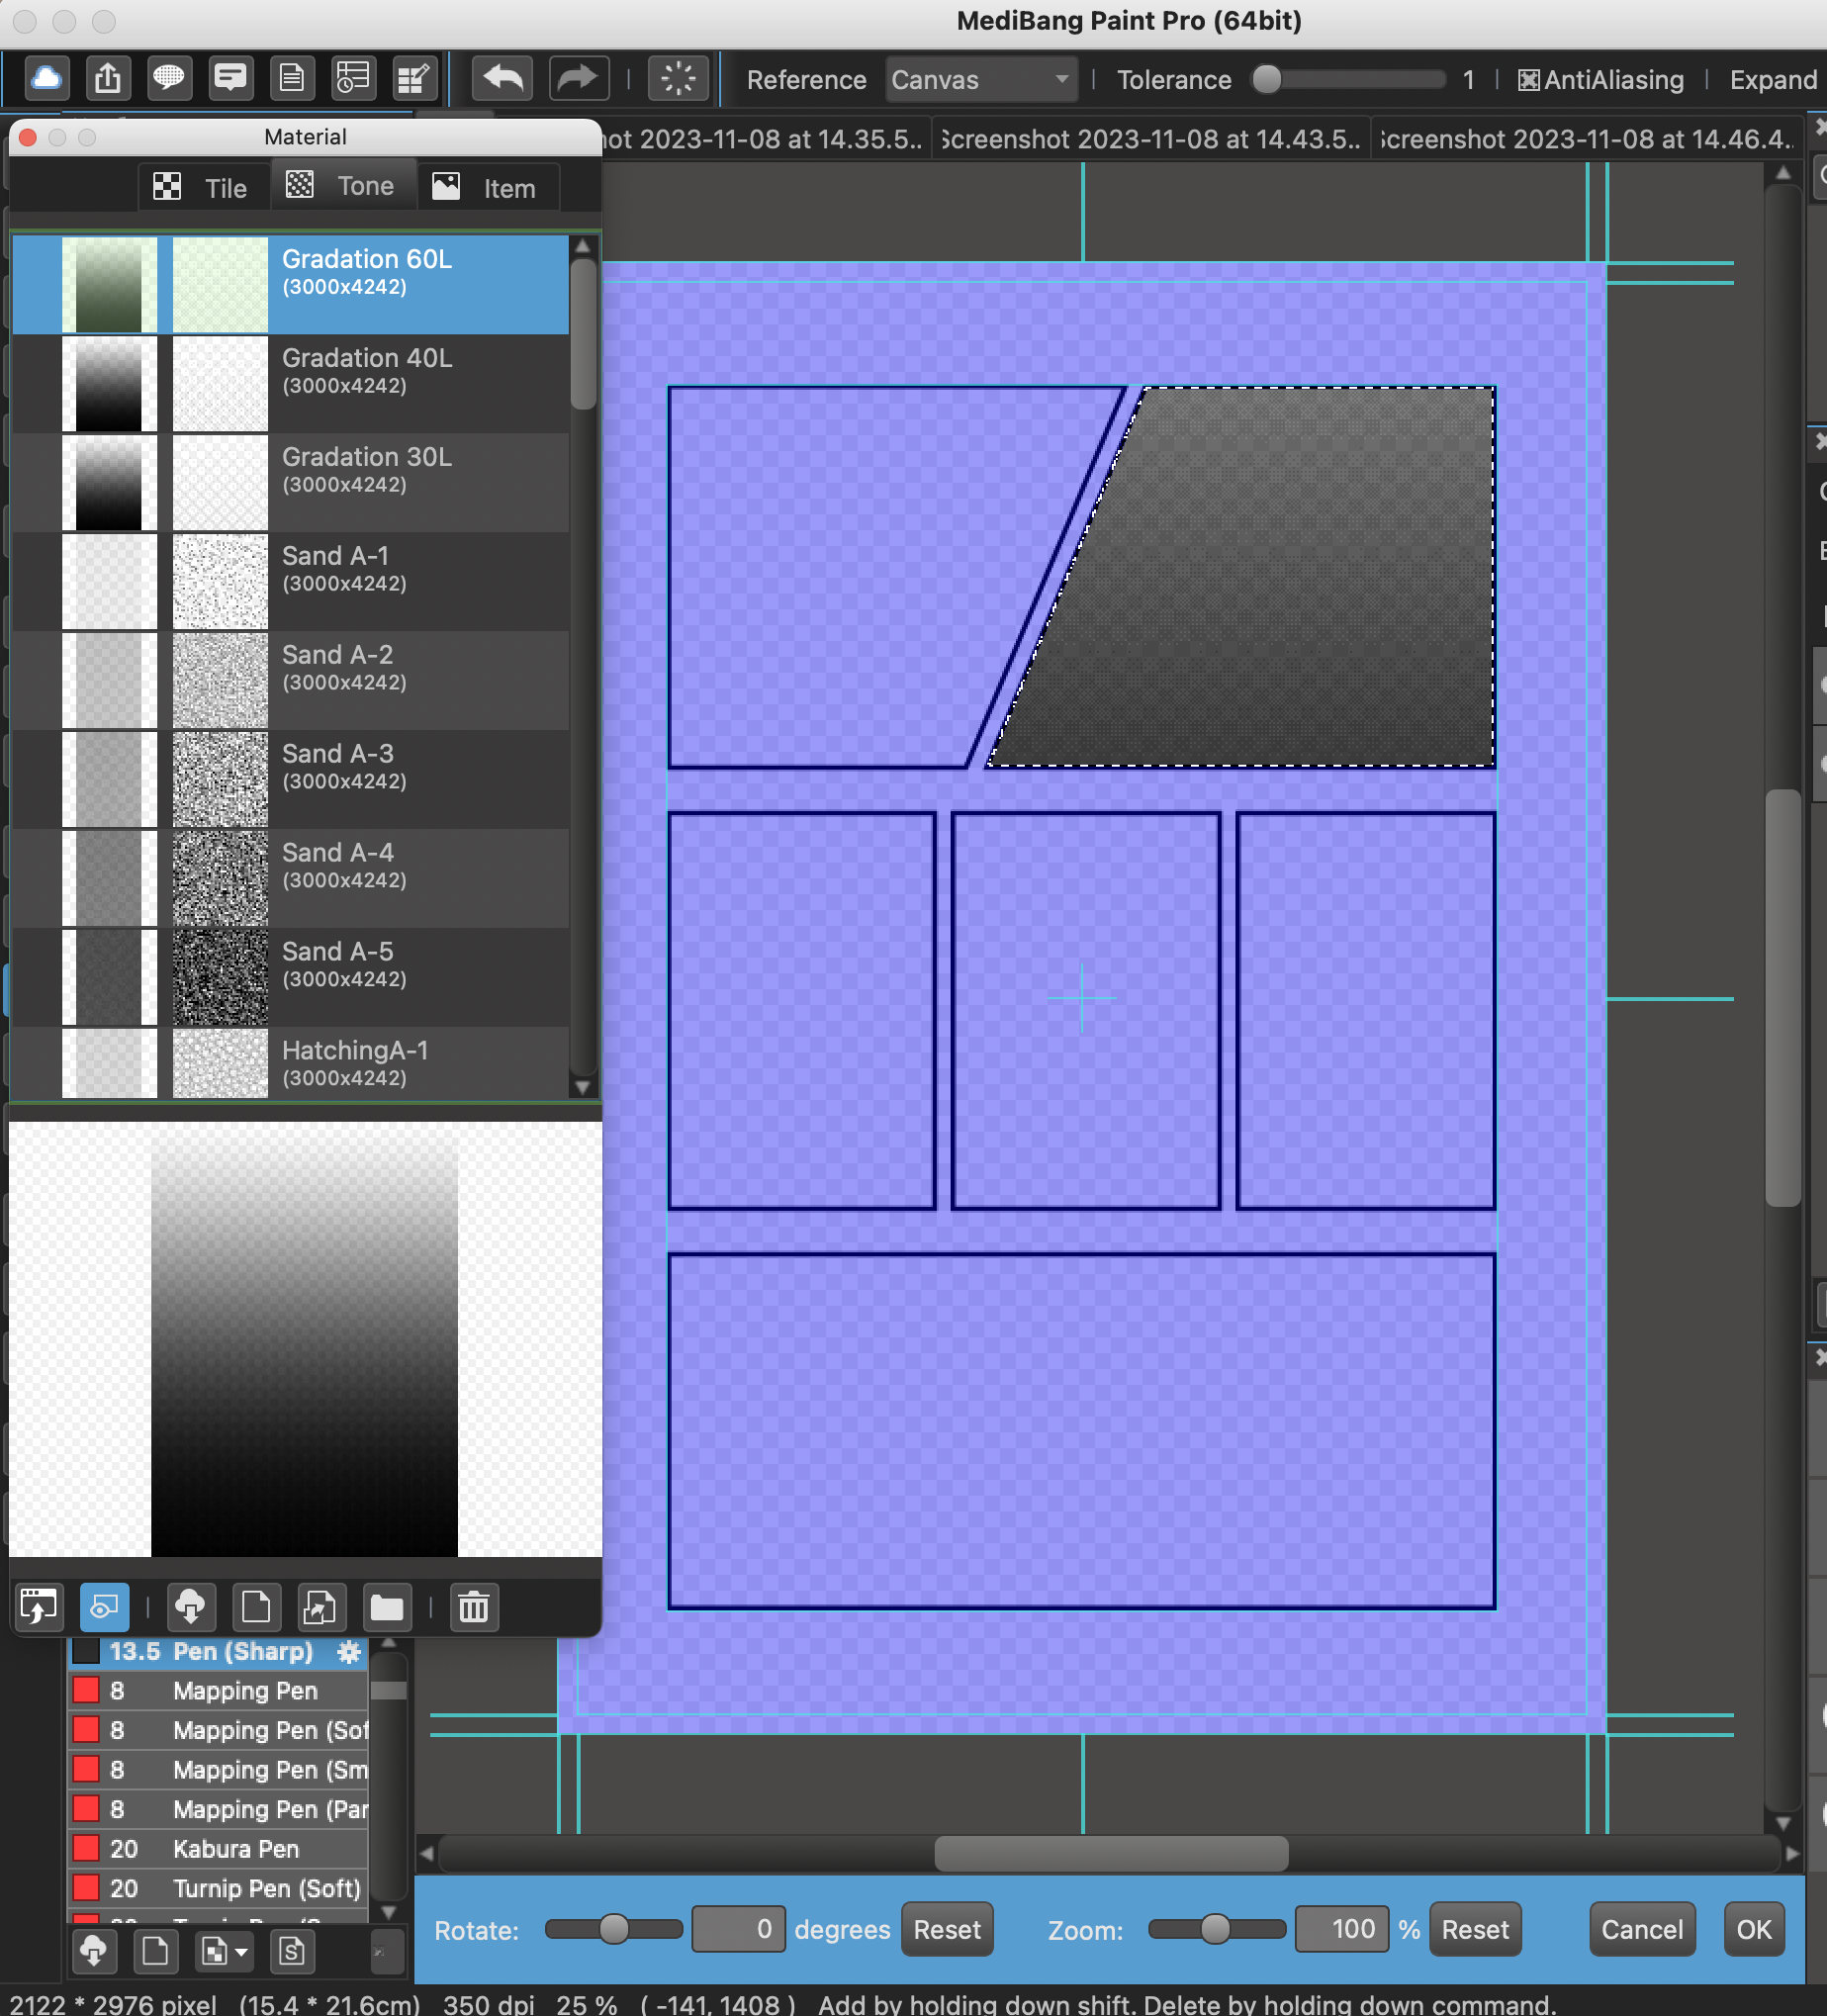
The materials toolbar bar will display at the bottom of the main window. With it you can set the angle and magnification of the material. If you change the value here and press “OK” button, it will confirm the material. After pasting the material, release the selection to see the material neatly confined in the panel.
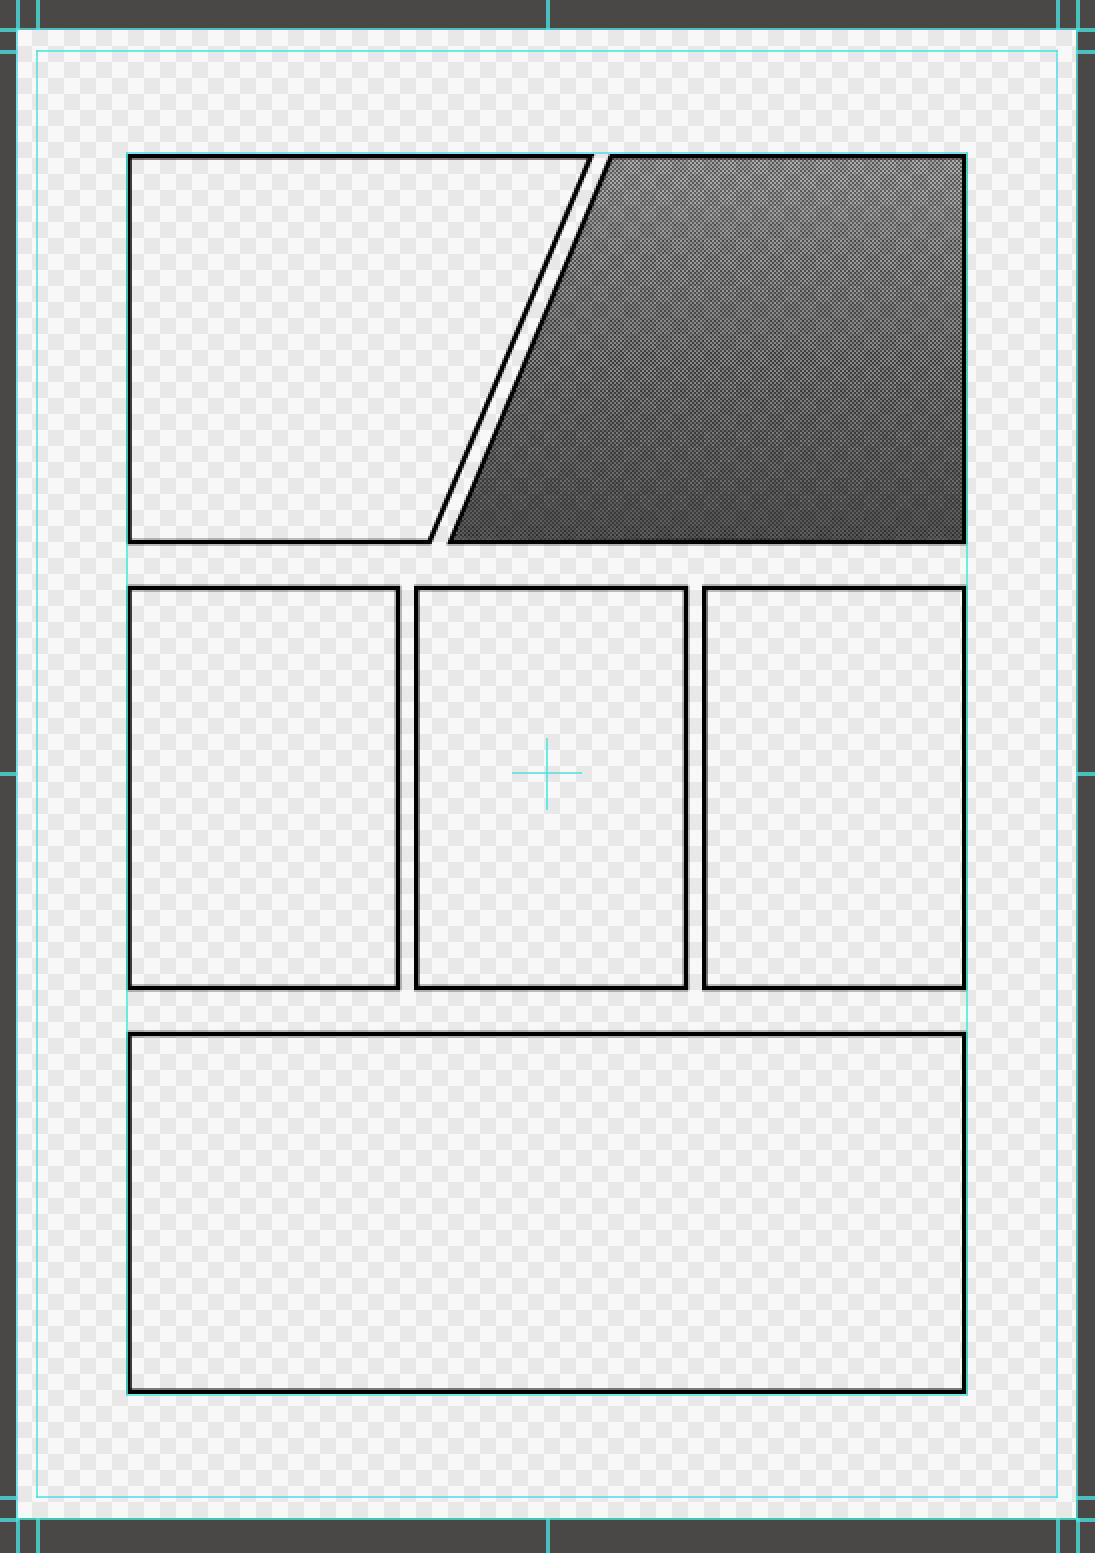
By using this method you can specify where you want to paste materials in your comic.
Switching your brush to transparent color is the easiest way to erase and edit materials like screen tones.
Easily typeset your comic with MediBang Paint’s Text Tool.
To learn the basics of the “Text Tool” see here.
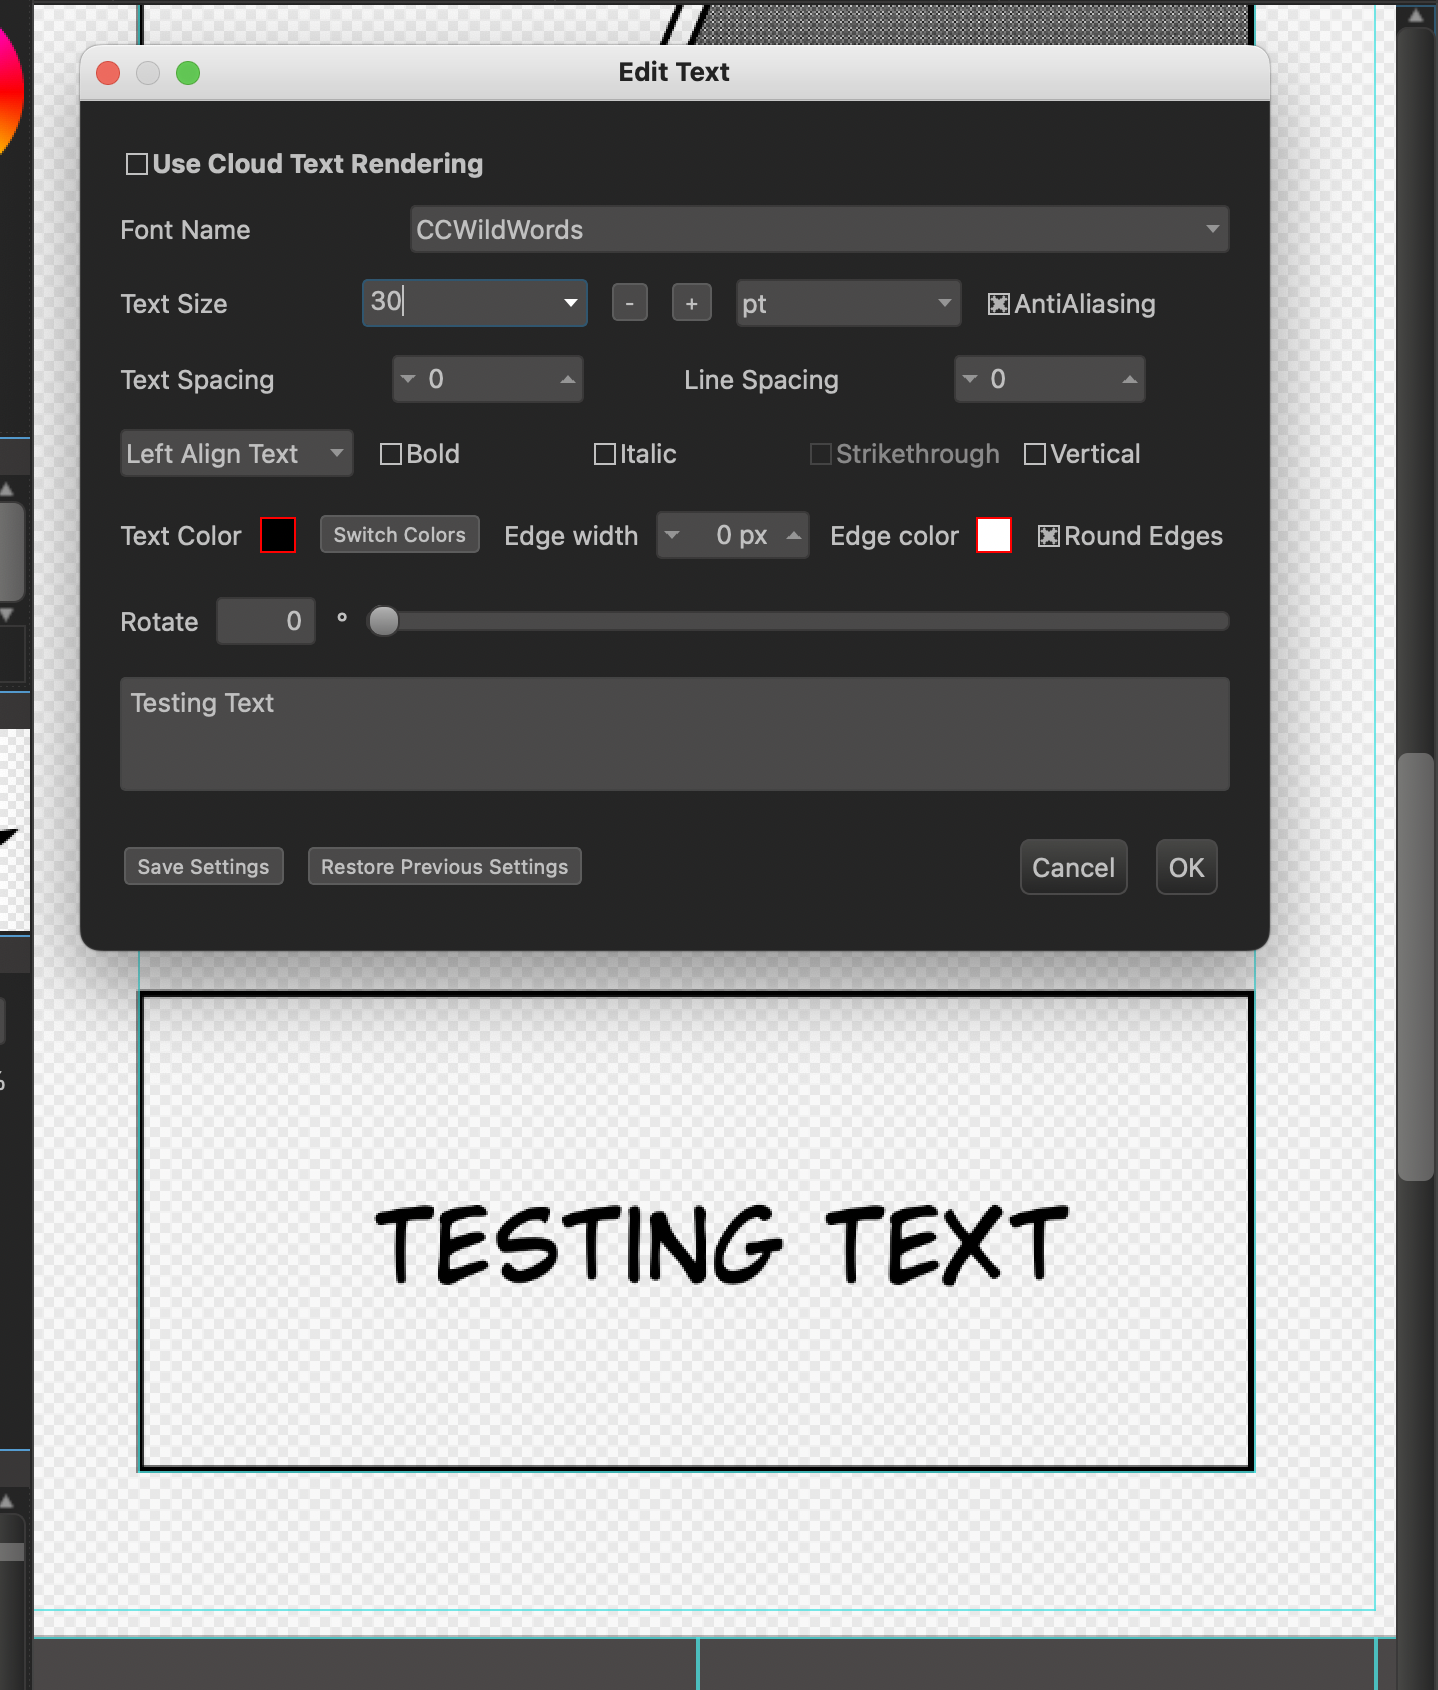
Select Text Tool from the toolbar on the left of the main window and click where you want to place the letters on the canvas. The “Edit Text” window will display on the screen.
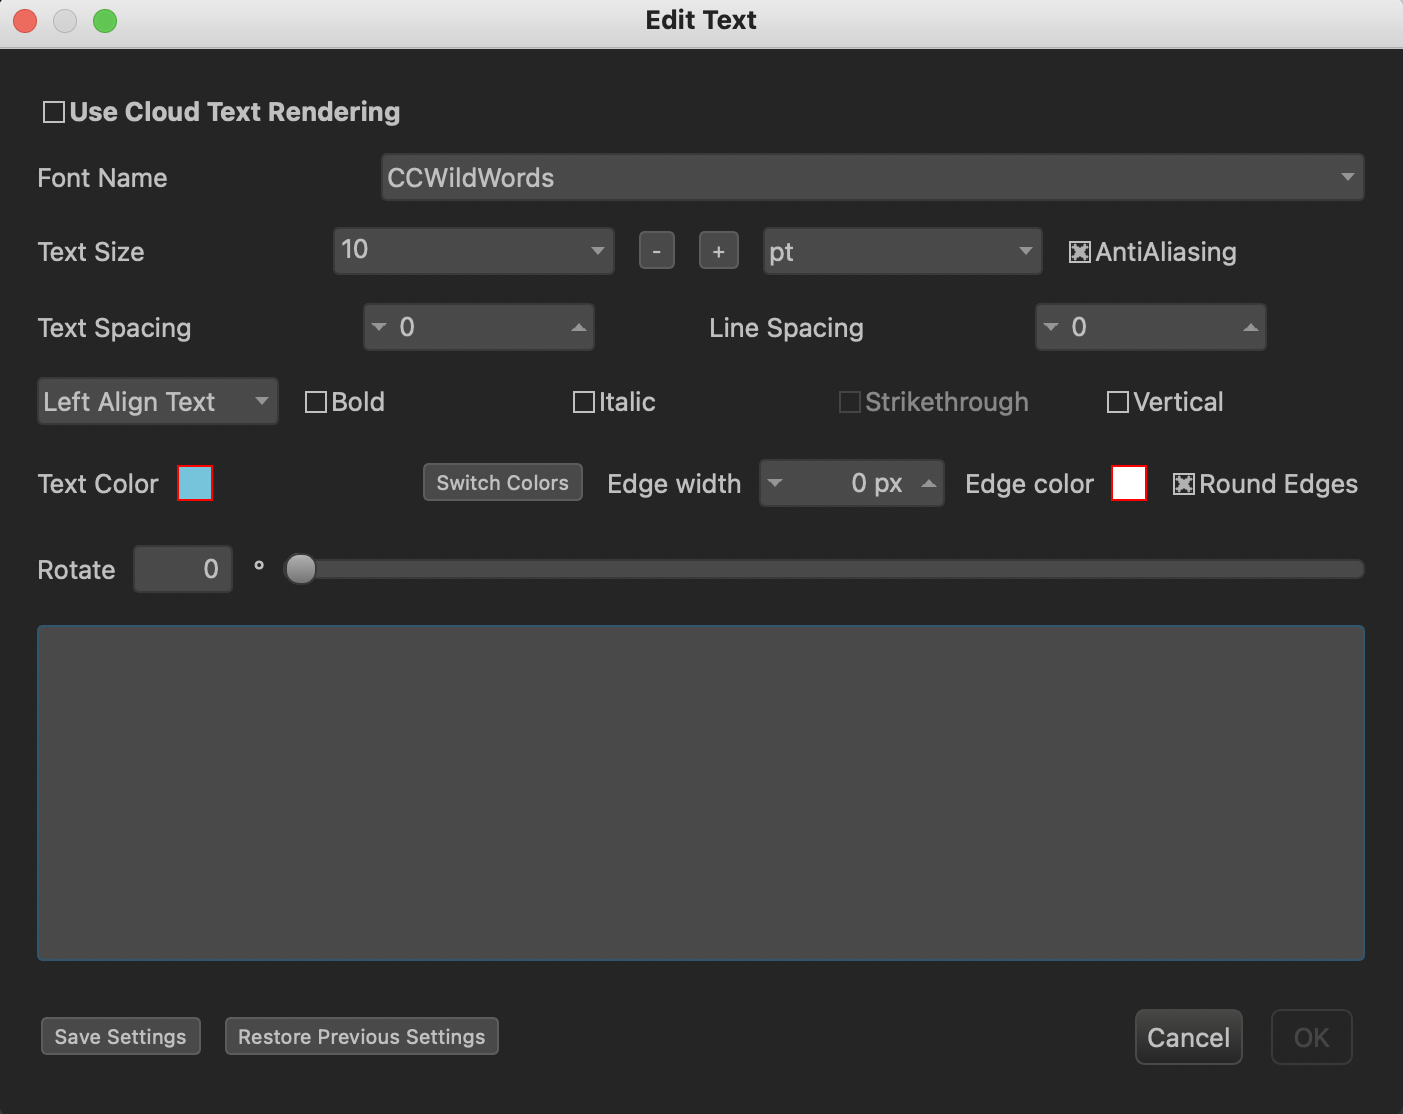
After entering the text and pressing the the OK button, a layer containing the text will be added to display on the canvas.
This text can be moved or edited when “Text Tool” or “Move Tool” is selected.
