2016.12.20
[PC] Using Materials (Tiles, Tones and Items)
We will explain how to use MediBang Paint for Desktop.
Today, we will show you how to add and apply materials.
- Applying Materials
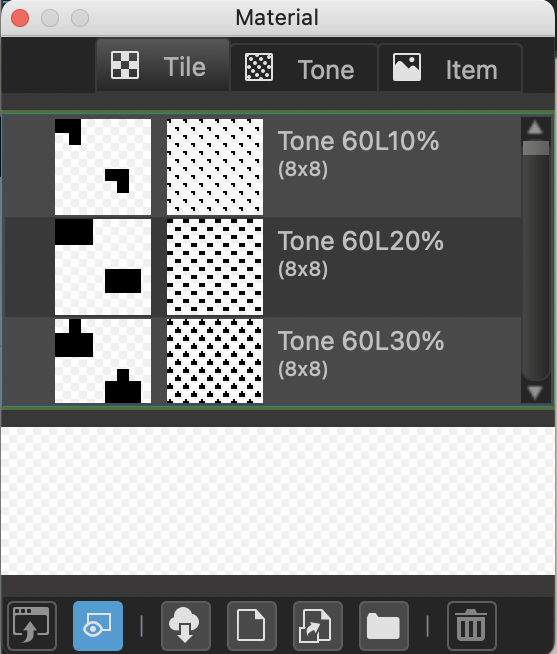
Access the materials window from the Cloud tab in the menu bar. These materials are commonly used in making comics.
Medibang Paint for Desktop Materials come in three different types: Tiles, Tones, and Items.
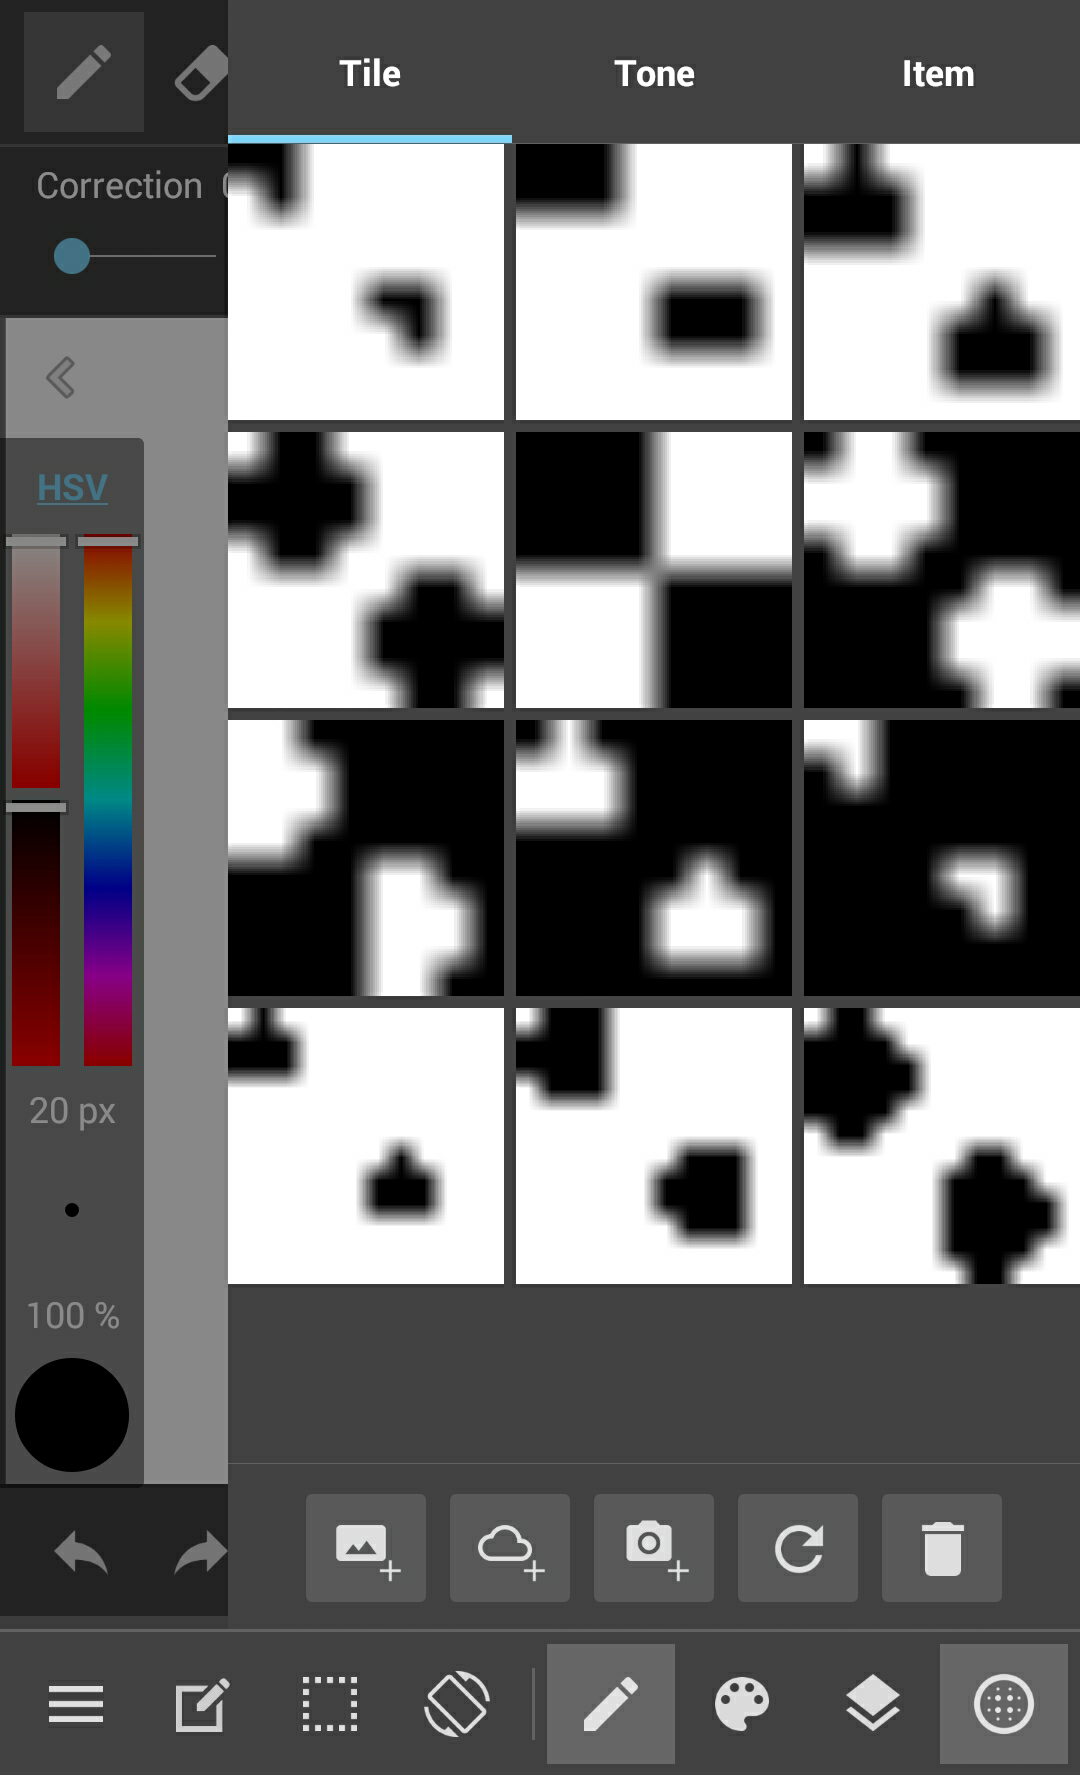
Tile: Materials comprising of patterns. Dotted materials (mesh tones) for the shadows of people and objects are included here.
Tone: Materials close to what are referred to as screen tones in comics are compiled here. Also, materials used for backdrops are included here as well.
Items: Materials that are applied individually and need to be rasterized to edit are located here.
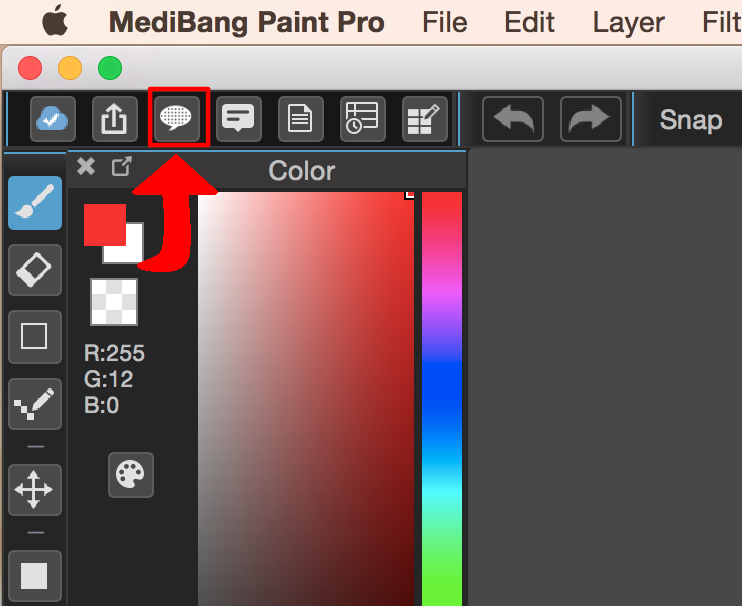
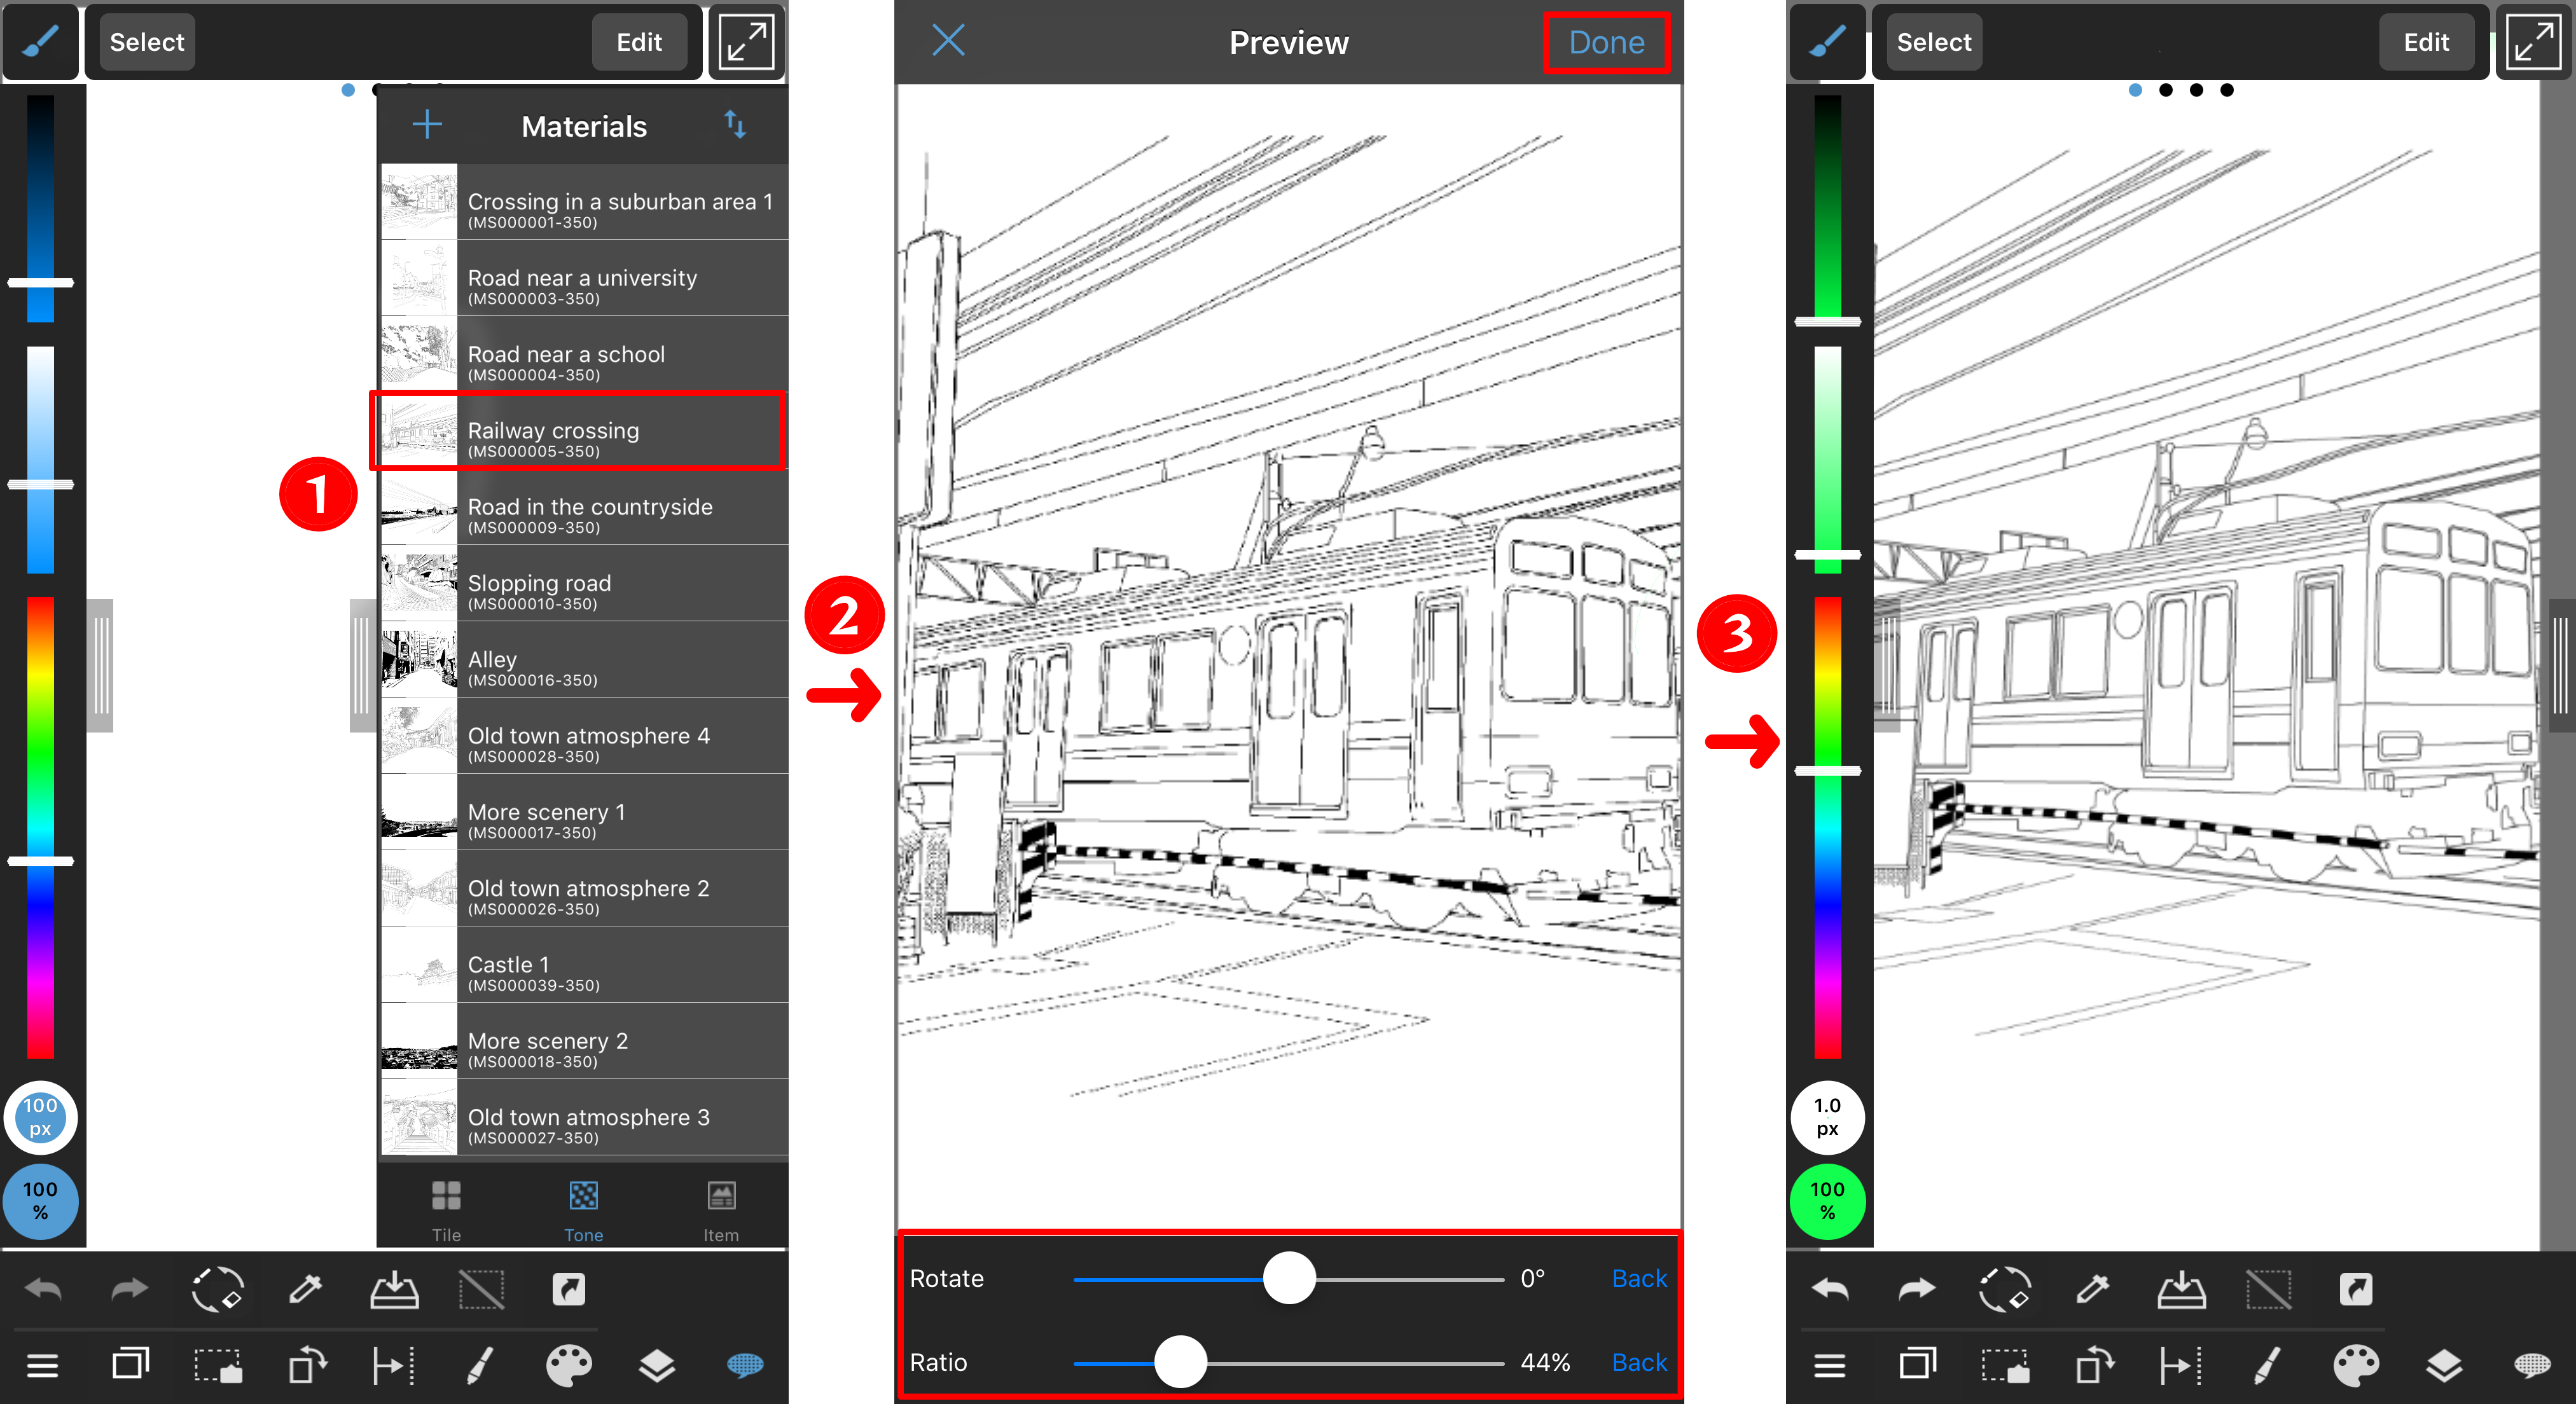
❶ Click on the  materials button on the top left and open the materials window.
❷ We’ll explain the materials window next.

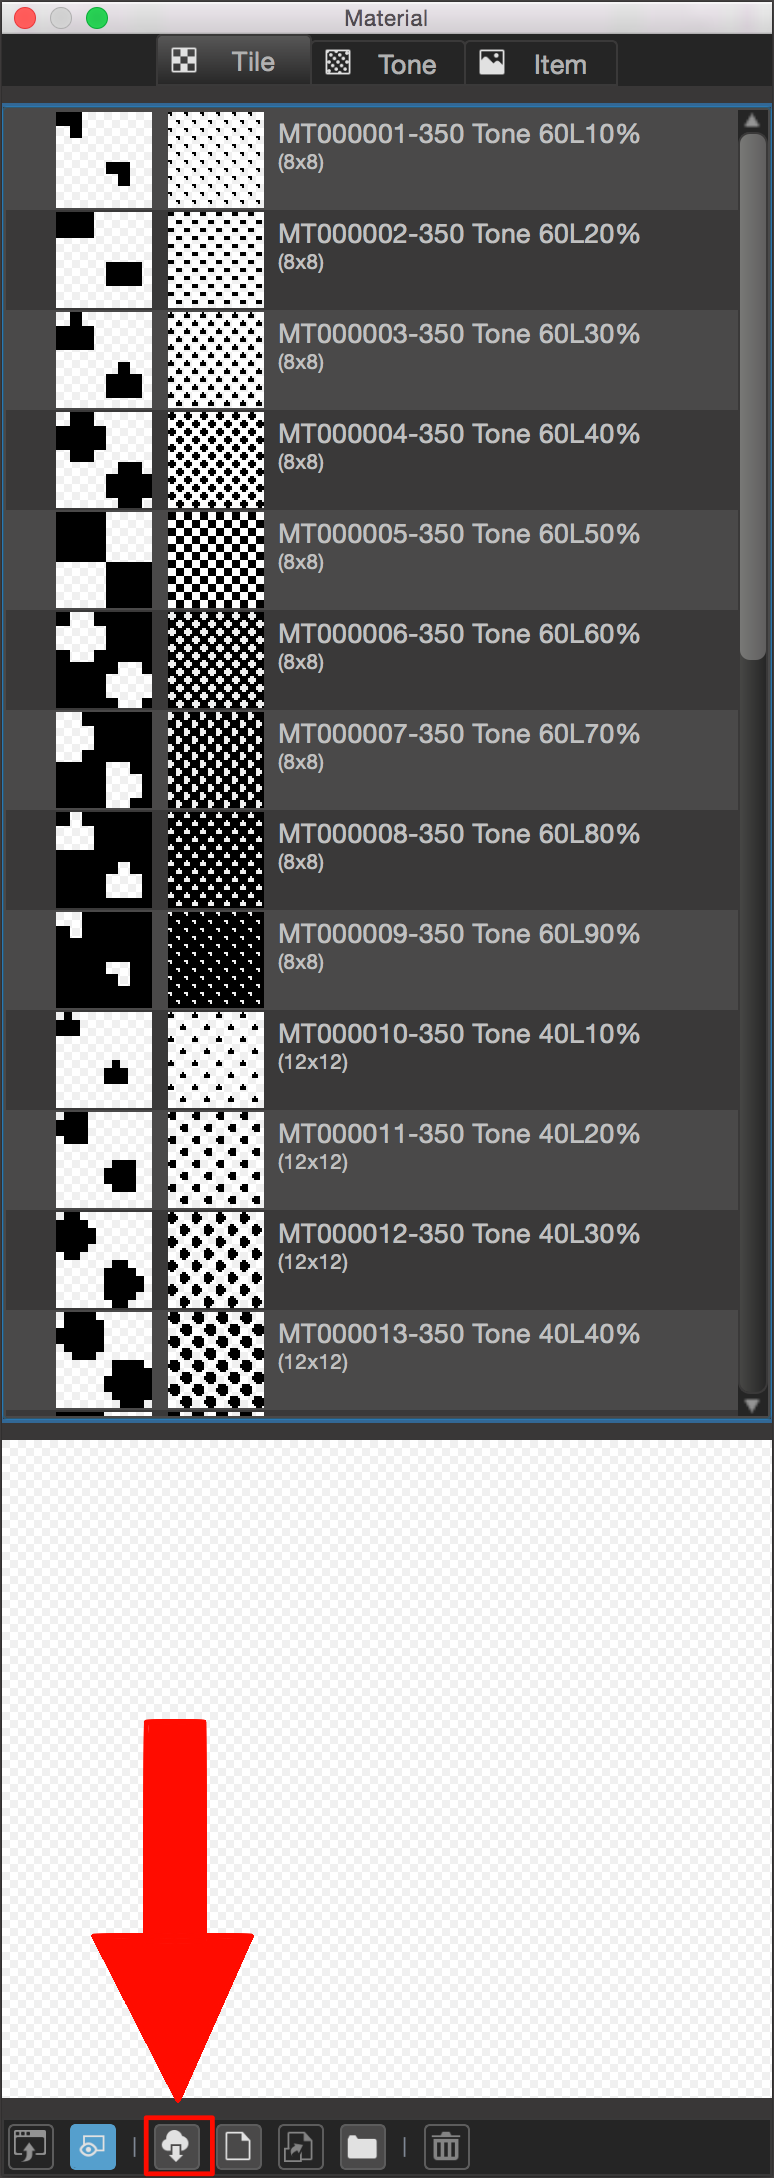
When we click on each of the tabs – Tile, Tone and Item – they will each display their materials.
The icons at the bottom have the following functions.
 Paste Material: Attaches the selected material to the canvas. Besides clicking on the icon, we can drag and drop it to the canvas.
 Preview: Shows us a preview of the material in the window below.
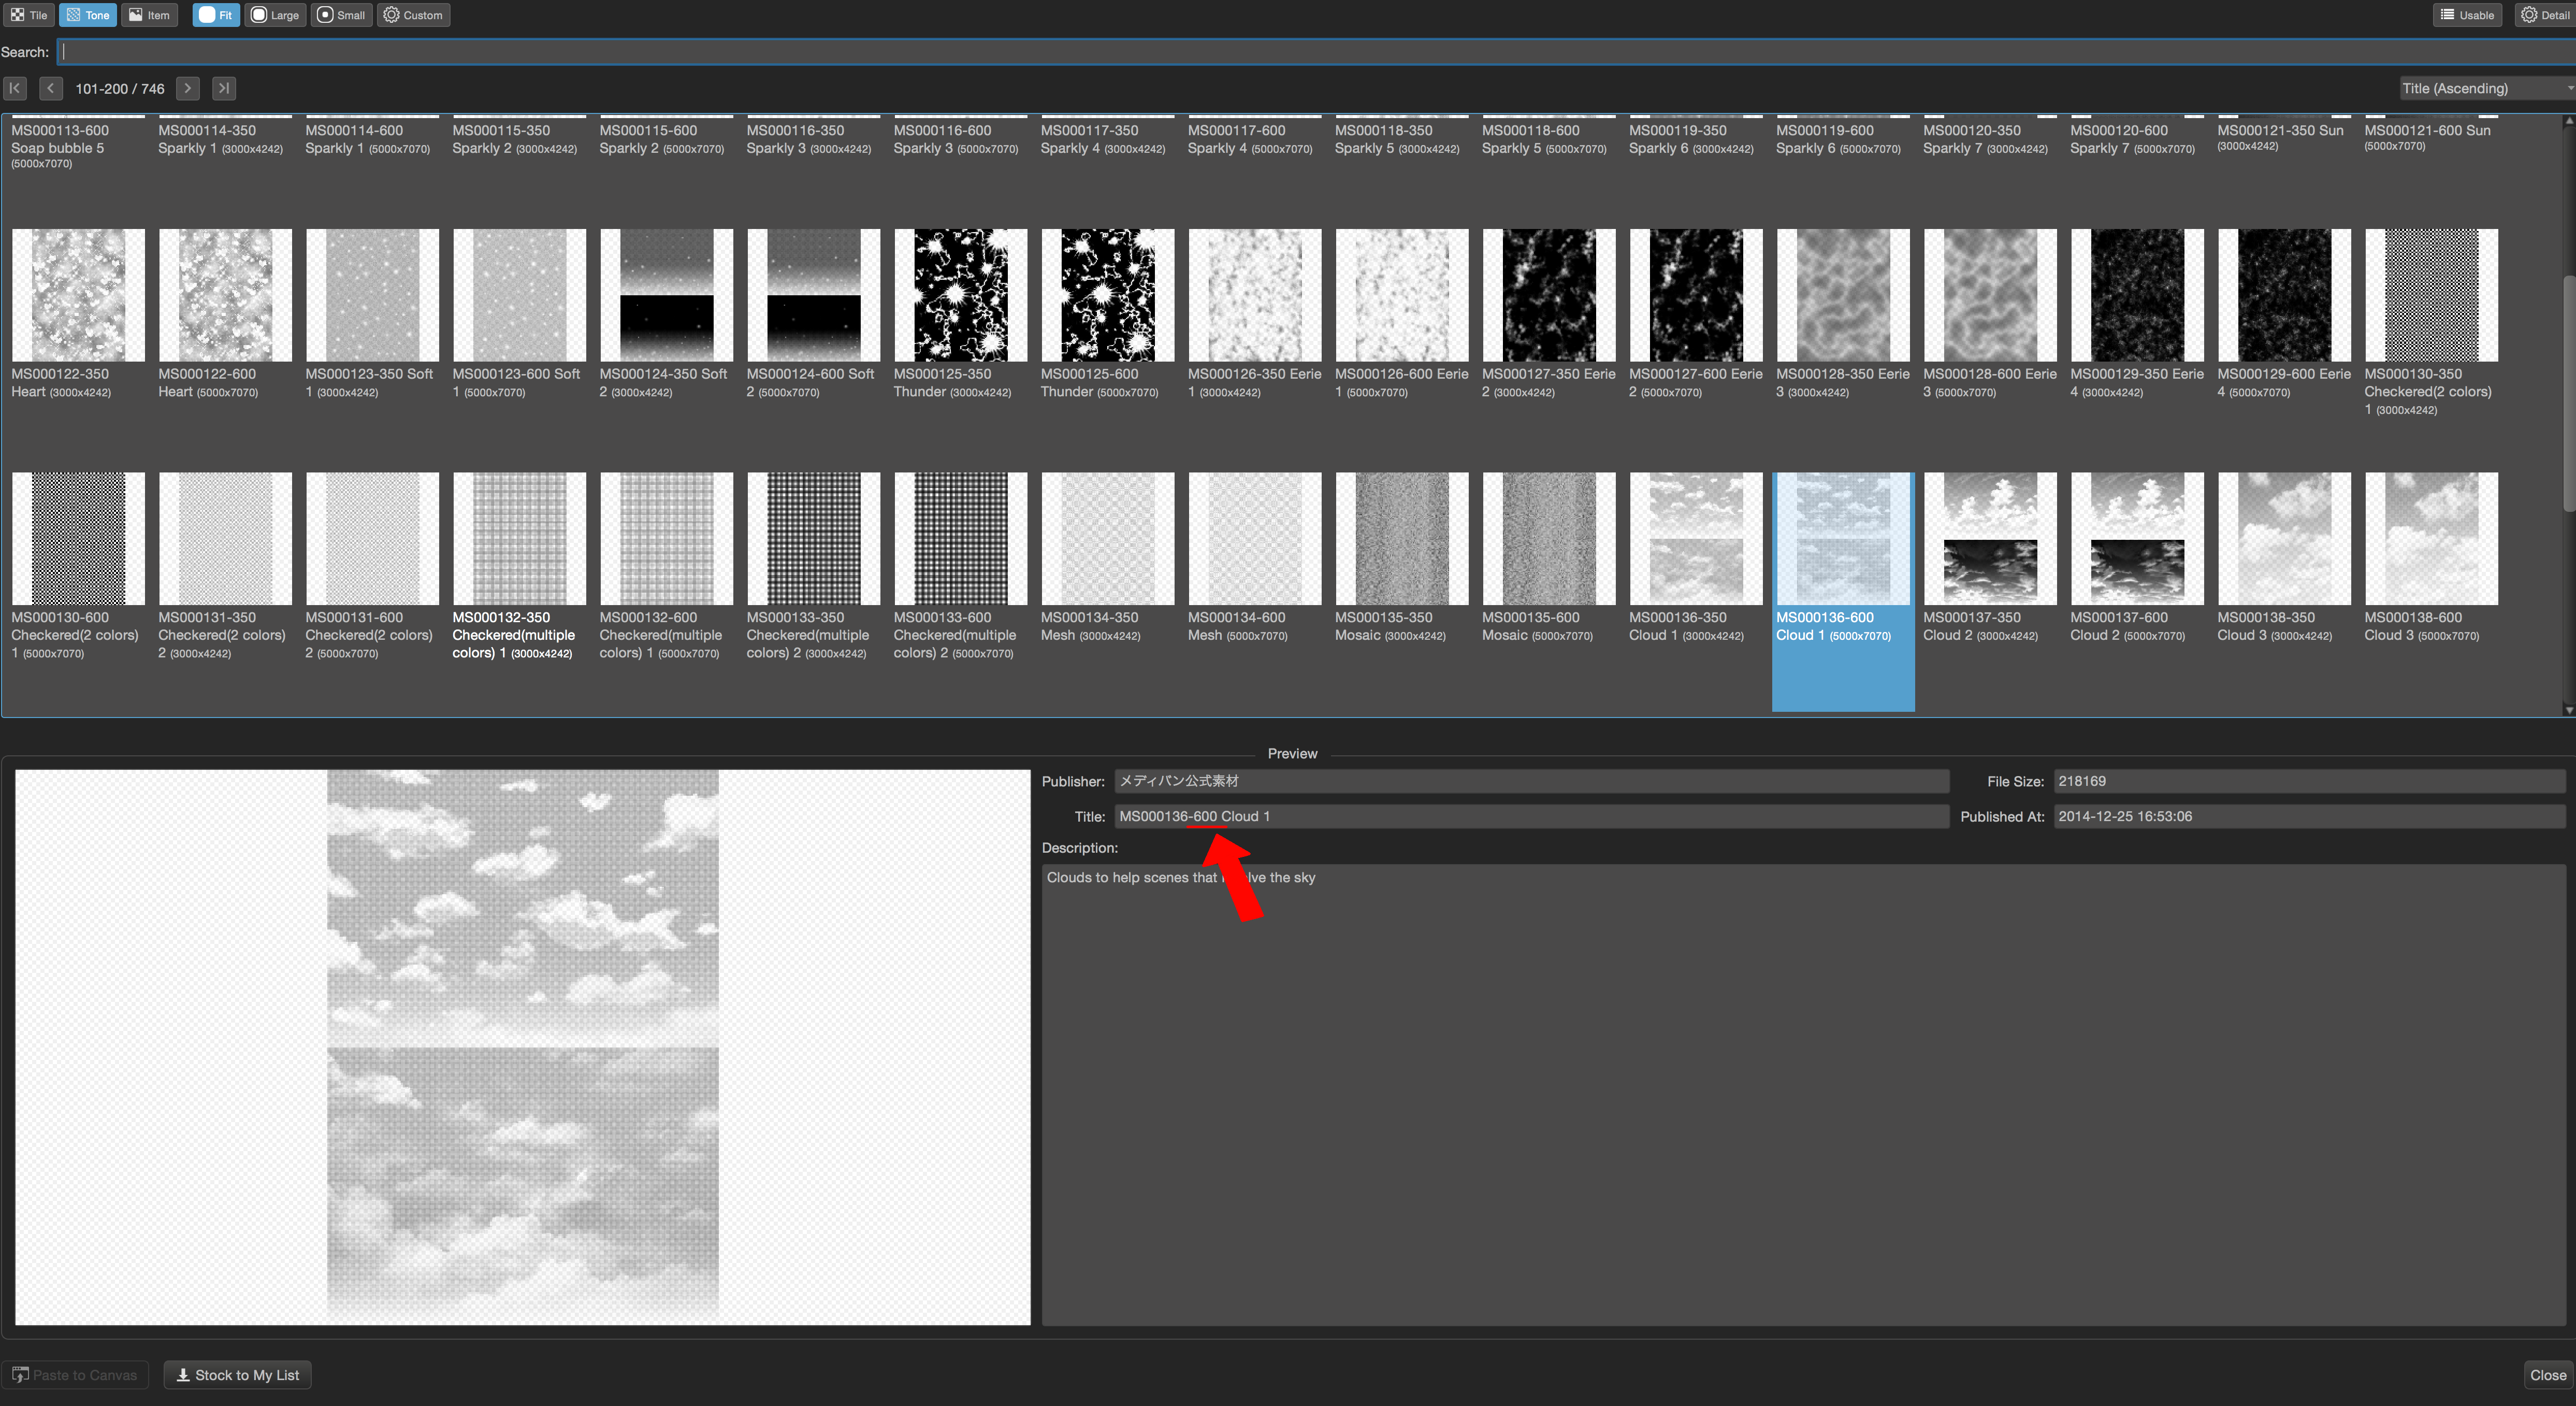
 Add Material from Cloud: Enables us to download materials that MediBang Paint has officially released. Choose what you’d like to download out of Tiles, Tones and Items and click on one of them. The Cloud Materials Panel will appear, so select what you like from there and download it.
 Add Material: Browse Local Folder (on your own computer) and import your own files to use as a material in the Material Window.
 Add Material from Canvas: Add pictures you’ve drawn on the canvas to the Material Window as a material.
 Add Group: Creates a folder, enabling you to manage your materials.
 Remove Material: Erases the selected material.
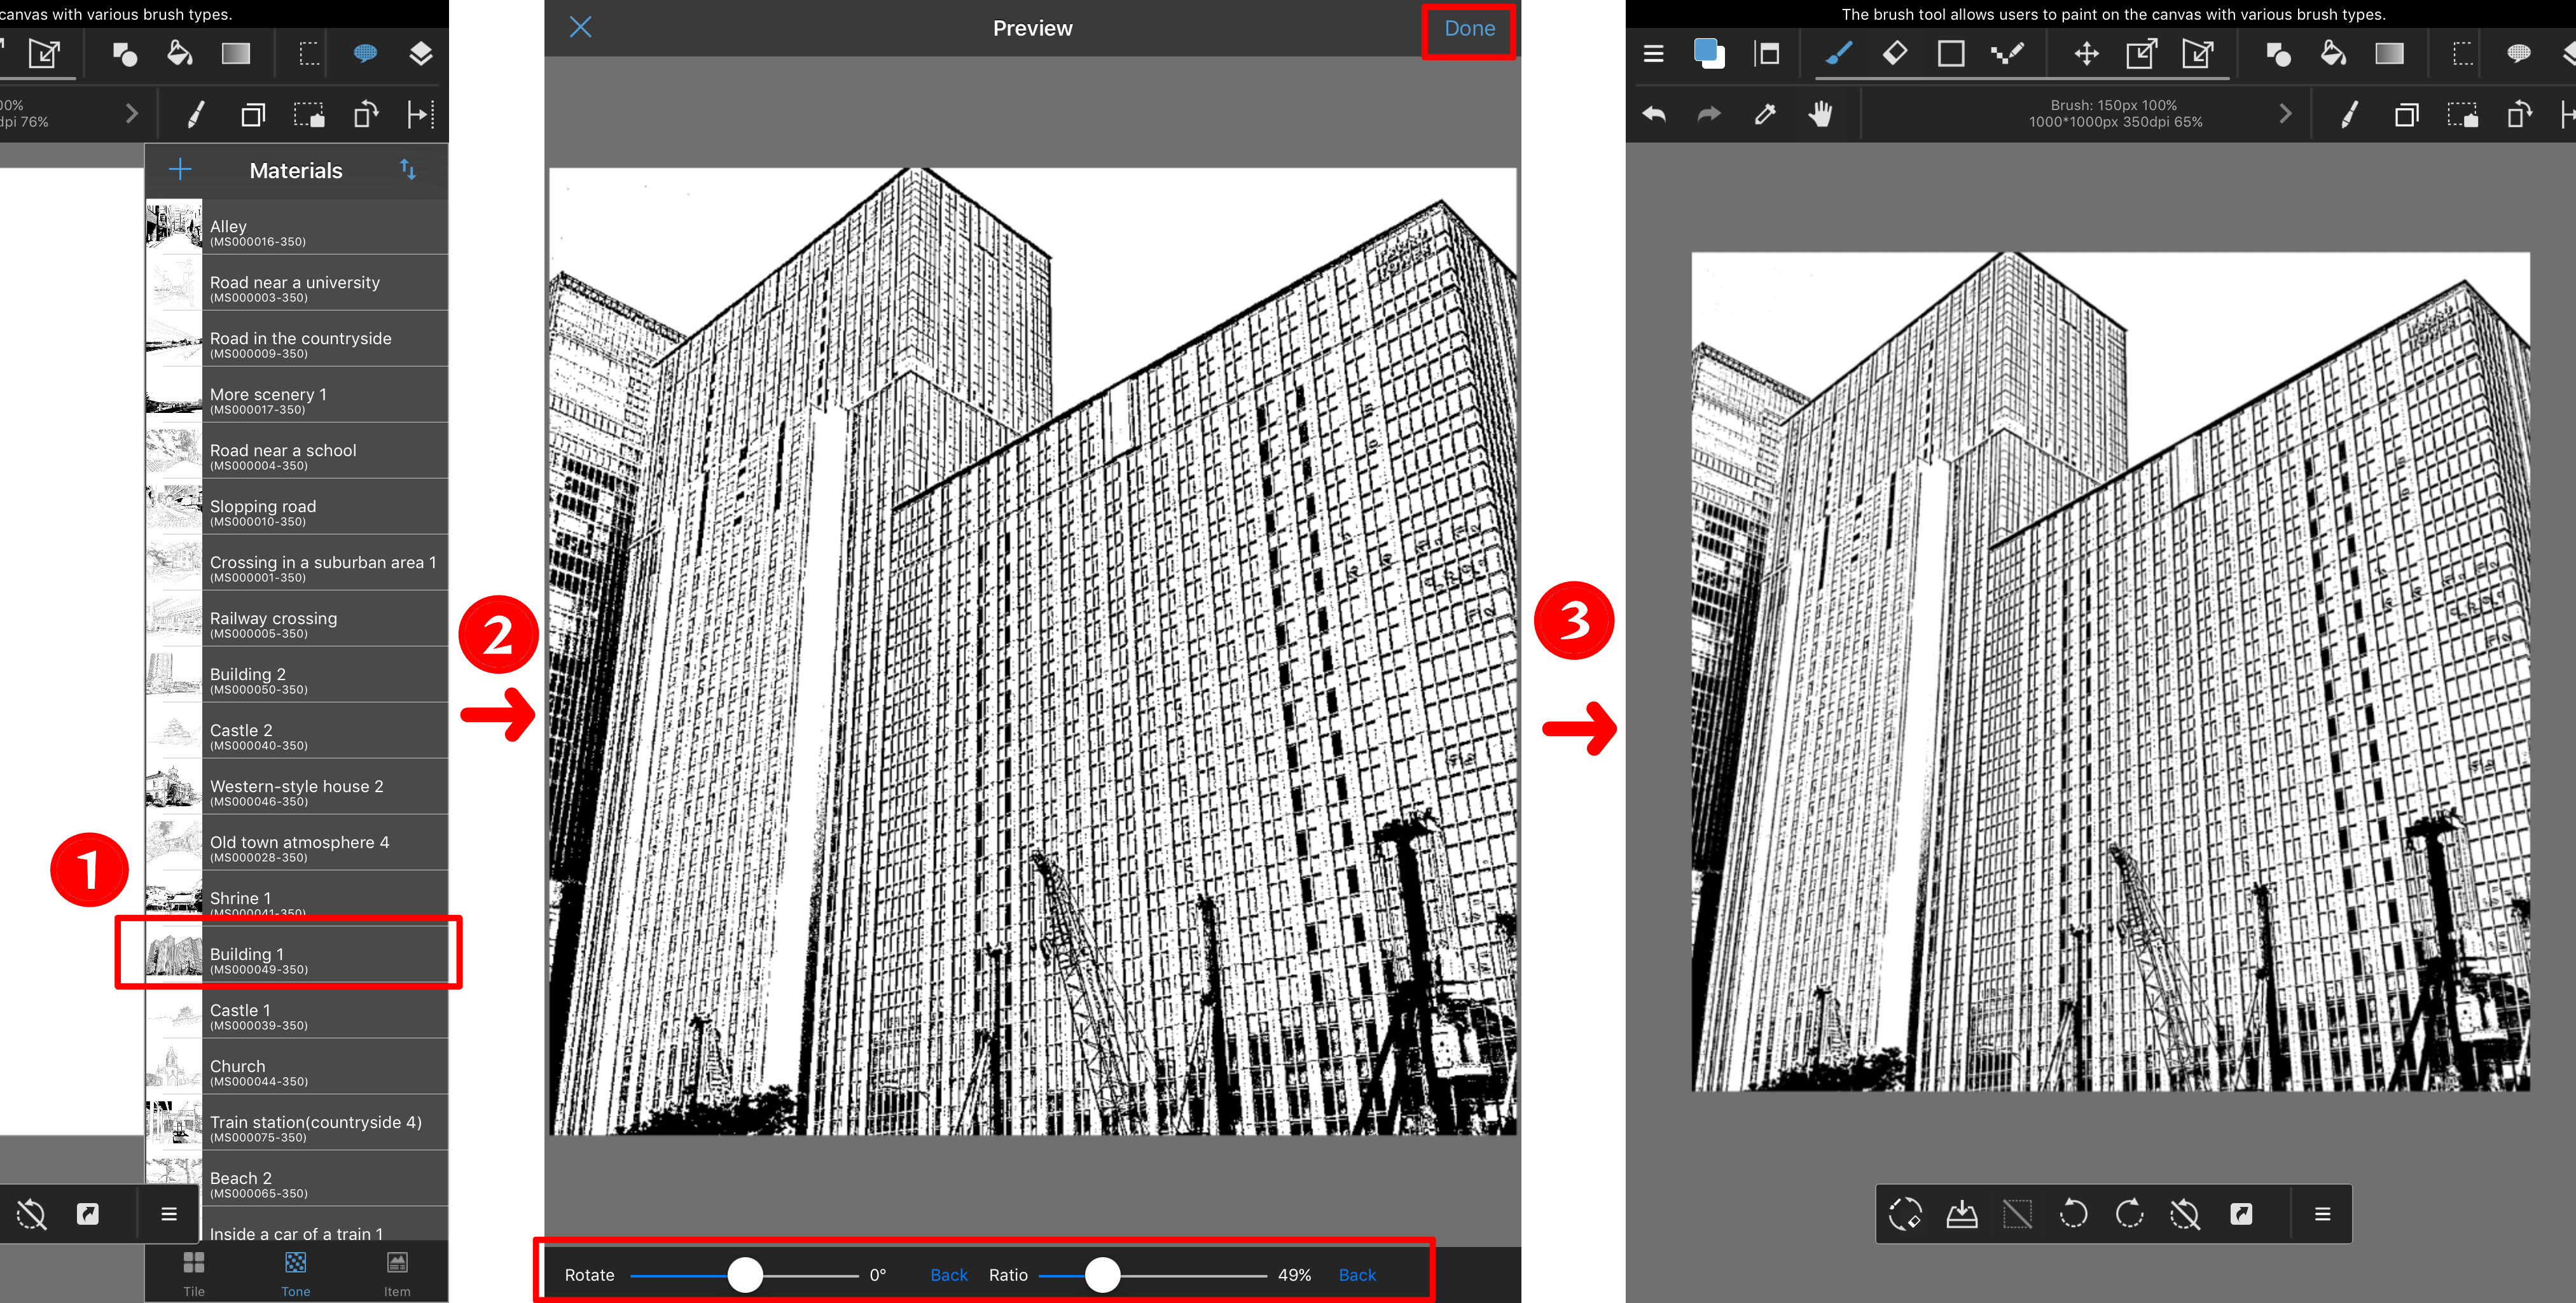
❸ Applying the Material

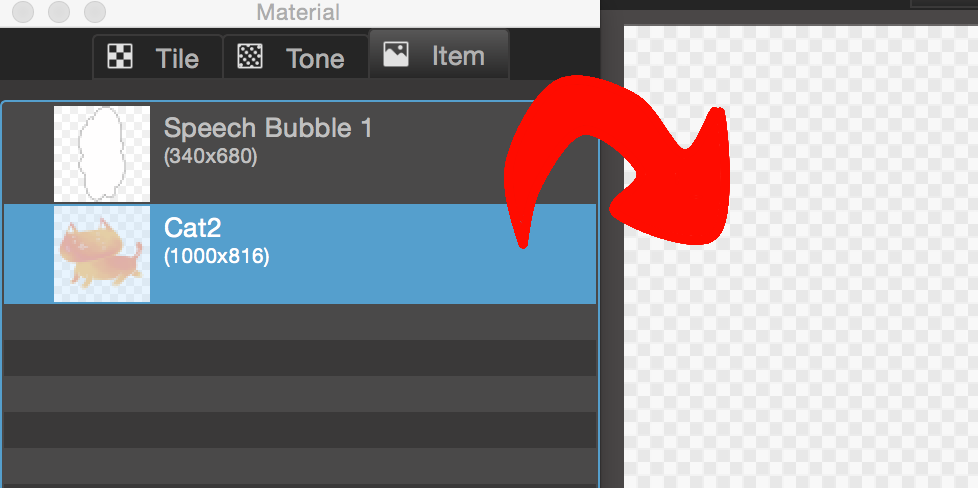
① Choose the material you want to use, then drag and drop onto the canvas.*
② The Apply Material Window will appear; enabling you to change the angle and size, and clicking on the hand icon will allow you to move the tone sheet by dragging your mouse.
③ Clicking OK on the Apply Material Window will allow you to apply the material to the canvas.
*Dragging and dropping refers to selecting images and icons on the screen and moving them to areas where you want them in a single motion.
Selecting an image and moving it is called Dragging, and taking it to where you want and dropping it there is called Dropping.
*Tone Resolution
Tone has resolution (image quality) as well. You should use a tone that matches the resolution of the canvas. MediBang Paint has 2 types of tone: 350dpi and 600dpi.
2. Downloading Materials from the Cloud
Clicking on the Cloud icon  in the materials window allows you to download cloud materials distributed by MediBang Paint.
The 350 and 600 in the tone file’s name shows the resolution of the tone.
Download the one that suits your purposes.
3. Creating and Registering Materials
Once you draw a picture that you can use as material, it’ll be useful to register it using the Material Panel.
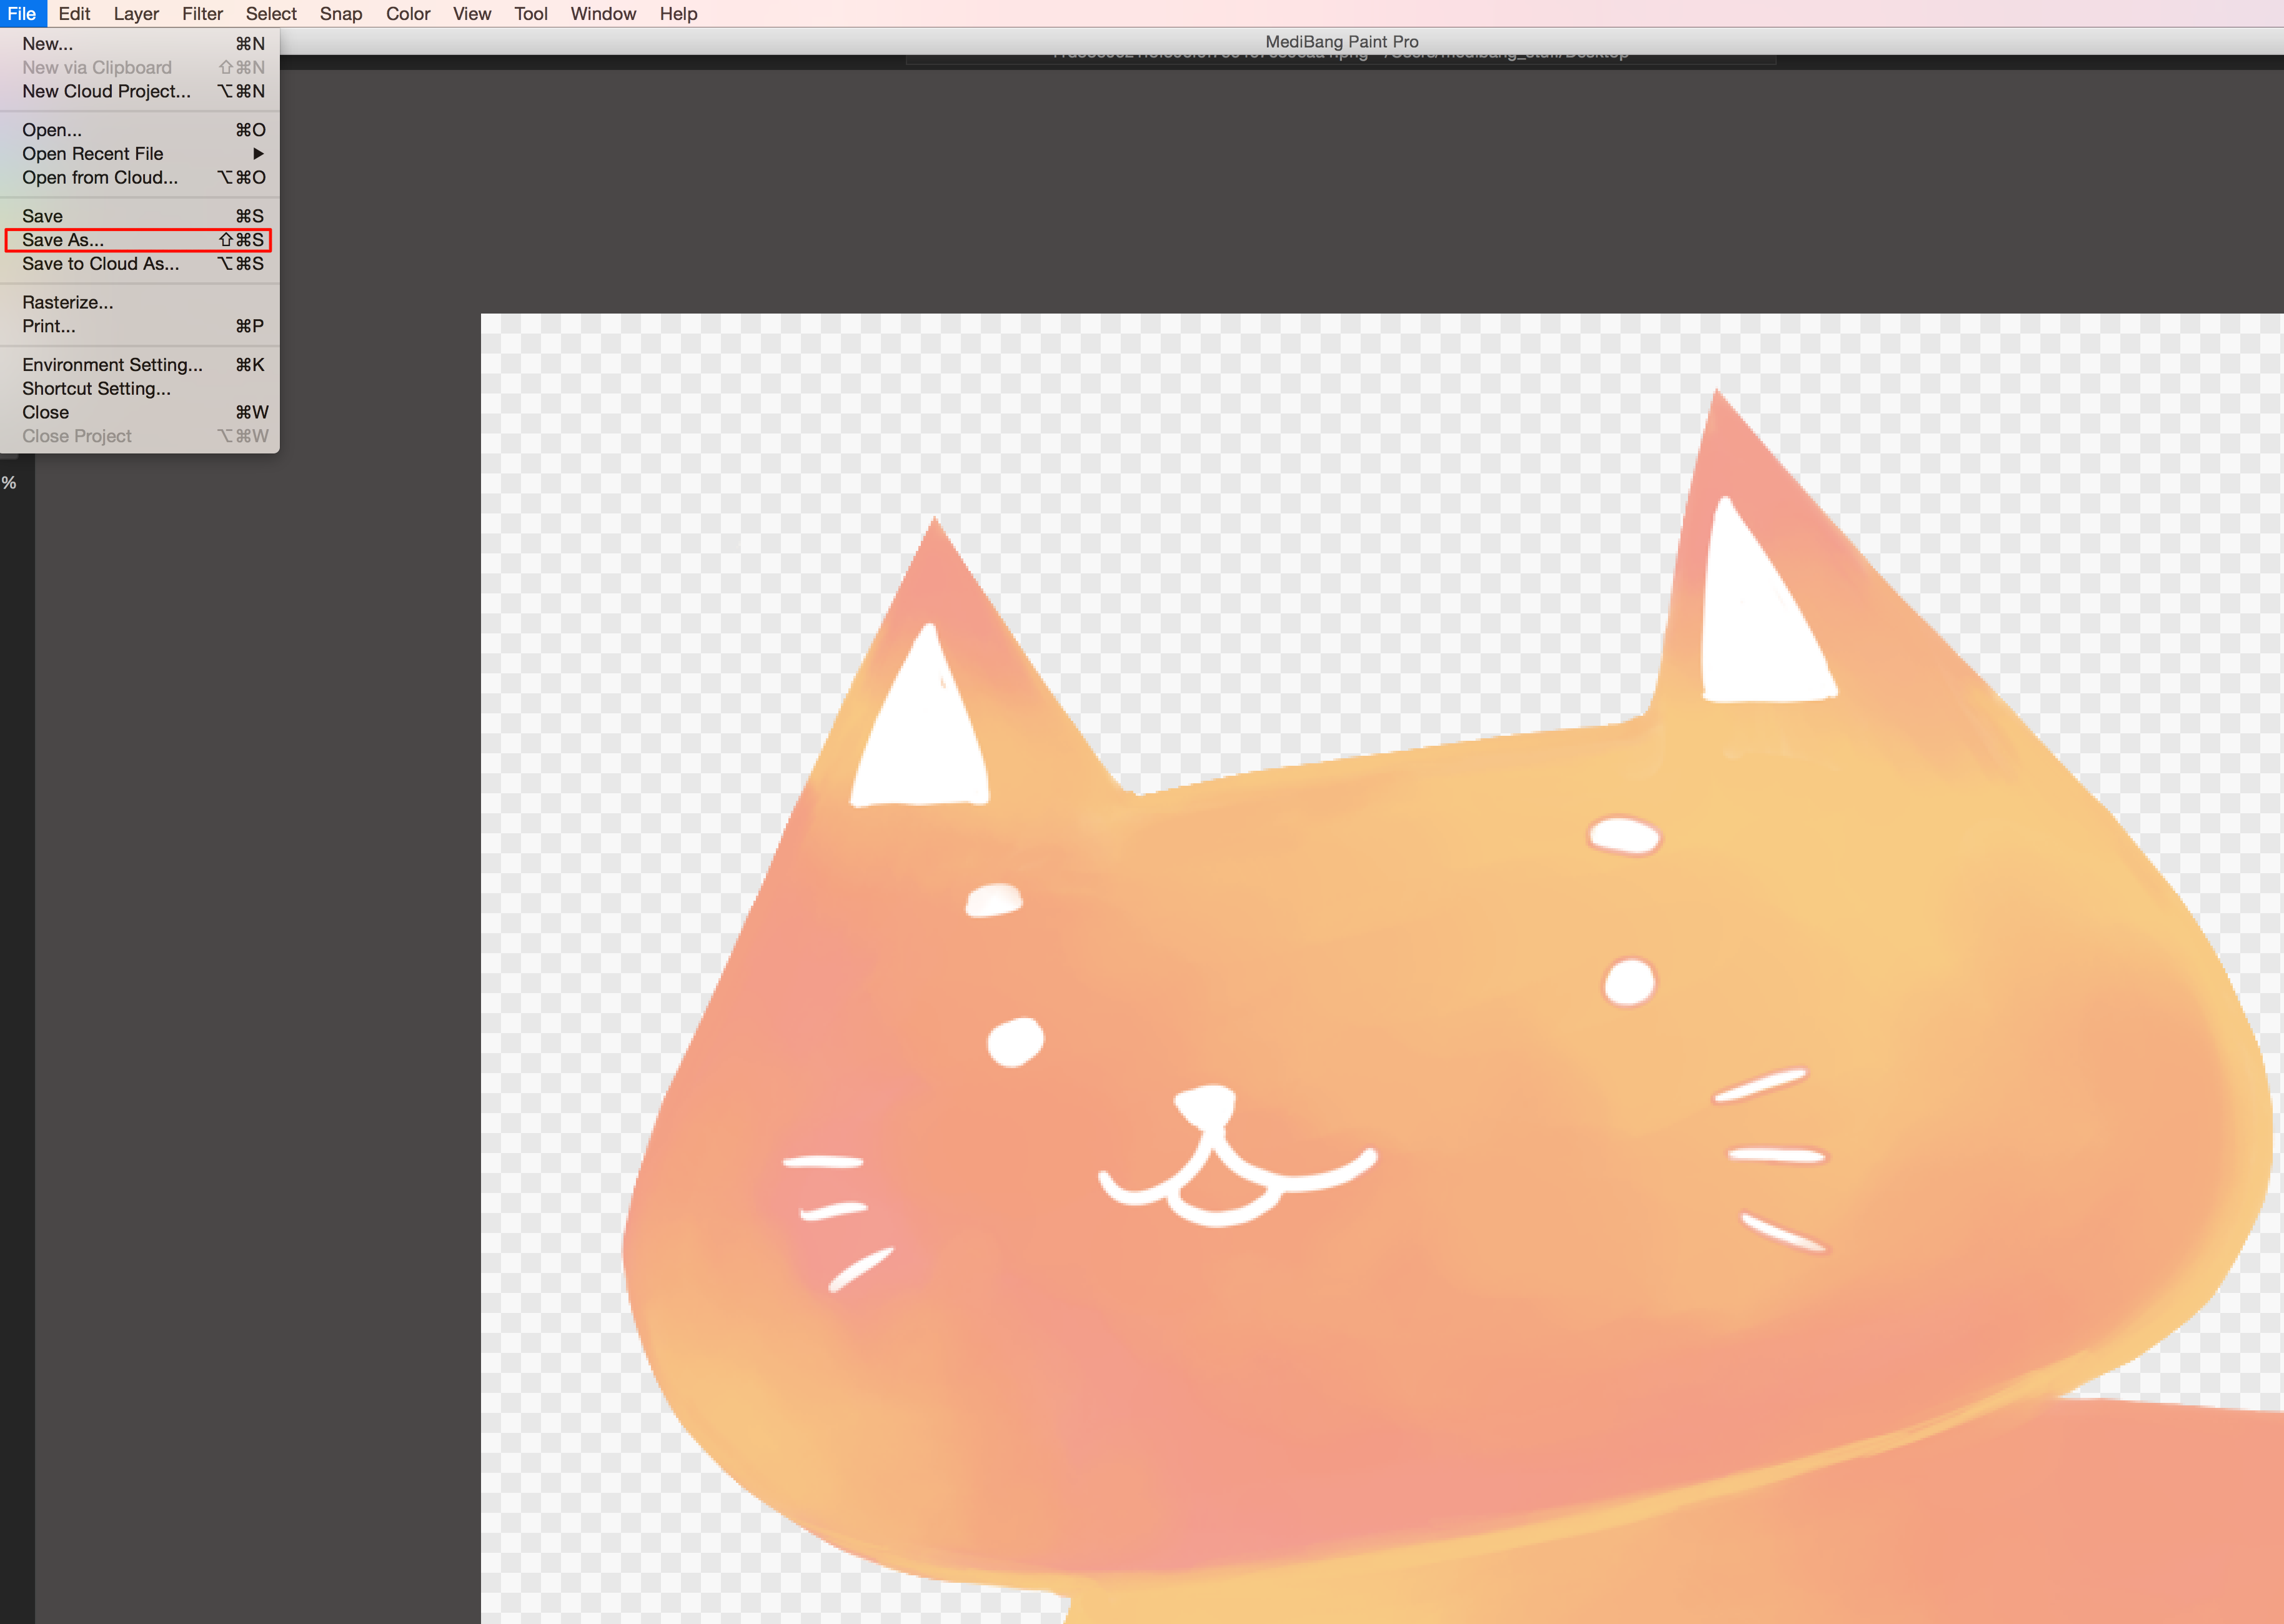
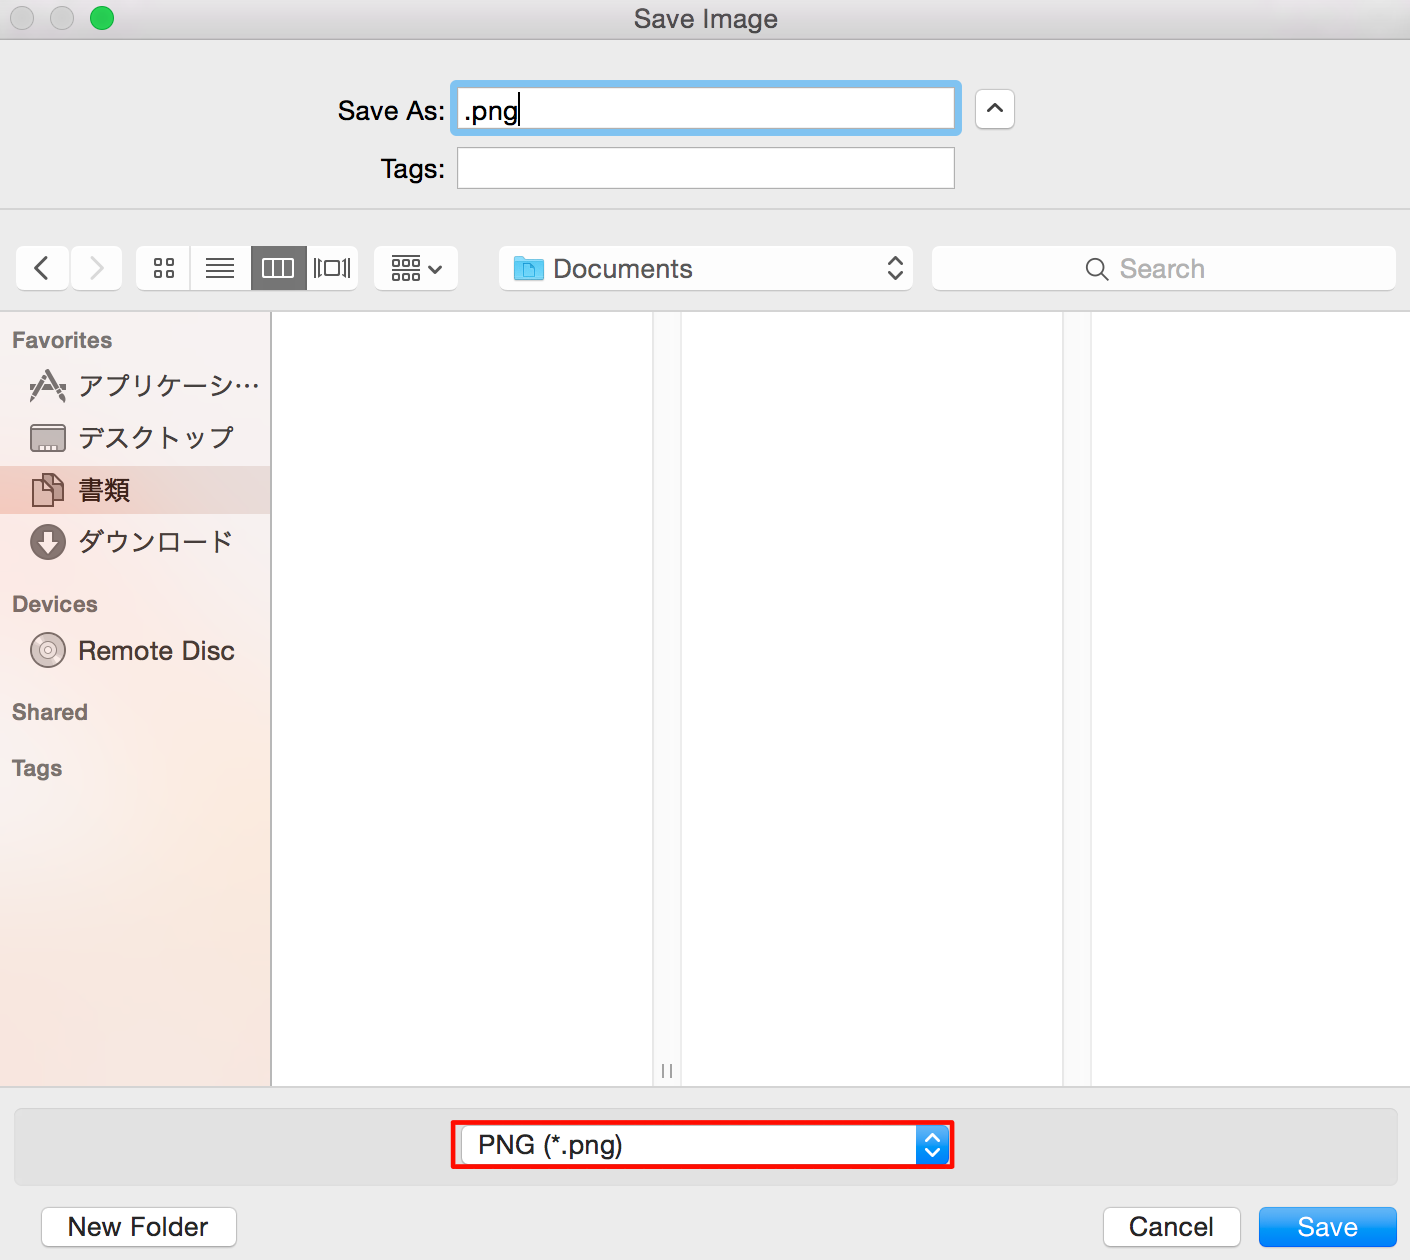
① Select File > Save As.
② Select png as the file format.
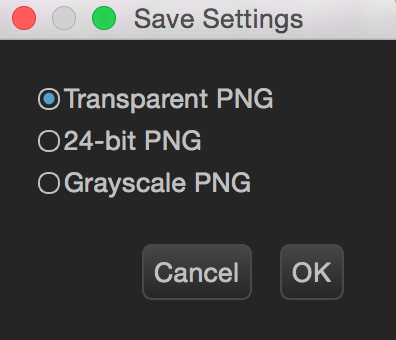
③ Select Transparent PNG to make the background transparent.
④ Next, to register the png image file that we’ve just saved as a material, click the button to the top left.
⑤ Select the Item tab and click the button to the bottom left.
⑥ If you select the file you want to use as a material, it’ll be saved as one, and you can use it as one from now on.
⑦ Drag the material and drop it to where you want to use it.
⑧ You can enlarge, shrink, move, and rotate it even after applying the item material.
4. Adjusting the Size and Position of the Item
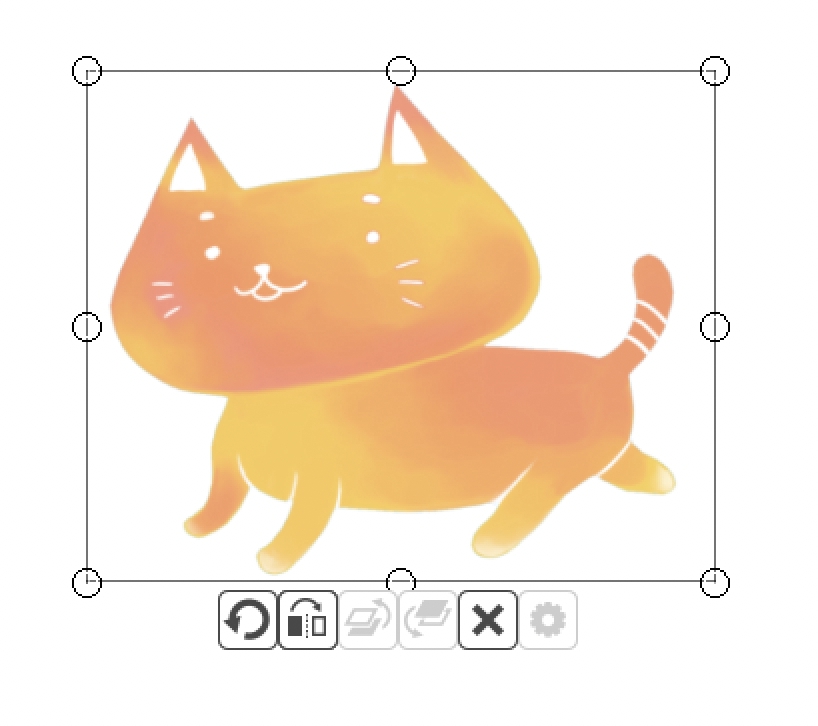
The Operation  Tool enables you to move and transform the item.
After selecting the Operation Tool, click on the target item material.
Once it has been selected, 8 squares will appear on the edges of the image. Clicking and dragging the ◻︎ will shrink and enlarge the item.
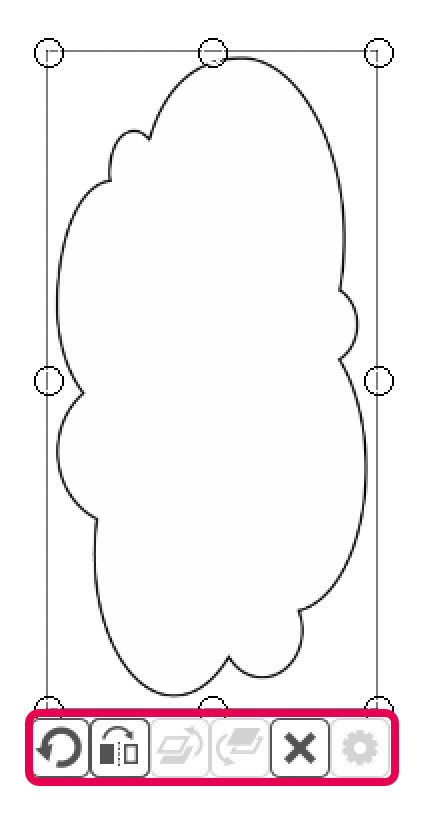
The switches below the item have the following effects.
 Rotate: Dragging while this switch has been pushed will allow you to rotate the item in the direction you drag.
 Horizontal Flip: Allows you to flip the item horizontally.
 Raise by One: If multiple items are overlapping one another, it will move the selected item above by one.
 Lower by One: If multiple items are overlapping one another, it will move the selected item below by one.
 Delete: Erases the selected item.
 Panel Settings: This can only be used for Panel Materials; allows you to change the width of the panel lines and the color.
5. Rasterizing Items
Items, like panels which haven’t been rasterized yet, (referred to as objects) applied to a canvas will not appear even if saved and cannot be removed with the eraser.
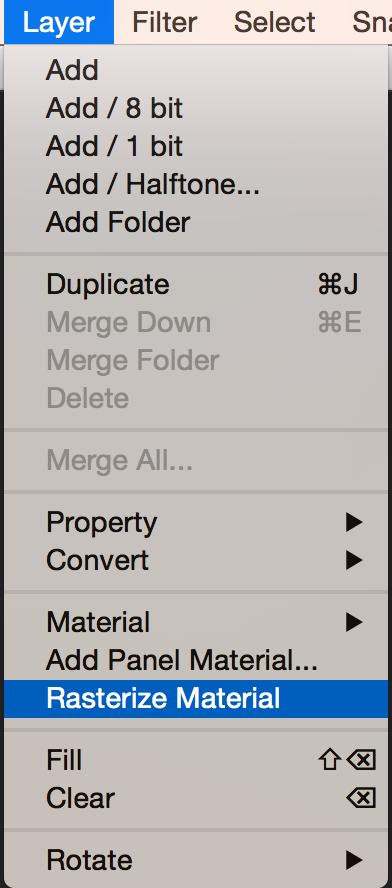
If you want to do something with them, they need to be rasterized. Select Layer > Rasterize Material to do so.
In doing so, the toolbar around the panel will disappear, and you’ll be able to draw on it and use the eraser.
If there are items (objects), which haven’t been rasterized, on the layer, an @X will appear next to the name of the layer (X = the number of objects currently on the layer).
Items from the Material Panel which are applied to the canvas become objects, so in order to use them, they must be rasterized. For example, in the case of a speech bubble item, we cannot place letters inside of the speech bubble without rasterizing it.
*Saving the file as a PNG, JPEG, Bitmap, or PSD will automatically rasterize it.
\ We are accepting requests for articles on how to use /

