2020.12.02
Let’s draw a Japanese umbrella with a concentration line ruler
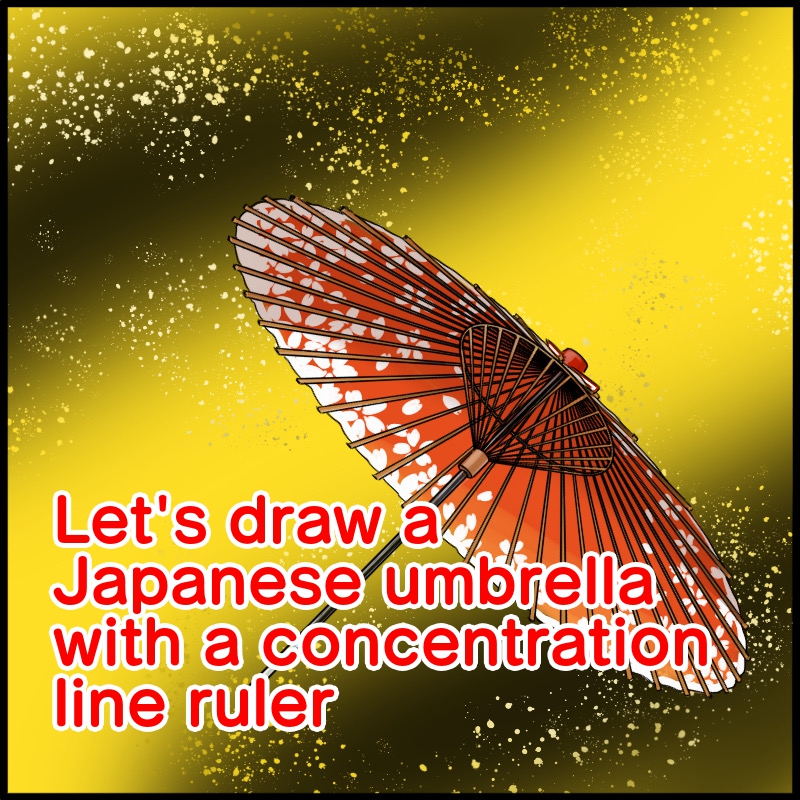
Karagasa, bangasa, Hebi-no-megasa (snake’s-eye umbrella)… Japanese umbrellas are useful items.
When you try to draw them however, it turns out difficult.
In this issue, I will introduce on how to draw a Japanese umbrella using focus lines.
To make it easier for you to customize, I will draw a Japanese umbrella from a slightly lower angle.
(The placement of the icons is the iPad version)
1. Drafting
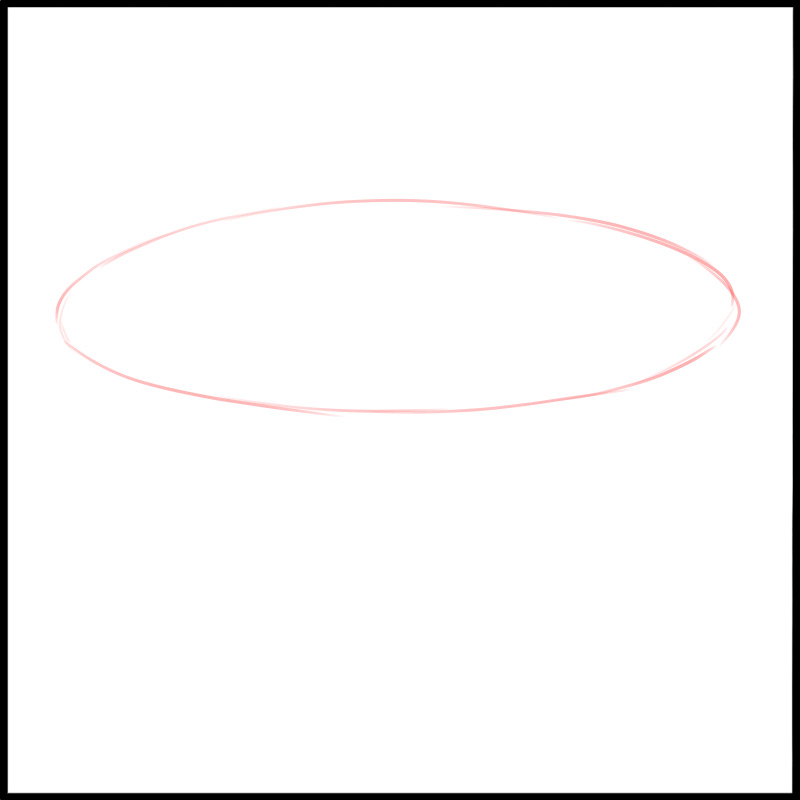
(1) Draw an ellipse
Let’s start with a rough draft.
Draw an ellipse on the canvas in the size of your choice.
If it is difficult to draw an ellipse, you can easily take shortcuts with future work by placing a photo image of a Japanese umbrella underneath and tracing it.
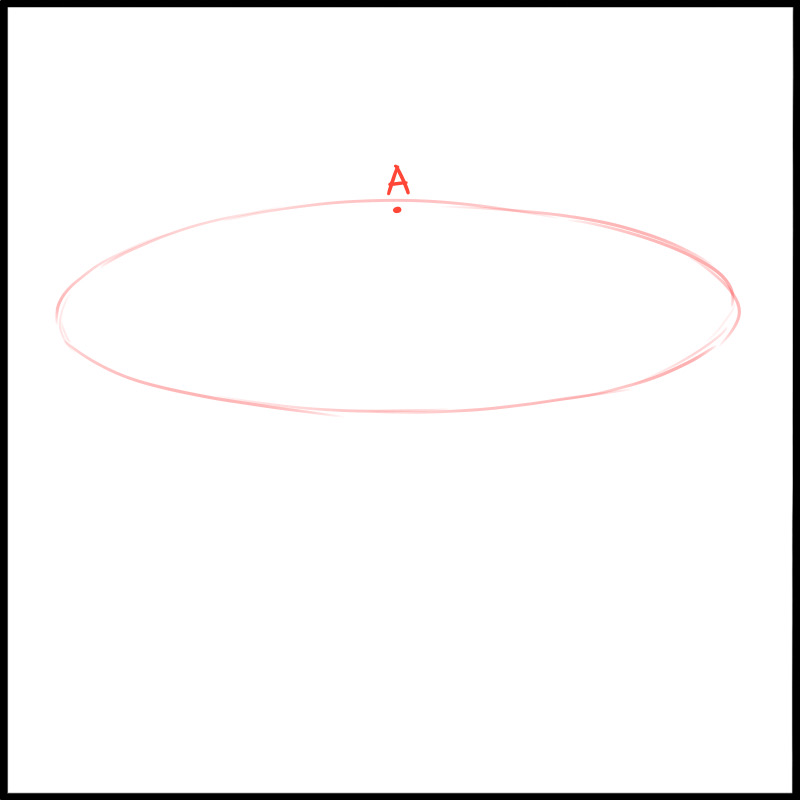
② Determine point A
Determine a point A in the center of the ellipse’s width, near the top edge.
3. Draw the framework
Draw the umbrella’s skeleton.
Draw a line in a circle from the oval to point A.
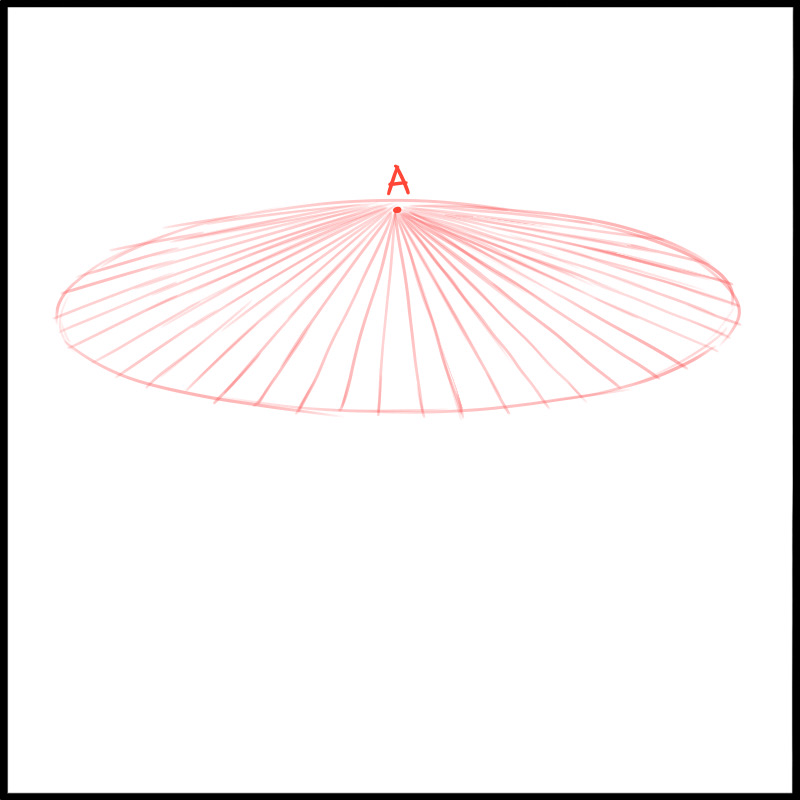
You can freely decide on the number of lines.
The center of the ellipse should be the most wide and the edges of the ellipse the most narrow for line spacing.
It is easier to draw by marking the beginning.

④ Draw a small circle
Inside the oval, draw a smaller oval.
Make sure that the centers of both ovals are aligned.
※The key is to make the larger circle horizontal, but the smaller circle will have a slightly smaller width ratio!

⑤Determine point B
Place point B perpendicular to point A.
You can place it roughly below the small circle.
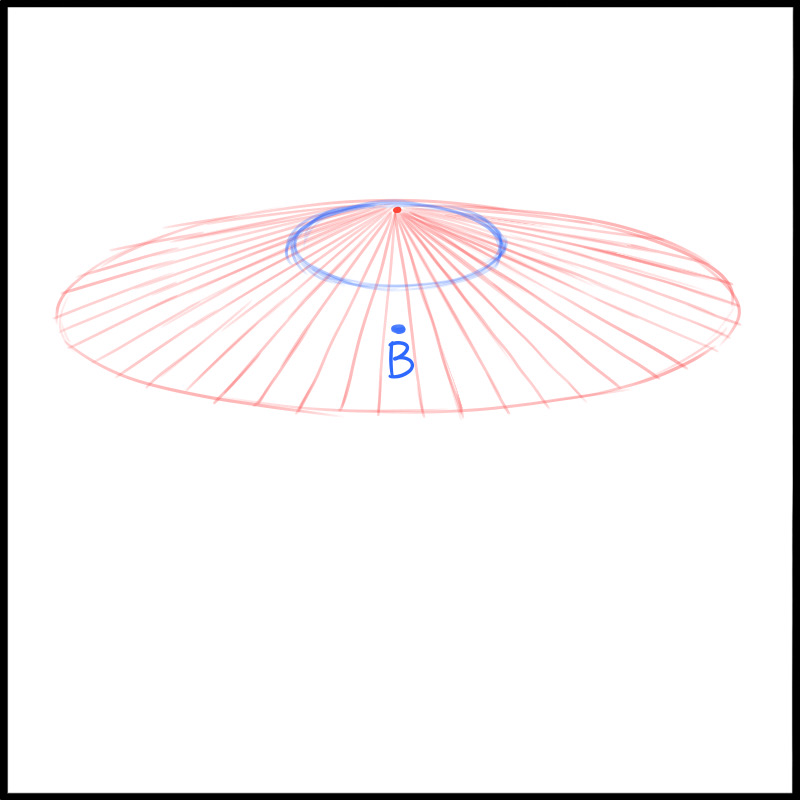
⑥Draw the inner bone from the small circle
Let’s draw a bone inside as well.
In the same way, draw a line from the small circle towards point B. The center of the circle should be wide, and this time it should be narrower towards the edges.
Again, make sure the center of the circle is wide and spaced out so that it becomes narrower towards the edges.
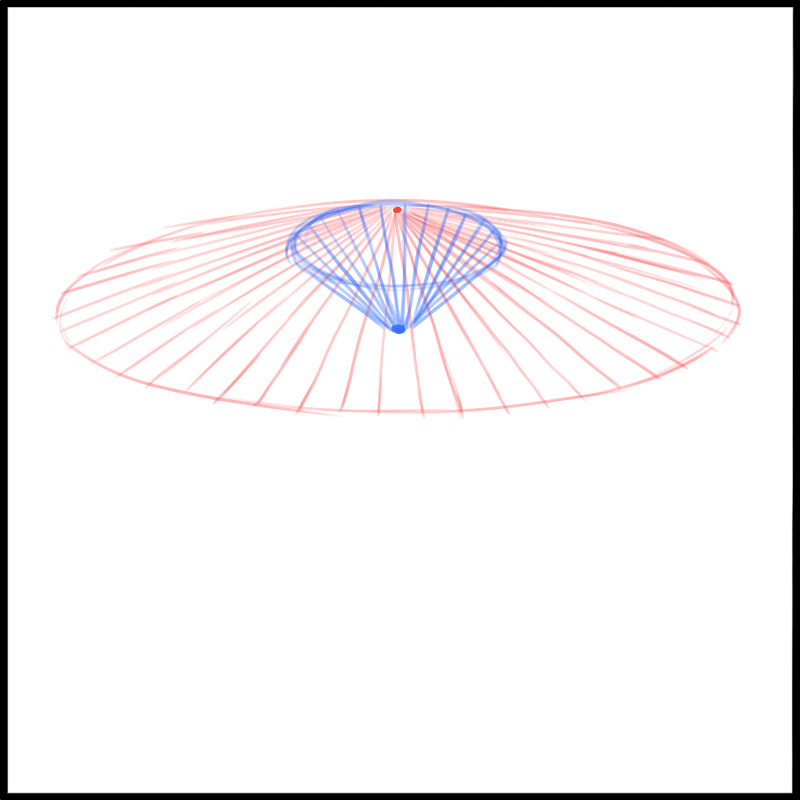
Draw vertical lines
Finally, draw a vertical line from point A to complete the draft.
You can use an appropriate length.
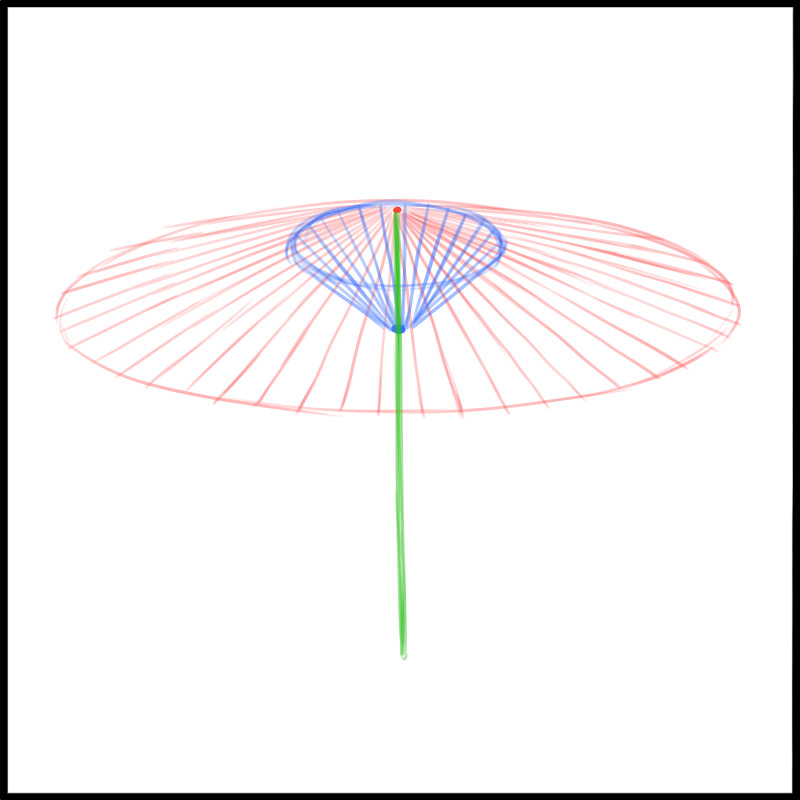
2. Pen container
(1) Draw a pattern
When you’re ready, you’re going to put in your pen.
Draw a line that traces the vertical lines of the last draft.
You can use the Rectangle tool to draw a thin rectangle and then tweak it to make it quicker.
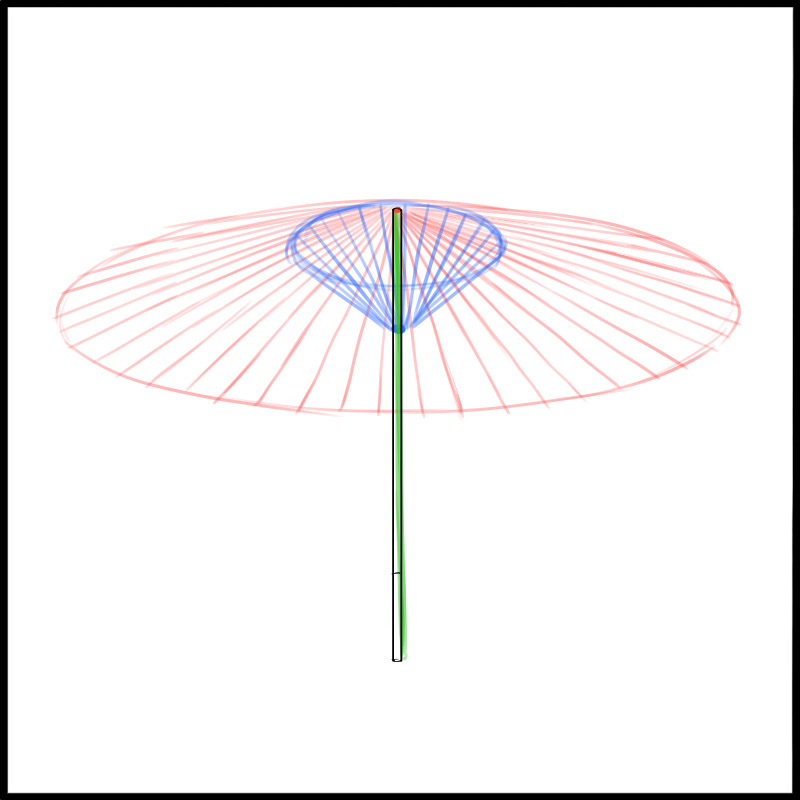
②Draw the framework
On a new layer, draw the framework.
Open the “Ruler Menu” and select the “Concentration Line” ruler.
Press “Adjust Ruler Position” and click on the point A. You will see a guide for the concentration line centered on the point A.
A concentration line guide will then appear with the point A at the center, and we can draw it as if we were tracing the skeleton of the draft!
Draw a clean straight line from the outside of the circle to the inside.
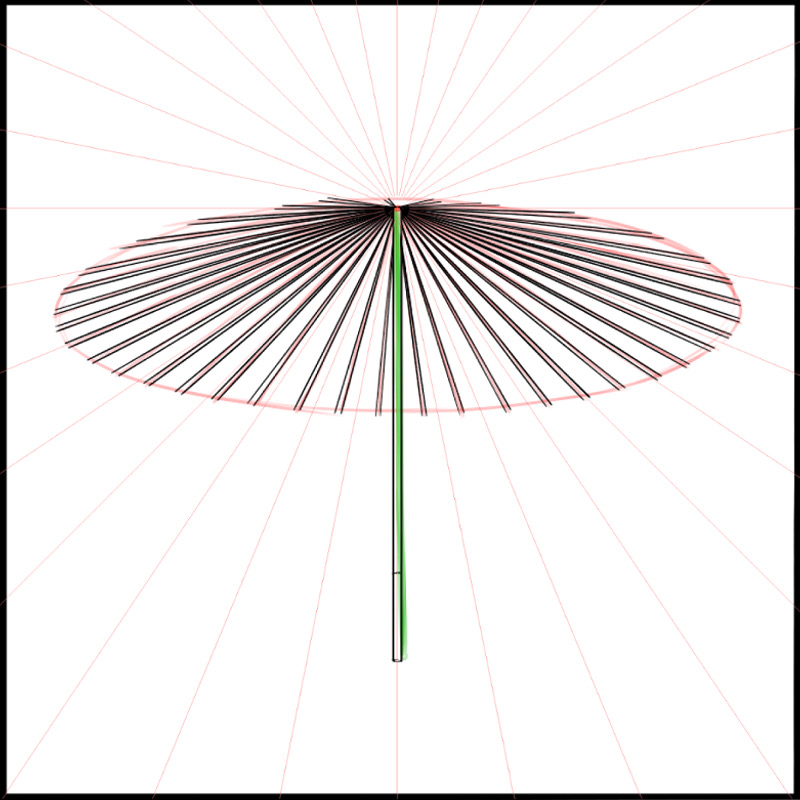
The image hides the drafts of the small circle for clarity.
3. Draw an ellipse
.
Next, trace your first draft of the oval.
Since the body of a Japanese umbrella is made of Japanese paper, it is better to trace it freehand to get a realistic finish.
Use the Eraser tool to erase the parts that overlap with the skeleton.
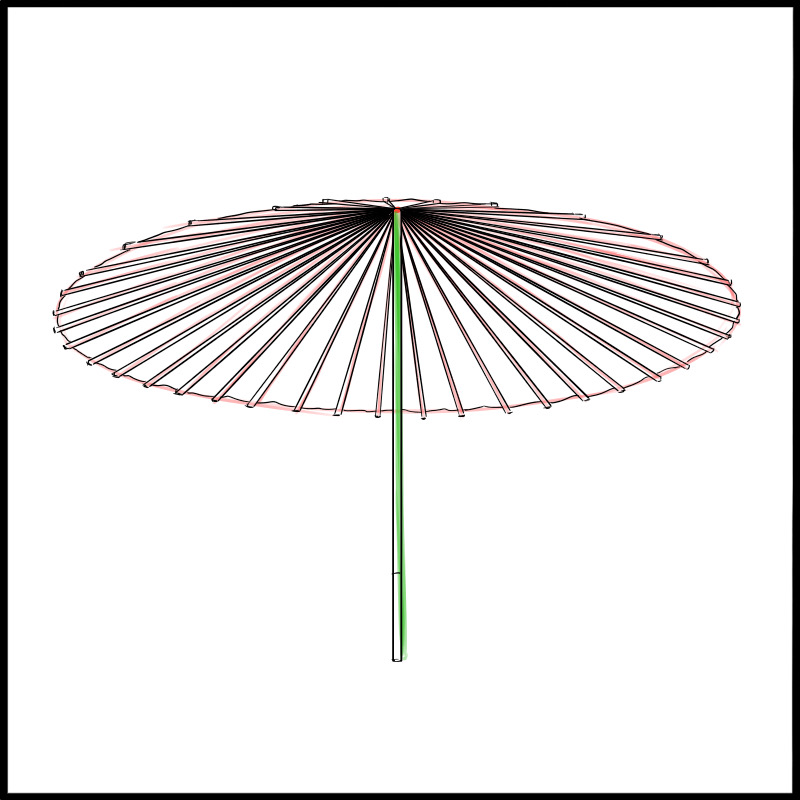
4) Draw the inner framework
Create a new layer.
Trace the small circle in the same steps, set point B at the center of the concentration ruler, and draw the inner framework.
Since the small circle is a wooden frame, it is more likely to draw a double circle using the “Ellipse Tool”.
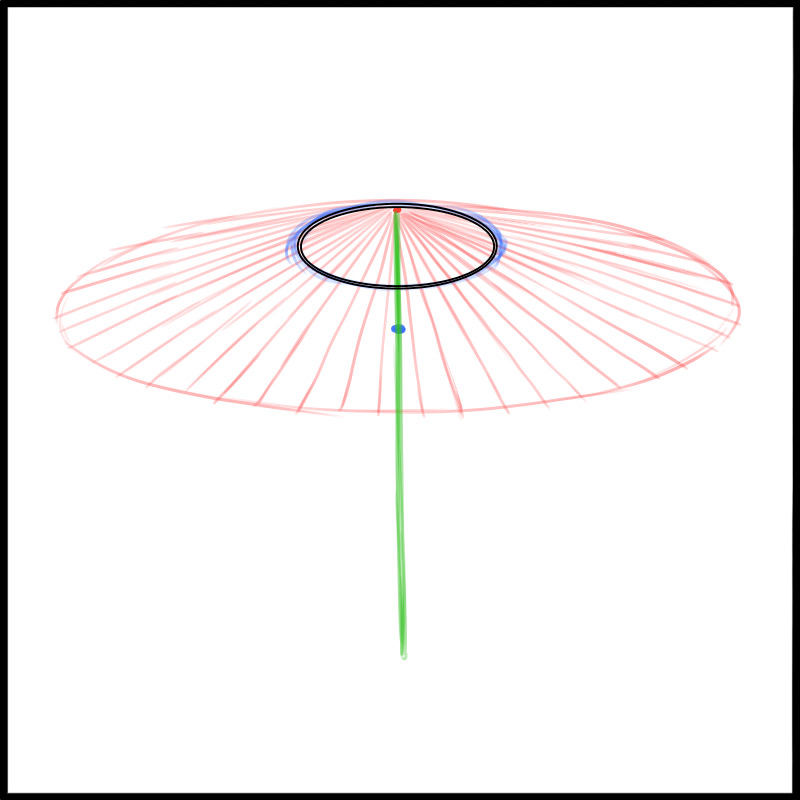
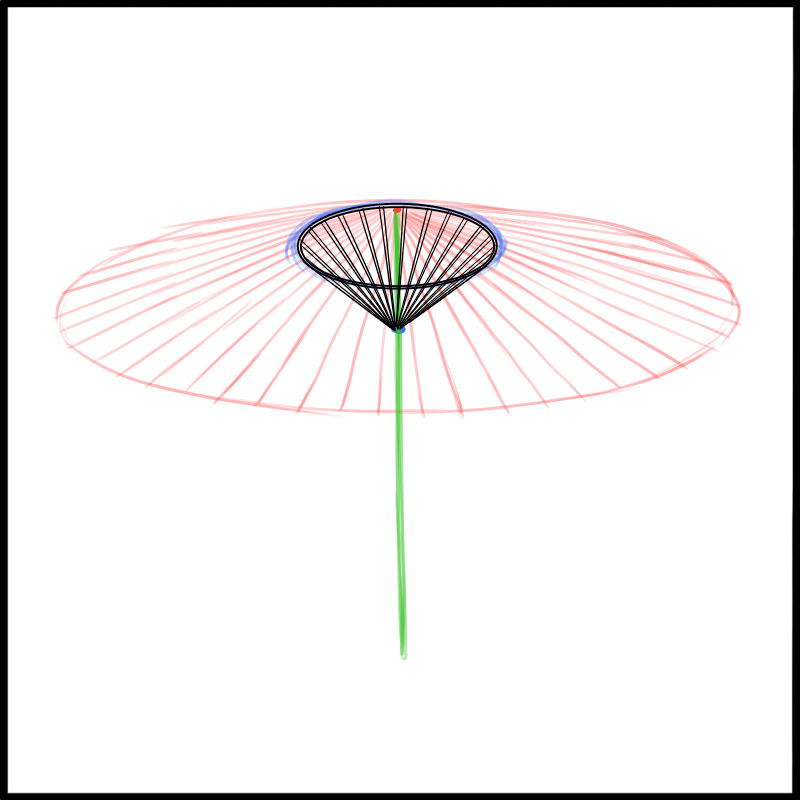
Switch between showing and hiding non-working layers as needed to make it easier to draw, as shown in the figure.
⑤Draw in the details
.
The inner framework will be above any other part.
Erase the other parts that are overlapped and draw more details if necessary.
Your umbrella is now complete!
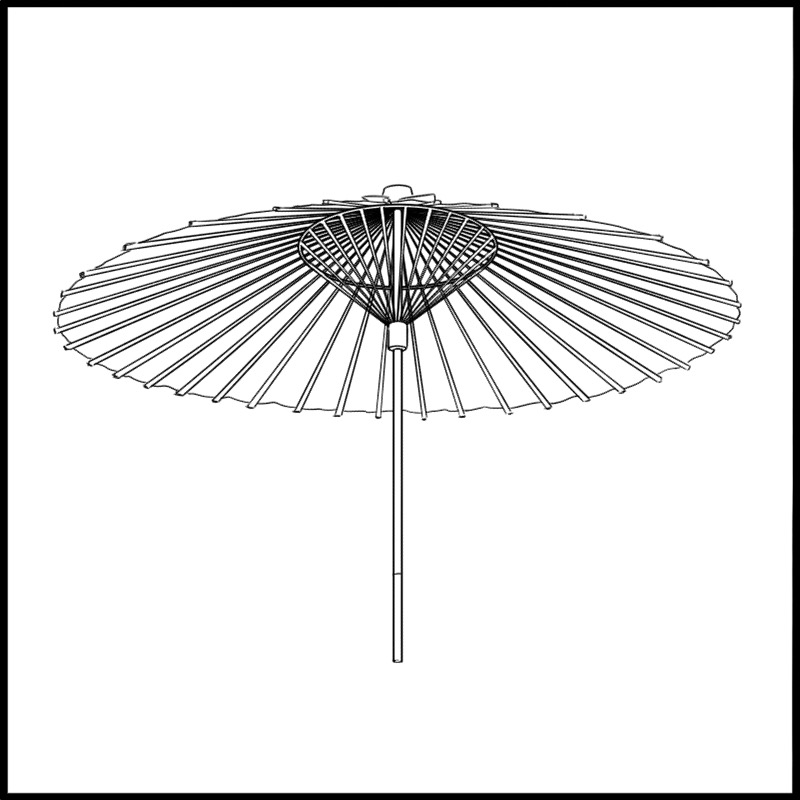
3. Summary
The Japanese umbrella is a useful material for various illustrations.
It’s especially good for Japanese style people illustrations!
If you draw it a few times, you will be able to draft it without referring to the photo image, so try your best to draw it.
\ We are accepting requests for articles on how to use /

