2021.04.16
[For Beginner] Rough Drawing to Improve! ③How to Draw from Stick Figure. [For Smartphone]
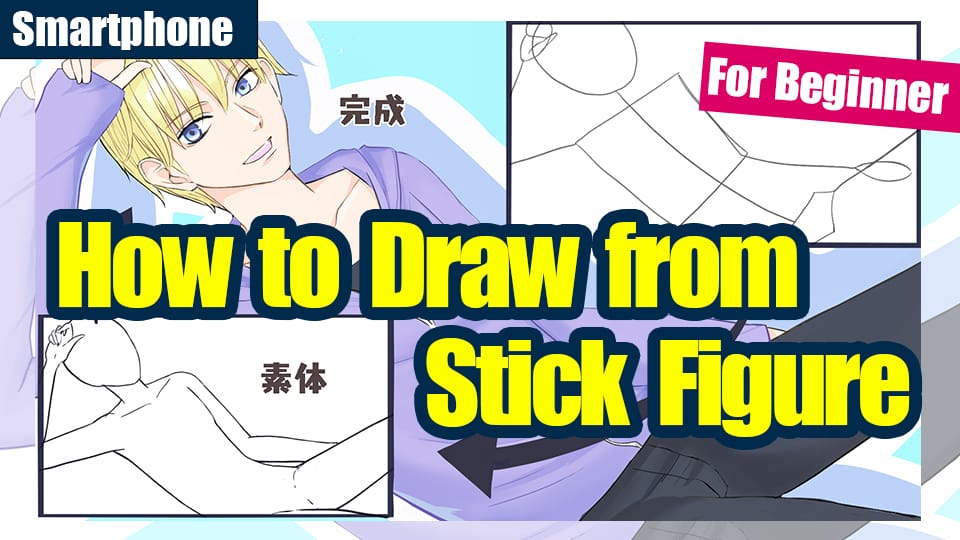
When you draw an illustration, you need to flesh out the bite to give it a human shape.
The phrase “fleshing out a bite” sounds difficult, doesn’t it?
If you are just starting to draw illustrations, you may feel confused, “I drew a bite, but I don’t know how to make it into a human.
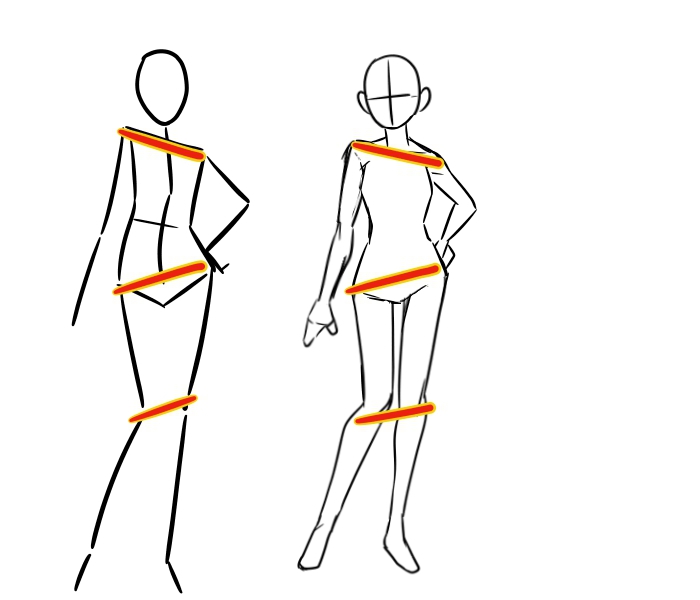
In this article, I would like to introduce the process of fleshing out the simplest stick figure type Atari.

1. Make a flat bite three-dimensional
Now, let’s flesh out this stickman-type Atari.

The first step in the fleshing out process is to make the flat Atari three-dimensional.
Let’s use simple shapes such as “cylinder” and “sphere” to create a three-dimensional effect, as if we were turning a stick figure into a doll-type Atari.
【Let’s make a stick figure type Atari three-dimensional】
1) Make the head and torso three-dimensional.
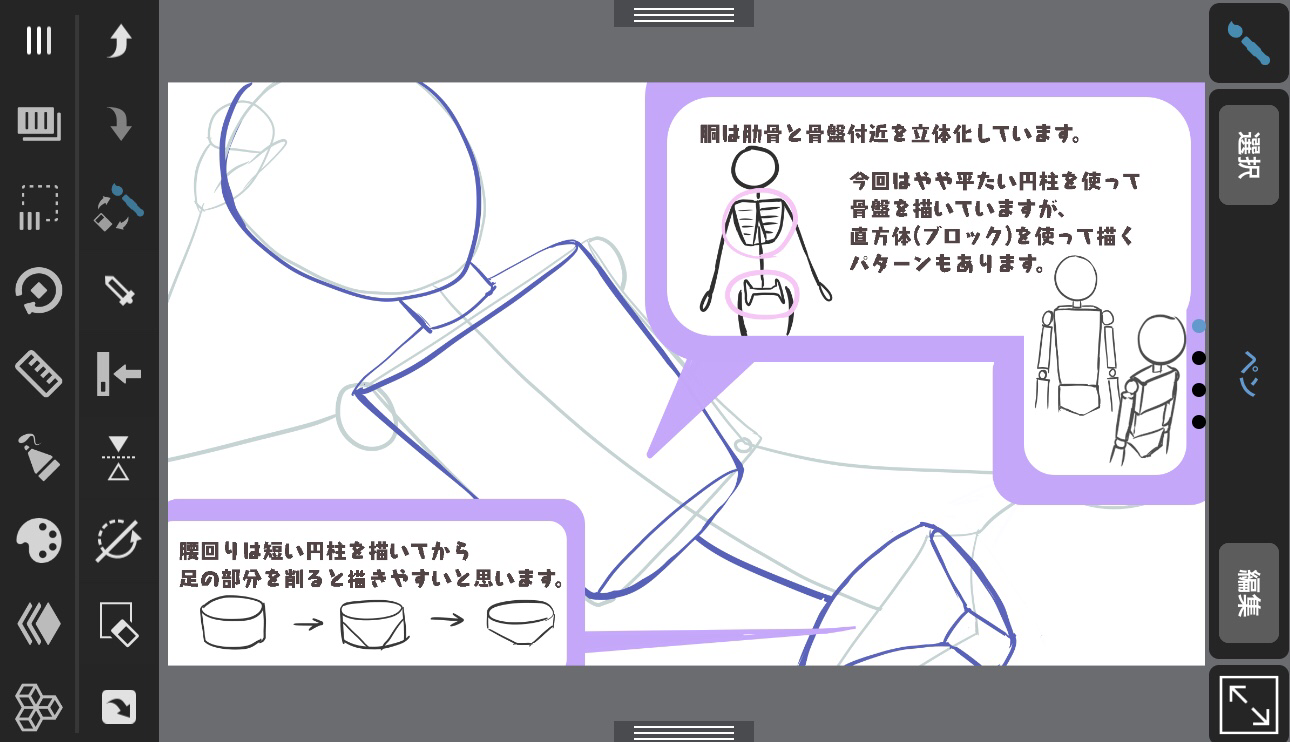
Without separating the layers, draw it on the same layer as the stick figure type Atari.
This time, the neck is drawn as a short cylinder and the ribs as a slightly flattened cylinder, but you can also draw them as blocks.
However, there is also a way to draw the figure using blocks. It might be a good idea to try drawing the figure in both forms at first and compare which one is easier to make three-dimensional.
2) Making the arms and legs three-dimensional.

The shoulders and joints will be made into spheres, and the rest of the body will be made into cylinders.
If it is difficult to understand how to connect the parts, you may want to think of the bones.
【Two things to be aware of when creating a three-dimensional figure】
There are two points to be aware of when making a stick figure type Atari into a three-dimensional model.
<Point 1: Don’t worry about the unevenness of the body.>
At this stage, we want to concentrate on creating a three-dimensional image with simple shapes, so let’s draw without worrying about the unevenness of the body.
It will be easier to draw if you outline the body by “making it three-dimensional” first, and then do the work of “adding unevenness” later.
If you are familiar with drawing, you can directly flesh out the stick figures and add unevenness to them.
If you are familiar with drawing, you can flesh out the stick figures directly and add unevenness.

<Point 2: Pay attention to changes in appearance due to poses and angles.>
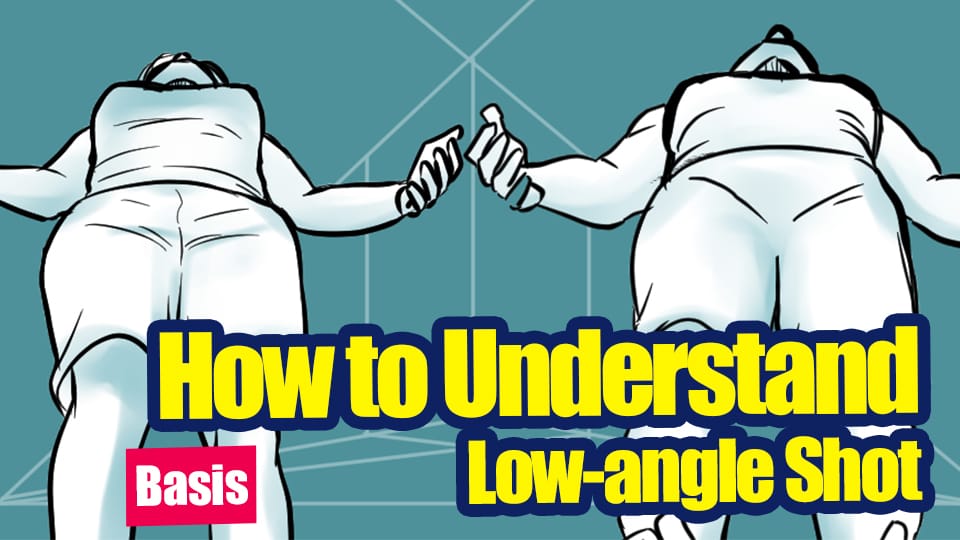
In this case, the angle was from the front, but if you change the angle to an overhead view or an aorist view, the way things look will change.
Therefore, if you are going to change the angle significantly, be aware of how the view of the object will change as you draw.

2. Flesh out the body to make it uneven
Once the Atari has been sculpted, it is time to add flesh to the body to give it the “unevenness caused by muscles and bones”.
At first, just remembering how to draw the basic unevenness as shown below will be enough to make the figure look human.

If you want to draw more realistically, it is good to know how the skeleton and muscles are attached.
Knowing how the muscles are attached makes it easier to draw the unevenness of the body even in poses with a lot of movement.
【Let’s flesh out the body and add unevenness】
Let’s flesh out the Atari that we have just made into a three-dimensional figure and add unevenness to it.
(1) Fleshing out the upper body

(2) Flesh out the lower half of your body.

※This is true for the entire process, but the Atari is not absolute, so if you feel something is wrong with this part after drawing it, you can fix it.
The fleshing out is now complete.
3. Complete with rough, line drawing, and coloring
Once you have fleshed out the image, draw a rough sketch, decide on the costume and hairstyle, and complete the line drawing and coloring processes, the illustration is complete.

In the next article, I’d like to show you how to draw rough and line drawings in detail, so please refer to that if you like.
(Text and pictures by sakaki)
\ We are accepting requests for articles on how to use /

