2021.06.30
[For beginners] Two tips for drawing line art without pressure sensitivity [For smartphones].
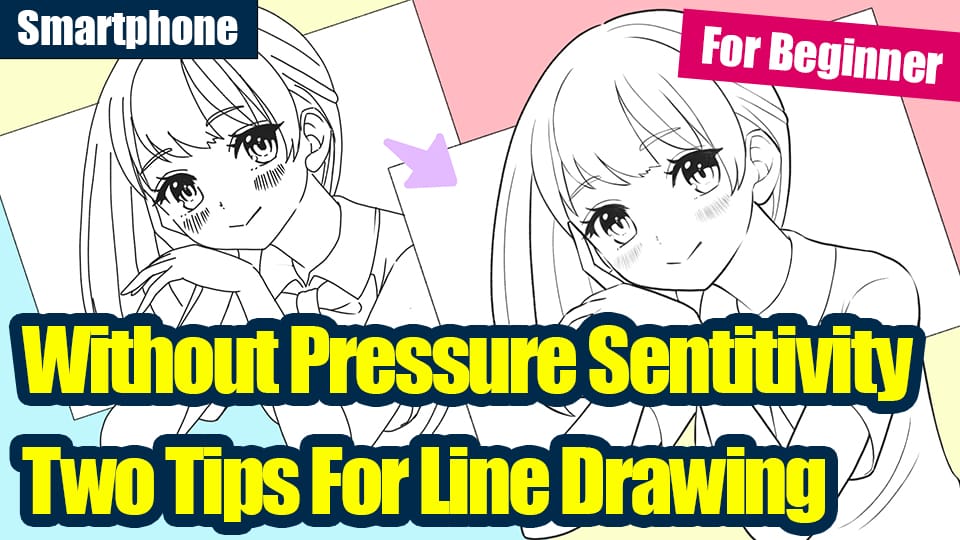
The “pressure sensitivity” function is being incorporated into various items for drawing illustrations, such as apple pencils and stylus pens.
And if your favorite artists are also using pressure sensitive pens, you might think, “I can’t draw good pictures without pressure sensitivity…”. But the truth is that you can draw without pressure sensitivity.
But in fact, it is possible to draw illustrations without pressure sensitivity.
In this article, I’ll introduce two tips for drawing line art without pressure sensitivity.
You can also use them when your phone or stylus pen does not support pressure sensitivity, or when you want to draw outside but forgot your pen.

Index
1. What is the difference between with and without pressure sensitivity?
To begin with, what is the difference between with and without pressure sensitivity?
Let’s compare them.
Here is a drawing of the same picture with and without pressure sensitivity.

When you compare the two images, don’t you get a different impression?
Illustrations drawn without pressure sensitivity are more consistent than those drawn with pressure sensitivity.
The thickness of the lines is consistent.
The tip of the line is round.
In other words, without pressure sensitivity, the lines tend to be more uniform overall.

This is the reason why illustrations look “kind of flat” when drawn without pressure sensitivity.
If the lines are uniform, the whole illustration tends to become monotonous, and it becomes difficult to express a sense of three-dimensionality.
So, how can you draw an illustration with a 3D effect without pressure sensitivity?
2. [Tip #1] Adjust brush settings to make lines sharp
The first thing you want to do is to adjust the settings of the brush you are using.
The first thing you need to do is adjust the settings of the brush you are using. If you draw a line without pressure sensitivity, the tip of the line will be rounded.
The rounded tips of the lines stop the flow of the lines and are not suitable for expressing the three-dimensional effect of wrinkles in hair or clothes.

So, the first thing we need to do is to adjust the brush settings to make the tip of the line sharper.
There are three different ways to adjust the brush, so please experiment and combine them to find the perfect line for you.
(1) Turn on “Brush Pressure Size”.
When you turn on the pressure size, the tip of the line (only at the end) will be more pointed.

・How to change the brush pressure size.

(2) After (1), make the “minimum width” smaller.
If you reduce the minimum width of the brush after turning on the brush pressure size, the tip of the line (only at the end) will be more pointed.

・How to change the minimum width

(3) Turn on “Pressure Opacity”.
If you turn on “Pressure Opacity”, the tip of the line will become thinner and look like it is disappearing.
※You don’t have to turn on the pressure opacity, as it may or may not suit your design and preference.

・How to change the opacity of the brush pressure

(4) Turn on “Pressure Sensitivity” and “Forced Entry/Exit”.
If you turn on both “Pressure Sensitivity” and “Forced Entry”, the beginning and end of the line will automatically become thinner.

How to change the forced in/out

3. Change the thickness of the main and sub lines
Once you have finished setting up the brush, you can actually start drawing the line.
If you want to create a three-dimensional effect, you should be aware of “changing the thickness of the main line and sub-line”, whether you have pressure sensitivity or not.
Main line: A line that represents the outline of an object
Sub-line: A line inside the outline that expresses texture, etc.

This alone may have changed the impression.
4.[Tip #2] Adjust the thickness of the lines with a brush or eraser
Once you have drawn the main and secondary lines, it is time to adjust the thickness of the lines.
We just changed the size of the main and sub lines, but now we need to make the lines stronger or weaker.
ー The basic points to make the lines stronger or weaker. ー
Make the areas with more light thinner and the darker areas thicker.
Make the areas close to the screen thicker and the areas farther away thinner.
Make thicker lines where you want to draw the eye.
※The point at which the lines are strengthened or weakened differs from artist to artist, so I recommend that you carefully observe the line drawings of your favorite artists.
< Thickening the lines by overlapping them. >
If you want to make the lines thicker, make them thicker by overlapping them.
At this point, if you just blindly pile up the lines, the lines will tend to get soggy, so we recommend drawing an outline and then filling in the inside.

< Erase with an eraser to make it thinner. >
Use an eraser or a transparent pen to erase the areas where you want to make the lines thinner.
Rather than erasing slowly to avoid mistakes, erase quickly along the line for a clean finish.
Digital illustrations can be redone many times, so erase as much as you can.

If you feel that you have made adjustments with the brush but the tips of the lines are not sharp enough, use the same method to lightly erase the tips of the lines.
5. Finish
Once you have adjusted the thickness of the lines, you are done.
Compared to the first state, the 3D effect has been improved.

With these two tips, “adjusting brush settings” and “adjusting line thickness”, you can try your hand at illustration without pressure sensitivity.
(Text and pictures by sakaki)
\ We are accepting requests for articles on how to use /

