2022.08.15
【Technique】Drawing different clouds for every season
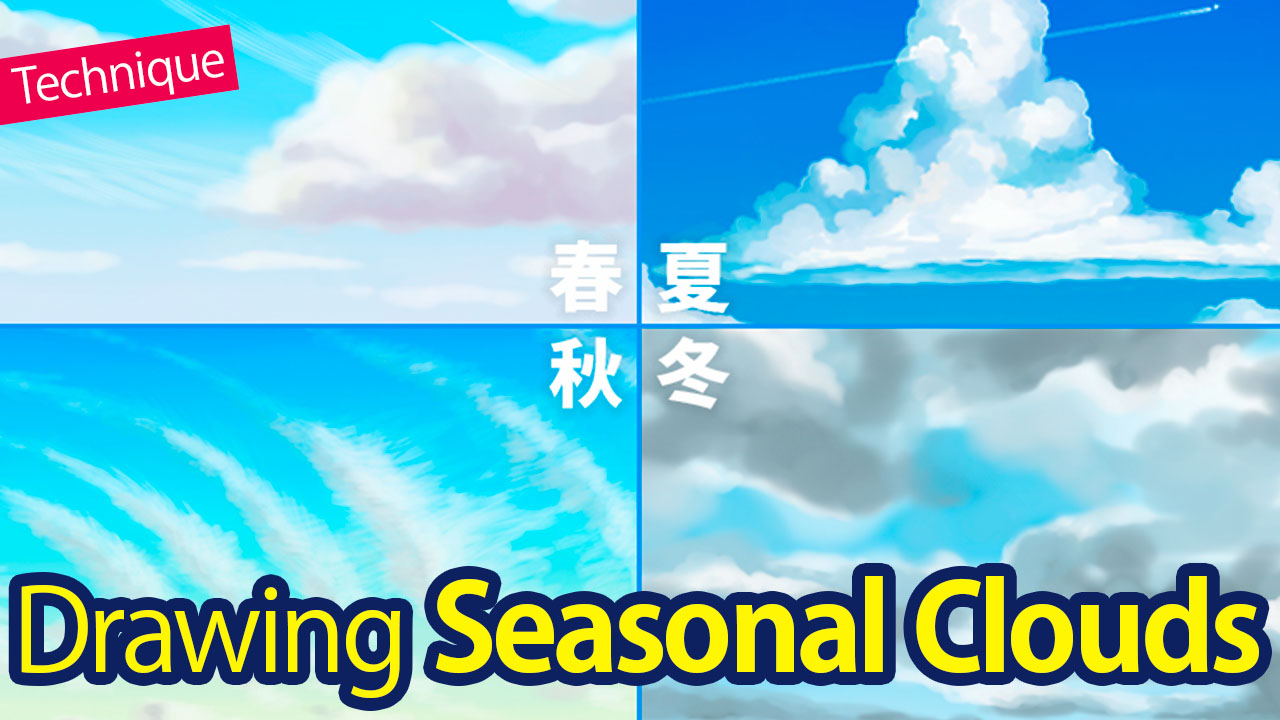
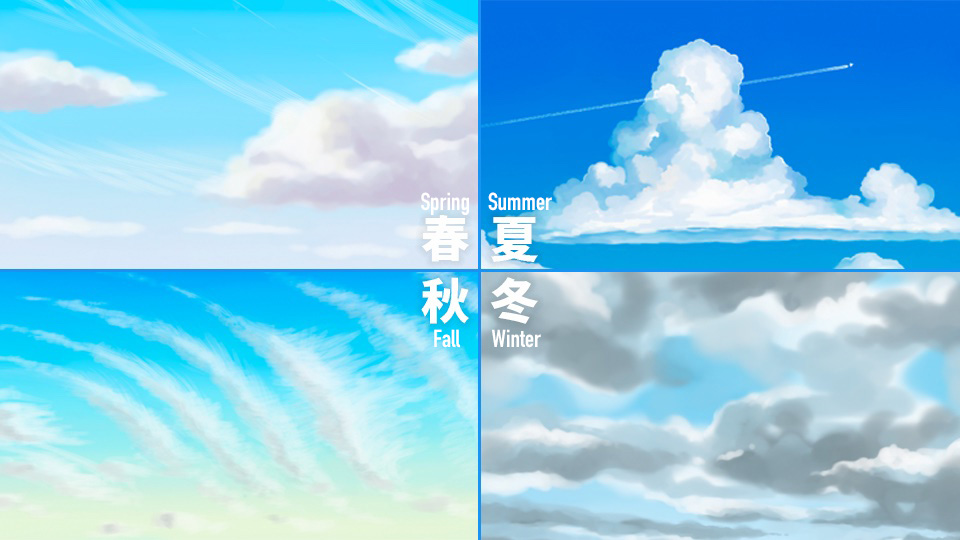
I will be making illustrations with different clouds patterns for every season.
The sky is one of the easiest backgrounds to draw, perfect for beginners too.
As you would illustrate different clothes for each season, you should also change the clouds or the color of the sky to create a seasonal look!
1Preparation
First, I will be explaining the settings of the brush I will use for making the clouds.
Start off by clicking the brush icon at the top of the toolbar.
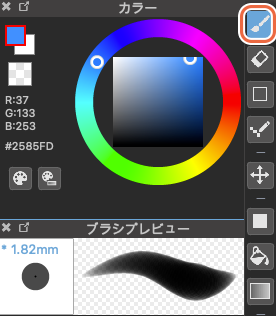
For this tutorial, I will be using Watercolor (Soft).
Click the gear icon on the right.
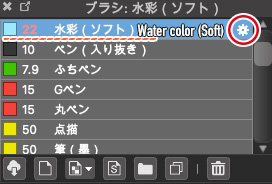
As shown in the image below, the settings are placed in the order of;
brush image, Name, Type, Width, Min Width.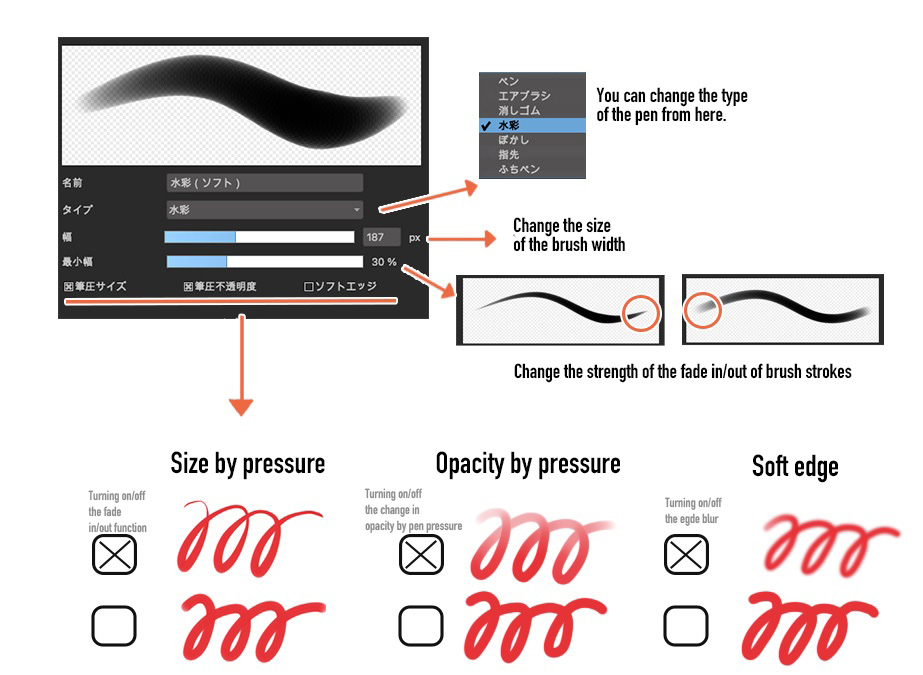
The settings from above are as follows;
・Type Change the type of the pen (pen, airbrush, eraser, watercolor, blur etc.)
・Width Change the size of the brush width
・Min Width Change the strength of the fade in/out of brush strokes
At the bottom of the Edit Brush panel, there are
・Size by Pressure Turning on/off the fade in/out function
・Opacity by Pressure Turning on/off the change in opacity by pen pressure
・Soft Edge Turning on/off the edge blur
and I will be drawing the clouds by changing the mode for Soft Edge depending on the purpose of the brush.
You can adjust the size to your liking so I recommend exploring your favorite brush strength.
2Spring
Now I will be creating an illustration of spring.
This is the setting I’m working with:
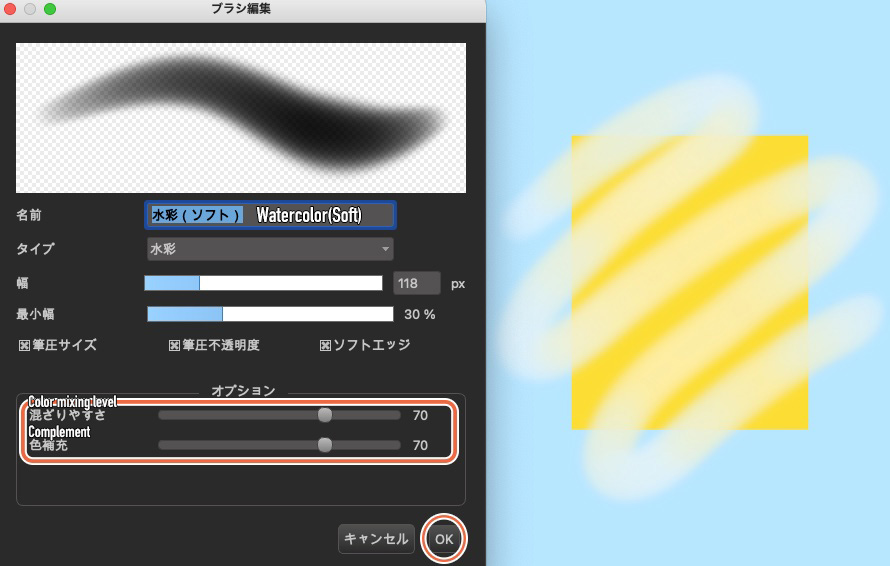
For the “Color Mixing Level” and “Complement” inside the Options box, there is a detailed article so please refer to it from the link below.
“[Technique] Characteristics and usage of color mixing brushes.”
For this spring illustration, I’ve turned on the Soft Edge function and set the Color Mixing Level and the Complement both to about 70.
To create the soft and fluffy feel of the spring season, I’ve calculated the two options with about 70%.
Let’s spread the color of the sky.
Starting from a soft blue, I use a reddish blue at the bottom.

Blur the three colors evenly.

When you are blending in the colors, paint with the bordering colors which you can select with the Eyedropper Tool, so the gradation looks natural.
Paint the sky quickly with your hand relaxed.
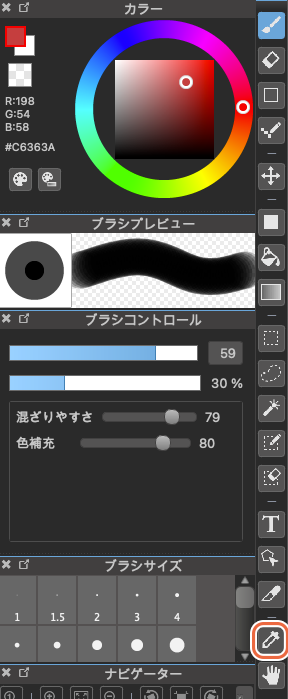
The Eyedropper Tool can be found at the bottom right of the tool icons, as shown in the image above.
Next, paint the clouds using the white color.
At this step, you want to blend in the colors so draw on the same layer. Don’t create a new layer for the clouds!

Add some shadows to the clouds. For this illustration, don’t use the thin gray shade as it is but choose a shade of the gray color that matches the slight redness of the sky.
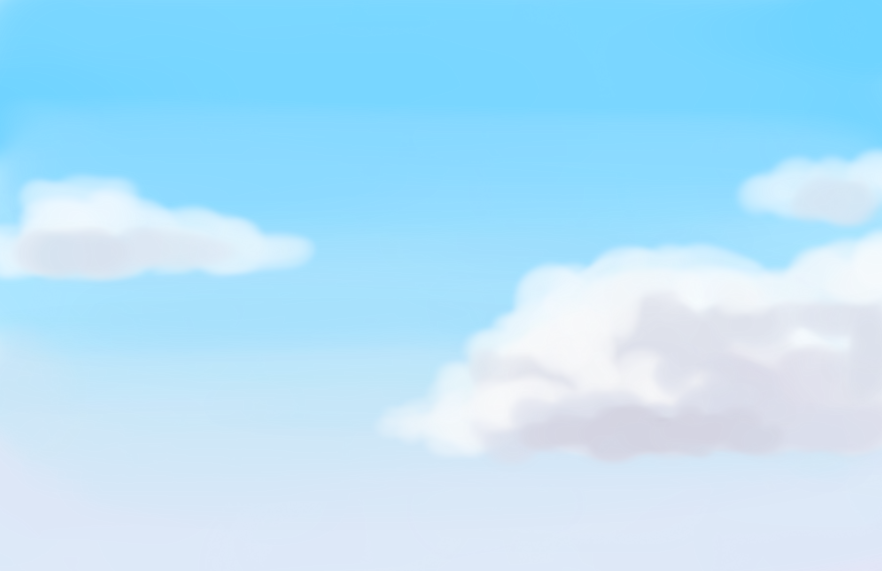
Pay attention to the unevenness of the clouds and make the shade color darker.
Shade in the clouds so that the bottom parts are dark and the top parts of the clouds are kept bright.
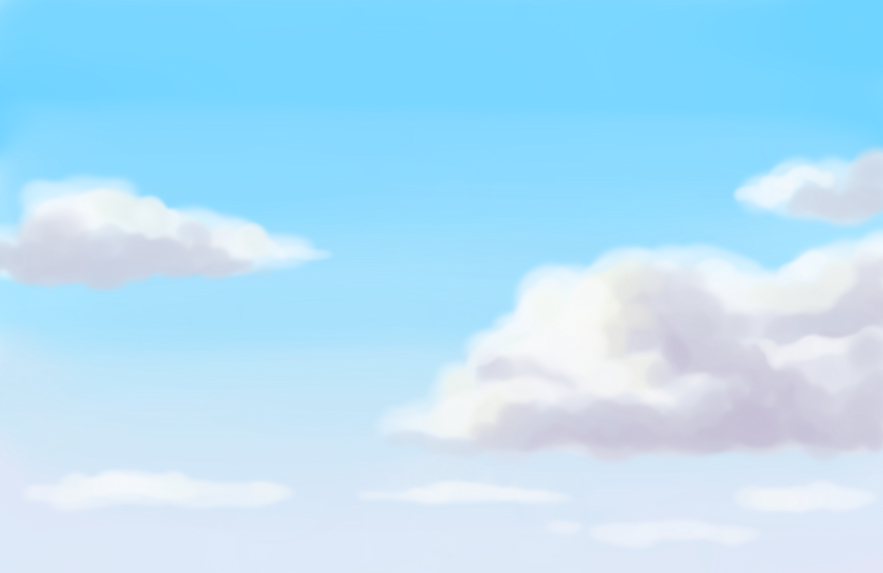
I’ve also layered a bit of thin yellow on top.
Now draw in the clouds that look like lines spreading all over the sky.
These are called the cirrostratus clouds that often appear during spring and they float in the sky softly.
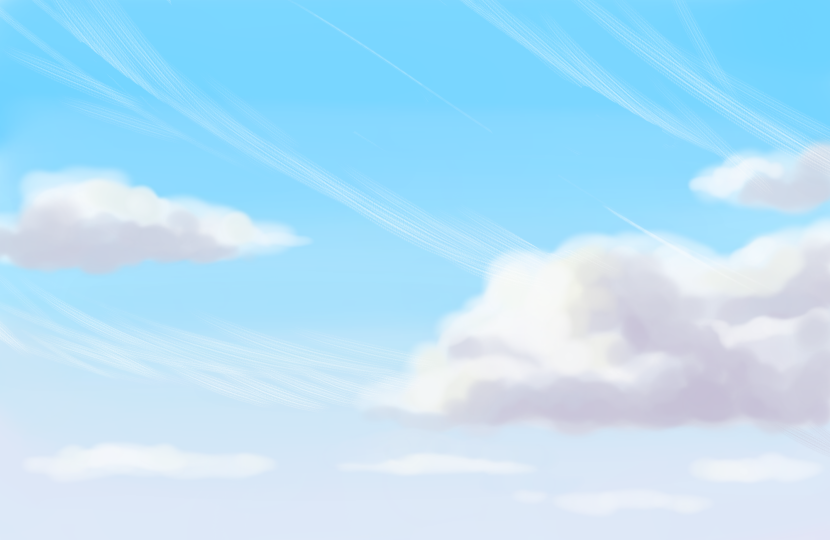
For the cirrostratus clouds, I used “Coarse brush (Sumi Ink)”.
This brush can be downloaded easily from the Cloud.
For downloading additional brushes, please refer to the article below:
“Downloading Cloud Brushes in MediBang Paint Pro“
Now the Spring clouds are complete!

3Summer
Next, I will be making the summer clouds.
The brush settings are as follows.
I want to draw the clouds clearly so I’m turning off the Soft Edge function.
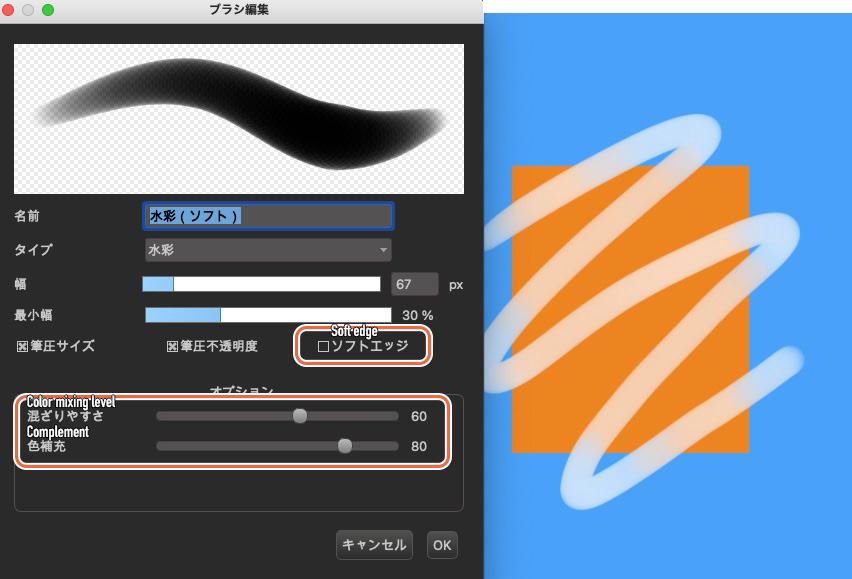
Use a higher value for the Complement, set it at around 80 and the Color Mixing Level to a relatively low value of 60.
Now I will be painting the sky.
As you can see below, I’m using a very vivid sky blue color for the summer sky.
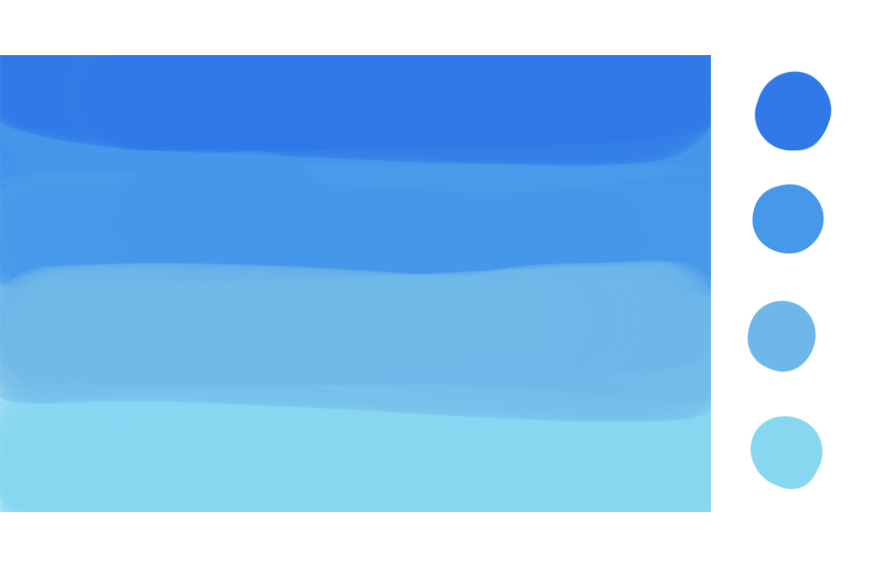
As done previously, blend all the colors.
When blending the colors, turn on the “Soft Edge function” of the brush (that’s been turned off for this summer sky illustration) so it becomes much easier to blur the borders.

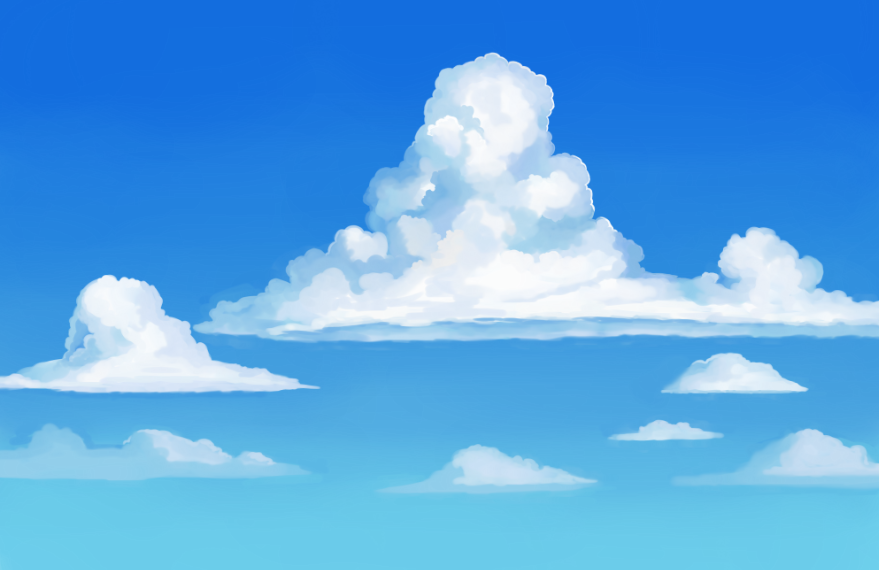
Let’s add the white paint for clouds.
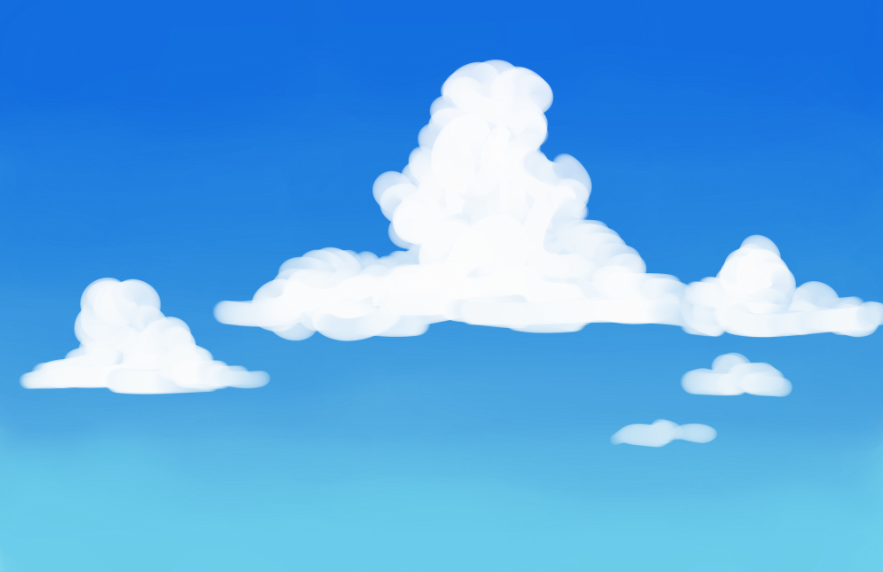
I will be drawing the cumulonimbus clouds.
Replicate the towering shape by making the bottom part flat and the upper part fluffy, stretching upwards.
Next, add shadows to the clouds.
Suppose that the sun hits from the right side of the screen and darken the left part of the fluffs.
Shade in the bottom flat parts darker as well.
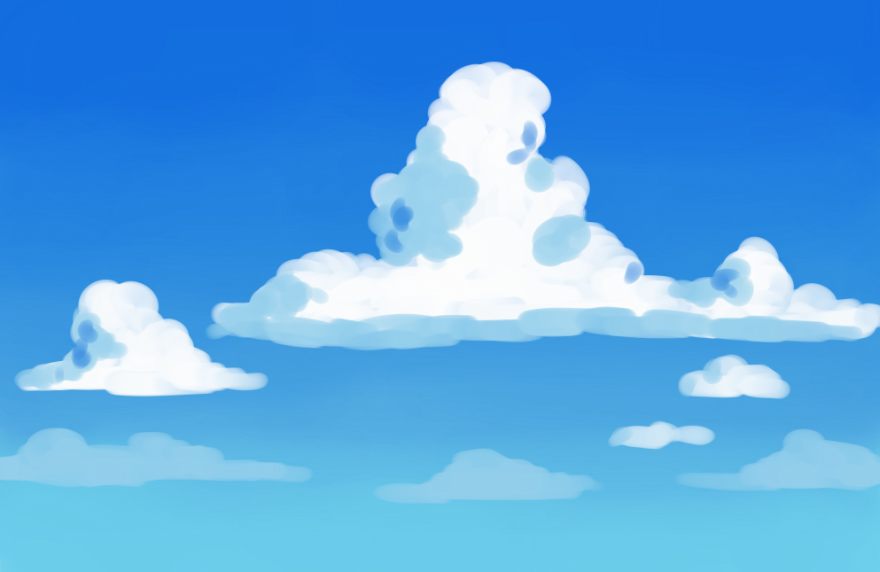
Deepen the shades and blend in the borderline of colors little by little.
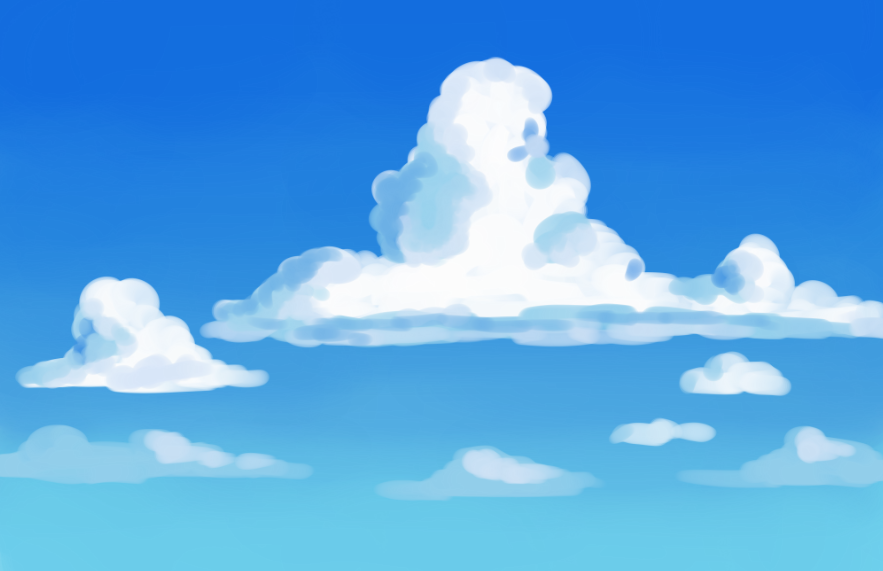
Add more expressions to the clouds.

In this step, keep layering the inside of the clouds to create the fluffy look.
Add some nuance by varying the color to a bright, a little darker and a darker shade.
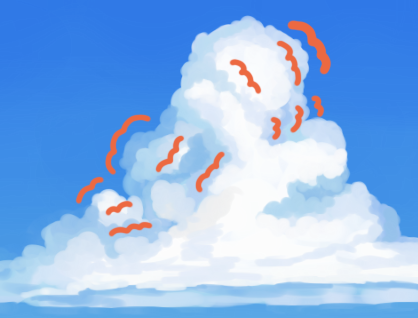
You can see how it adds three-dimensionality.
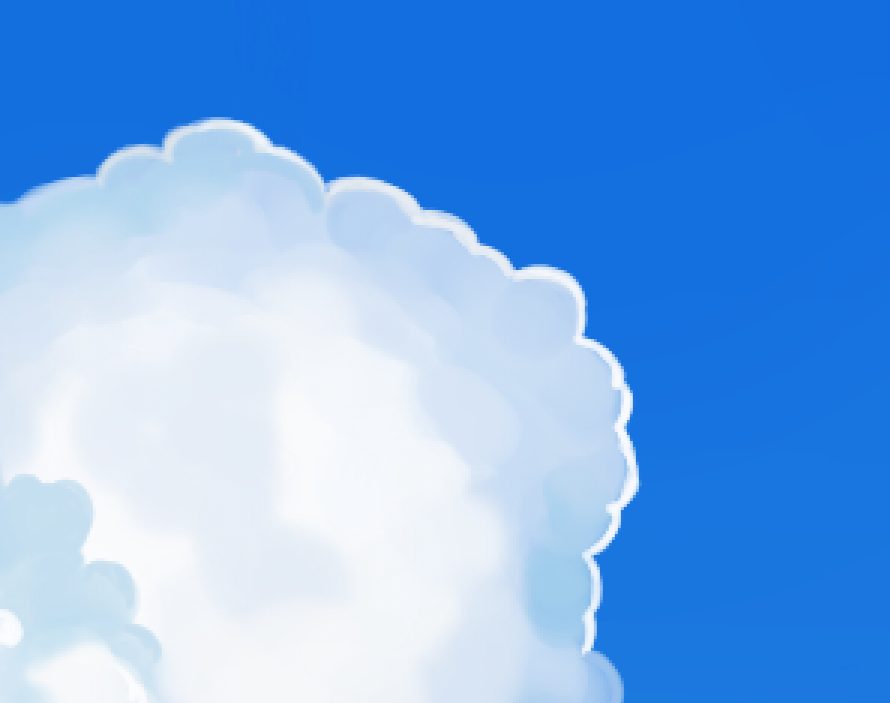
For parts you want to make very clear, border them using the white color.
In this illustration, I want to make it look as though the light is hitting the center of the clouds so I will be drawing in white there.
For the expressions of the cloud, change the sharpness by creating a vivid part and a fluffy part.
Now the clouds look much more realistic.
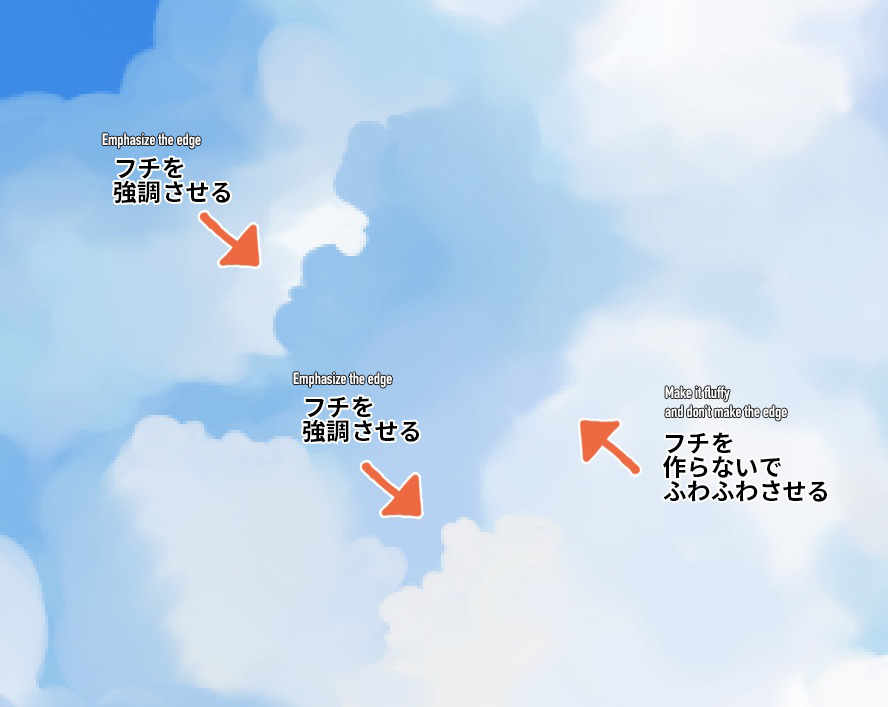
For the vivid parts, surround the edges with a thin brush and then use Soft Edge to blur the borders of the fluffy parts.
Repeat the steps from above and continue with the entire illustration.
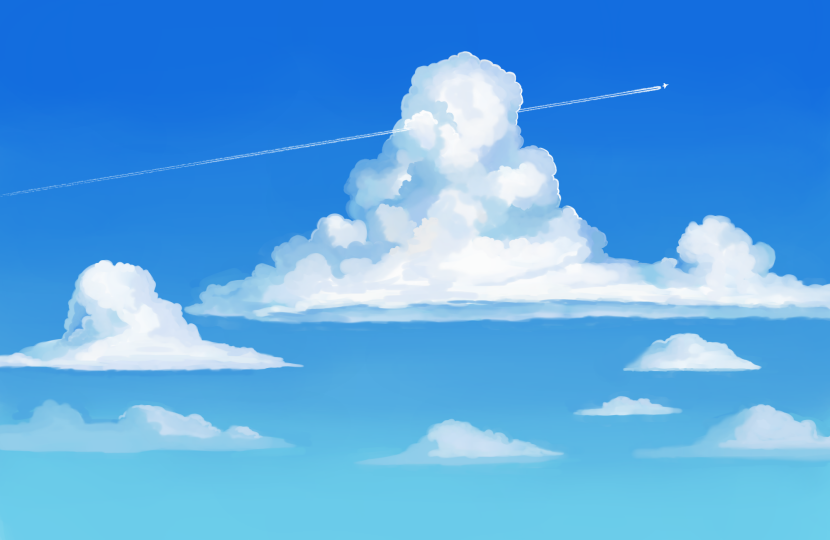
Lastly, draw in the contrails using the Snap Tool.
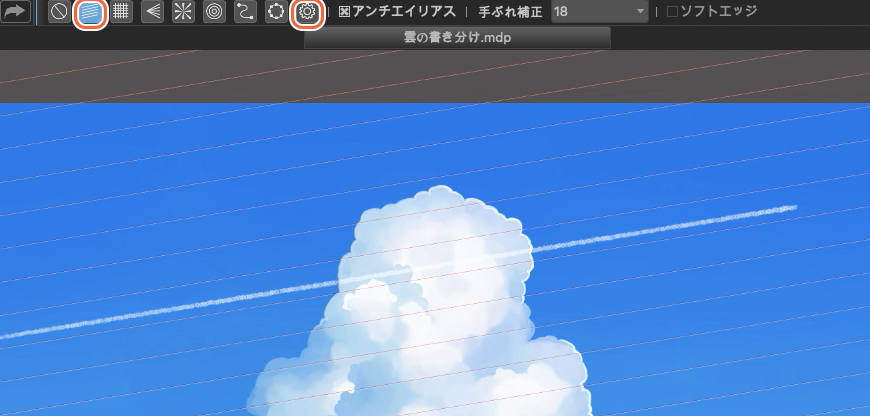
Choose the brush first and click on Parallel Snap, icon on the left in the above image.
You can adjust the angle with the gear icon on the right side.
Add a tiny airplane shape at the tip and now the summer clouds are complete!
4Autumn/Fall
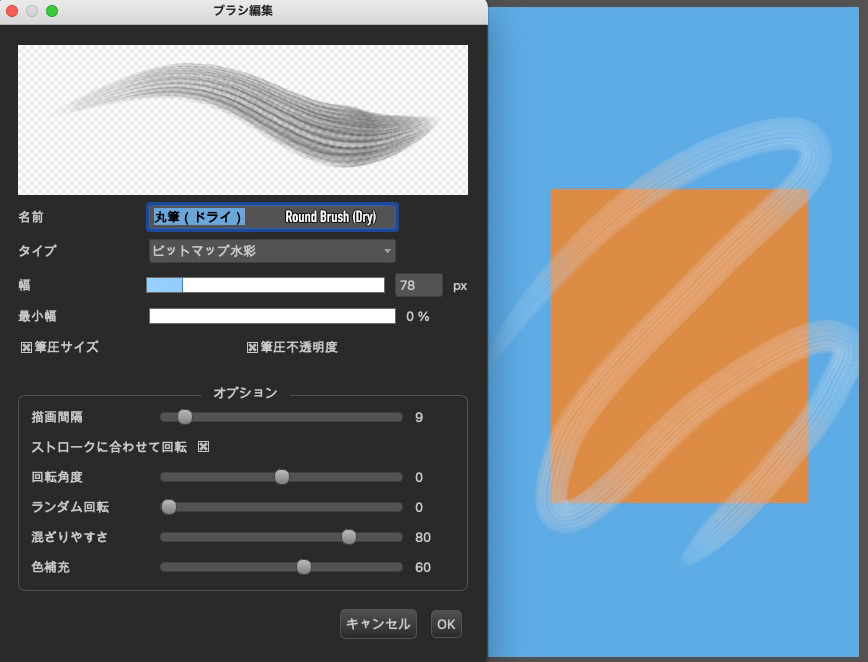
This is the brush for autumn.
I want to create the scraping feel so I will be using Round Brush (Dry).
You can also use this brush by downloading it from the Cloud.
Add the colors of the sky.
I’ve chosen colors that look like the sunset.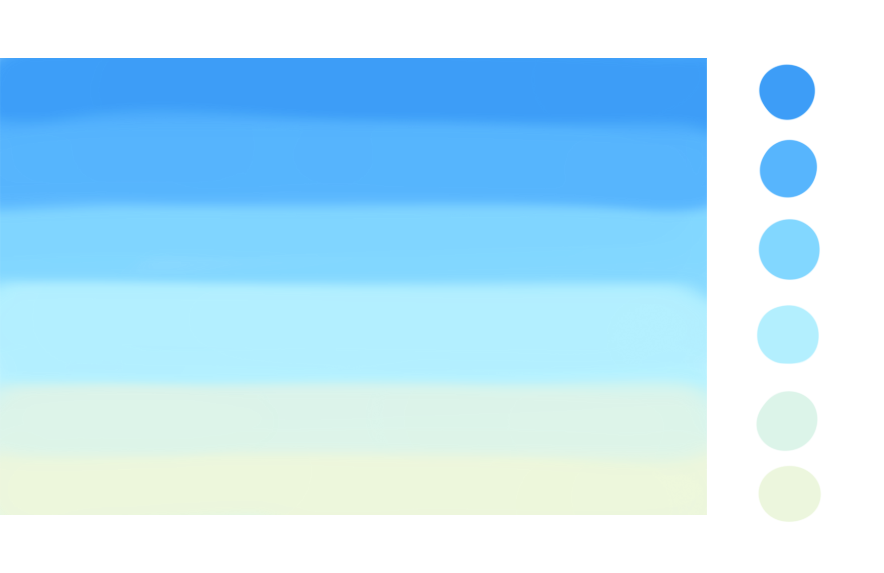
Let’s blend the colors.

Now I will draw in the clouds.
Replicate the bird’s feathers to create the fluffy and furry feel.
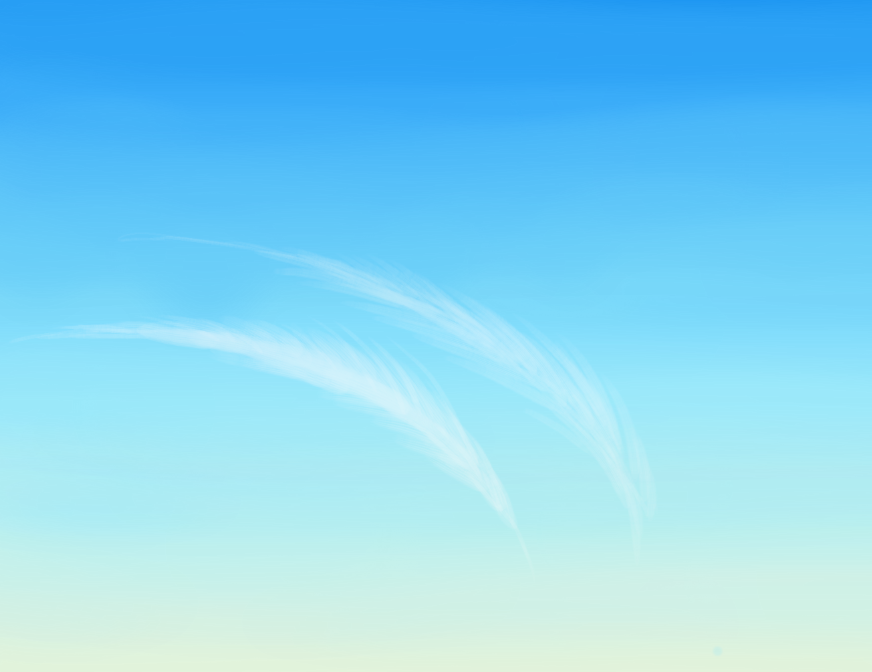
Draw in more of the feather with equal width and illustrate the thickness of the clouds.
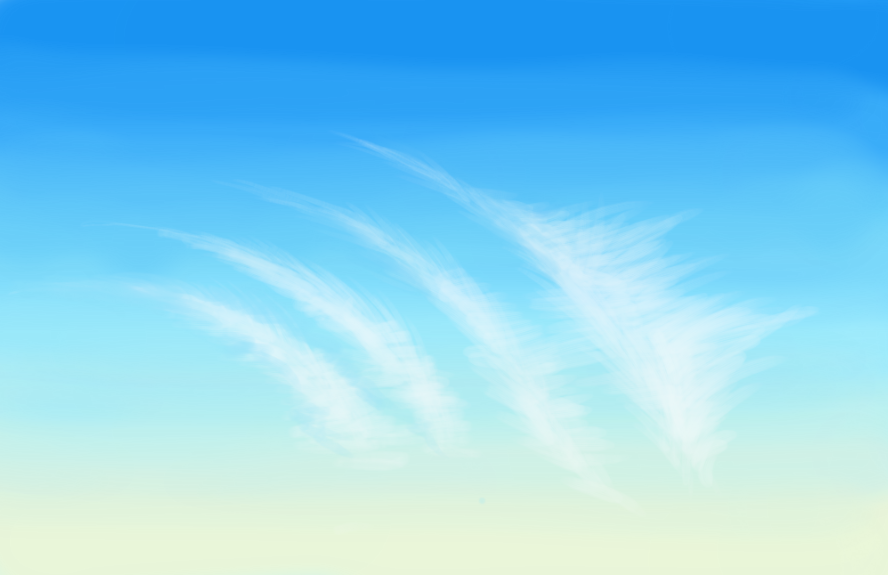
These are called the cirrus clouds.
This type of cloud is characterized by the fluffy spread of baby bird feathers.
Keep spreading the clouds to fill the screen.
Position them so you can feel the wind.
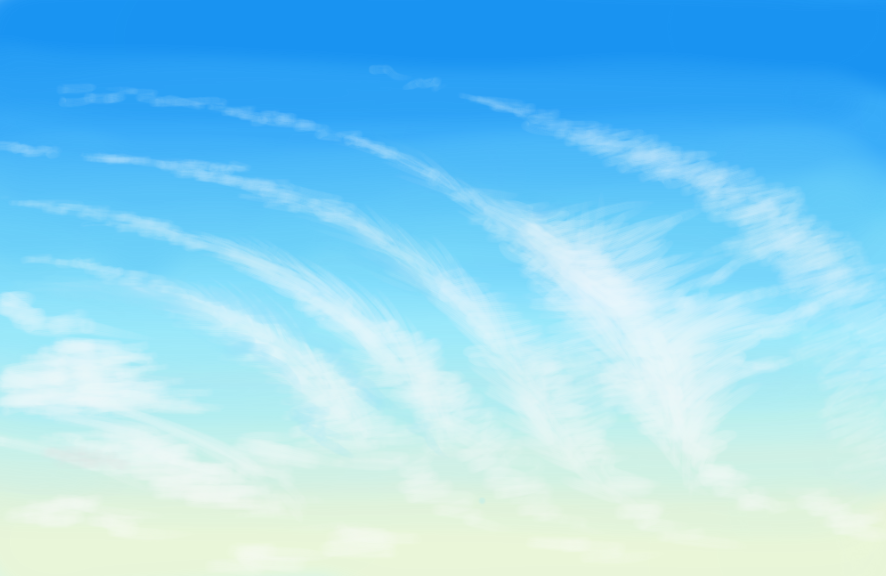
Create some expressions by making a rubbed spread and tapping with paint.
Let’s add in some thin shadows.
Shade the left side, pay attention to keep the shade in a constant one direction.
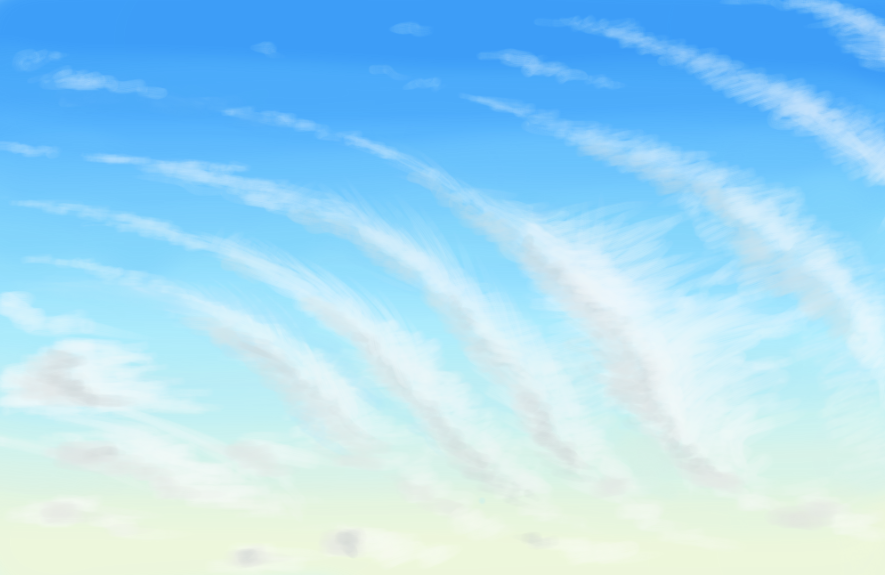
Now the autumn clouds are complete!
5Winter
Lastly, let’s create a winter sky.
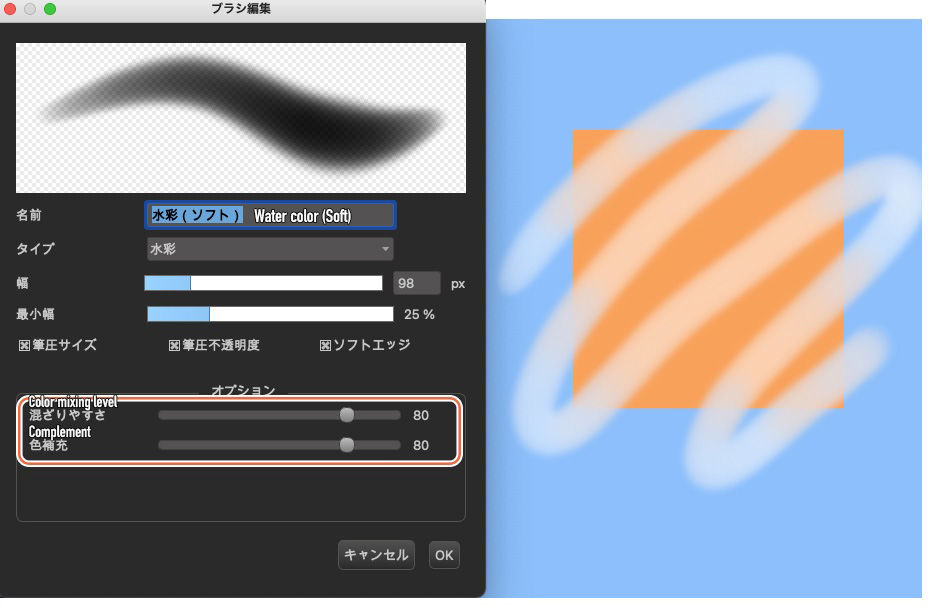
The above is my brush settings.
Turn on the soft edge and set both the Color Mixing Level and Complement to 80.
I want to illustrate the overcast weather so I’m choosing a set of murky shades.

Time to blend in the colors.

Now spread the clouds to fill in the entire sky.
From here, I will be creating a heavy atmosphere of the sky that appears before the rain or snow.

Next, spread the gray color.
Lay the paint on top of the white clouds (from earlier) as well.
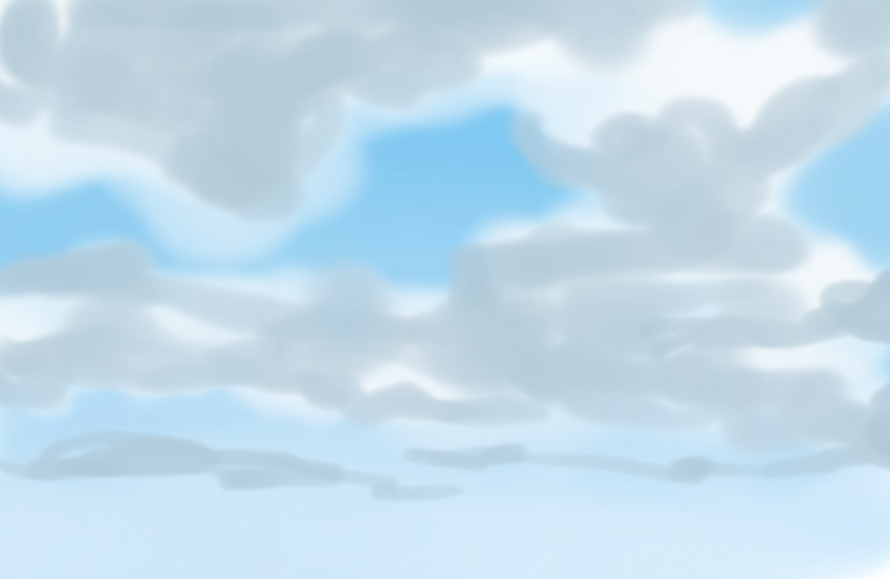
Paint with an even darker color.
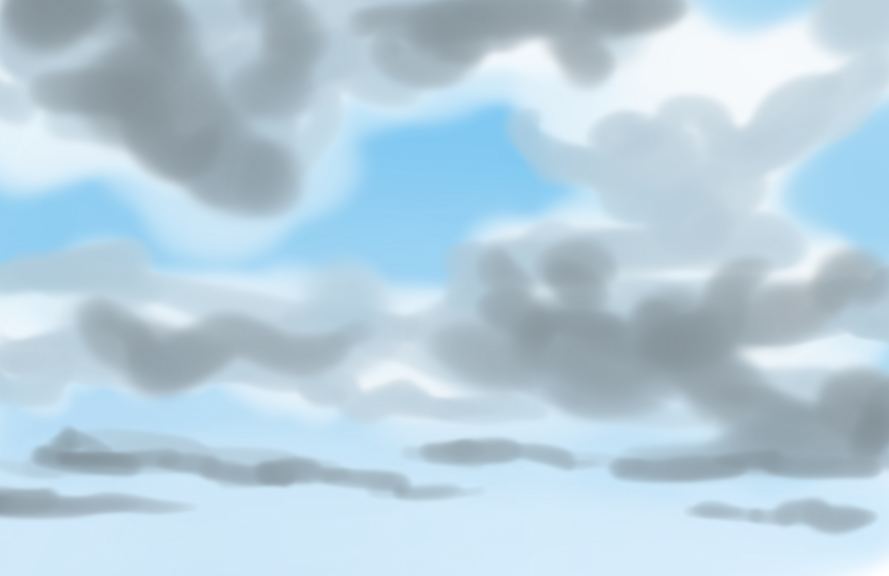
To show the white clouds hidden by the gray clouds, repaint on top the parts you want to leave white.
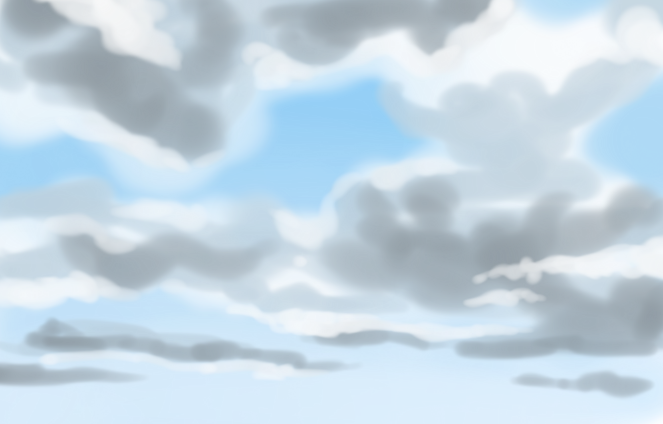
Blend in the borderlines and clean the shape of the clouds.
Reshape both the white painted parts and the gray paint, into the cloud shape.
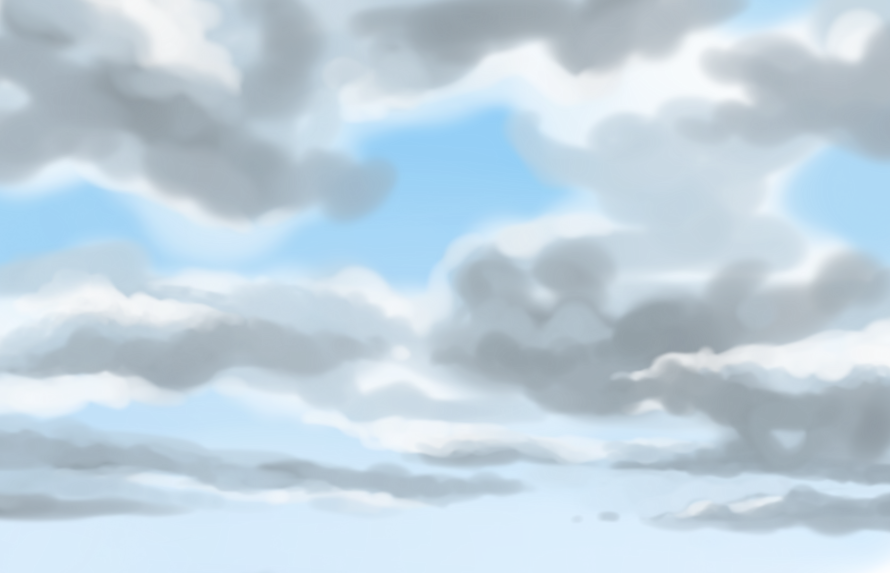
Pay attention to the position of the clouds; at the bottom of the screen, the clouds are far from you, so make horizontally long clouds. On the other hand, the upper part of the screen is closer in distance so draw to spread the clouds widely in all directions. This will allow for perspective in the illustration.
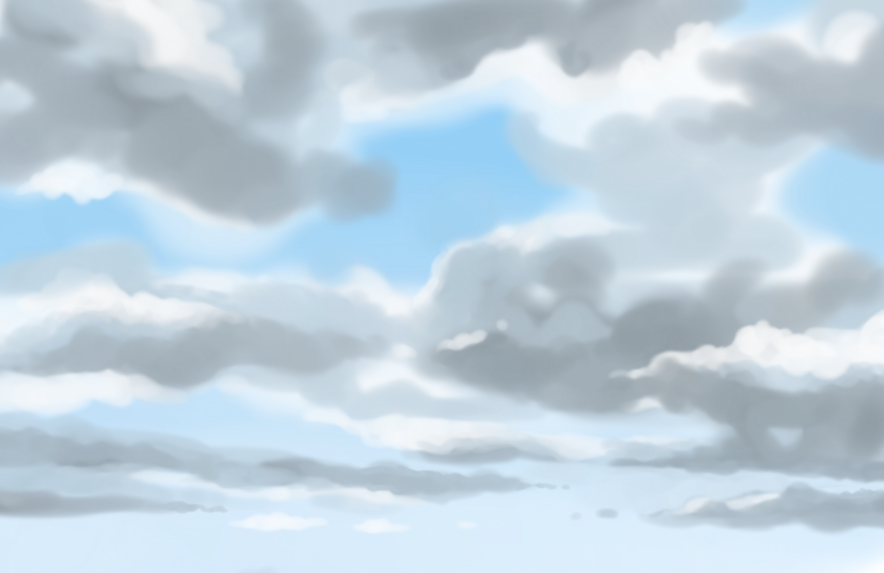
The completed illustration is as follows!
And this is how the four illustrations look side by side.
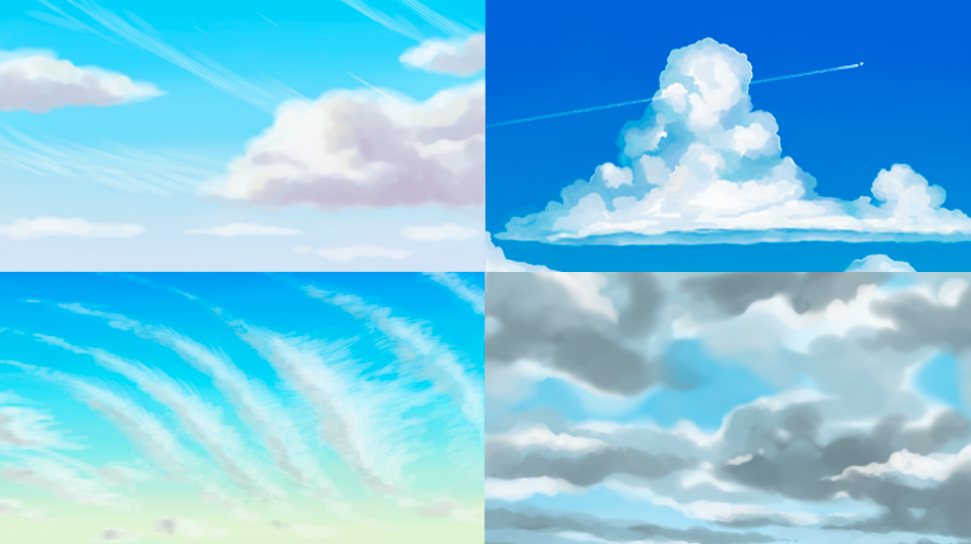
I hope you can see the difference in the expressions and the atmosphere for each season.
Although there are a couple principles to drawing the shape of the clouds, it’s full of freedom.
I hope you create an illustration of the clouds, taking this article for reference!
(Text・Illustration/荒金ひろみ)
\ We are accepting requests for articles on how to use /

