2022.09.28
Save Time with Filters ! PART 3 Urchin Flash
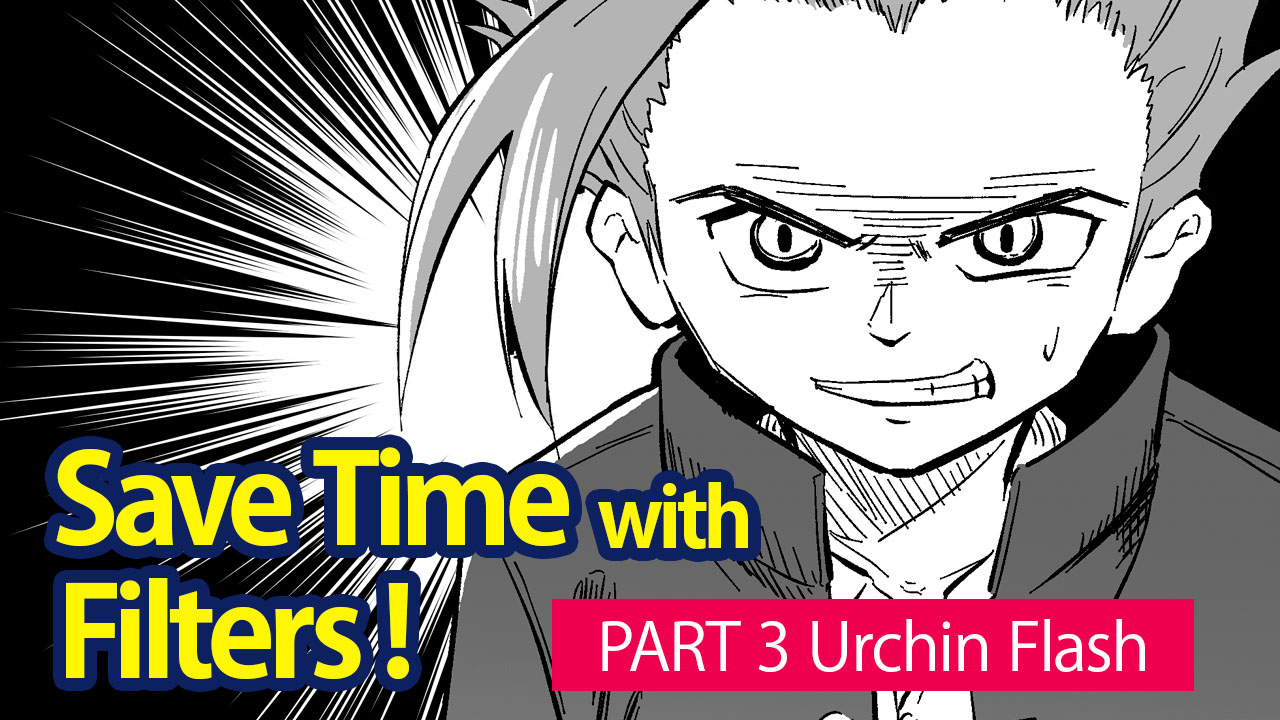
I will be introducing the Filter Function “Urchin Flash”.
Similarly to the “Focus Lines” and “Flow Lines”, this filter is often used in manga-making.
The main role of this filter is to create speech bubbles, used to enter dialogues.
Let’s see how to use this filter.
1、Decide on the area of selection
Using the Select tool, decide on the area where you want to add the urchin flash.
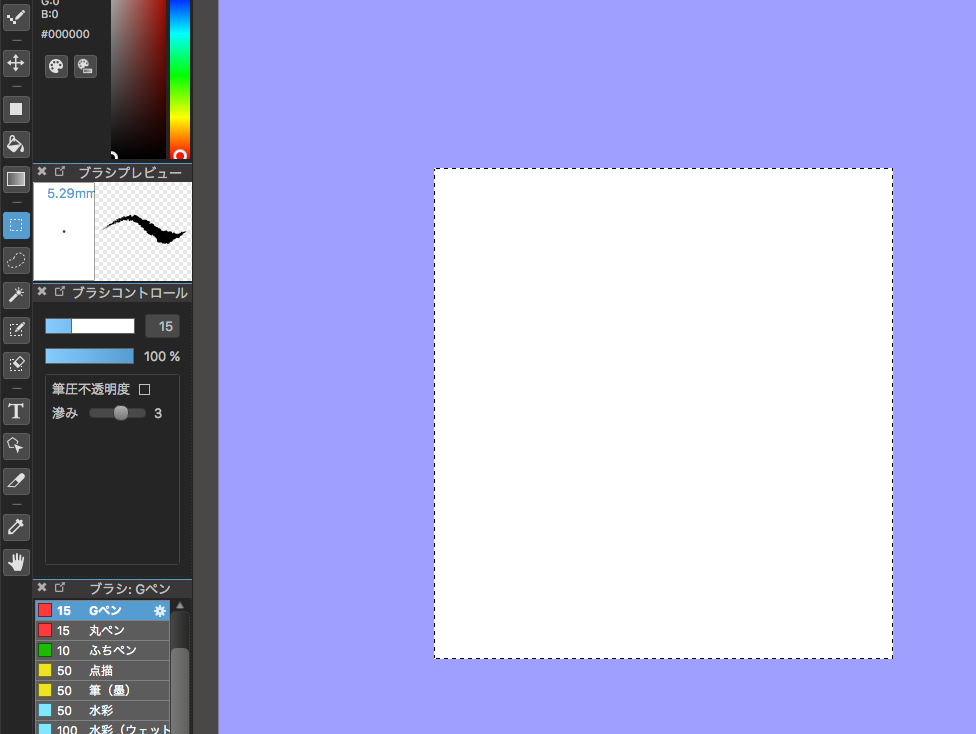
Since it is a speech bubble, I recommend you to create a new layer for the urchin flash for when you want to adjust its position later.
2、From the Filter function, choose “Line (Urchin Flash)”
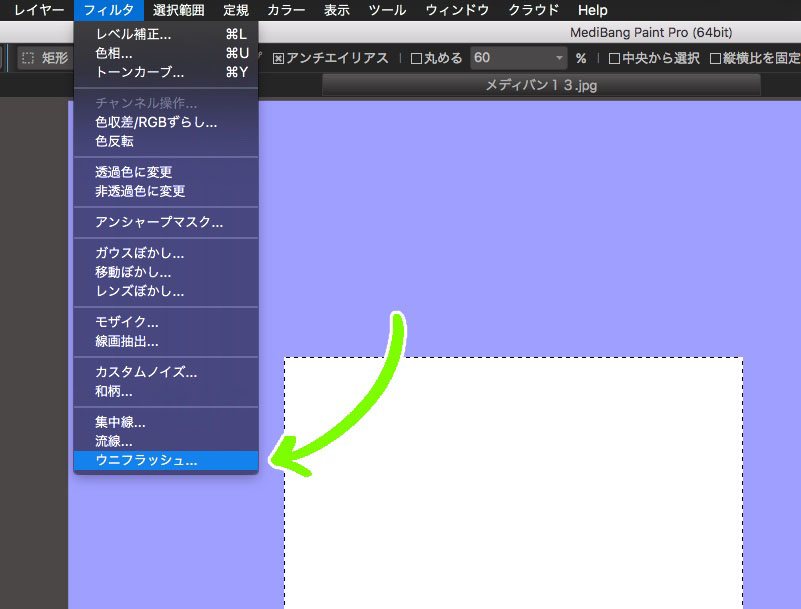
Unlike the “Focus Lines” and “Flow Lines”, the Urchin Flash is created to fit your area of selection with a margin.
Make sure that you have selected the right area.
3、Adjust the settings and click “OK”
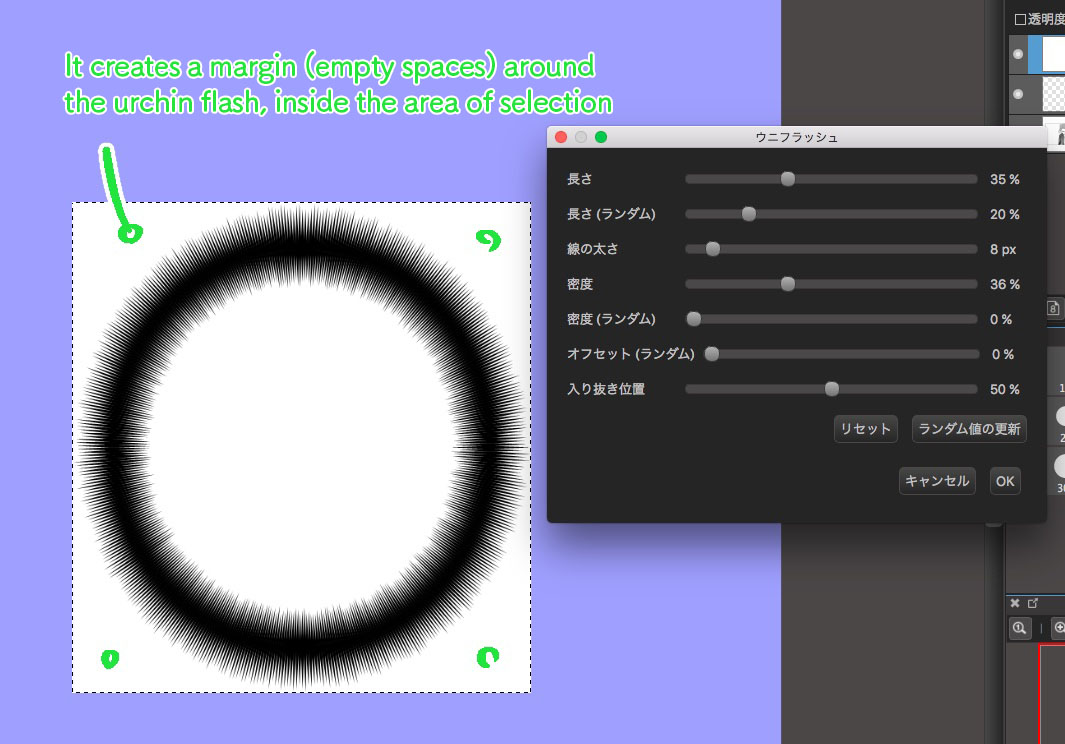
Adjust the value for each parameter to your liking and click OK to set the filter.
From here onwards, I will explain what each parameter represents.
・Length
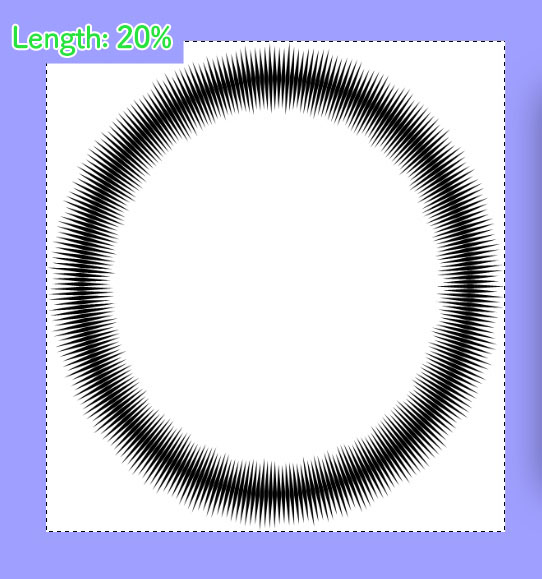
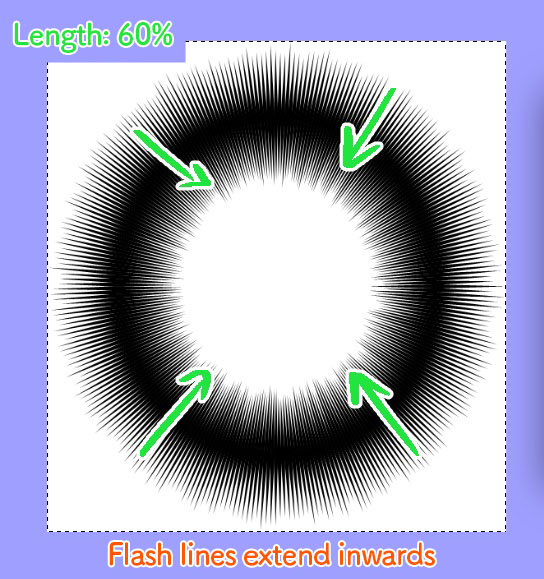
Change the length of the flash lines to fit the image you want to create.
Please be aware that the line extends inwards, meaning that the longer the length, the less characters you can enter inside the speech bubble.
・Length (Random)
This randomizes the lengths of flash lines.
Choose your preferred percentage.
・Line Width
Change the thickness of flash lines.
Since bold urchin flashes are rarely used, adjust this value to a small number.
・Density
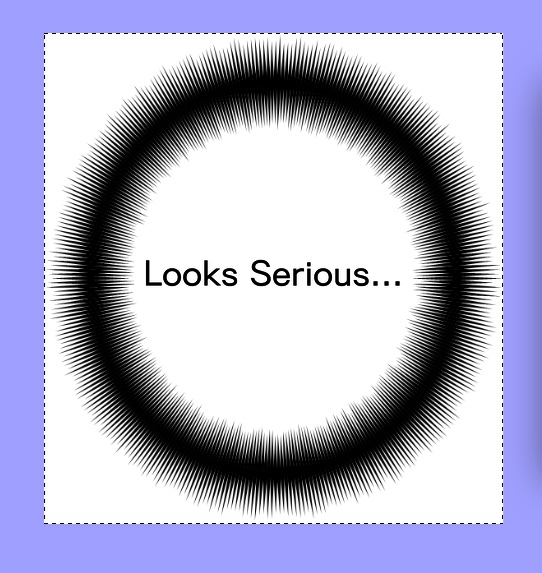
The density of flash lines changes the impression of the text.
While lower density portrays a simple impression, higher density creates a serious scene.

・Density (Random)
This randomizes the density of lines.
Change to fit your liking.
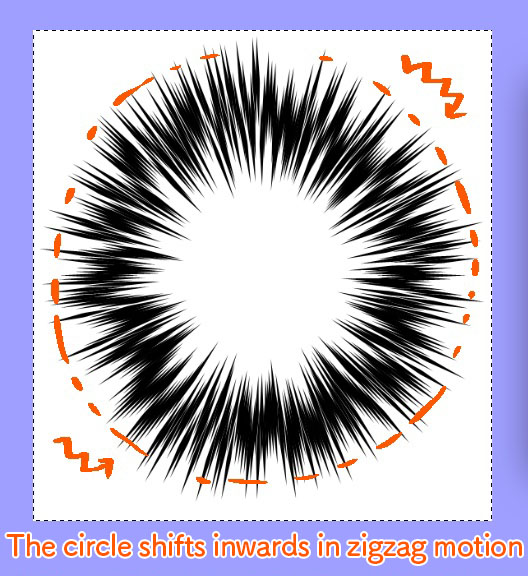
・Offset (Random)
This shifts the position of flash lines inwards from the center, within your area of selection.
You can create a rough shape with dynamics.
・Fade In/Out Pos
This changes the shape of lines fading in and out.
With a small value, it thickens the inside lines and with maximum (or minimum) value, the edges of flash lines become rounded, losing the fade in/out effect.
The standard setting is 50%.
Now I will introduce the application of urchin flash.
When the character realizes something important or experiences a shocking scene, there usually appears a special effect like in the images below.
You can create this effect using the urchin flash so I hope you try that out as well.
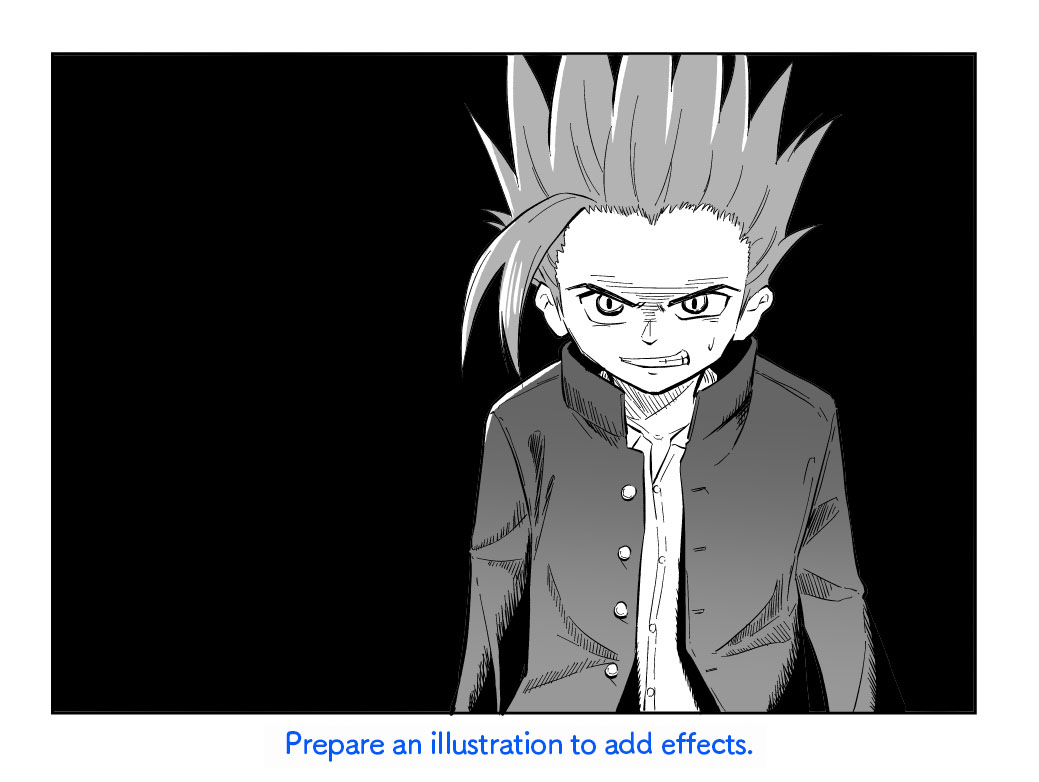
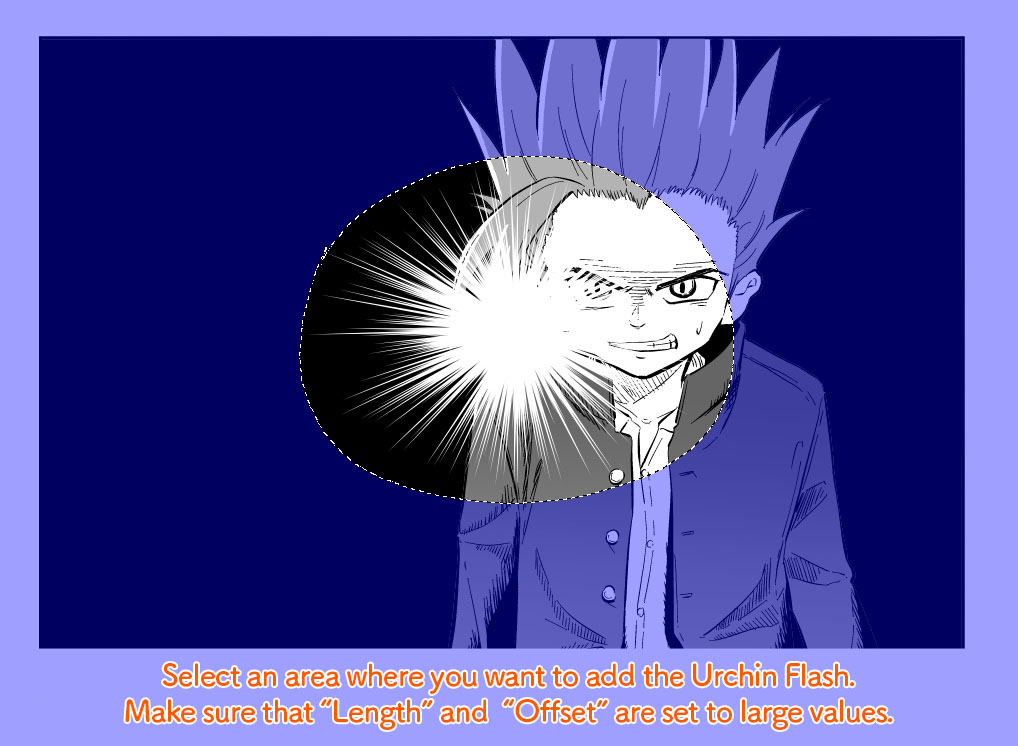
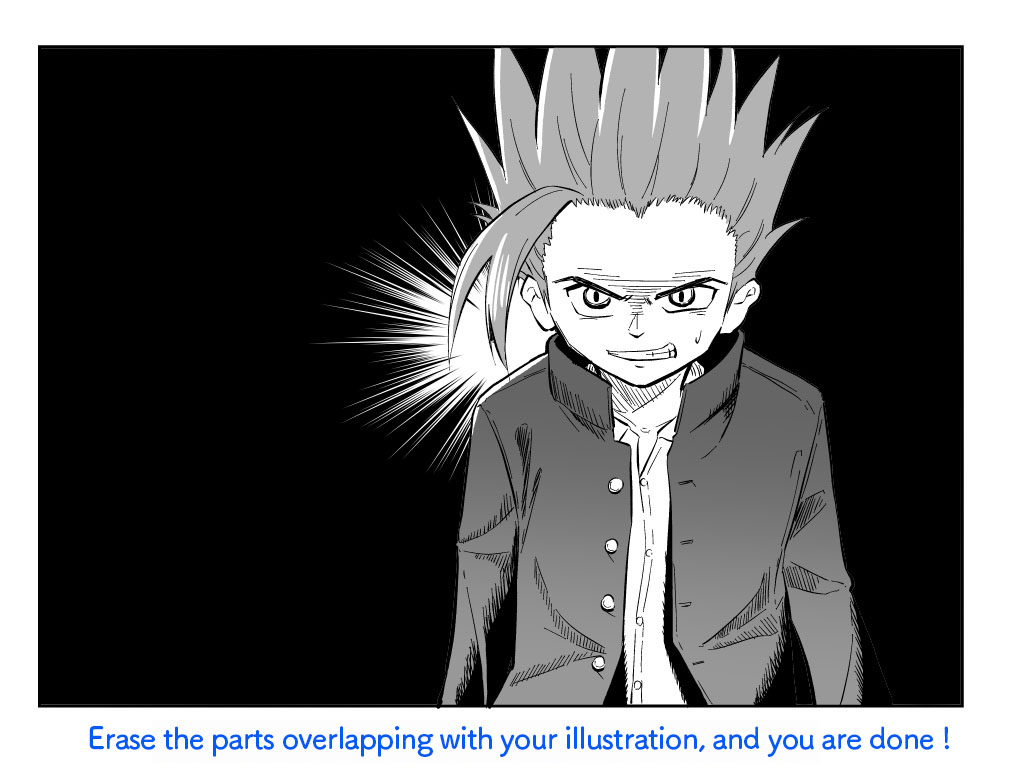
You can do the same with the Focus Lines filter but I usually use the Urchin Flash for this effect since you can adjust its area more easily.
This completes the tutorial.
I explained the Filter function over three articles.
Useful functions will definitely save your time so it would be best to master them all.
Thank you so much for following these tutorials until the very end ♪
(Text・Illustration/飴ノ山)
▼ Previous Filter Tutorials ▼
Save Time with Filters ! PART 1 Focus Lines
https://medibangpaint.com/en/use/2021/11/save-time-with-filters-1/
Save Time with Filters ! PART 2 Flow Lines
https://medibangpaint.com/use/2021/12/save-time-with-filters-2/
\ We are accepting requests for articles on how to use /


