2021.08.30
How to draw gems using watercolor brushes.
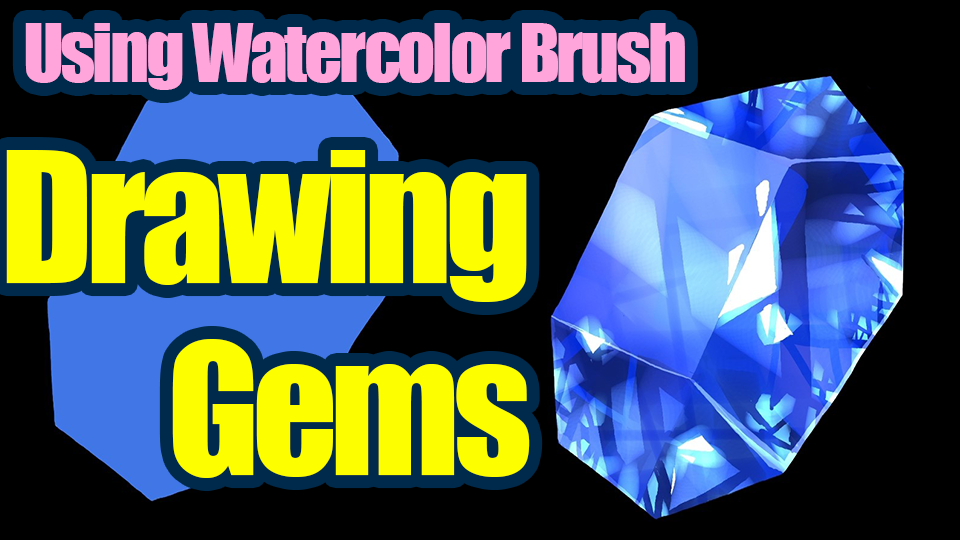
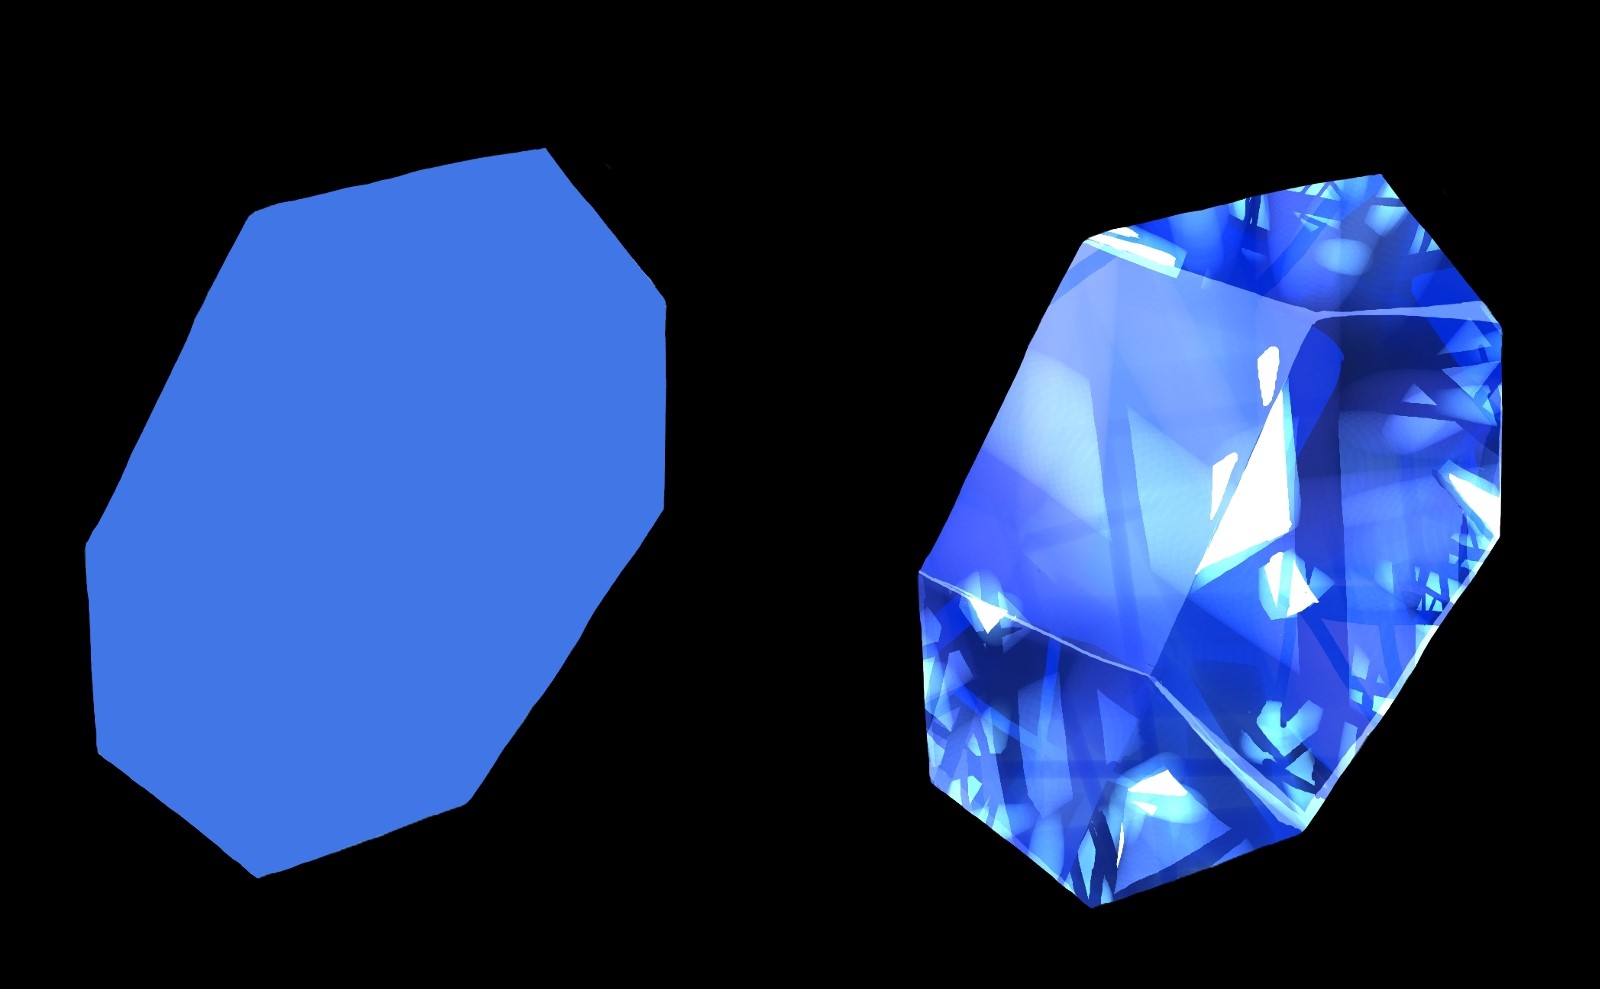
In this article, I’ll show you how to draw shiny gems realistically.
①Underpainting
The first step is to draw the shape and paint the base.
Add a new layer.
Since we are going to add about 10 layers, we need to name the layers.
Click the link below to learn how to rename a layer.
We will use a shape that has corners and looks like a jewel.
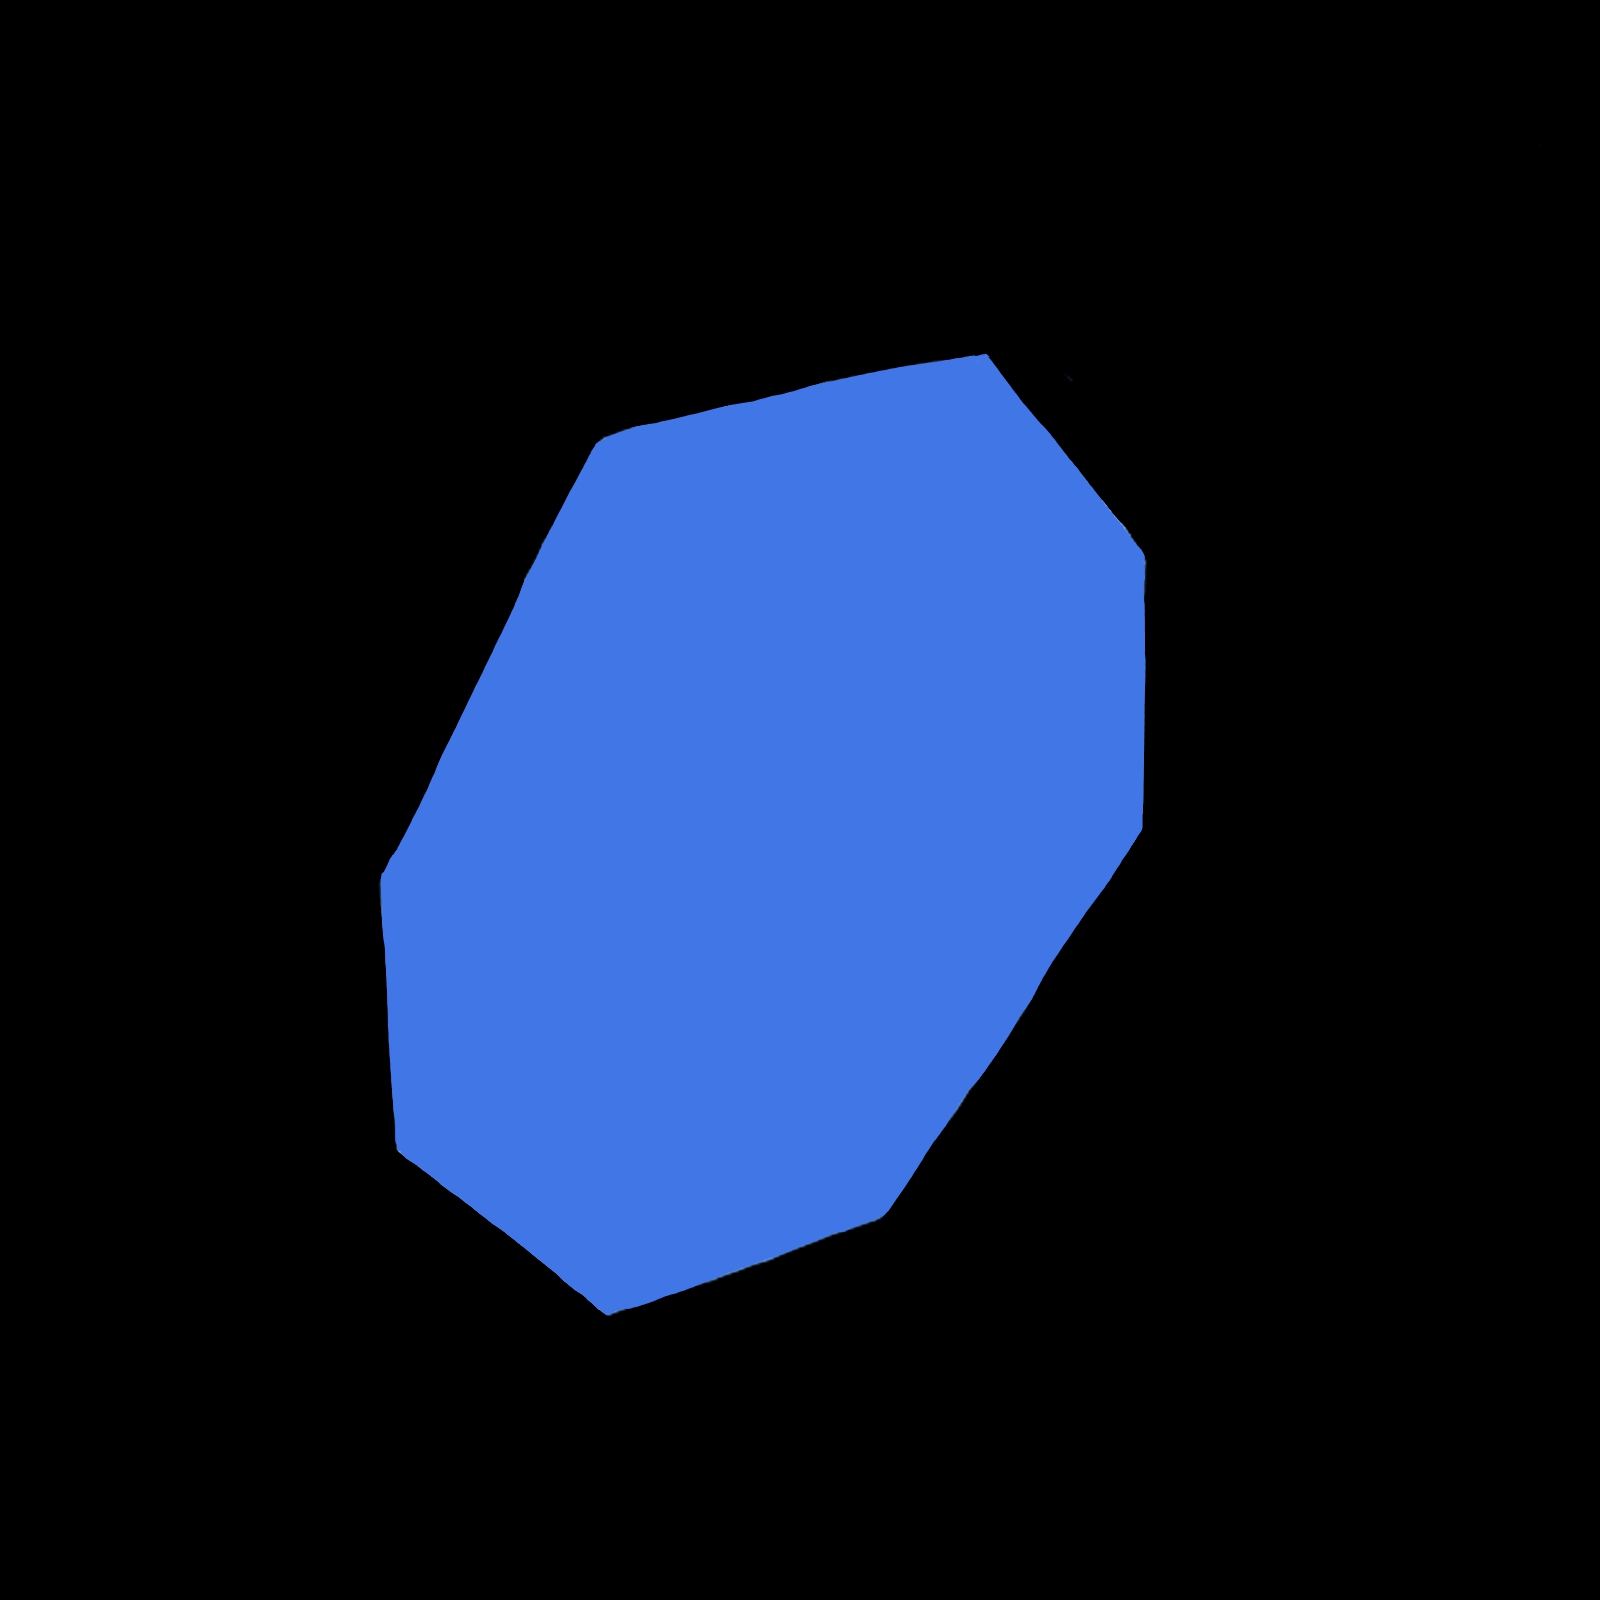
②Gradient
The next step is to apply a gradient.
Add a new layer.
Add clippings too.
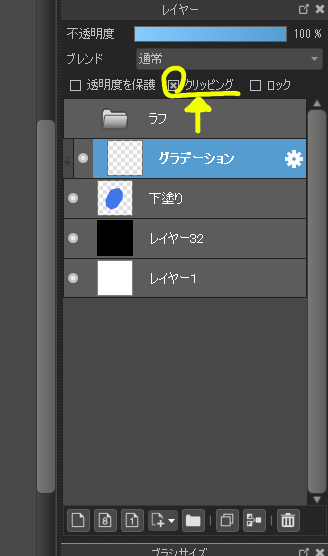
The clipped layer will not extend beyond the drawn area.
Choose a darker color than the underpainting and select the Airbrush in the Brush tool.
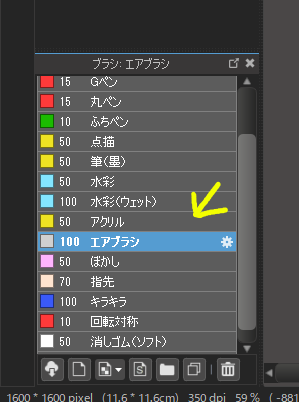
Paint in a gradient from top to bottom.

③Add shadow
Next, let’s add a shadow.
Add a new layer.
Since we will be creating two shadow layers, we will name it Shadow 1. (You can name it anything as long as you can distinguish it from the layer you will add later.
Choose a dark color with high saturation.
After choosing a color, select the watercolor brush in the brush tool.
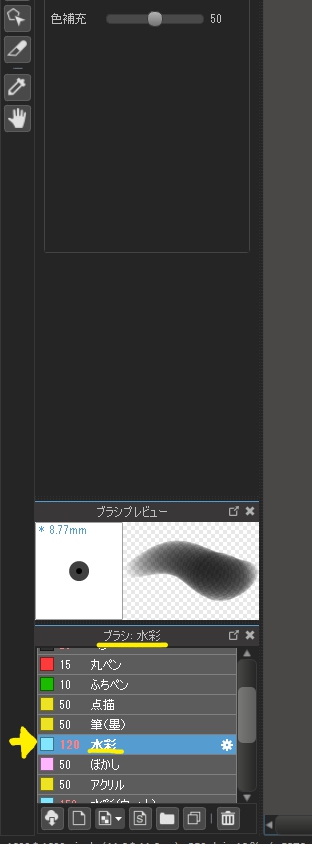
Layer the colors with watercolor.
Overlap the lines irregularly using large and small brushes, and create small squares and triangles with gaps and differences in color.
The key is to layer them in an geometric manner.
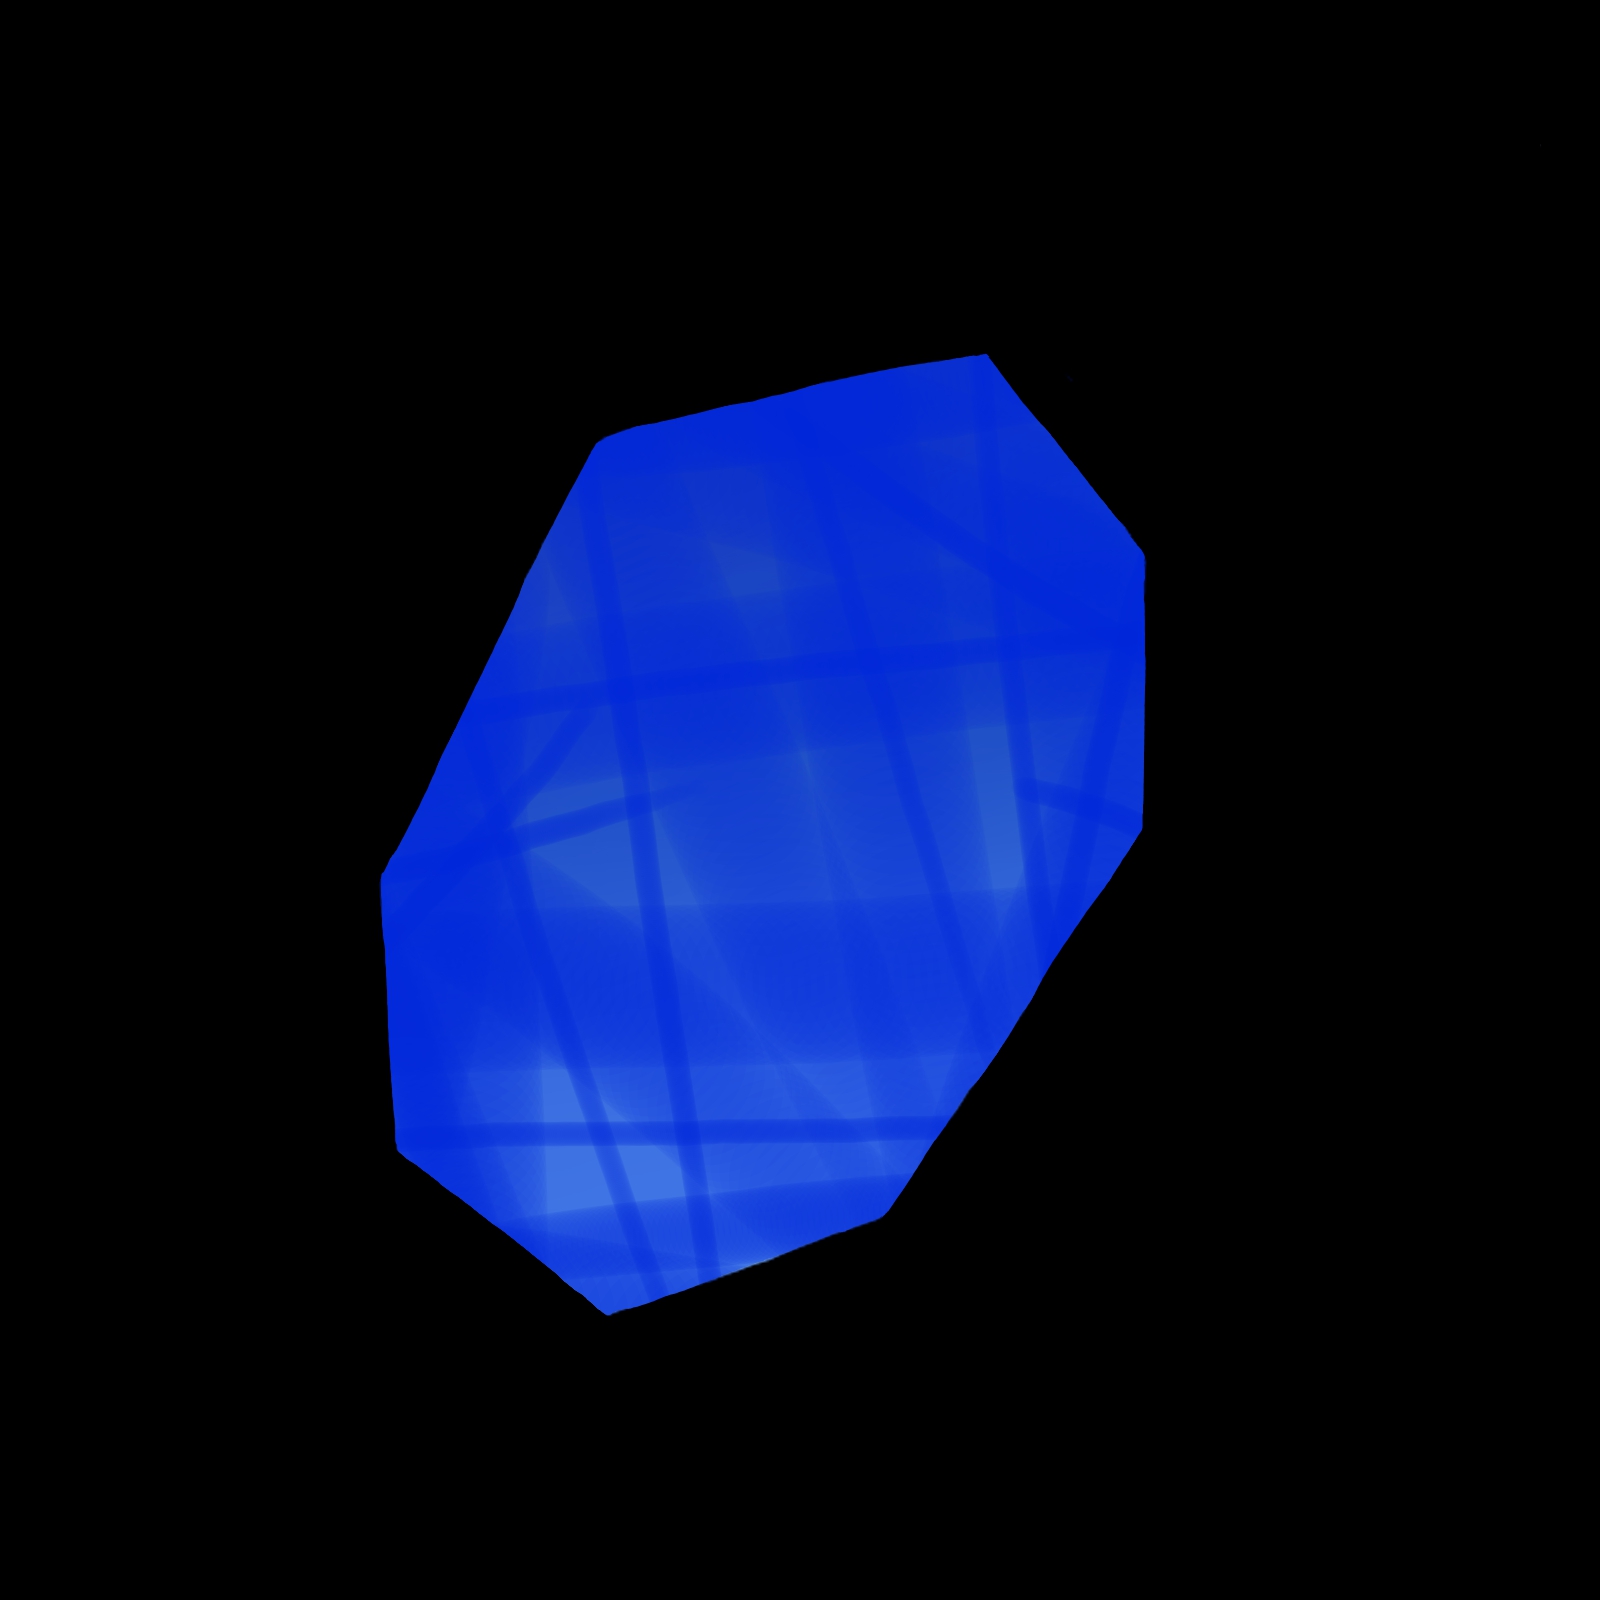
Add a new layer.
Add shadows with a blackish color.
Compared to the area you just painted, paint in small areas where the gem will be exposed to light.
Be aware of the shading.
(This will make the highlights stand out)
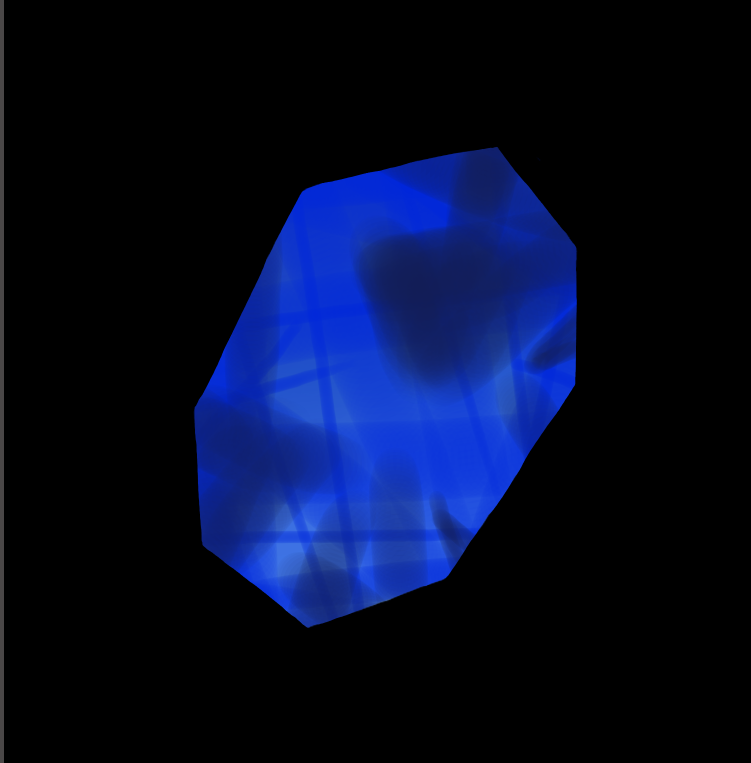
After adding shadows, use an eraser to create a surface pattern. Create squares and triangles.
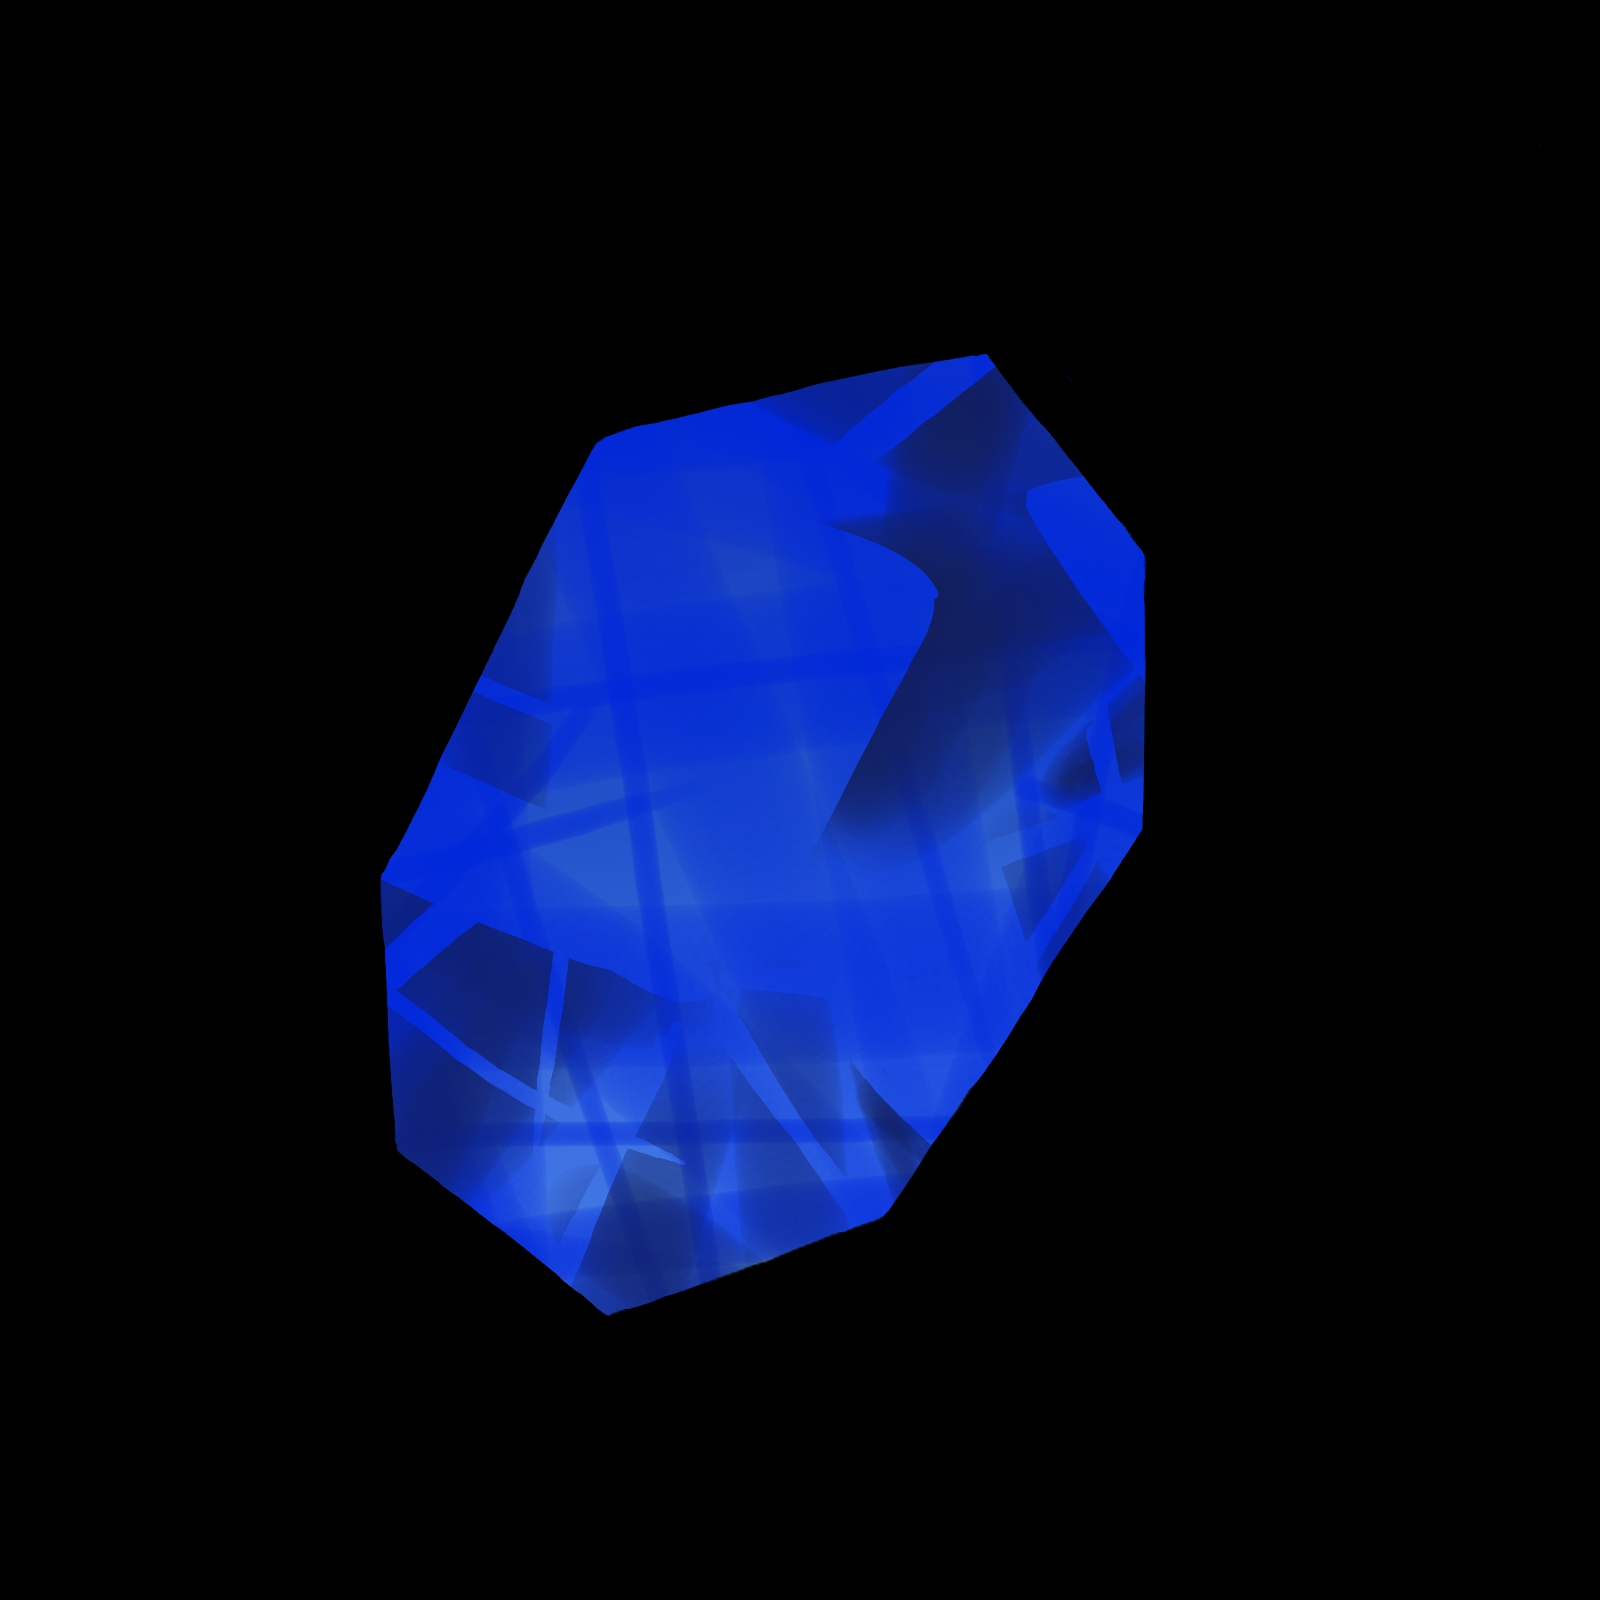
④Light
Next, let’s draw the light.
Add a new layer.
Name the layer “Light 1”.
Paint it with a slightly whitish color.
After drawing the lines, use the eraser to make small triangles and squares as in the previous step.
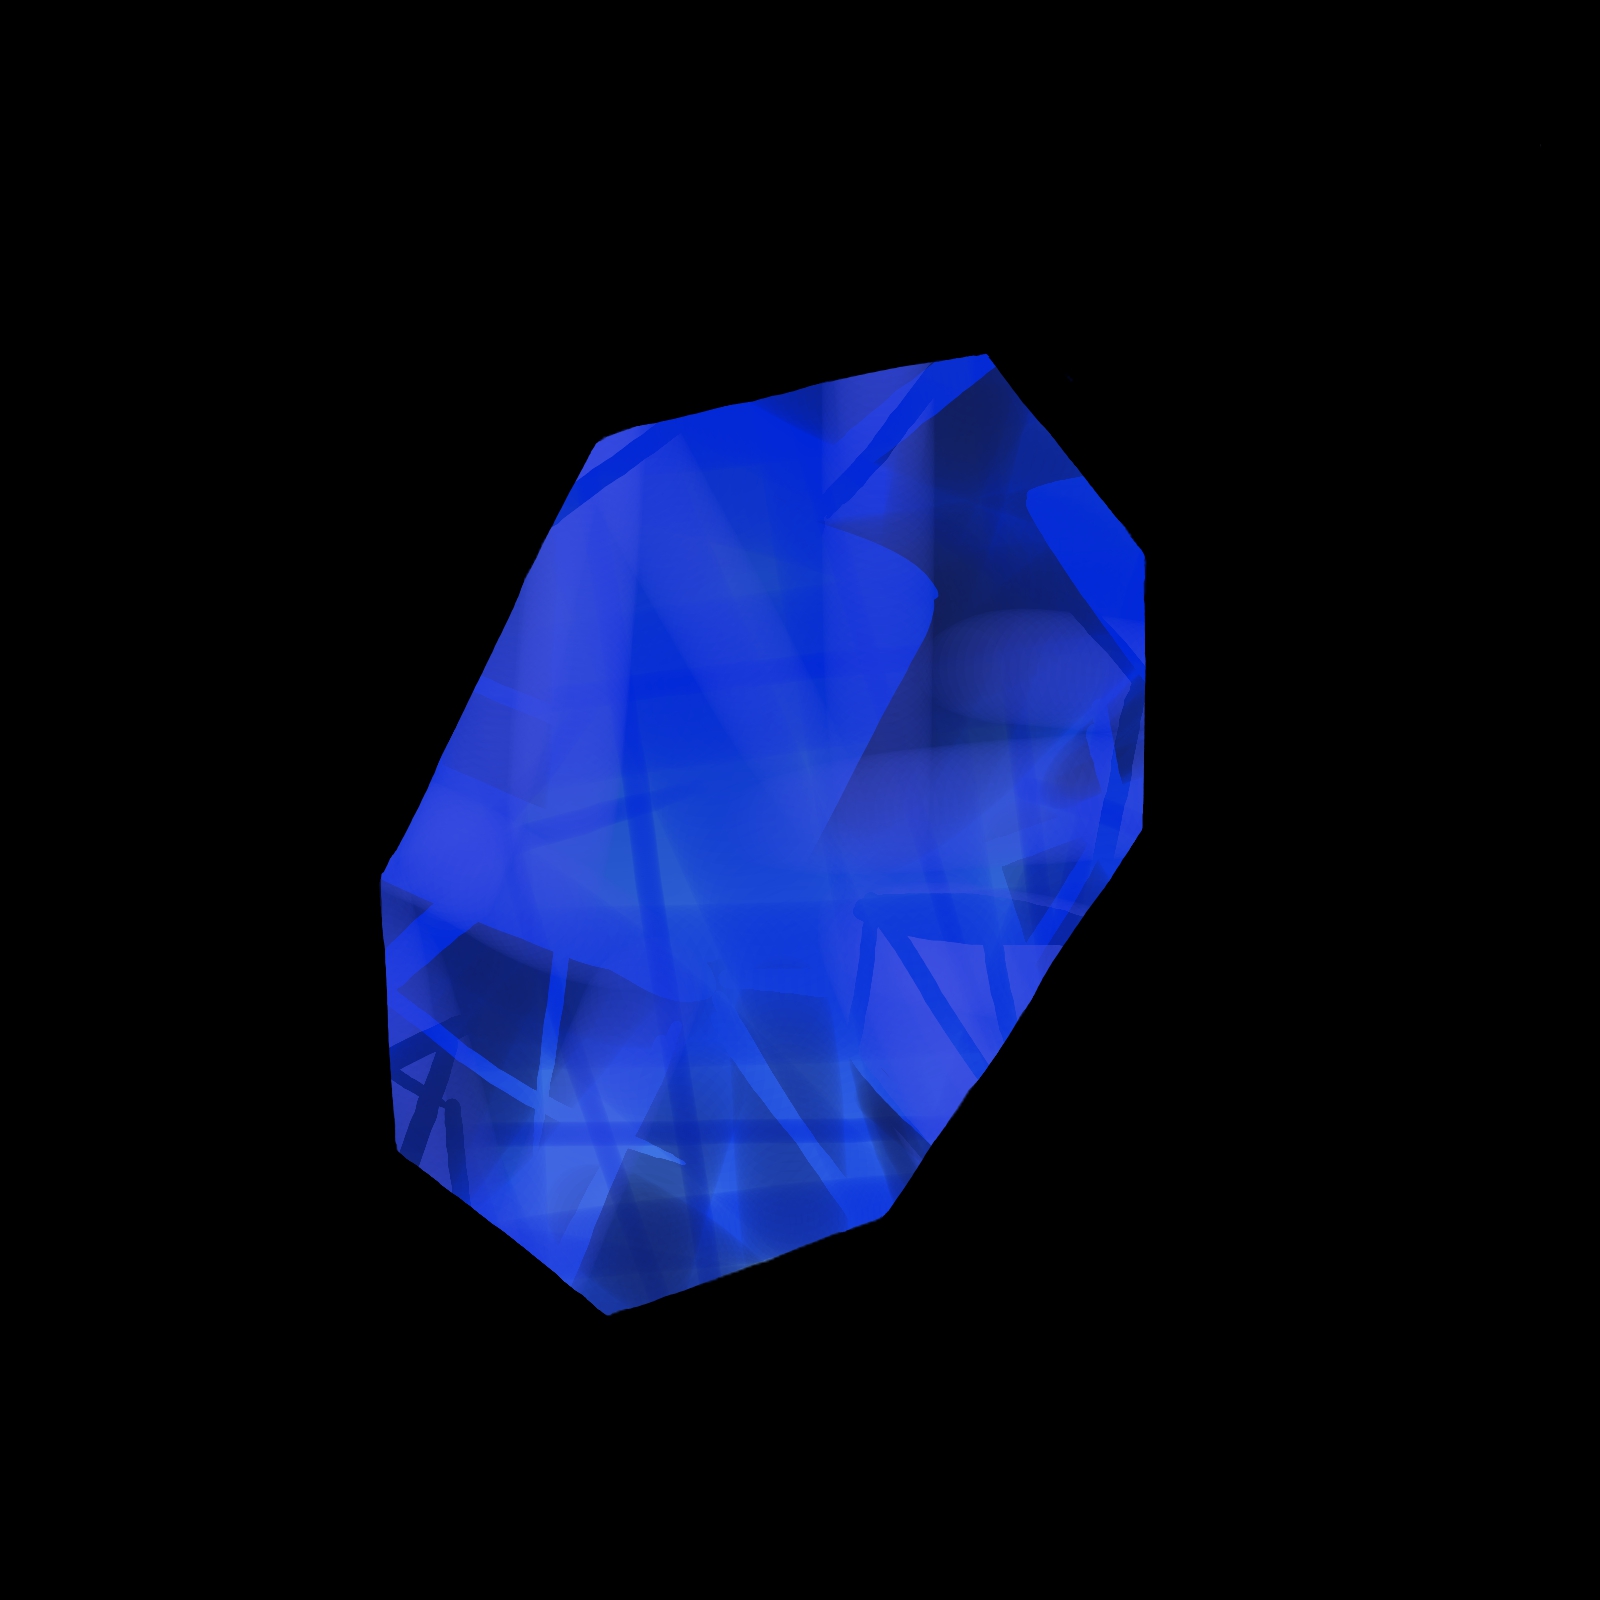
We will draw a larger light.
Add a new layer.
Name the layer “Light 2”.
This time we will set the layer to [Add and Emit].
If you want to know more about the effects of blending and processing layers, click the article link below.
[iPad] Blending and Processing Layers
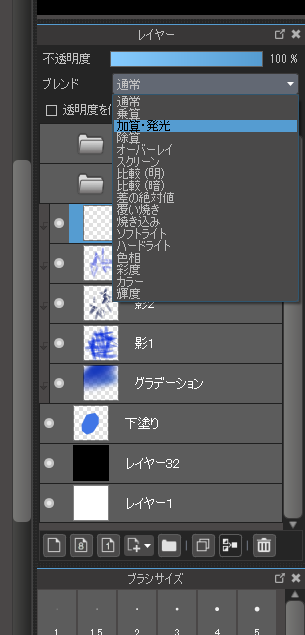
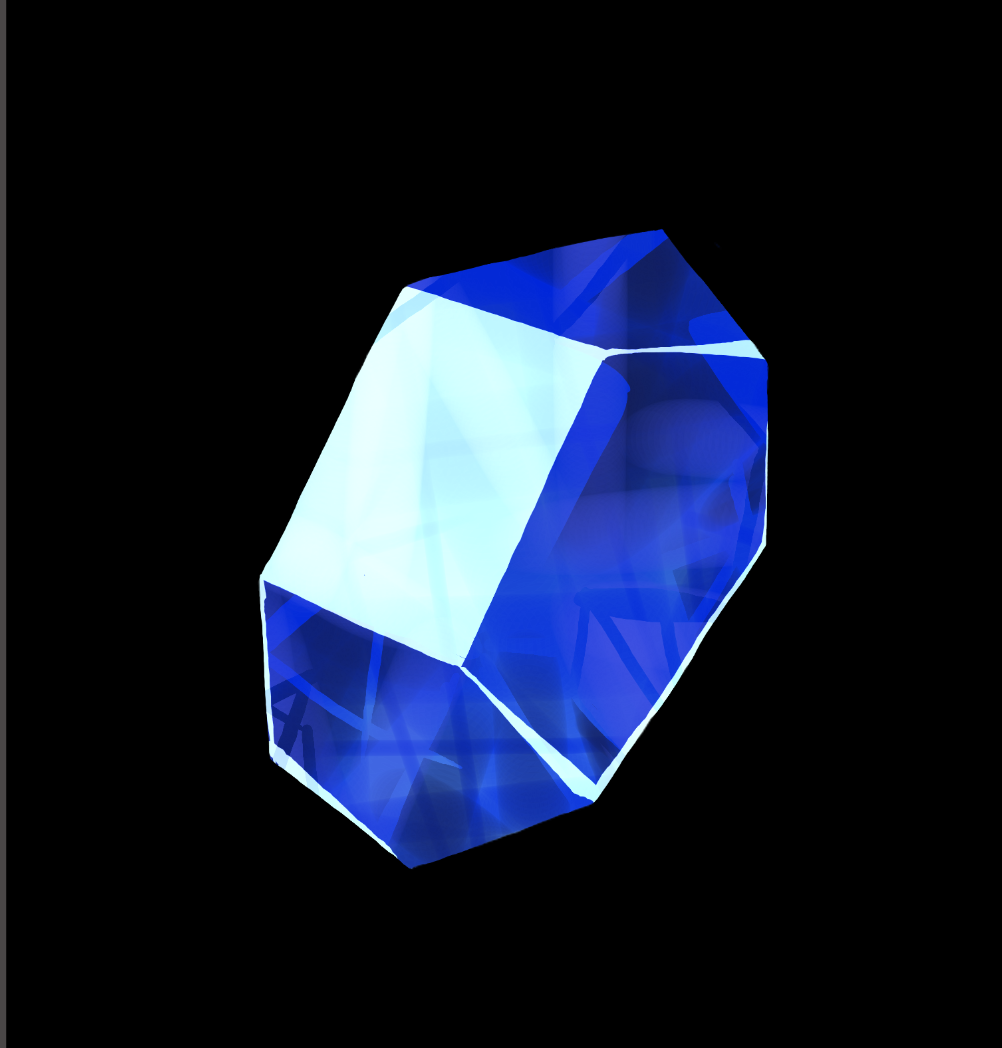
Once you have “light addition and emission”, draw a large light.
Use a regular pen and not a watercolor pen.
If you draw with the corners in mind, it will look like this.
I use an airbrush to blur them.
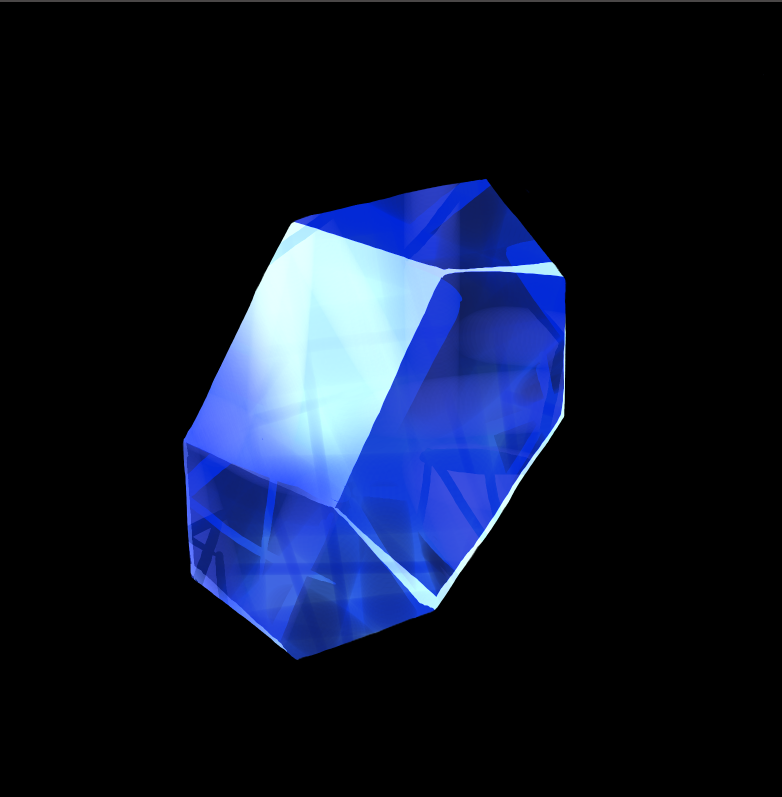
If you want to make it geometric, you can draw it in with a pen after blurring.
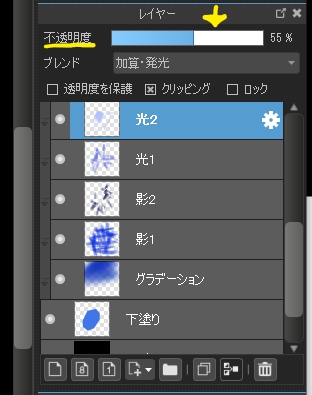
After blurring, lower the opacity of the layer so it’s not too bright.
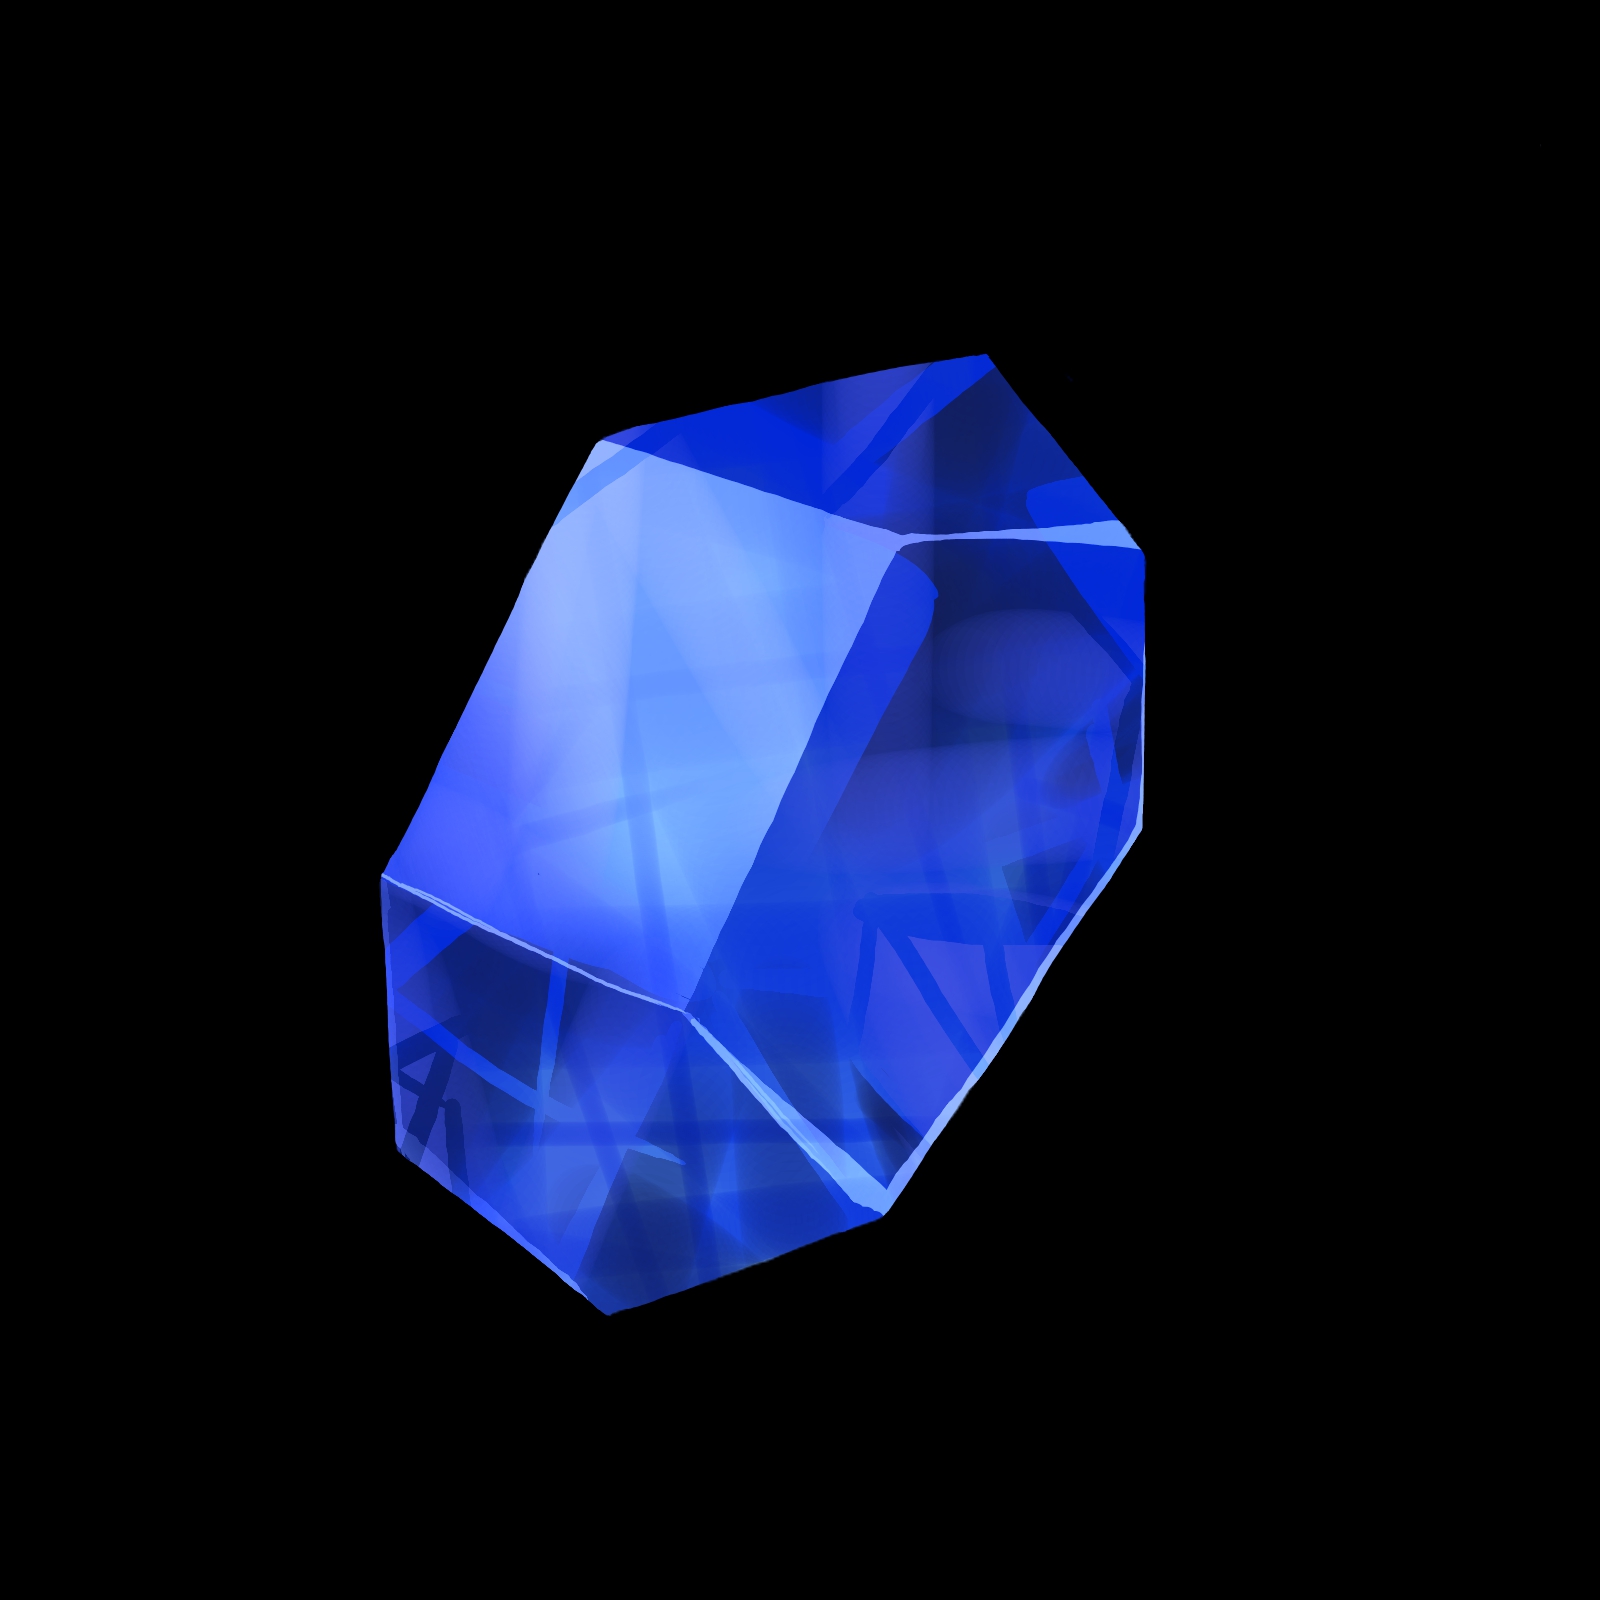
Again we will add a new layer.
Name the layer “Light 3” and set it to [Add and Emit].
Select Watercolor.
Draw the light in whitish color with the image of overlapping lines.
After that use the eraser to create triangles and squares of various sizes.
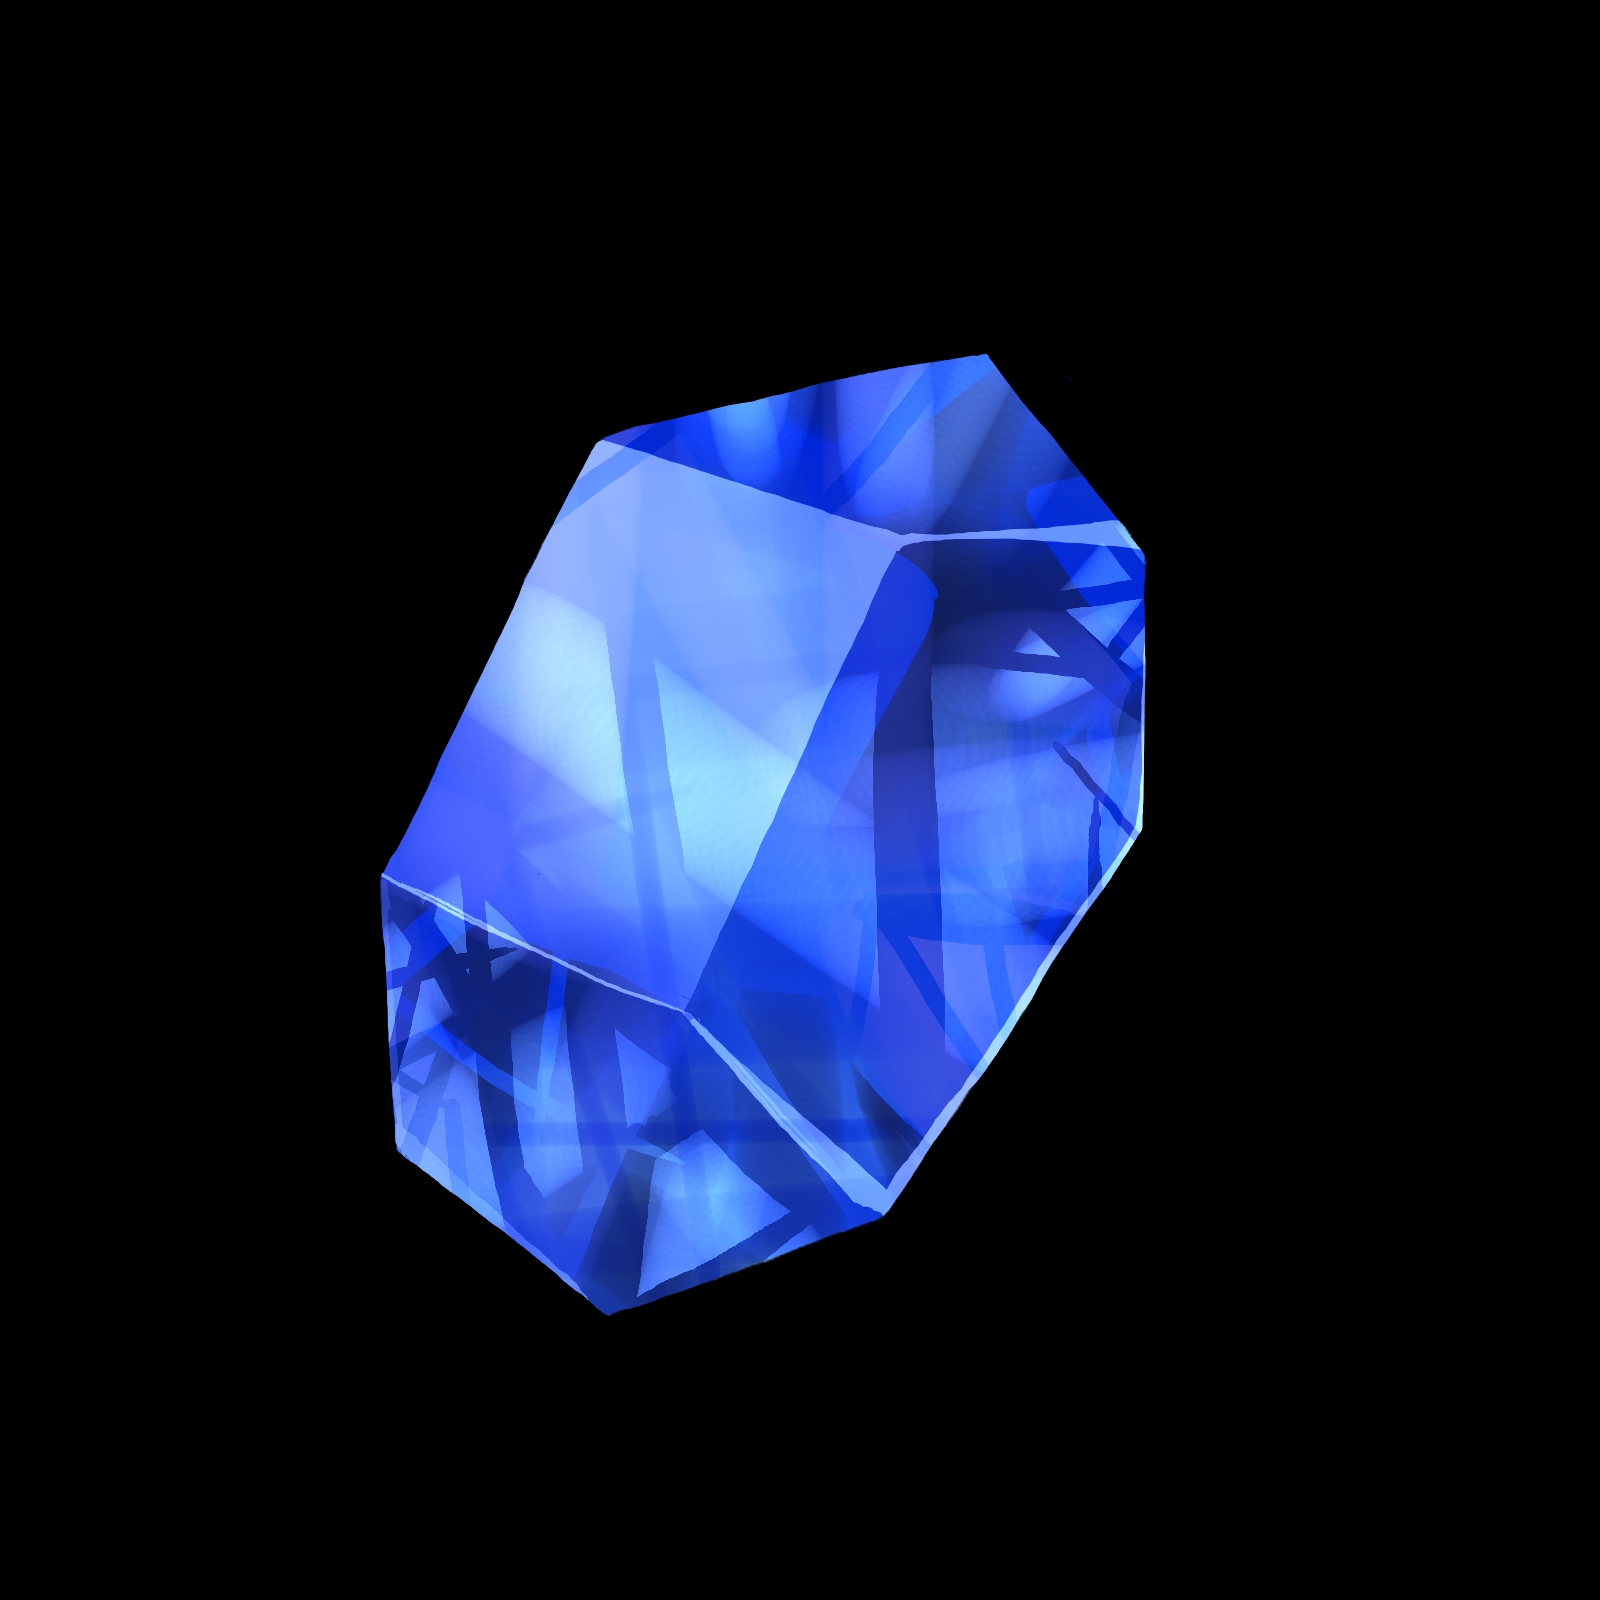
Add a new layer “Light 4”.
Use a white pen to scatter highlights near large lights.
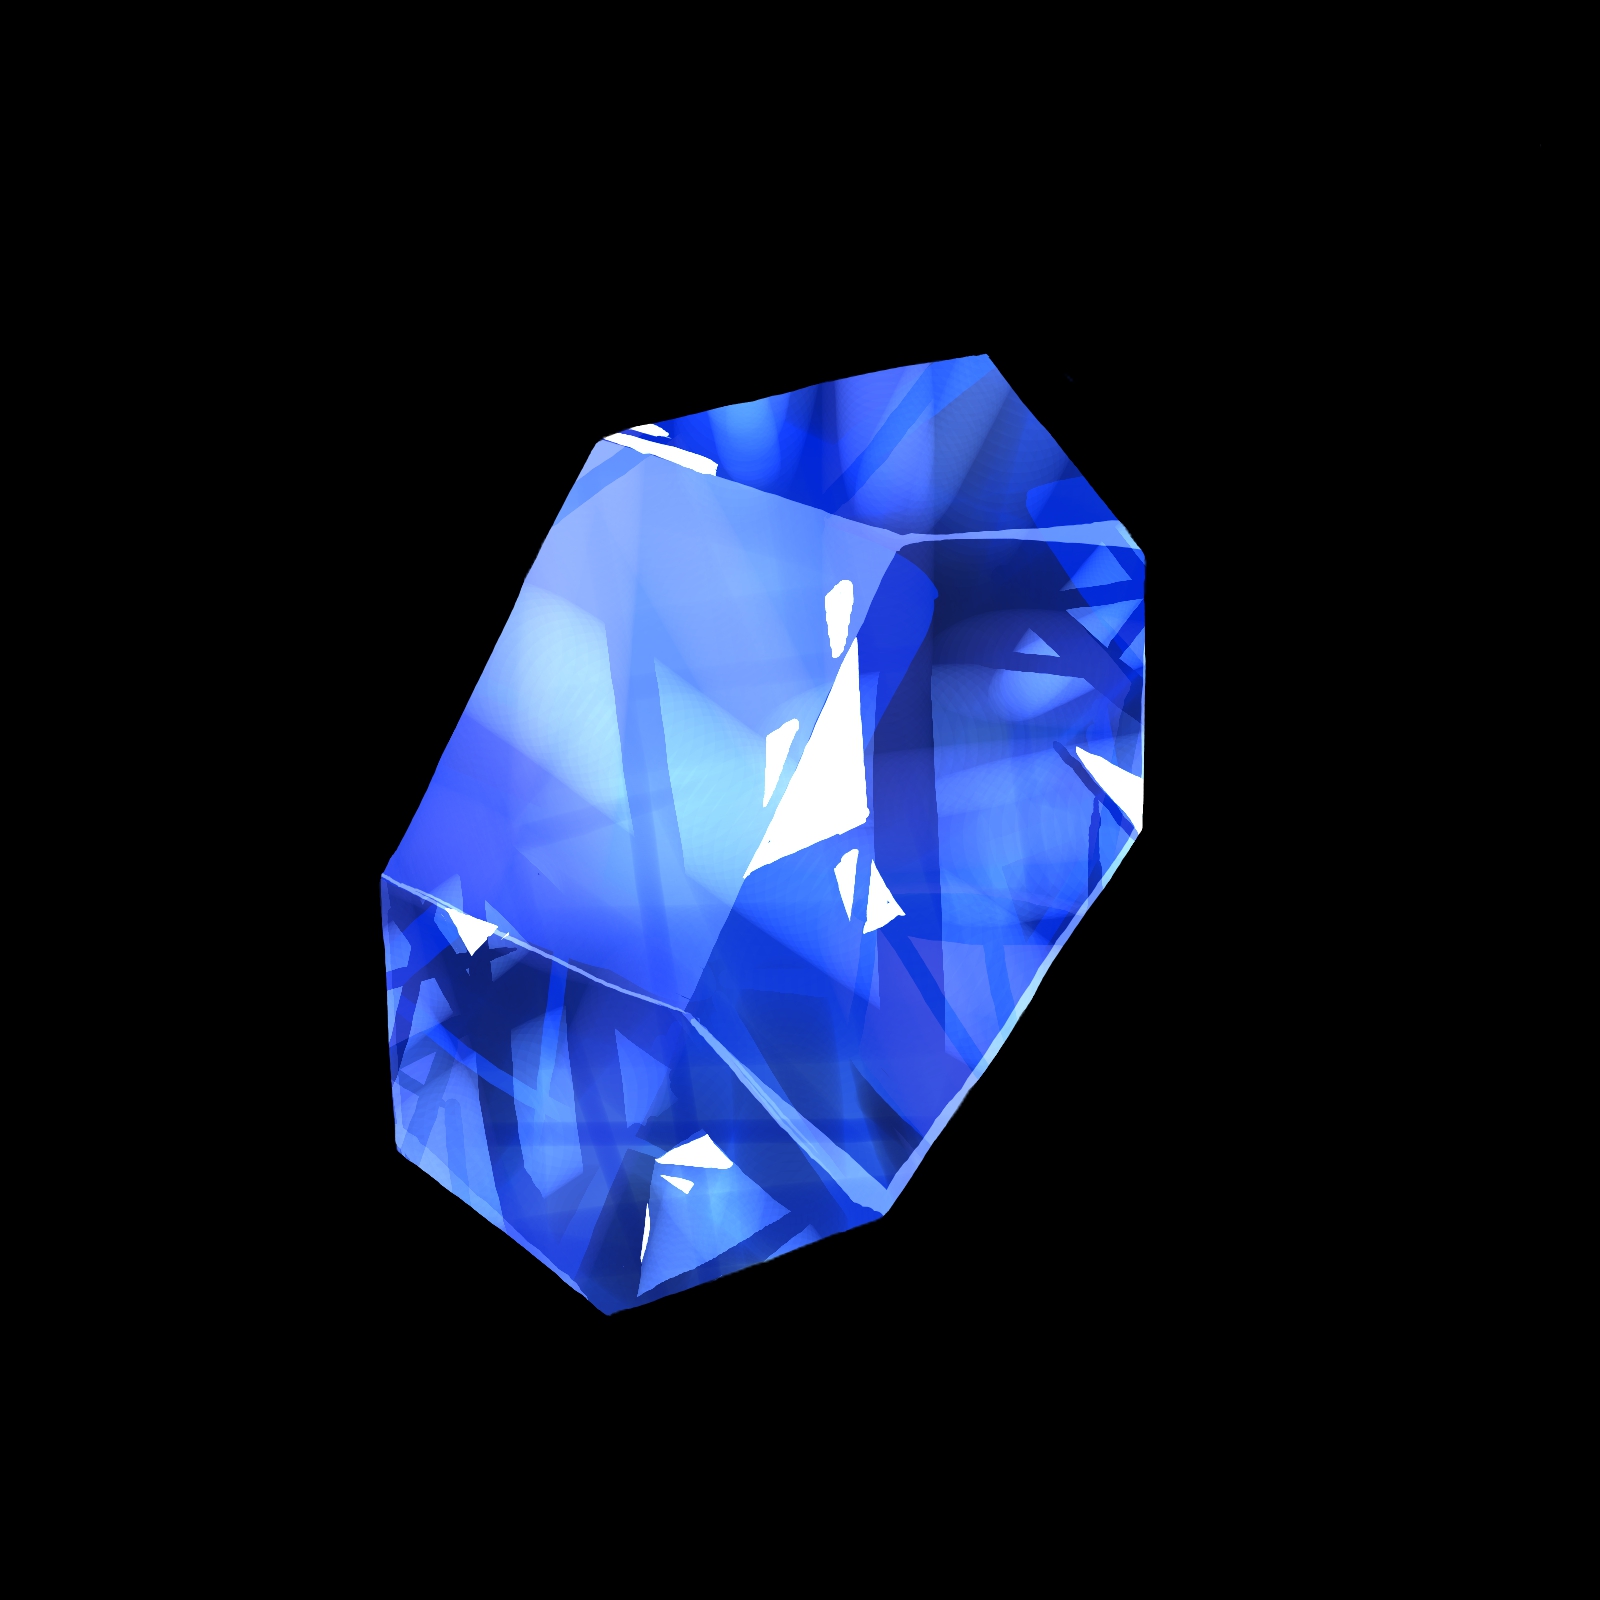
Add a new layer “Light 5”.
Set it to [Add and Emit].
Place it below Light 4.
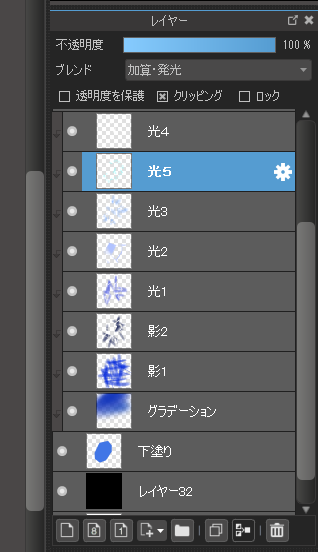
Now draw a highlight with a highly saturated color.
Use a watercolor brush to paint near or under the highlights painted in Light 4.
After that use the eraser again to make triangles and squares.
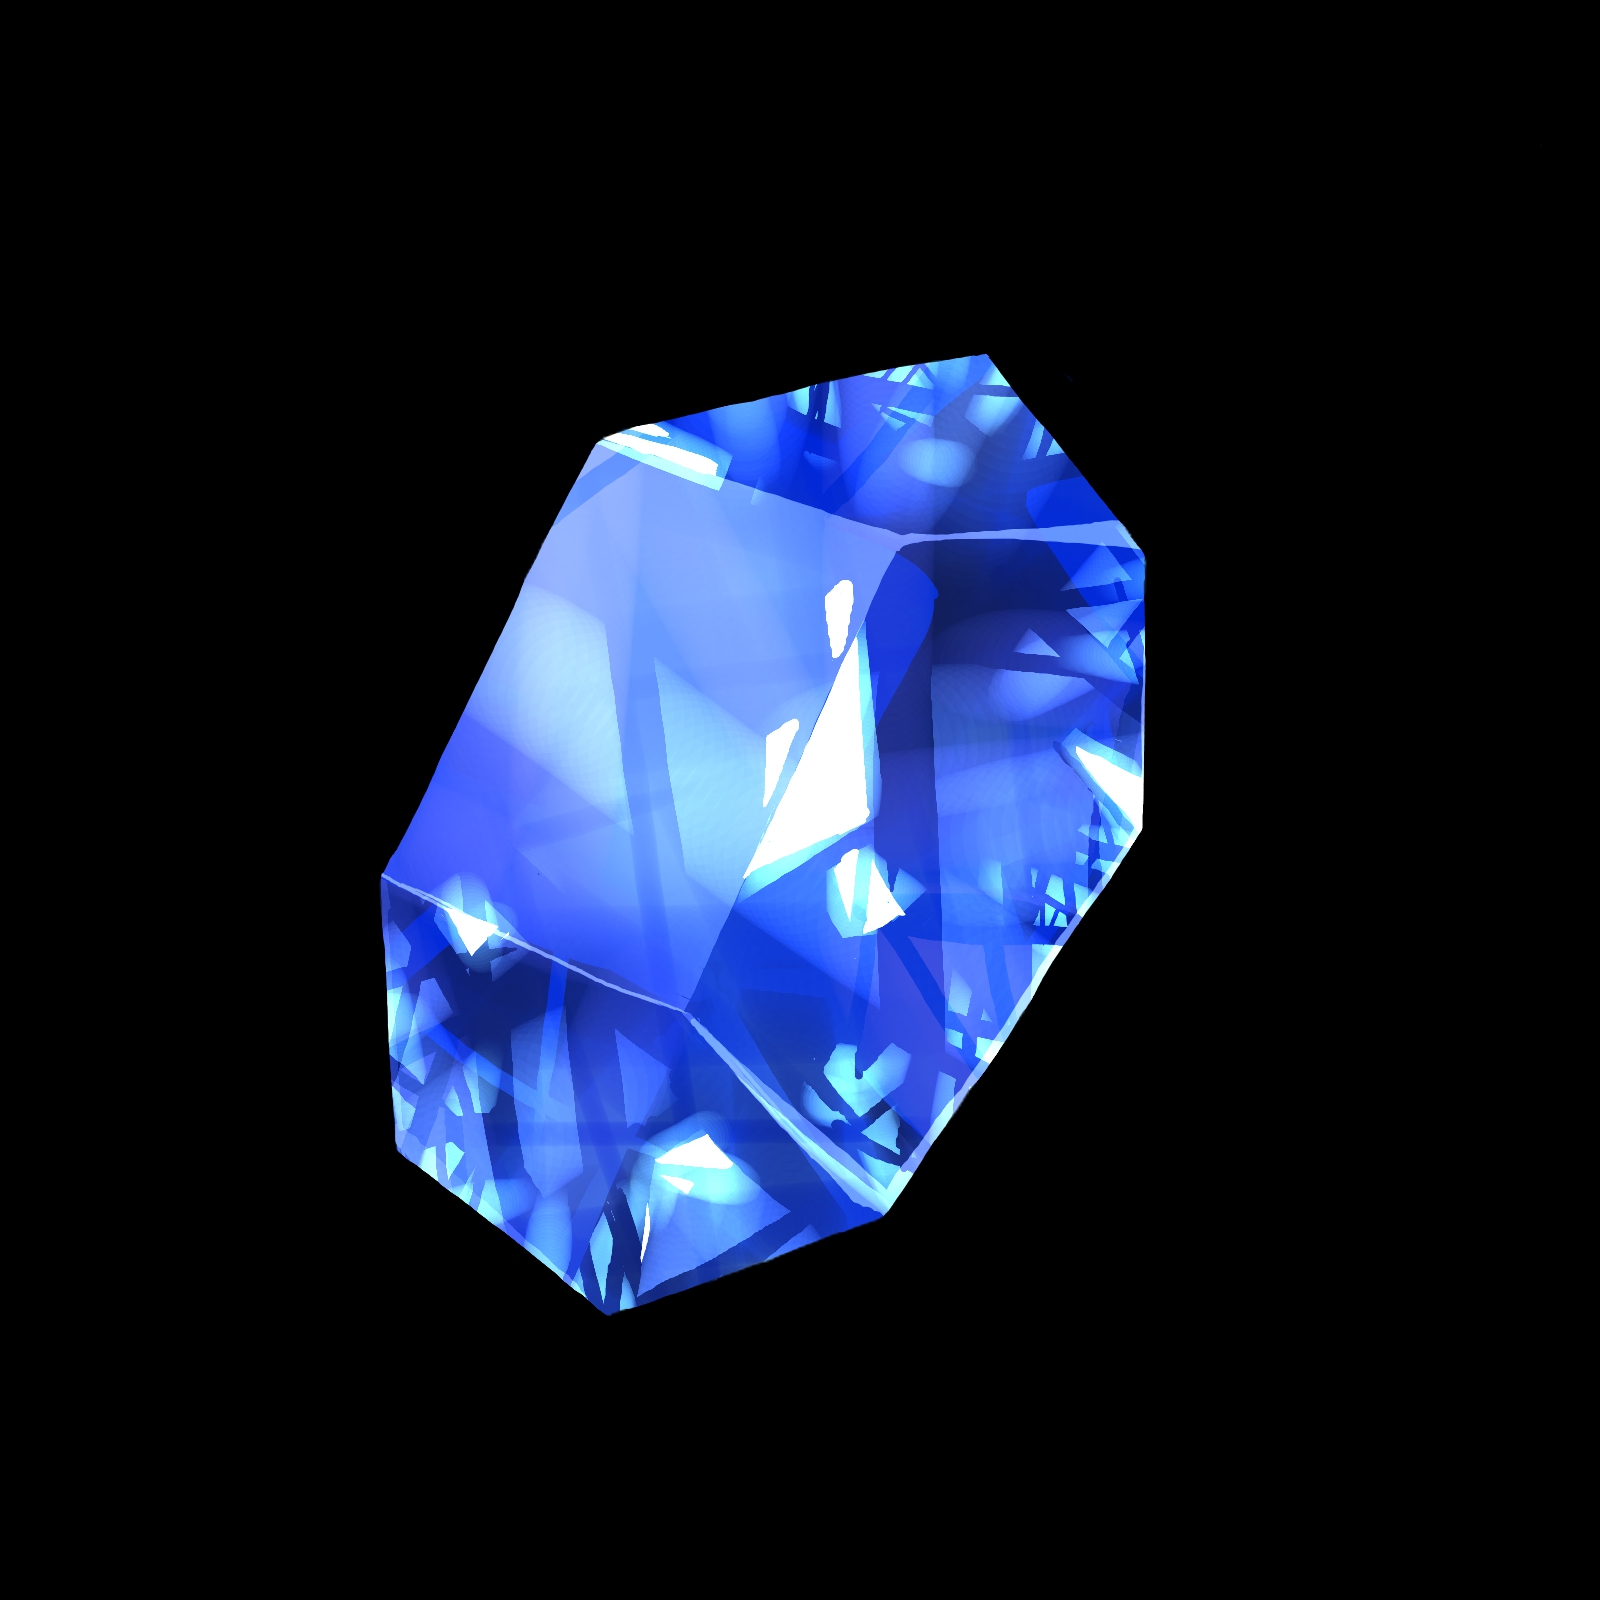
And there it is.
I hope you find this helpful.
\ We are accepting requests for articles on how to use /

