2022.08.08
【Making】Drawing a Japanese Style Female Assassin!
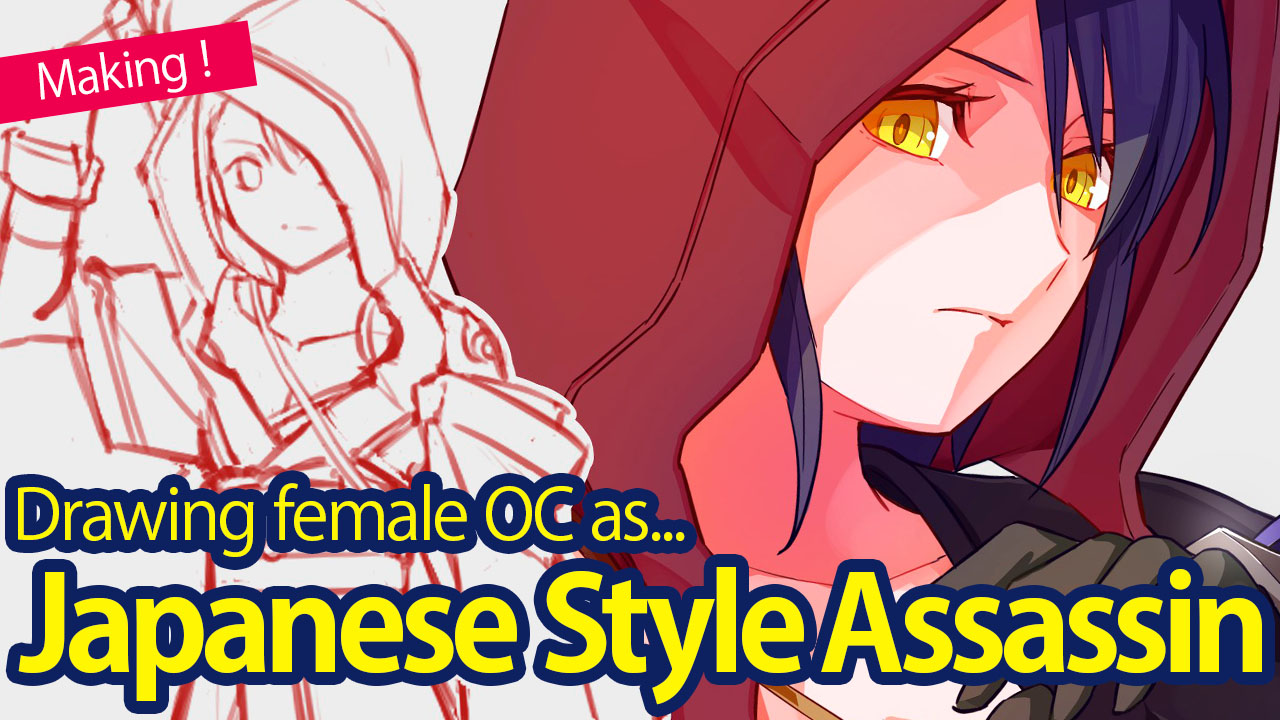
This article will follow the making of an original character and the finalized single illustration!
I hope this article will inspire and help all art lovers out there!
1, Preparation
Let’s open the MediBang Paint app!
The first time the functions and tool names appear, they will be written as【Functions, Tool Names (Windows Shortcut Key)】.
I will link the related articles below, so please refer to those for more details!
▼About【Shortcut Keys】
Shortcut Keys List【Windows】
From【File】choose【New(Ctrl + N)】and set the width and height to 1350px and 2400px respectively.
The main brushes I will be using for this making are:
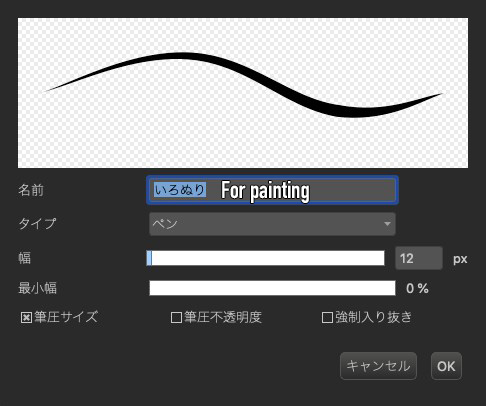
8px Pen (for line drawing)
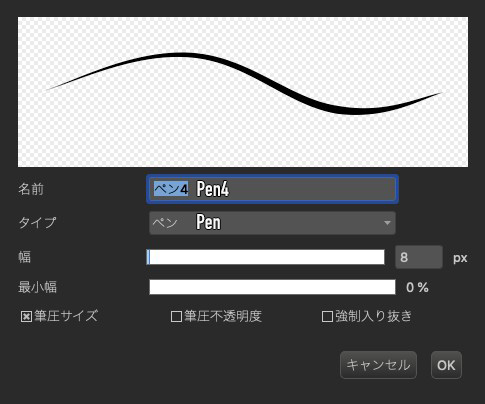
Free-size Pen (for painting colors)
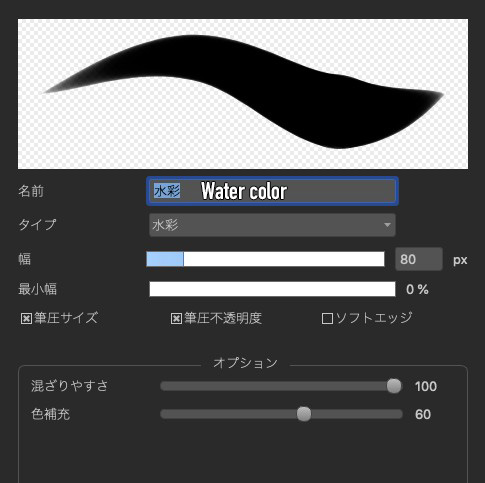
Free-size Watercolor
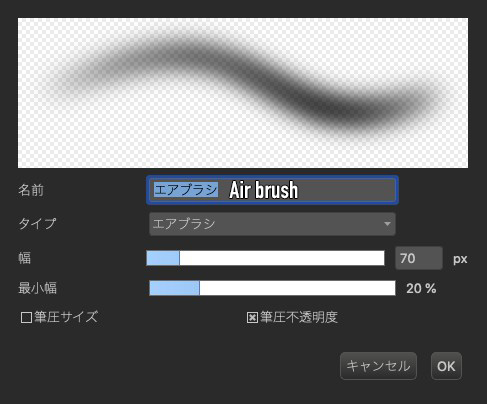
Free-size AirBrush
2, Character Design
As the title says, I will be drawing a Japanese style assassin!
I was thinking of Ninja x Assassin at first but I realized, isn’t that just Ninja itself? so I’ve decided to change the concept to a Japanese assassin!
Giving up is a key too…
There are times when I create a character in the flow while drawing a single picture illustration, but in my case, I usually end up taking a long time and just screwing it up.
My brain gets confused as I have to design a character and think of the pose at the same time.
So, I will start drawing only after I’ve made a rather solid design!
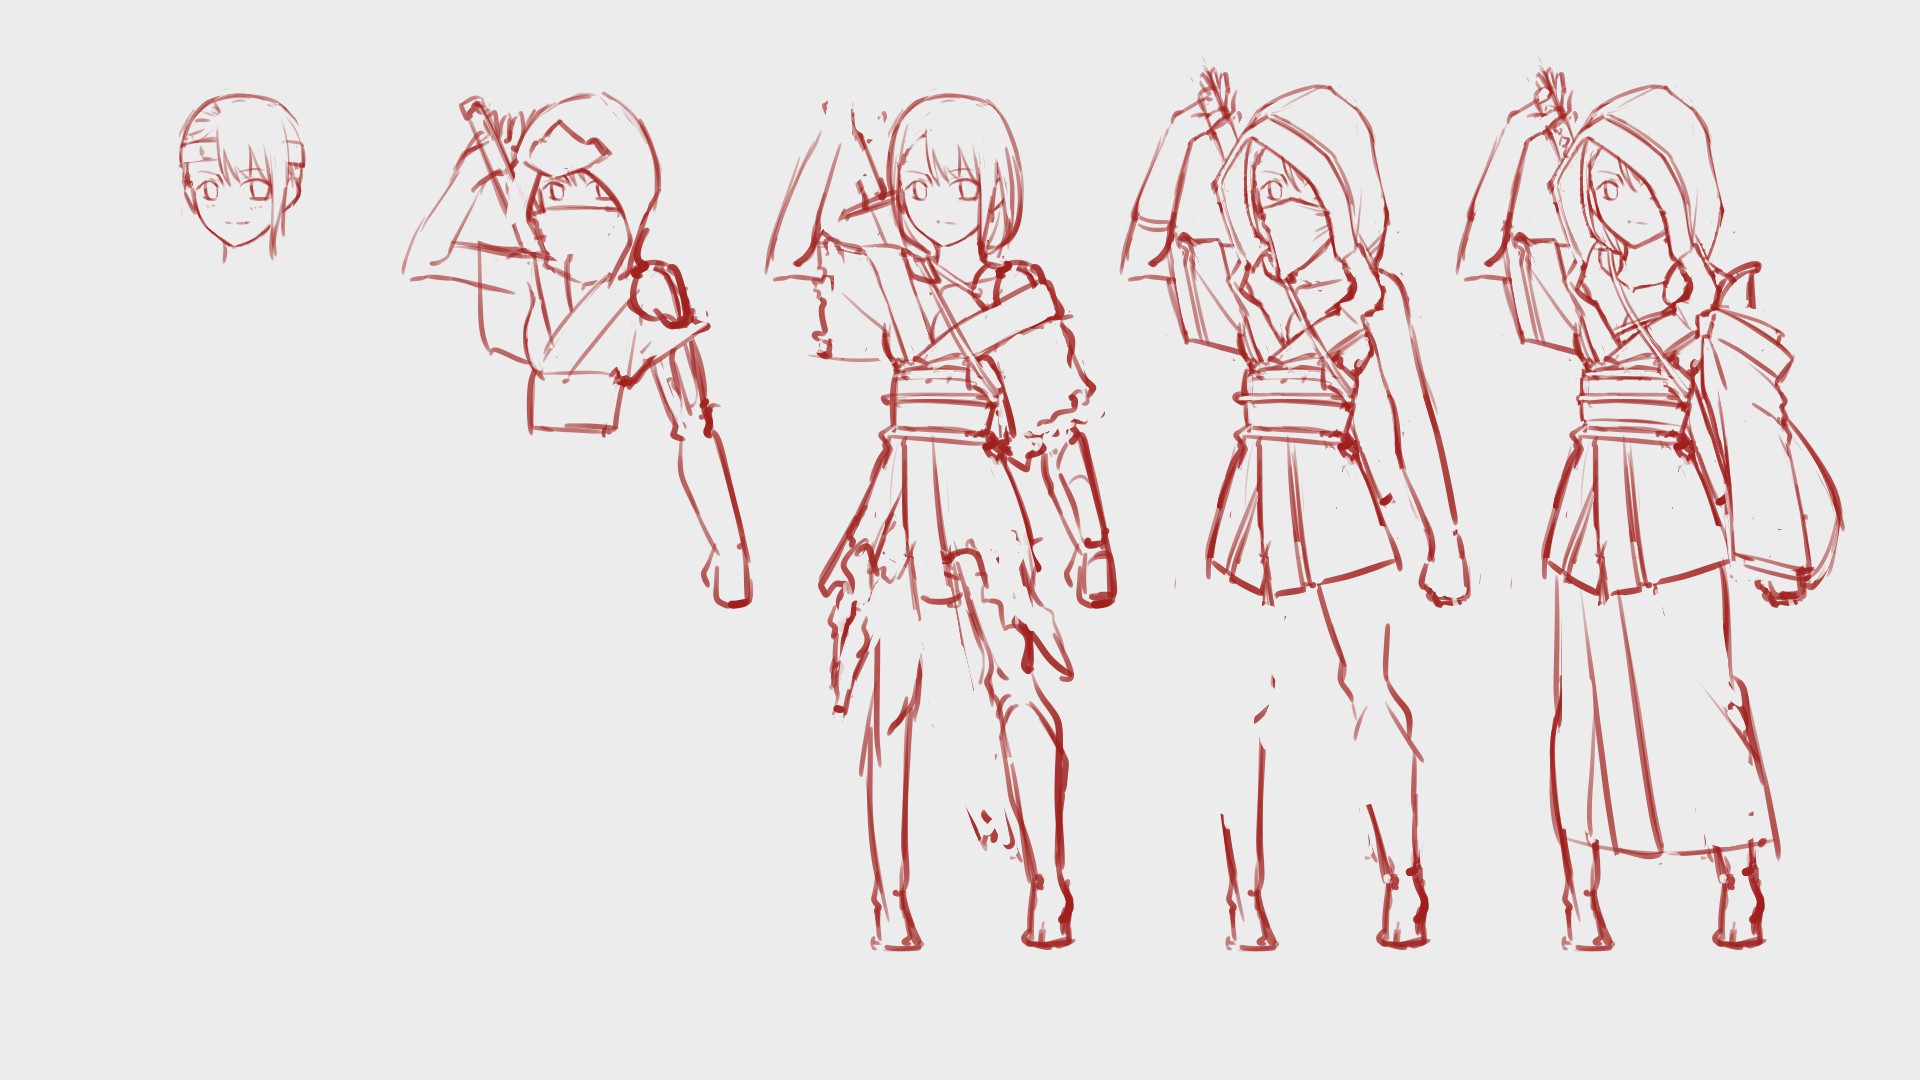
My image of the ninja had a hood covering the head and the mouth and I thought of arranging it first…but it was apparently too challenging for me.
The hood and the mask in the second design looked atrocious so I took them off but then it no longer looked like a ninja nor an assassin… On top of that, I dressed the character in a worn-out cloth so she ended up looking like a hobo…
I redrew the hood thoroughly and it looked much better so I added the mask again but I gave up since I really couldn’t come to like how it looked.
I actually wanted to draw an illustration of the original character taking the mask off!
Is it because I drew it with a tenugui (a traditional washcloth)…?
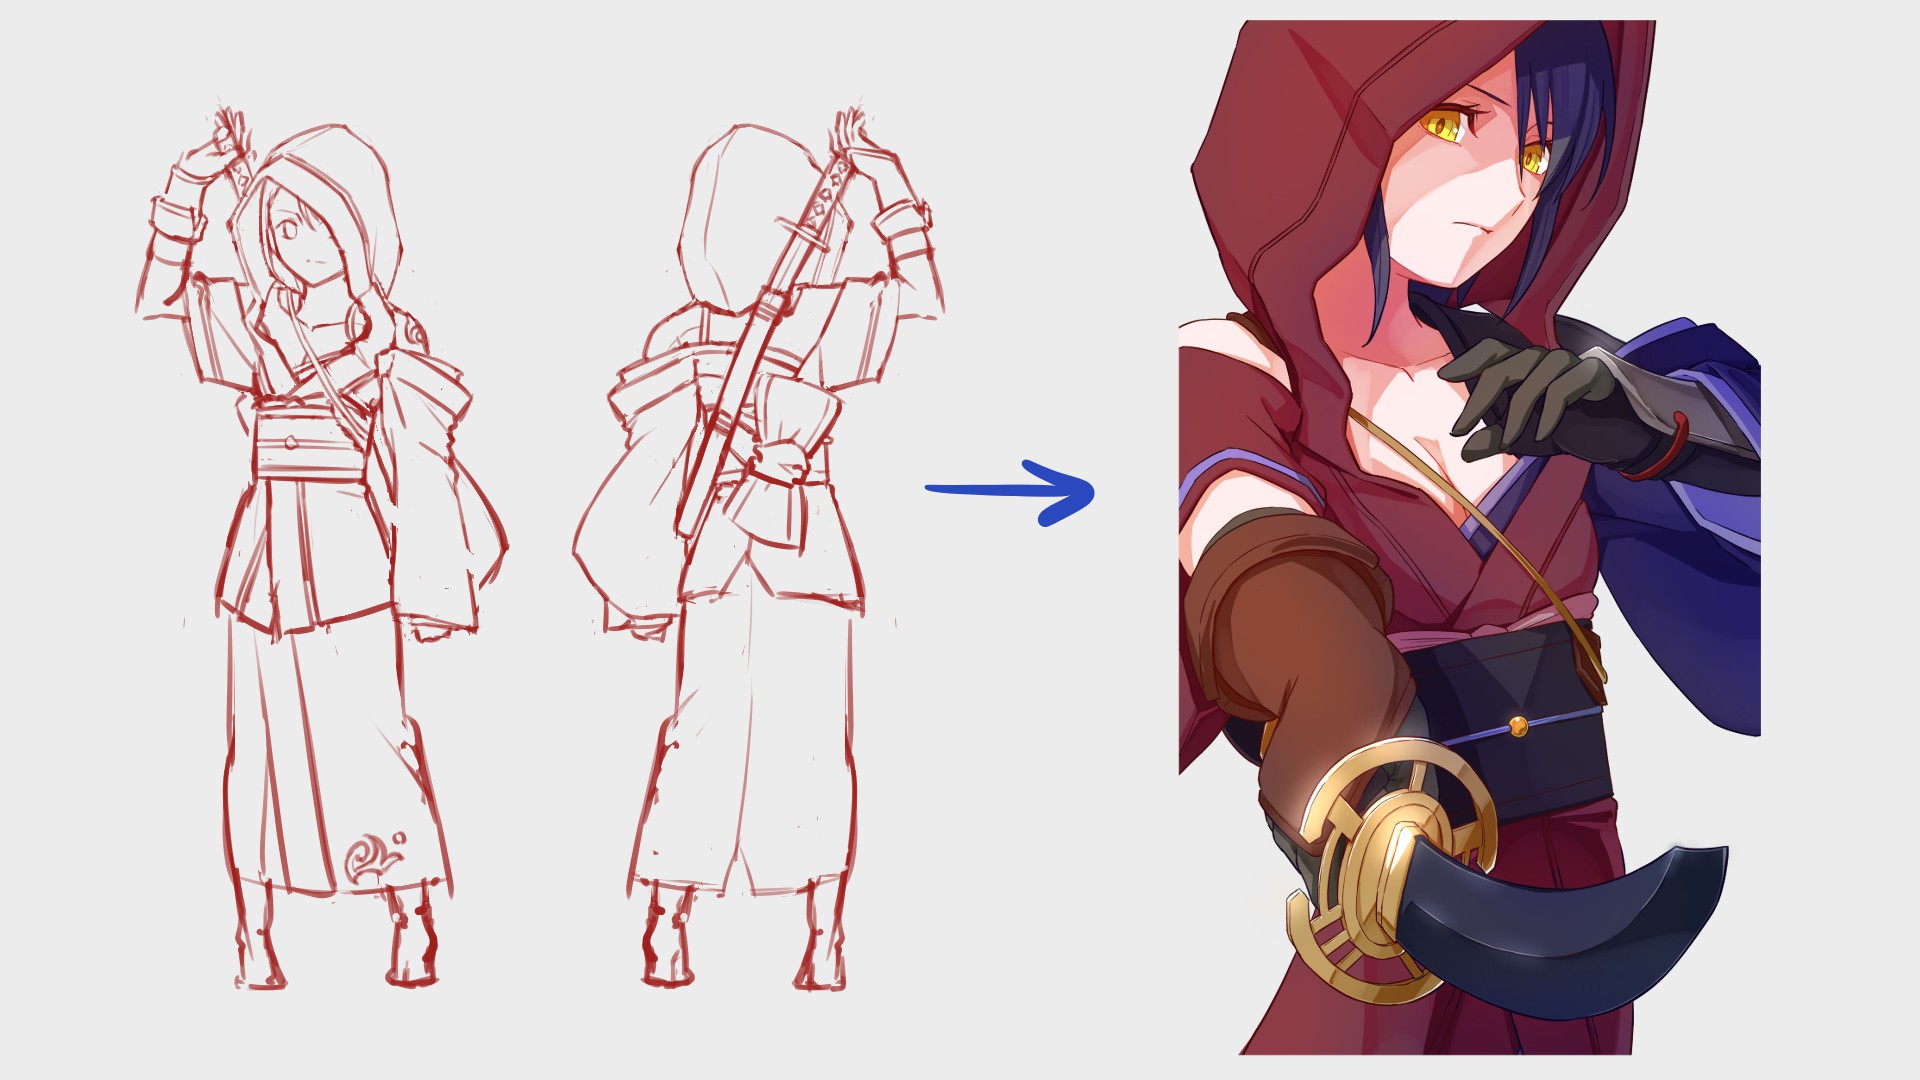
Here is my final product!
Compared to the beginning, it looks much better!
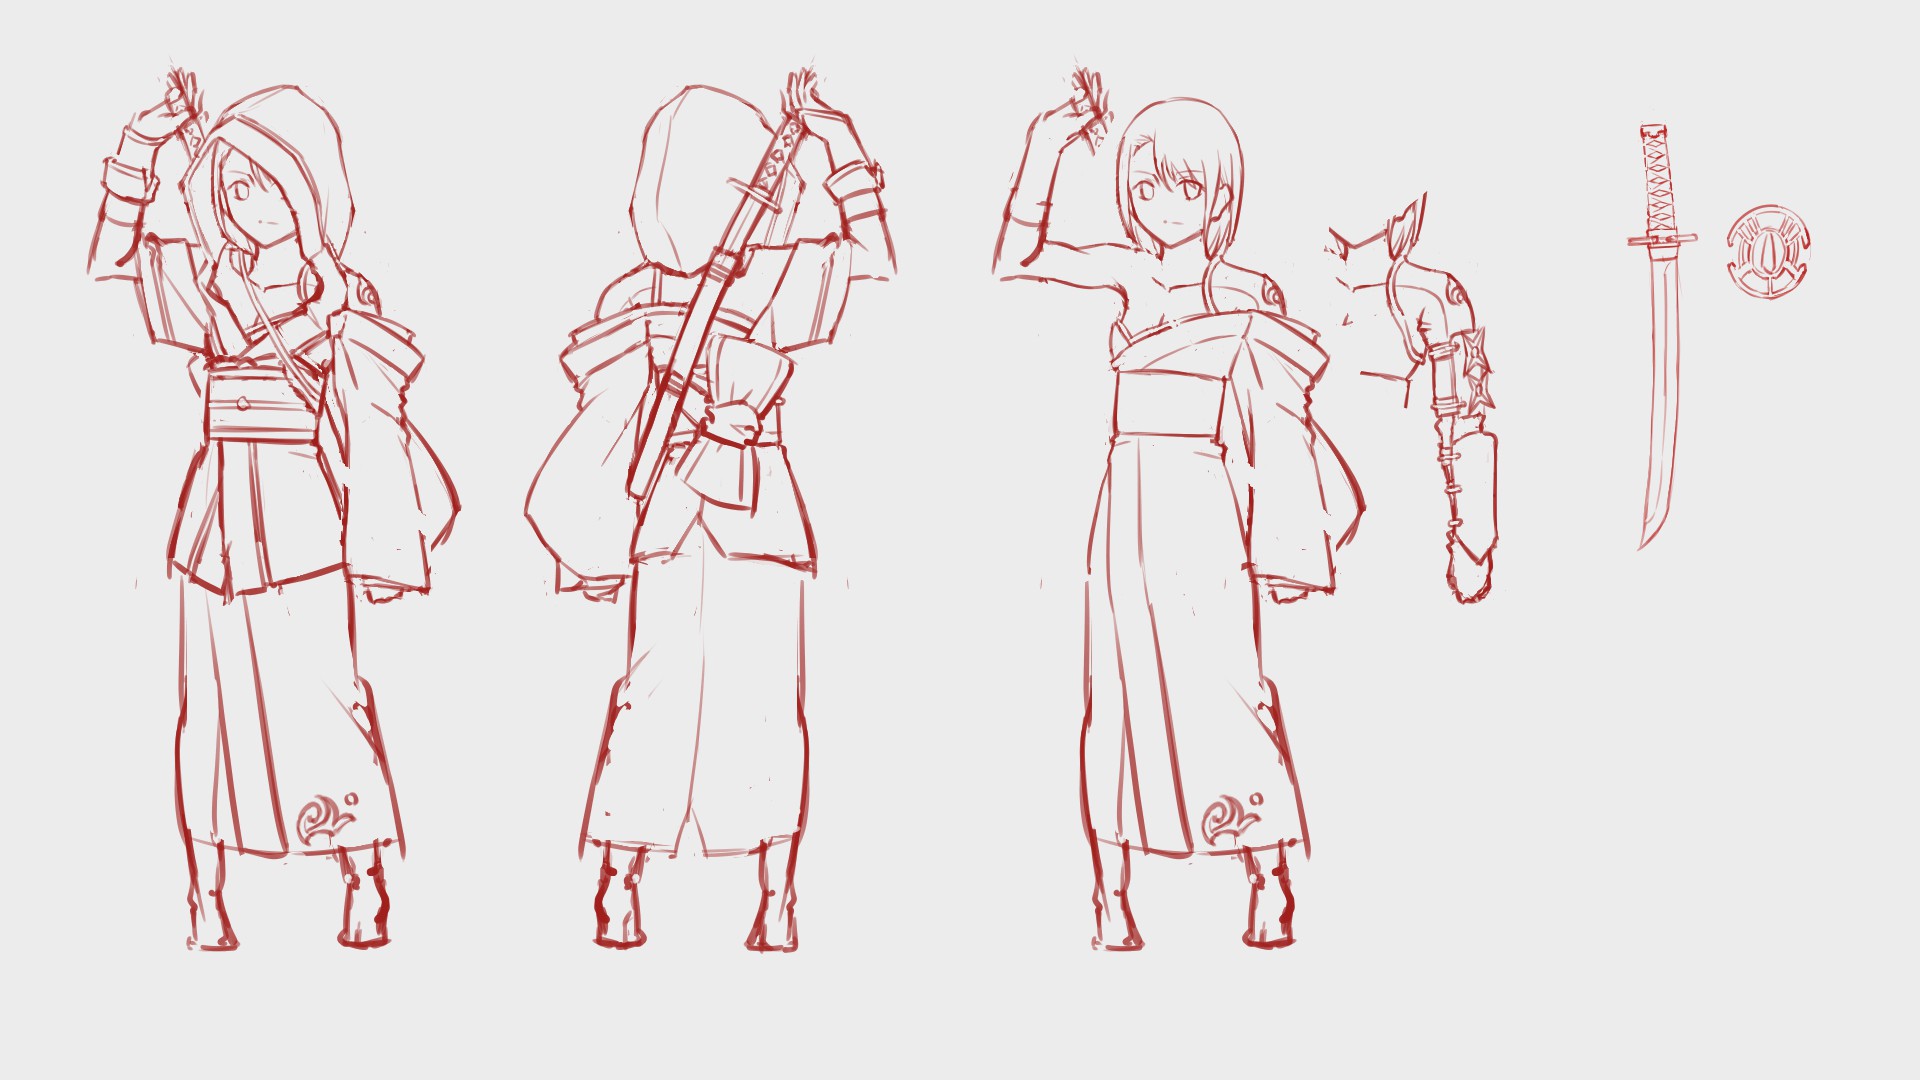
The hood is open on the back so the sword strap goes through.
This is a remnant of the original idea which had an open back to pass the ponytail because I was thinking of making a character with long hair at first.
If the string is strapped on from outside the hood, the costume will tighten up right?
Well…I also wanted to keep the chest bare too.
Since she is an assassin, the weapon must be kept hidden! That’s why I drew the left arm in that manner.
I wondered about the shuriken being exposed but because eventually the sleeves will hide it so I left it as it is!
She can pull out a dagger from the tekko (protective sleeve for wrist/forearm) as well.
I imagined the dagger being pulled out with a string but I haven’t thought of the details at all.
Cause I’d get a headache!
But if you actually elaborate on such details, the character design becomes way cooler with realism.
Design in ways that match your drawing skills!
Adding the patterns will make the costume look much like a kimono but I only added a little mark to the hem because I don’t think an assassin would dress themselves in an eye-catching costume.
There are tools to draw Japanese patterns easily so if you want to try adding patterned details, please read the article below.
▼Let’s draw Japanese patterns!
Draw a yukata using a traditional Japanese pattern filter!
Useful for Backgrounds and Kimonos! How to Draw a Japanese Pattern!
I’m happy with the way it turned out since she looks just like a Japanese style assassin, as I wanted her to look!
3, Sketch
Next, I will be drawing the rough draft.
There will be a video from this step onwards so please refer to that as well!
Earlier, I said I wanted to draw a pose taking the mask off but I can’t do it anymore since I gave up on drawing a mask for the character.
I will be drawing the character in the pose holding the sword ready.
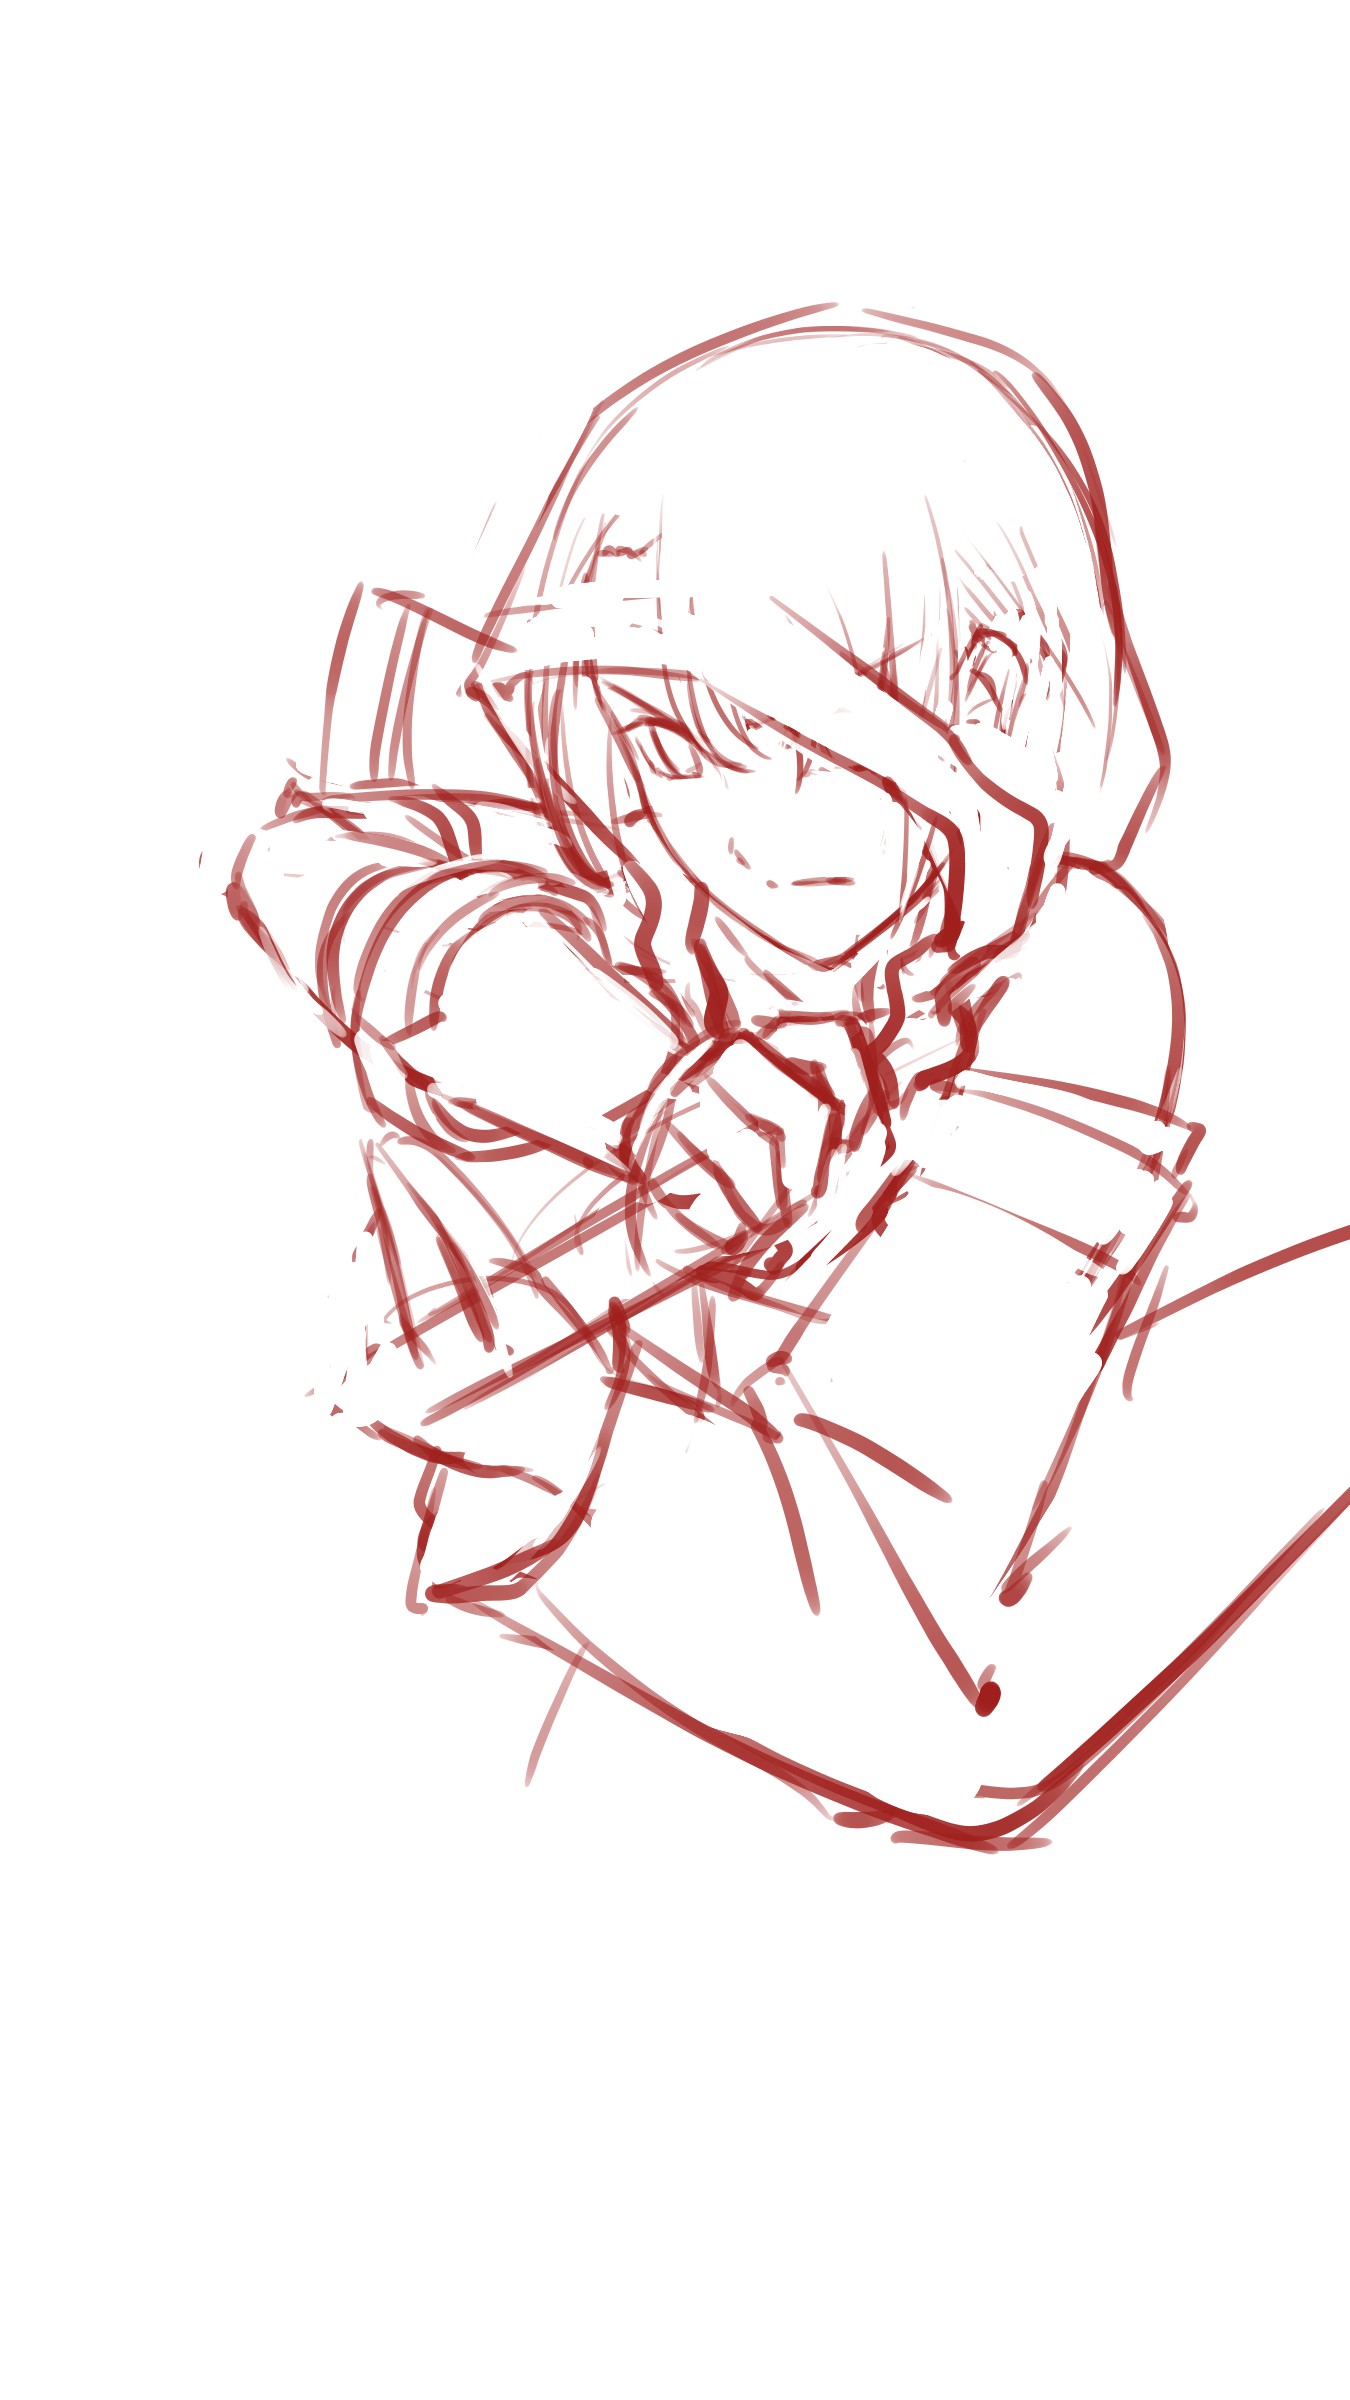
The draft above is the one I dropped, I kept drawing for 20 minutes or so but I couldn’t get it right so I decided to give up.
Again… Giving up is the key!
However, I won’t look cool running away to easy drawings every time so let’s challenge drawing some of my weaknesses to improve as an artist.
This time, I will be drawing the pose sticking out the hand to the front.
I’m going to try drawing with angles I usually don’t draw in, such as the sword and the hand from the tip of the blade!
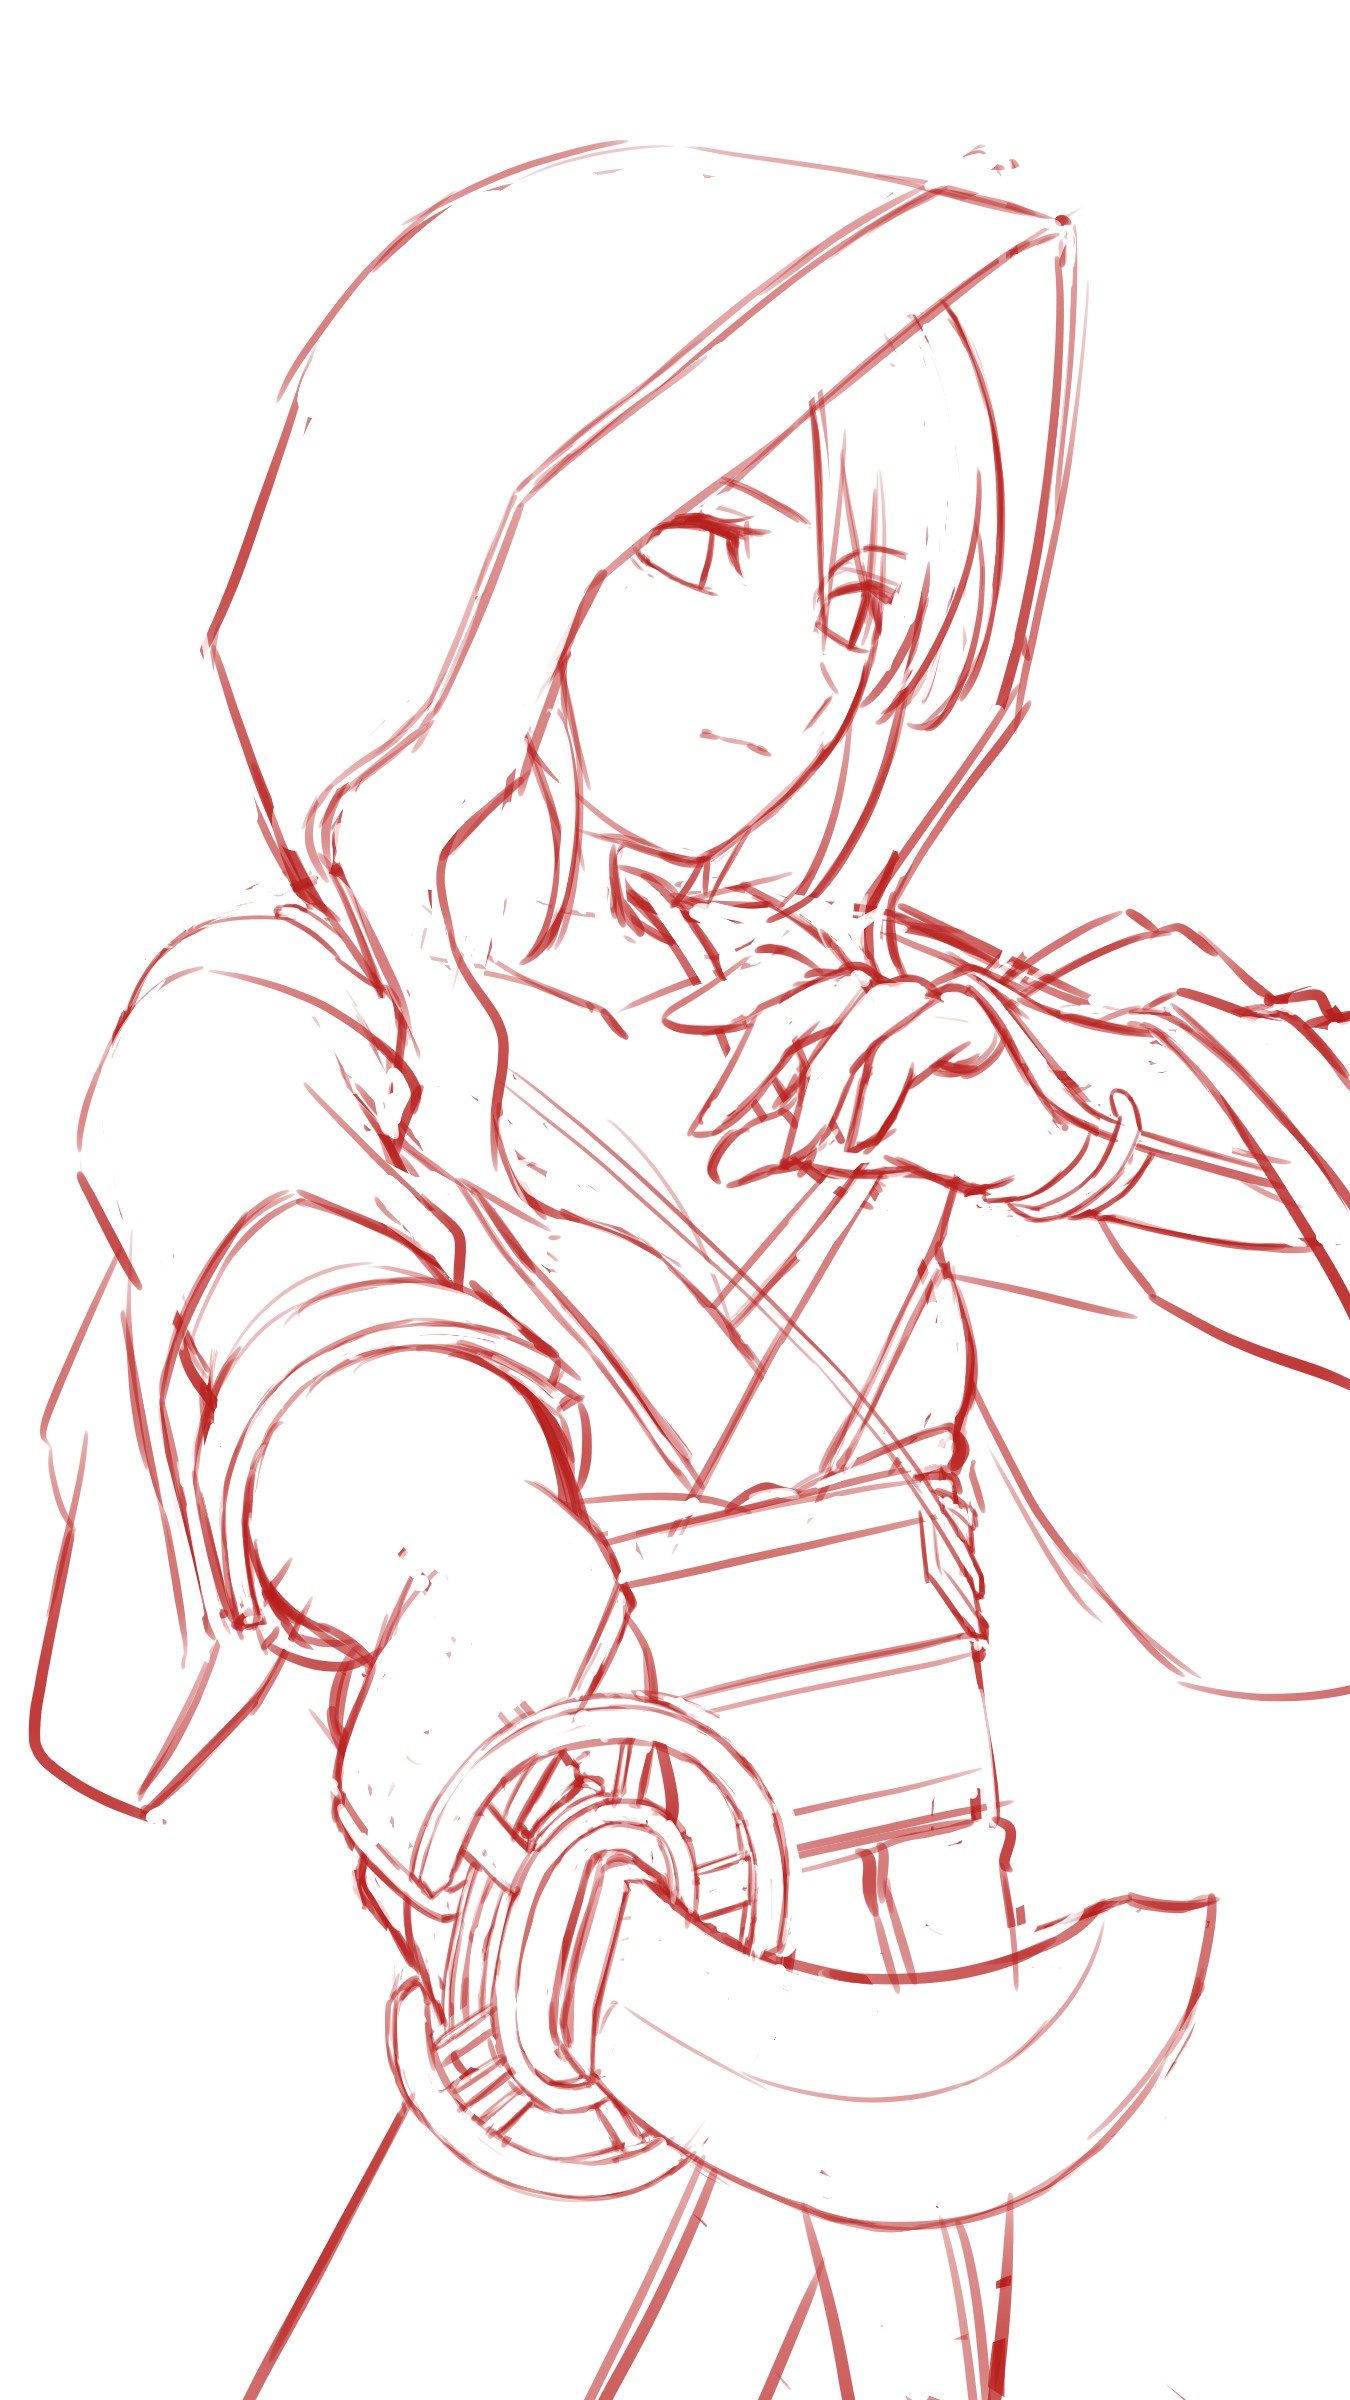
Once you have the full body, use【Transform(Ctrl + T)】to adjust the size and the position.
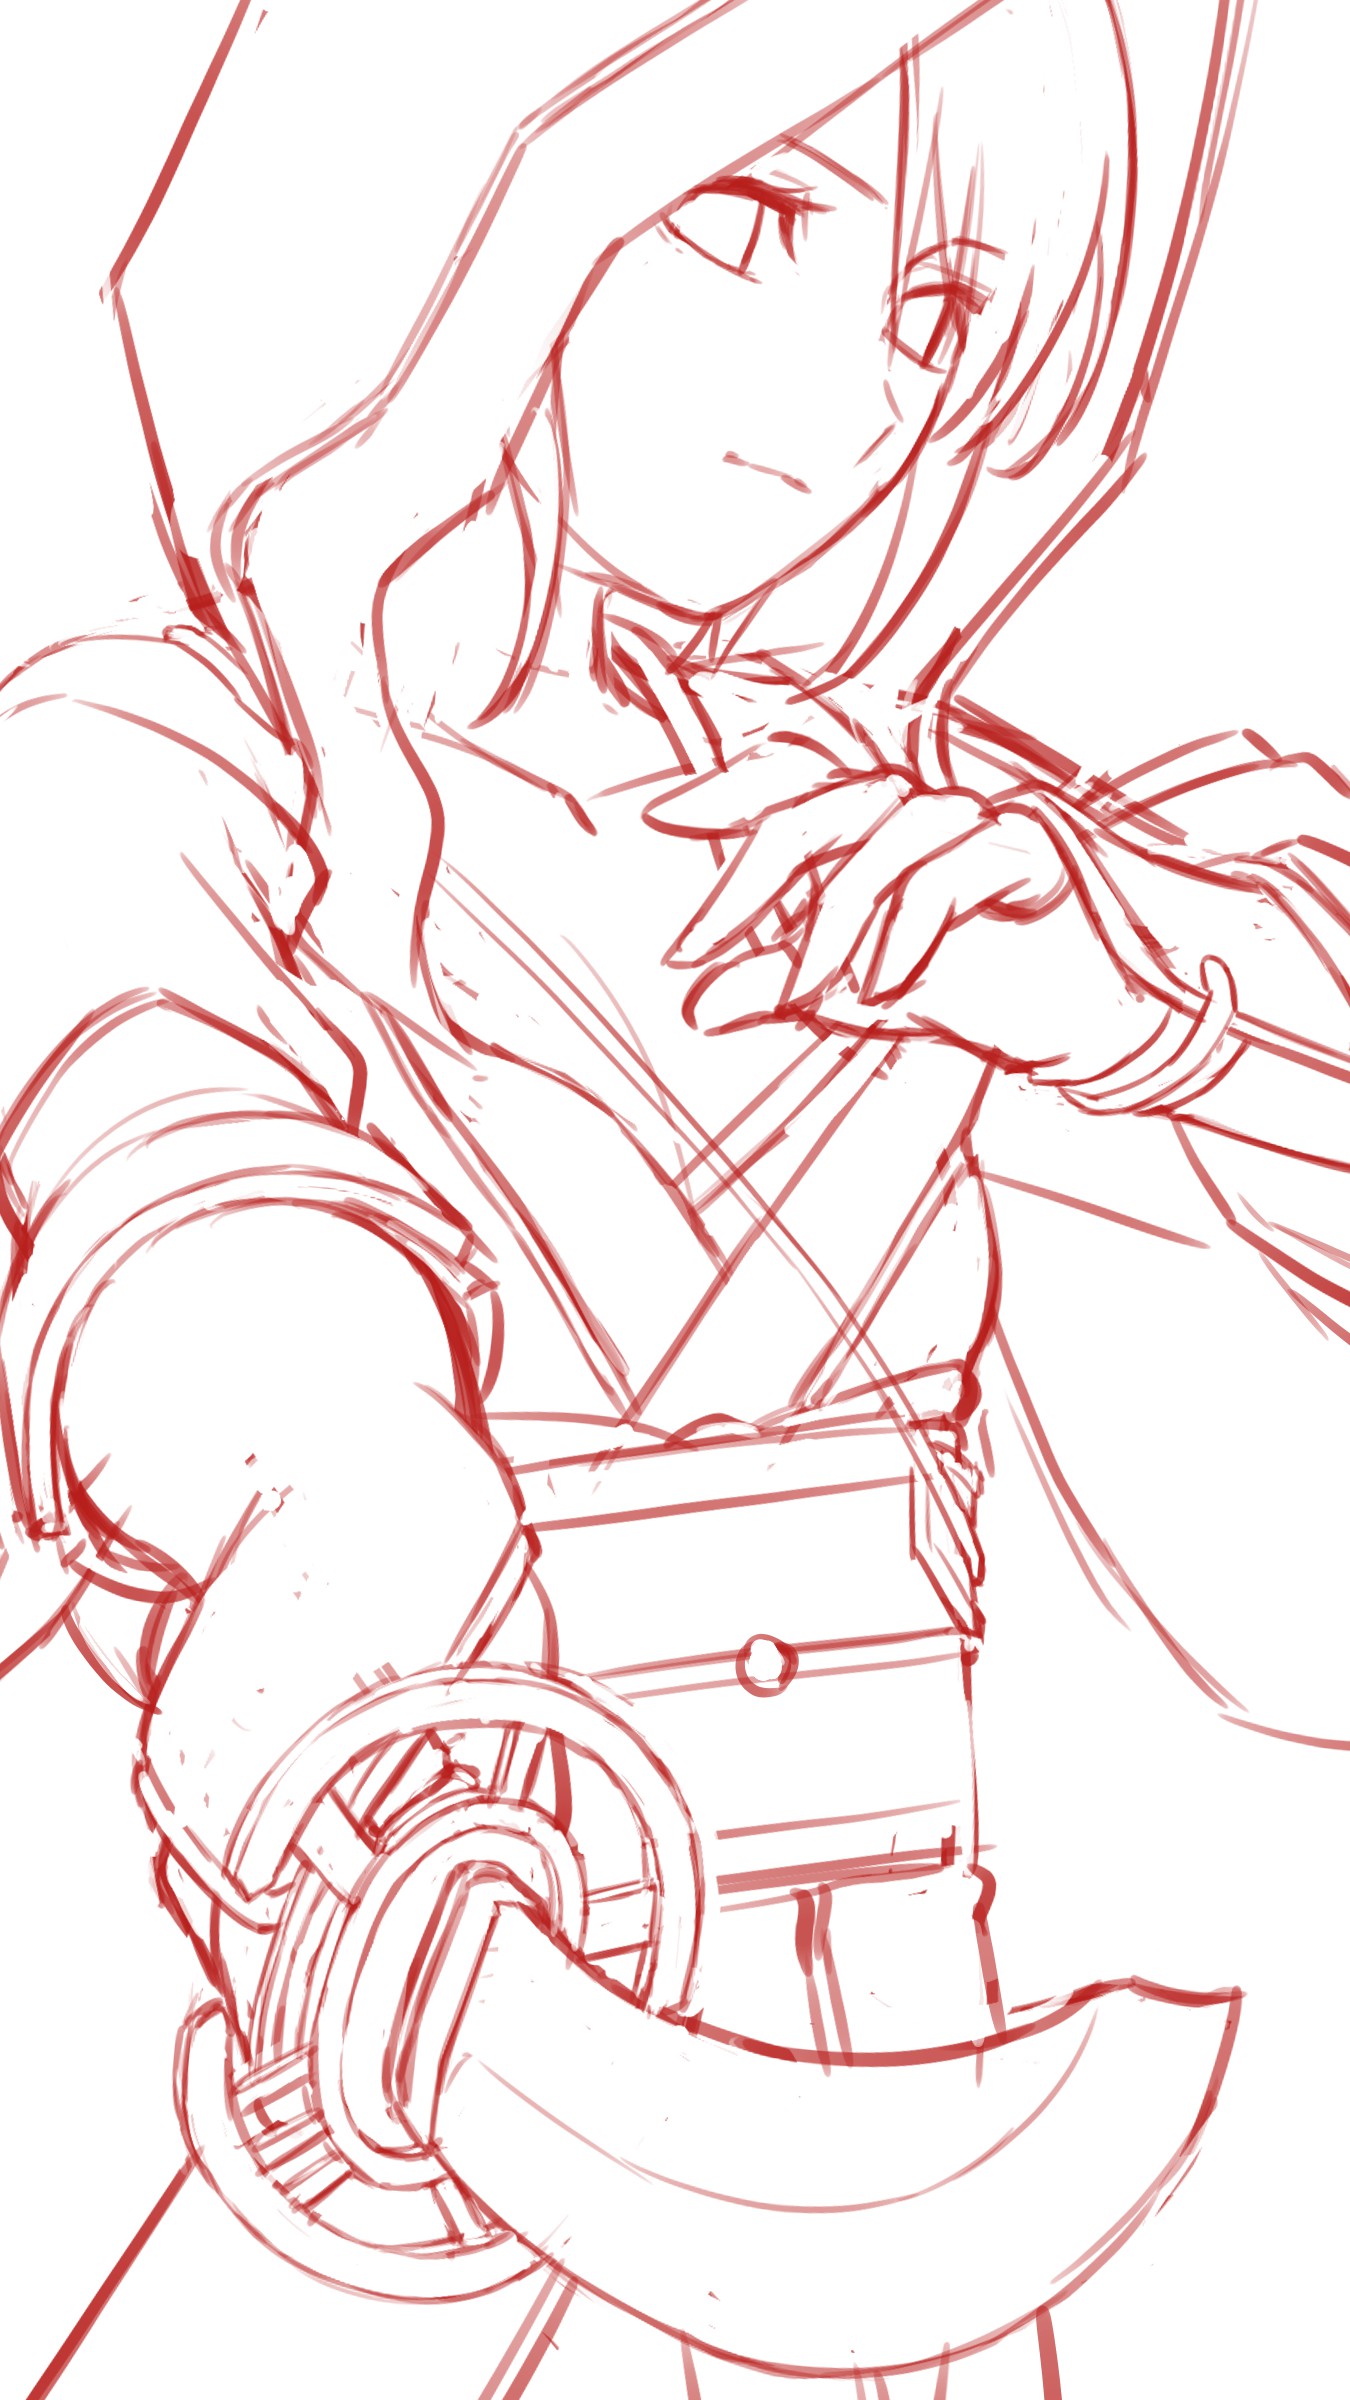
I recommend enlarging the illustration until the head goes beyond the panel as it adds a lot of power!
▼How to use【Transform】
[For beginners] Overcoming distortion in illustrations! Points to draw a well-balanced picture [Smartphone version]
The rough draft is now complete!
4, Line Drawing
The next step is the line drawing.
I mostly draw with a single 8px pen.
It’s also to practice adding dynamics to the strength of the pen.
You can also use pens with various sizes and change the pen strength easily so try either of the two methods.
▼Adding dynamic to pen strength
【For Beginners】Let’s make our own child! Part 2 【Original Character】
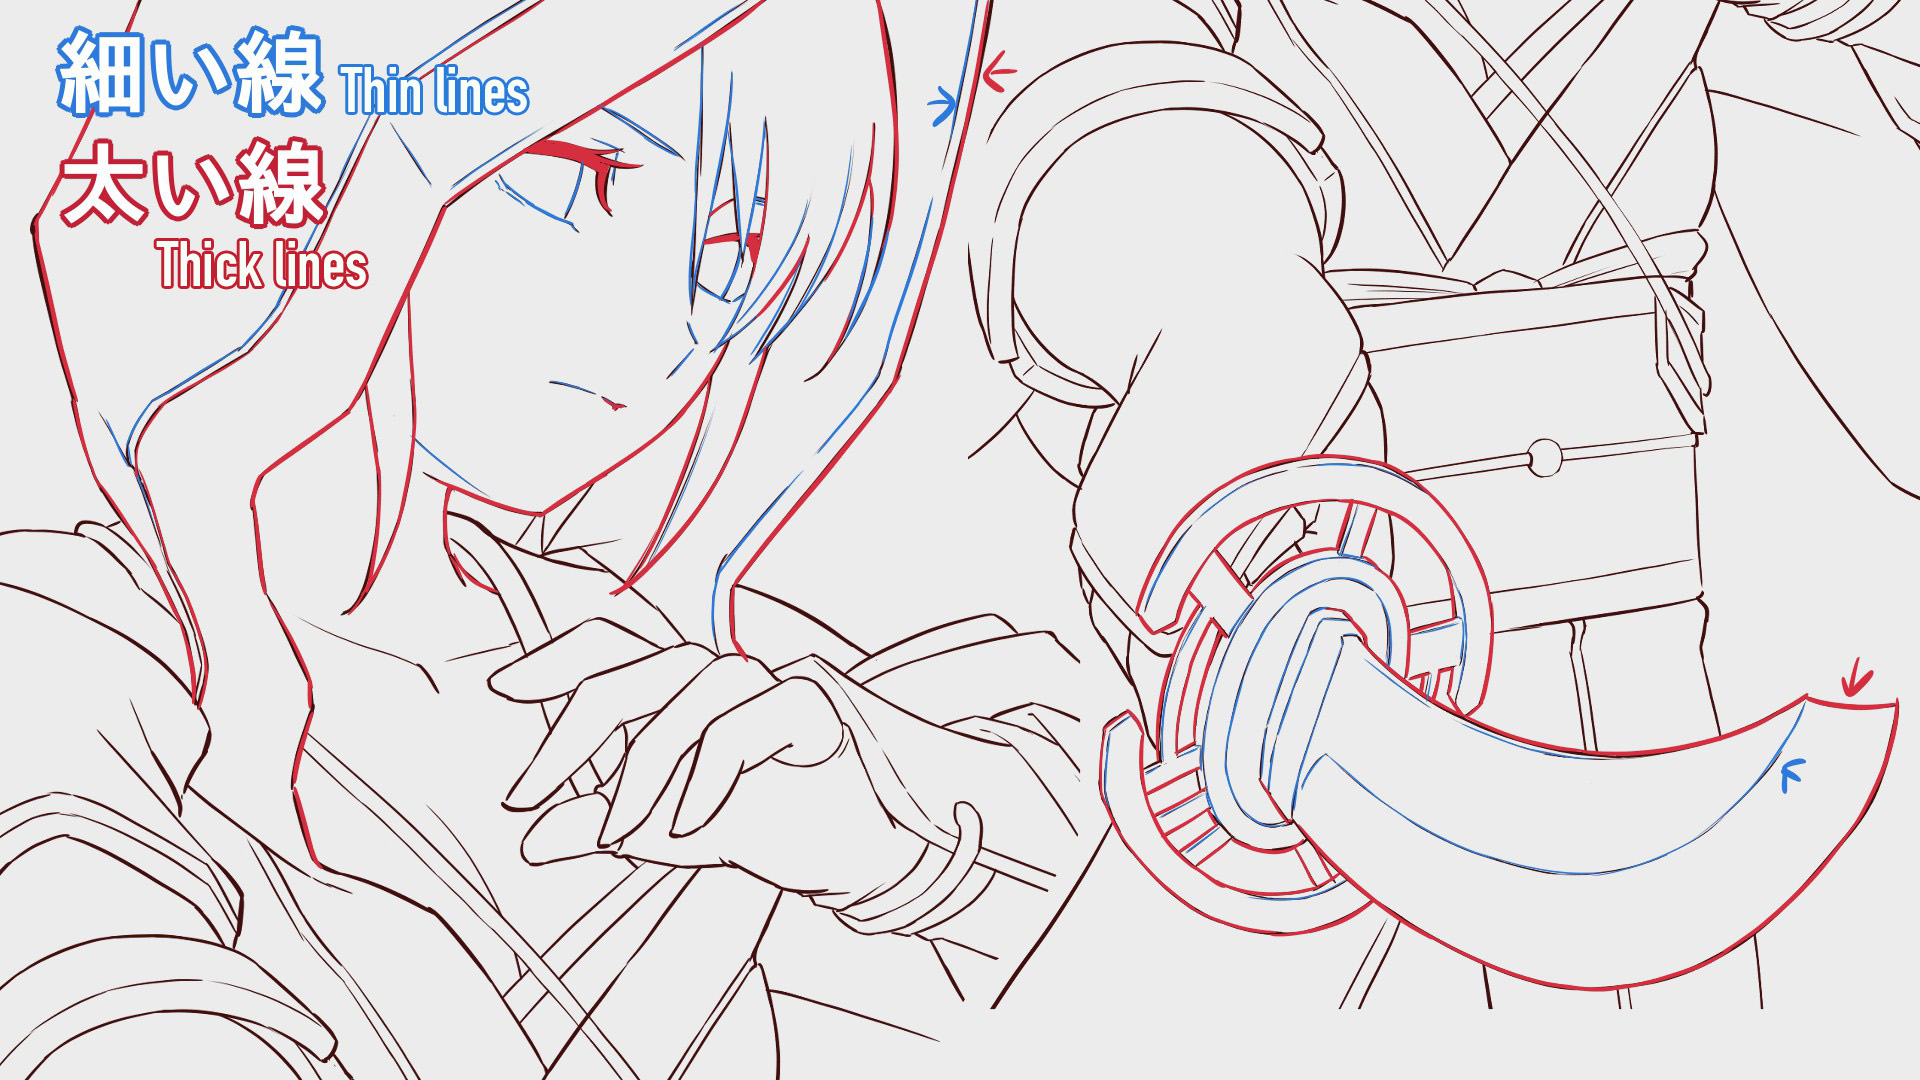
I usually follow the standard “keep the outline thick and others thinner” method when I add pen strength.
Other than that, I go with the flow when changing the thickness but it often ends up looking appropriate so you don’t really have to be proper in the beginning.
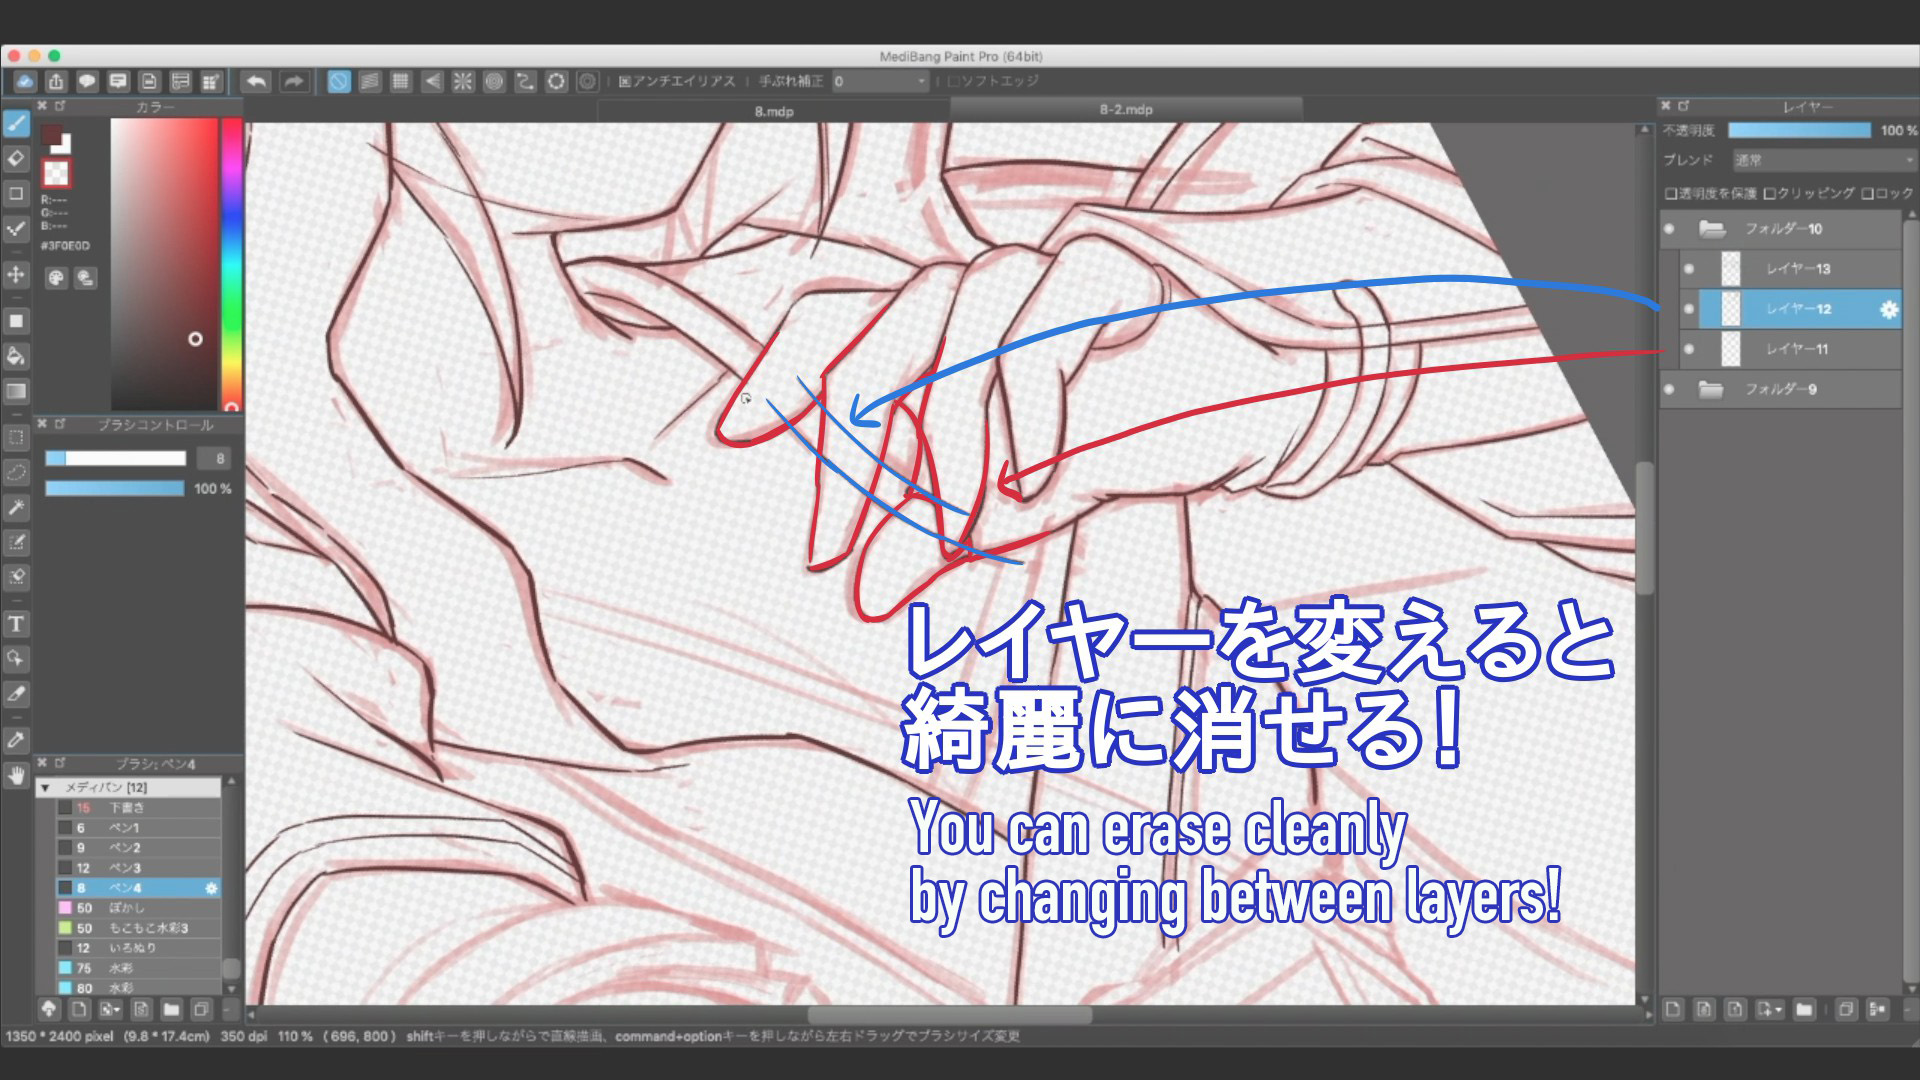
For parts where the lines overlap, you can draw easily by separating them in different layers.
If it’s only a few lines, it might be easier to use a single layer and erase it but for multiple lines overlapping, it’s better to separate into multiple layers when erasing.
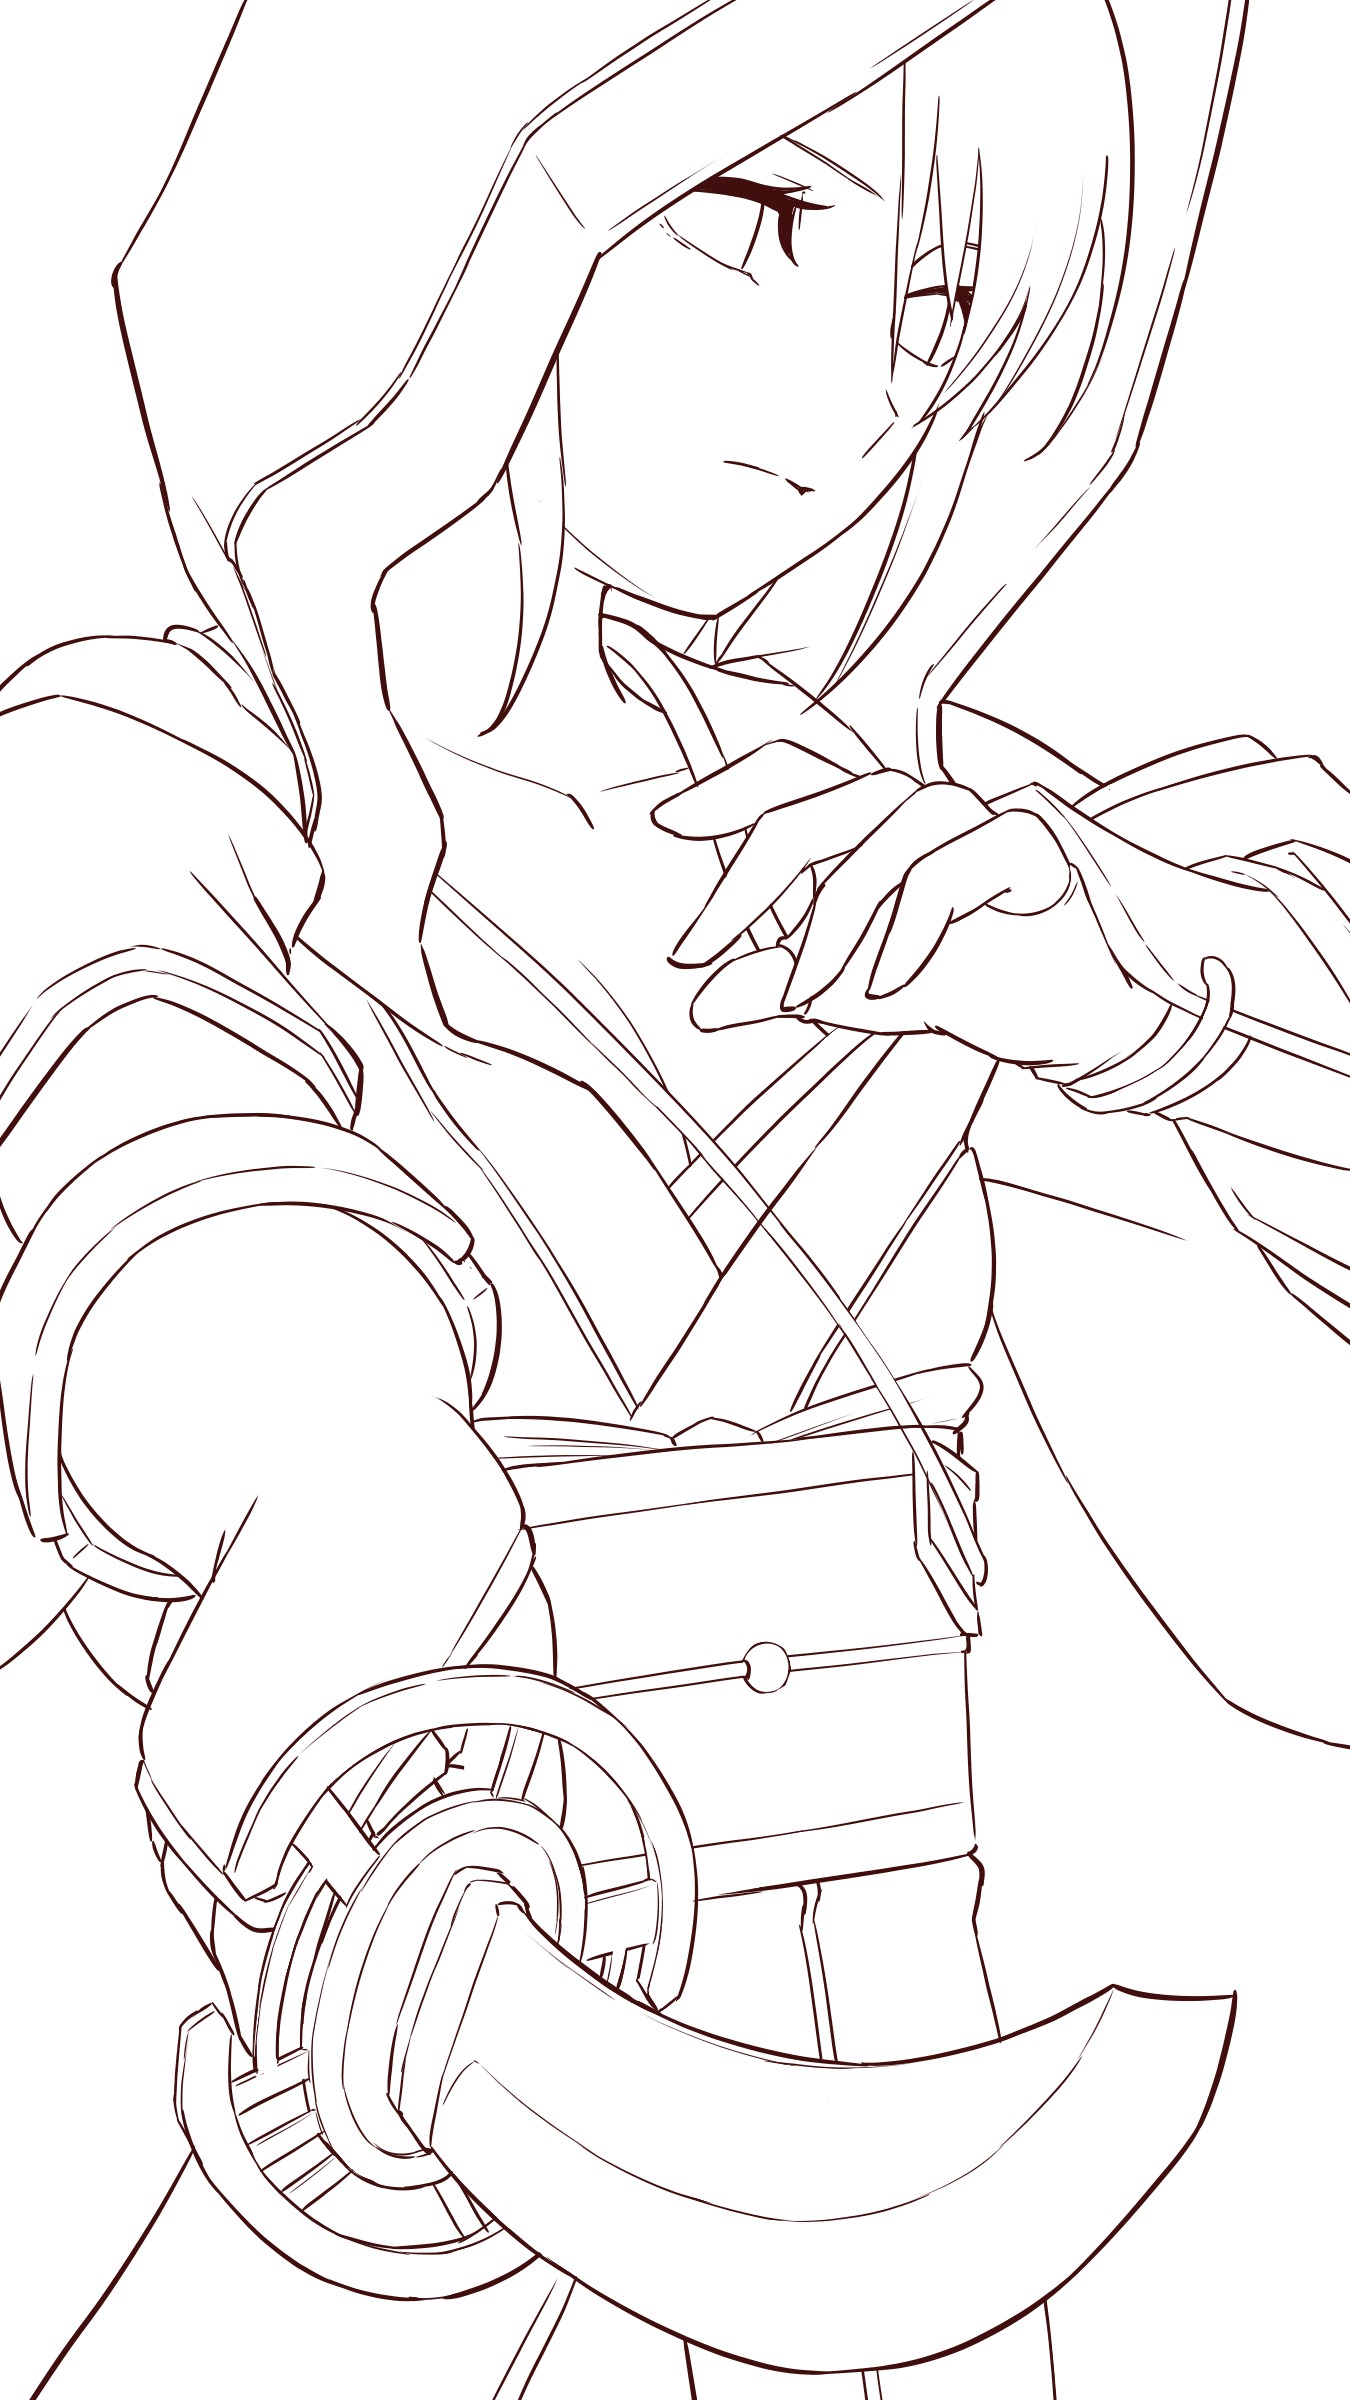
I’ve completed the line drawing!
5, Coloring
Next, paint the colors.
This process will be quicker if you decide on the colors during the character design stage but in this tutorial, I chose the colors as I proceeded with painting.
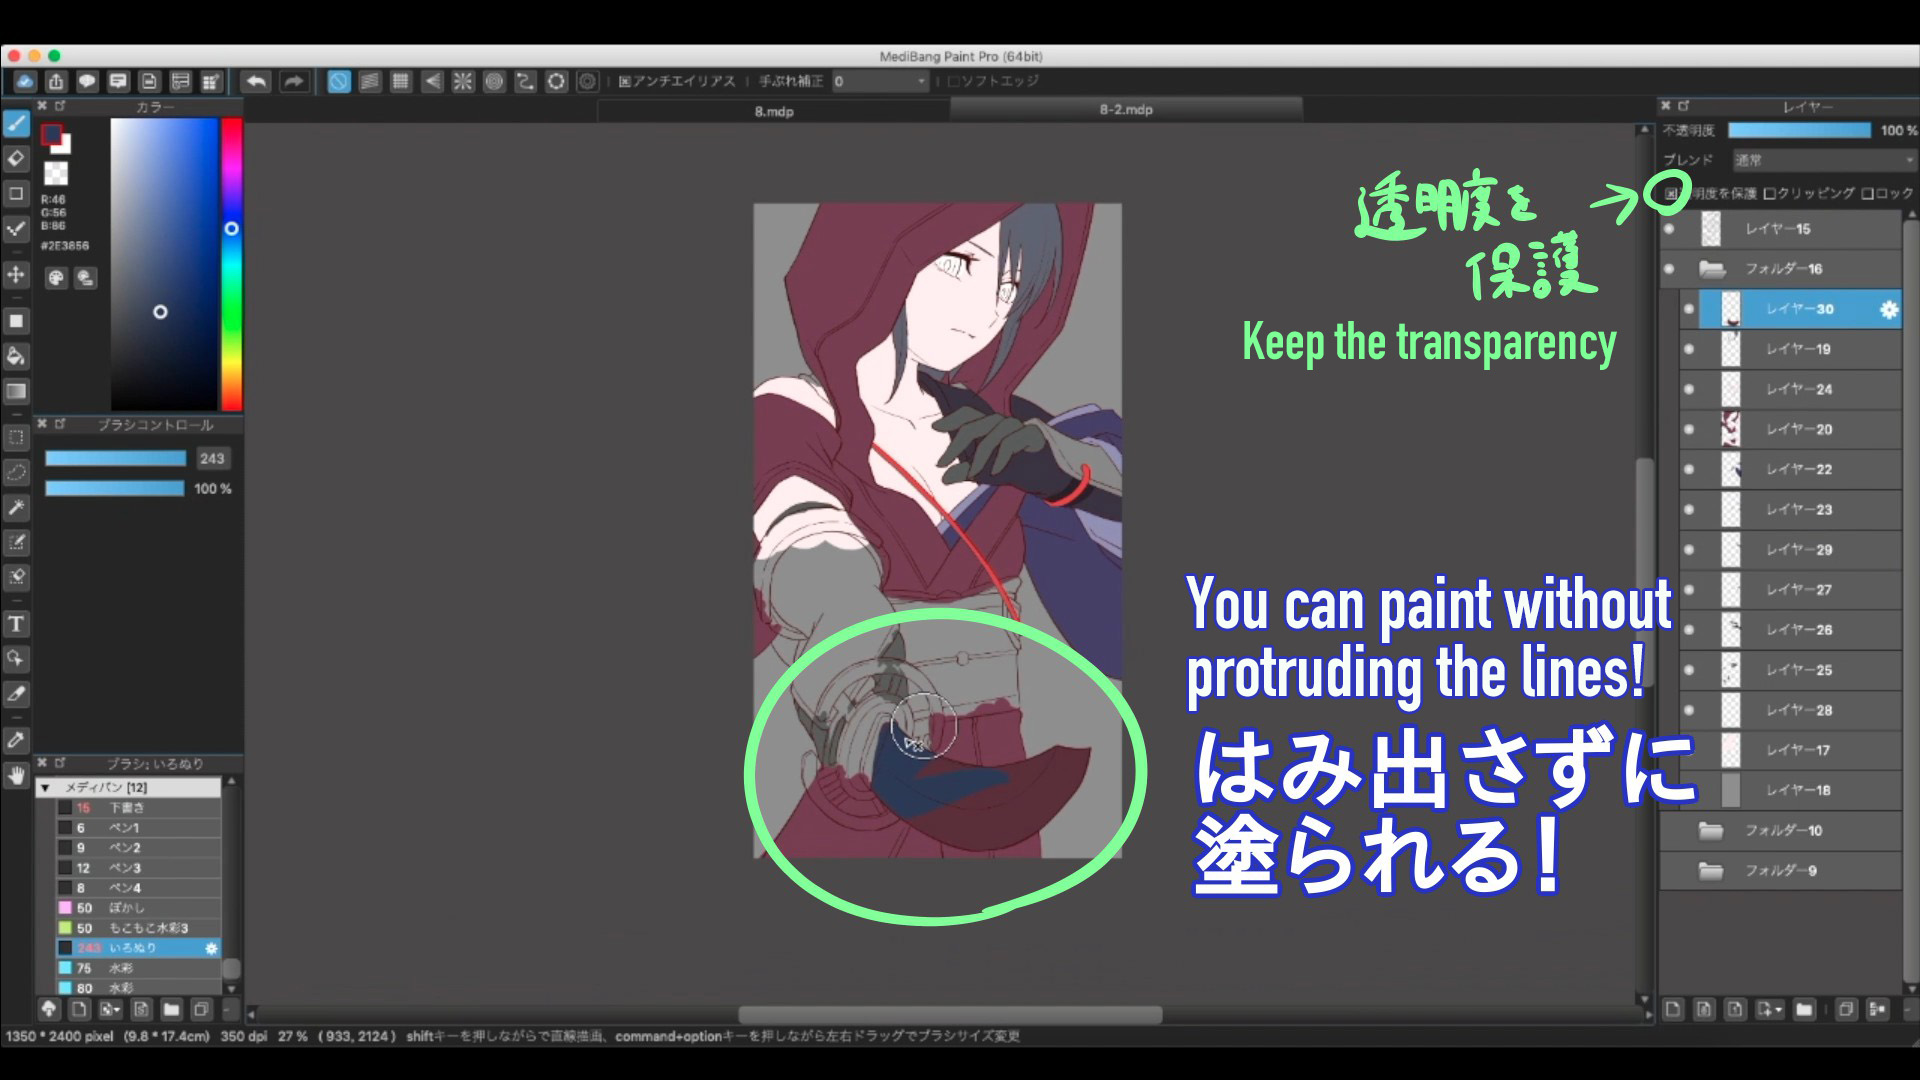
If you don’t like the color after you’ve painted a portion, choose【Protect Alpha】of the layer setting and try painting the same part with a different color.
You can repaint without going over the outline.
▼Using【Protect Alpha】
【Easy Steps 123!】Save time from cleaning excess paint♩ What is “Protect Alpha”?
I repainted many times but finally I have the base color!
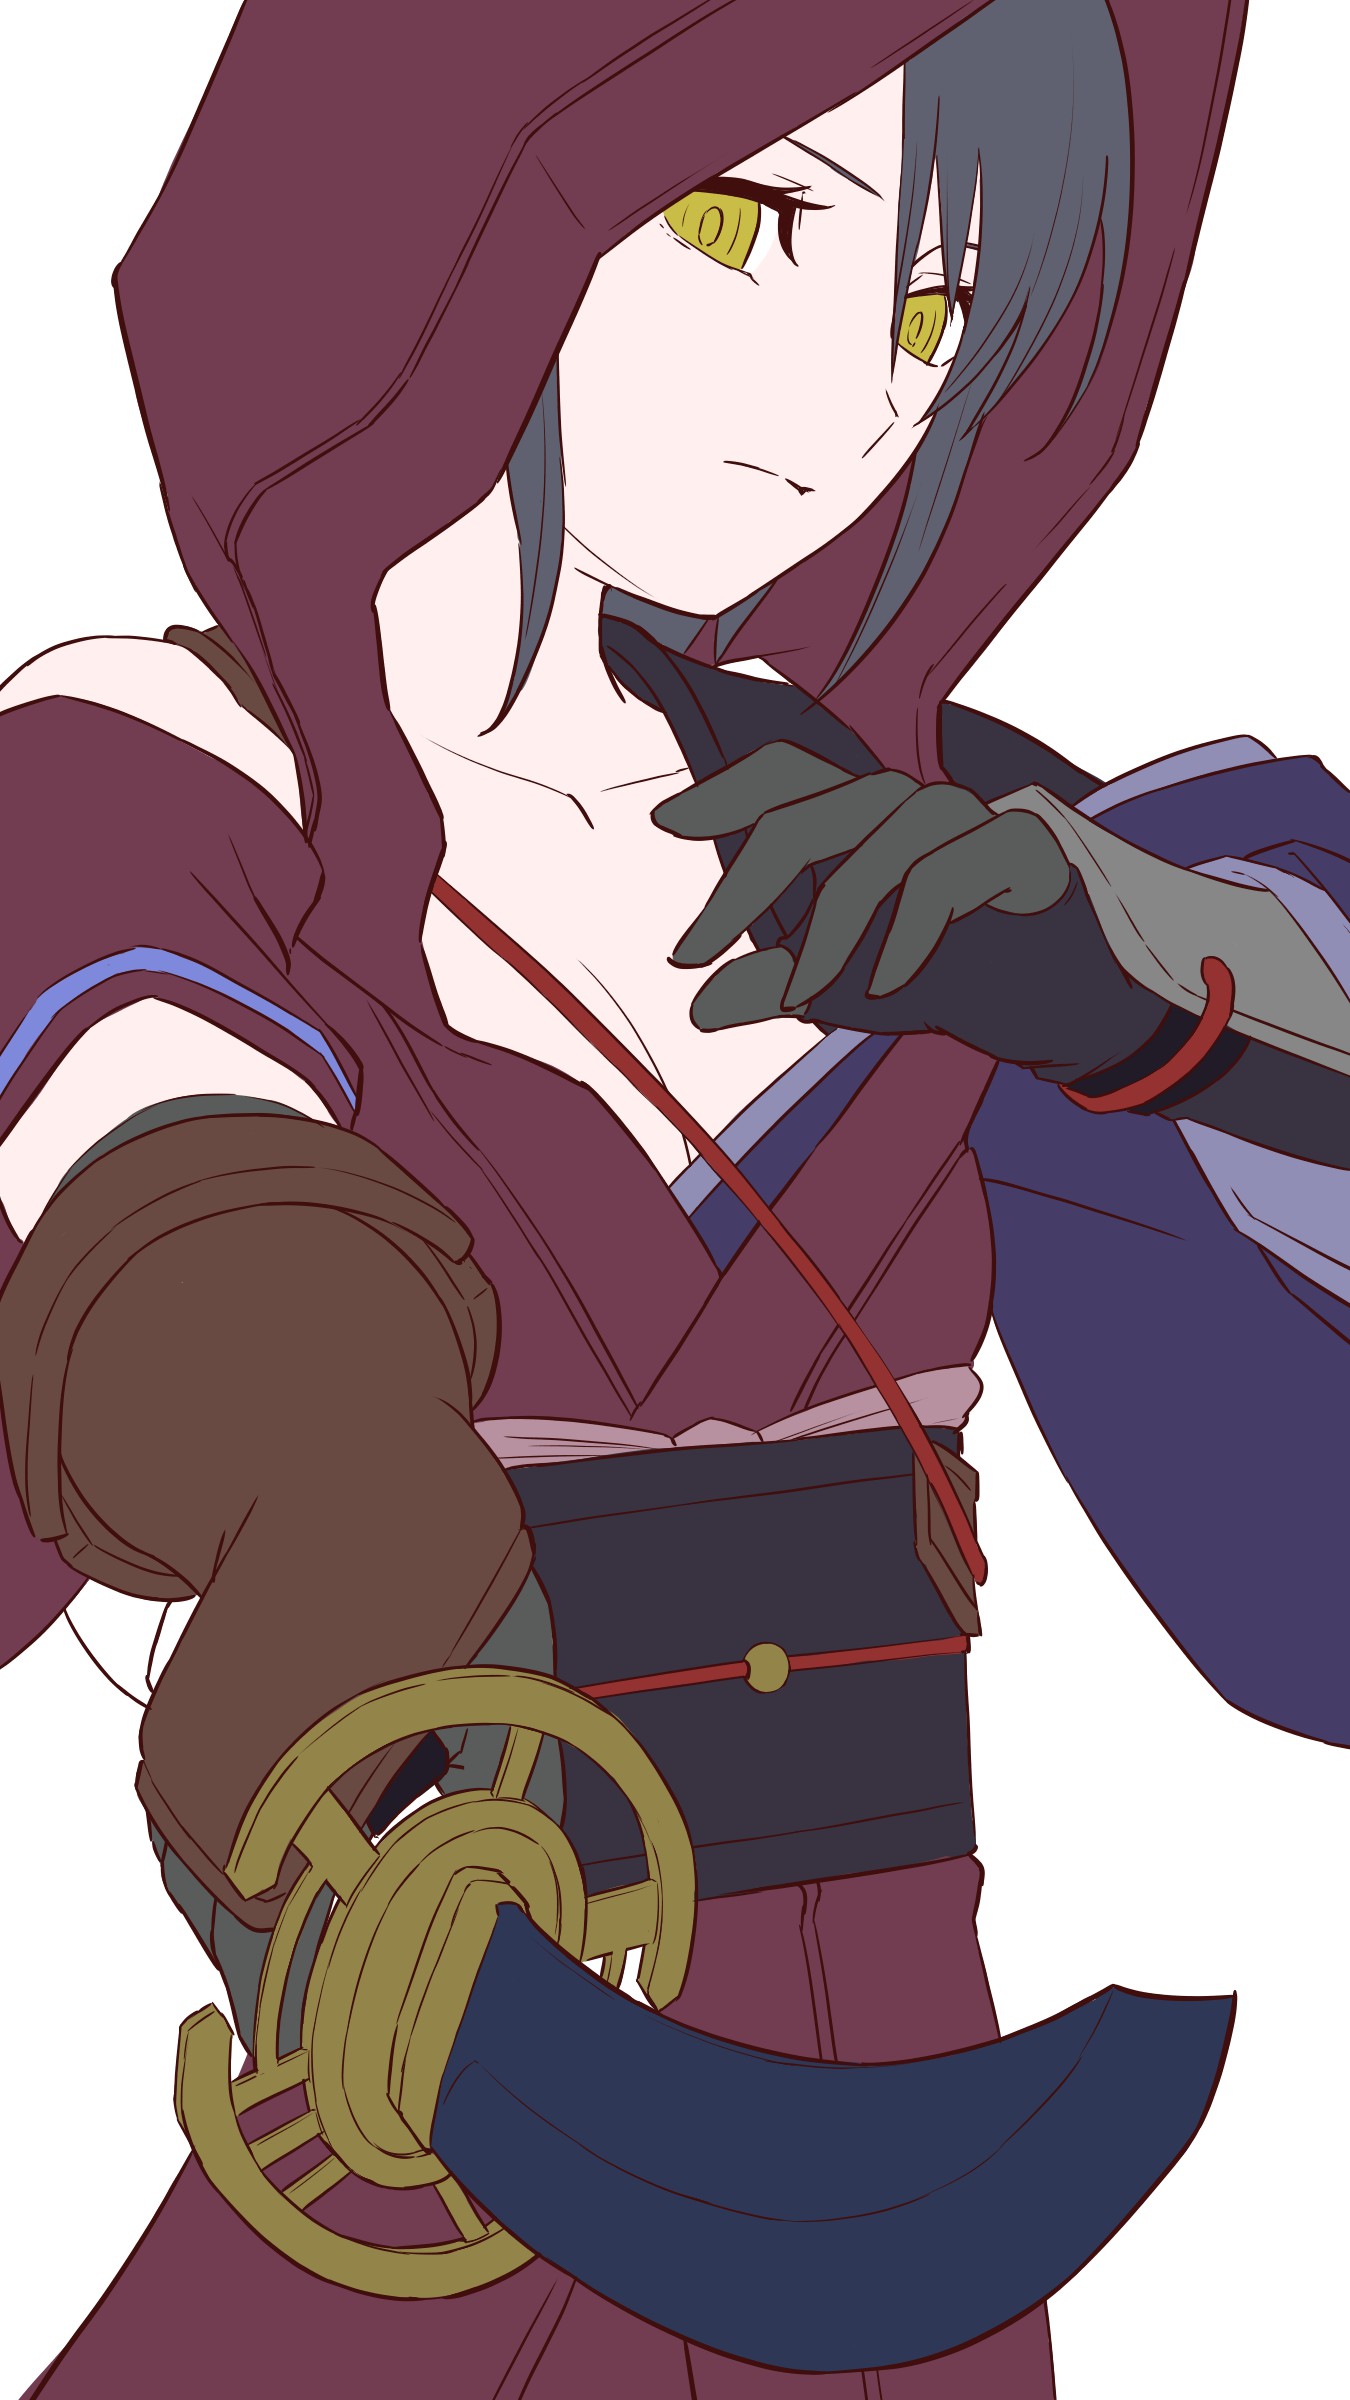
As she is an assassin, I mainly chose dark colors but I made the eyes and the sword flange brighter with the gold color.
I also painted the sword for a similar reason. If she is to fight in the dark, it will be an advantage to puzzle the opponent with the distance of the sword so I painted the blade with black.
If you have troubles with coloring, you can sometimes get a hint by thinking of the character’s personality and purpose of the object.
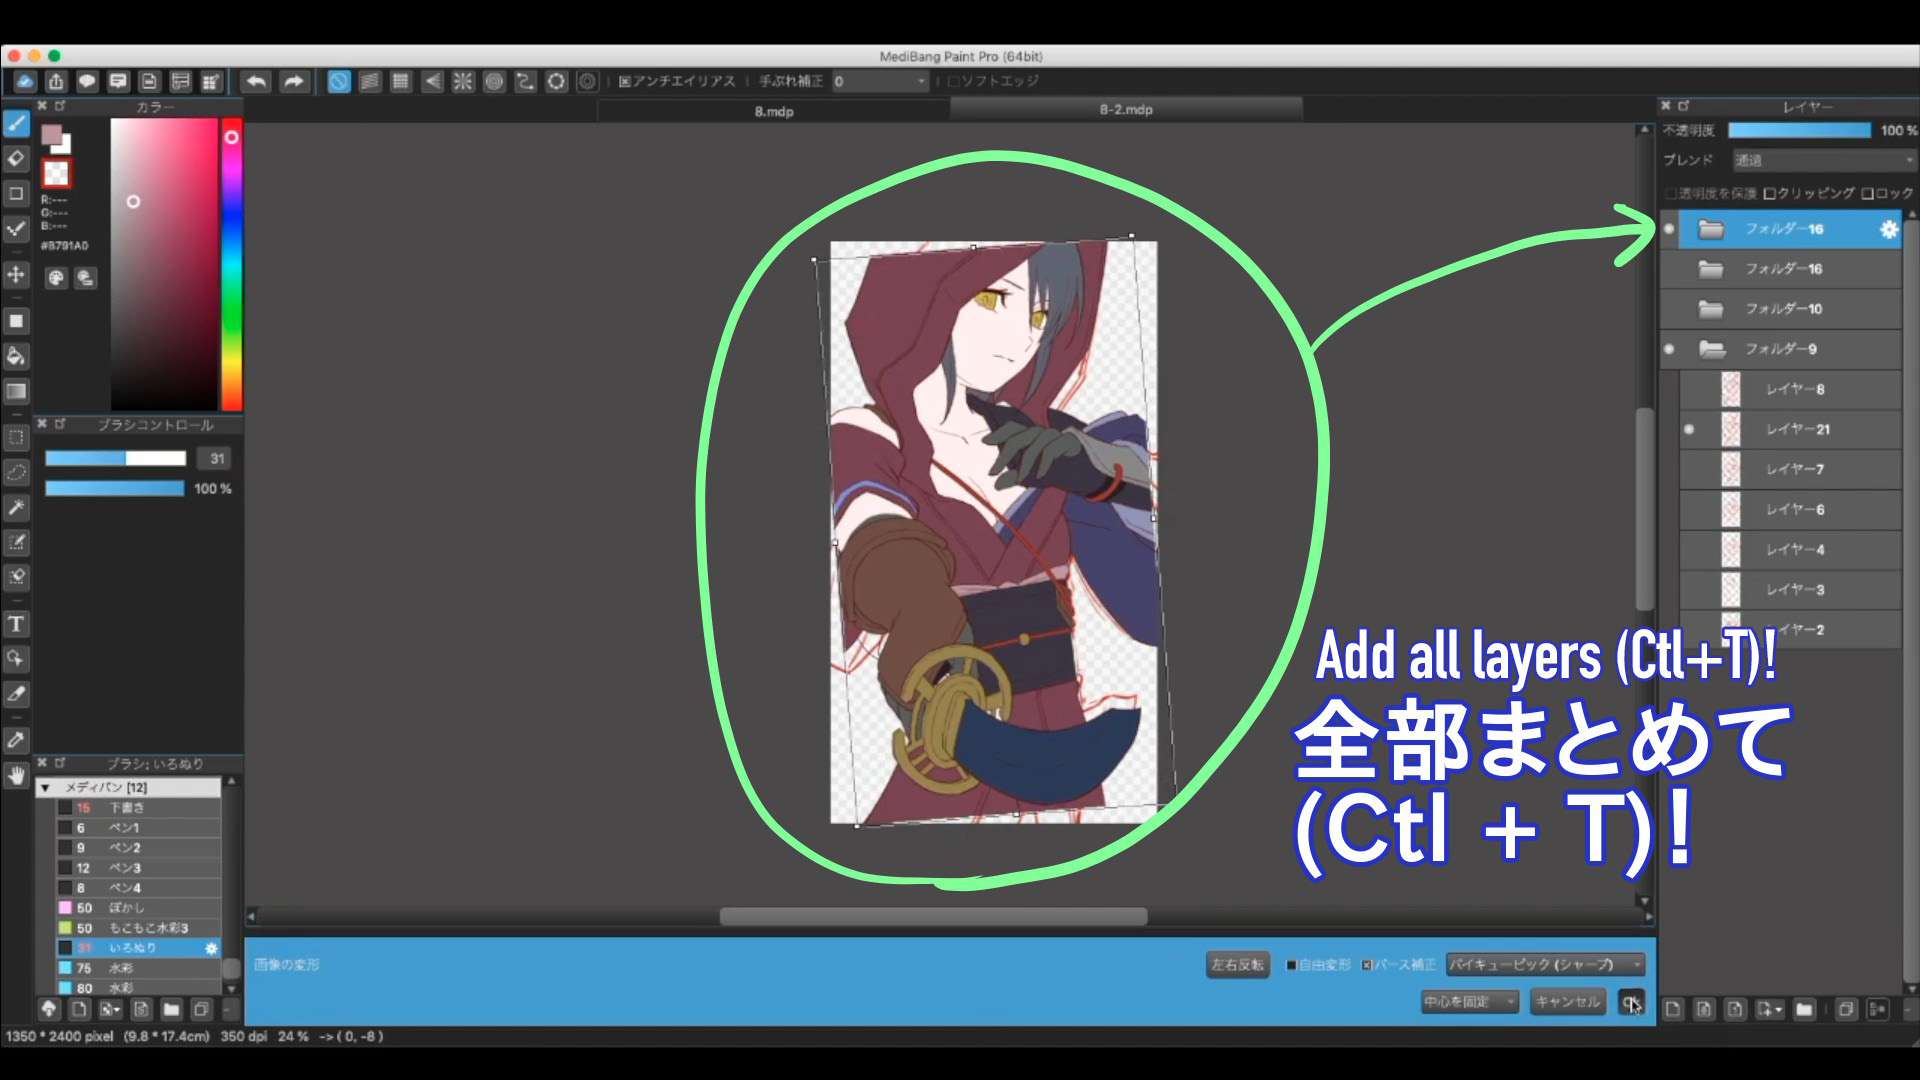
Before I start painting the shadows, I’m concerned about the angle of the character so I will adjust using Transform as I did earlier.
You can transform everything at once by adding all layers to one folder!
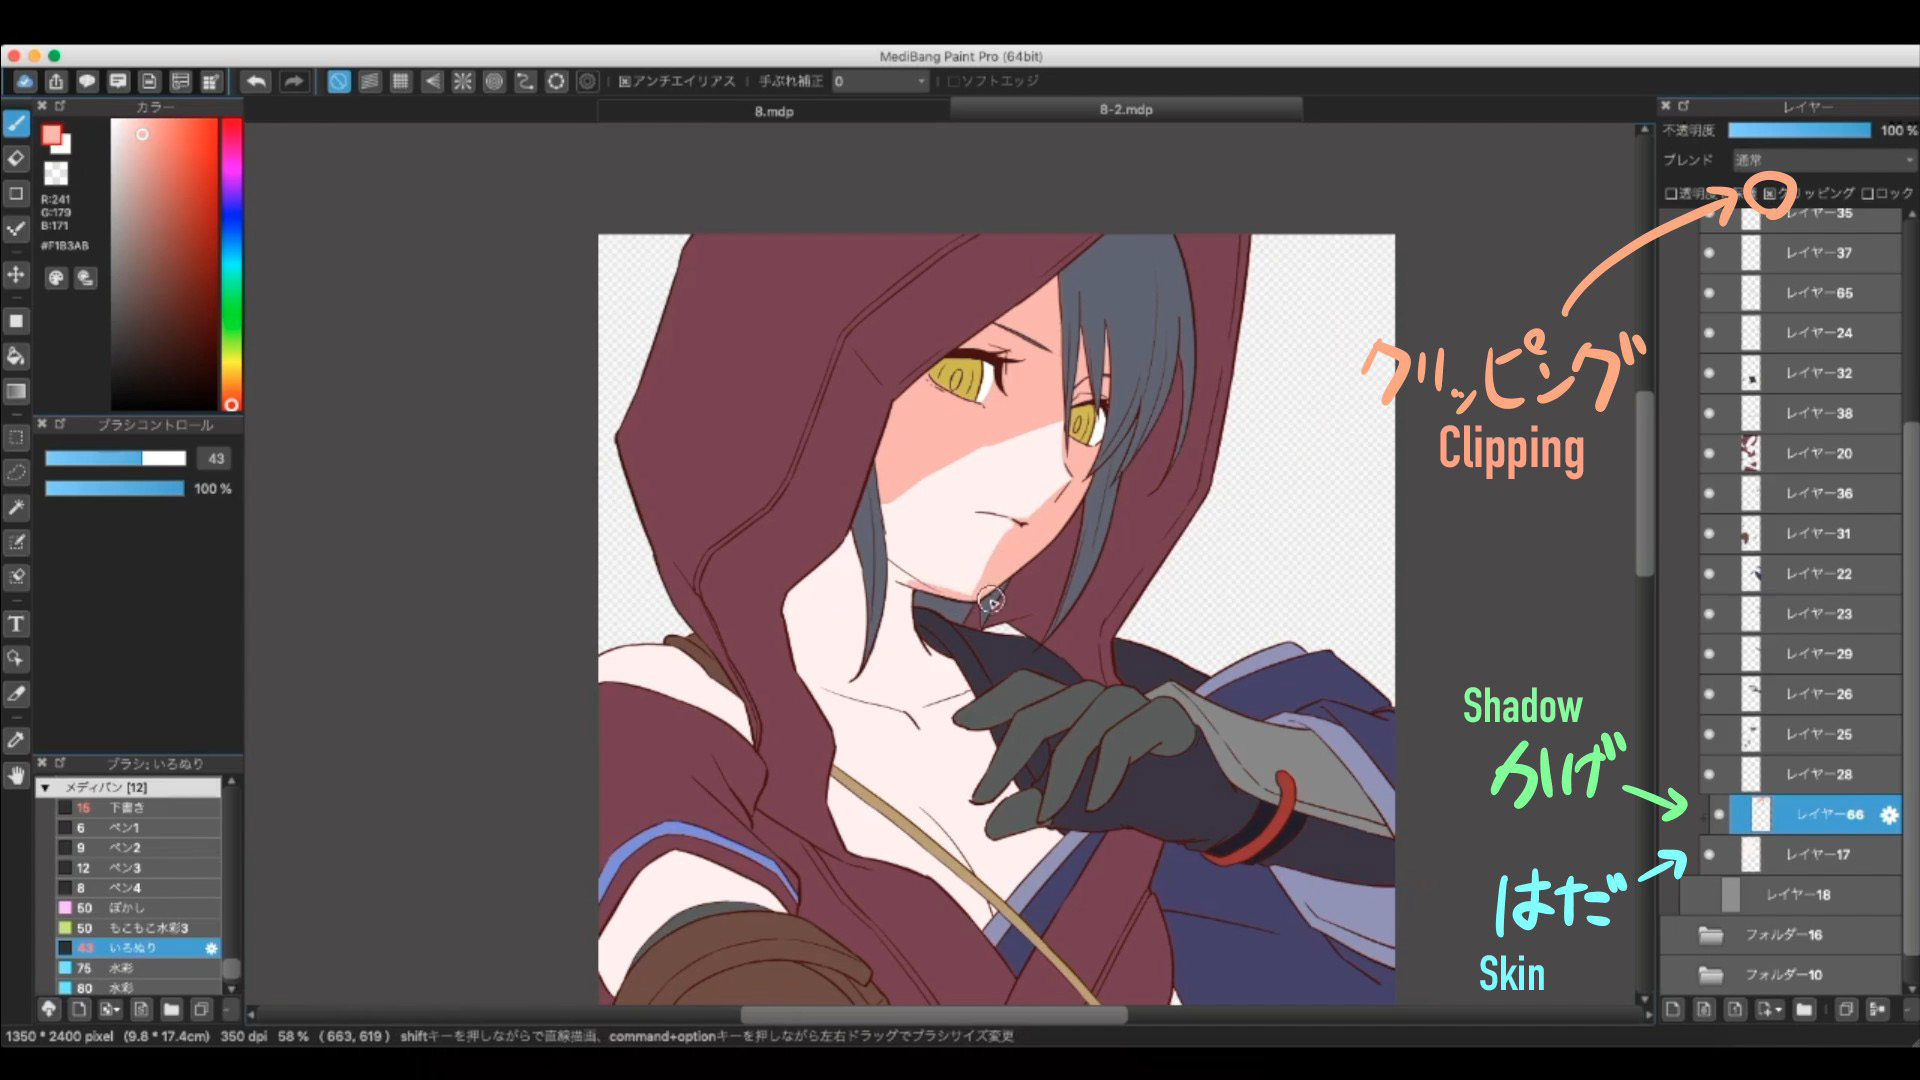
I will be painting the shadows with【Clipping】chosen for the new layer.
If you want to mix watercolor style colors, it’s not the best tool to use but it’s very handy when you are painting an anime like illustration, as I do.
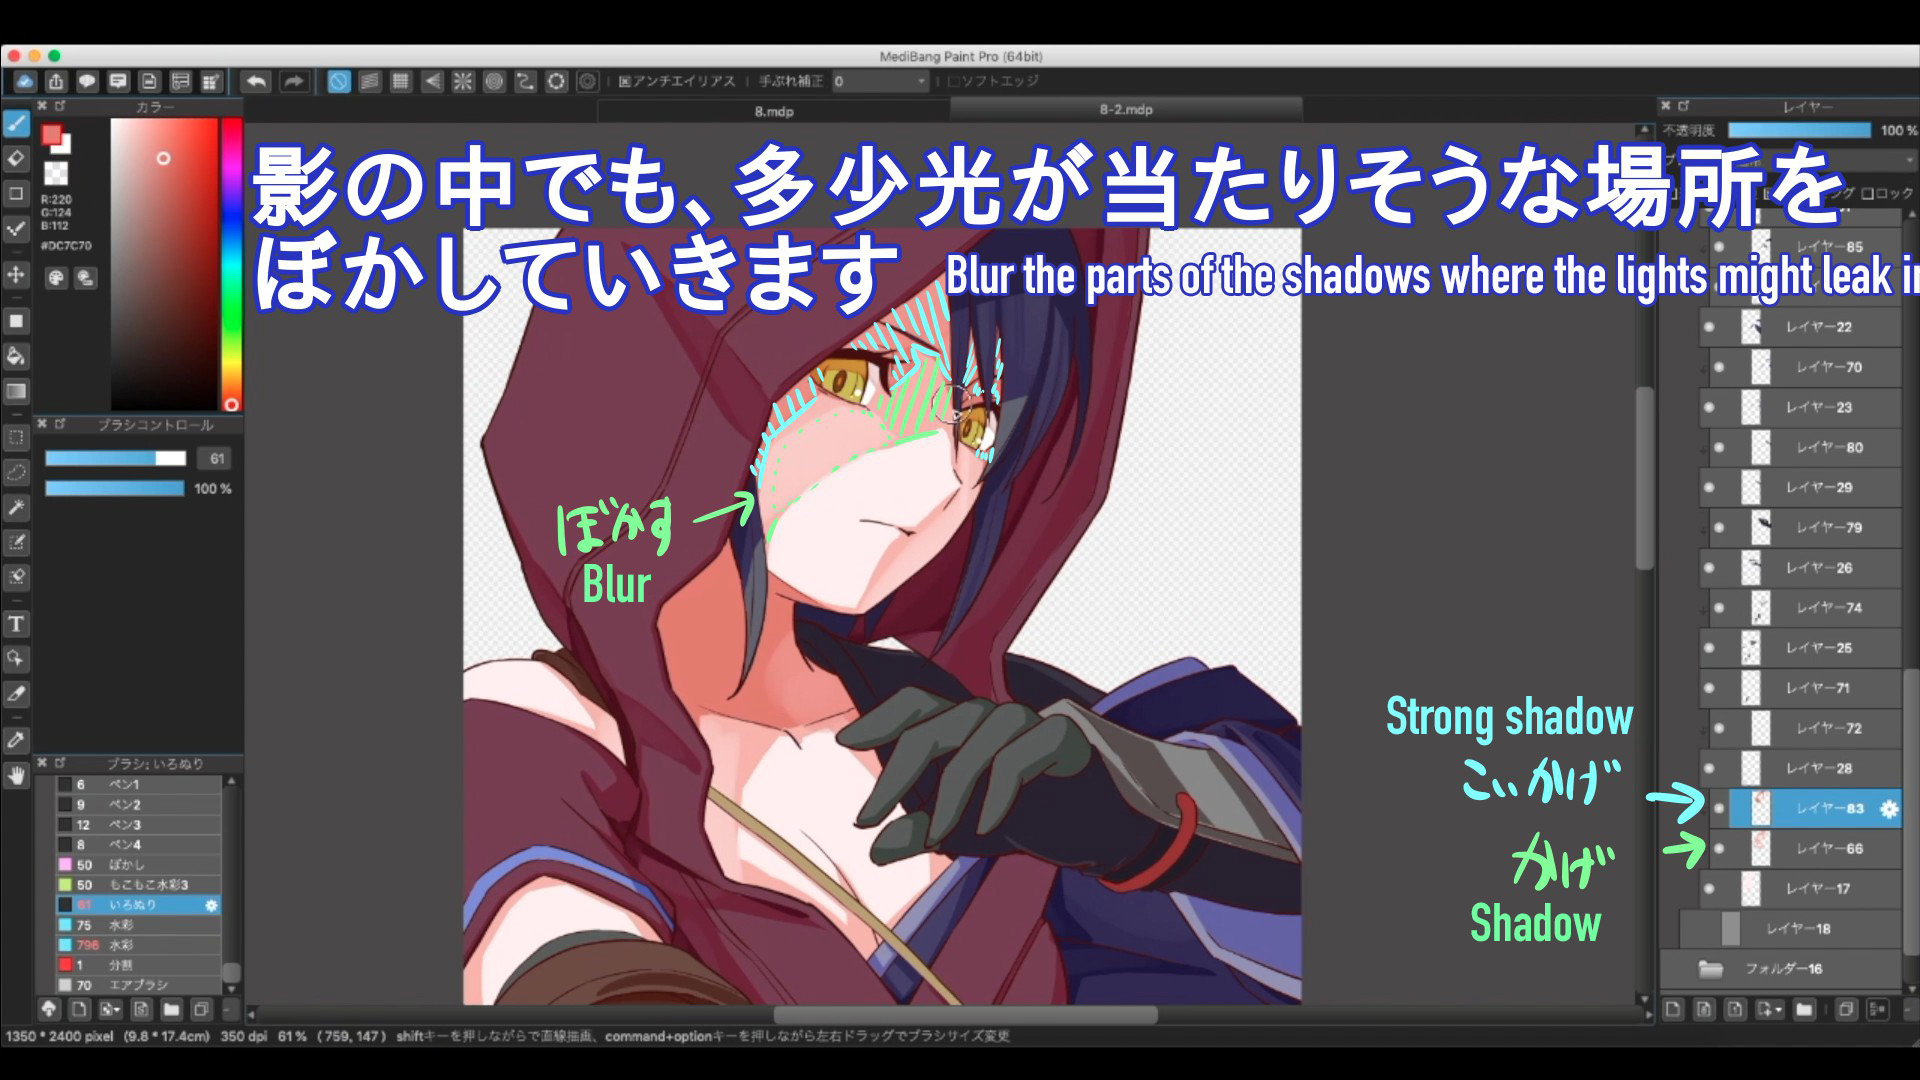
Once I’ve painted the parts where the shadows may be, I will be adding dynamic to the strength of the shadows using Watercolor.
Choose the base color with【Eyedropper (I or alt)】and paint the shadow.
If necessary, you can make the shadows one step darker too!
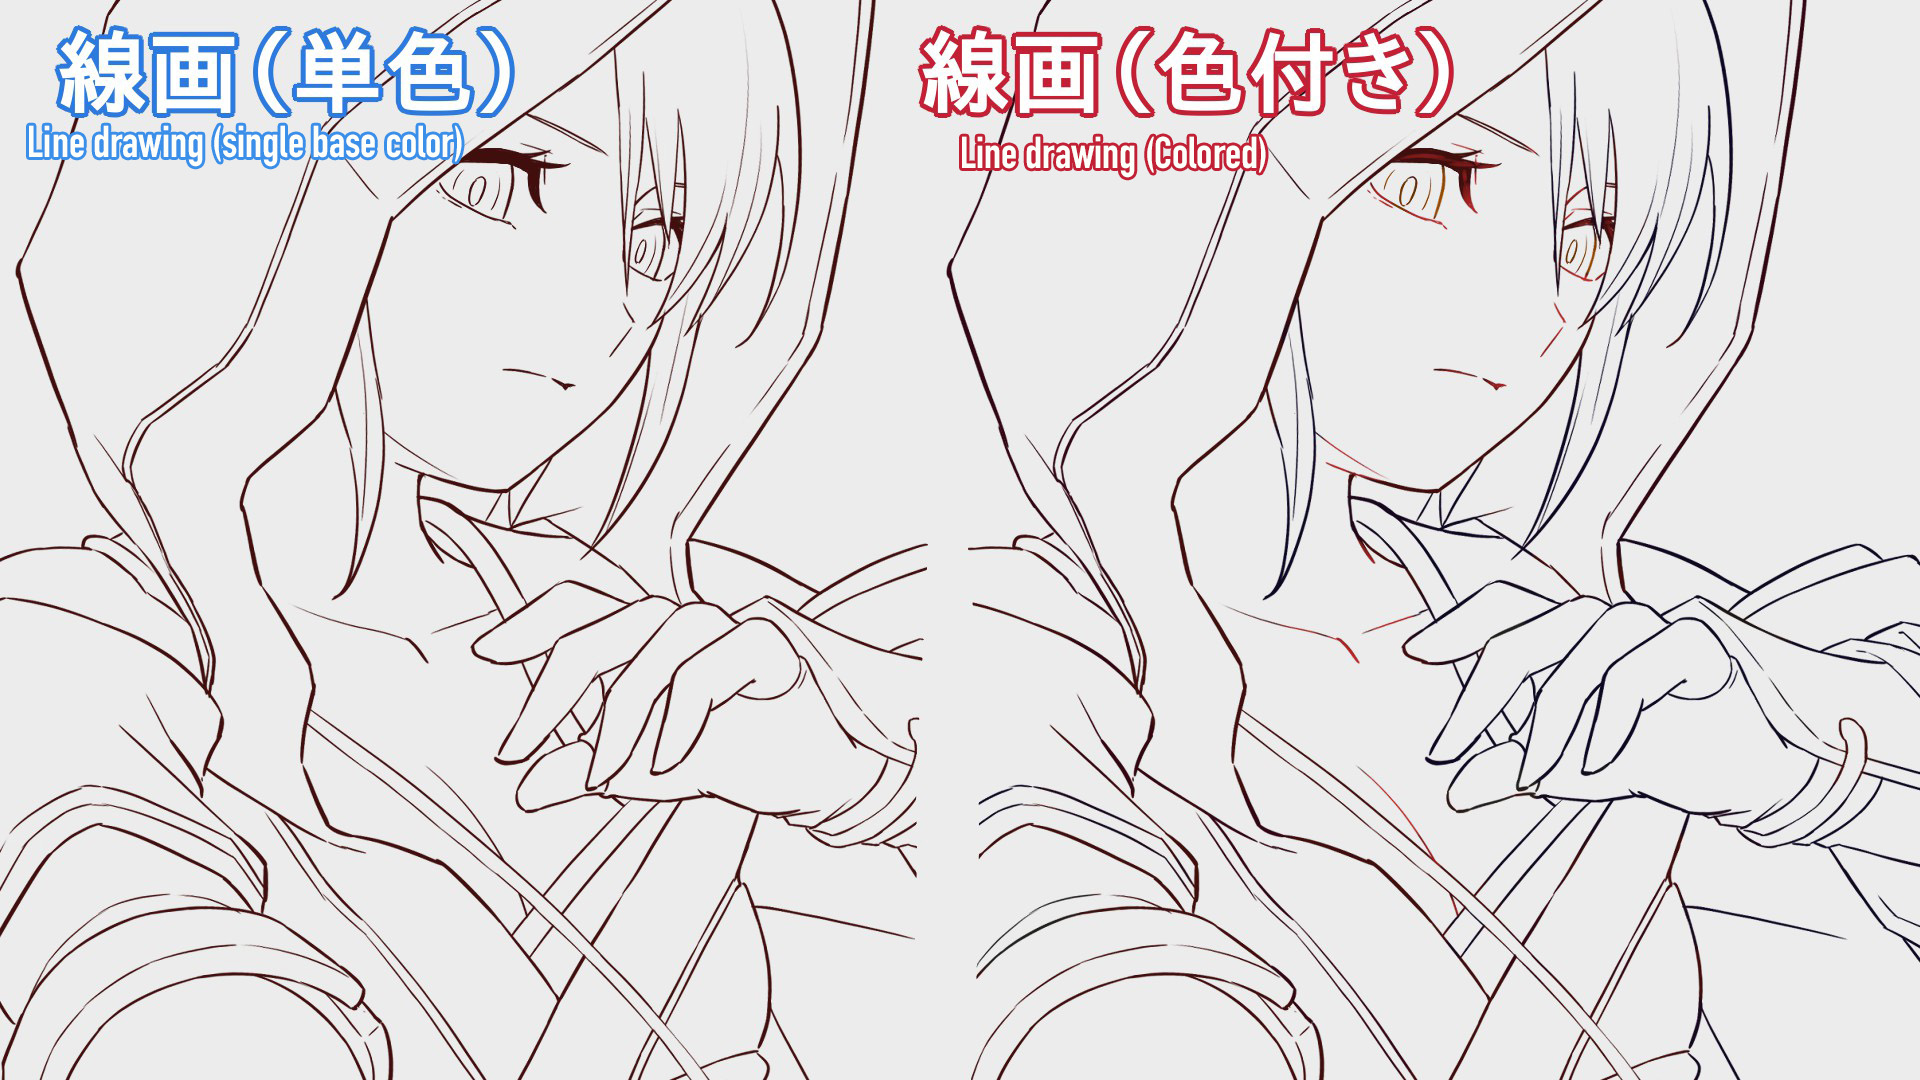
Now change the colors of the line drawing to blend with everything else.
It’s best to use a shade close to the color of the adjacent part.
Paint with Protect Alpha chosen for the line drawing layer again!
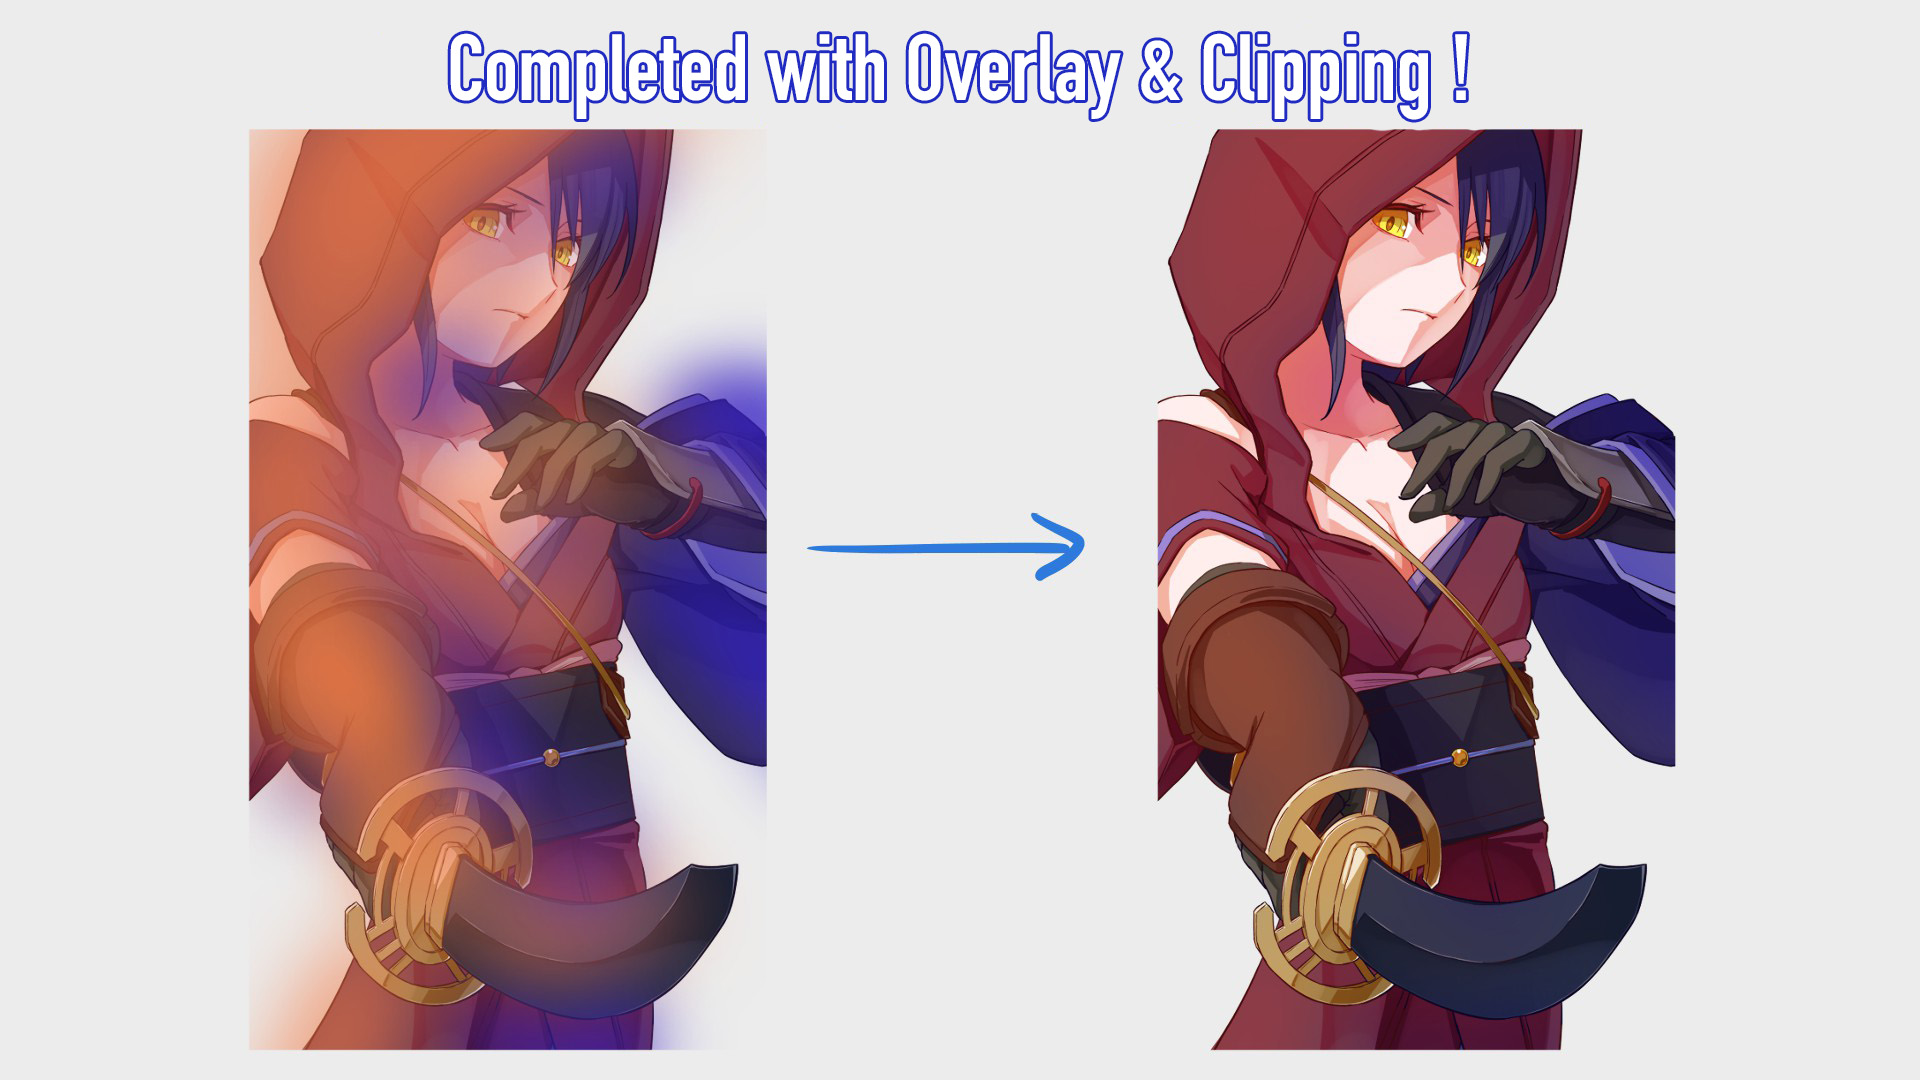
Lastly, add some gorgeousness with【Overlay】and【Add】of the Blending of layers.
For the Overlay layer, I painted the bright parts with orange and the dark parts with blue.
The Add layer is for adding glow to the illustration!
It’s convenient for drawing metallic objects like the sword’s tsuba and tekko.
▼Using【Overlay】
Overlay easy finishing method
Now the Japanese style female assassin is complete!
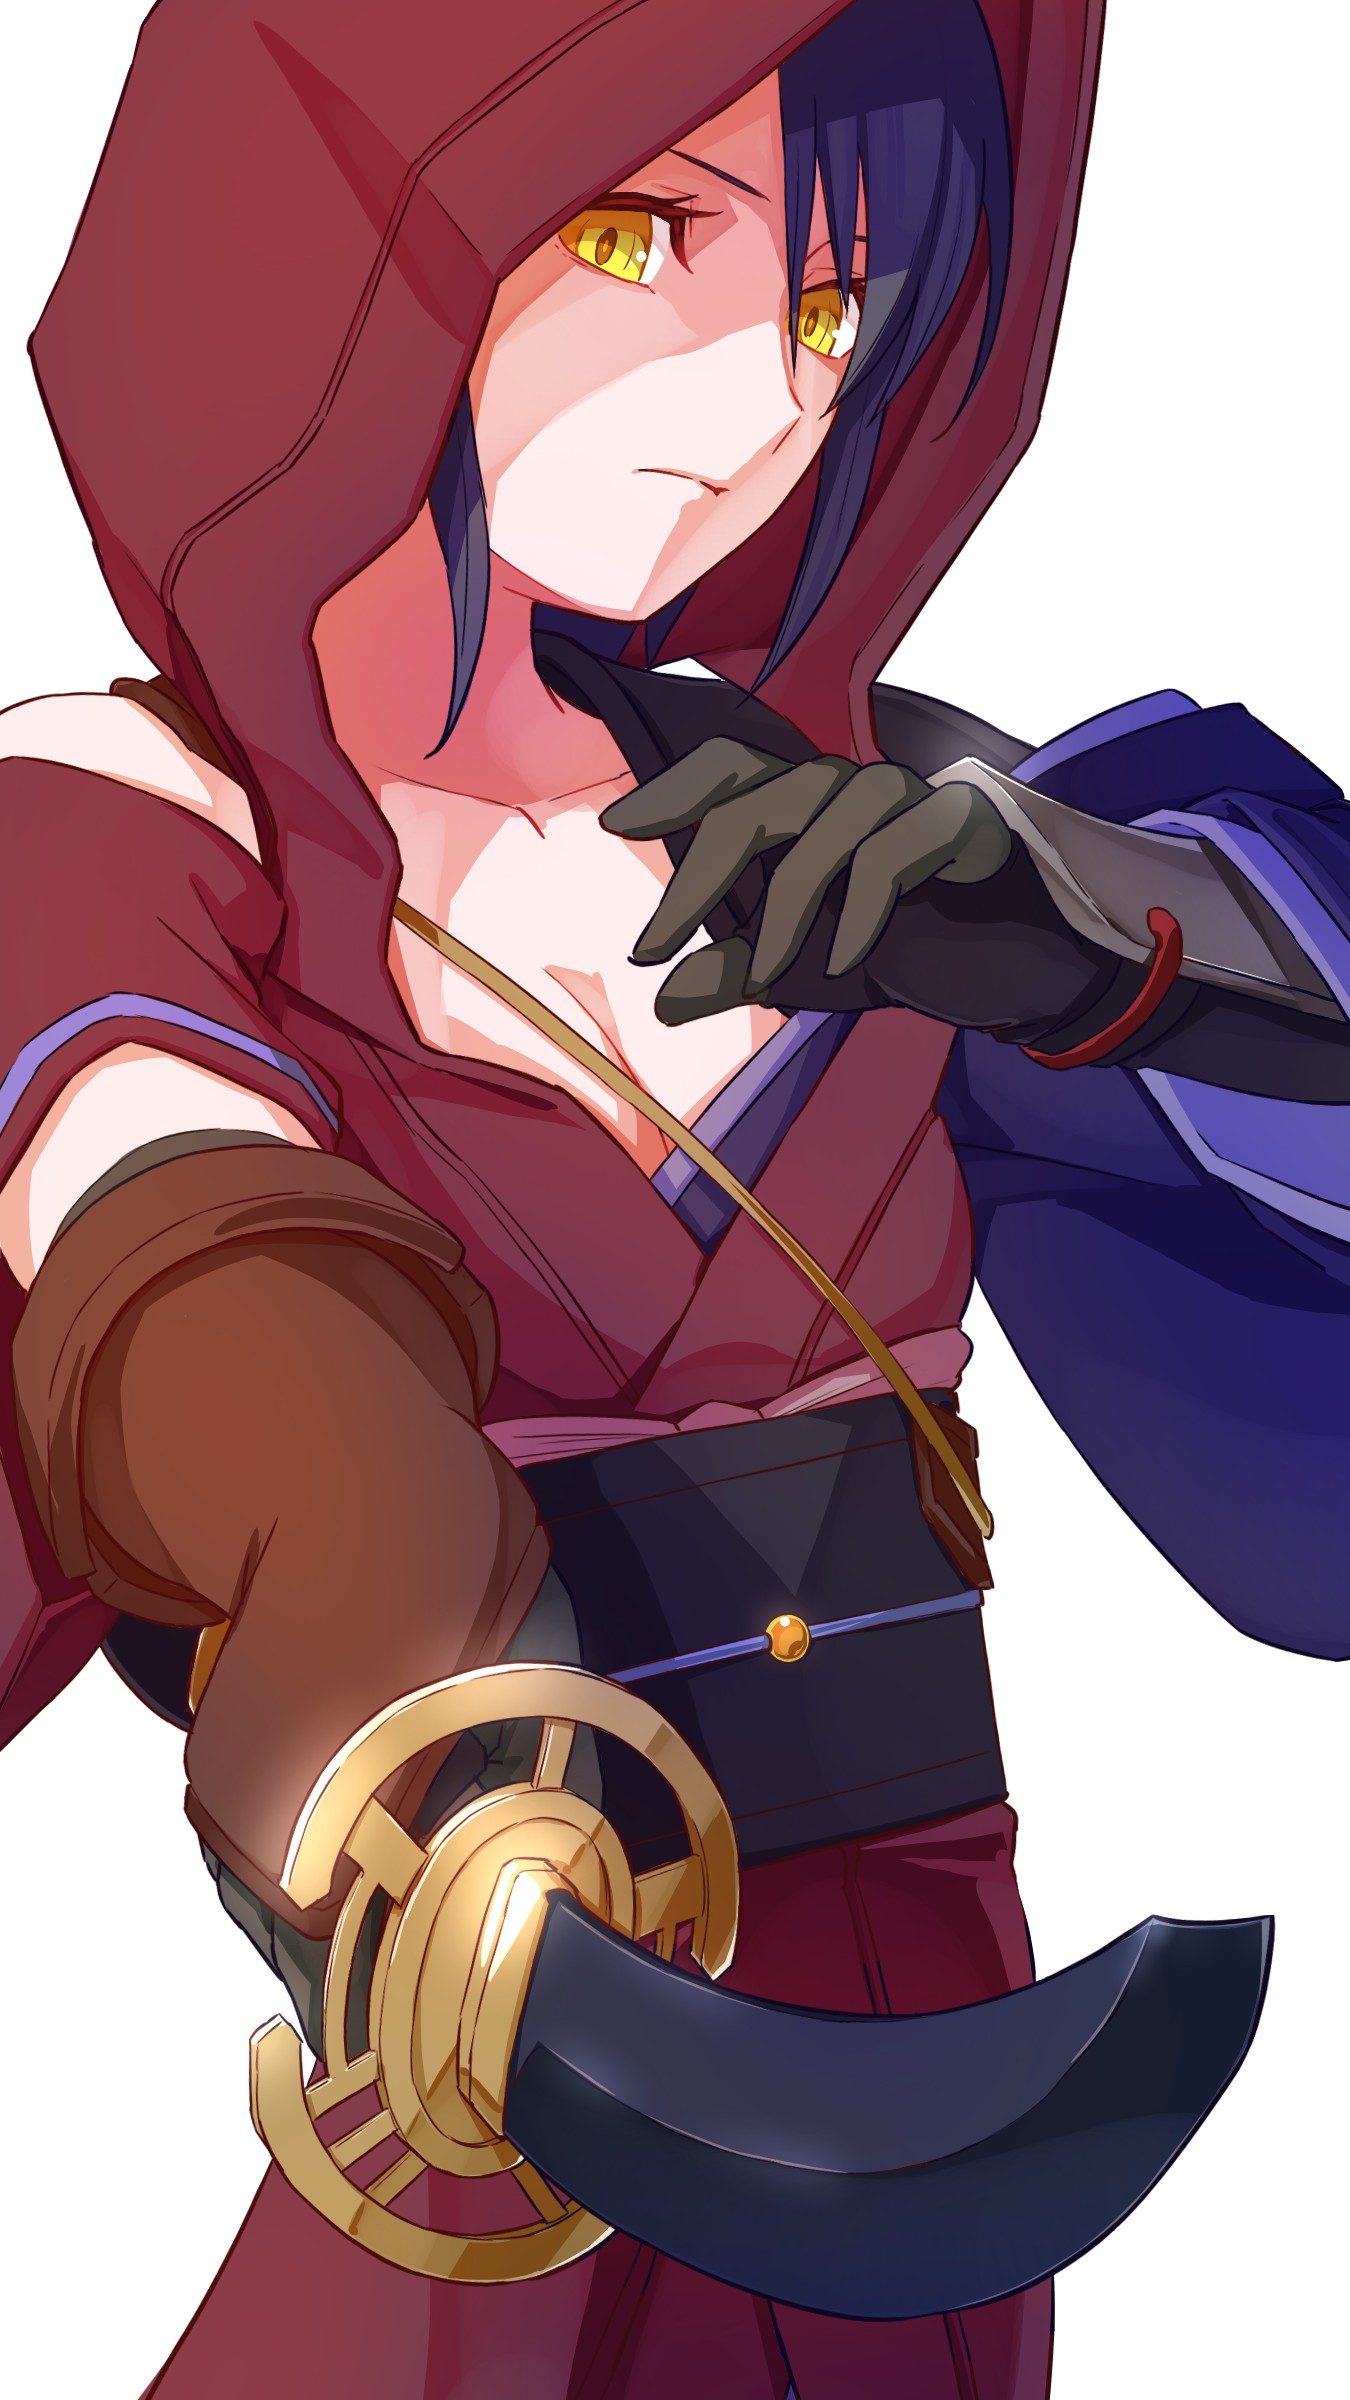
It took me about 7 hours from drafting to completion.
Perhaps it took me that long to finalize the character design too but I have a feeling I took longer to think of the design than the actual design process…
To think of it, I haven’t drawn Japanese style costumes in a long time so it was pretty challenging.
But I enjoyed drawing the sword and the kimono a lot!
Thank you for reading!
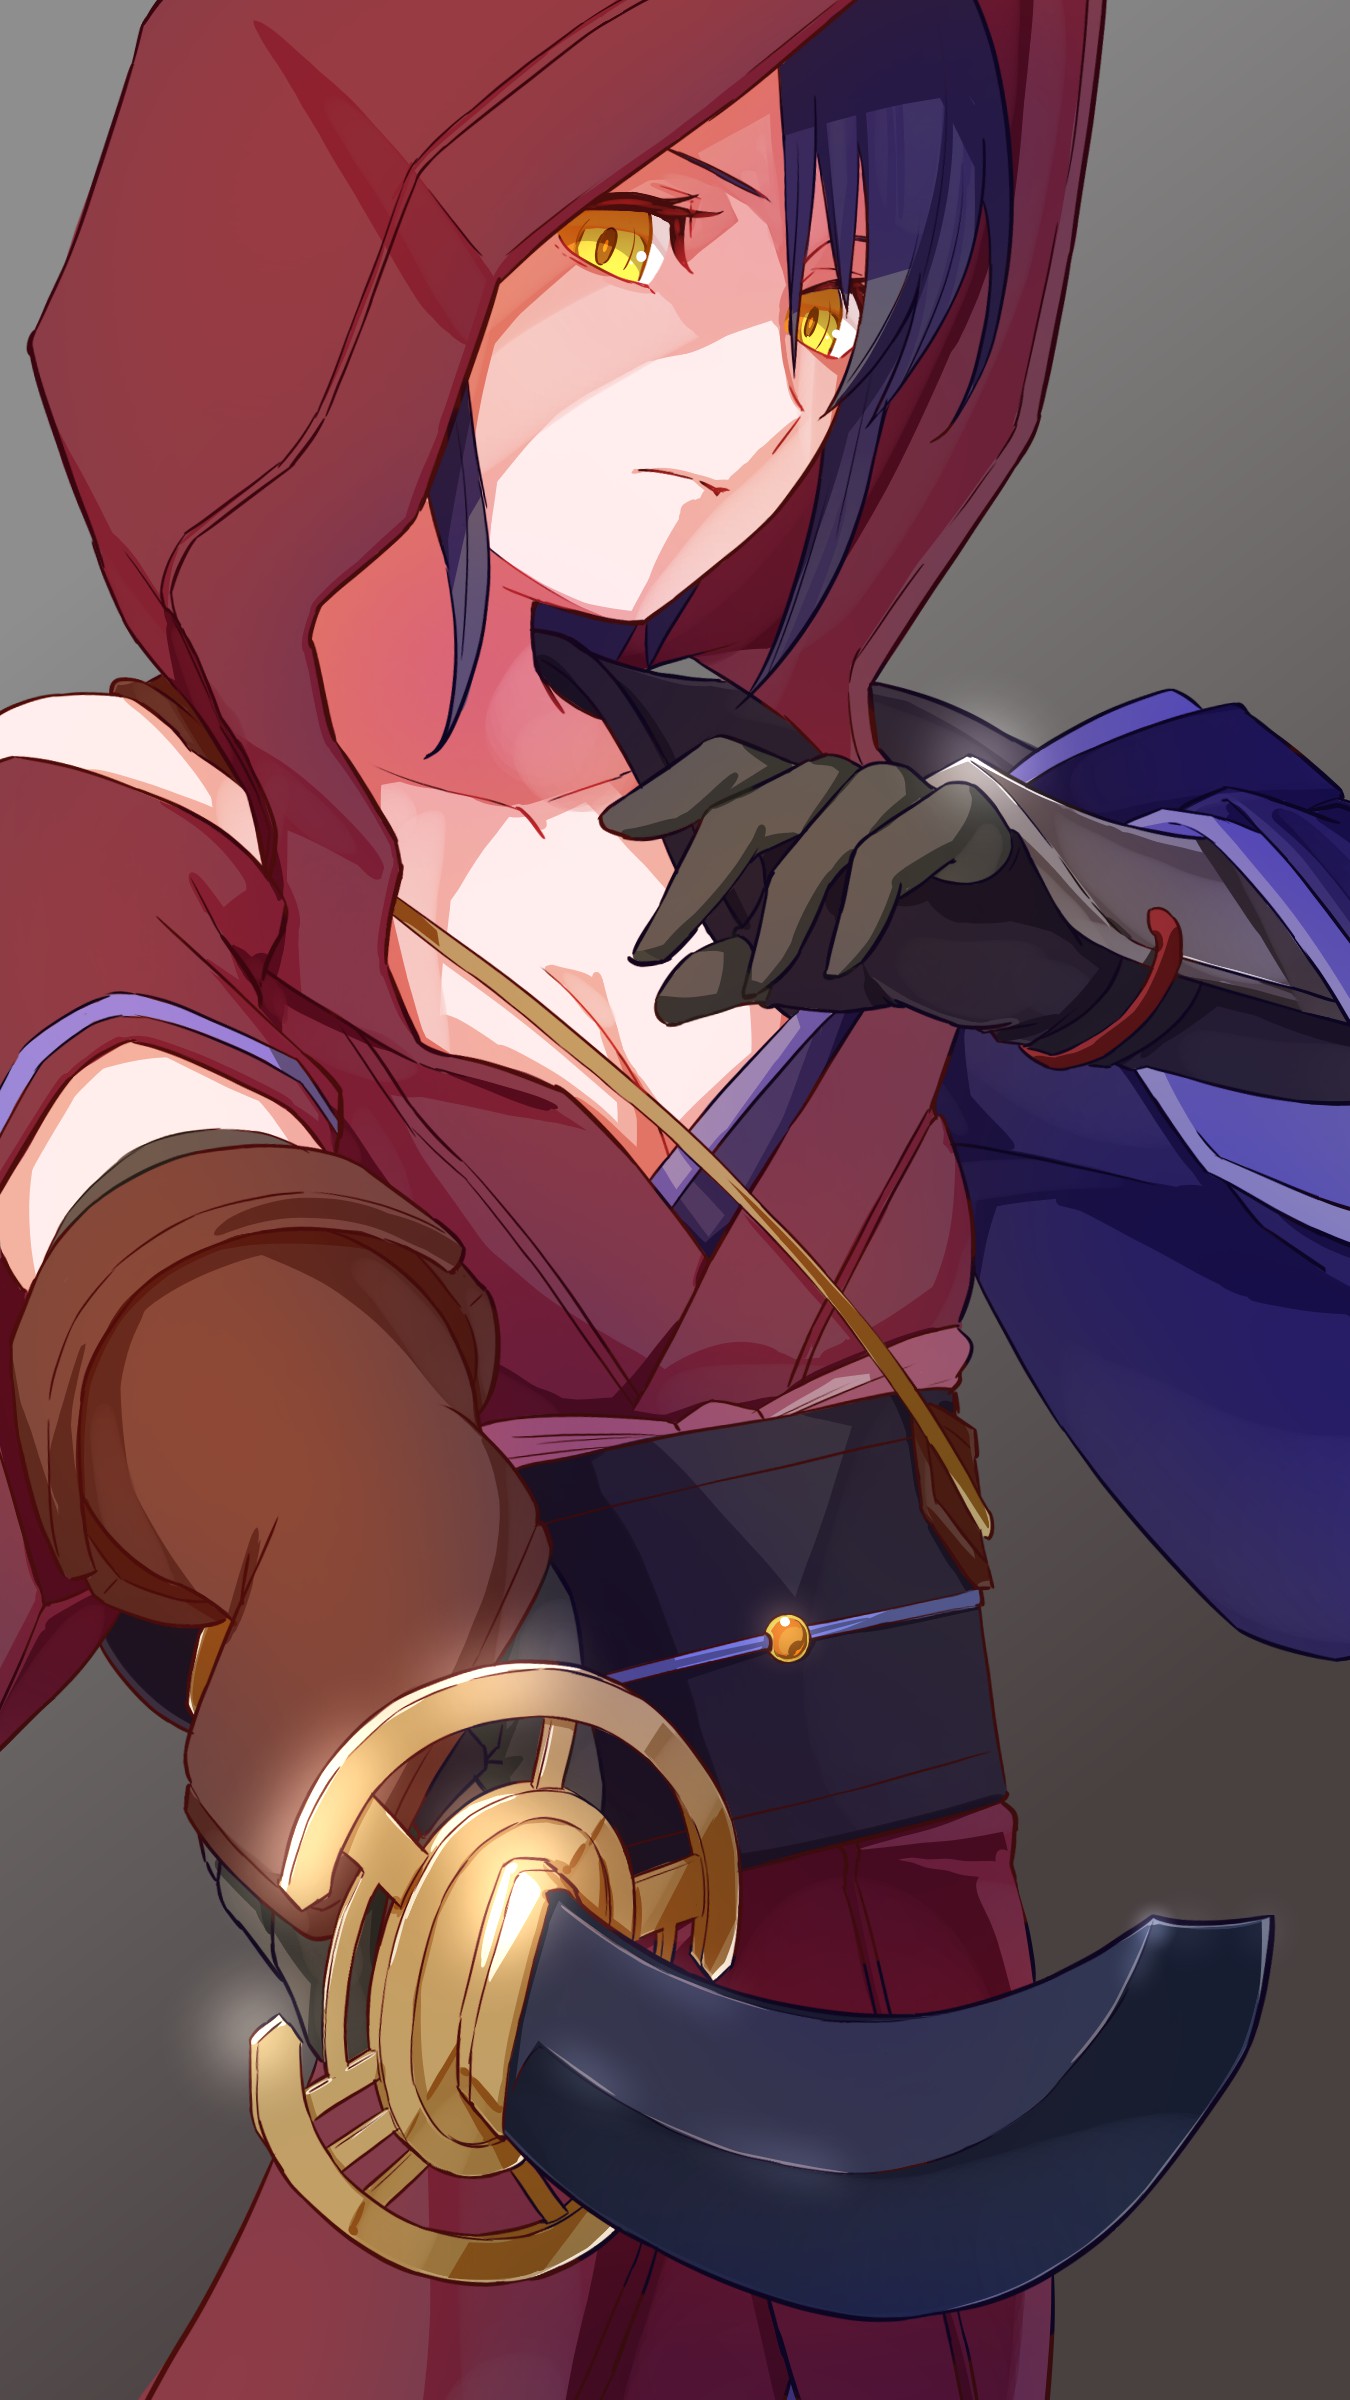
(Text・Illustration/時計)
Twitter https://twitter.com/Clock1231
\ We are accepting requests for articles on how to use /

