2022.08.22
[Belly Shading] Learn how to paint belly to make it real
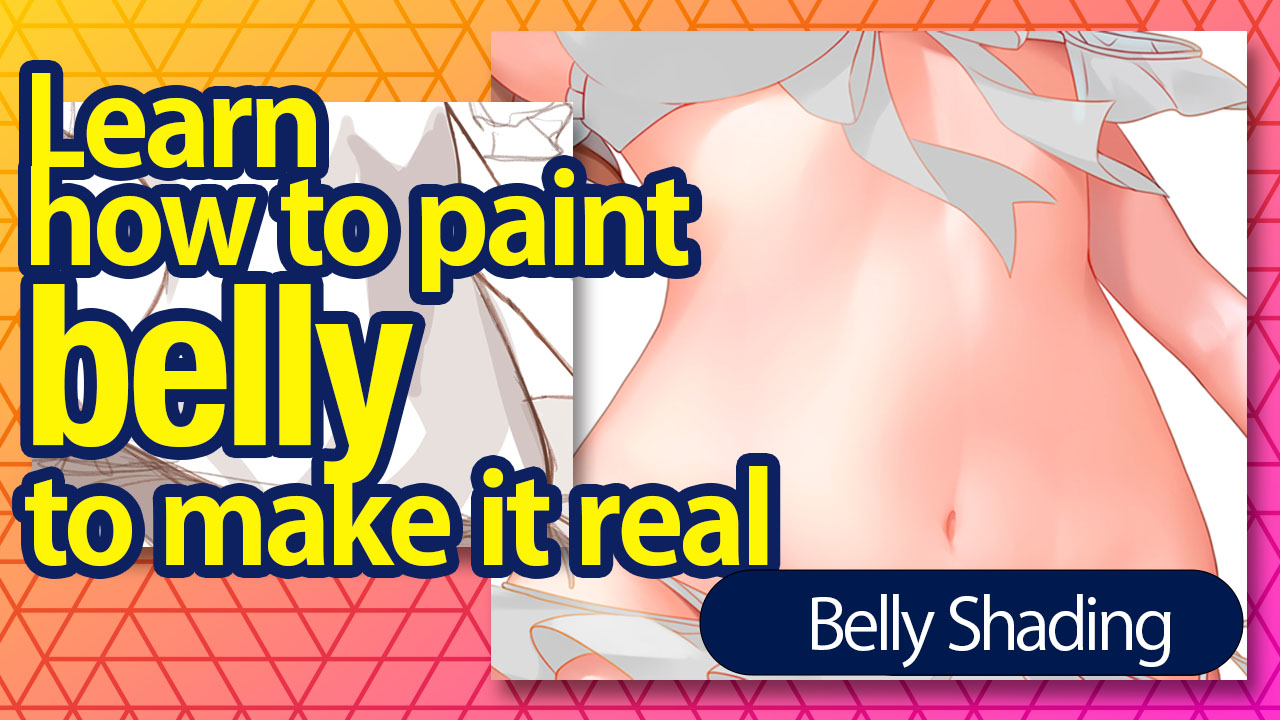
Illustrations with girls exposing their navel like girls in bikini or cheerleading costumes always draw attention to the belly.
For this tutorial, I will be introducing how to paint “the belly”, one of the girls’ attractive body parts.
I also touch on the bad habits of shading I often see in beginner artists so take a look at those as well.

Before I explain how to paint the belly, let’s look at the basics and the techniques of shading in general.
■ Basics of Shading
① How to shade
First I will introduce the basics of how shading should be thought of.
When you are painting the shade, you have to think about where on the screen the light shines from and where the light hits, creating a shade.
This isn’t limited to the belly but when you are thinking about the lighting, remember that you can create depth when the forepart receives the light and the back part is darker.
Keep in mind such basics when you set the light source, place it so the light hits the frontal part of the illustration.

② Painting the shade
I will explain the basics of painting using the navel as an example.
Which of the following do you think will have a clear borderline of color on the skin surface; the part receiving strong direct light (close to the light source) or the part receiving little light (far from the light source) ?
Since the former would receive strong effects from the light of the outside world, the latter is the correct answer here.
This is the same for painting the skin.
The closer the distance to the light source, the blurry the edges of the drop shadow should be.
In contrast, you should draw the shade quite vividly on the other side since it is far from the light source.

Beginners tend to do their best to blur the drop shadows of clothes and hair using the airbrush etc. but this ends up mixing the colors and the illustration would lose three-dimensionality. Be careful as the screen can look quite dirty.
This is the “bad habits of shading” I talked about in the beginning.
The below compares the correct shading and the bad shading, using the crease as an example.

The mistakes I see often are like the one on the right, where the shade has been painted probably using the airbrush and the blur tool.
You can see that the borderline of the shade is vague and the colors seem mixed.
The shade doesn’t always have to be as clear as the one on the left but you should change the strength of the vividness depending on the texture. (In the illustration above, I drew such vivid shade since I imagined a school uniform blazer which doesn’t have a soft texture)
■ Painting the Belly
① The anatomy of the abdomen
Now, I will start painting the belly !
The key here would be to illustrate the surface of the abdomen realistically but once you can draw the features like the ab muscles and the belly fat, you don’t have to replicate the detailed position of such parts.
In this part, I will introduce the approximate anatomy.
It will be quite costly but if you want to perfect the details, you should get the anatomy book for proper reference.

This is only the draft but I’ve added rough shading along the outline of the belly parts.
I usually make sure that there is nothing weird in the composition by adding shades at the color rough draft stage so I don’t have to undo after I start the inking process.
As explained in the previous paragraph (basics of shading), the part far from the light source (in this case, the left) should be fully shaded.
It will be easier to create three dimensionality.
② Shading
When the line drawing is done, copy the rough shading before you start painting the color.
This is not just to save time but you can also picture how the post-coloring illustration will look.
It will be much easier if you roughly clean the shading now.
The gray parts in the left image below is my rough shading I created earlier.

Now, let’s go back to the basics of shading I explained previously.
The key here is not to blur the shading too much.
Only add moderate blur to the shades near the light source, and keep the shading vivid for parts far from the light source so you can create the right dynamics. (“Shade 1” below)
I’m sure it will be difficult in the beginning but I also always repeat the paint and erase process too.

Now hide the “Shade 1” layer and shade in the parts that will definitely be a shadow plus the parts you want to emphasize.
It’s important to think about the color choice since it can turn out too dark.
You can create the swell feel by stressing the border around the torso. To do so, make the outline of the belly a little darker.
I want to depict the light hitting from the left so I will clean the unnecessary shades.
Only on the right side, I left the line of the ab muscle a little.
I also painted the roundness around the navel, paying attention to the anatomy.
In reality, the navel tends to be flat but I like illustrations emphasizing the unevenness so I think this part depends on your preference.
This is the same for the Y line around the pelvis as well.

Once the shading is complete, unhide the Shade 1 Layer and move on to the next step.

This is the last step for shading.
Add an even darker shade than the one in Shade 2.
Rather than the reddish color, choose an actual brown color.
However, be careful not to spread the brown too widely since the screen might become a little dirty.
I think it would be best to lightly add the brown shade around the outline to blend with the line drawing.
In addition, don’t forget to draw the drop shadows of the hair or clothes and make them darker than the other shades. (I will skip them here)

Finally, let’s add the highlights.
This is because the whole illustration will look shiny when the parts receiving light are drawn much brighter.
Don’t use pure white and add an orangish color.
Now change the Blending of the line drawing layer to “Overlay”.
Depending on the background, you have to add backlighting or ambient light but I will not explain them here since this tutorial uses white background.

Great! This completes the painting of the belly.
Adjust the color of the line drawing to blend well with the illustration.
Thank you for reading and following this tutorial.
I hope my tips on shading and painting help with your future illustrations.
Let’s challenge painting the belly and create stunning drawings of girls!
(Text・Illustration/でぺ)
Twitter / https://twitter.com/depe874
ART street / https://medibang.com/u/depe874/
\ We are accepting requests for articles on how to use /

