The Selection Tool allows you to select various parts of the canvas and layers to edit. The selected area is known as a “selection range”Using “Select Tool”, you can select part of the picture.
By using the “Bucket Tool” or “Transform Tool” after selecting an area, you can fill the area with paint, or edit just the selected area by using mesh transformation.
There are several ways to make a selection in MediBang Paint.
You can select the range as “Rectangle” “Ellipse” “Polygon” shape.
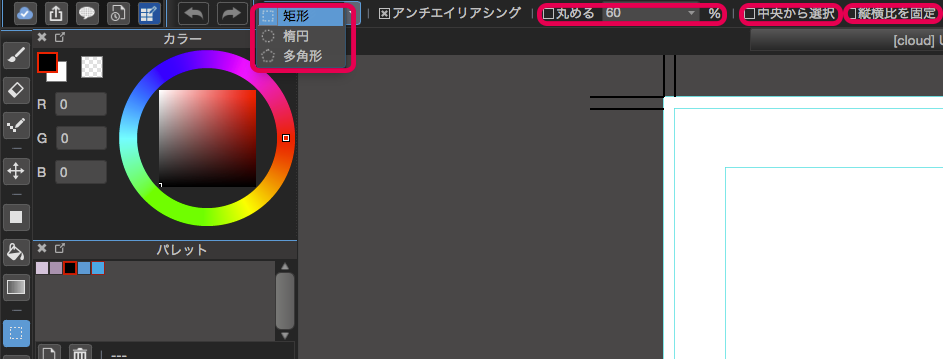
When you click the “Shape Selection Tool” button on the left toolbar on, you can select between “Rectangle” “Ellipse” and “Polygon” to use as the shape selection tool.
The settings for rounding corners, selecting from the center, and fixing the aspect ratio work the same as those for the Fill Tool.
To cancel your selection, you can click “Select” → “Deselect” from the menu or click the “Deselect” button on the toolbar at the top of the main window.
After selecting an area, if you click “Edit” → “Crop” from the menu, the canvas will be cropped to the size of the selection.
If you freehand select anything on your canvas, the lasso tool will be your best friend.
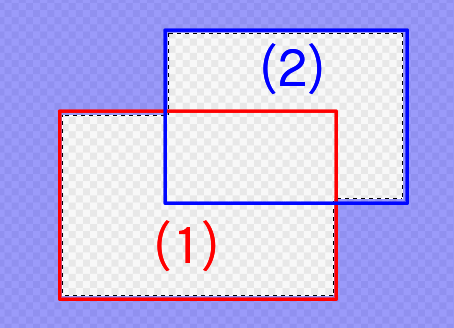
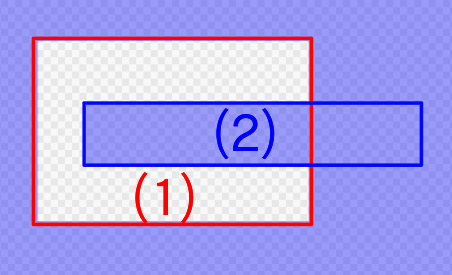
If you already made your selection, you can add on a new section to the selection by holding down the Shift key and selecting where you want to extend the section.
To cut your selected area down, hold the CTRL/Command key while selecting the area you want to remove.
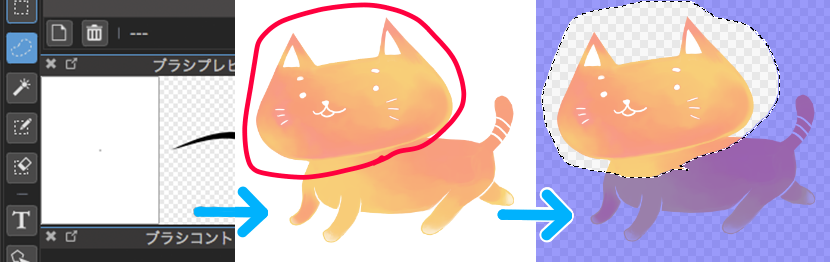
Using “Auto Selection”, you can create a selection automatically along the part surrounded by a line and color form.
When “Auto Selection” is active, its toolbar will be displayed at the top of the main window.

This toolbar works the same as the “Bucket Tool” toolbar.
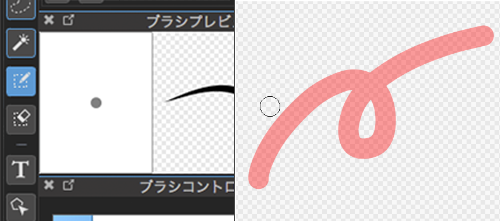
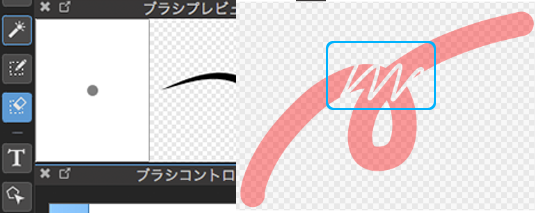
Use the Selection Pen to easily make detailed selections with the feel of using a brush tool.
The selection pen comes in handy when you want to select details that may be difficult to specify using the more generalized selection tools.
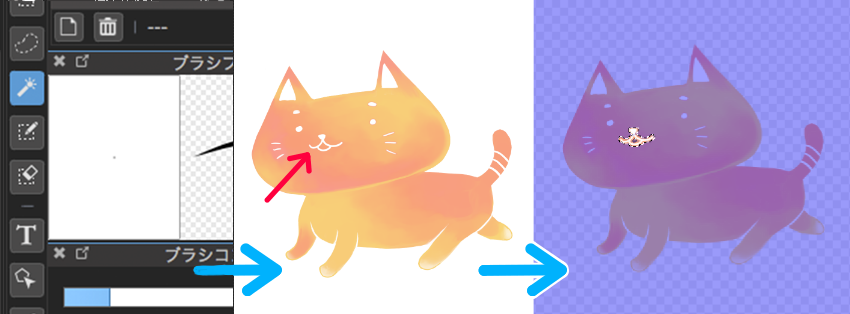
By using “Select” → “Create selection from Layer/Opacity” or “Create selection from Layer/Brightness”, you can create a selection based on whatever has been drawn on the active layer.
You can erase the selection by using “Selection Eraser” tool.
The selection eraser is helpful for cleaning up detailed areas of an illustration.
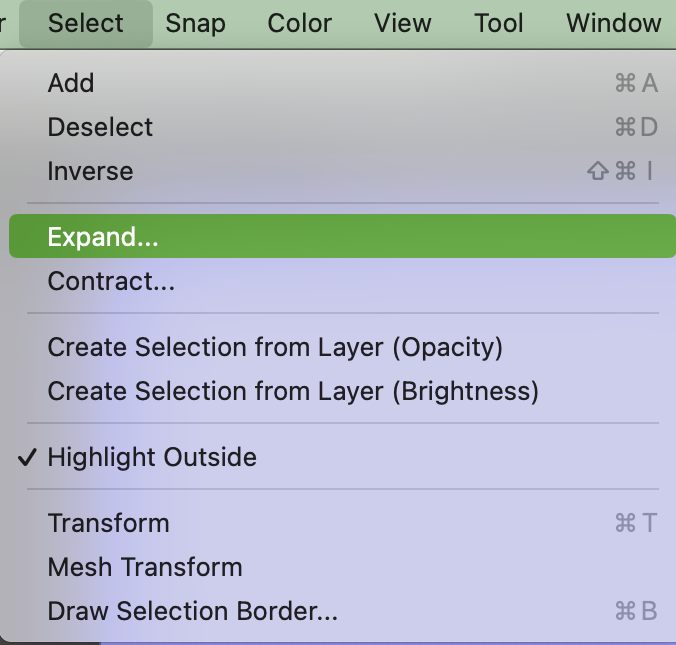
It is also possible to expand and shrink a specified selection range.
After making the selection, click “Select” -> “Expand” or “Contract” in the menu.
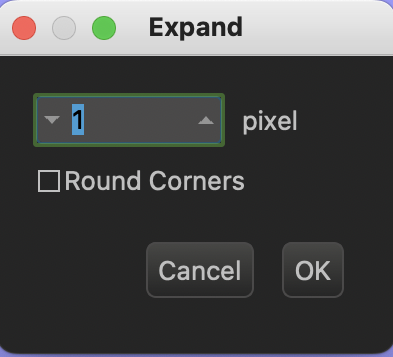
 Input the number of pixels to be expanded/shrunk and click “OK”.
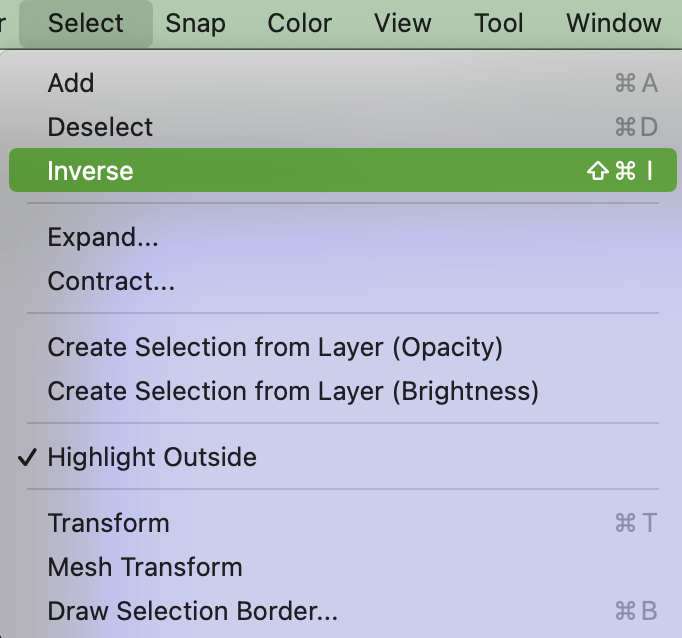
To invert the selected area, click “Select” → “Inverse” from the menu after making your selection.
Also, if you want to deselect the selection, please click “Deselect” from the Select menu.
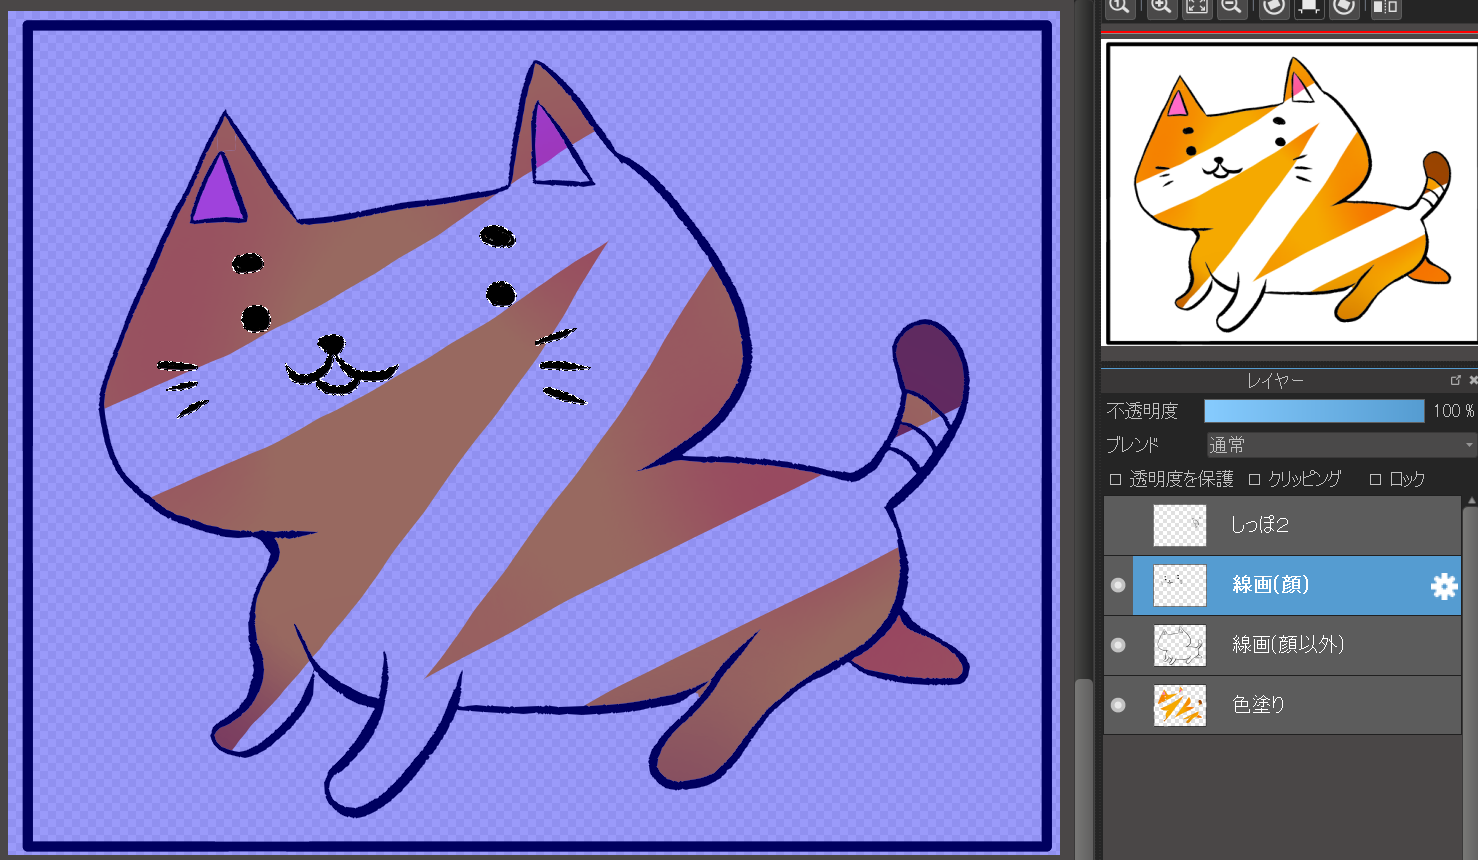
By unchecking “Select” → “Highlight Outside” in the menu, you can erase the color (purple) around the selection area.
It’s time to practice making selections on the canvas. Click the button below to download a sample MDP file to open and follow along with while reading this tutorial.
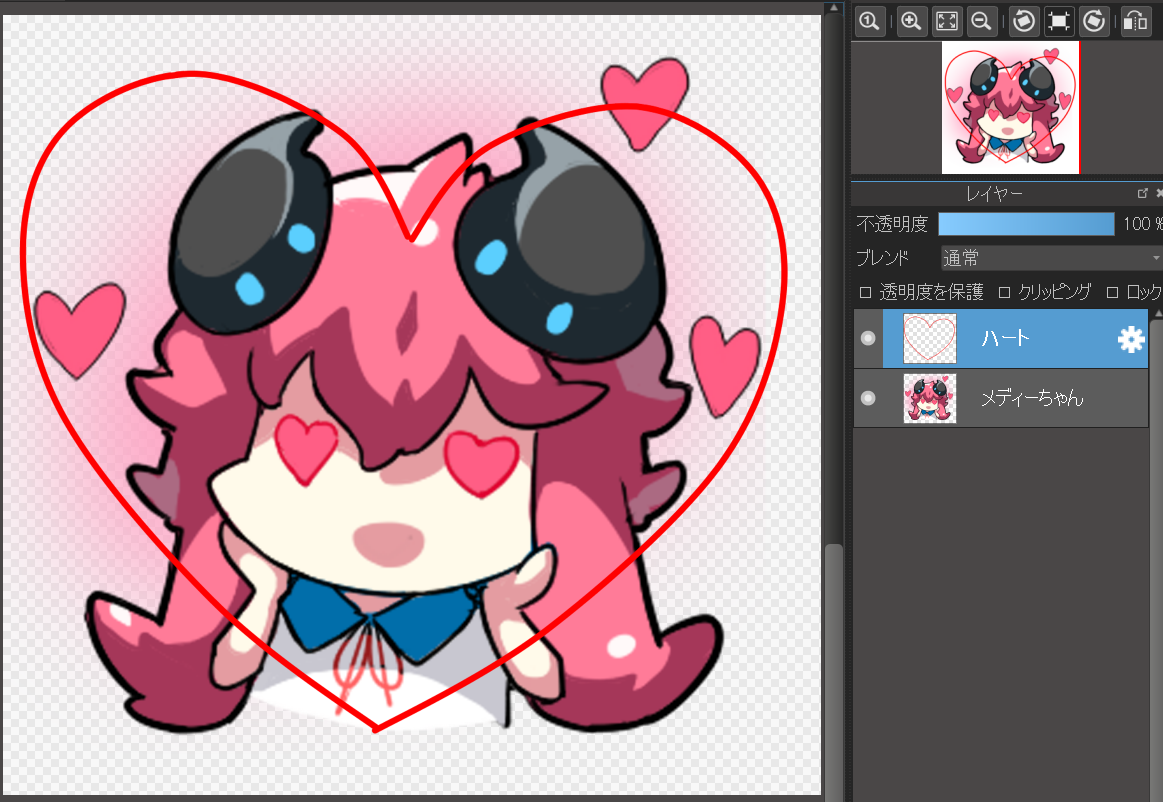
Now it’s time to using a clipping mask to clip Medi-chan to the Heart layer.
Select the “Heart” layer and then use auto-select inside the heart with the Reference set to Layer.
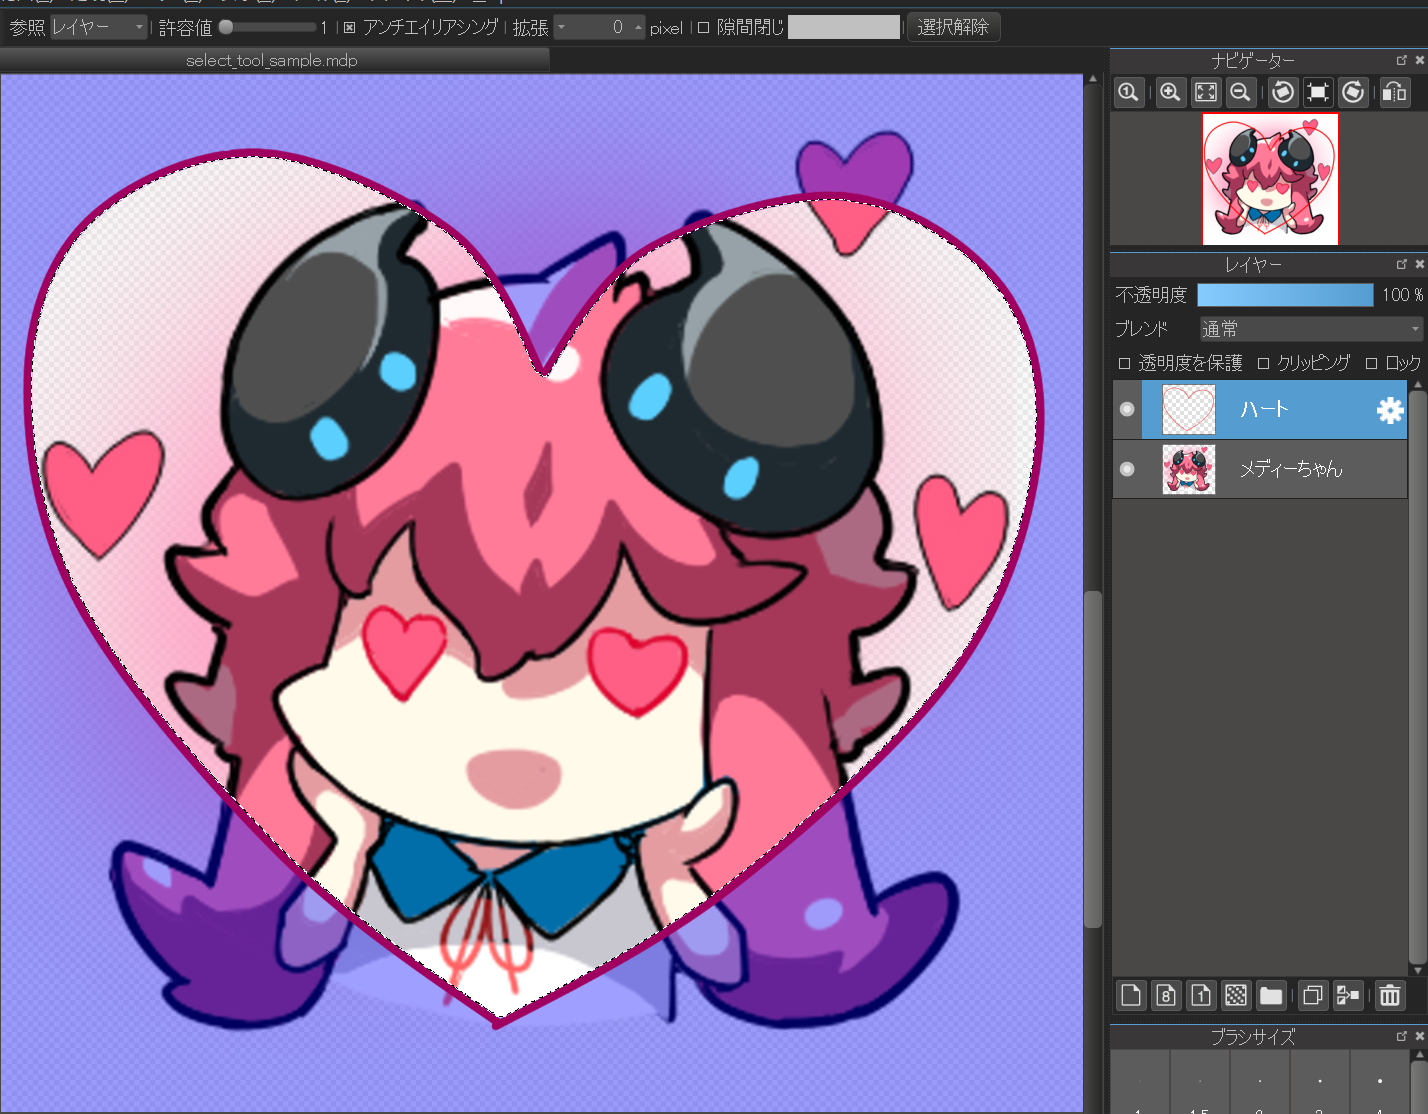
When you invert the selection by “Select” → “Inverse” in the menu, the outside of the heart will be selected.
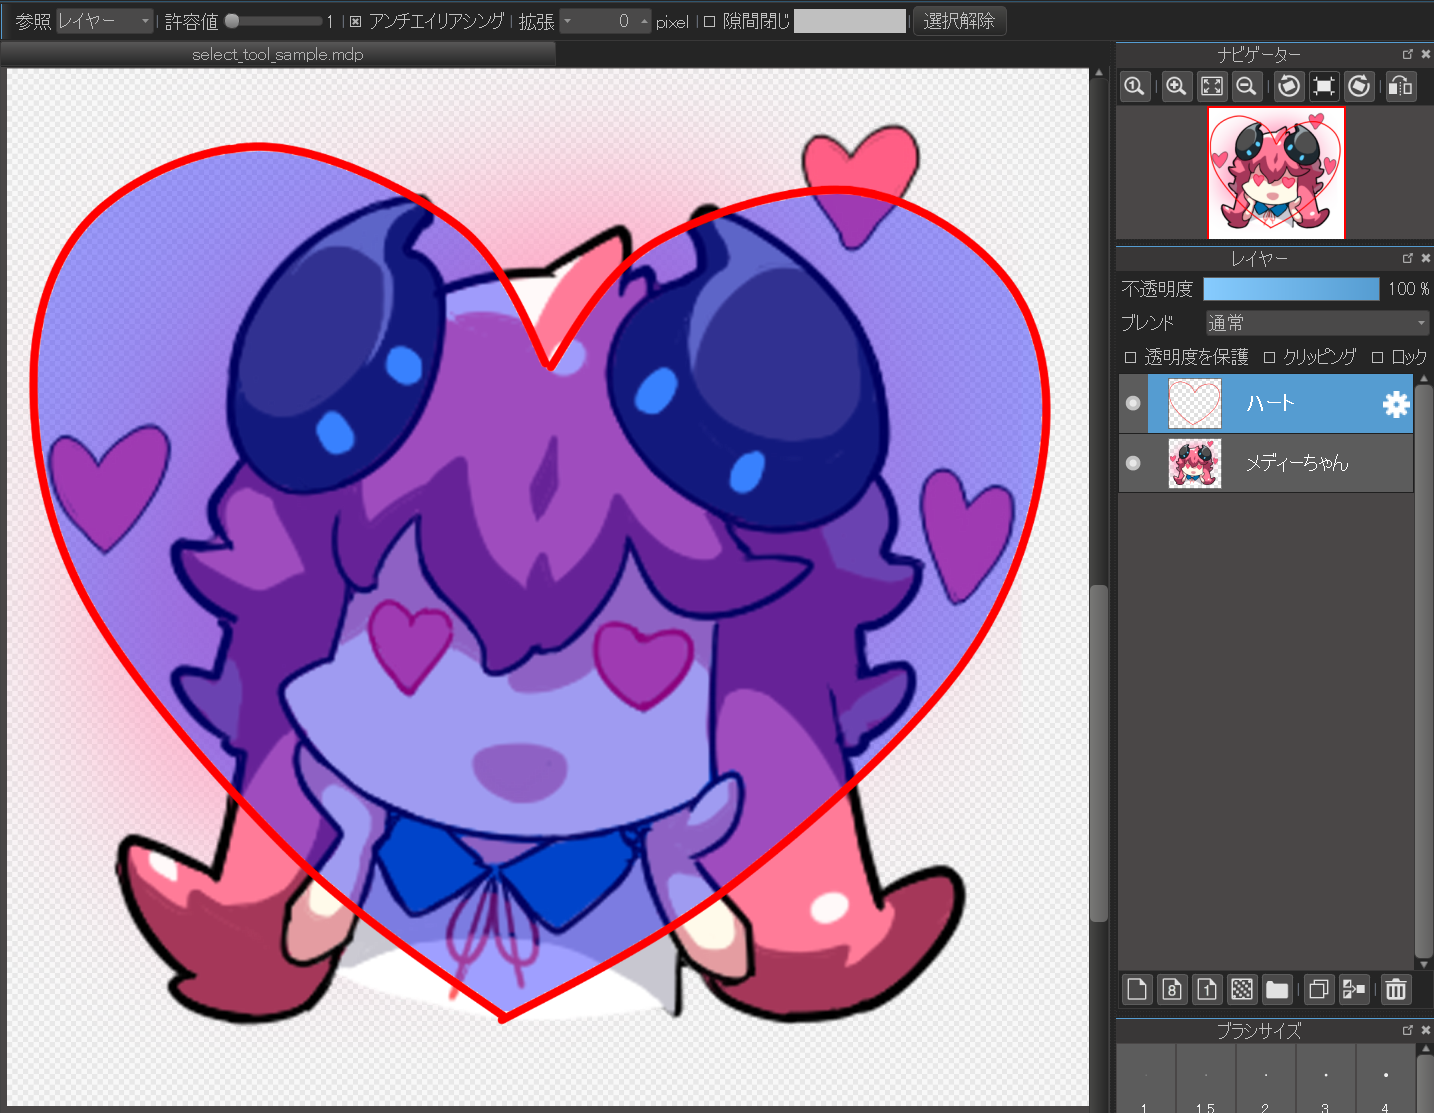
In this state, you can select the “Medi-chan” layer, and from the menu click “Layer” → “Clear” to erase only the outside of the heart.
If you perform any actions such as clearing a layer within a selected area, it will only be reflected only within that area.
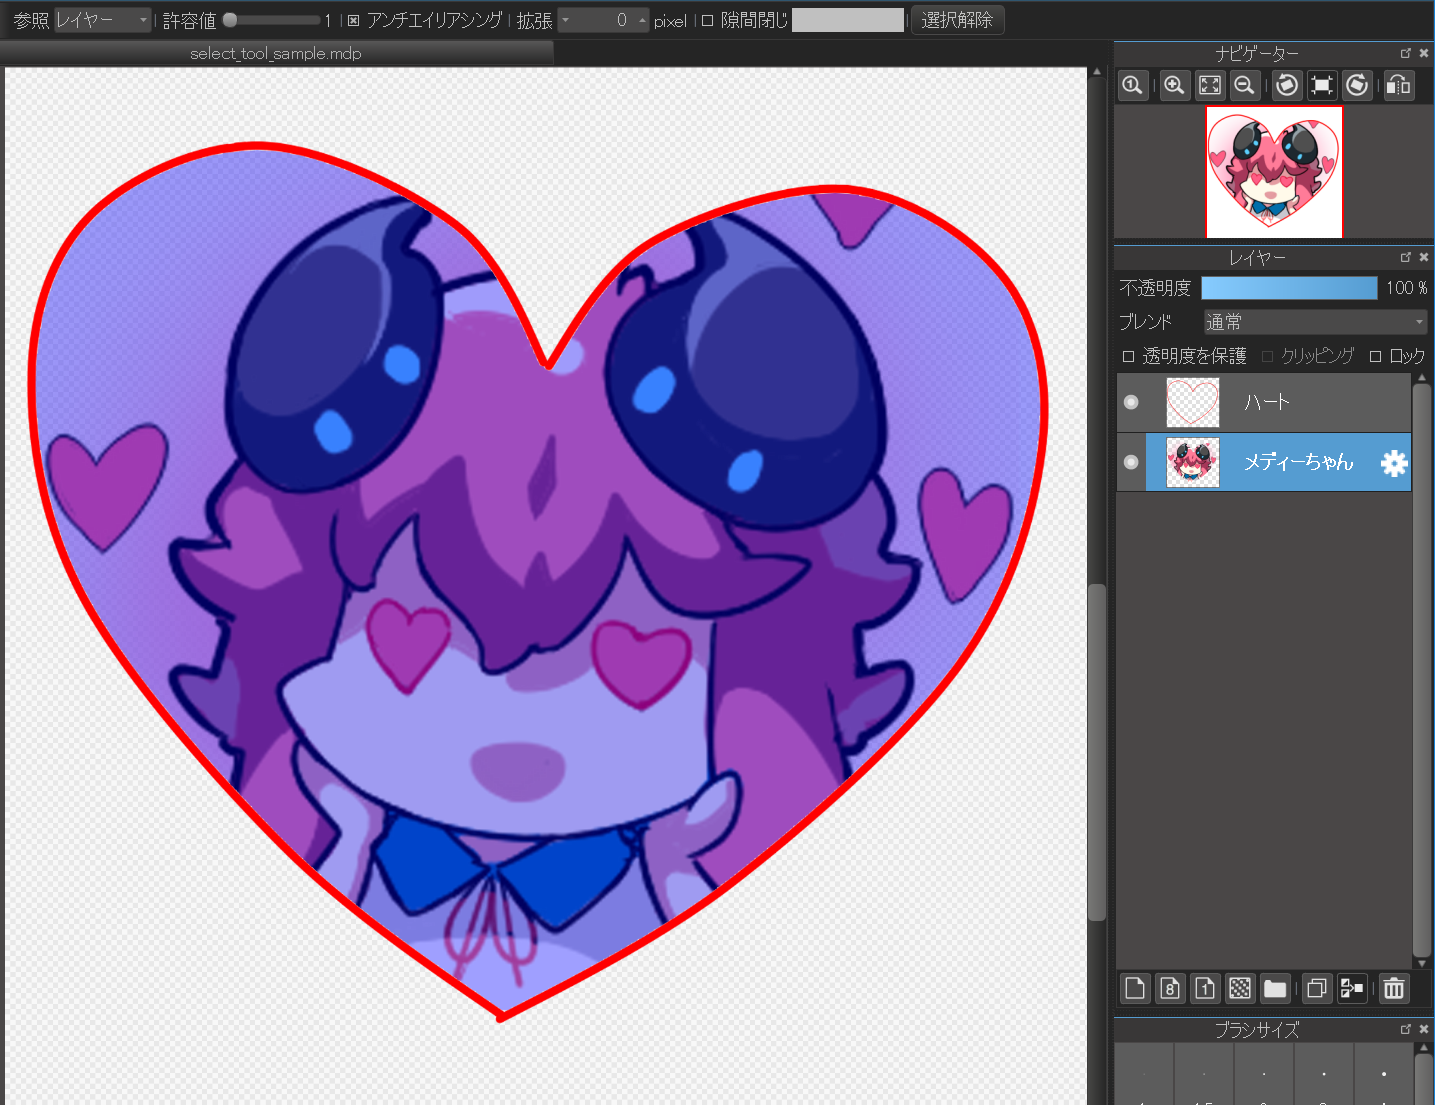
Even when you change the selected layer, the selected area remains unchanged. You can then use this selected area that was created using auto-select on another layer.
And lastly, if you deselect the currently selected area and delete the “heart” layer, you will have created a new heart-shaped Medi-chan art layer.

Your creativity will be more special!
MediBang Paint's new service,
Unlimited use of exclusive brushes and
materials,
full access to MediBang Paint,
and many other benefits to help your
creativity.
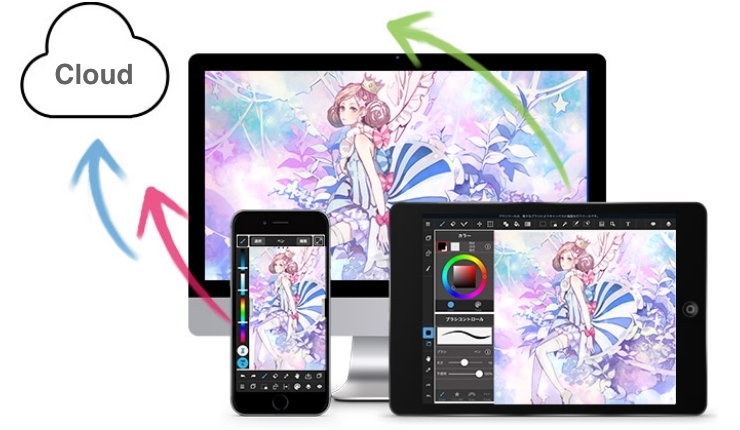
We introduce cloud features available on MediBang Paint.

We introduce specific examples of team production using MediBang Paint and mangainem.

We introiduce "JUMP PAINT", JUMP's official soft and app for manga creators.