2020.11.04
[For Beginners] Six points for line drawings
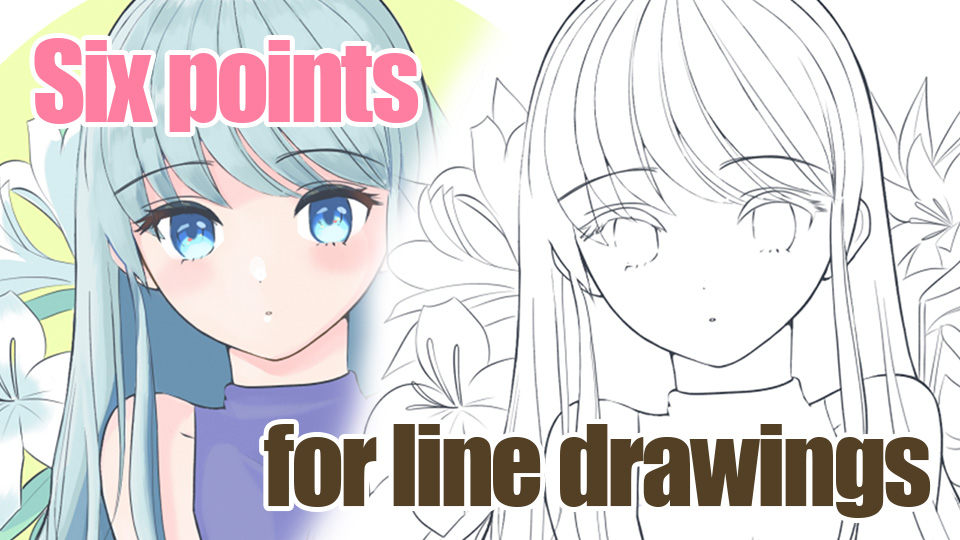
When you start drawing, the first thing you tend to worry about is line drawing.
If you’re having trouble with line drawing, such as “I want to draw straight lines without blurring,” or “I want to do something about a sloppy line drawing,” there are 6 points you should know.
So let’s take a look at these 6 points along with the line drawing making of the picture below.


1. Draw a rough draft
When you draw a line drawing, draw a rough draft first.
You can decide on the composition either in advance or during the rough draft.
(1) Decide on the general shape and composition

(2) Create a new layer and decide on a more detailed line
Here, the rough sketch in ① was enlarged and reduced in size.
After that, I changed the composition a little and drew the rough image on a new layer with darker colors.

(3) Drawing in more detail
I’ve lowered the opacity of layer (2) to make the lines of the new layer easier to see.

[Point 1: Keep roughing it out!]
The more detailed the rough draft of the lines, the less likely you are to choose or get lost in the line drawing stage.
If you draw multiple lines on a single layer, you won’t be able to tell which lines are necessary, so I recommend making a new layer and drawing the rough draft to narrow down the lines.
How much detail to draw depends on each person, but if you’re not sure which line to choose, I think it’s a good idea to draw in some solid lines and narrow down the lines you want to draw.
2. Draw an outline
Once the rough sketch has been drawn, the next step is to draw a line drawing.
Where to start drawing the line drawing differs from person to person, but in this case, I will draw the outline first.

When the time comes to draw a line drawing, you can’t do it as well as you’d like.
If this is the case, I recommend that you rethink your line drawing style.
[Point 2: Choose a drawing style that suits you]
There are three main ways to draw a line, as shown below.
We hope you’ll try each one and find the one that works best for you.
(1) How to draw in a single stroke
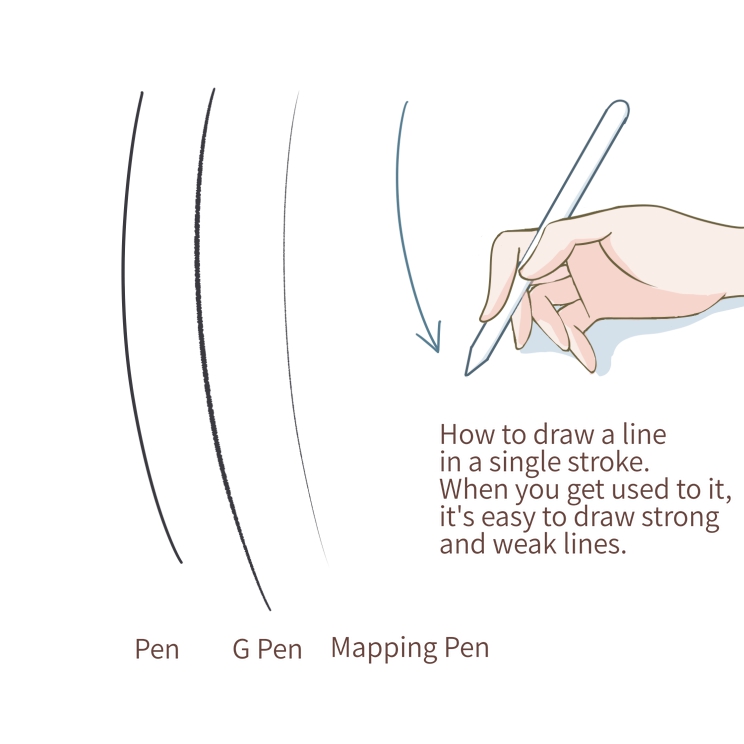
This is the most common way to draw. In one stroke, you draw a line in a single stroke.
It’s hard to “get it” in one go. You may not be able to draw the line “I can’t draw this line,” so use the back button on the Mediban Paint or ctrl (command) + Z on your keyboard to correct the line as you go along.
(2) How to draw a short line
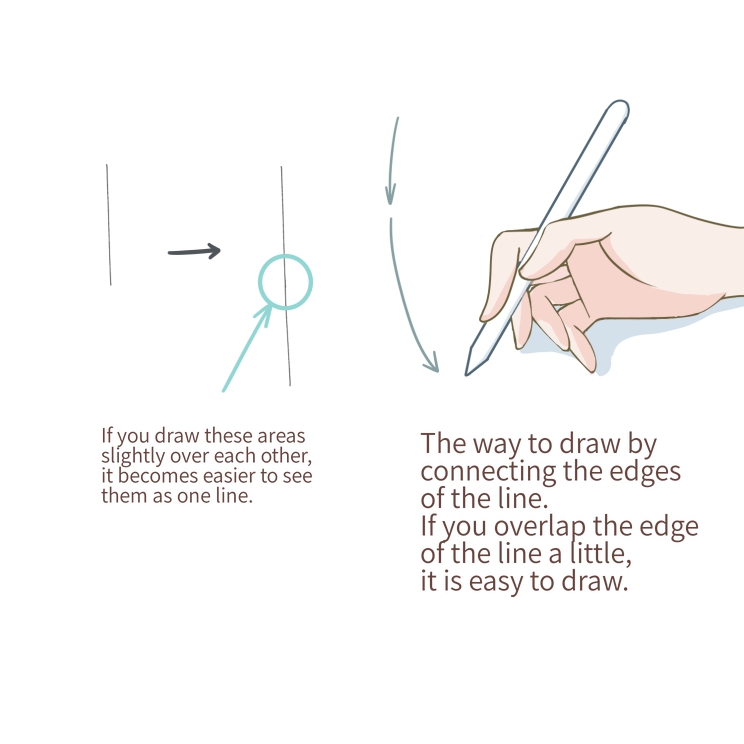
This is often used to draw long lines.
This technique is often used when drawing long lines, as in this example, short lines are piled on top of each other to form a single line.
(3) Shaving and shaping lines
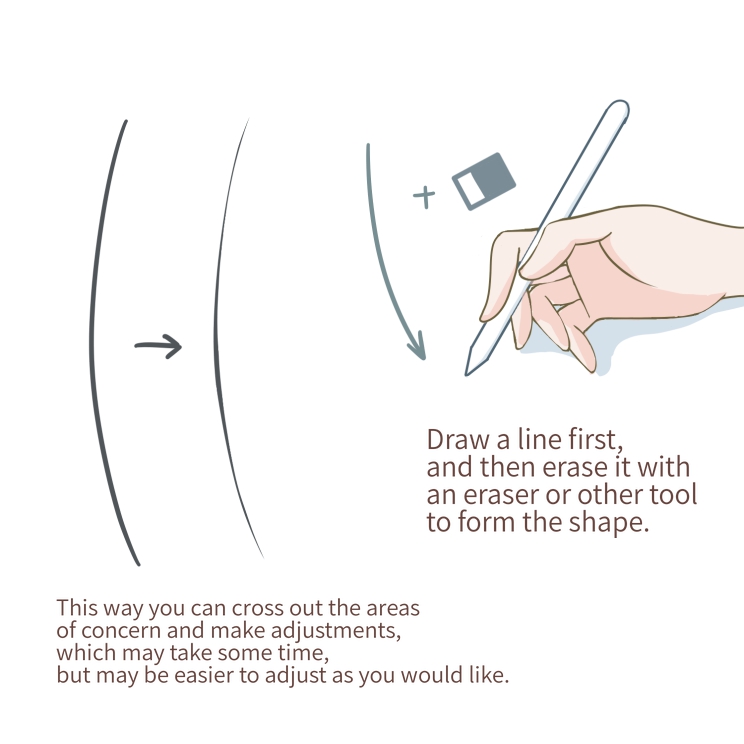
First you draw a line, then you erase it with an eraser or something similar to form the line.
This method allows you to shave the lines little by little, so it takes some time, but it’s easy to get the shape of the line you want.
[Point 3: Use Shake Correction]
If you find that your lines get blurred easily, we highly recommend the Shake Reduction function.
The Shake Reduction function helps you to draw straight lines with less blurring.
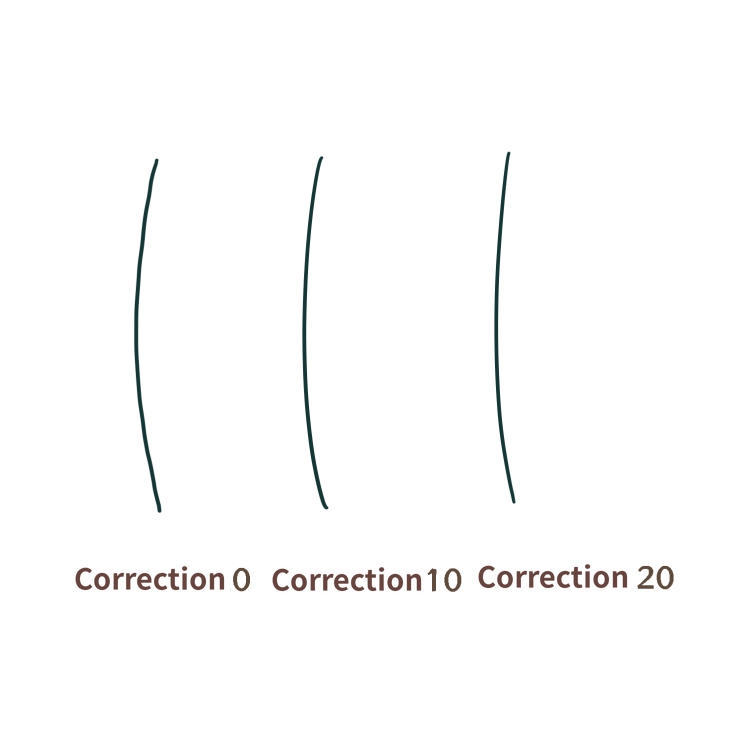
For more information on how to use image stabilization, please refer to this article.
▶︎ Use Correction to draw beautiful lines!
[Point 4: Rotate the canvas]
The human hand draws lines in a constant motion.
As a result, there are certain directions that our hands are not good at due to their structure.
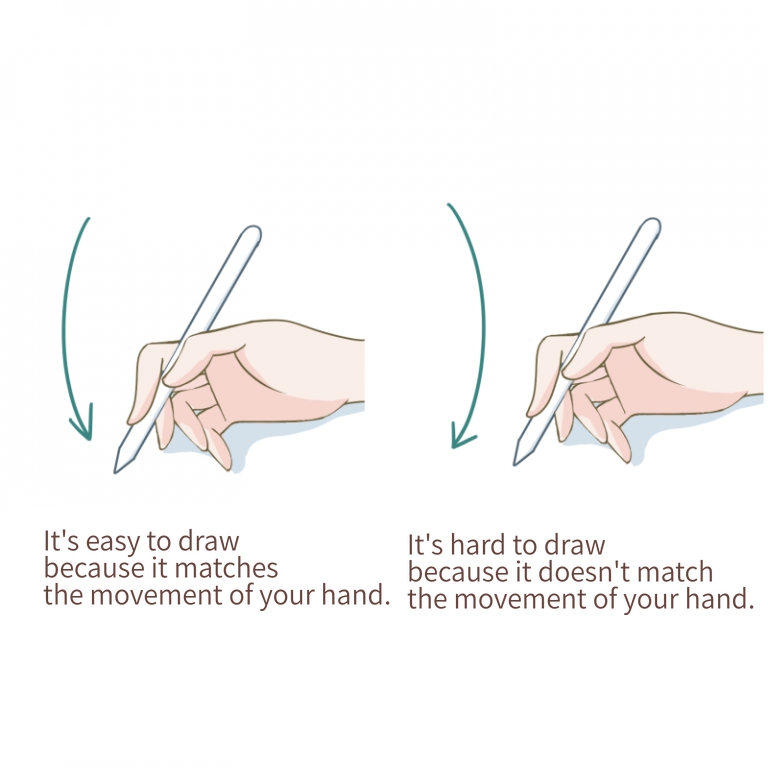
If you’re painting in a direction you’re not comfortable with, rotate the canvas to adjust the direction you’re comfortable painting in.
For more information on how to rotate the canvas, please refer to this article.
▶ [PC] Rotate and Flip
▶︎ Q. I want to rotate the canvas with two fingers
3. Draw your hair
Once the outline is drawn, I start drawing the hair.
Since some parts of the hair overlap with the face and body, I created a new layer of hair.
By separating the layers in this way, it is convenient to avoid the problem of deleting the face of the hair when modifying the image.

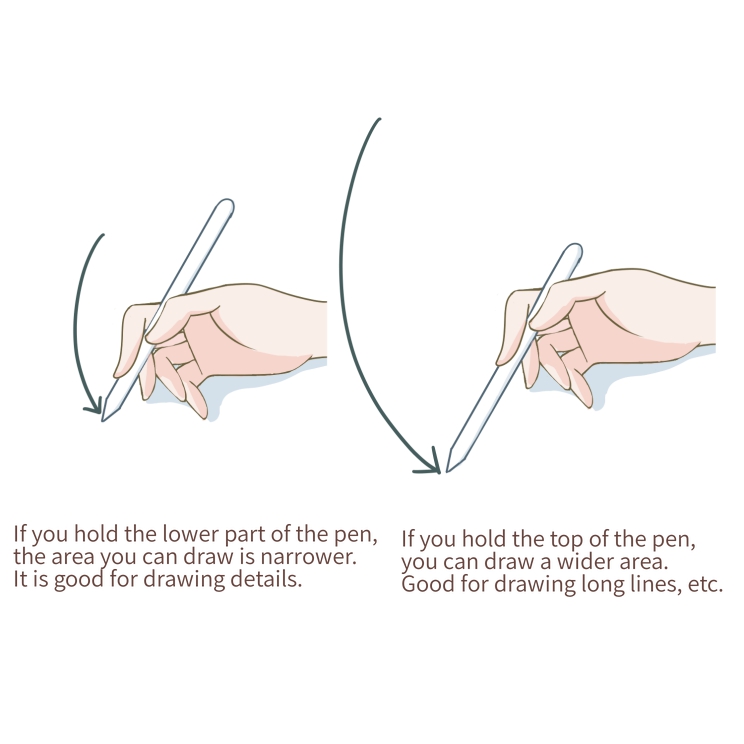
[Point 5: If you want to draw a long line, hold the pen long and vigorously]
In this case, I have long hair, so I need to draw long lines without blurring.
If you want to draw a straight line, keep in mind that you should hold the top of the pen and draw vigorously.
(1) Hold the top of the pen
If you hold the lower end of the pen, your stroke will be shorter and it will be harder to draw long lines.
If you want to draw long lines, hold the top of the pen as you draw.
(2) Draw vigorously
It’s tempting to draw slowly and carefully when you’re trying to create a clean line, but in fact, it’s easier to blur the line if you draw it slowly.
With digital technology, you can use the back button to redo your drawing as many times as you like, so try drawing a line as fast as you can.
Drawing a line quickly as if you were waving a pen, rather than putting a lot of force into it, makes it easier to draw a clean line.
4. Draw the details
Once I have drawn the outline and hair, I will draw the parts and details of the face.

When I draw these details, I use fine lines.
[Point 6: Change the thickness of the lines]
When drawing a line, you can create a crisp picture by using the following strength.
・Outline lines, close together are thicker.
・Thinly representing fine parts and textures, and farther away.
5. Adjust the line drawing
Once the line drawing is done, I adjusted the parts that I was worried about.
Here, I added a small solid color to give it a three-dimensional look.
The line drawing is now complete.

If you want to learn more about line thickness, small solids, and other quality improvement techniques, you can also refer to this article.
▶︎ The 3-step line drawing quality improvement technique in 5 minutes!
6. Completed
After the line drawing is completed, you can color in the line drawing and adjust it by changing the line drawing color or a part of the color to match the surrounding color.
If you want to change the line art color, you can change it from “Filter > Hue” or “8-bit layer” and then change the color.
If you use a clipping mask, you can change the color of only a part of the line drawing.
▶︎ Easily change the color of your line art with 8bit layers
▶ How to use the clipping mask function to change the line art color
Once you’ve adjusted the areas you’re interested in, you’re done.

7. Summary
Finally, I’d like to summarize again the 6 points for beautiful line drawings.
[Point 1: Draw the rough in separate layers as you go along]
[Point 2: Choose a drawing method that works for you.]
[Point 3: Use Shake Reduction]
[Point 4: Rotate the paper]
[Point 5: If you want to draw a long line, hold the pen long and vigorously.
[Point 6: Change thickness]
The more you draw a lot of line drawings, the more you get used to them, the more you’ll be able to draw the lines you want, so try to draw a lot of line drawings by following these 6 tips.
(Text/Artwork by sakaki)
\ We are accepting requests for articles on how to use /

