2022.12.09
【For Beginners】Poses with Weapons ~Part 2~【Making】
“I can come up with weapon designs but when it comes to drawing, it doesn’t work the same way.”
I’m sure many of you feel this way. I do as well.
I draw weapons often but I’m actually struggling every time.
This article will be a making tutorial to help you draw such difficult illustrations of weapons!
▼Previous Making Tutorial
【For Beginners】Poses with Weapons ~Part 1~【Making】
I’ve written a couple articles about weapon designs already so please refer to those if you
are interested!
▼Weapon Design
【For Beginners】Become a Weaponsmith – Casting & Minting ~【Weapon Design】
【Weapon Design】Become a Weaponsmith ~Bow Edition~
【Weapon Design】Become a Weaponsmith ~Wand Edition~
【Weapon Design】Become a Weaponsmith ~Axe Edition~
The first time the functions and tool names appear, they will be written as【Functions, Tool
Names (Windows Shortcut Key)】.
I will link the related articles below, so please refer to those for more details!
▼About【Shortcut Keys】
Draw the rough sketch
In the last tutorial, I drew a pose for a standard sword so let’s try a different weapon this time!
I created a series called “Become a Weaponsmith” covering various weapon designs so I will be using one of them to create a character illustration here.
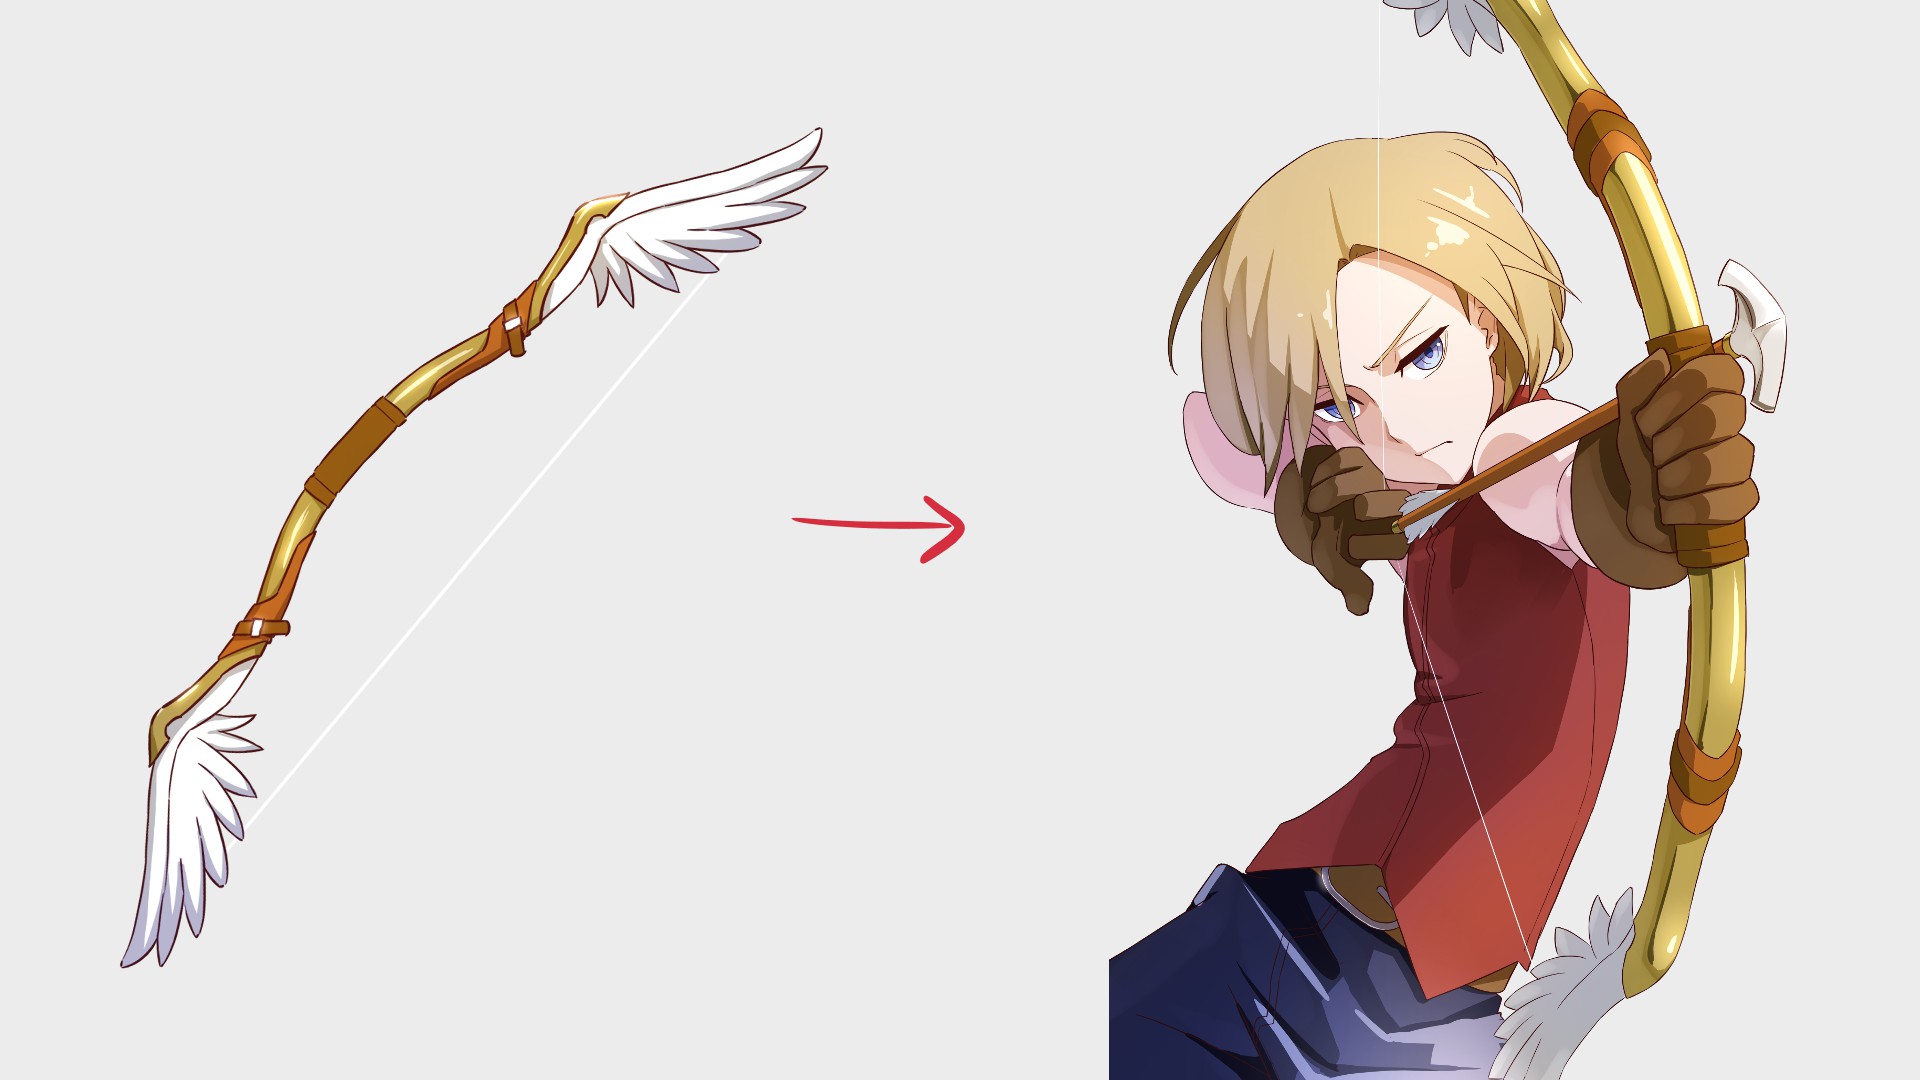
I will be using “The Bird Bow” from my【Weapon Design】Become a Weaponsmith ~Bow Edition~ article!
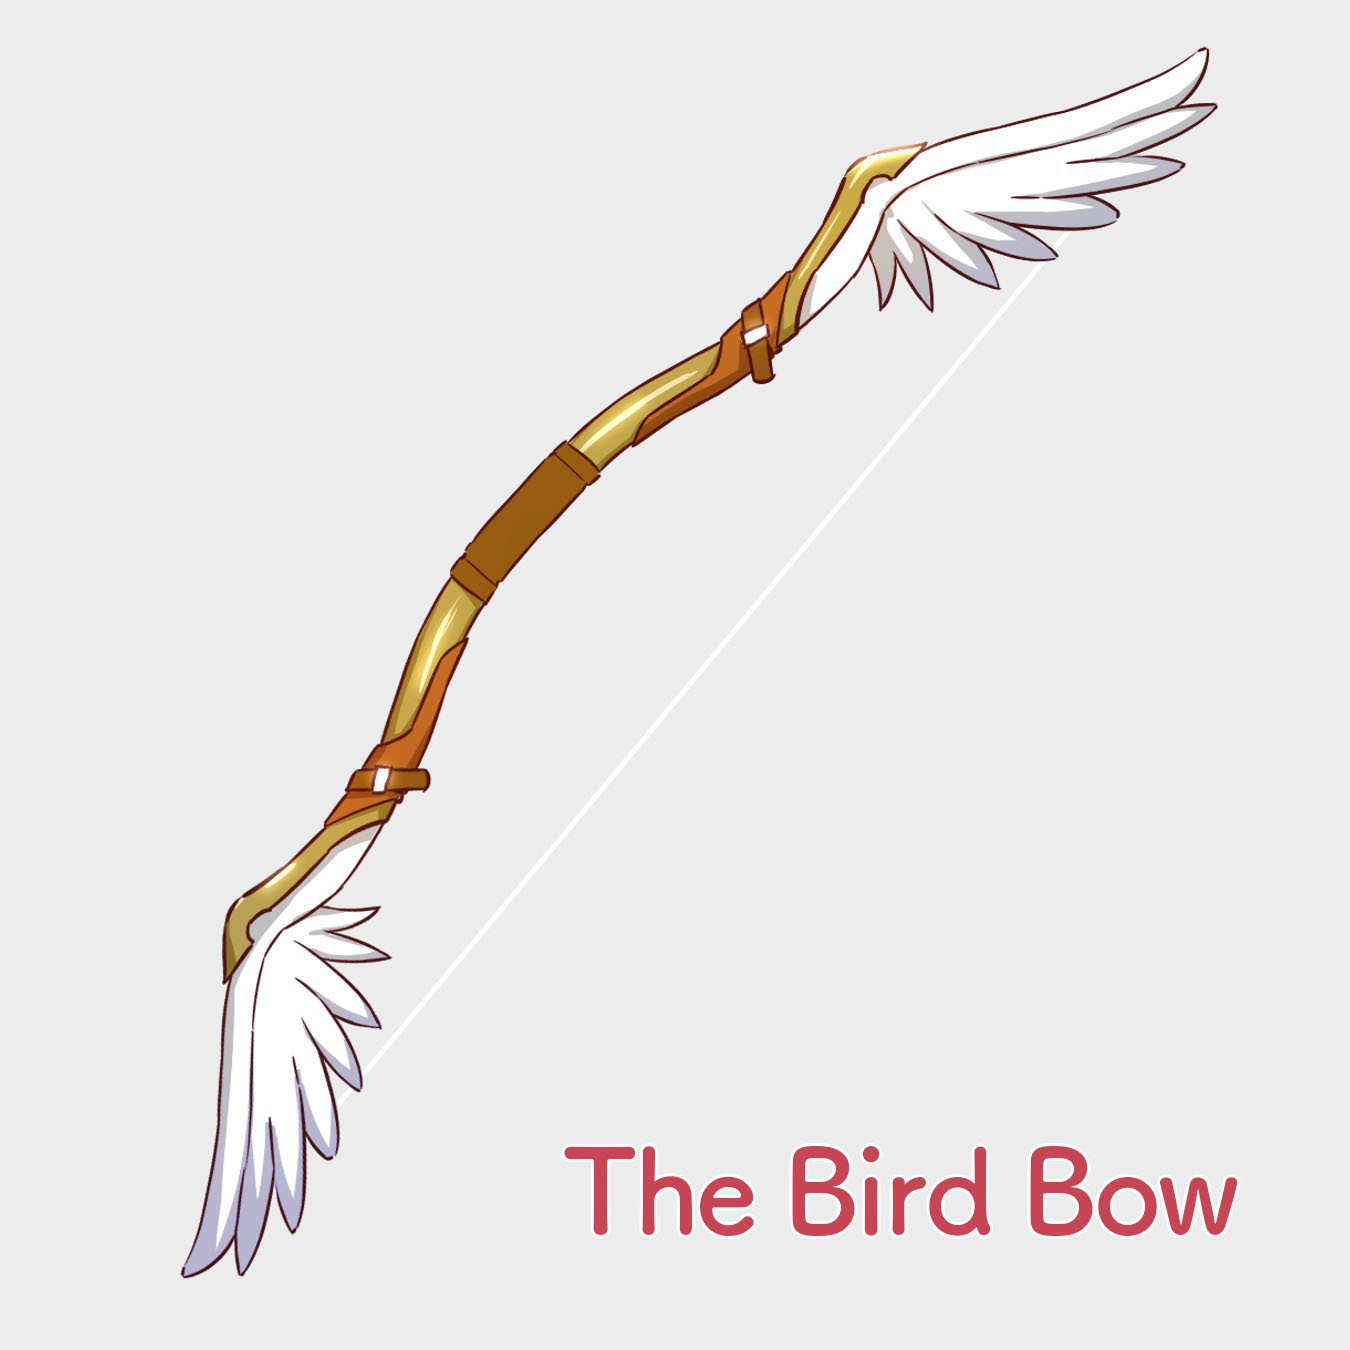
The bow might look a little challenging for the second step but it really isn’t that difficult.
It is because any pose for the bow can be created with the standard “held on the left, pulled with the right” rule.
Then you just have to change the direction or switch hands etc., and adjust accordingly to your character!
That is it for the pose, you can start drawing right away!
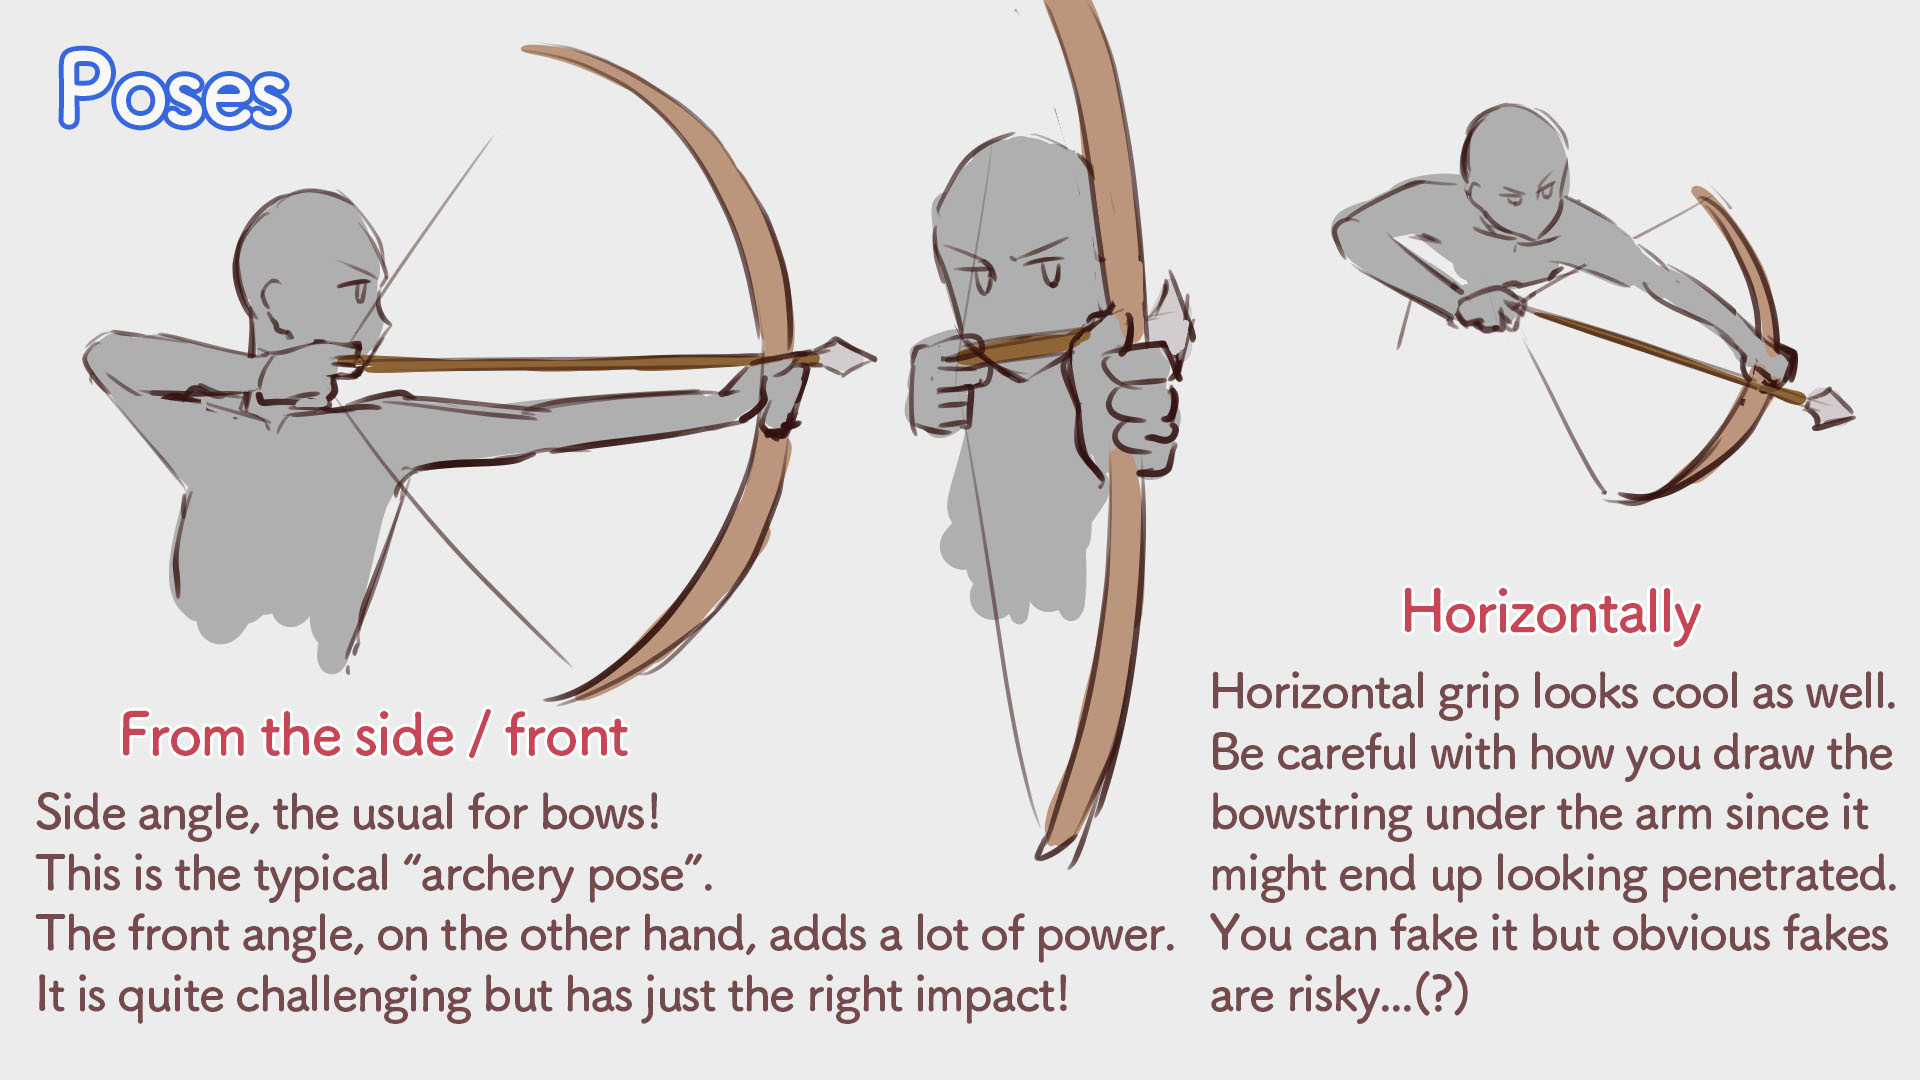
It’s often drawn with a side facing pose but I will take this opportunity to try drawing a pose facing the front.
Let’s roughly draw the face, torso, hands and the bow.
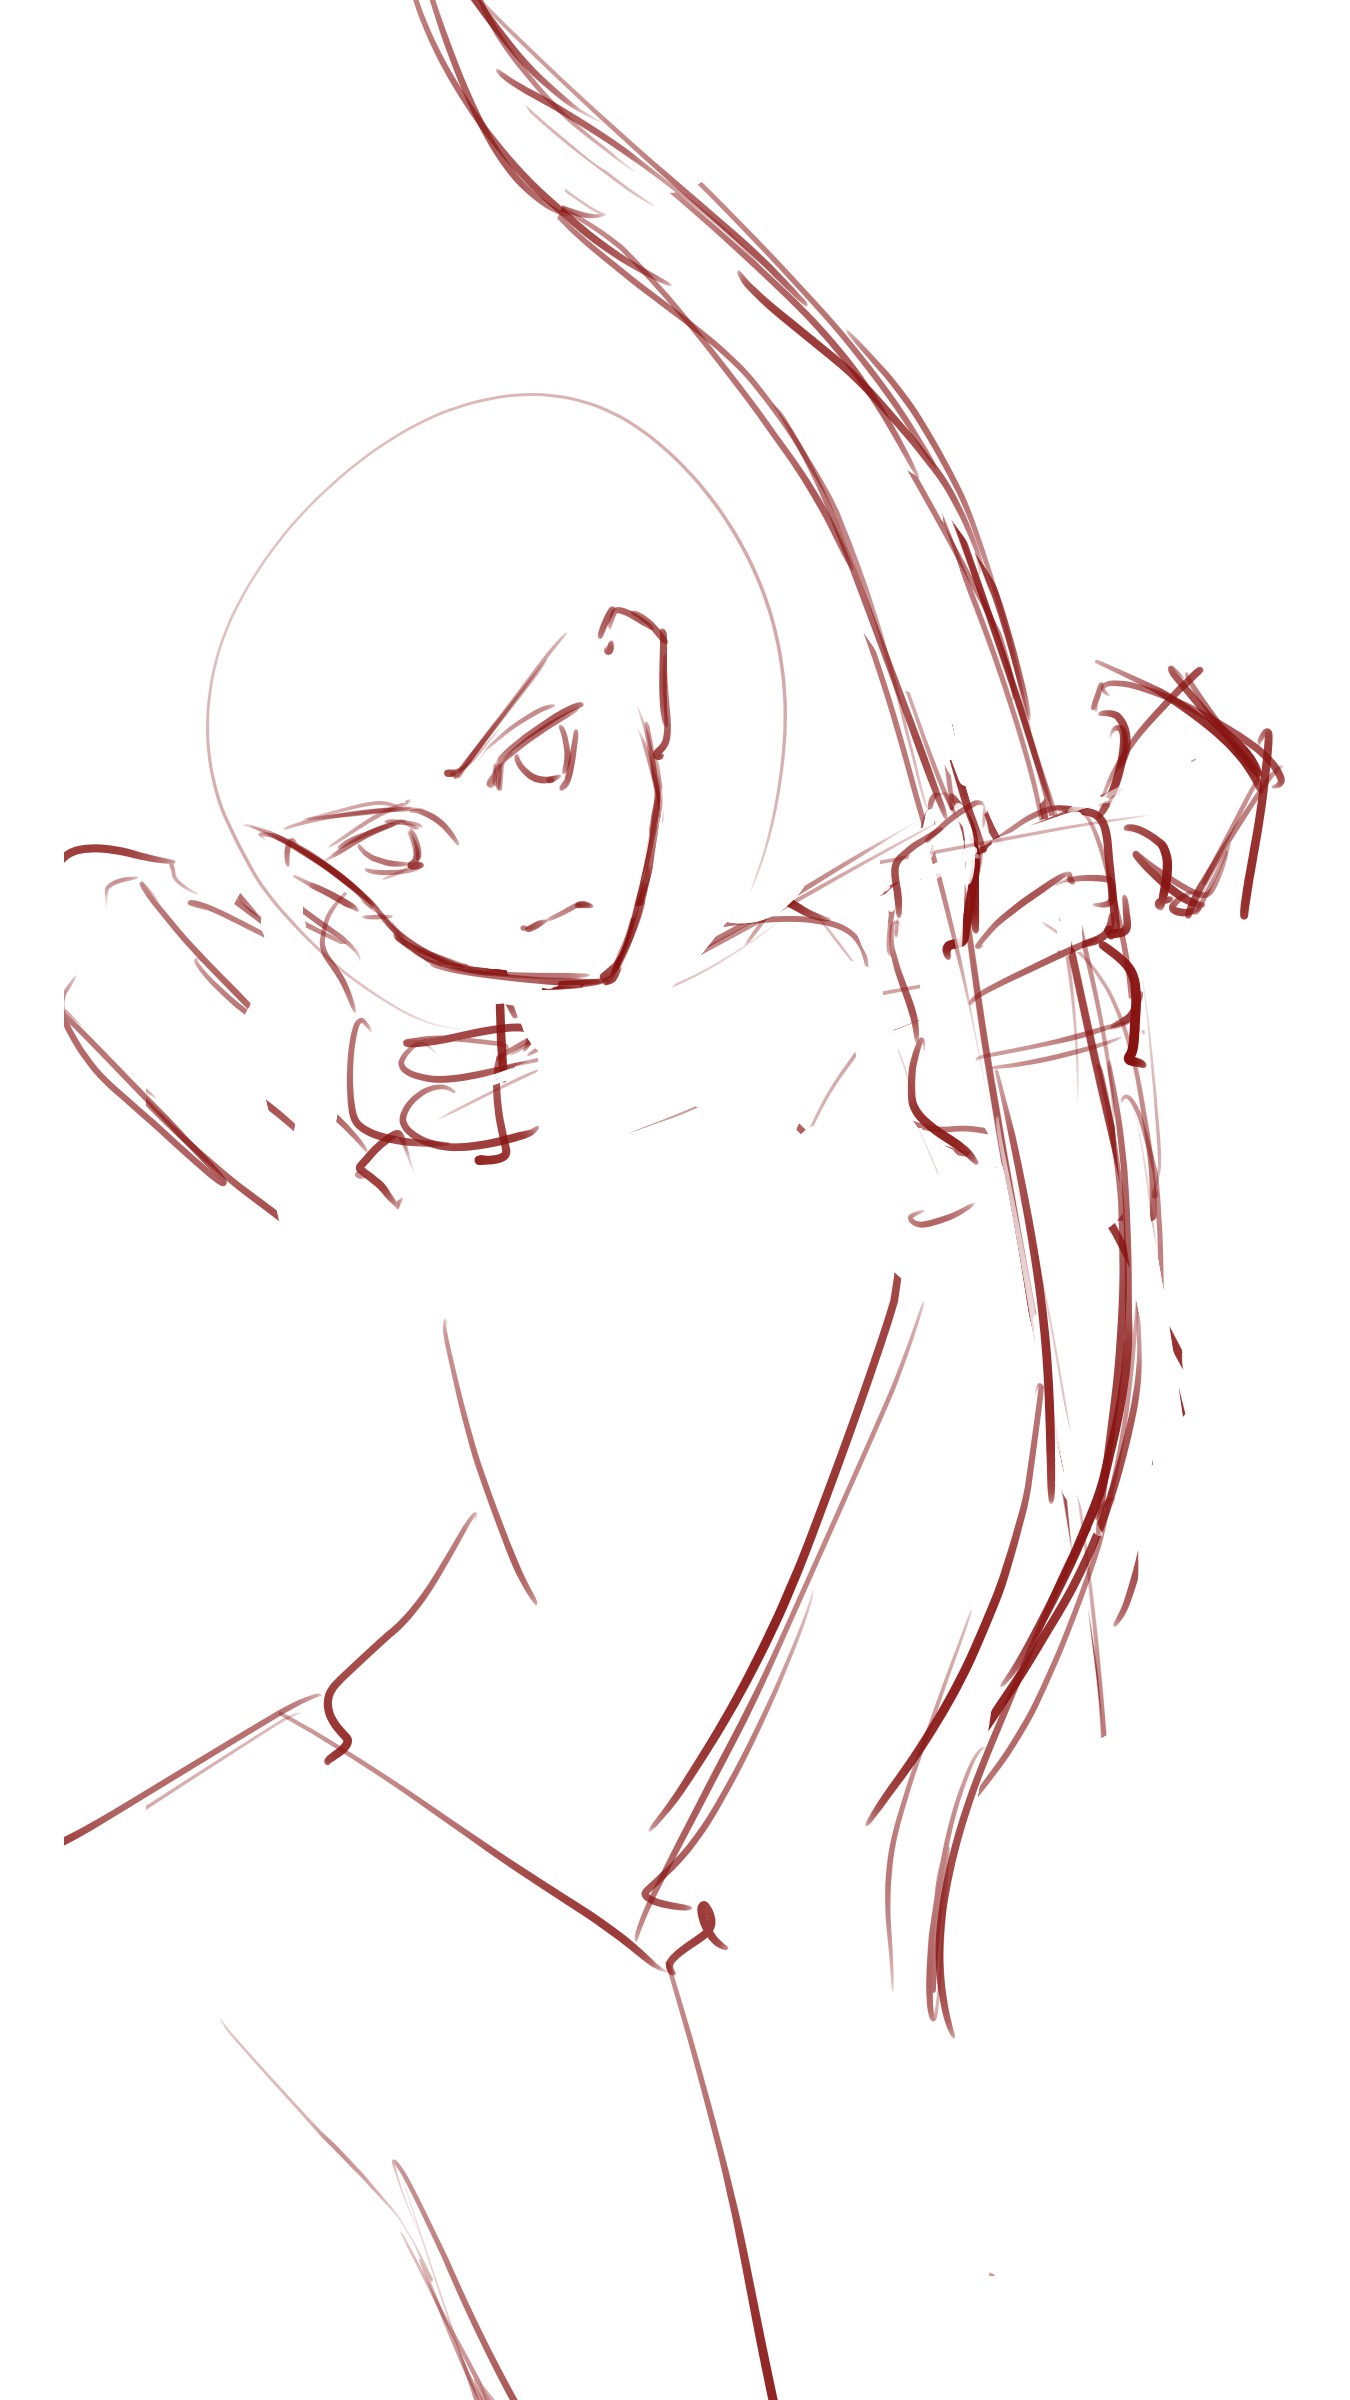
The face should be as cool as possible so I will keep redrawing it while adjusting the body.
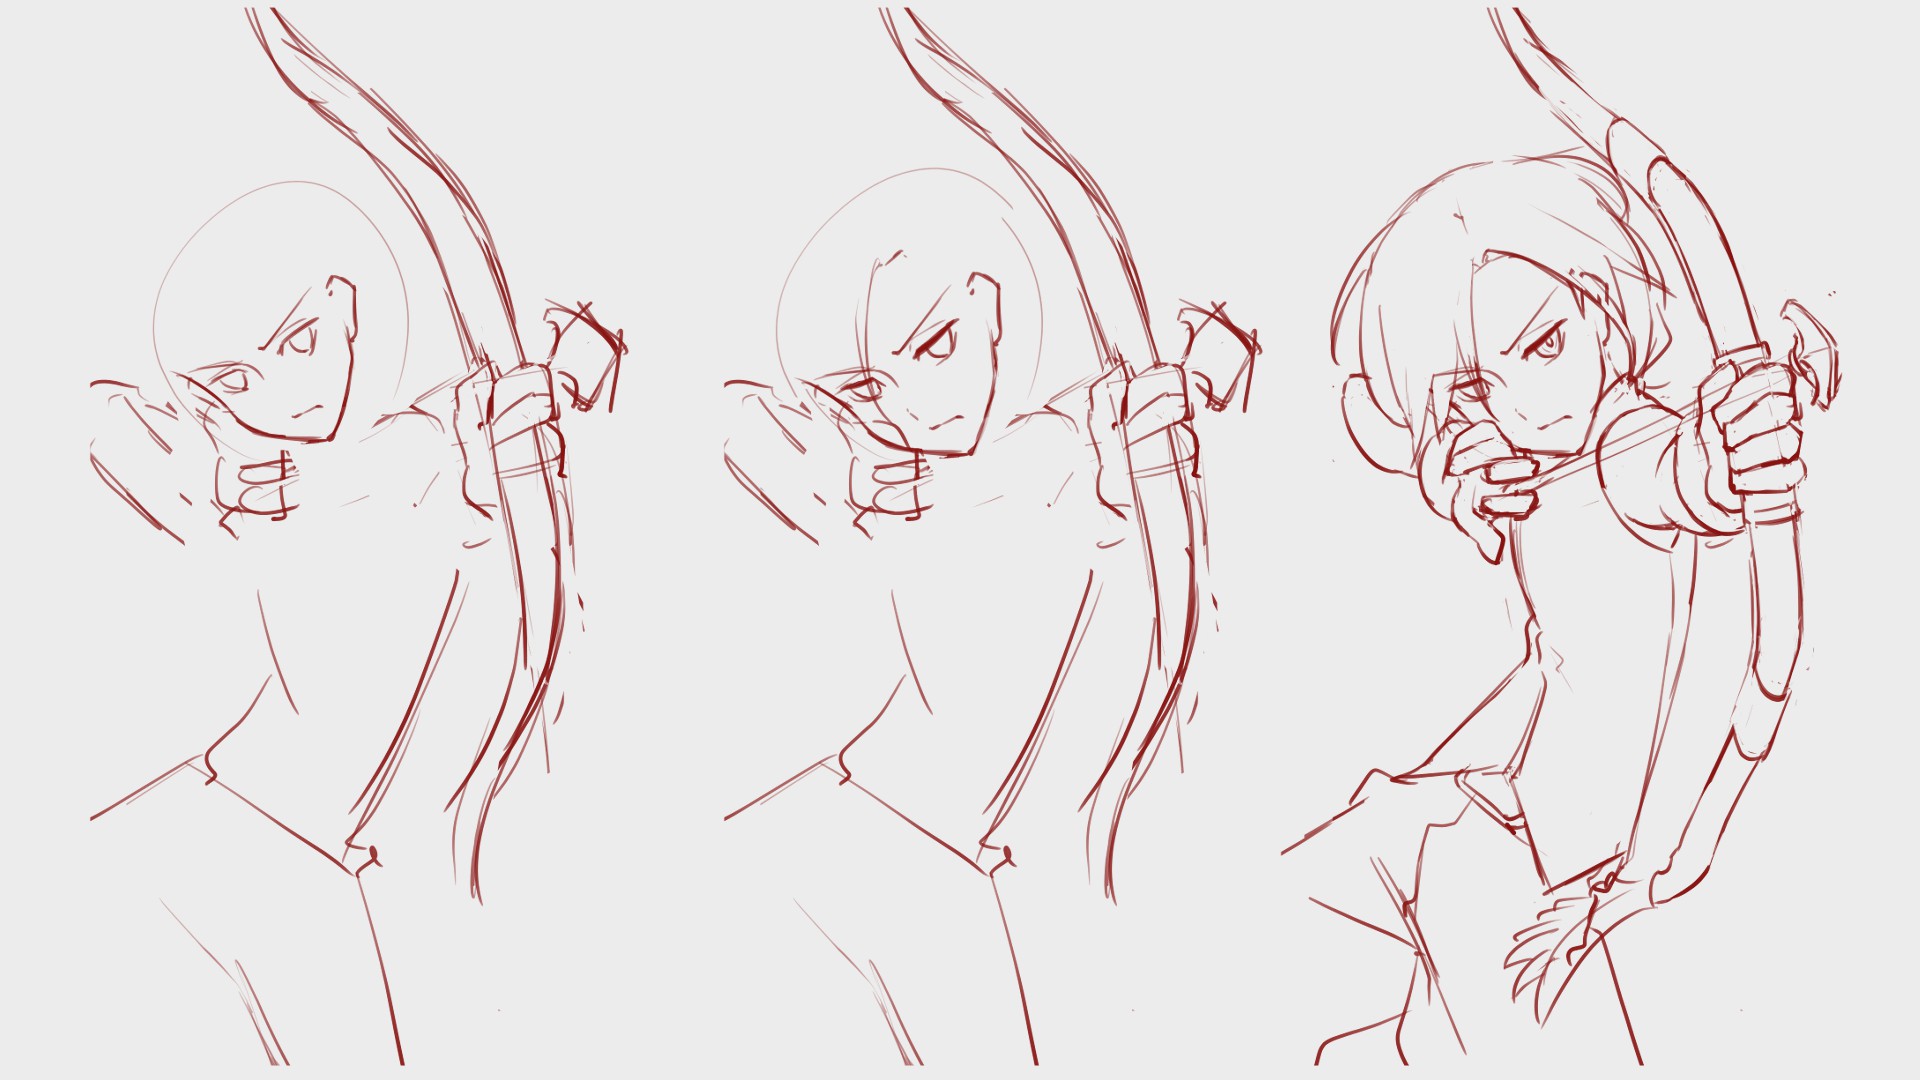
Since the bow faces the front, let’s draw with depth!
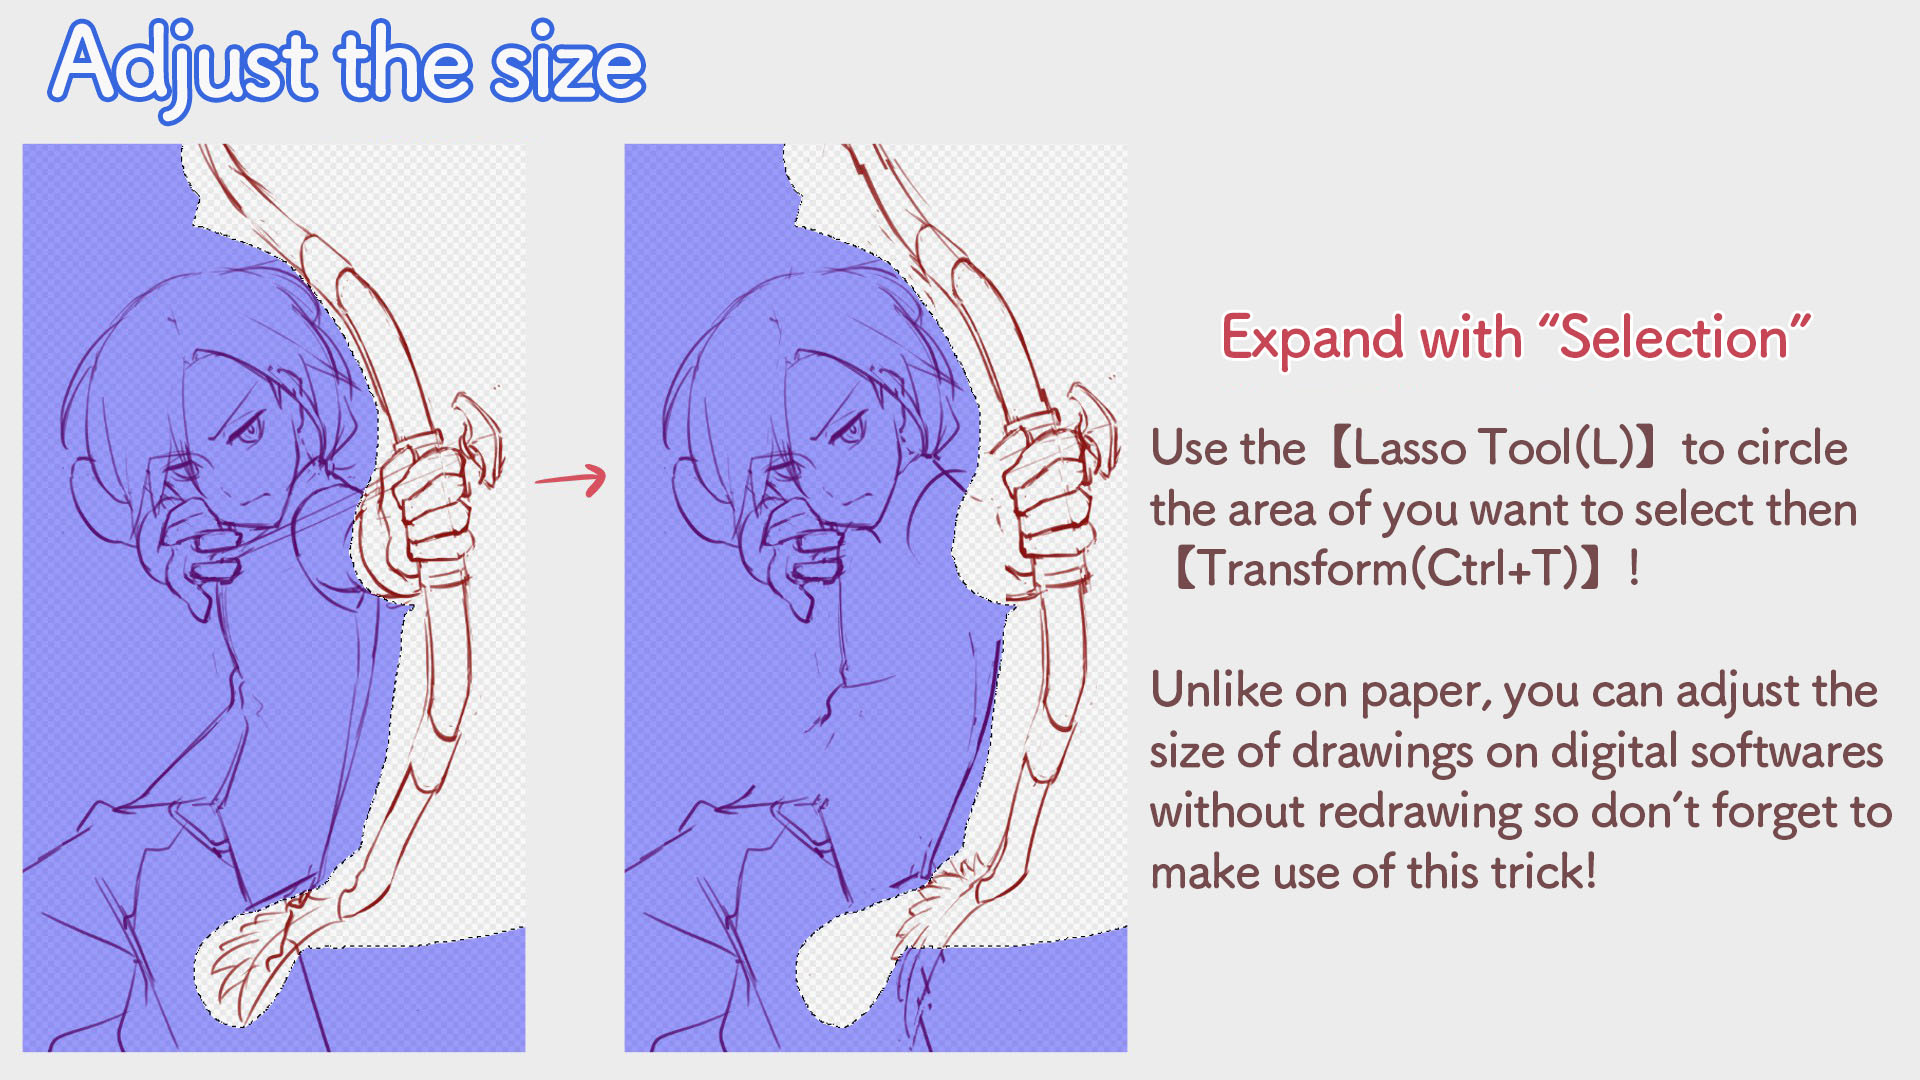
A little “too much” will feel right in an illustration. Use the【Lasso Tool(L)】to select and expand it with 【Transform (Ctrl + T)】.
▼Transforming illustrations
The rough sketch is complete!
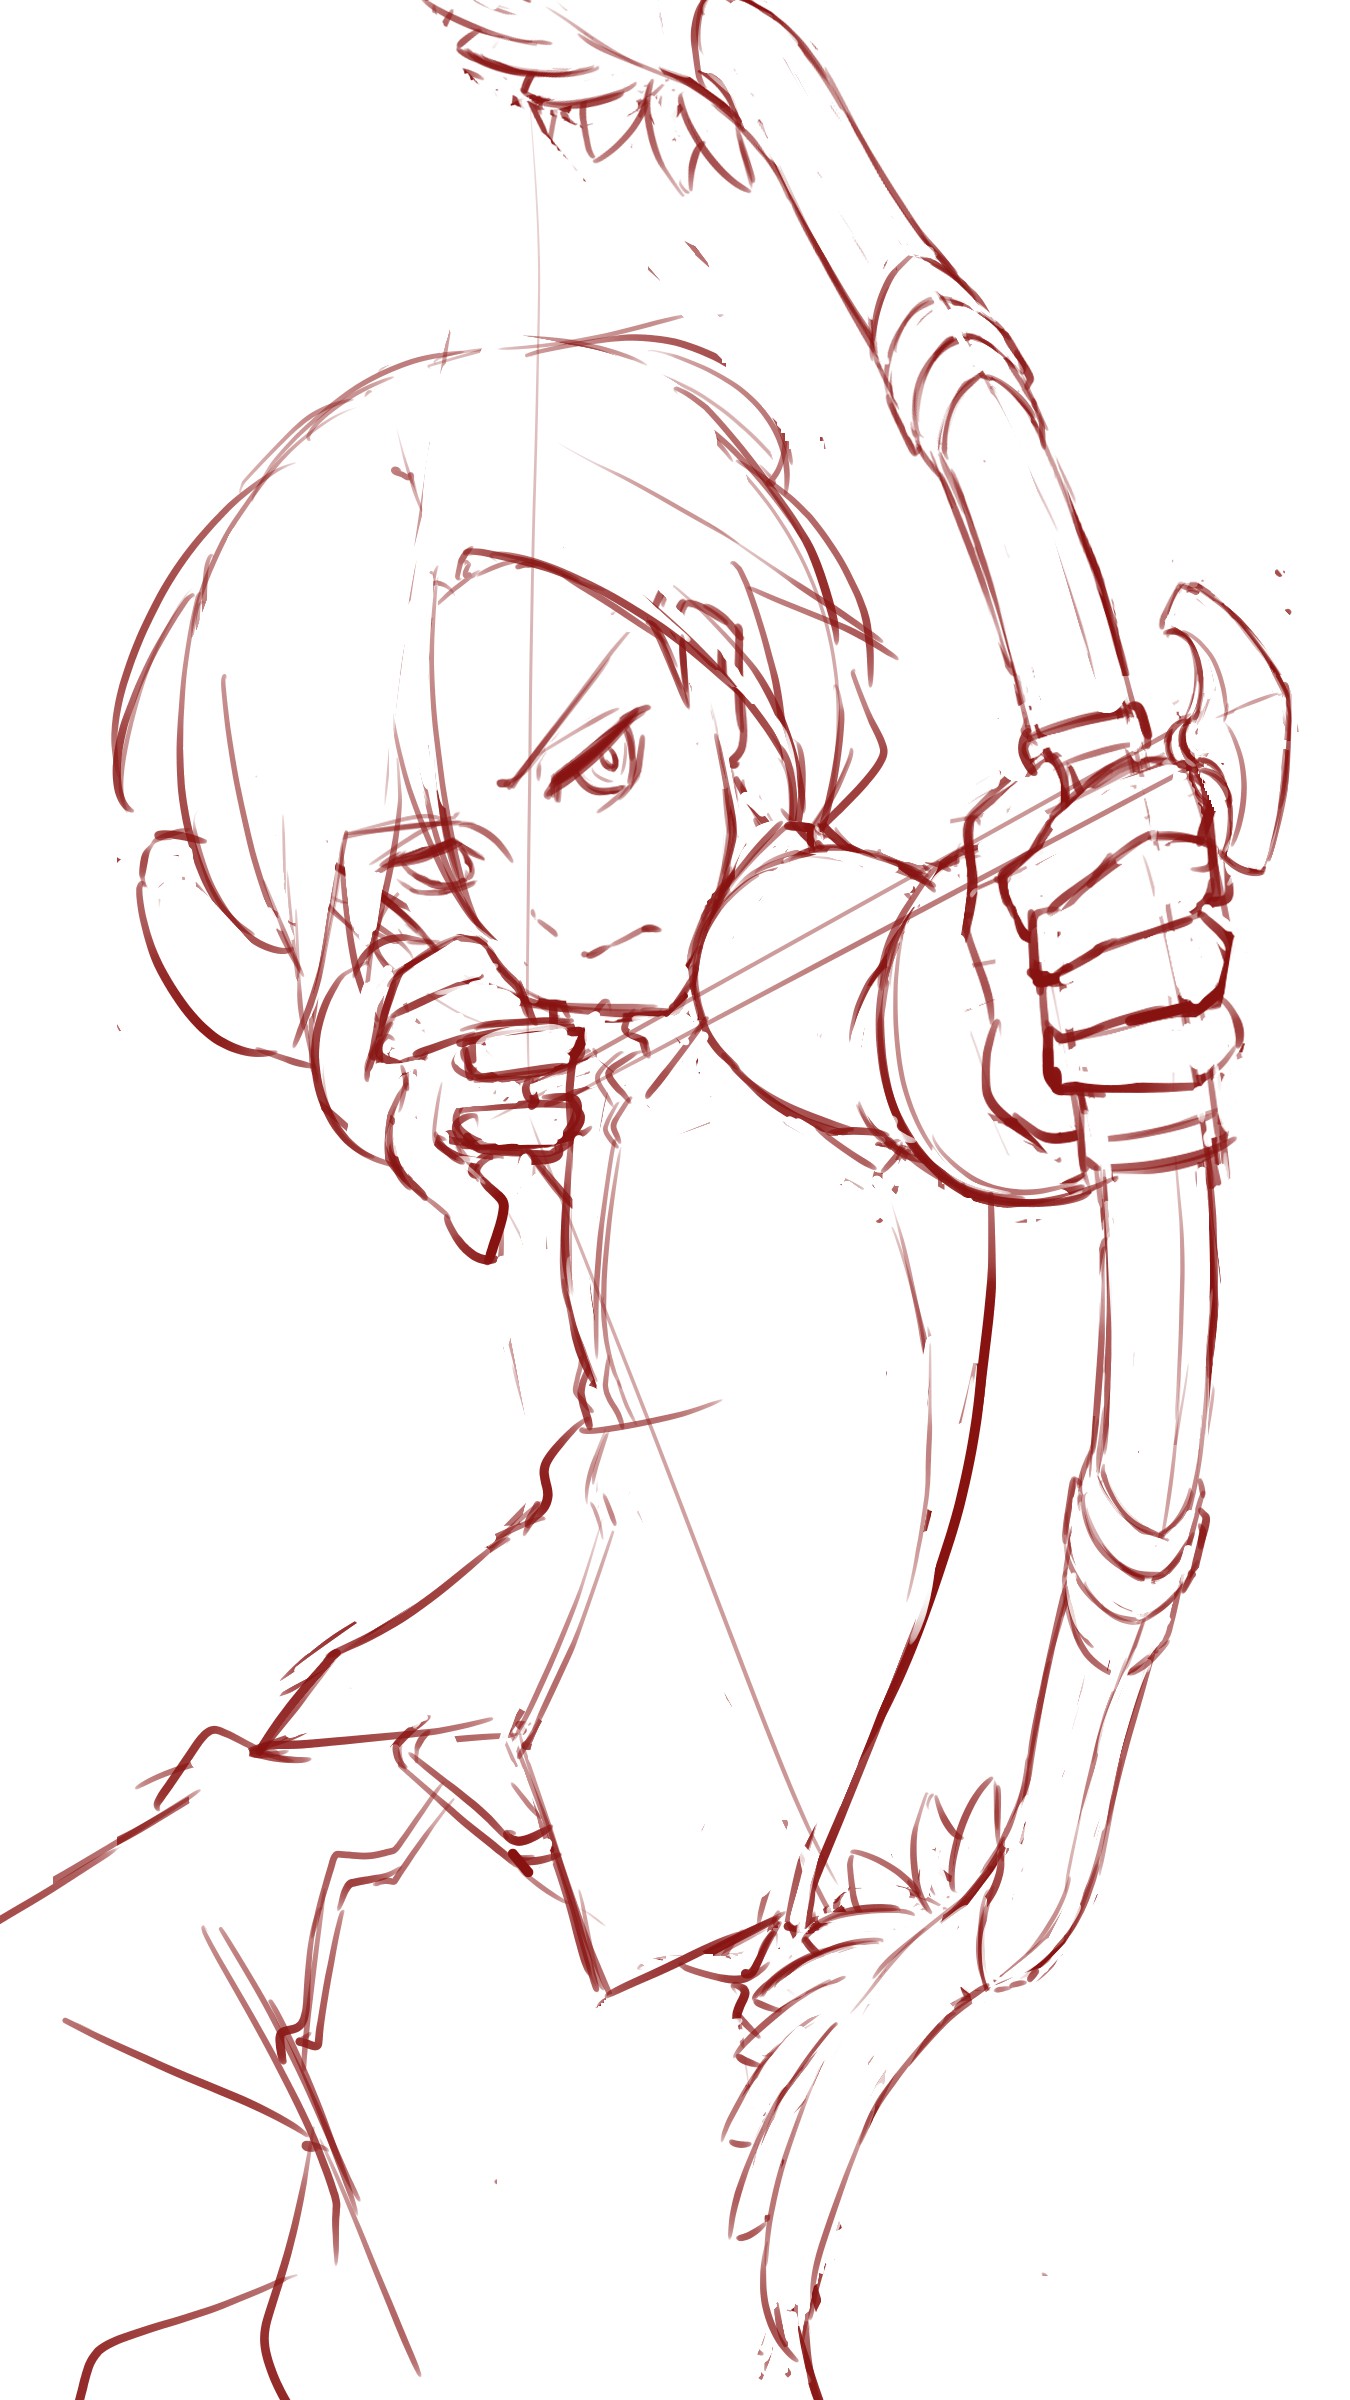
I do have to admit, it is difficult to draw an illustration with the hand pushed forward but did you realize that there is now less to draw, compared to the side facing illustration?
The more it comes in the front, the larger it looks, which means that the arm and the shoulder are mostly hidden.
You will not have to draw a lot so an approximation will be enough but I think it will be easier to draw if you imagine the outline of the thickest part!
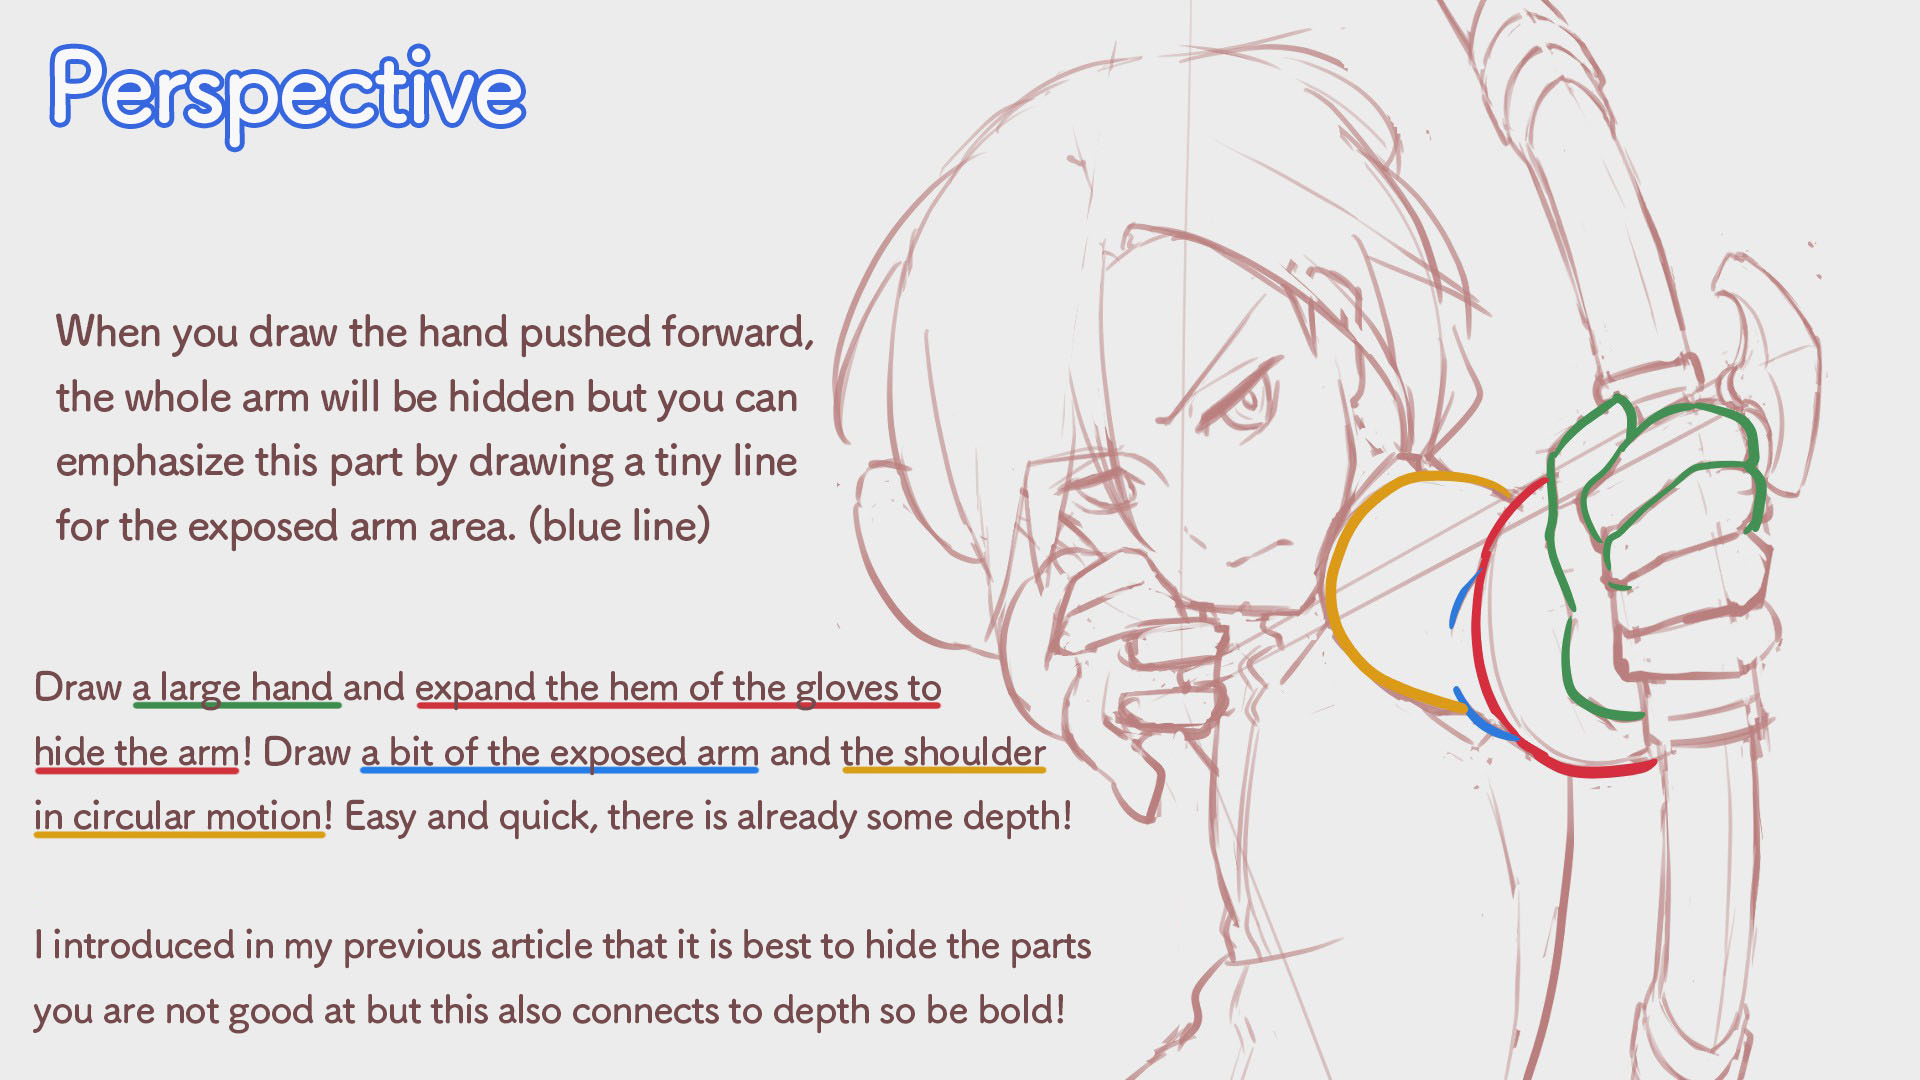
▼Hiding parts you are confident with (Inside「2,Draw the draft」)
【Easy Tip】Critical Hit!Special Effects Basic Manual for Beginners~Flashy Lights~
Create a line drawing
Let’s start the line drawing.
I introduced the details of line drawing and painting for characters in the other articles so
please read those as well!
▼Line Drawing & Painting
【For Beginners】Let’s make our own child! Part 2 【Original Character】
【Making】Drawing a Japanese Style Female Assassin !
This line drawing is separated into three parts: the hair, the body and the arrow.
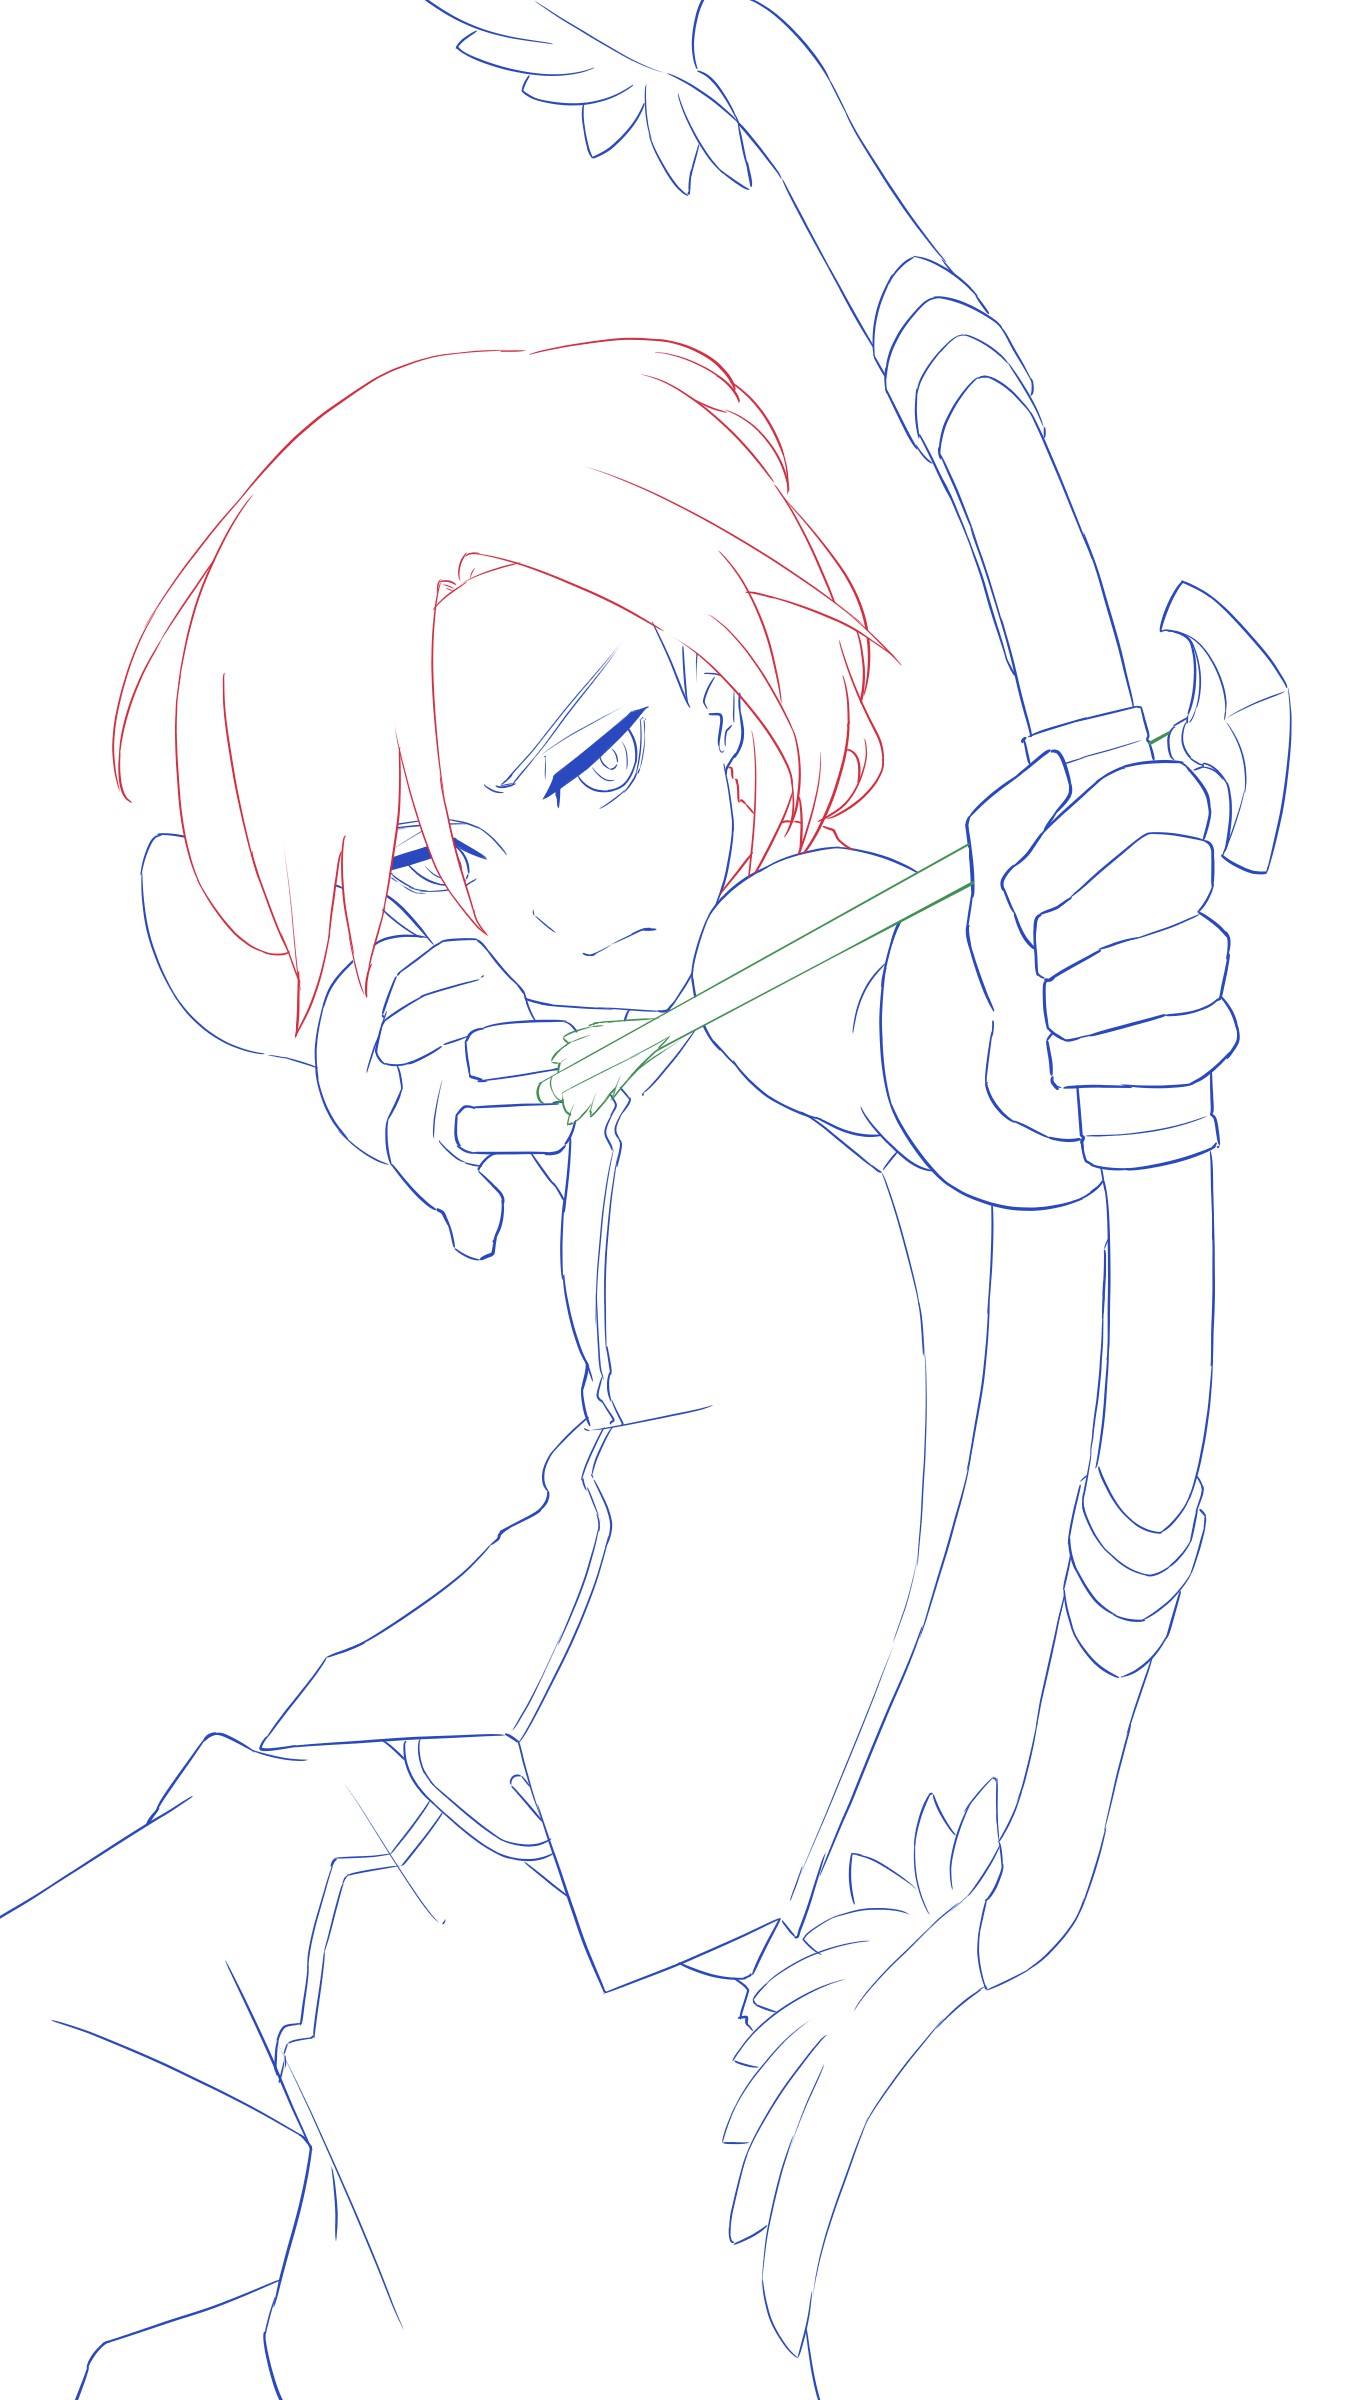
One of the techniques for creating depth is drawing near objects with thicker lines.
As you draw them bigger and bigger, also add some pressure to thicken each line.
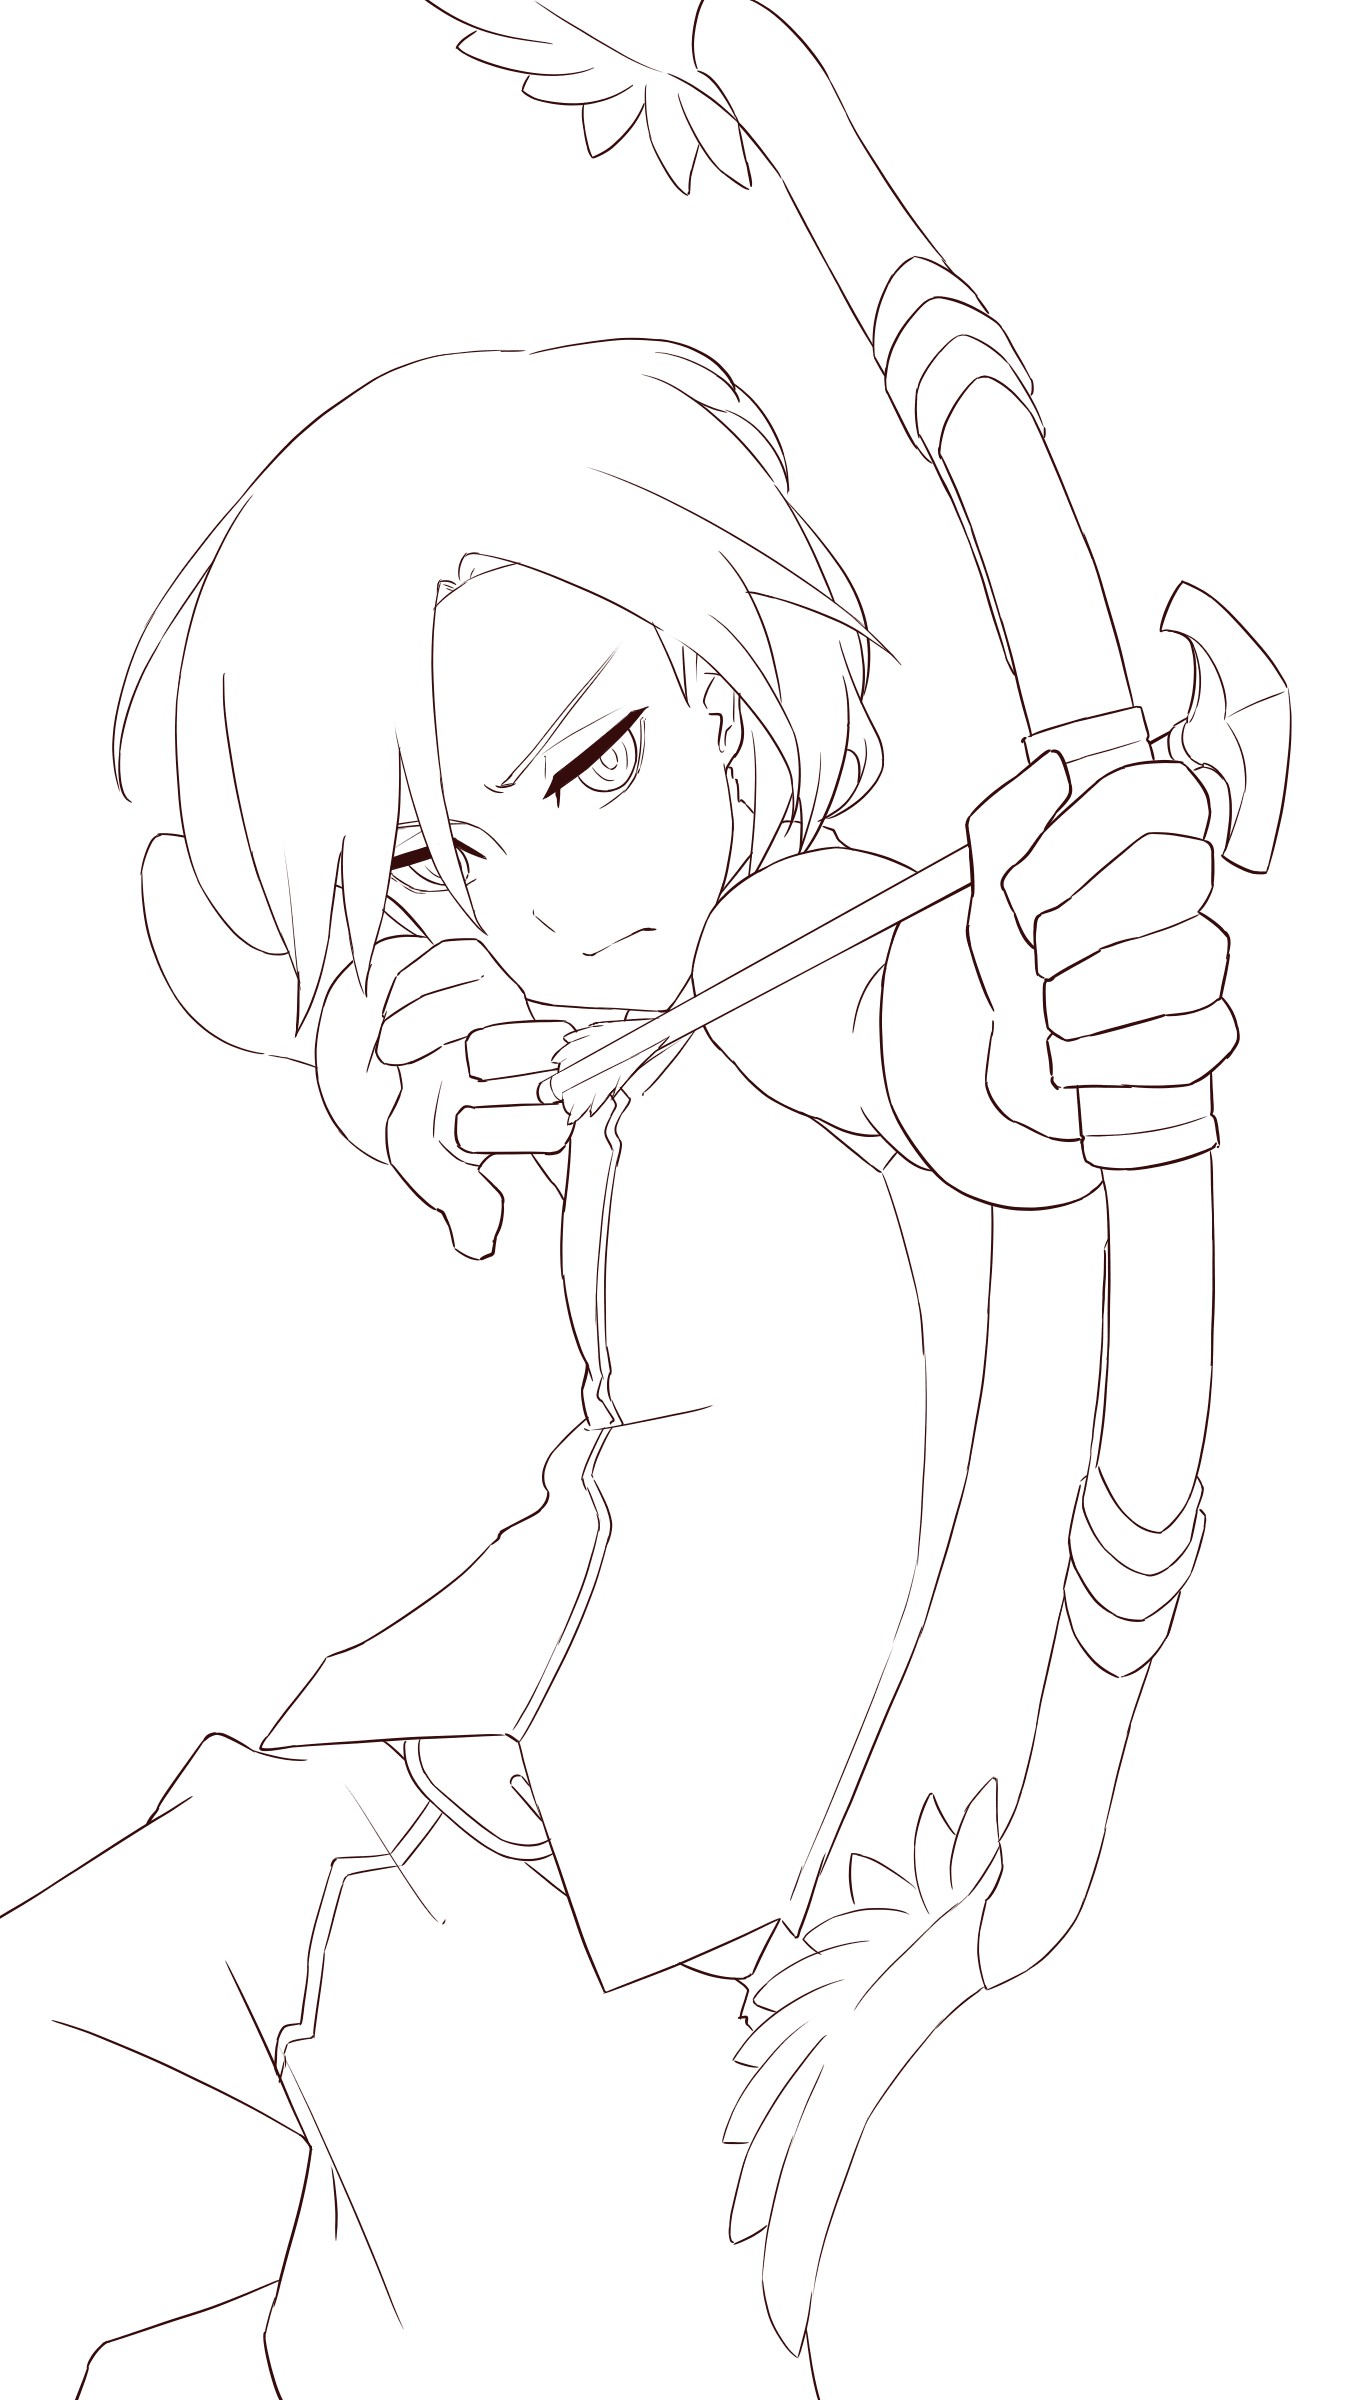
This is my completed line drawing!
Paint the colors
Lastly, I will start filling in with colors.
This step will be a very very basic color painting so just proceed with your own style!
[For beginners] Let’s try coloring! How to paint basic colors [Smartphone version]
Paint the base color.
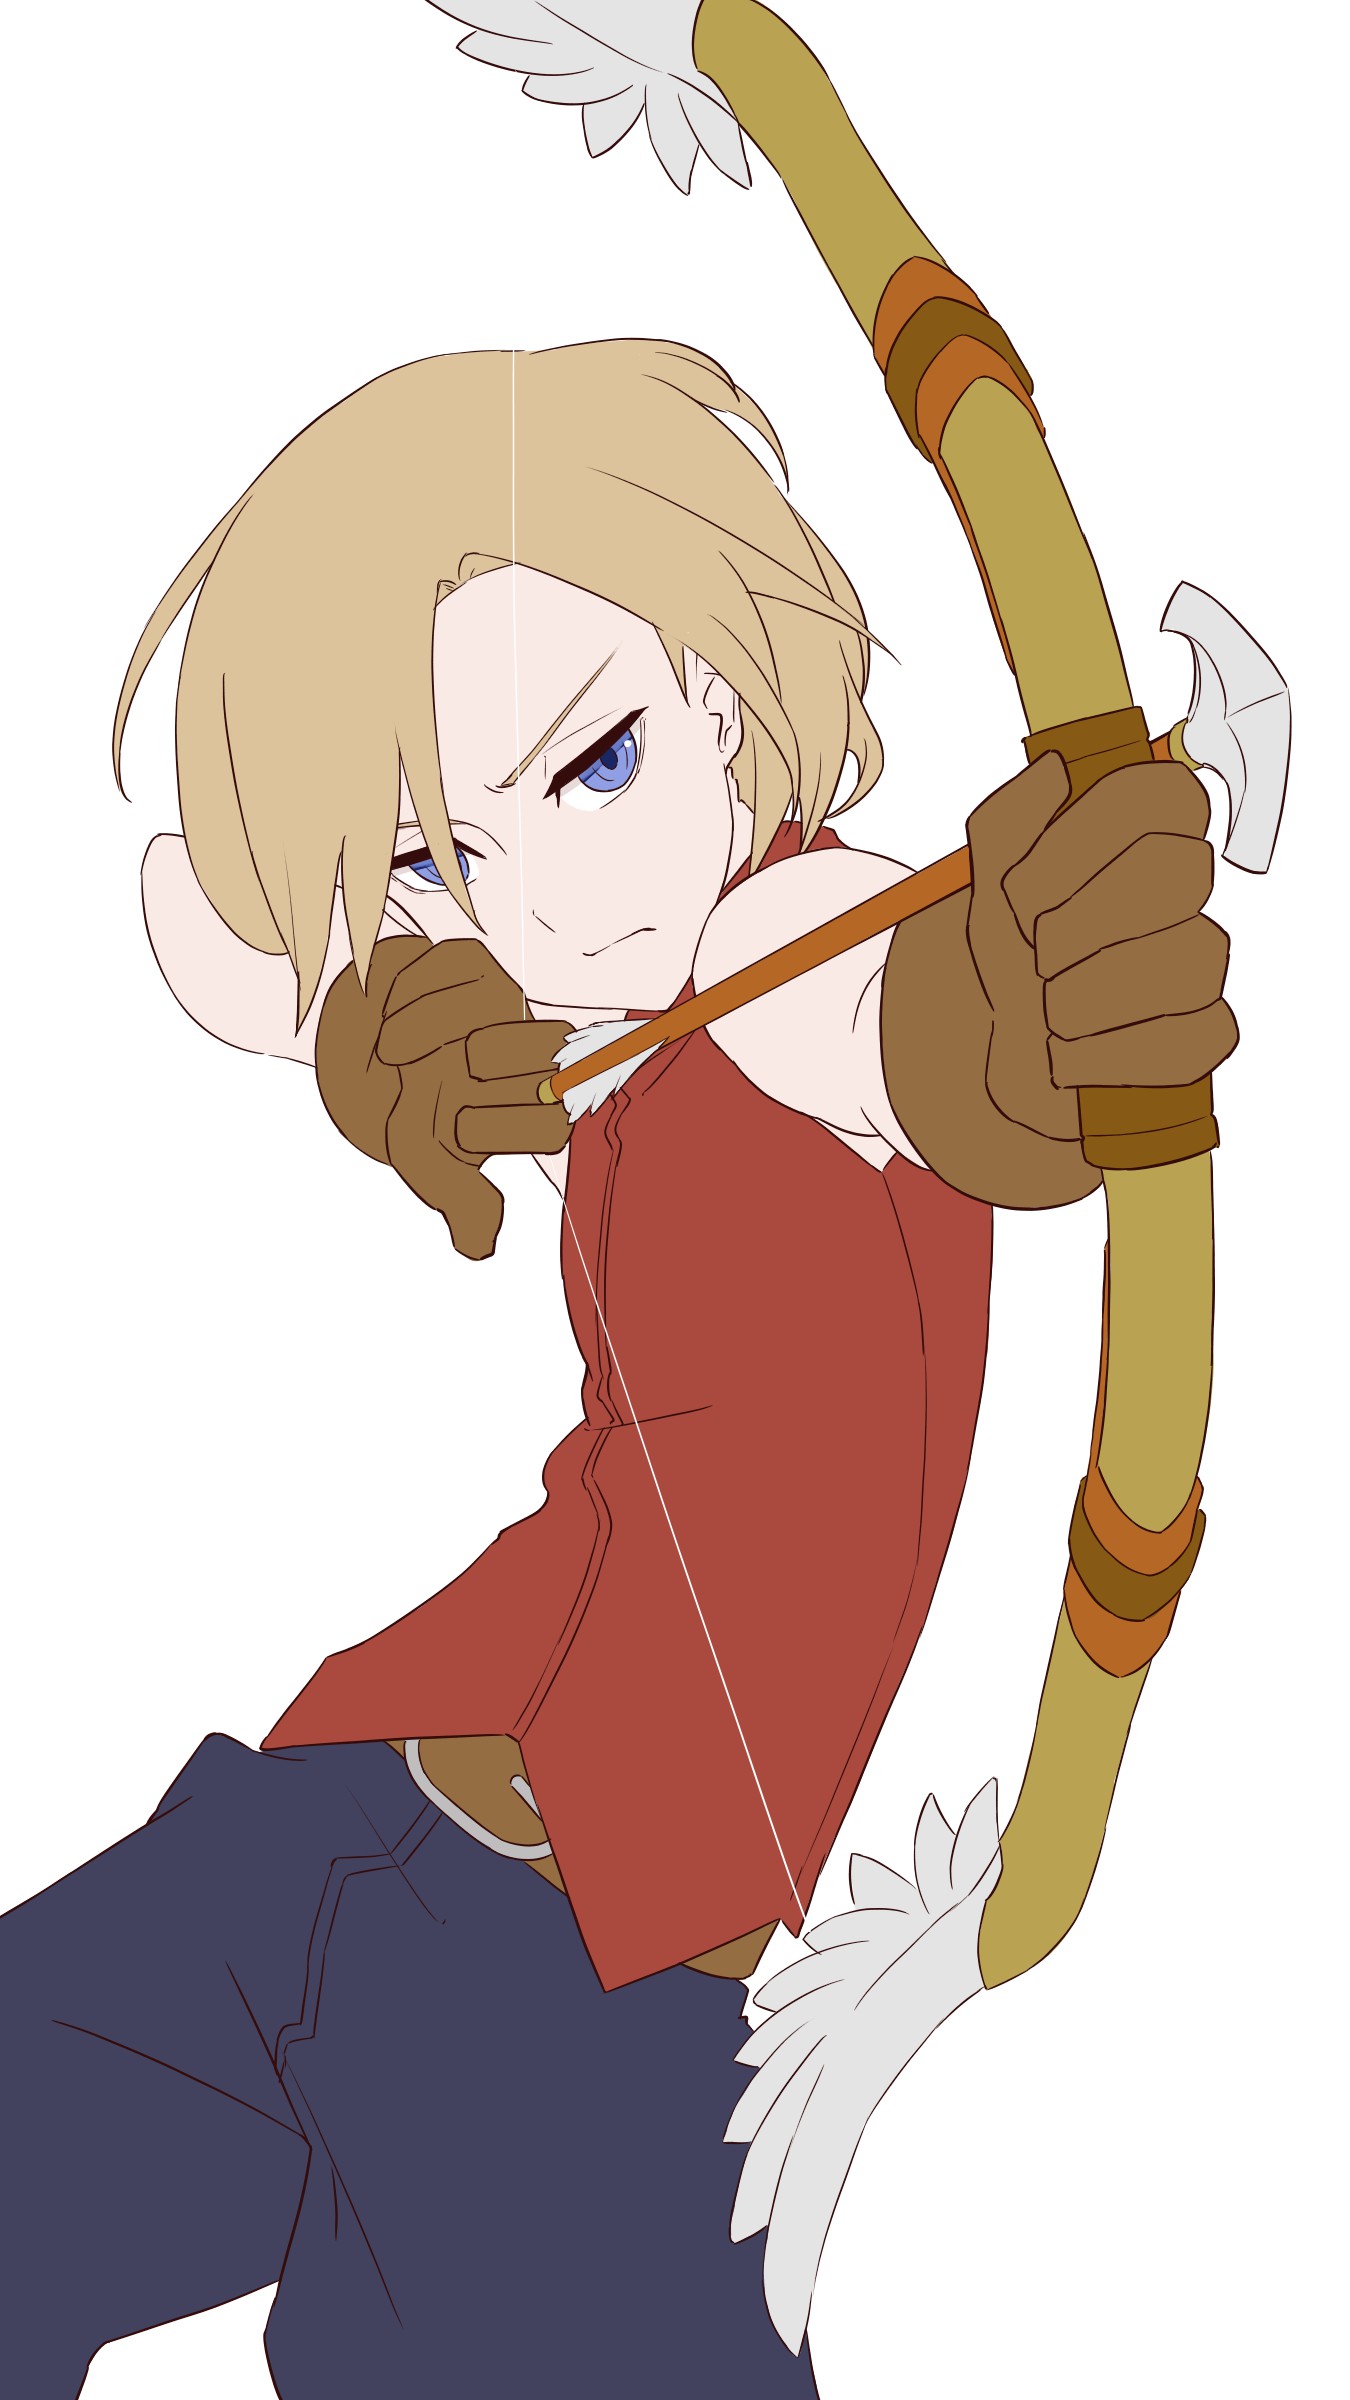
I used backlighting for the previous tutorial but the illustration here is facing the front. I will set the light source a bit far out to the right.
Pay attention to where the shadows will be, when the arm is extended forwards.
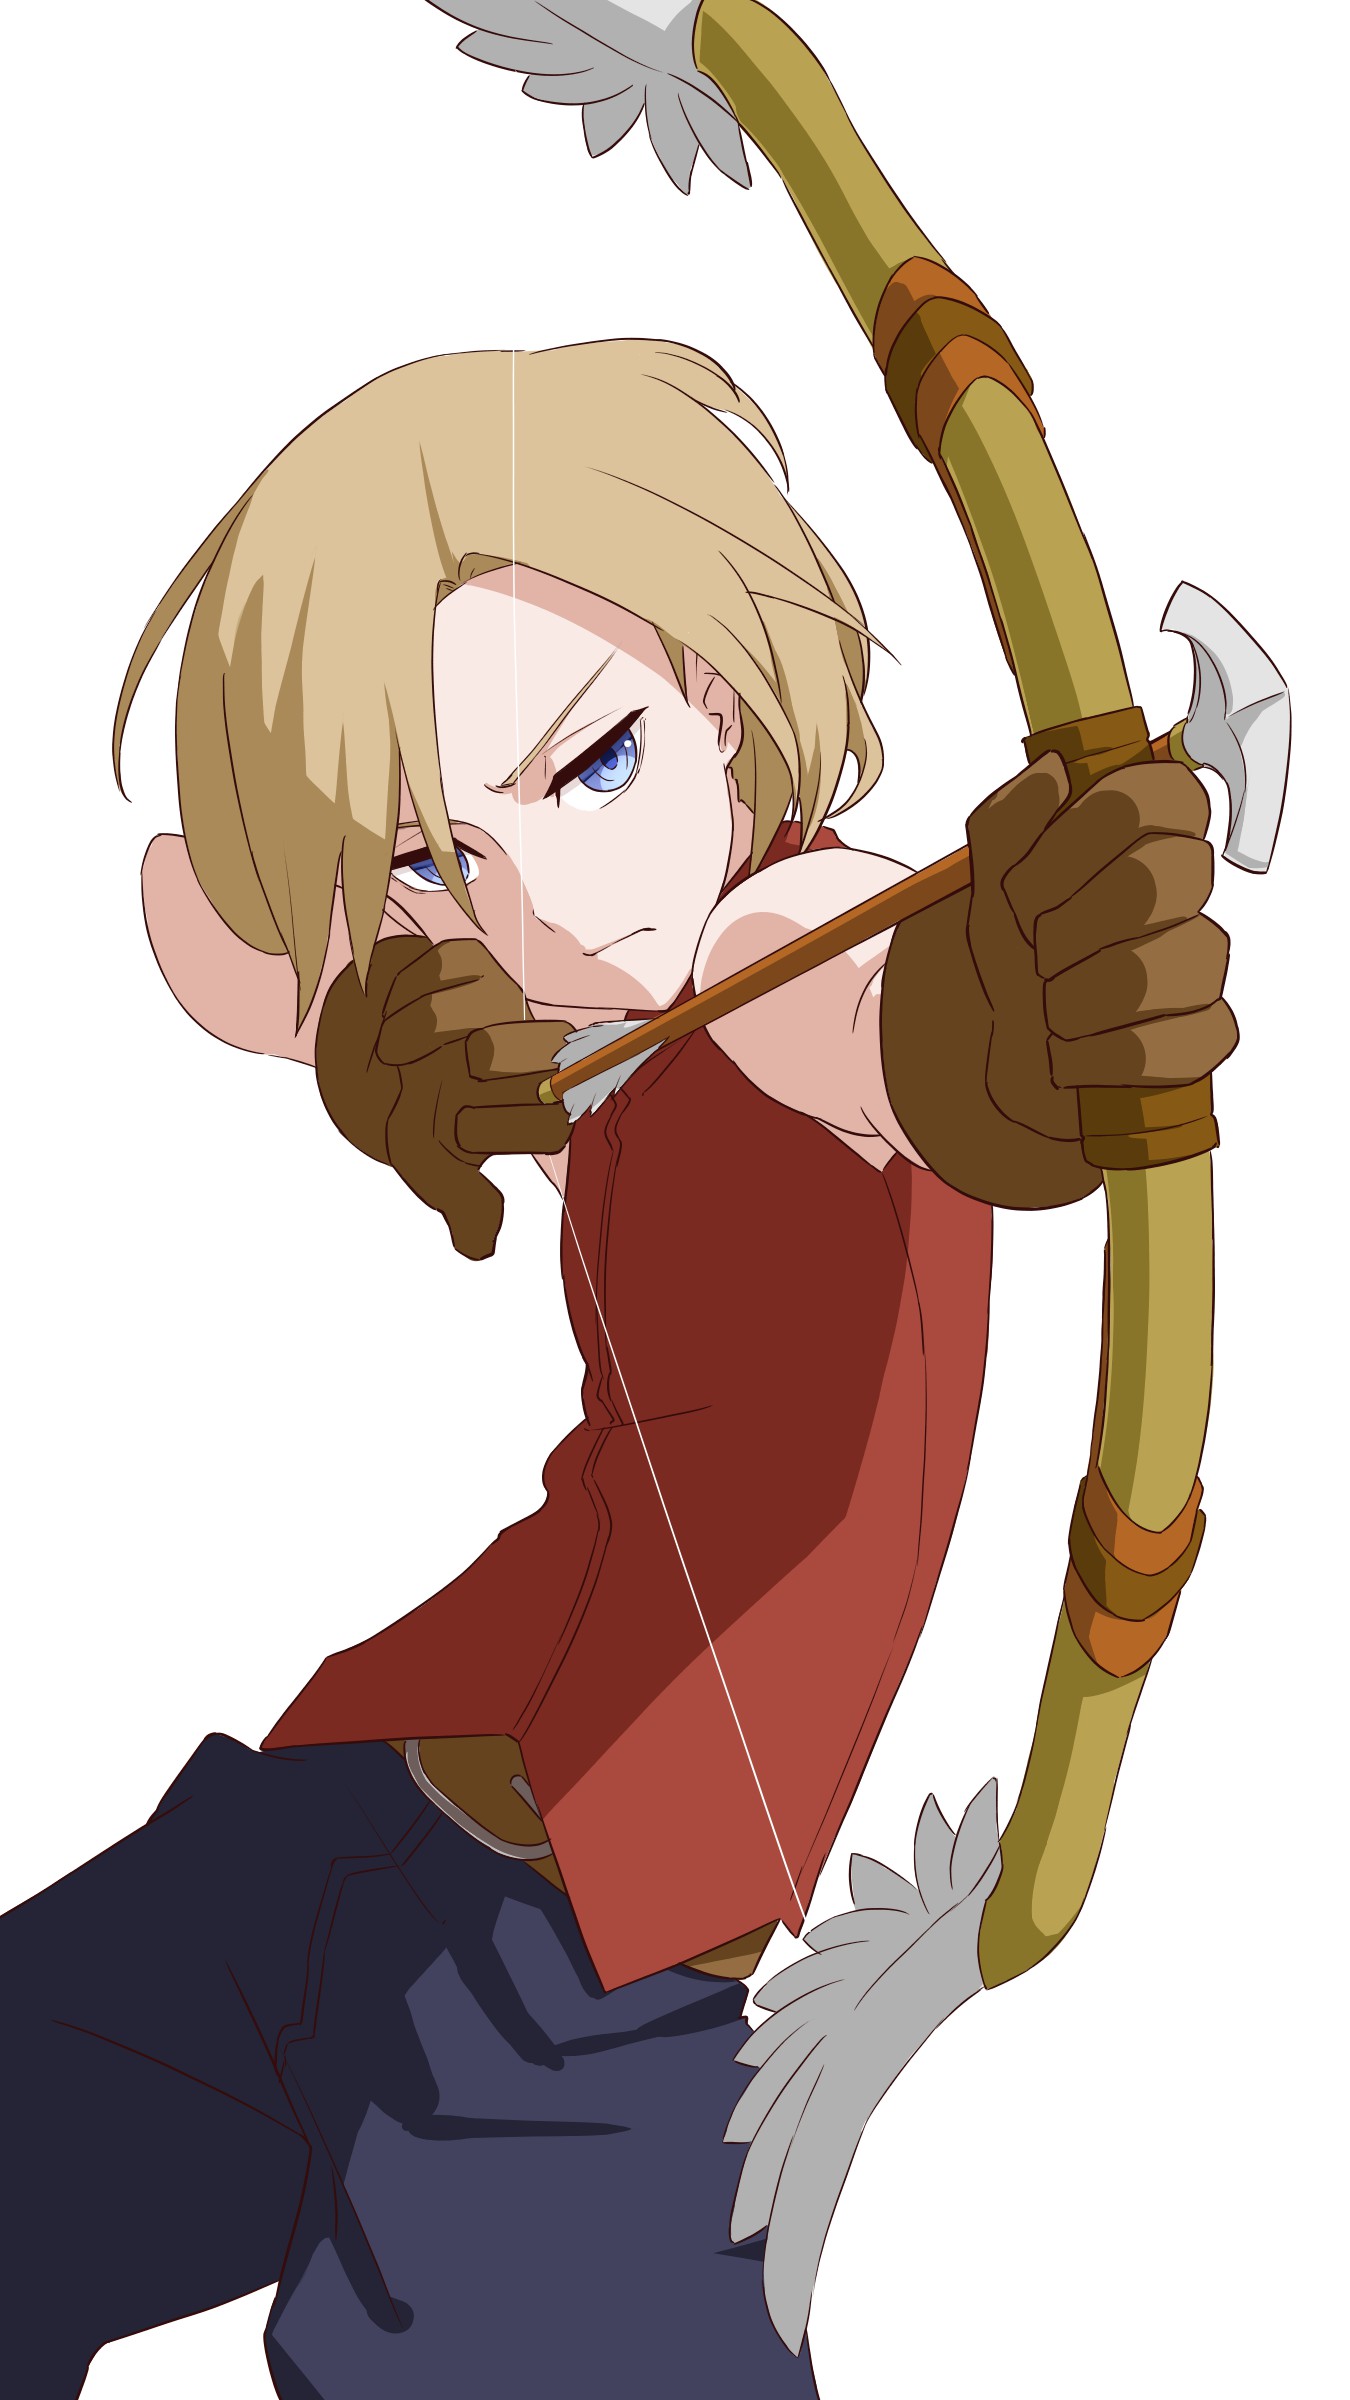
It’s now complete!
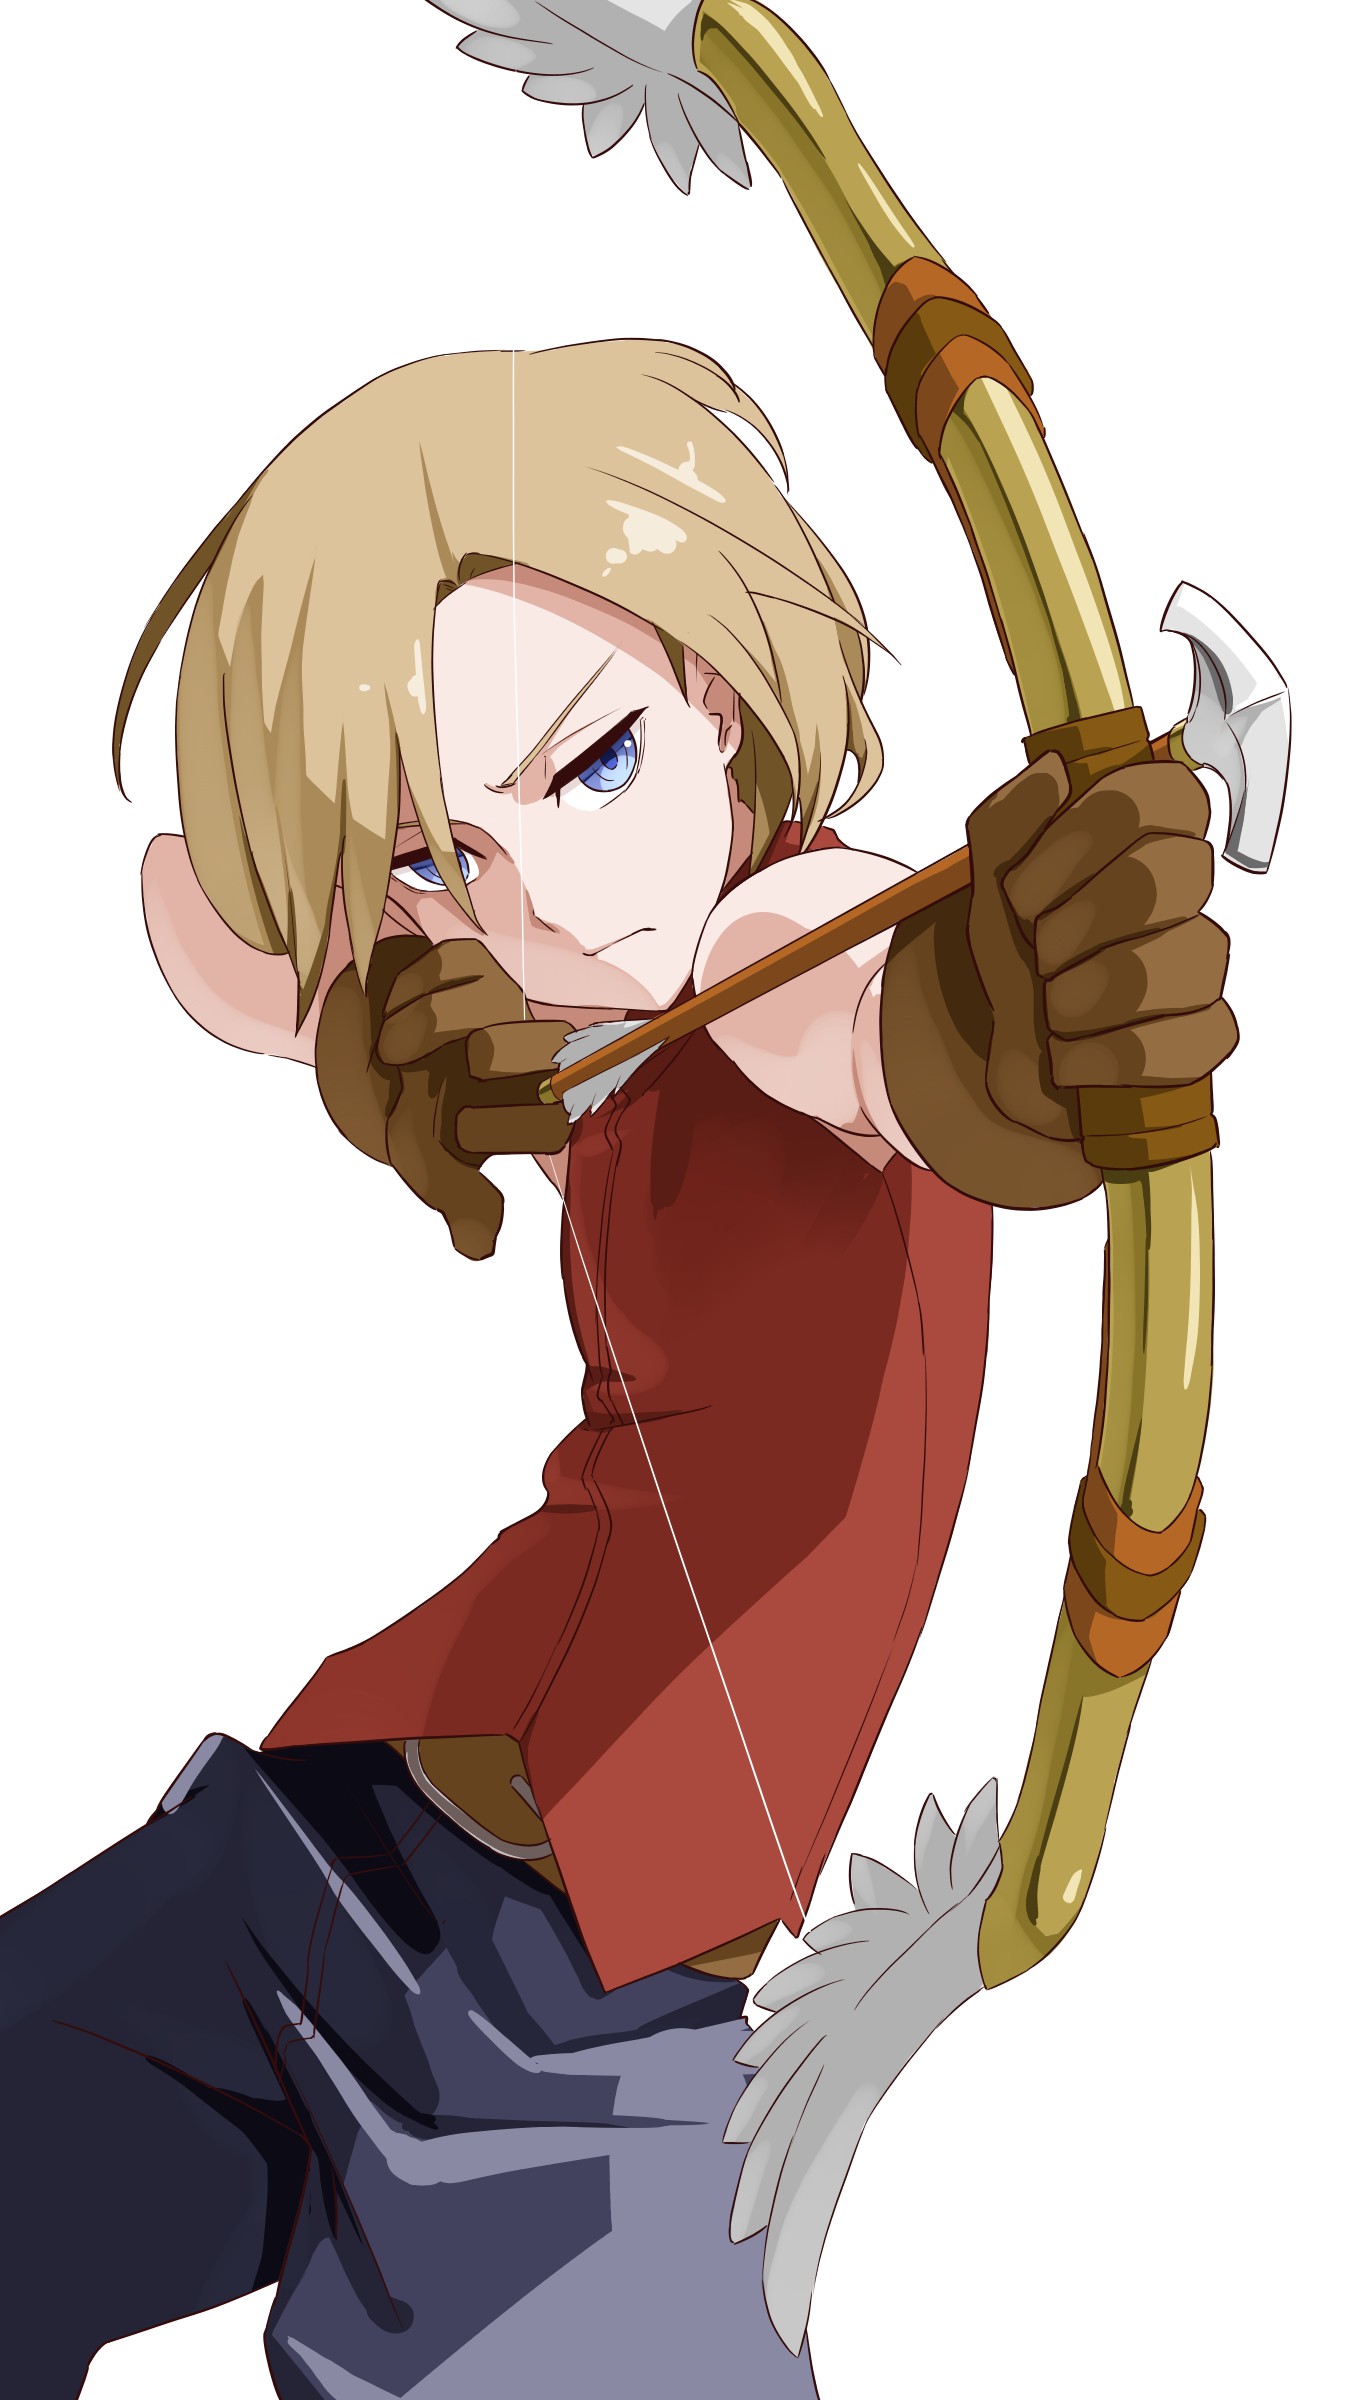
It took me about 4.5 hours for this illustration.
It really does require a solid technique to draw things often imagined from the side, like the hand and the bow, from a straight angle facing the front.
I feel very satisfied that it came out really powerful though.
I hope you also master various drawing techniques and draw many attractive illustrations!
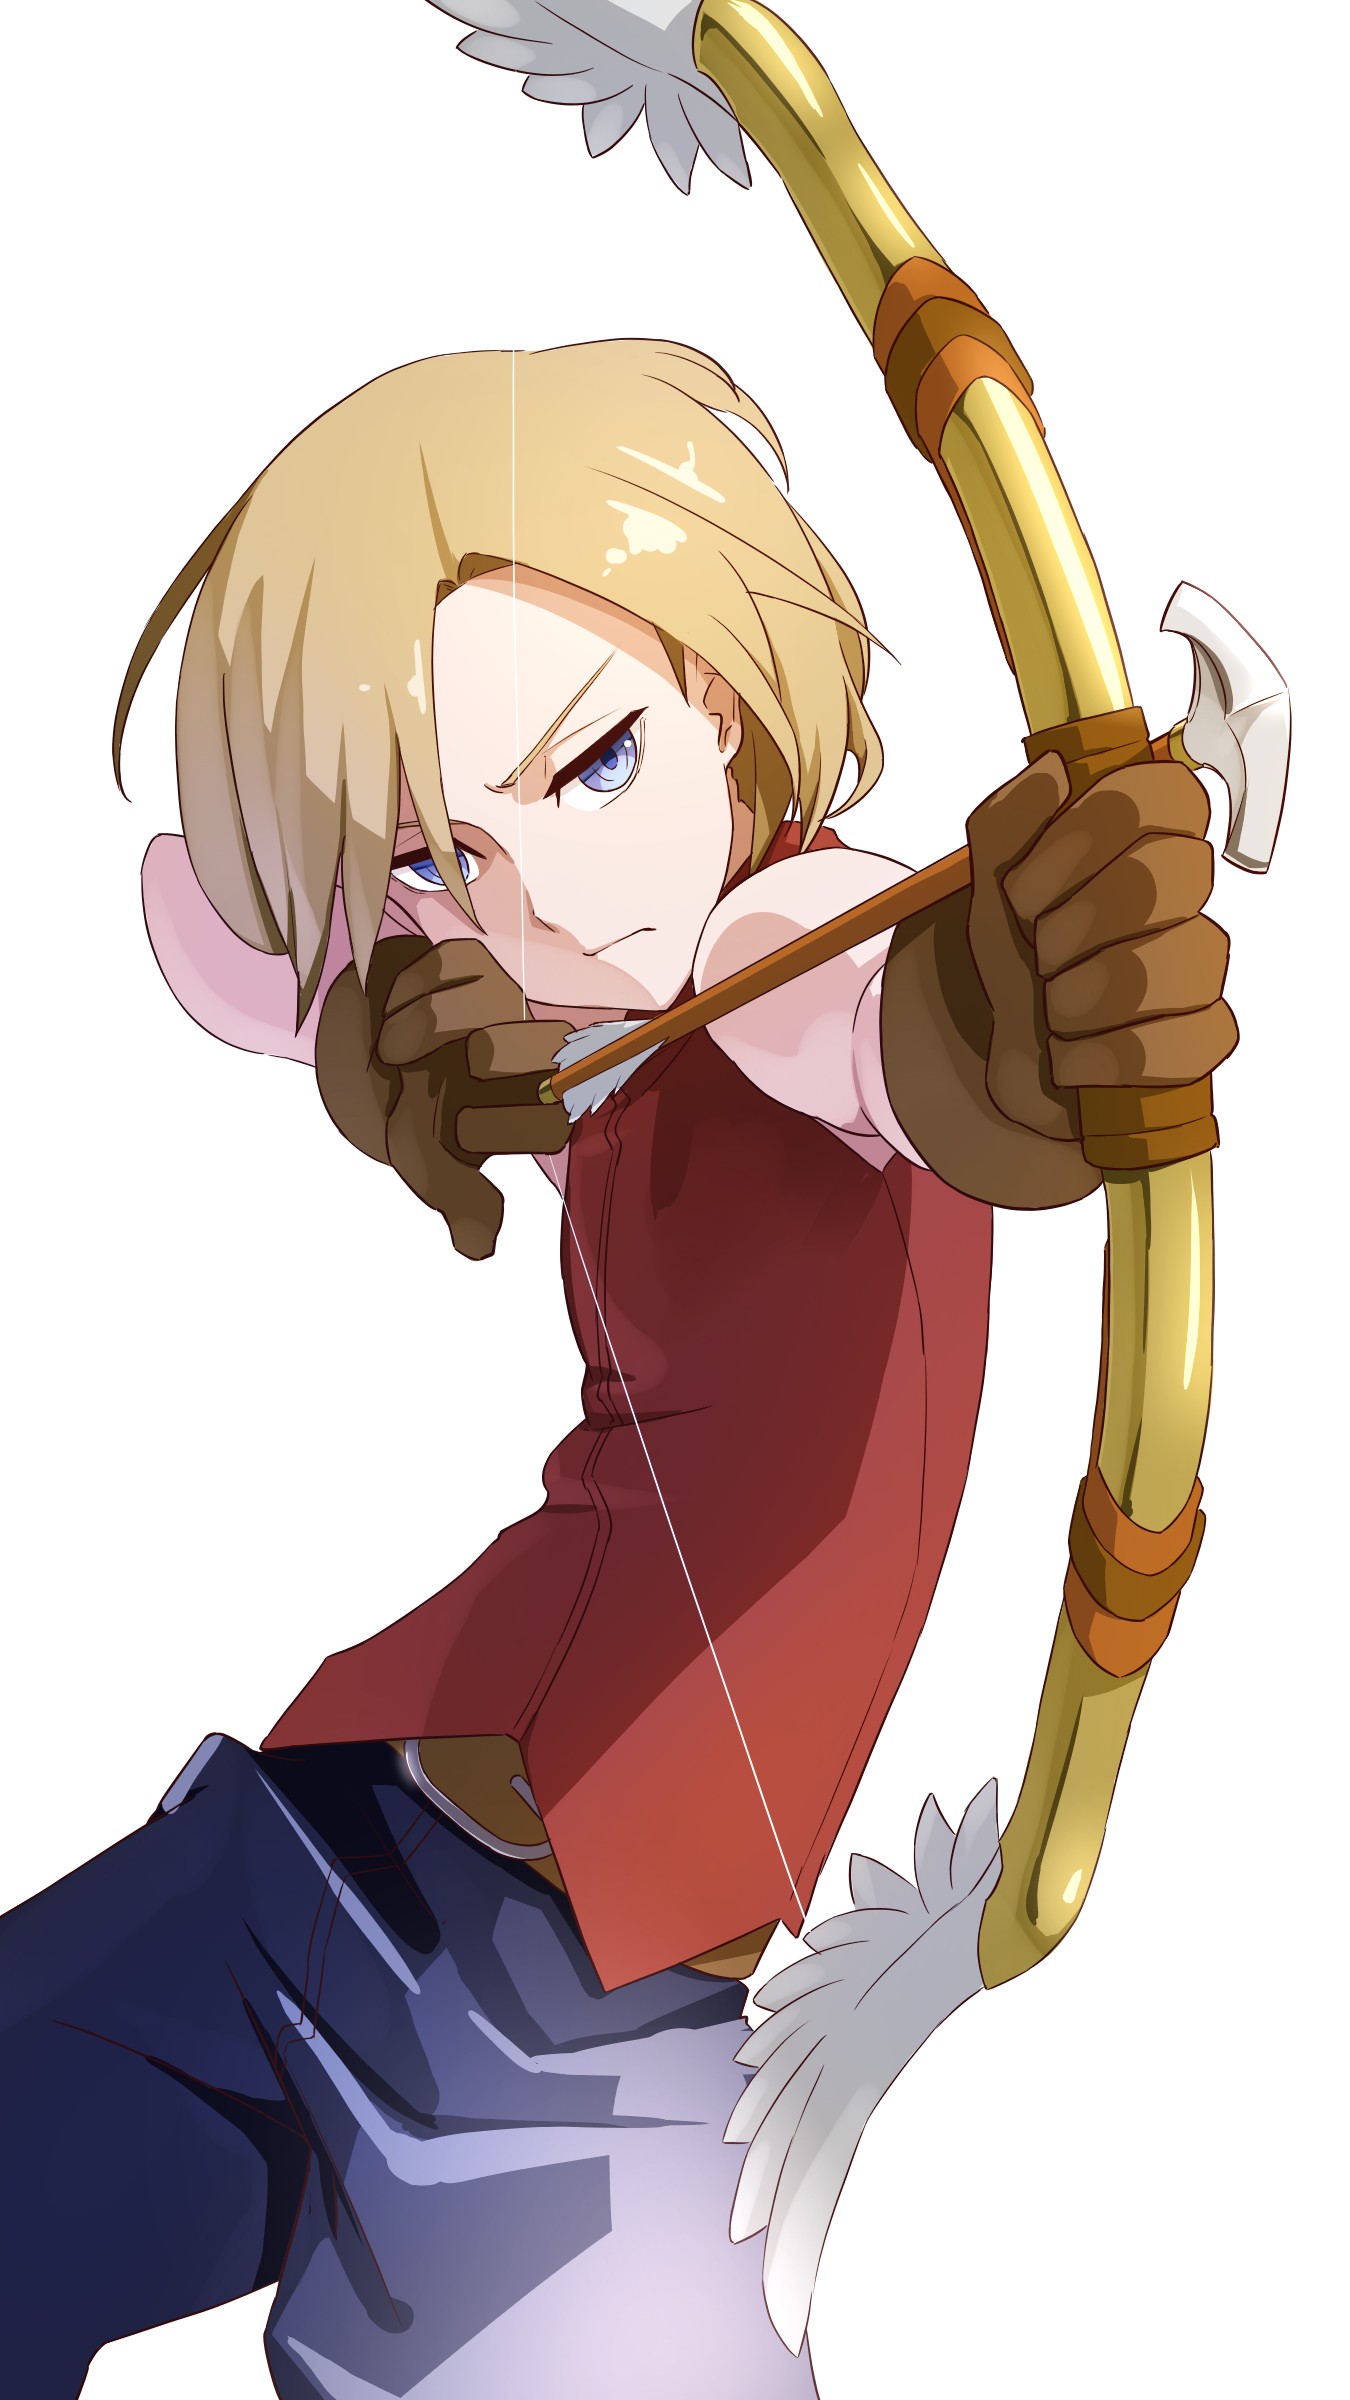
(Text・Illustration/時計)
Twitter @Clock1231
\ We are accepting requests for articles on how to use /

