2021.08.20
[For beginners] Two easy patterns! How to paint your lips.
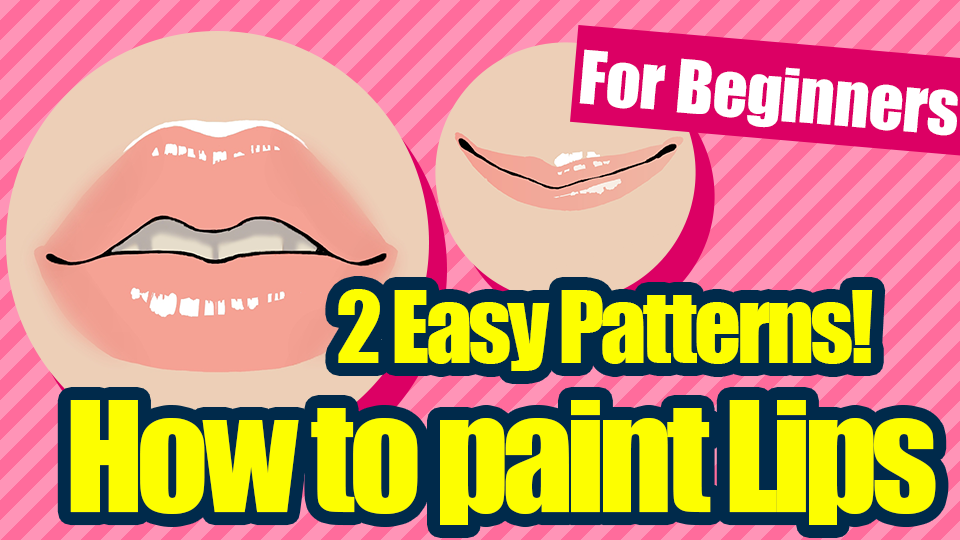

In this article, I will show you two different beginners’ ways on painting your characters’ lips.
The first is a blurring technique.
The second one is a gradation technique.
First, I’ll show you on how to paint with blur.
【How to paint with blur】
① Undercoat
First, let’s do the underpainting.
Add a layer under the drawing line.
The lips can be pink, orange, light brown, purplish, and many other colors.
Paint them with the color you prefer.
Remember, the lips will look lipsticked and artificial when you lower the brightness and darken the color.
Shape the lip as you apply the color.
Thin lips will look cute and thick lips will look sexy.
The upper lip should be shaped like a mountain.

If you’re not good at drawing accurate shapes, it’s better to draw the lines first for balance.

I added a new layer under the line and shaped it while painting.
This time I’ll paint it in salmon pink.

② Highlight
The next step is to paint the highlights.
You can illustrate glossy lips by painting highlights.
Drawing highlights will also give it a three-dimensional look.
Apply the highlight to the middle of the lips.

Add a new layer on top of the primer layer and do some clipping.
Clipping is useful because the clipped layer will not extend beyond the depicted area.

Highlight the lips in a vertical direction, while picturing the wrinkles.
The highlighting will be done in white.

I will also highlight the top of the lips.
I’ll add a new layer because we can’t paint it if it’s clipped.
I think it’s useful to add a layer underneath the primer layer so it doesn’t overlap the top of the lips.

③ Blur
The next step is to add a blur with the brush tool called Blur.
Blur is found in the brush.

After selecting it, blur the edges of the lips.
Blurring it too much will give an uncertain impression, so leave the middle part of the lips clear.

This completes the painting process using blur.
【How to paint with a gradient】
Next, we will show you how to paint in a gradient.
① Undercoat
Similar to painting with a blur, create the shape.
Add a new layer under the drawing line.
You can use any color.

② Gradient
The next step is to use the gradient.
Select the color you want to paint on your lips.
First, decide the source direction of the light.
It is easier to draw if the light is coming from the side.

After deciding on a light source, click the Auto Select tool.
It is located on the left side of the screen.

After clicking Auto Select, hide the line drawing layer.
Click the 0 next to the layer.
You can now hide it.

Once hidden, click the lips.
This is what it will look like when you tap on it.

The next step is to set the gradient.
First click the gradient (left side of the screen)

Then change the gradient type from “Foreground Color – Background Color” to “Foreground Color – Transparent”.
Click on the type at the top of the screen.

Once the gradient is set, hide the primer layer and draw a line from the edge of the lips towards the light.

The gradient is now ready.
We don’t need the primer layer anymore, so you can either discard it or leave it hidden.
③ Highlighting
Next is the highlight.
We will add a new layer to clip.
Be aware of the light source and add highlights where the light would shine on.

Add a highlight above the lips as well.

Finished!
And that’s how you can paint lips as beginners.
Please try them out!
\ We are accepting requests for articles on how to use /

