Creating Comics
I will explain the basic tools for creating manga in MediBang Paletta.
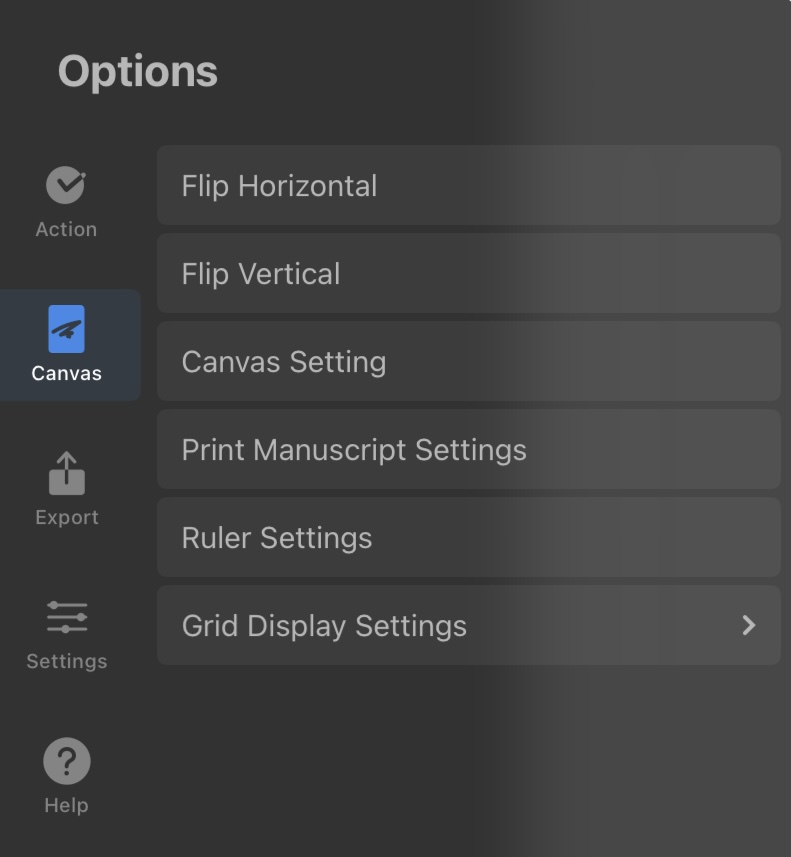
Creating Comics
I will explain the basic tools for creating manga in MediBang Paletta.
Manuscript Settings

Tap the + symbol in the top right of the MediBang Paletta Gallery to show the New Canvas Menu, and then select Printing Size.
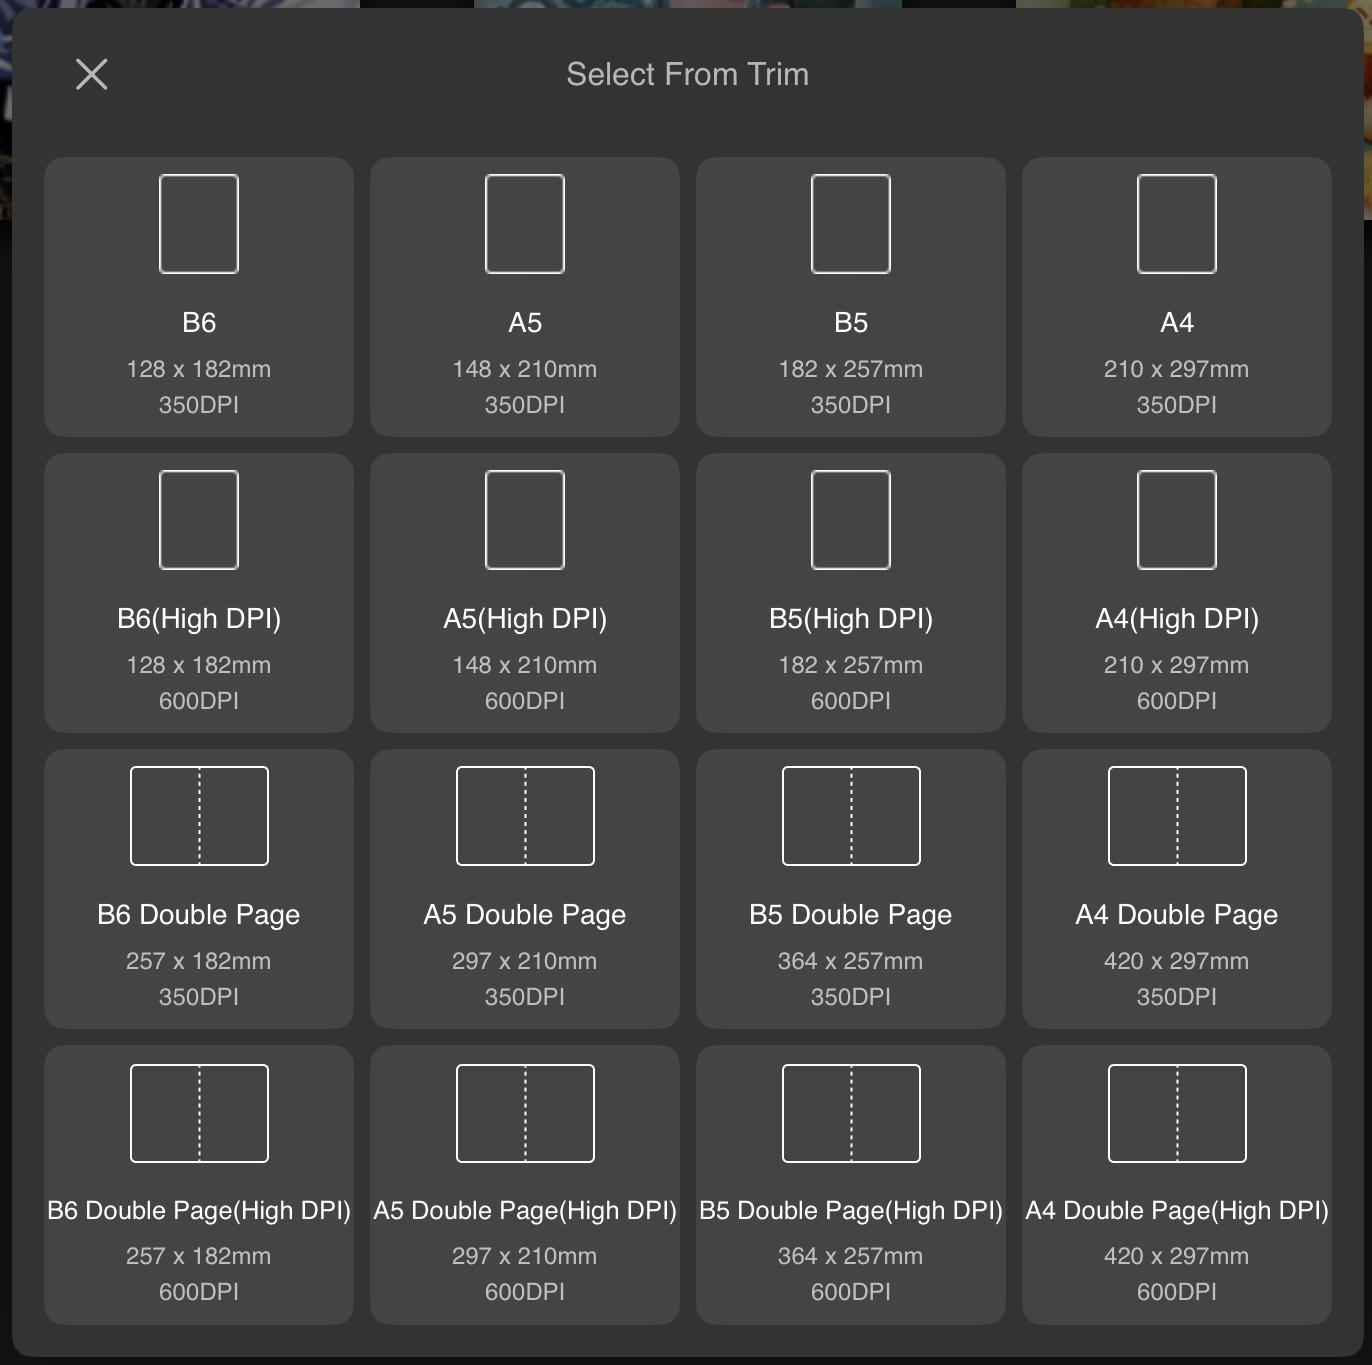
Printing Canvas Sizes
MediBang Paletta includes presets for print sizes.
When you tap ‘Print Size’, the following screen will appear.
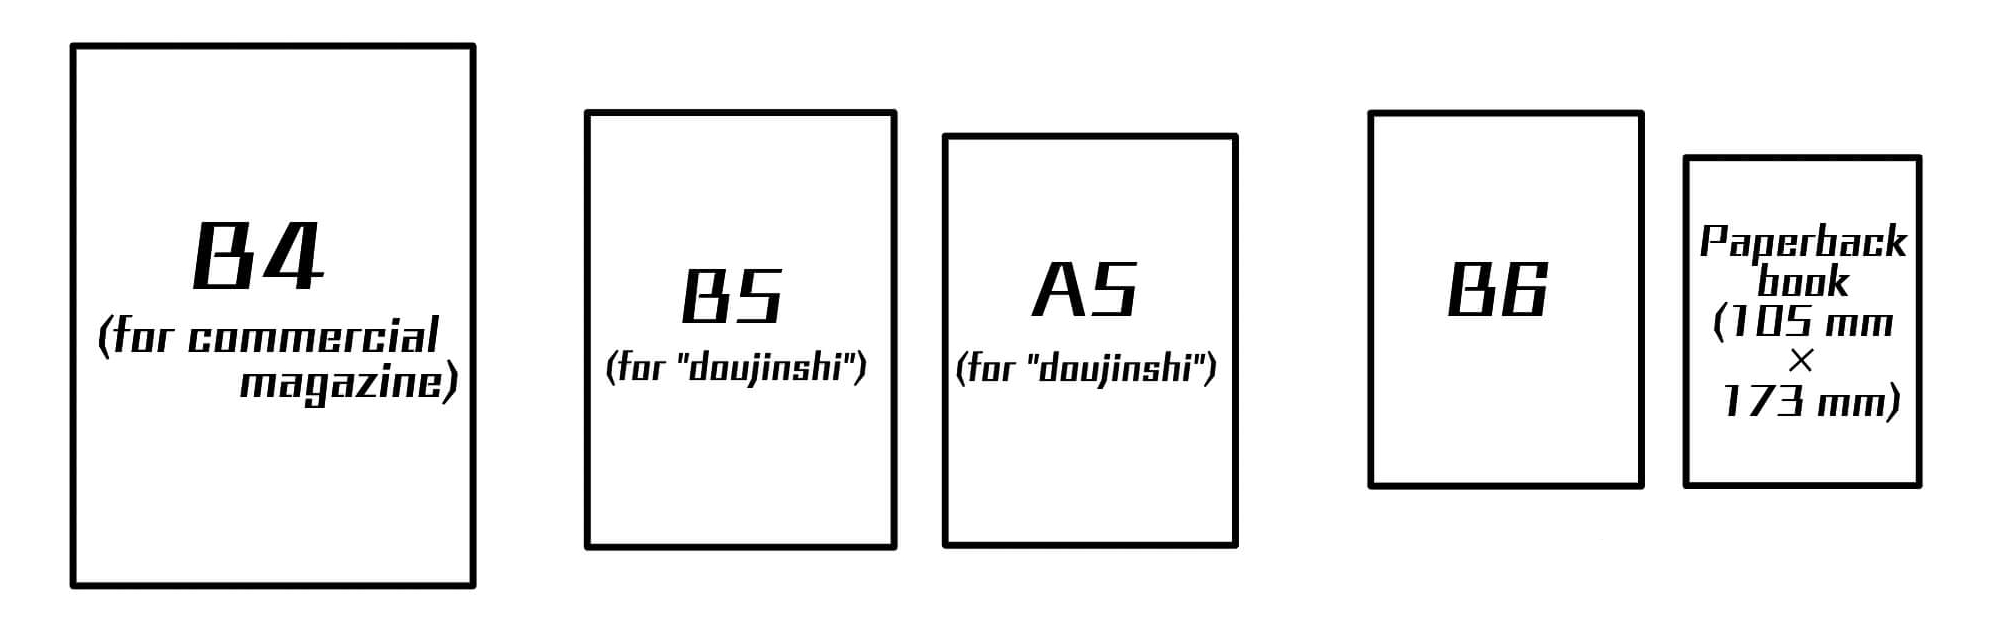
Here’s a quick visual guide to the different paper sizes available for manuscript making in MediBang Paletta.
Creating Panels
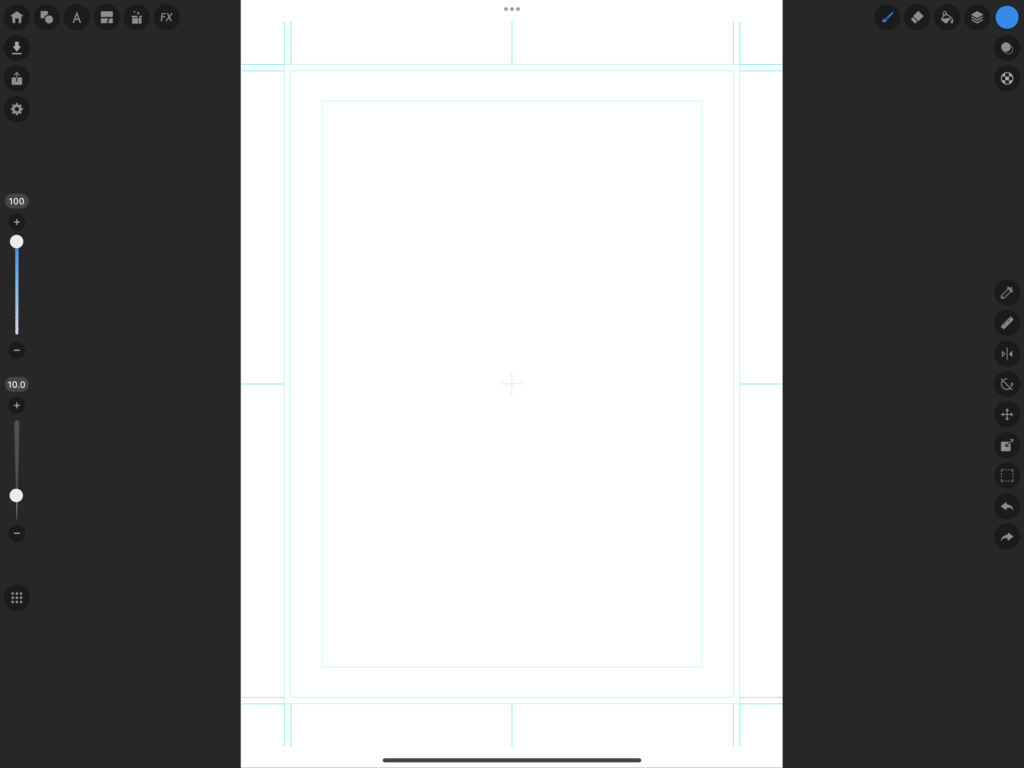
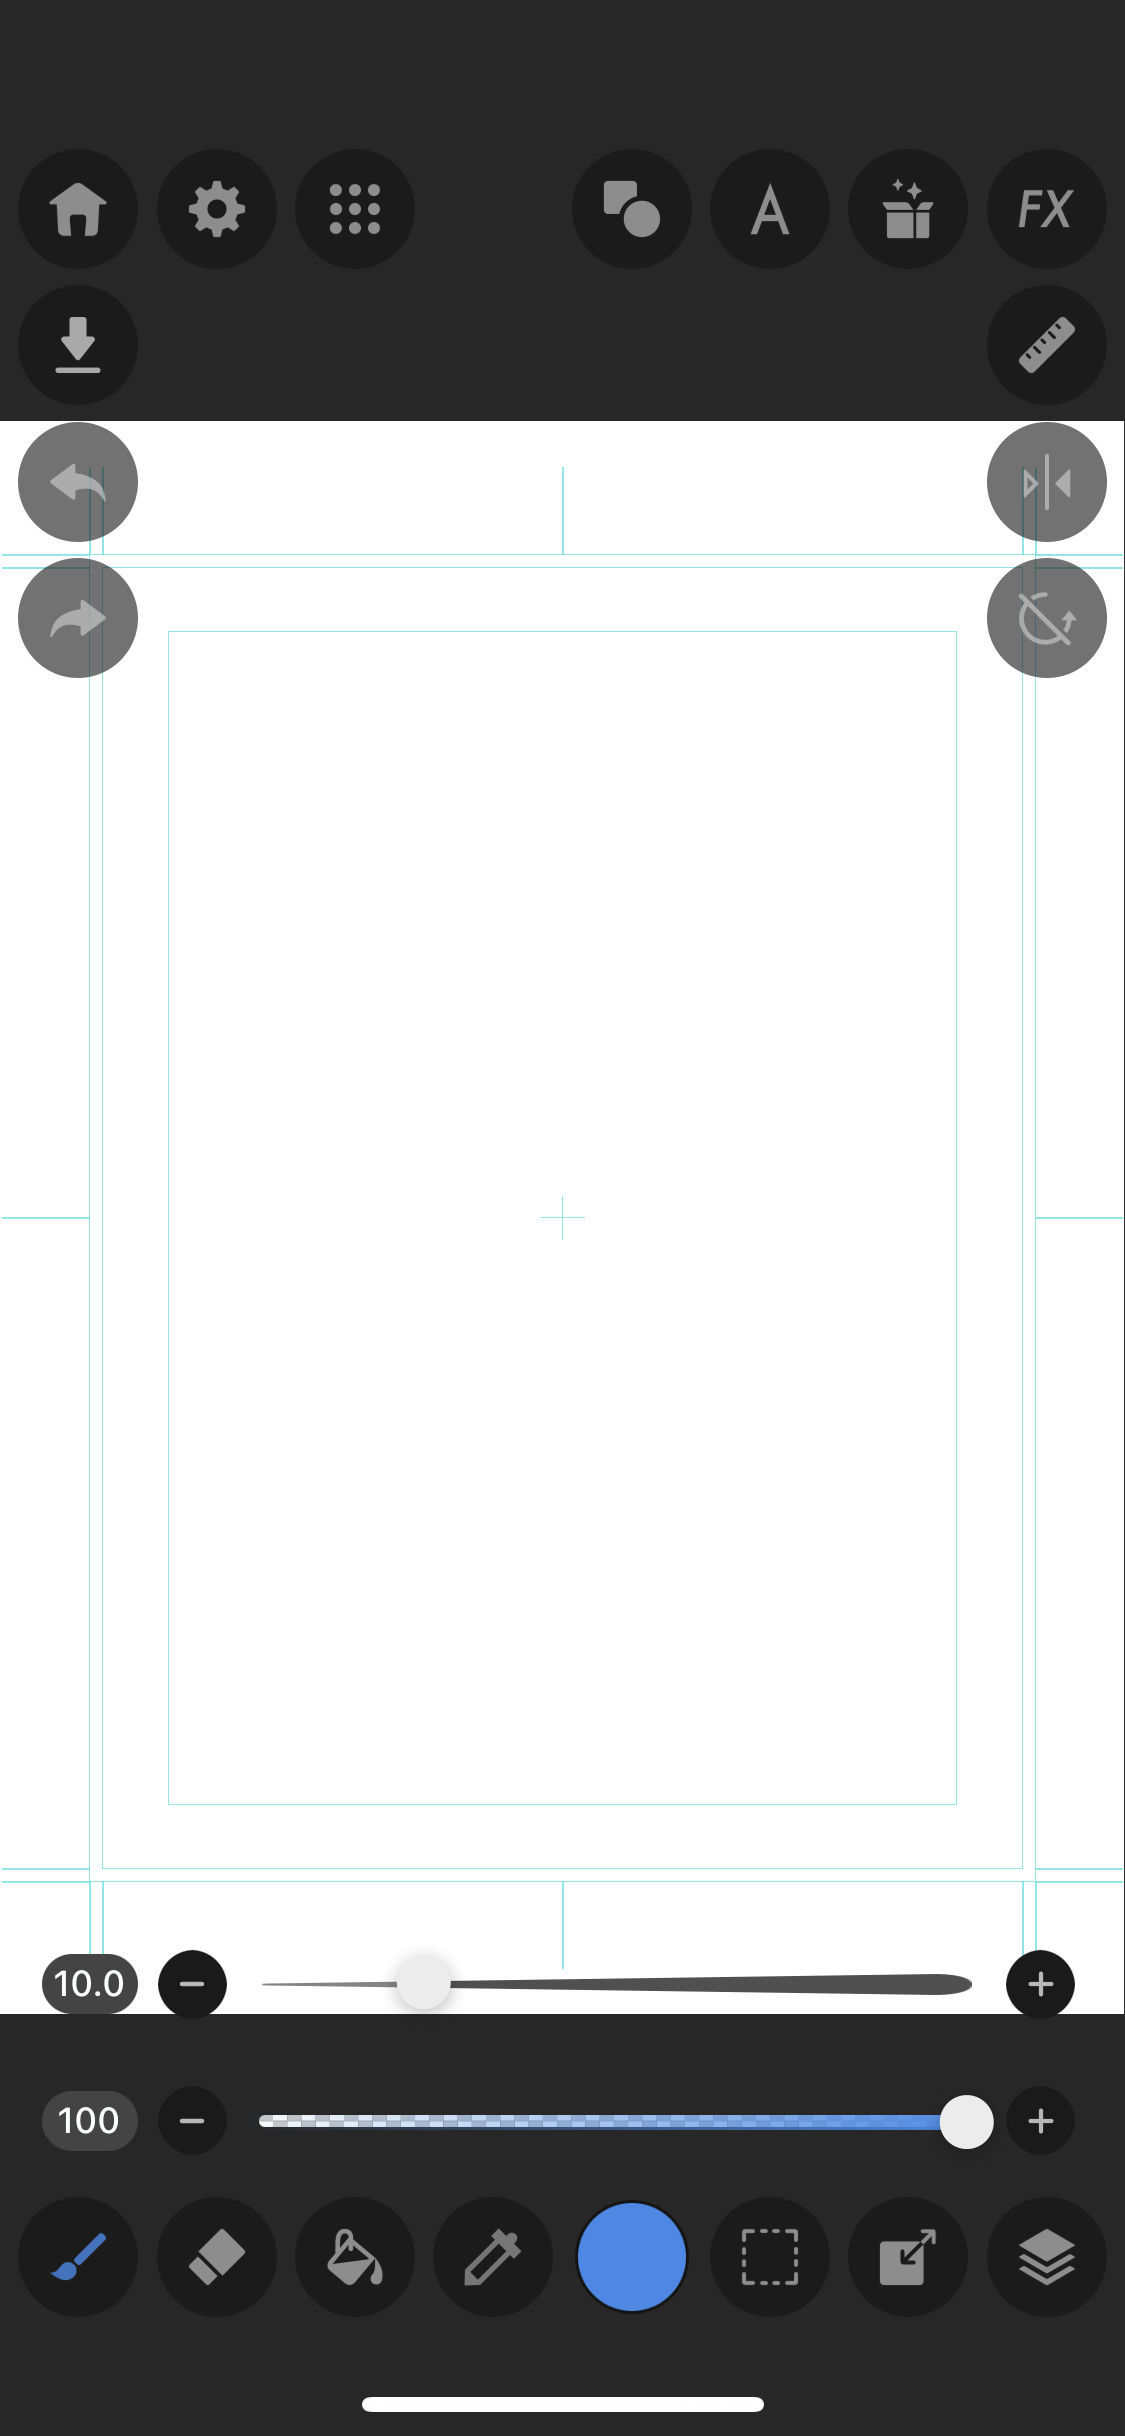
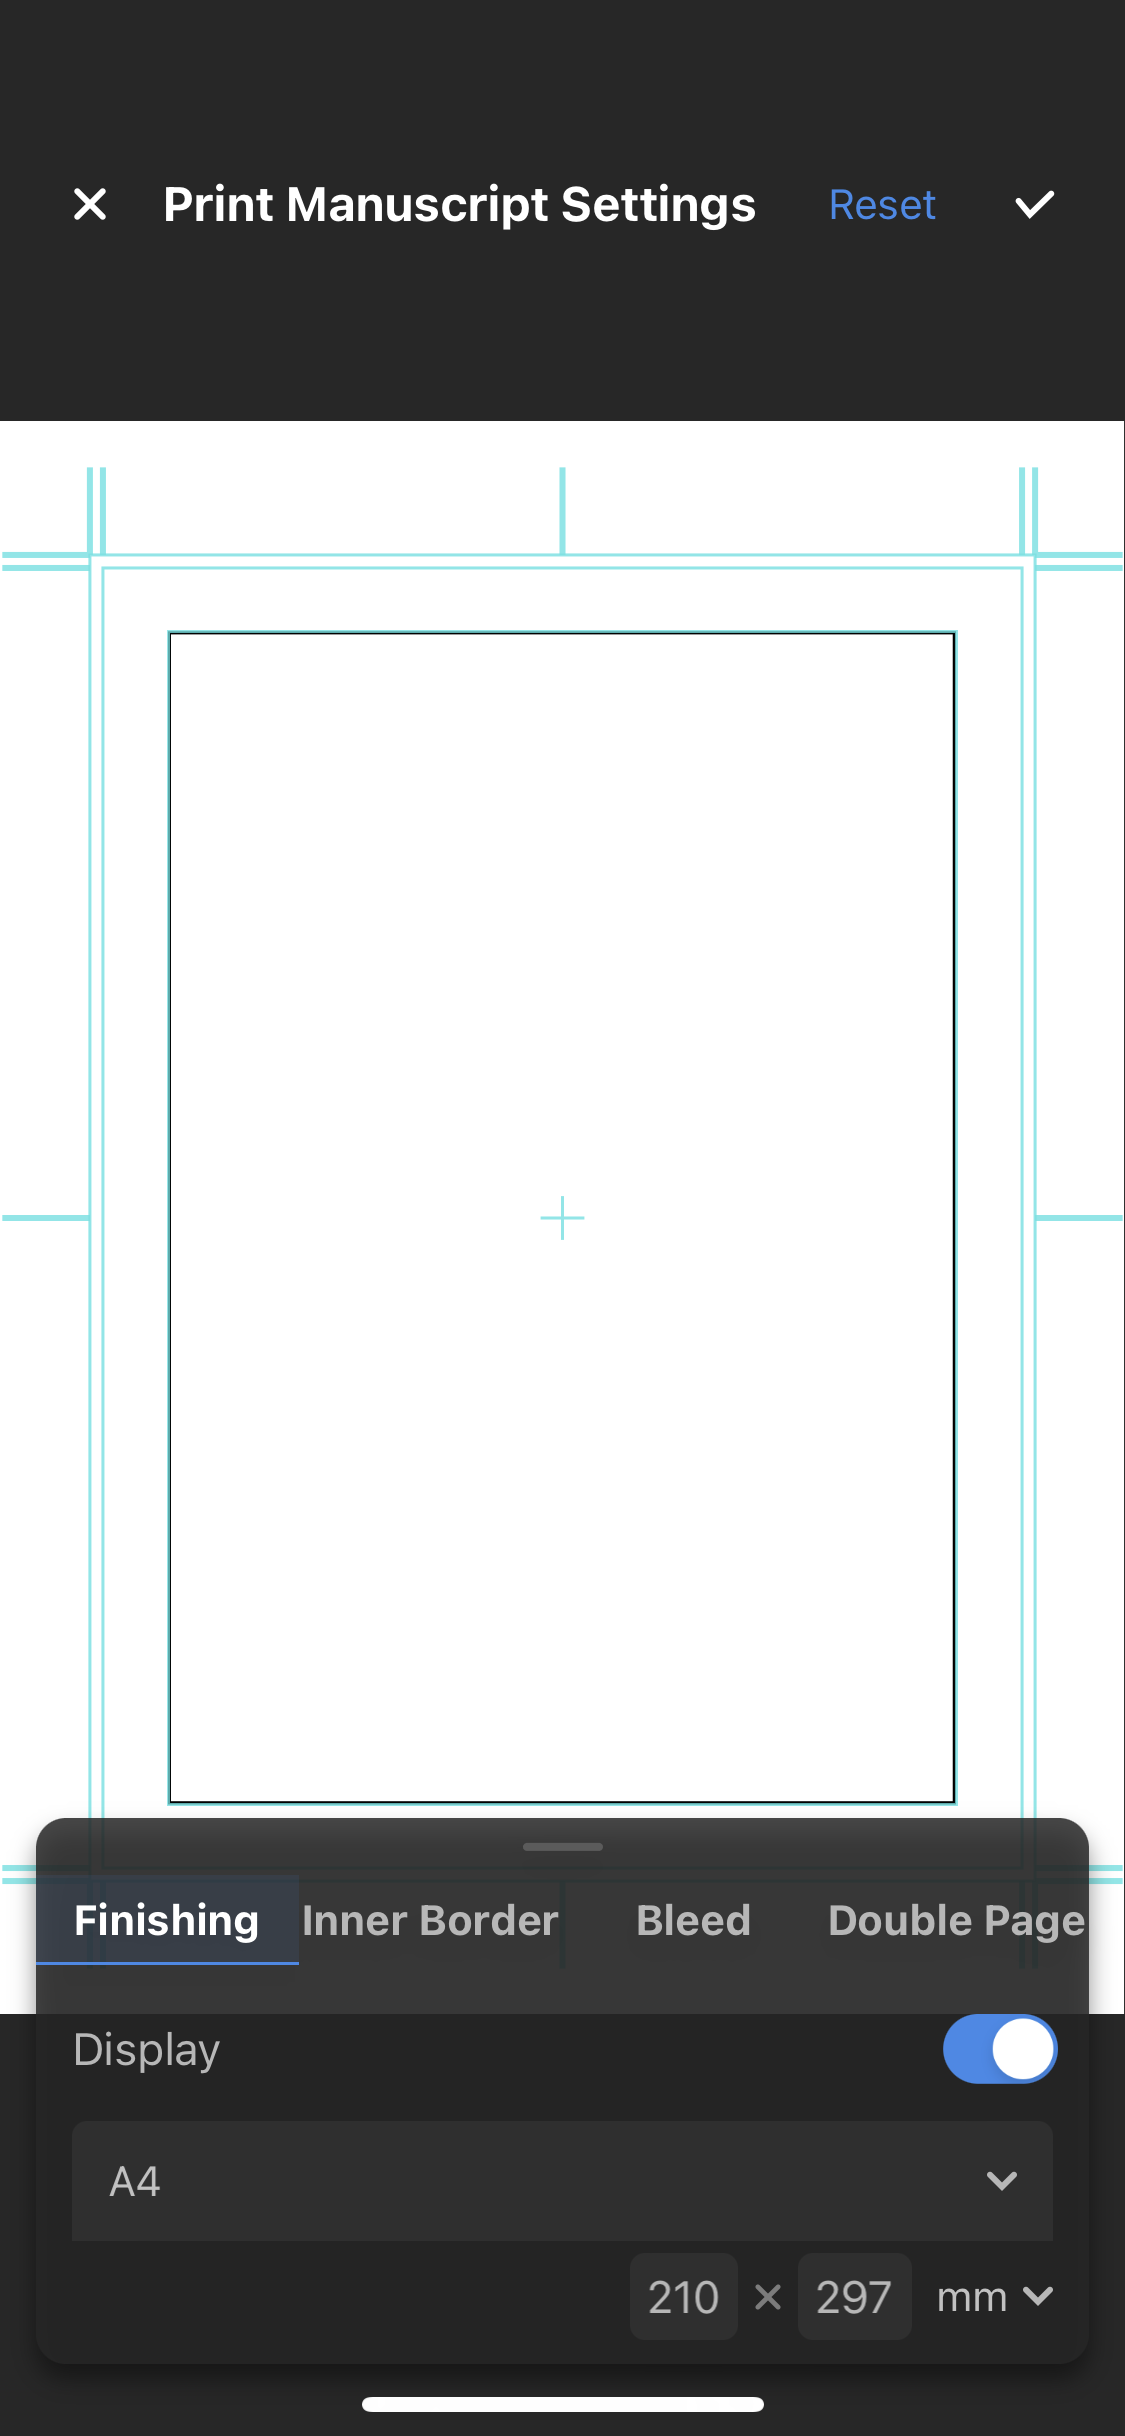
After selecting an A4 canvas from the presets, the canvas looks something like this.
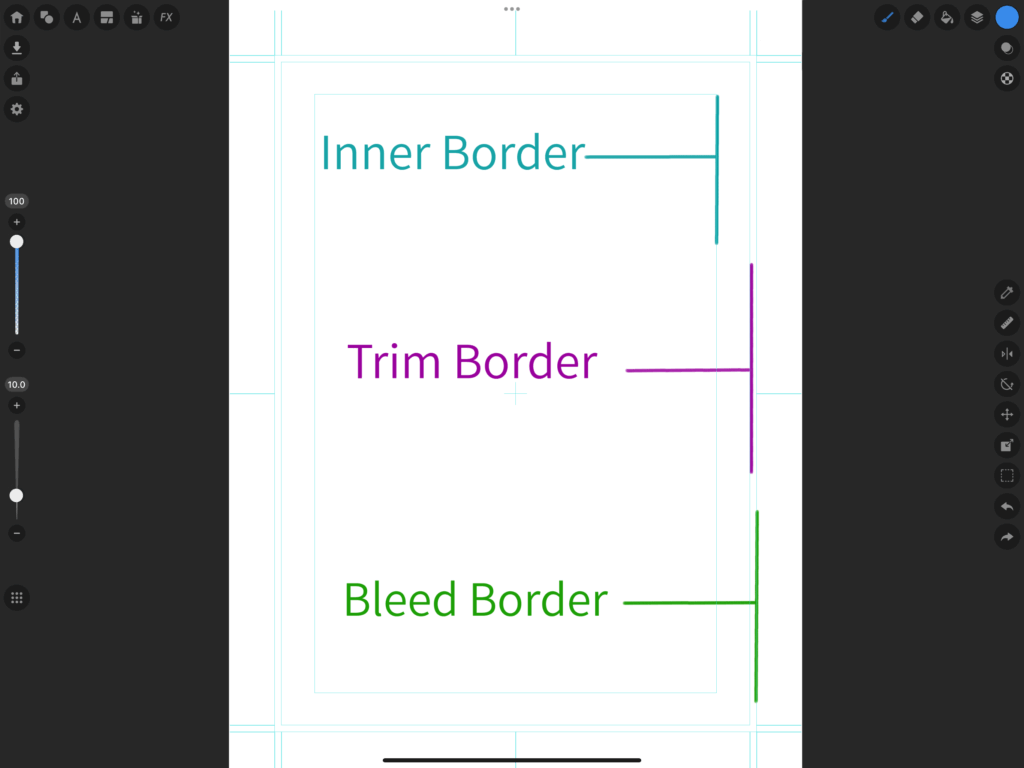
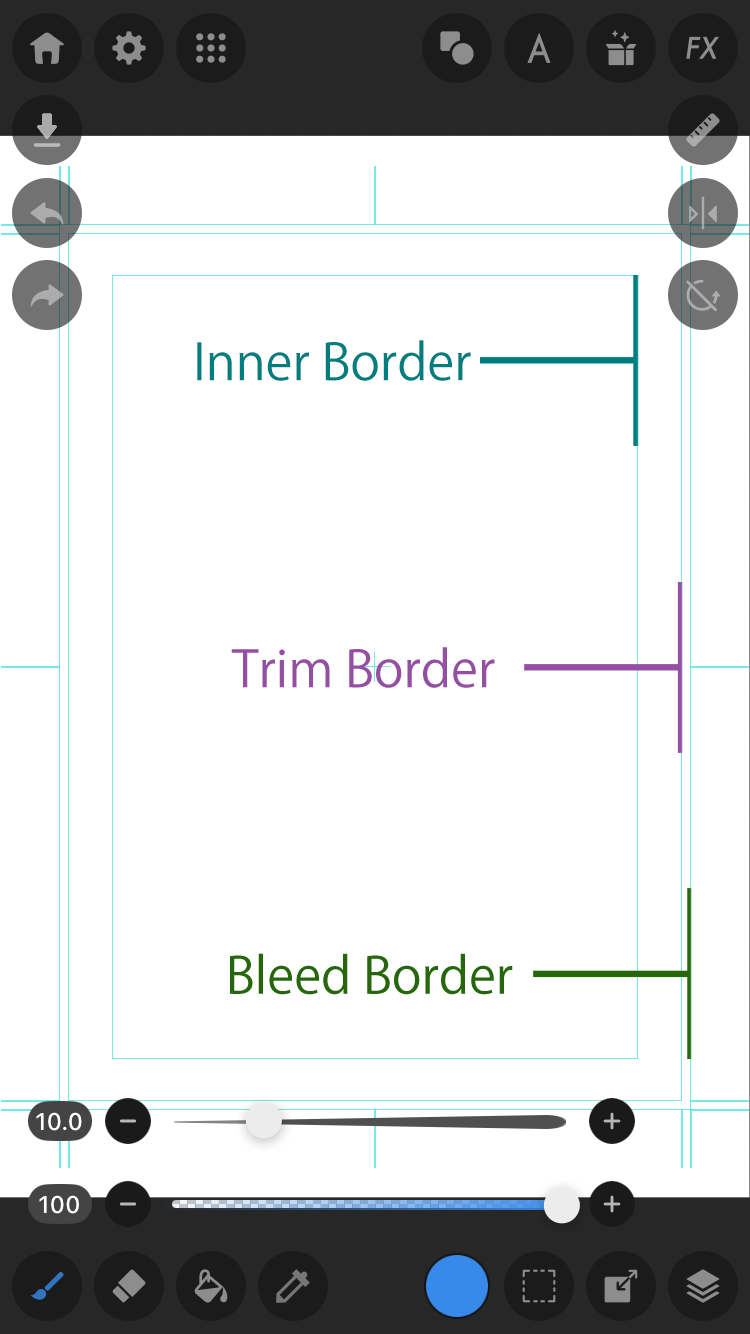
Inner Border: The area of the canvas where you draw.
All dialogue and character work should be within this frame.
Trim Border: Anything inside this border will be printed and displayed when the work is finished.
It indicates the final size of the page.
Bleed Border: This is the line that indicates how far to extend what should be printed to the edge of the manuscript page.
This is in order to avoid awkward white margins.
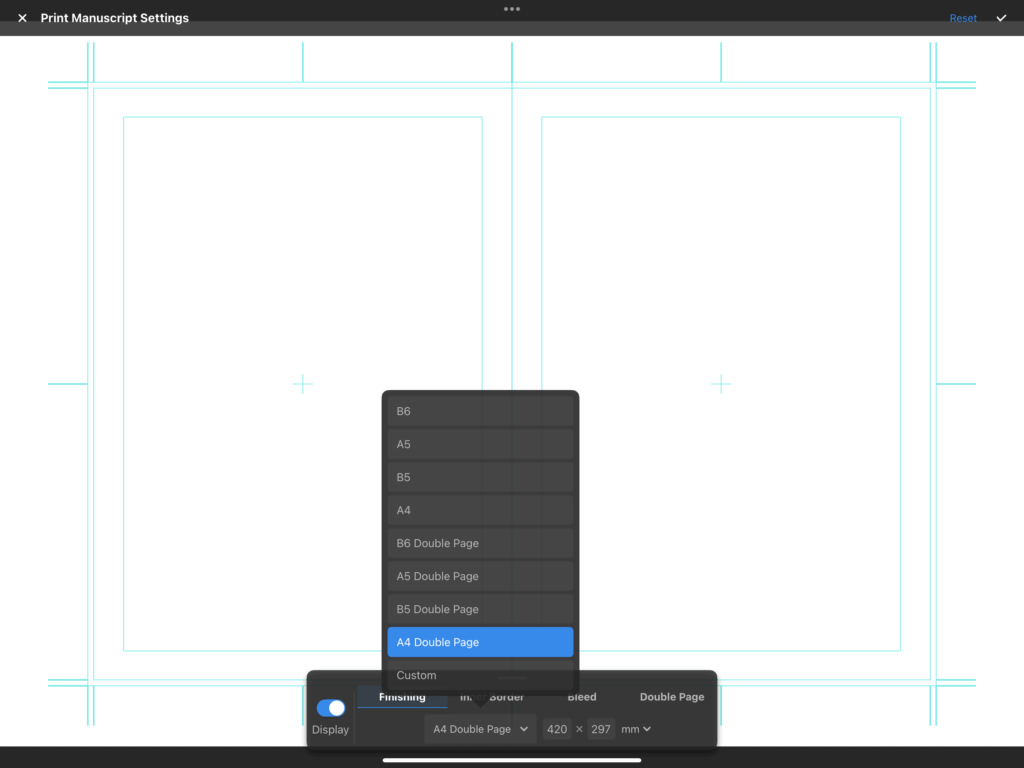
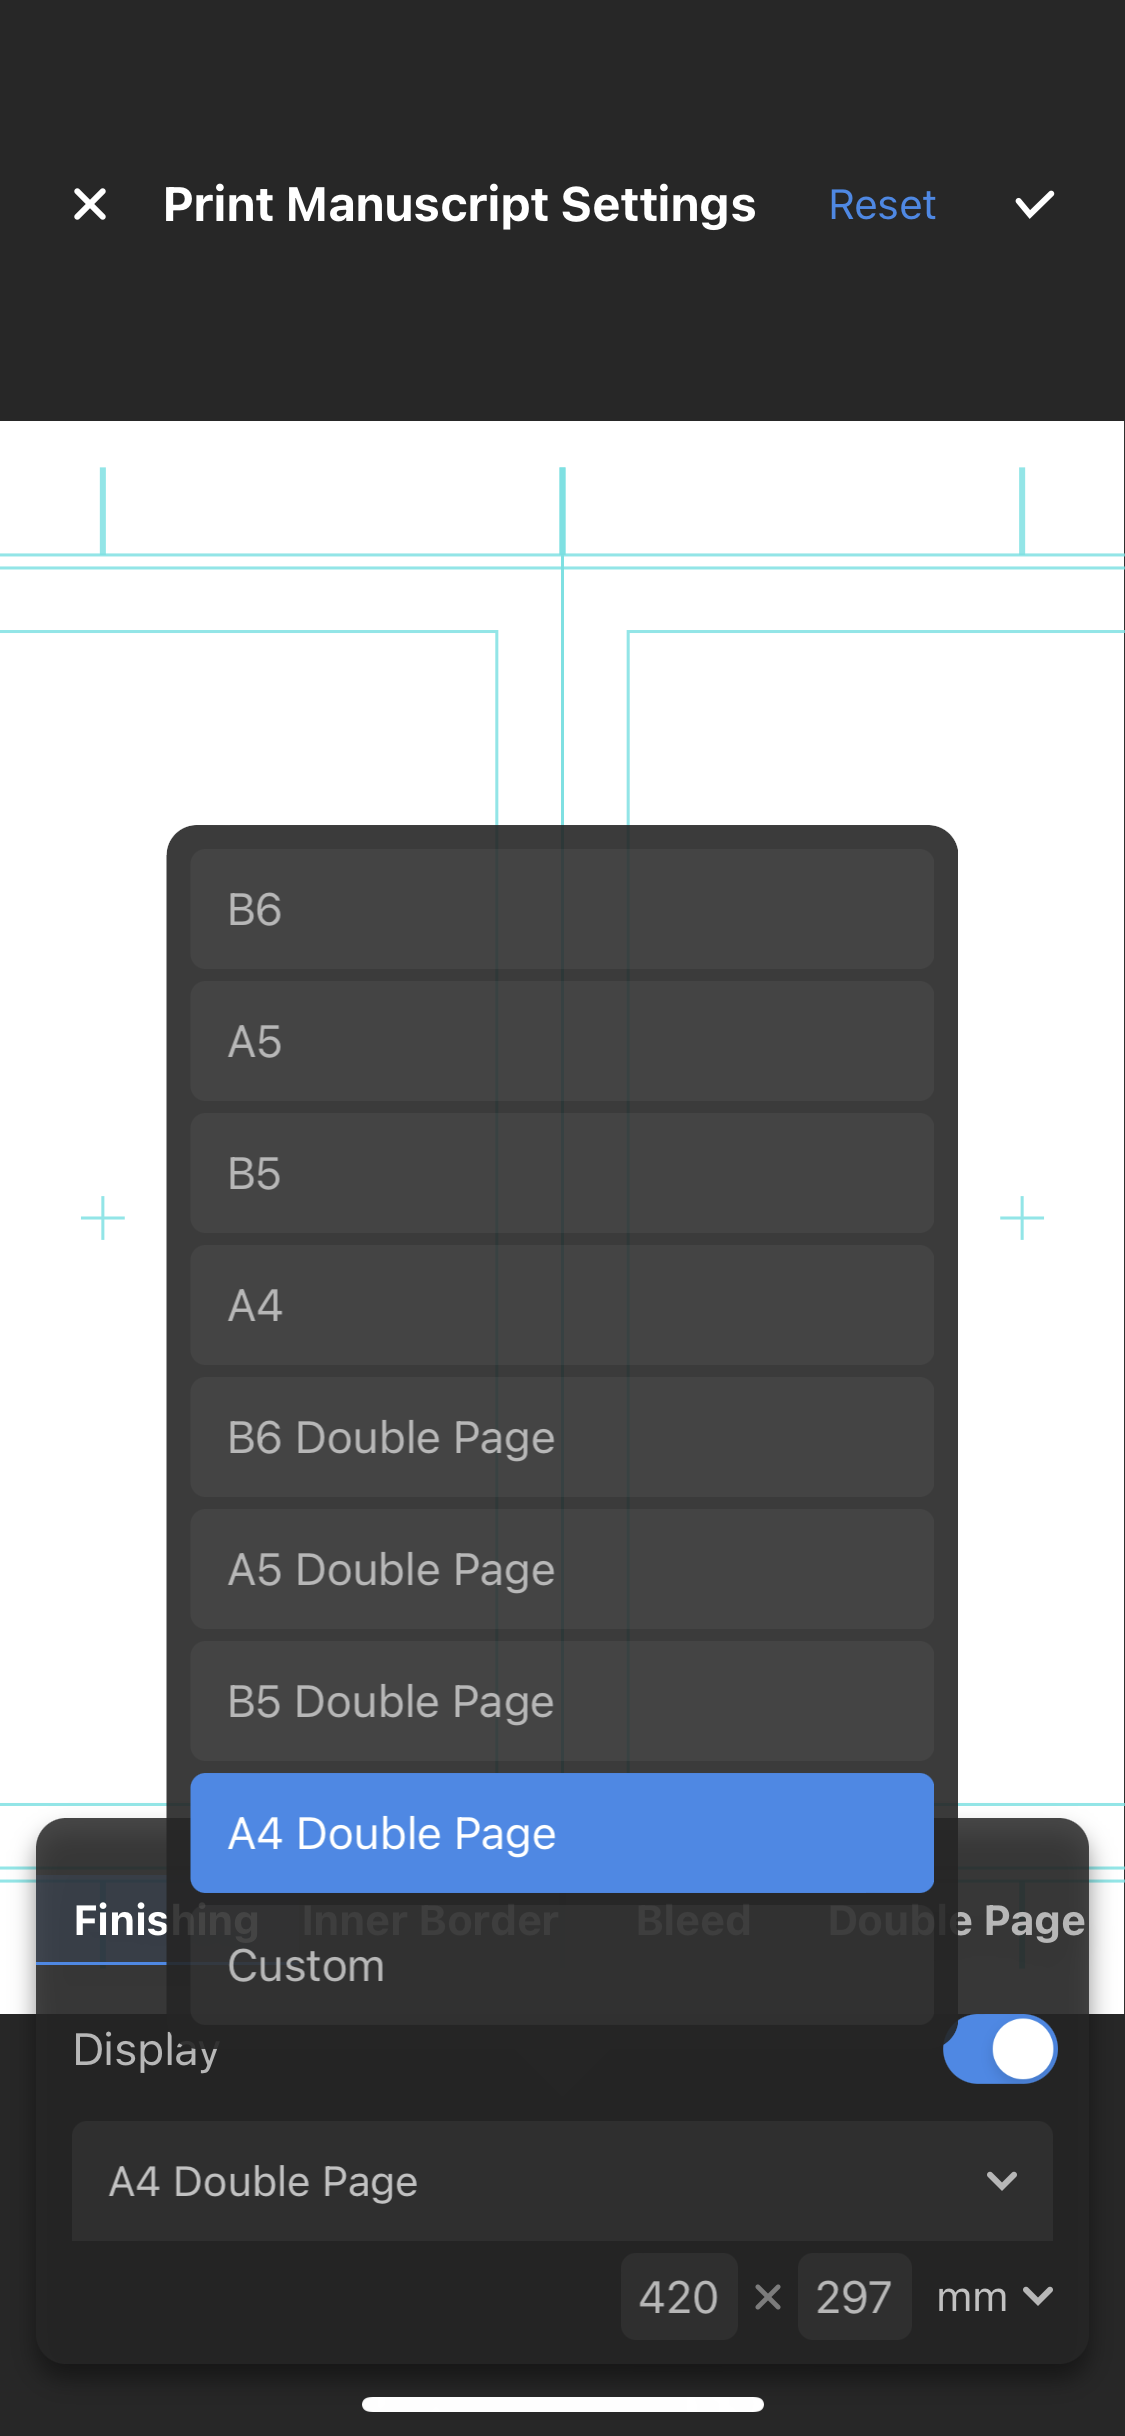
Editing Manuscript Guides
Tap Print Manuscript Settings to edit.
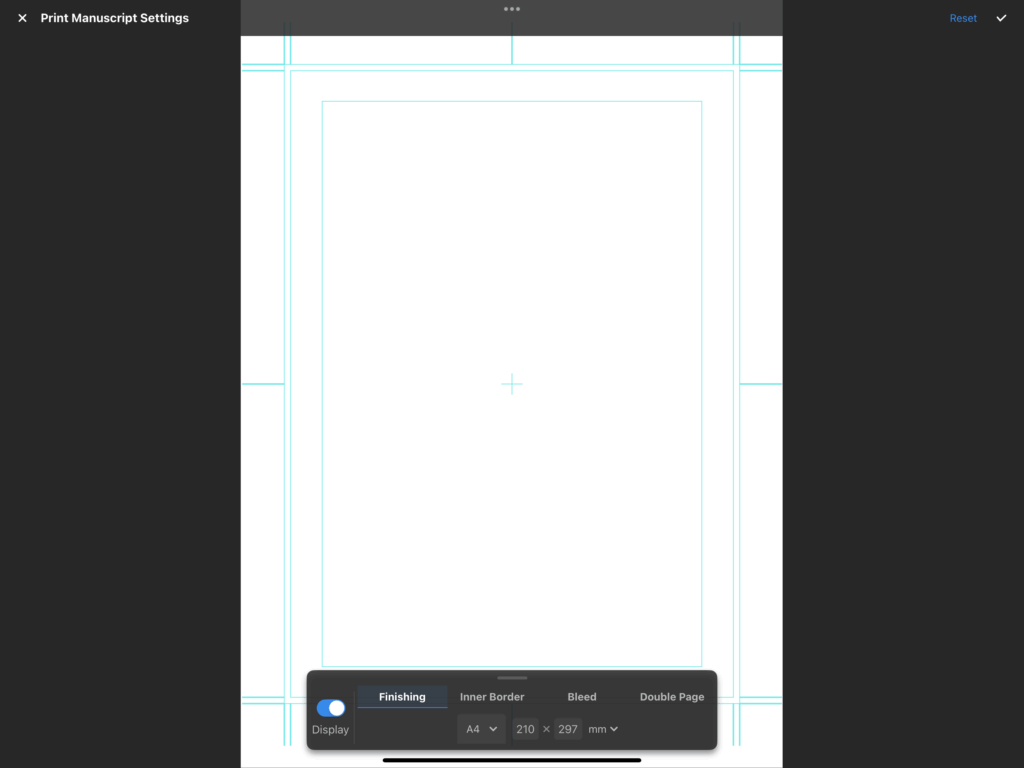
Toggle “Display” to hide or show the guide.
To make editing easy, you can select preset trim sizes from our dropdown menu, or edit the borders and bleed by the centimeter/pixel/inch.
You can even switch to having a double spread if you decide one page isn’t enough for your current canvas, as seen below.