MediBang Pro is here to help you take your art to a whole new level with these top of the line adjustment tools.
Play with Hue, Saturation, and Brightness, tweak even finer colors and levels with Tone Curve, totally invert your colors on the canvas, or even switch to Monochrome with a tap of a finger.
Hue, Saturation, and Brightness
Another word for these iconic three would be color value, vibrancy, and light or darkness. MediBang Pro’s simple slider tools make it so easy to play with color like never before.
Hue, Saturation, and Brightness, aka HSB is definitely the easiest way to adjust the colors on your screen. Just tap on the sparkles in the upper left bar to open the Adjustments Folder.
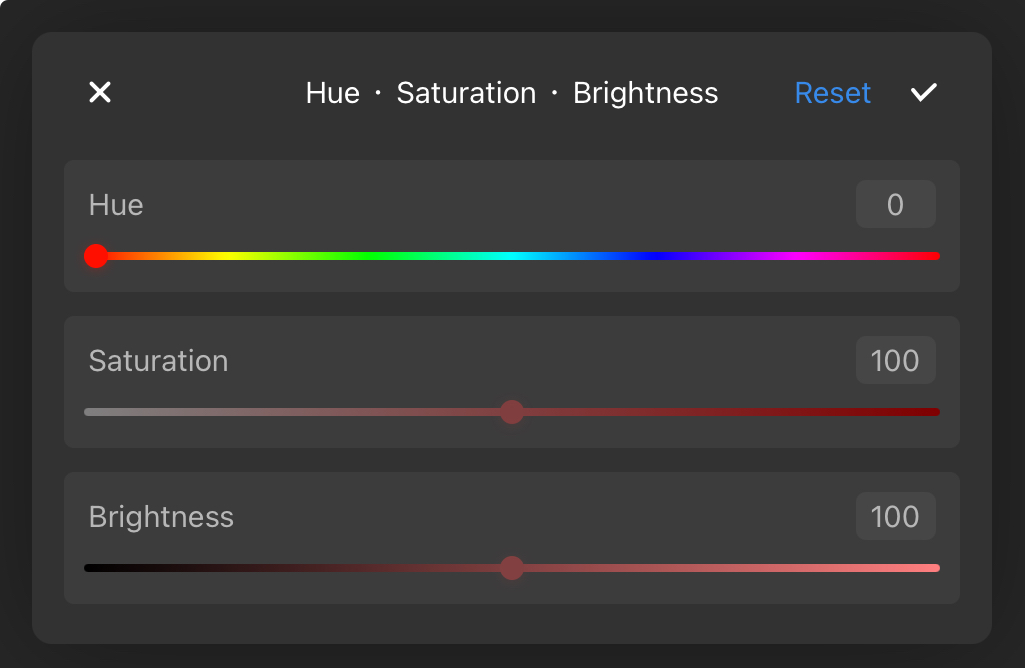
- The Hue Slider will determine the overall colors used on the layer, and sliding this spectrum can take your work from Red to Blue to Green and back.
- The Saturation Slider controls the strength of your colors. The further left your slider is, the more desaturated the overall image.
- The Brightness Slider controls the overall lightness (or darkness) of the layer.
Color Inversion
The Color Inversion functions allows you to totally invert the colors on the selected layer or image. When applied, colors that were originally light become dark, and vice versa.
This Inversion can be used to create cool surreal effects, or help you check the contrast in your artwork.
Tone Curve
The MediBang Pro Tone Curve tool helps you smoothly and easily modify the colors in a layer.
It is the most advanced way to adjust color and contrast in an image, and may be a little intimidating to beginners, but luckily a thorough explanation is located below.
To open the Tone Curve interface, tap Filter and then Tone Curve.
Tone Curve Overview
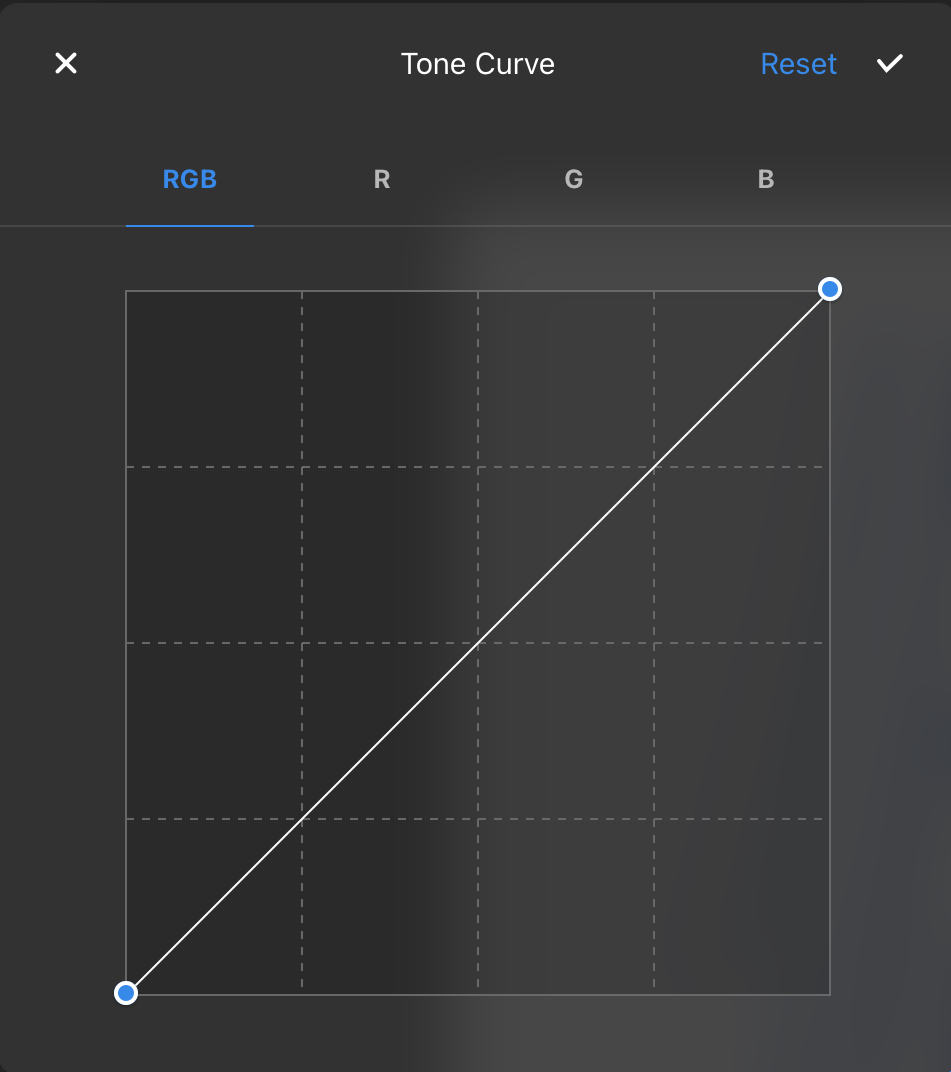
When first opened, the tone curve is a straight line on a graph. This straight line represents the tonal values of the layer that this filter is affecting.
Tone Curve Nodes
Move these dots on the line up to affect the lightness of a layer, and down to affect the darkness. Drag them right or left to affect the contrast of a layer. Have fun playing with the dots and enjoy learning what effects you enjoy the most.
Gamma vs. Channels
In the Tone Curve, you are using the Gamma by default, which means you are adjusting all three color channels (red, green, and blue) at once.
At the bottom of the Tone Curve panel, you will see RGB, R, G, and B. RGB is the Gamma, and the other three are individual channels. Select one of them to adjust the color of each channel displayed. Moving the tone curve to the upper left will increase the strength of the color, and moving it to the lower right will weaken it.
Monochrome
The Monochrome filter allows you to turn a layer or image grayscale.
This filter is a great way to check the values of your art to see if you might need to darken or brighten any sections with Tone Curve.