We’d like to introduce you to the special brushes that were made for an optimized MediBang Pro x iPad experience
For our first of this new series, we’ll be introducing the “Color Blend Brush” found under the Paint category.
The Unique Features of the Color Blend Brush
The Color Blend Brush uniquely blends the colors on your canvas while you paint with it.
It’s a great brush for digital rendering and layering colors without worrying about muddying everything as you create.
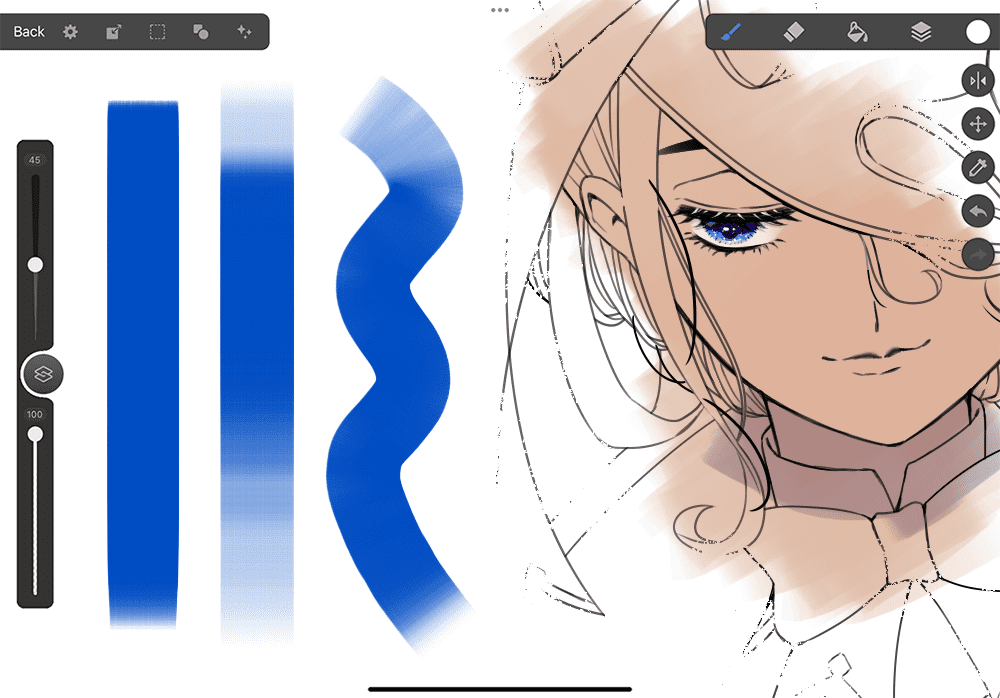
・Brush Stroke
Like a marker brush, the tip is squared off, allowing you to block in wide swaths of color easily.
You can also create a gradation effect at the taper points of the brush by adjusting the pen pressure.
And you can even do delicate, detailed painting work with this brush.
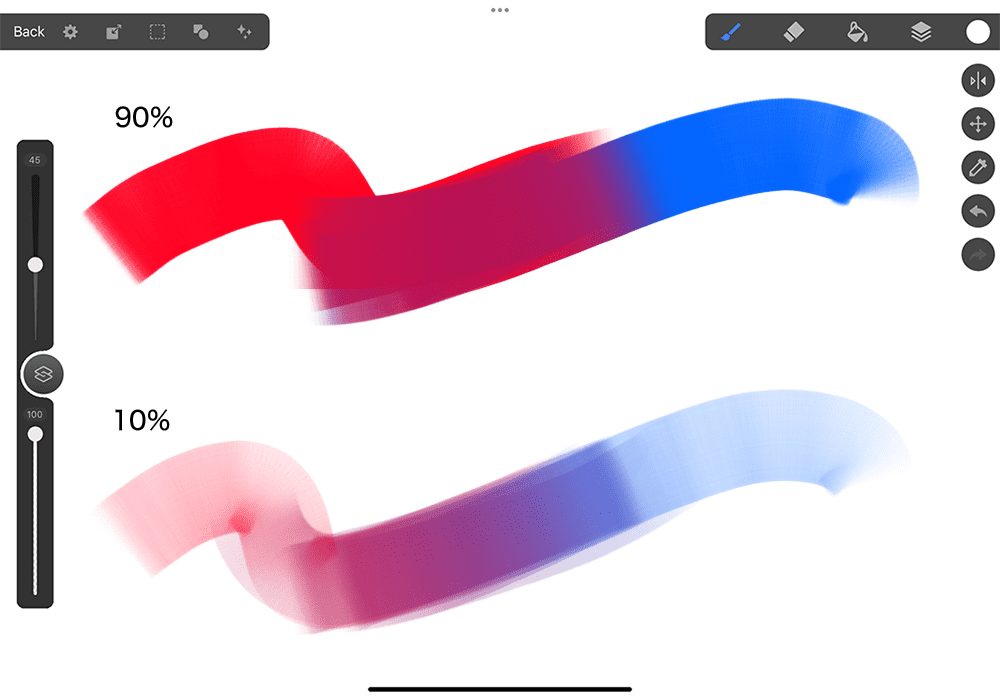
・Ease of Mixing Colors
The Color Blend Brush is possibly one of the easiest brushes to blend and mix color with.
Depending on the overlapping colors and range of the brush, you can create a number of interesting coloring variations.
Mixing and blending the colors with ease while painting with this brush makes this one a favorite of ours.
In addition, by changing the opacity, you can create new hues and palettes with the Color Blend Brush.
Practical Example
We’ll walk you through creating an illustration that has a sense of translucency using the Color Blend Brush.
The trick to this is adjusting the opacity and picking the right color.
While using similar colors for each part, such as skin, hair, and shadows, apply thin layers of paint to achieve beautiful colors without worrying about making the hues muddy.
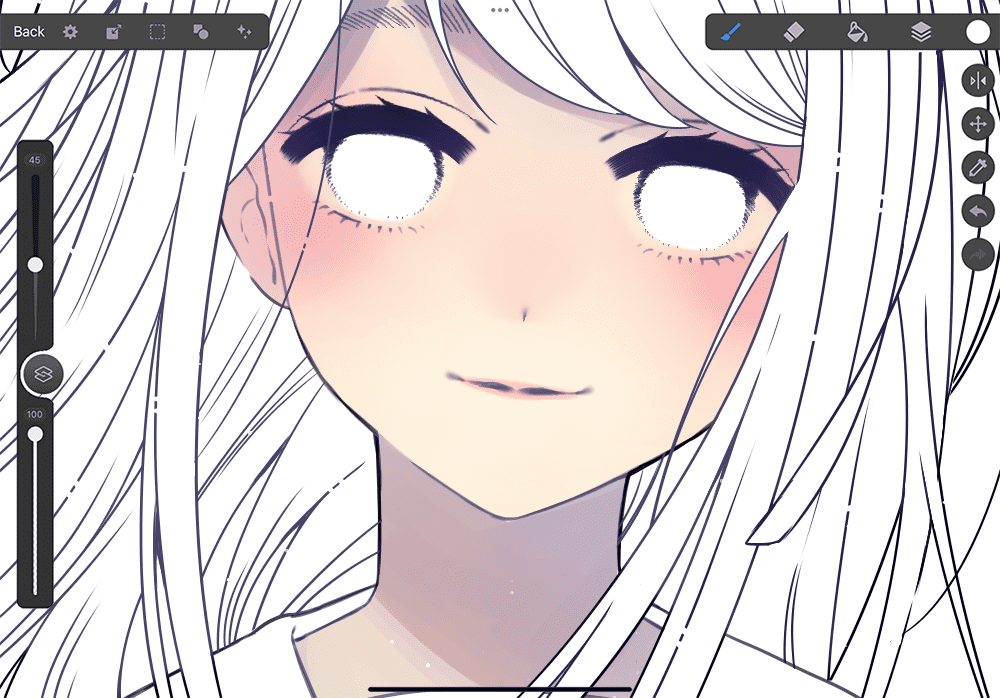
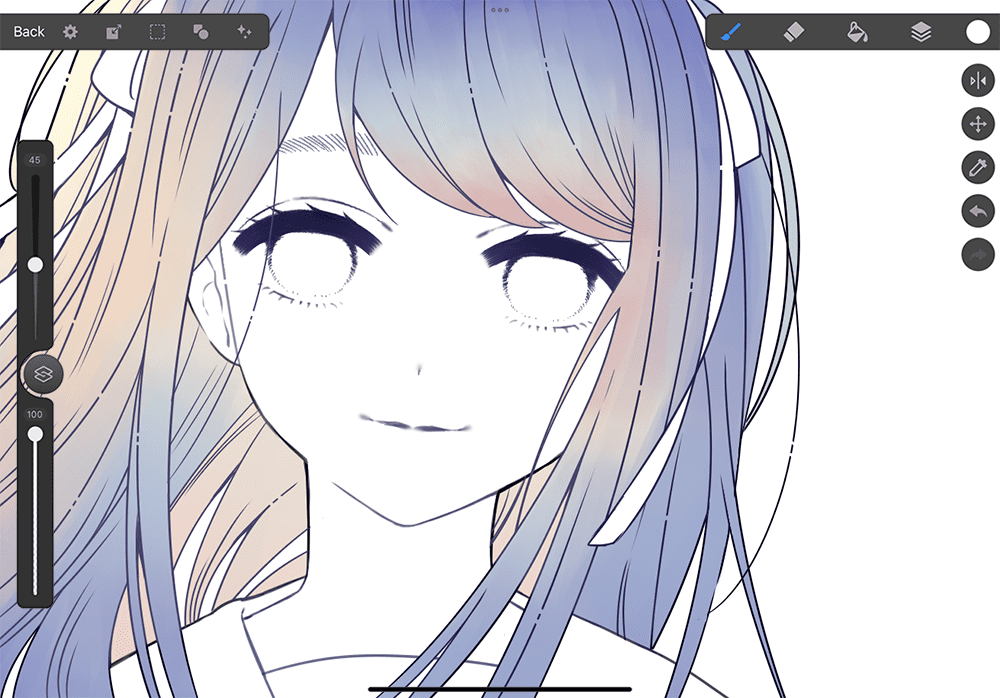
・Painting Skin
For parts of the skin with lots of blood vessels, such as the cheeks, we recommend lowering the opacity of the color blend brush to gently add thin layers of color atop the base skin color. This will create a soft, natural flushing effect for the skin.
Then, we add a new layer to apply shadows on, carefully blending the base color with a light wash of blue, purple, and orange to create shadows with depth that lack the monotony of single-color shadows.
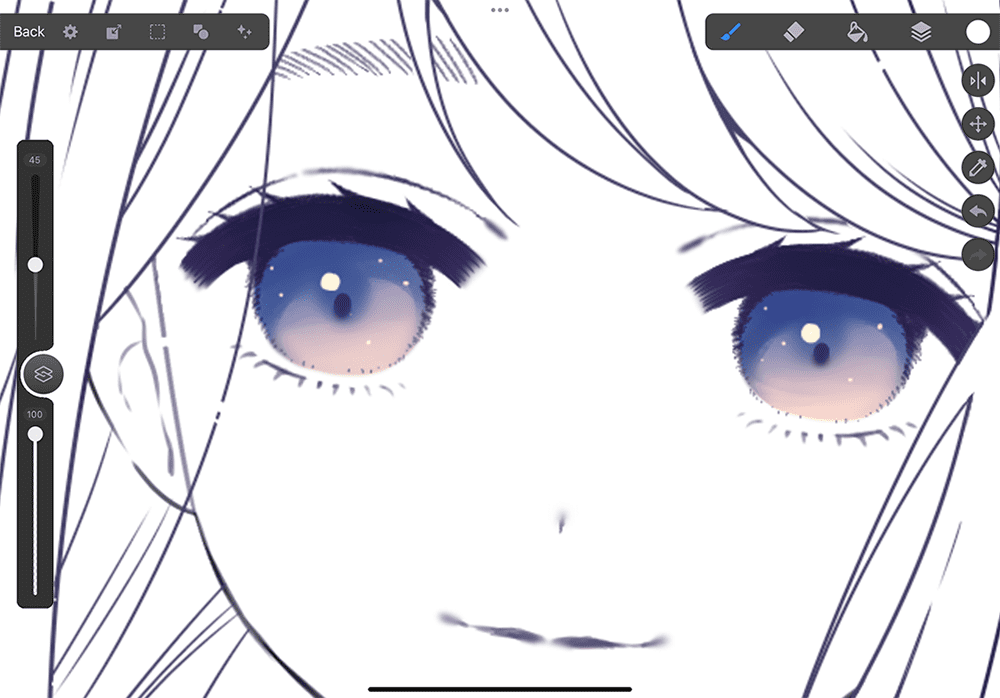
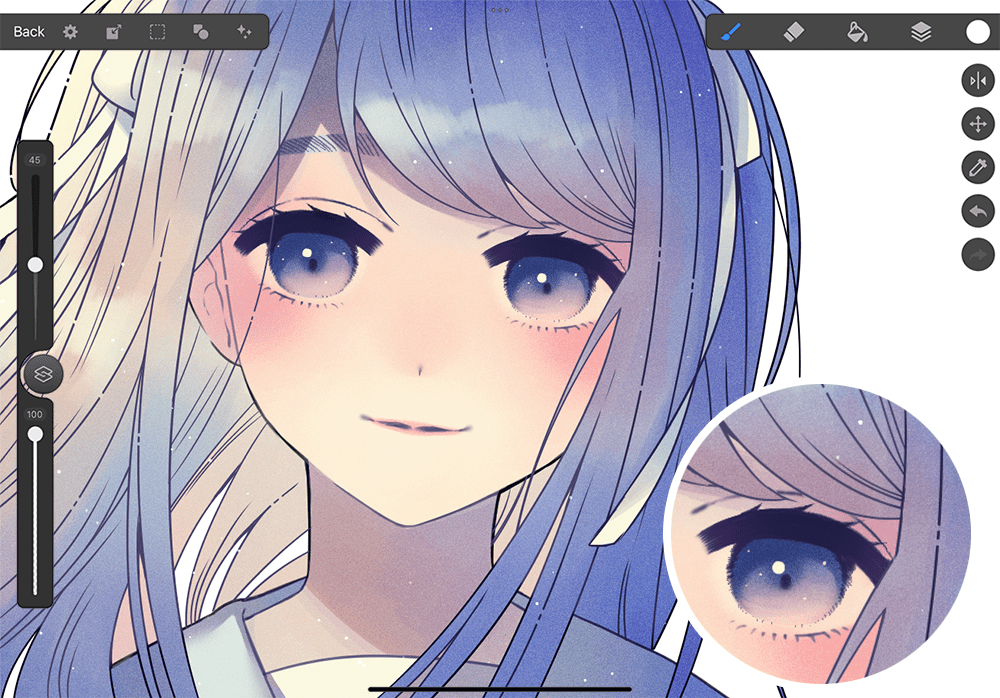
・Irises
After shrinking the brush size to color the iris, we will then blend only the color inside the iris itself to create a soft gradation effect.
As the Color Blend mixes colors very easily, we recommend creating a separate layer to apply colors to areas where you do not want them to blend together. This will create a crisper effect, rather than a blurring effect.
※For example, in the below image, the bluer areas and highlights are all on a separate layer.
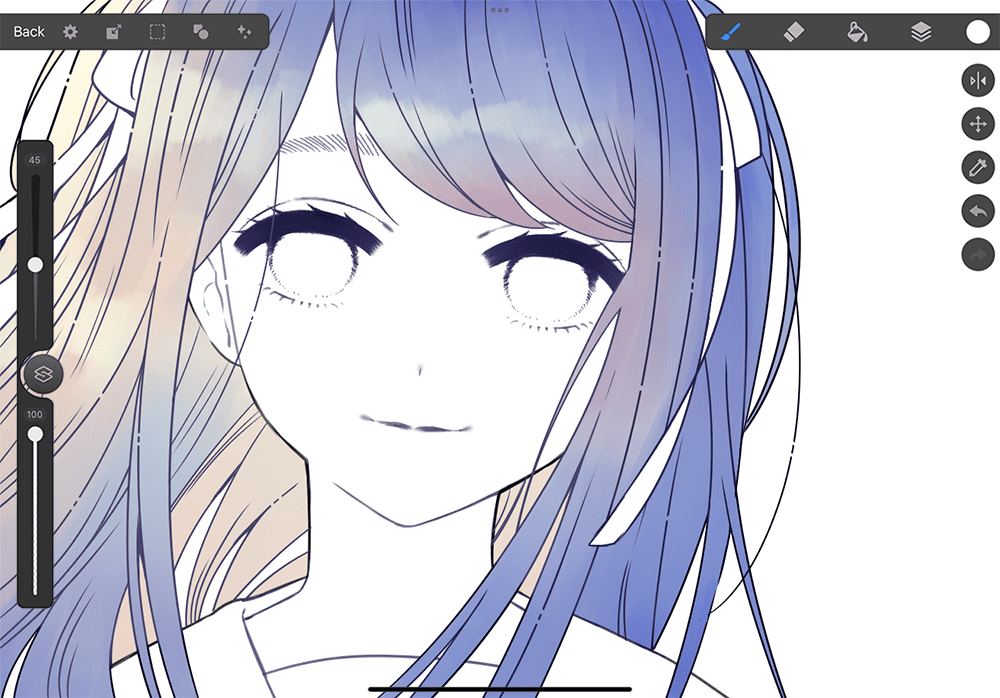
・Hair
To mix colors that aren’t in the same color family, simply lower the opacity of the Color Blend Brush.
Then, apply a thin layer of paint at the border between the differing colors.
After, use the eyedropper tool at the border of the colors while continuing to apply more layers of paint to create a soft gradation.
Ensure to be careful about muddying your colors at this stage.
We recommend to mix your colors and use a low opacity to apply color in thin layers.
This especially applies to artists who want to create hair with a feeling of transparency, such as where the bangs fall over the forehead.
After layering your colors, it’s time to apply highlights on a separate layer.
Using the Color Blend Brush with al ow opacity, select the transparent coloring option from the Color Palette.
Then, using the brush, carefully erase to create a soft highlight using the base color.
This will create a more natural effect rather than using the eraser tool.
・The Finished Illustration 完成イラスト
Using these techniques, we’ve made an illustration that has a soft, transparent feeling to it. 透明感のあるイラストが完成しました。
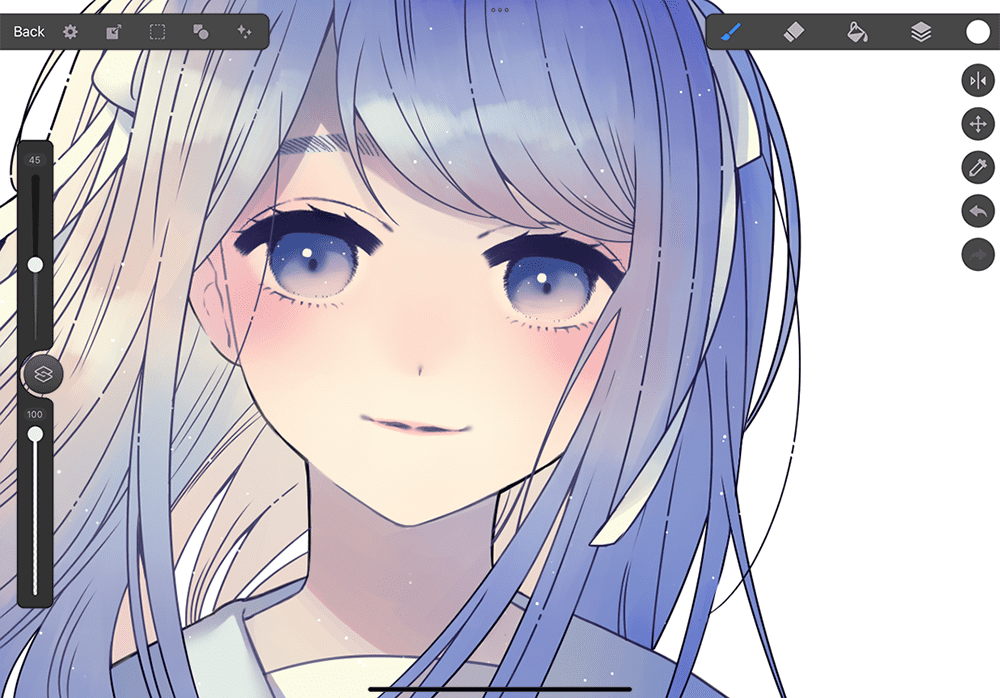
The Color Blend Brush also works great with paper, sand, and other texture effects to add a finishing touch to the art.
We encourage you to give the Color Blend Brush a try and see what you make with it!